This guide provides clear instructions for completing the “Alter Ego” mission in Crime Scene Cleaner. You’ll find all the necessary steps to dispose of 13 bodies, find fuses, collect evidence, restore furniture, and clean each area effectively. Detailed descriptions and straightforward guidance will help you complete the mission and uncover additional hidden tasks in the “Communiti Laboratory”.
Mission Details
“The Communiti wants one of their facilities cleaned up, and I’m supposedly the best in the area. I should expect the unexpected.”
Body count: 13 – Location Size: 4
Key Mission Steps:
0 – There are 10 named areas at Communiti Laboratory.
-> The Old Office, the Elevator, the Laboratory, Testing Zone A: Endurance, the Prison Block, the Lounge, the Office, the Control Room, Testing Zone B: Behaviour, and the Morgue.
1 – Dispose of the 13 Bodies
-> Find them at the Reception, by the Elevator, at the Cryochamber – Entrance, the Left Laboratory Section, the Right Laboratory Section, Testing Zone A, the Prison Block, the Office, the Control Room, Testing Zone B, and the Morgue.
2 – Collect all the Evidence.
-> They can be found at the Reception, the Left Laboratory Section, the Right Laboratory Section, Testing Zone A, the Prison Block, the Lounge, the Office, the Control Room, Testing Zone B, and the Morgue.
3 – Move the Furniture back to its place.
-> At the Reception, at the Cryochamber – Entrance, the Left Laboratory Section, the Right Laboratory Section, Testing Zone A, the Prison Block, the Lounge, the Office, the Control Room, and Testing Zone B.
4 – Steal Valuables
-> At the First Room, the Reception, the Left Laboratory Section, the Right Laboratory Section, the LAN Room, the Prison Block, the Overhead Storage, the Lounge, the Office, the Control Room, Testing Zone B, and the Morgue.
5 – Discover the Secrets!
-> At the LAN Room, and the Overhead Storage.
6 – Find the Cassette/CD Collectibles!
-> Takoshi – Takoshi, Self Love Machine – Joe Clone, Test Site – Unknown.
7 – Find all the Fuses!
-> At the Cryochamber – Entrance, Testing Zone A, and the Prison Block.
8 – Find the new Ozonator Cosmetic: Mad Scientist.
-> In the Testing Zone A.
9 – Find the Keys and Access Cards:
-> At the Reception and the Control Room.
10 – Pick up all the garbage and mop all the floors, walls, and ceilings. Then, pack all the garbage in the area near the boat.
-> More at the Crime Scene Cleaner Hub
Communiti Laboratory Overview
General Objectives at the Communiti Laboratory
– Dispose of 13 bodies.
– Insert 4 Fuses.
Objectives at the Old Office
– Wipe all the blood.
– Collect 2 evidence
– Get rid of the trash
– Move 11 furniture back to their places.
Objectives at the Laboratory
– Wipe all the blood.
– Collect 3 evidence
– Get rid of the trash
– Move 11 furniture back to their places.
Objectives at the Testing Zone: Endurance
– Wipe all the blood.
– Collect 1 evidence
– Get rid of the trash
– Move 2 furniture back to their places.
Objectives at the Prison Block
– Wipe all the blood.
– Collect 2 evidence
– Get rid of the trash
– Move 3 furniture back to their places.
Objectives at the Lounge
– Collect 1 evidence
Objectives at the Office
– Wipe all the blood.
– Collect 2 evidence.
– Get rid of the trash.
– Move 6 furniture back to their places.
Objectives at the Control Room
– Wipe all the blood.
– Collect 1 evidence.
– Get rid of the trash.
– Move 4 furniture back to their places.
Objectives at the Testing Zone B: Behaviour
– Wipe all the blood.
– Collect 1 evidence.
– Get rid of the trash.
– Move 14 furniture back to their places.
Objectives at the Morgue
– Wipe all the blood.
– Collect 2 evidence.
1 – Old Office
After arriving in the Cave with the boat, ascend the ladder, open the hatch to arrive in the Old Office.
First Room
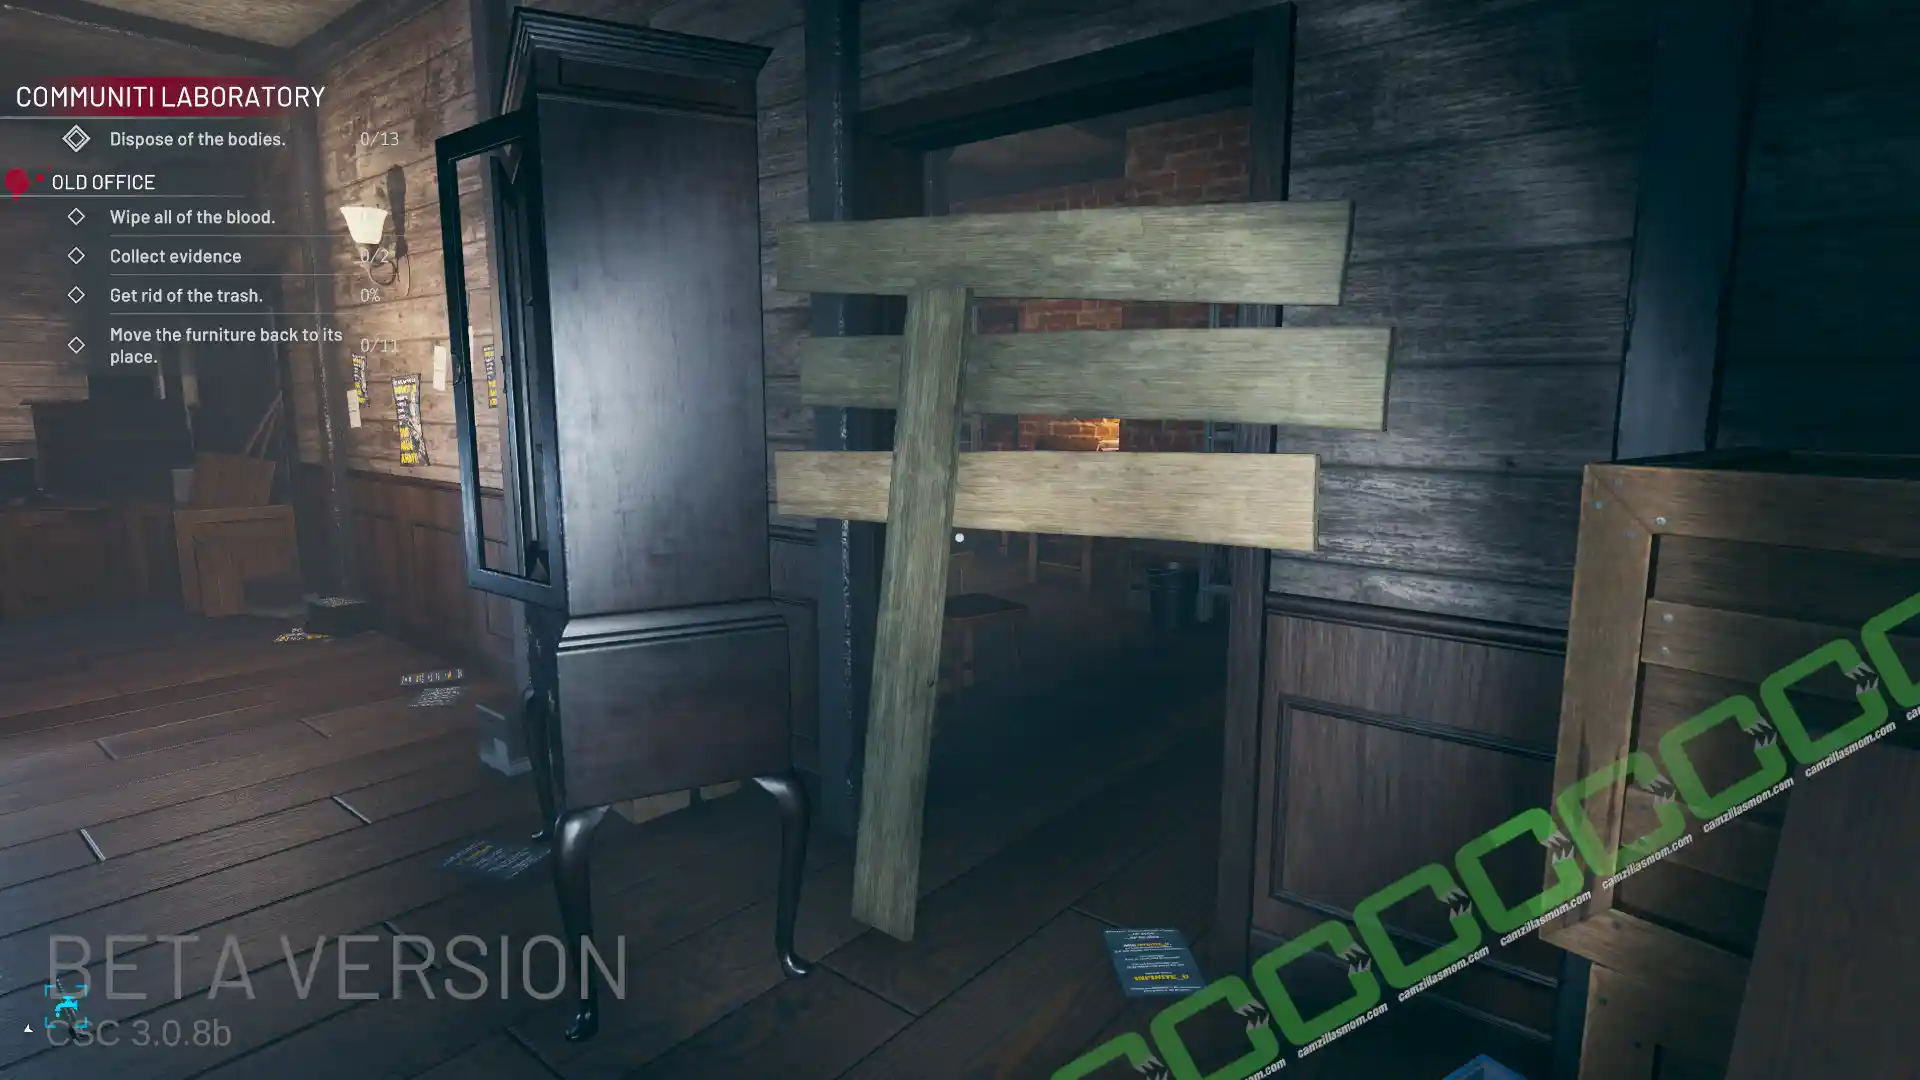
The first room in the Old Office is a storage area full of boxes. A door leads to a room with the first victim, while a barricaded door leads to another storage area with a bill to steal.
STEAL
– 100$: On the desk, near the note.
Reception & Mezzanine
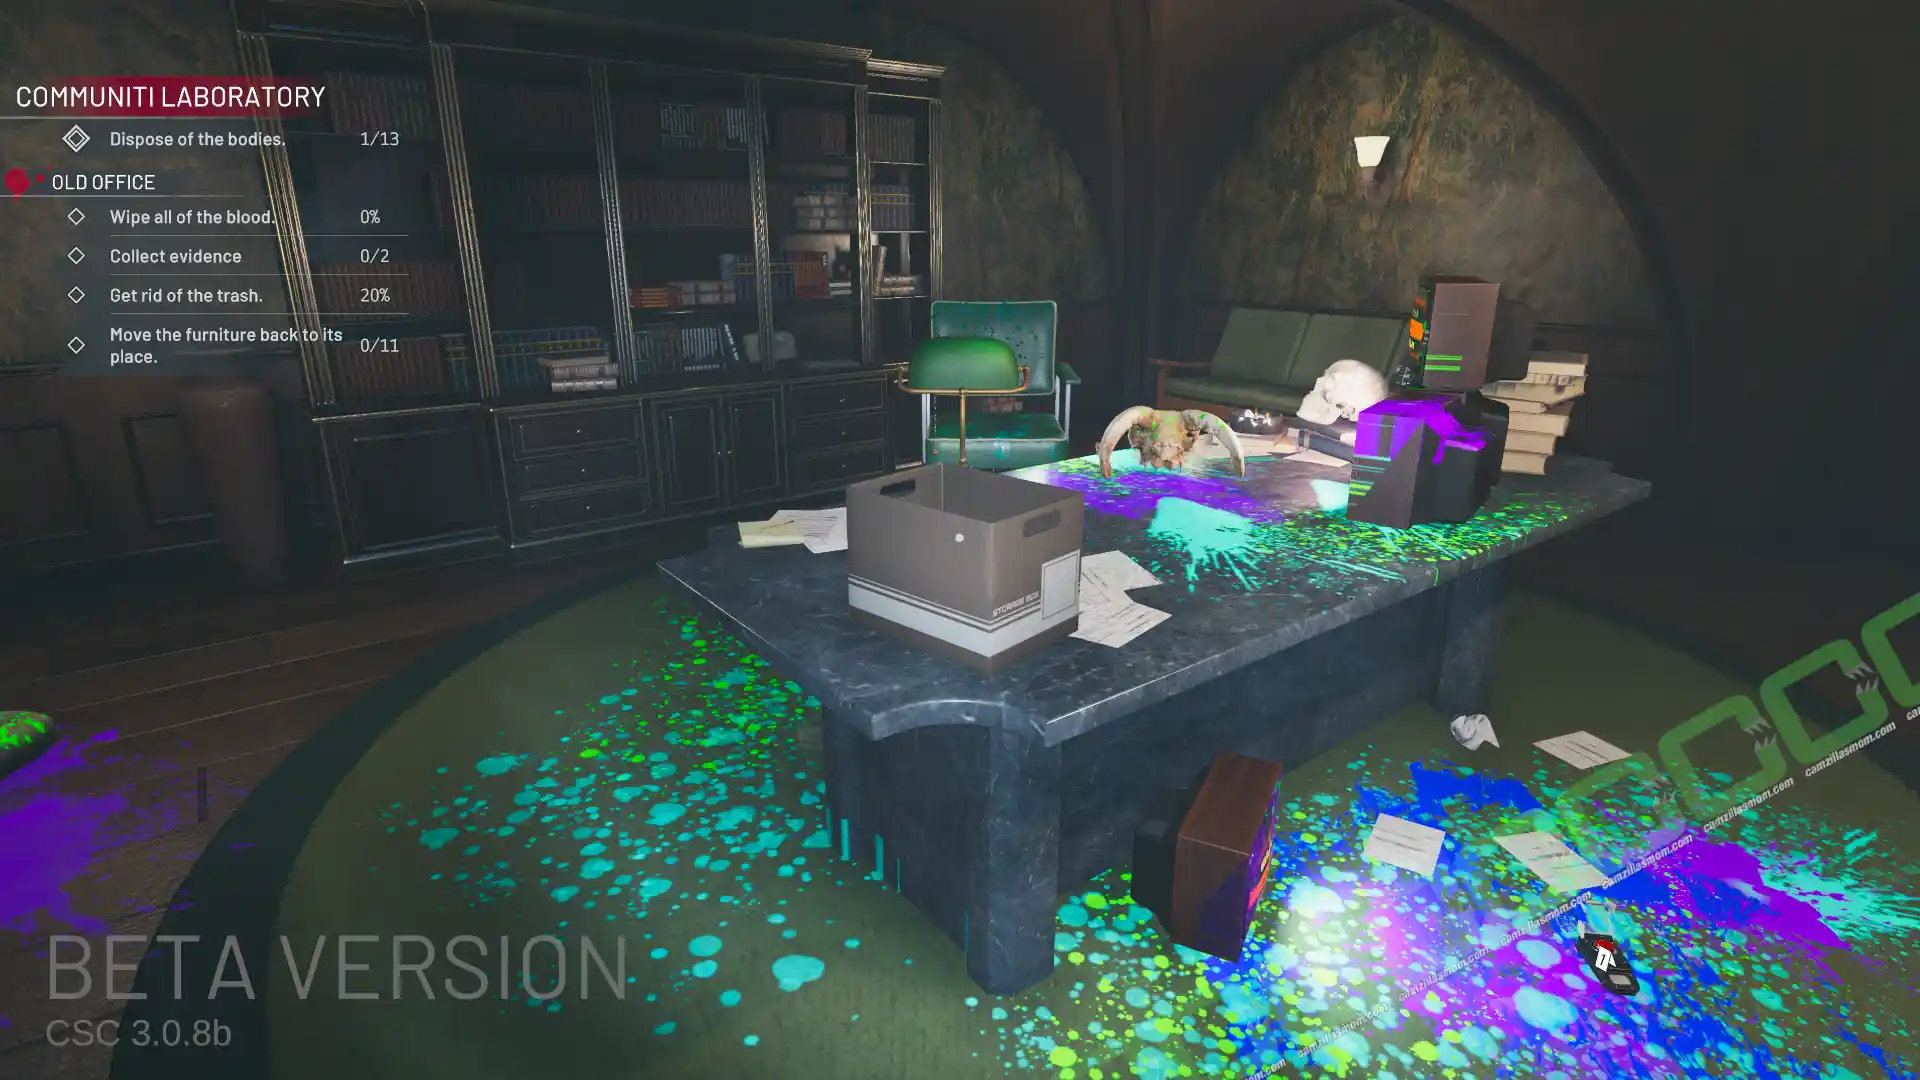
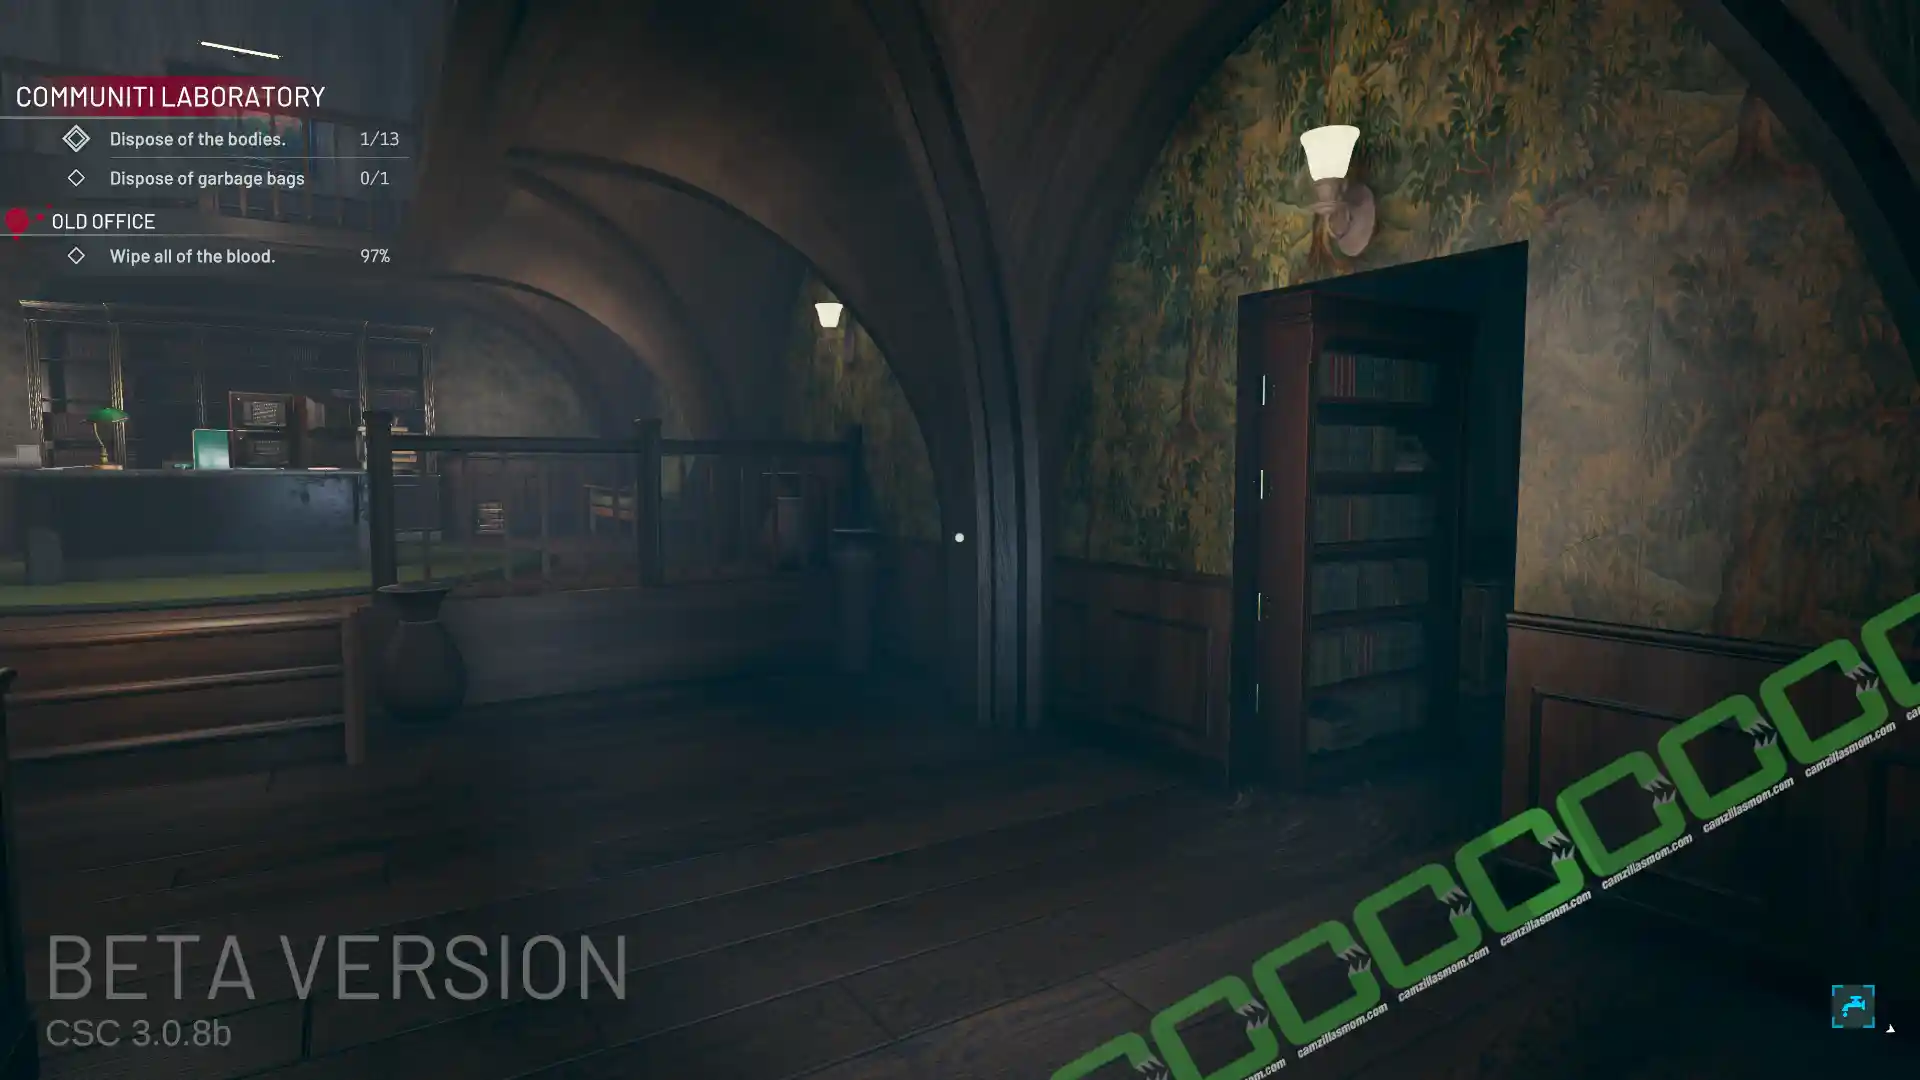
The next room from the storage area is an old-fashioned, dark reception area with an overhead mezzanine and a big desk in the center-back. A stairwell leads up from here to the mezzanine and second floor. There is a bookshelf that is a hidden door, but it is locked and requires a book to open.
BODY 1 of 13
The first victim is at the reception desk.
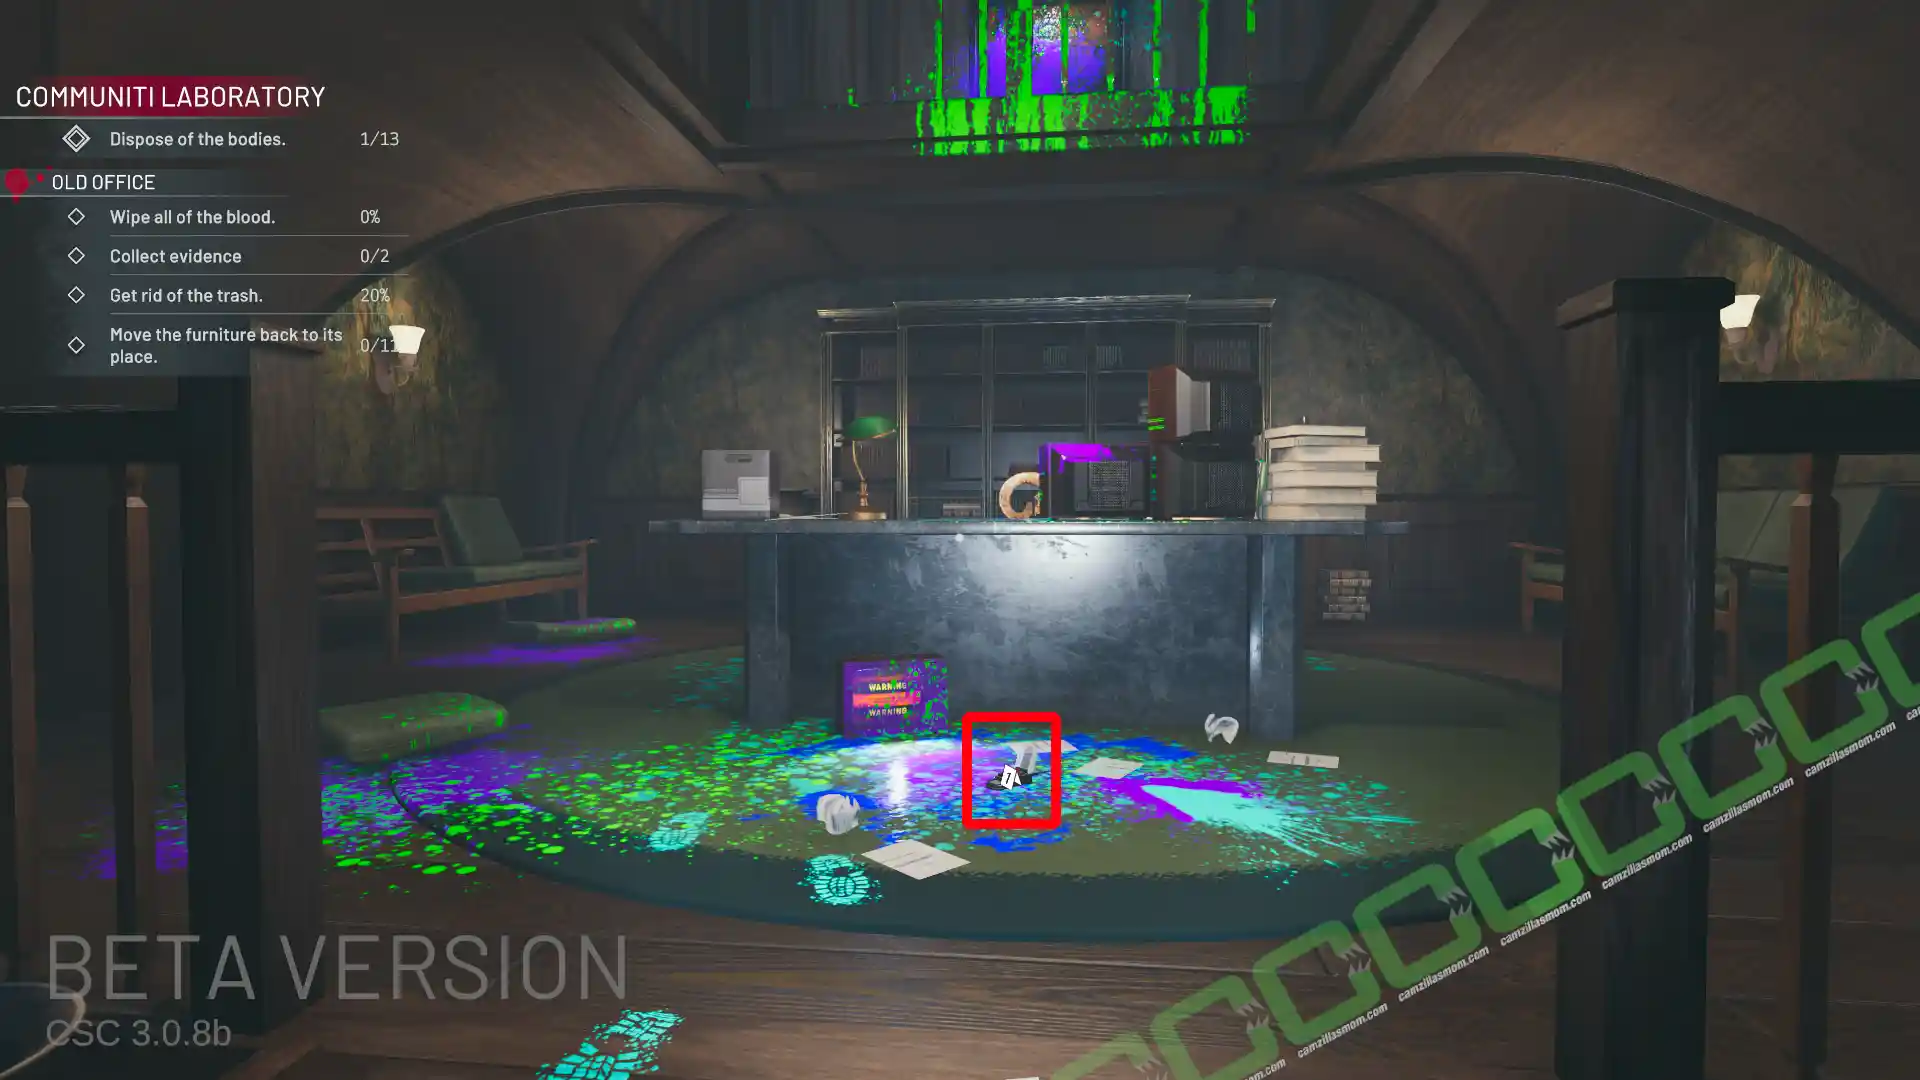
EVIDENCE 1 OF 2: STRANGE DEVICE
There is a strange device in front of the reception desk.
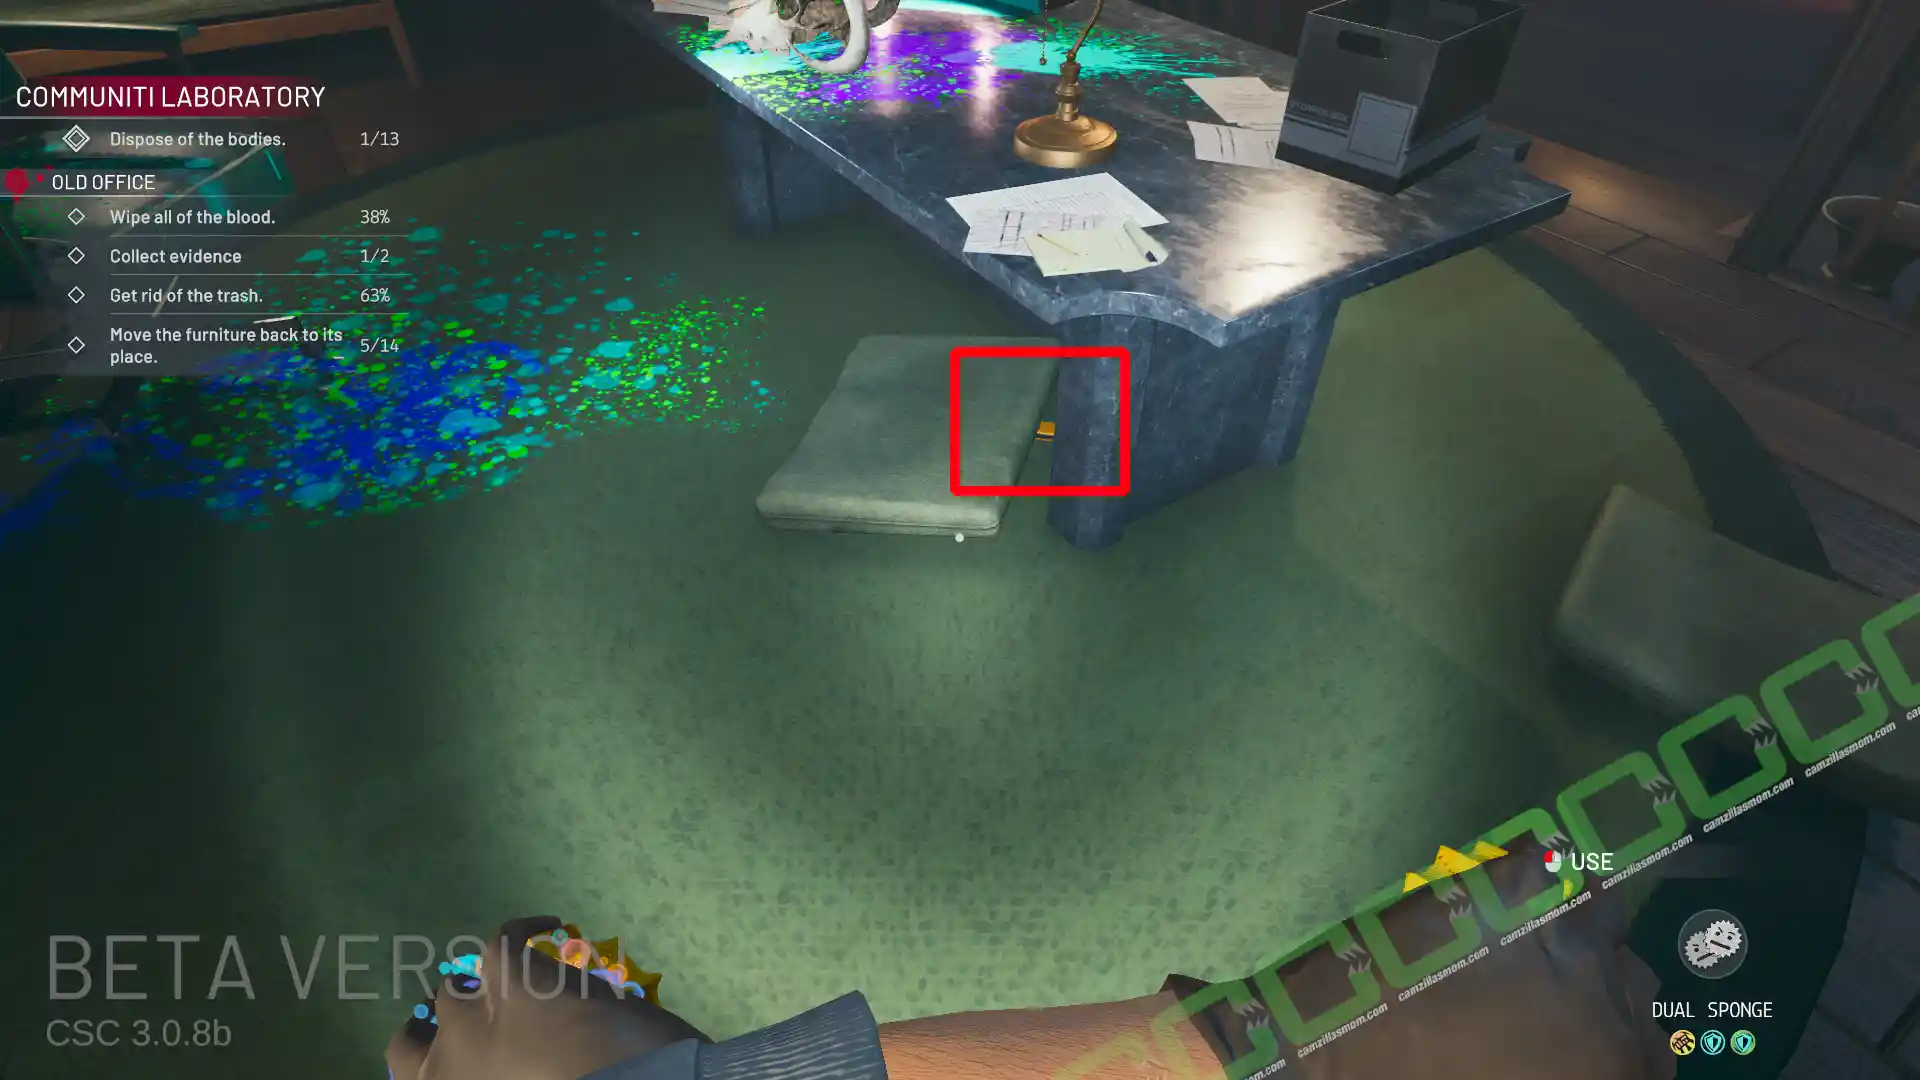
EVIDENCE 2 OF 2: PHONE CALL RECORDING
There is a phone call recording under one of the green sofa cushions under the reception desk.
MOVE FURNITURE
Pedestal: Slides back into its place.
Bust: Onto the pedestal.
Wooden Chair: Back to the round table.
2x Green Cushions: On the wooden chair.
3x Green Cushions: On the wooden couch.
TV: Back to the other TVs on the desk.
Chair: To the desk.
Prehistoric Skull: On the chandelier. Goes to the pedestal on top of the stairs.
Pedestal on the 2nd floor: Slides back into its place.
Giant Isopod: To the nearby pedestal.
Skull with Horns: From the reception desk to the pedestal.
STEAL
100$: On the desk, between the books.
100$ Drugs: In the bookshelf behind the desk.
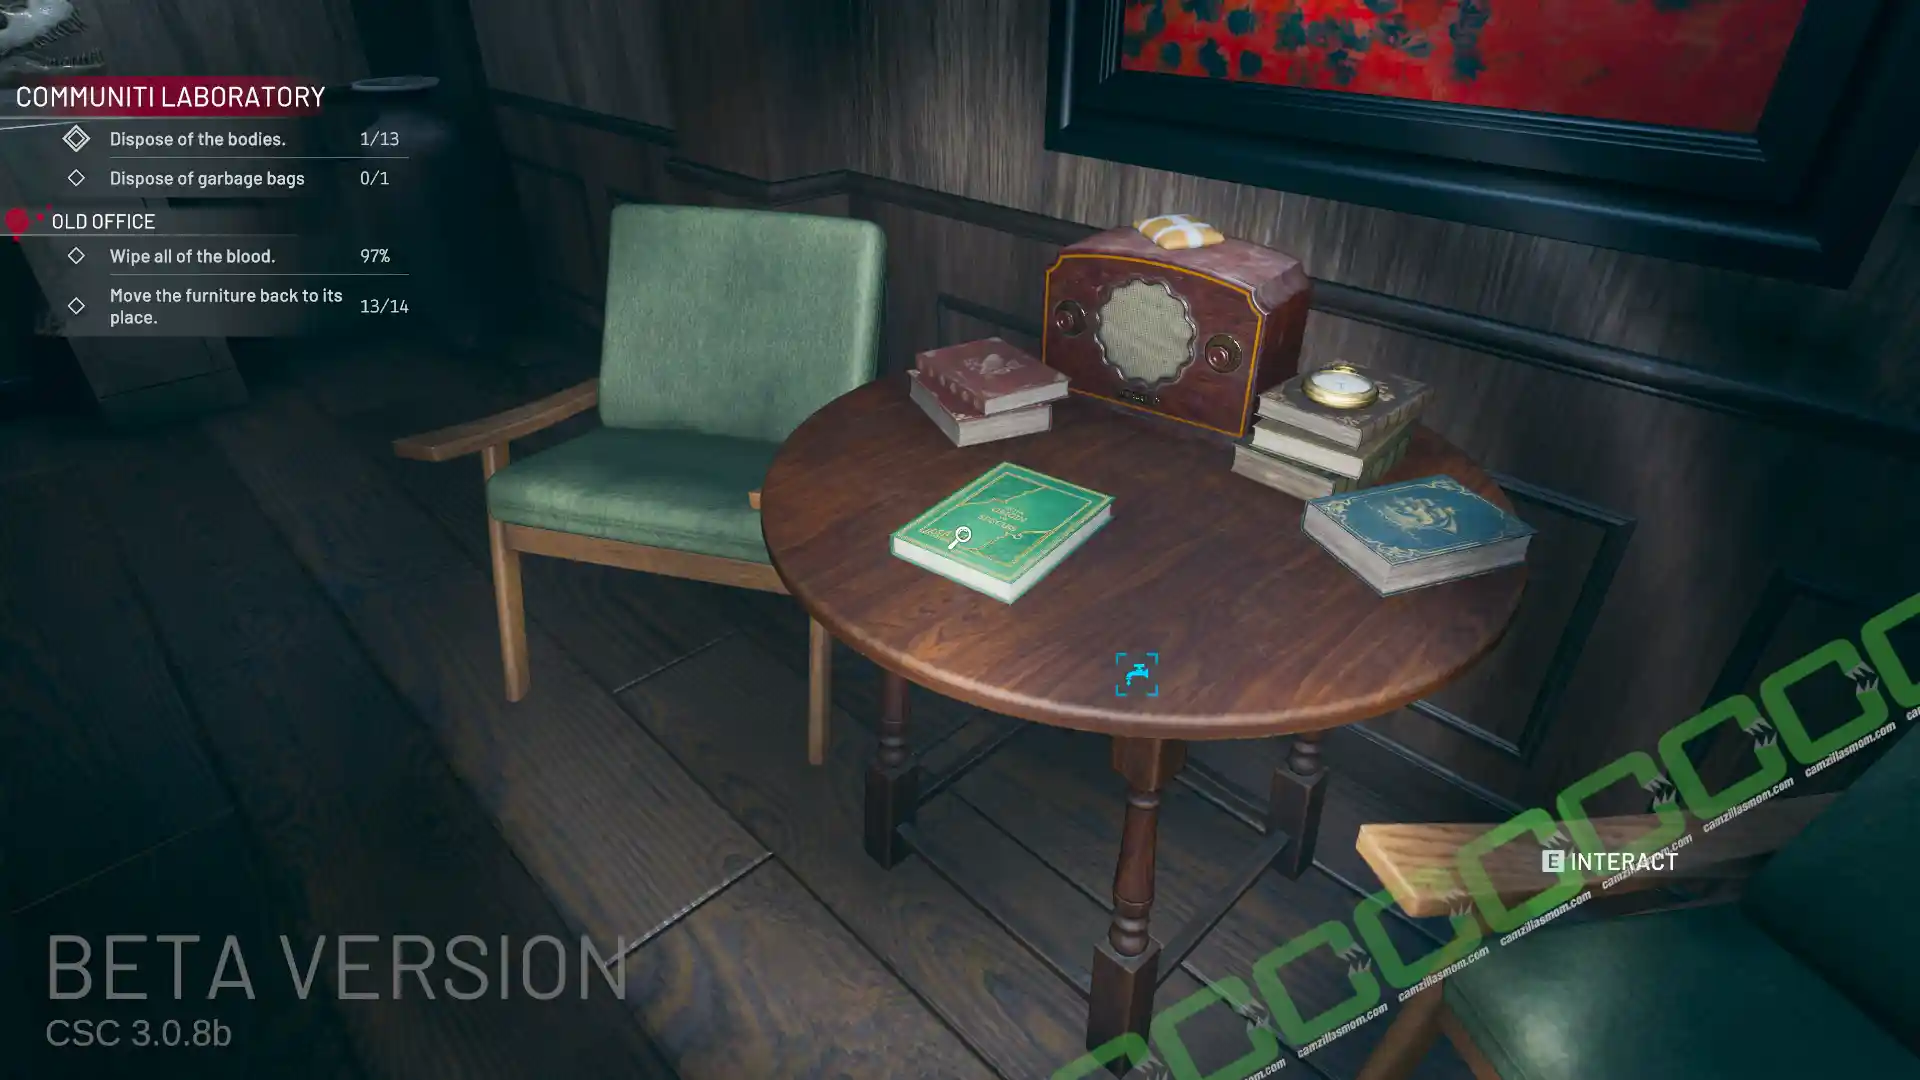
100$ Pocket Watch: On the round table, where the green book is.
100$ Drugs: On the same table.
KEY
Missing Book: Is on the round table at the back of the Mezzanine.
Use the book on the first-floor bookshelf to open this hidden door.
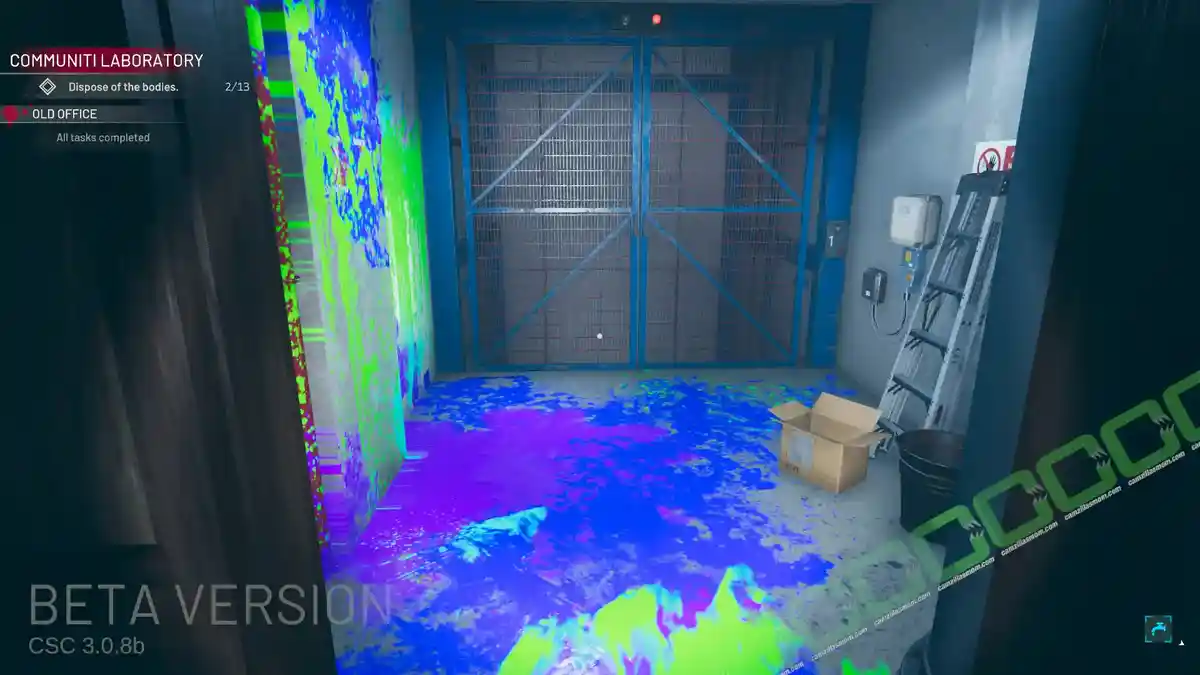
2 – Elevator
After opening the secret bookshelf with the green book at the Old Office, you will reach the elevator.
You can now take the elevator to Level 0 and open the cave door to get easier access to the garbage deposit area and the boat.
BODY 2 of 13
There is a victim in front of the elevator.
3 – Laboratory
Take the elevator up to the second floor to reach the Laboratory. Here, you first enter a corridor with six cryo tanks. There is a lab section to the left and to the right. Those two are connected by a corridor that has an elevator to the Lounge.
Cryochamber – Entrance
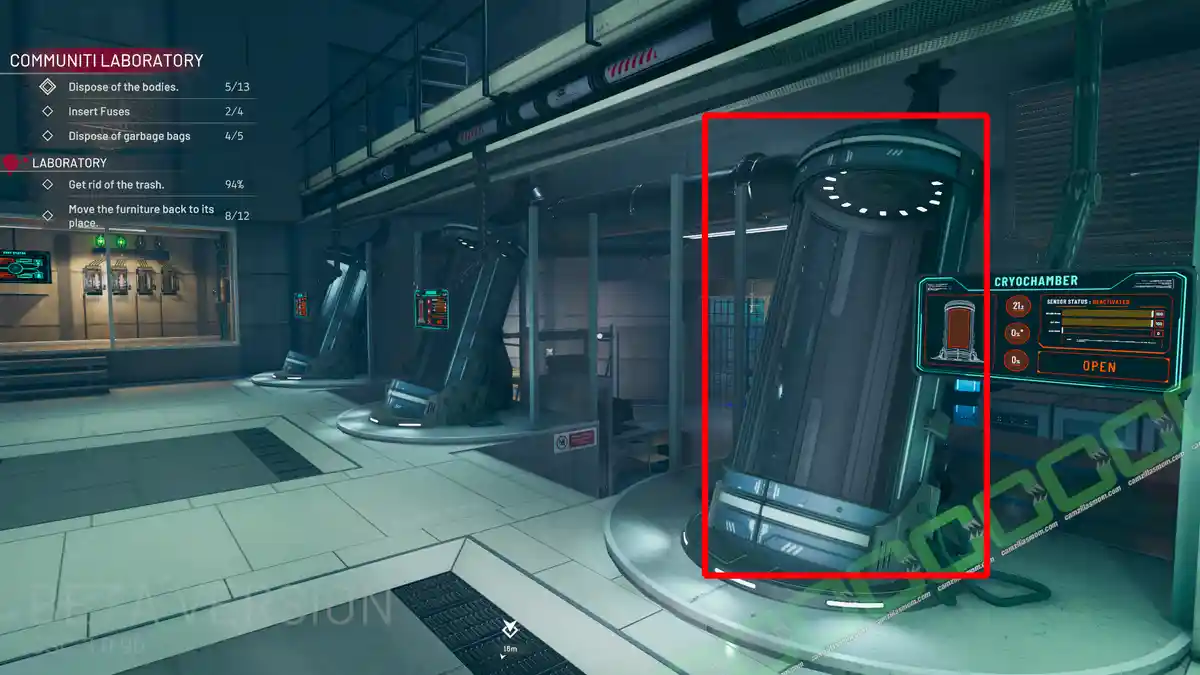
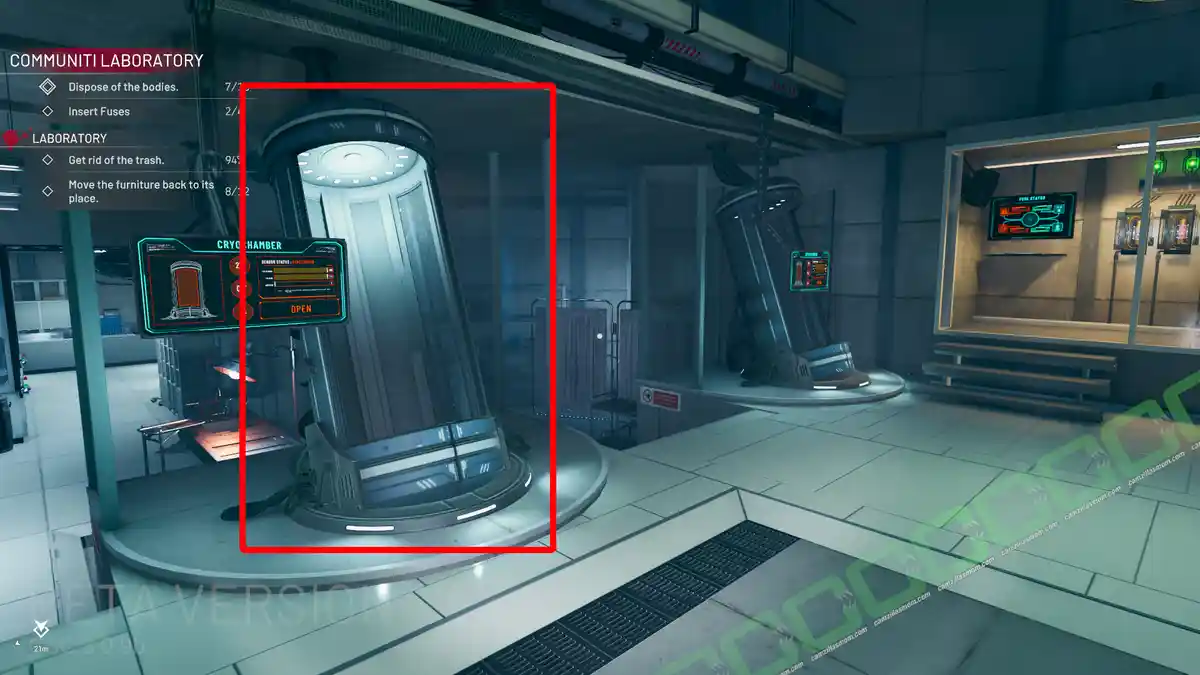
Go through the decontamination process and enter the cryochamber. The cryochamber has two levels. On the bottom level are six pods. At the top level, another mezzanine with no access from the Cryochamber, there is the Prison Block and, behind glass windows, a surveillance room.
A small stairwell to the left leads to a small lab area, while the right stairwell leads to a small area with servers and the Morgue secured with prison bars that requires a key.
FUSE: WATER
There is a water tap elevator on this level, but it needs power. To call the water tap elevator, head to the small room with the four fuse slots. There is a fuse there you can use to put it into the slot with the waterdrop symbol. The water tap elevator is working now and can be used for cleaning.
BODY 6 OF 13
Find the Cryochamber Fuse in the Prison Block and put it in the Cryochamber slot. Then open the cryochambers to retrieve this body.
BODY 7 OF 13
There is a second cryopod with a victim inside.
MOVE FURNITURE
2x Barrels: Next to the first, left cryopod.
Left Laboratory Section
The left side of the Laboratory holds the water tap elevator and a door leading to Testing Zone A: Endurance.
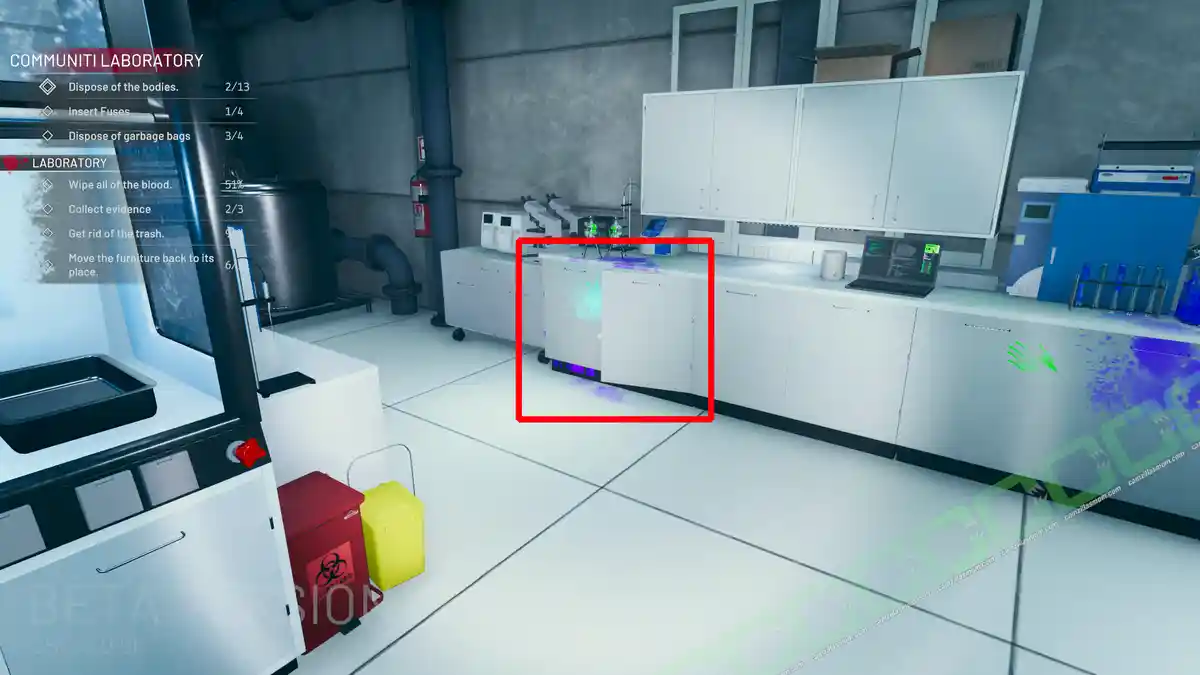
BODY 3 of 13
In one of the lab cabinets.
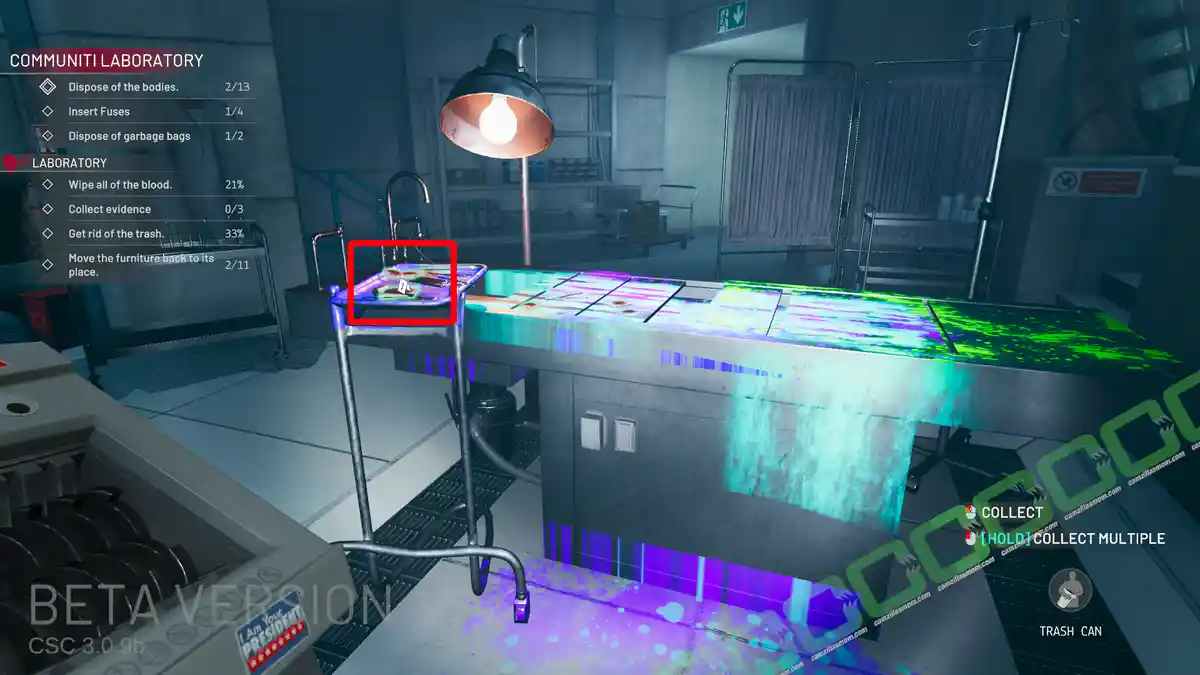
EVIDENCE 1 OF 3: SUSPICIOUS CHIP
The first evidence is on the medical tray next to the metal examination table.
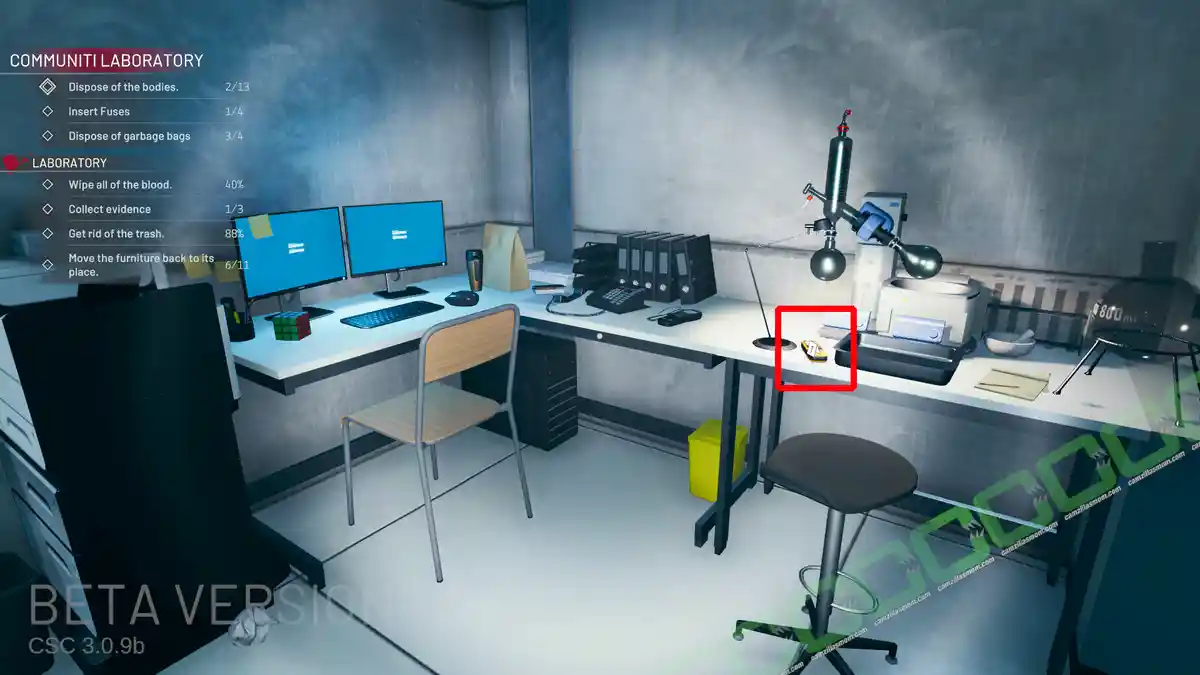
EVIDENCE 2 OF 3: ORGAN FARM UPDATE
Look for a recorder on one of the lab desks.
MOVE FURNITURE
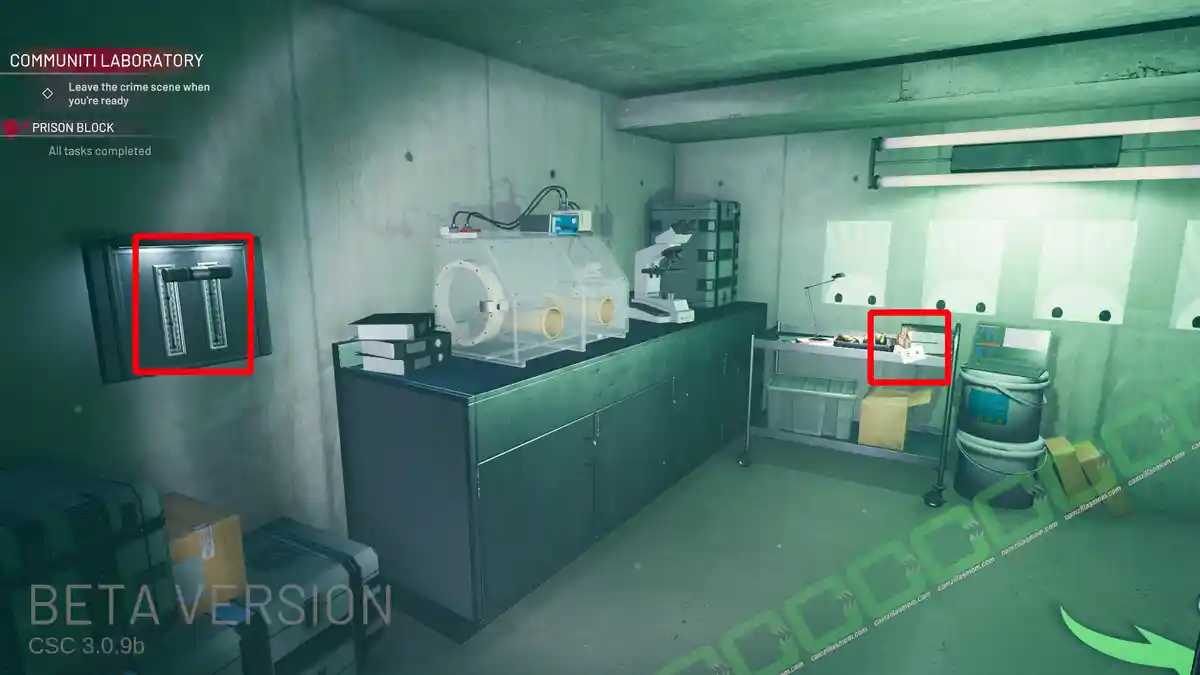
The Power Core has to be charged first before attaching it to its place on the wall, and for the switch next to it to work. Charge it at Testing Zone A: Endurance.
1x Power Core: To the wall socket.
2x Medical Trolleys: Slide back to their place.
2x Barrels: On the side of the Isolation Chamber.
3x Chair: Back to the table.
STEAL
4x 100$ Drugs: In two of the four Isolation Chambers.
100$ Drugs: In the drawer near Evidence 2.
300$ Blue Drugs: In the cabinet near the body.
100$ Drugs: In the cabinet next to the 2 chairs.
Right Laboratory Section
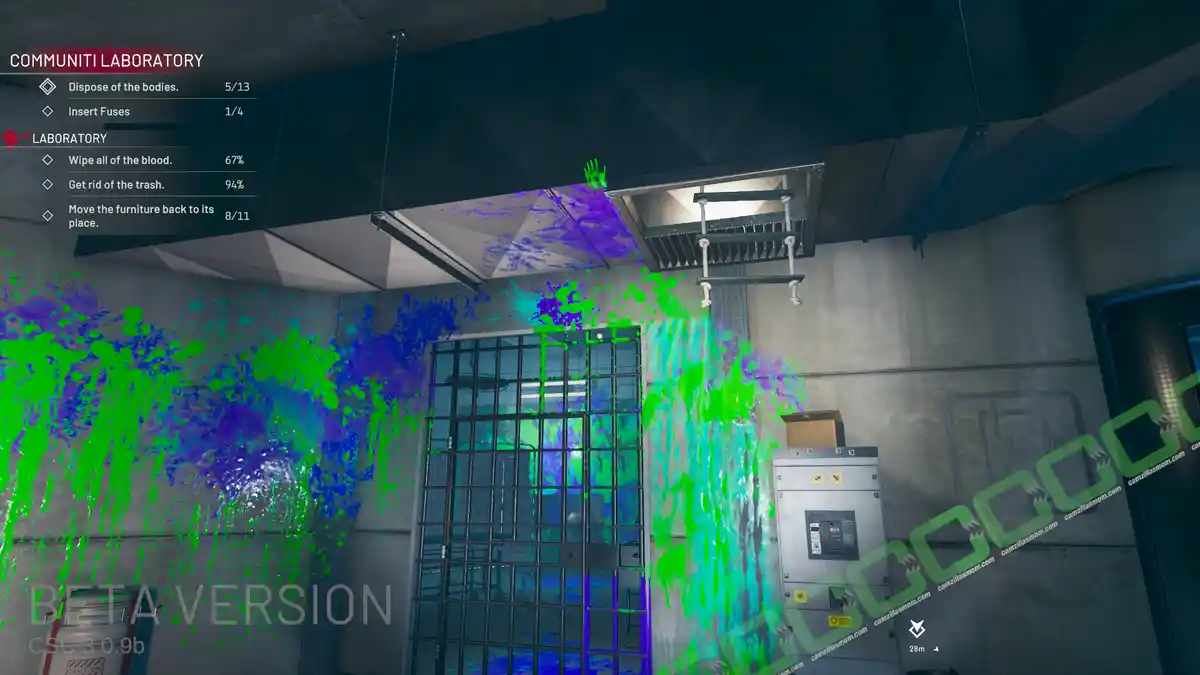
The Right section of the Laboratory has a Morgue behind prison bars that requires a key and a chute to the right that goes right down to the cave. Needs the Chute Fuse to work. On the right side of this smaller section of the lab are a couple of server cabinets. There is a victim in the overhead ventilation shaft. Climb up the ladder there to reach the Prison Block.
Body 5 of 13
Someone is stuck in the vent just above the metal gate.
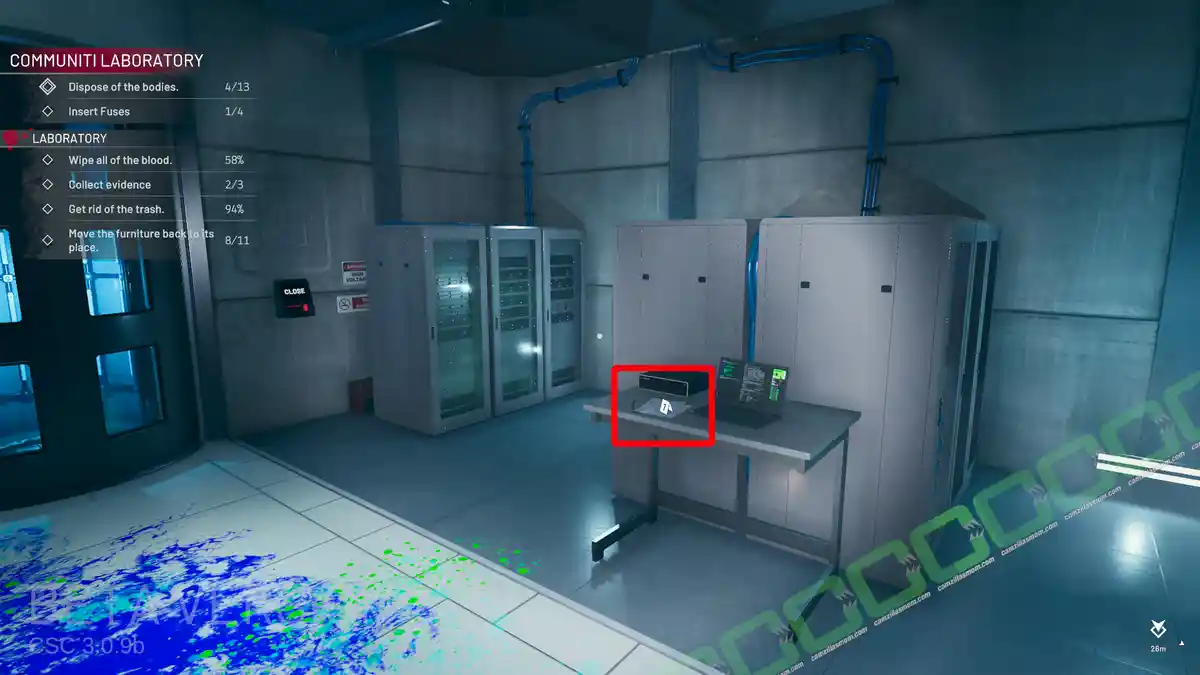
EVIDENCE 3 OF 3: DONORS LIST
A donor’s list is on the small table next to the server cabinets.
MOVE FURNITURE
4x Barrels: To the Wall.
STEAL
300$ Skull: Climb into the vent and follow it. Skull is on the mattress.
Secret: LAN Room
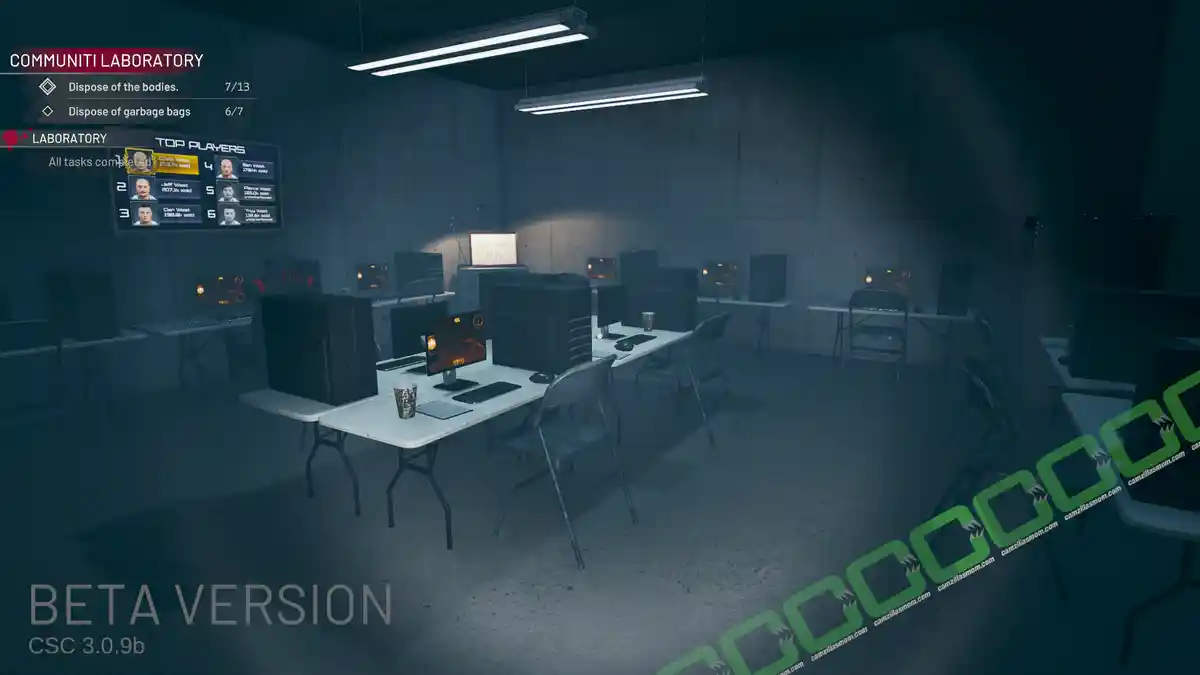
There is one piece of furniture, the Power Core/Battery, that needs to be attached to the wall. Charge it first at Testing Zone A: Endurance. Then the switch next to it will work, lower you into a LAN Party Room.
STEAL
2100$: In the safe.
4 – Testing Zone A: Endurance
The Testing Zone A: Endurance can be accessed through the left side of the Laboratory.
BODY 4 of 13
The victim is on the chair, inside the chamber.
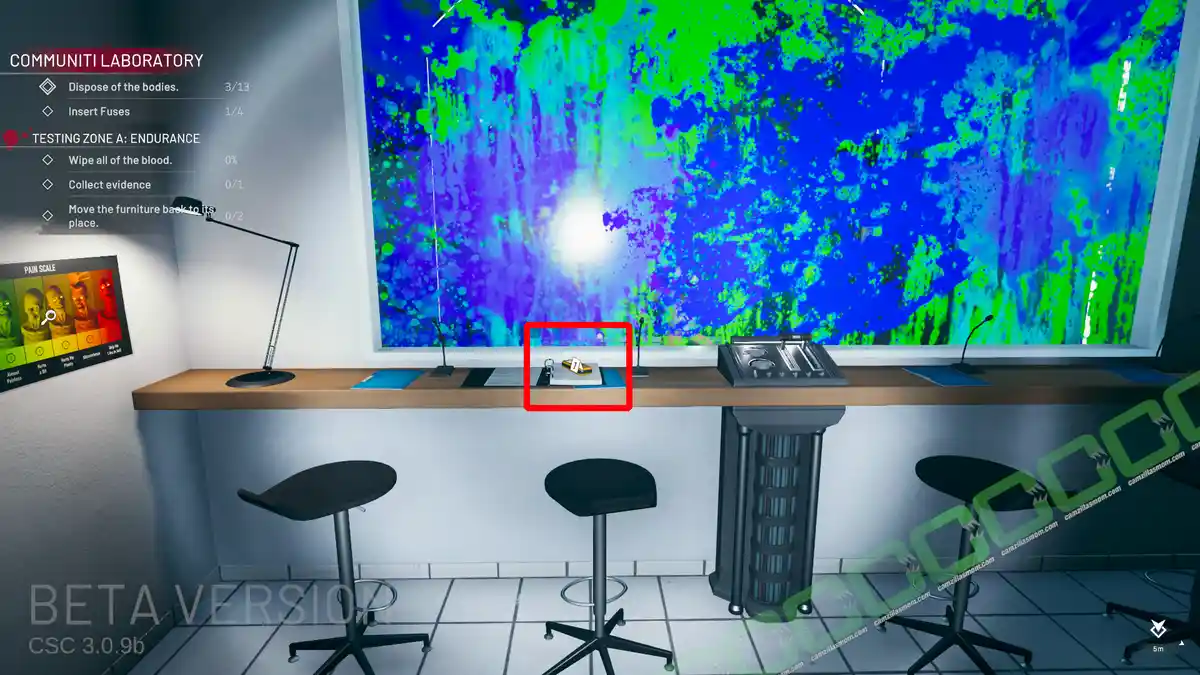
EVIDENCE 1 OF 1: PAIN TEST NB.74
The evidence is on the narrow table at the soiled window.
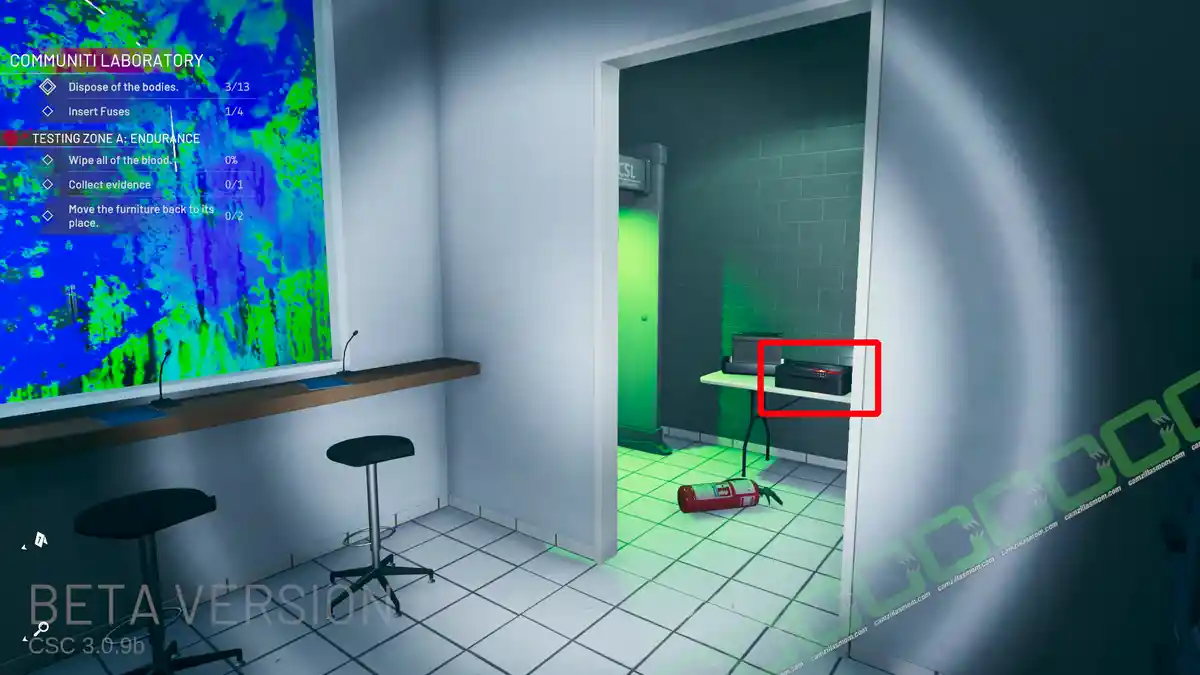
FUSE: PRISON BLOCK BRIDGE
There is a fuse in a black box near the metal detector. The black box is locked. Take the box into the chamber.
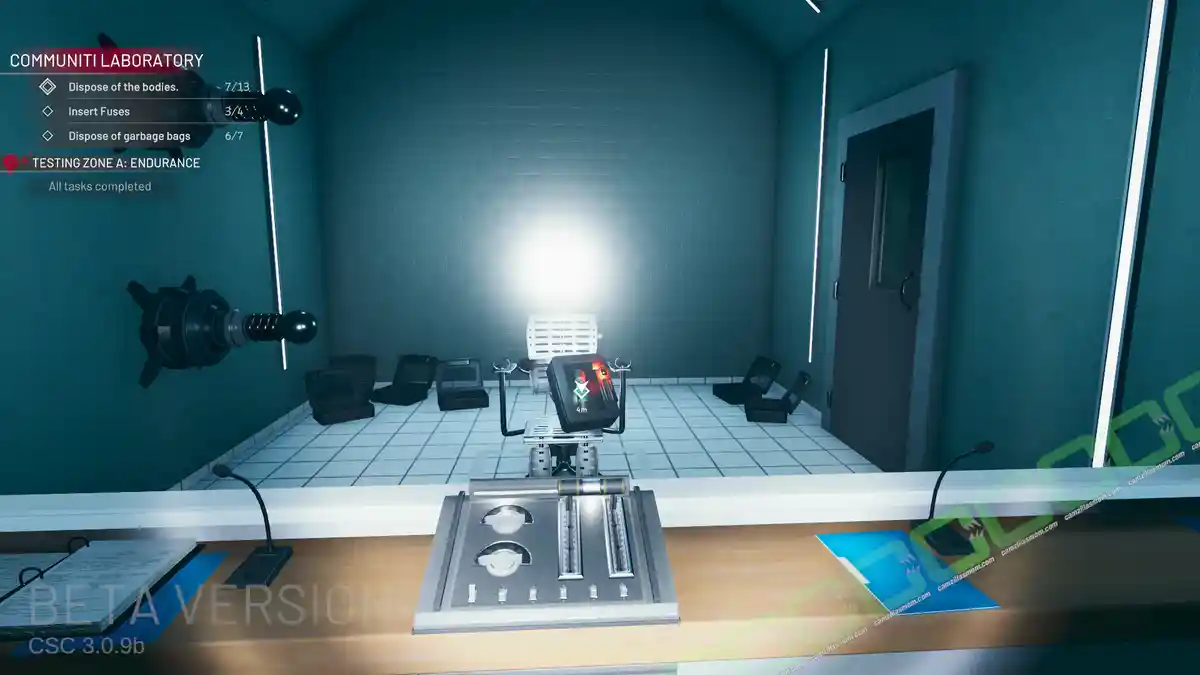
Squeeze it through the sides of the metal detector, so the chamber door doesn’t close. Then put it on the chair and install the missing black bulb from the Lounge. Close the chamber door and flip the switch to open it. You can charge the Power Core/Battery in the Laboratory the same way.
MOVE FURNITURE
Fire Extinguisher: To the wall next to the chamber.
Black Chamber Bulb: -> From the Lounge
NEW SKIN: OZONATOR – MAD SCIENTIST
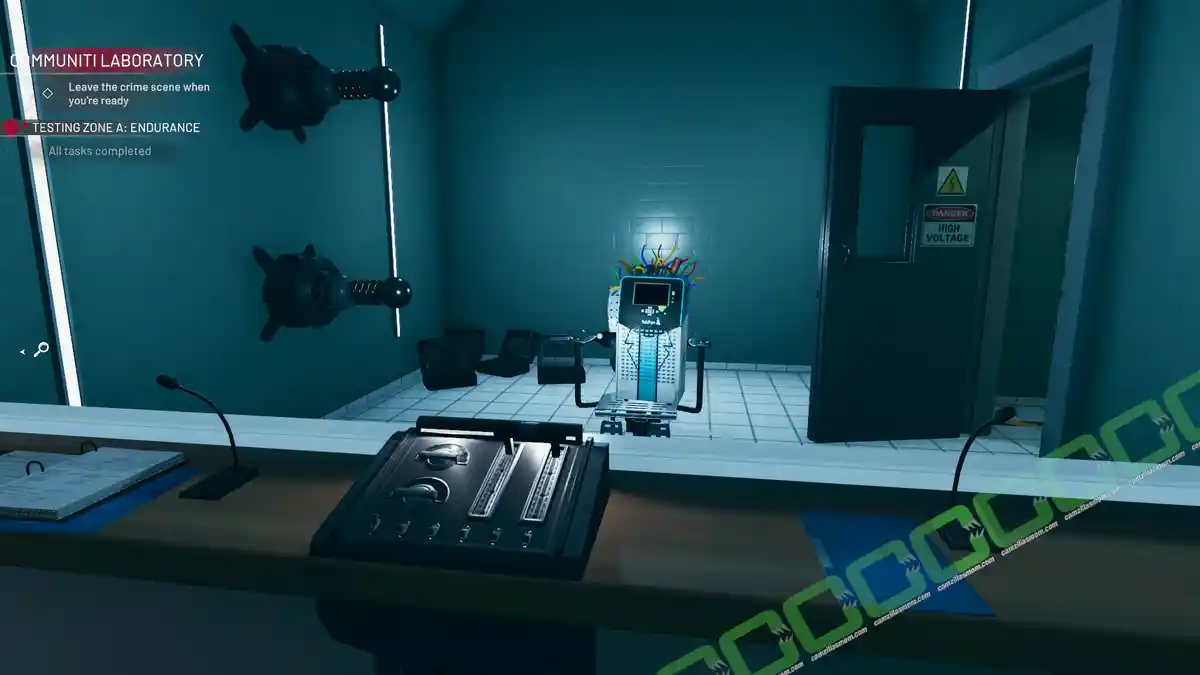
As the last task in this room, put the Ozonator onto the chair and electrocute it to receive the Ozonator skin.
5 – Prison Block
The Prison Block can be reached through the right section of the Laboratory, where the metal-barred Morgue entrance is. Climb up the vent, where one of the victims can be found, to enter the victim’s prison cell. From here, you can break through the neighboring prison cell to access the whole Prison Block.
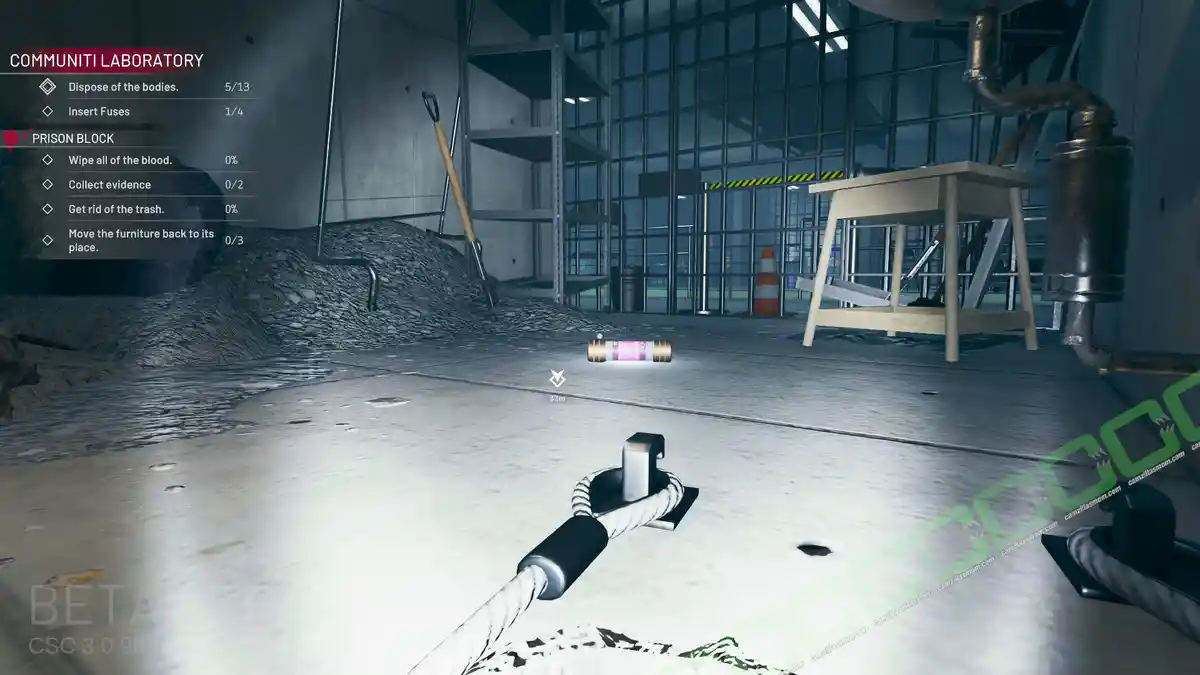
FUSE: CRYOCHAMBERS
Climb up the ladder into the Prison Cell 01. There is a fuse on the floor. It goes into the Cryochamber Fuse Slot.
FUSE: CHUTE
Break through to the neighboring Prison Cell 02, where you can enter the Prison Block corridor. Head to the surveillance room, where you can find this fuse on the table. It goes into the chute slot. You can now use the chute to transport everything you need right to the cave.
BODY 12 of 13
Find and use the Fuse that lowers the Prison Block Bridge at Testing Zone A: Endurance. A body is in Cell 05.
BODY 13 of 13
This body is in the wall of Cell 06.
EVIDENCE 1 OF 2: SUPER SOLDIER
The evidence is on the surveillance room table.
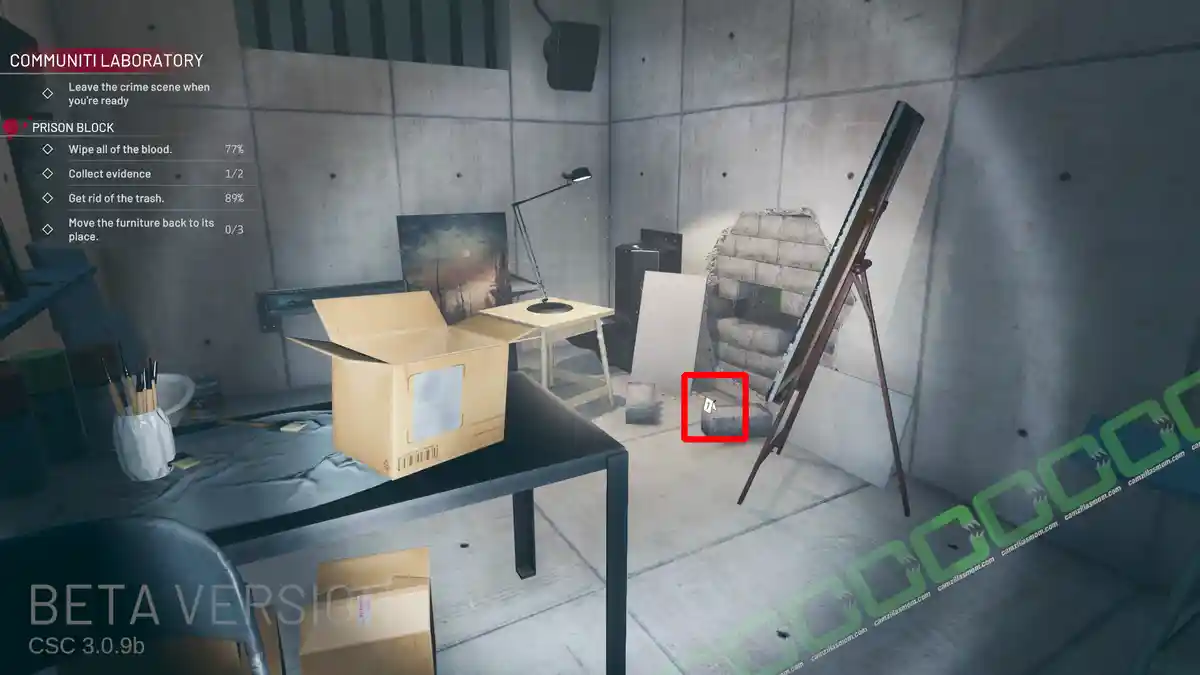
EVIDENCE 2 OF 2: SPOON
On the floor next to the broken wall in Cell 06.
MOVE FURNITURE
Picture of a Woman: Back to the table.
Picture of a Boy: Back to the table.
Cuddly Toy: Back to the table.
STEAL
100$ Drugs: Surveillance Room center table compartment.
Secret: Overhead Storage
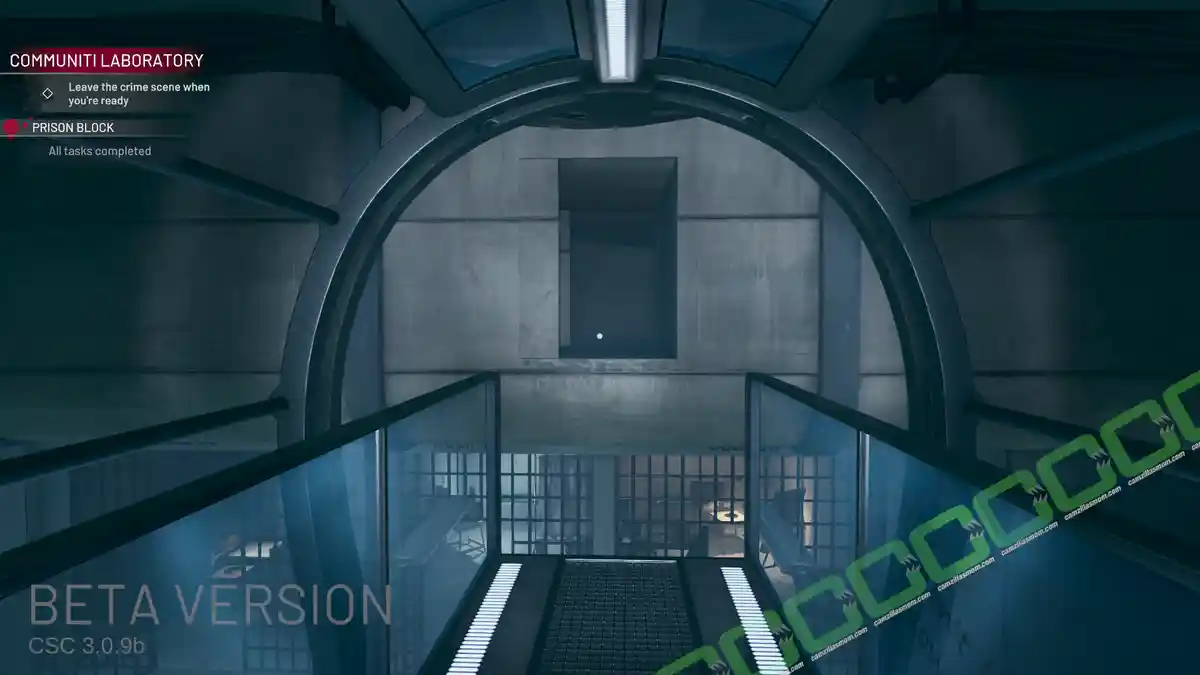
In the Surveillance room of the Prison Block, there is a lever for the bridge. Pull the lever and run to the bridge to get on. You will be lifted up, and an entrance will open. I managed to get in by placing the ladder in the inventory as near as I could and then crouching inside.
Crouch to the back of the room, where you can find the Collectible Cassette/CD: Takoshi – Takoshi. Pull the lever to leave this place. Run back to the bridge before the entrance closes.
STEAL
5x 300$ Golden Eggs: In the tray.
700$ Golden Duck: In the steel cabinet.
6 – Lounge
The Lounge can be accessed either through the elevator at the Laboratory or from the Prison Block. The door to one side of the Prison Block is blocked from the other side. A big, ornate door leads to the office, a side passage to the Control Room.
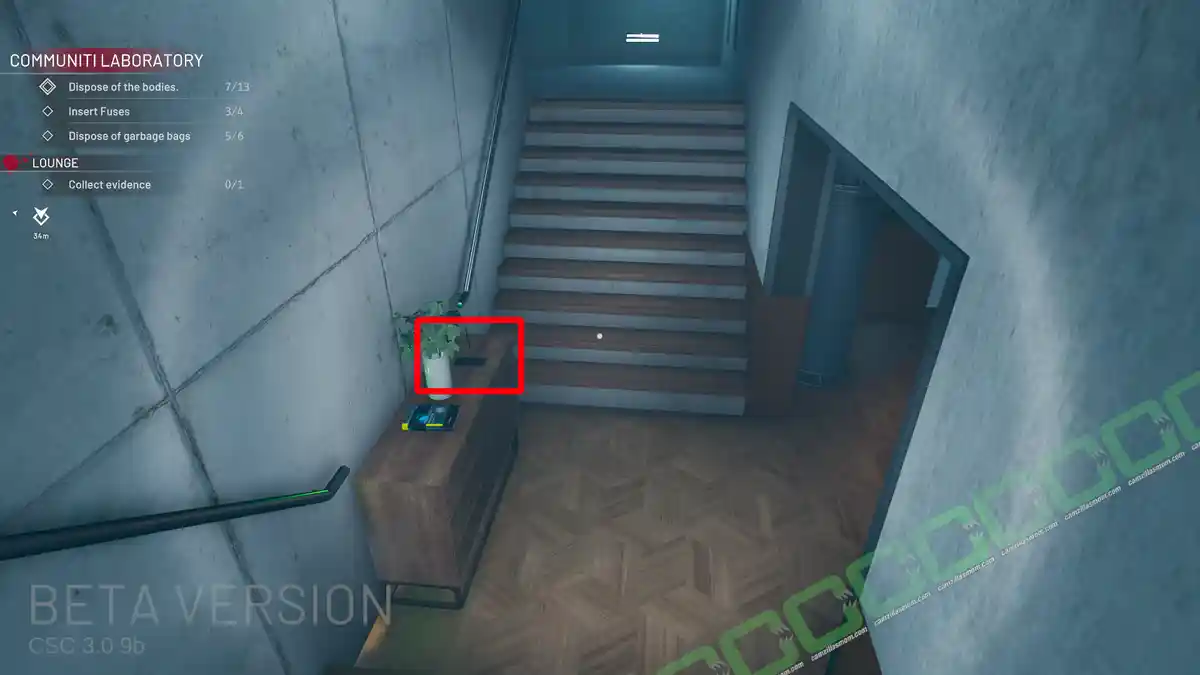
EVIDENCE 1 OF 1: CHATCMT
The evidence is on the drawer unit in the stairwell that connects the two sides of the Prison Block.
FURNITURE FOR ANOTHER ROOM
Black Bulb: ->Testing Zone A: Endurance Chamber
STEAL
400$: On the coffee table.
7 – Office
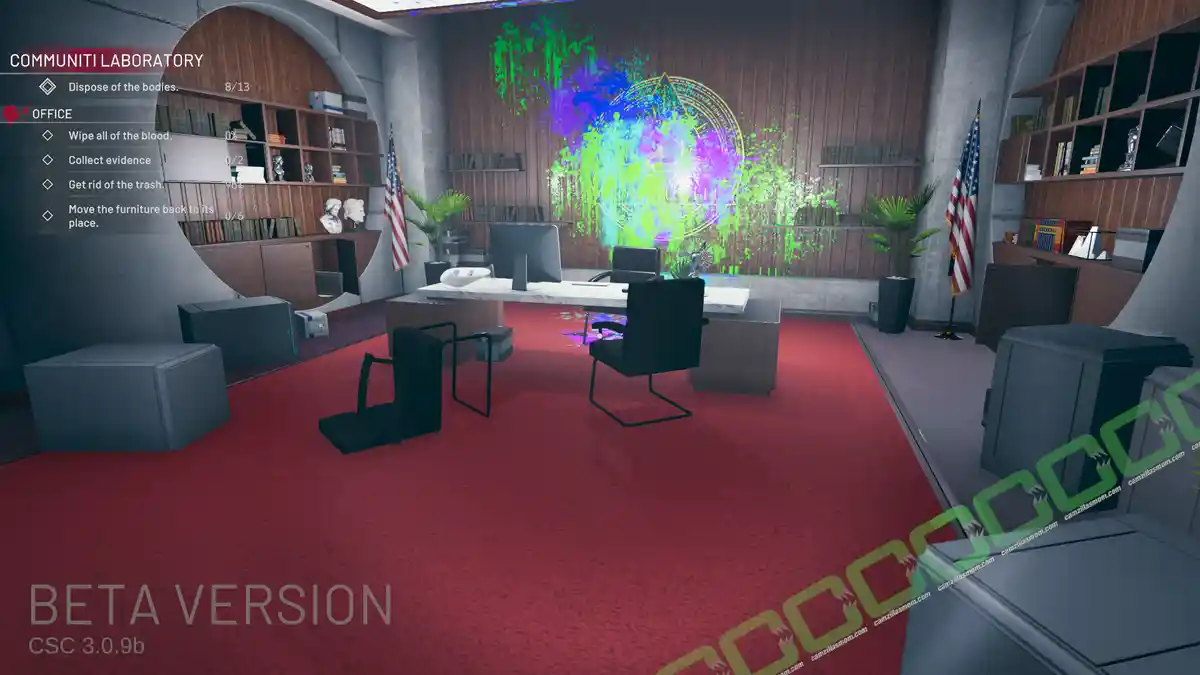
The roomy office can be accessed from the Lounge.
BODY 8 OF 13
The victim is sitting in the chair behind the desk.
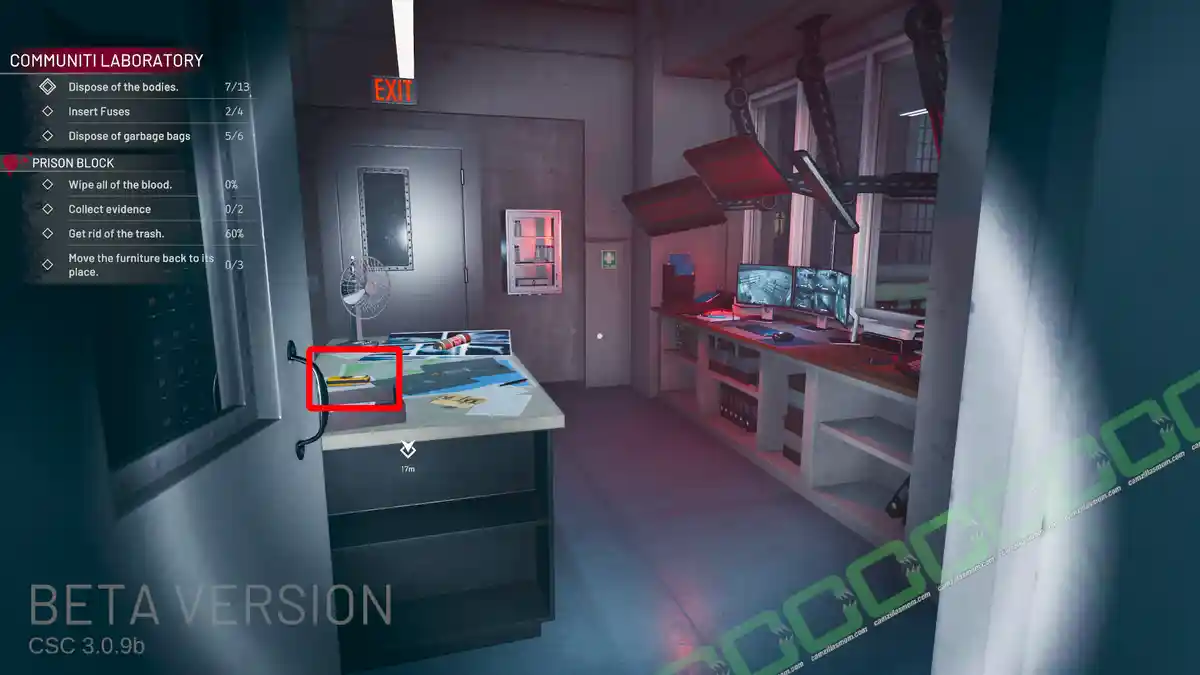
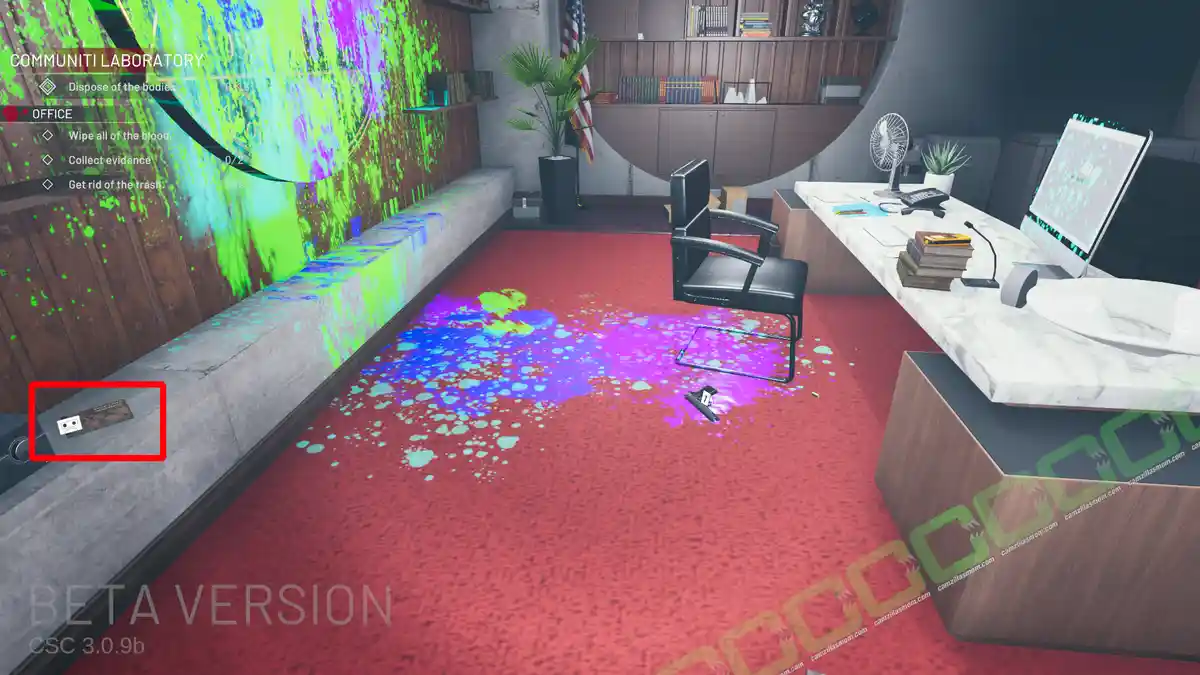
EVIDENCE 1 & 2: RECORDER & PISTOL
There is a yellow recorder on the desk and a gun on the floor.
MOVE FURNITURE
2x Chair: Slides back to its place.
4x Pedestal: Slides back to its place.
STEAL
400$: On the coffee table.
CASSETTE/CD COLLECTIBLE: SELF LOVE MACHINE – JOE CLONE
The Cassette/CD Collectible is on the concrete wall behind the desk.
8 – Control Room
The Control Room can be accessed from the Lounge. A stairwell down leads to the Testing Zone B: Behaviour.
BODY 9 OF 13
There is one body in the small control room.
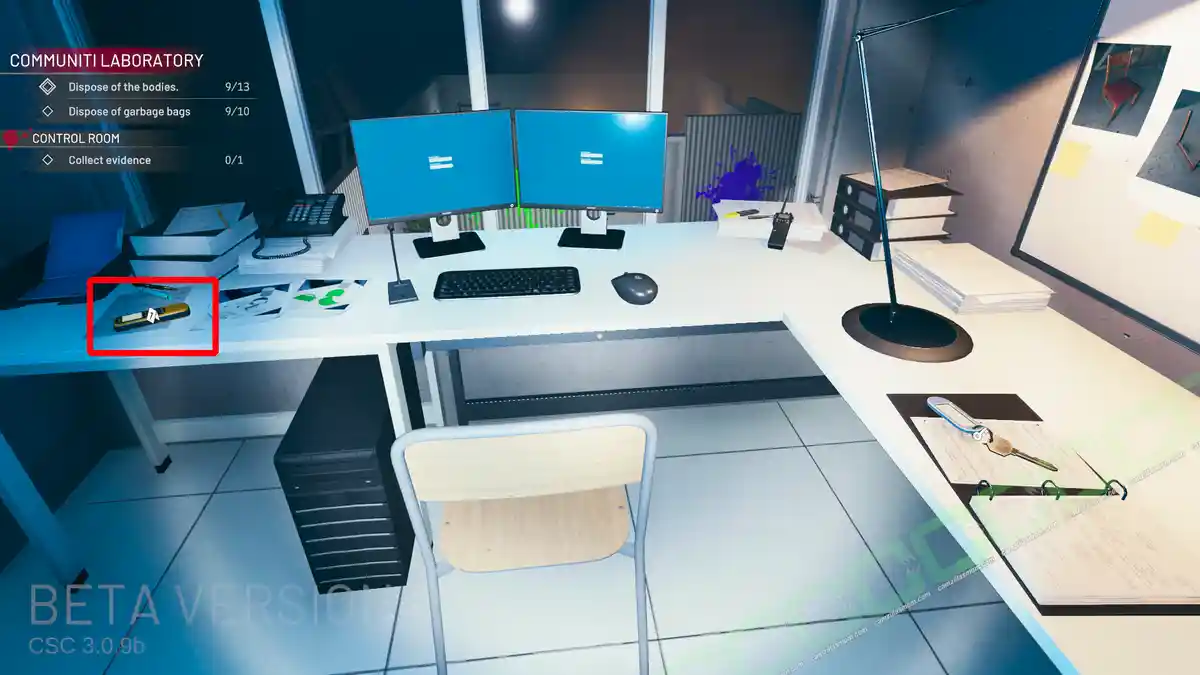
EVIDENCE 1 OF 1: PROJECT CLEANER
There is a yellow recording device on the control room desk.
MOVE FURNITURE
2x Filing Cabinet: Slide back to their place.
2x Chair: Behind the desk.
STEAL
100$ Drugs: In the white cabinet.
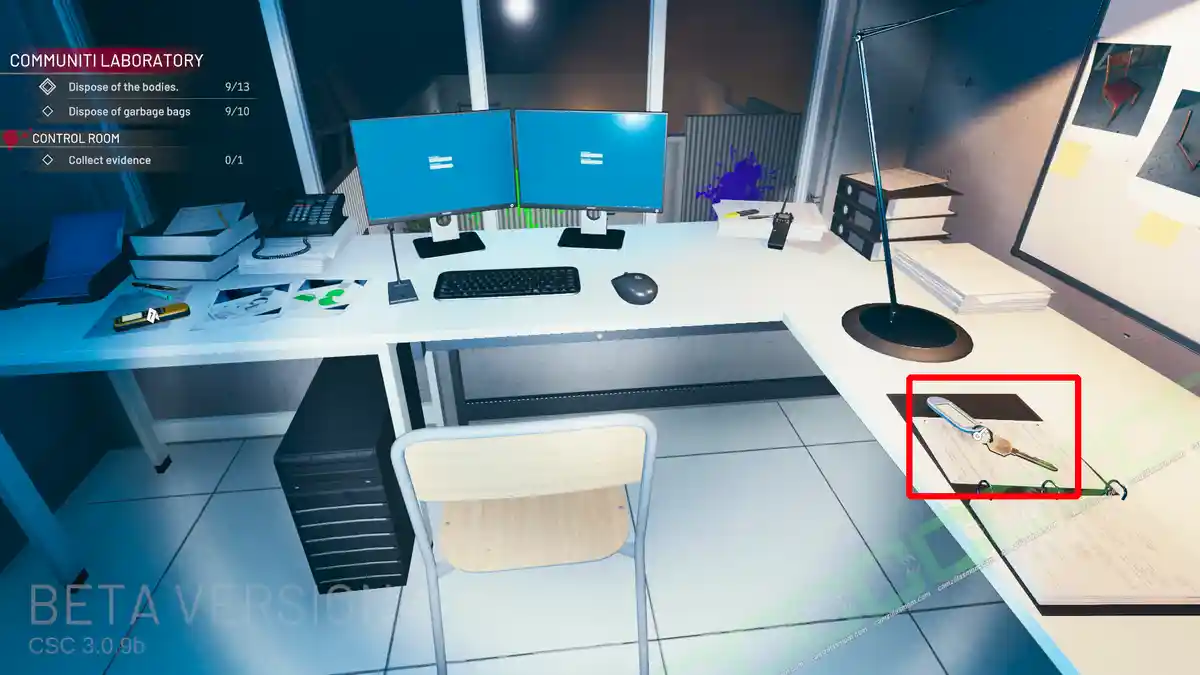
KEY: MORGUE KEY
The Morgue Key is on the control room desk. It opens the prison cell in the Laboratory.
9 – Testing Zone B: Behaviour
The Testing Zone B can be accessed through the Control Room. It is a large room with an expansive labyrinth built out of wooden walls. It looks like a Crime Scene Cleaner training center.
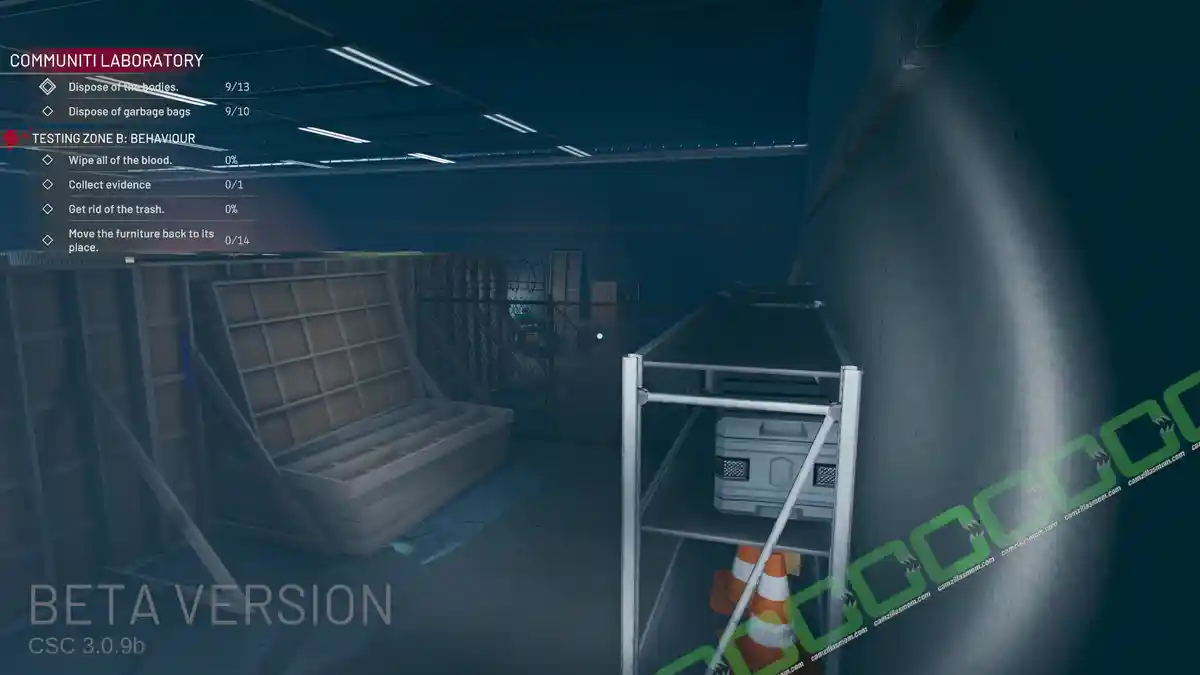
The Simulation will lock you in once you enter. Instead of entering the simulation, you can first follow the outside wall to a fence that opens from the other side. Use the pile of crates to reach the top of a shelf. From there, you can reach the other side of the fence.
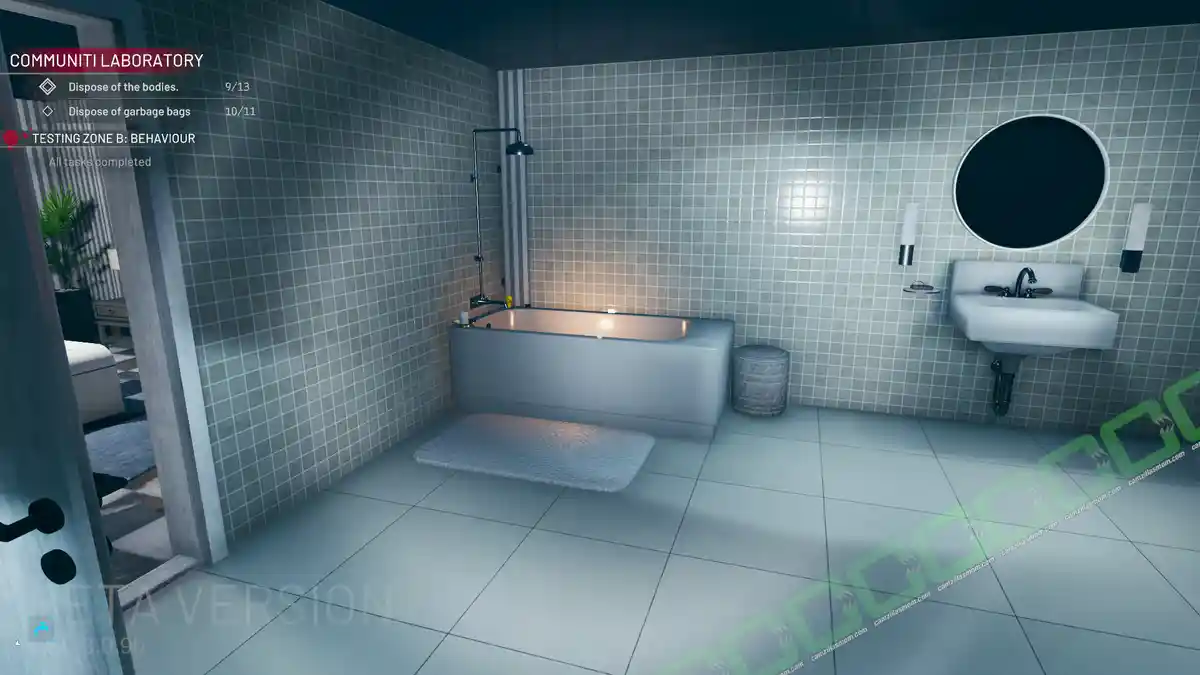
BODY 10 OF 13
Follow the simulation to find a body inside the bathtub.
EVIDENCE 1 OF 1: CLEAVER
There is a cleaver lodged inside the round, white table.
MOVE FURNITURE
Grey Chair: To the coffee table.
2x White Chair: To the round, white table.
Picture: To the wall.
Metal Rack: Slides back into place.
3x Back Cushions: To the wooden couch.
3x Bottom Cushions: To the wooden couch.
Wooden Chair: Next to the nightstand with a lamp.
2x Green Cushion: On the wooden chair.
STEAL
50$ Urn: Behind the wooden wall, leaning against the outside concrete wall.
1000$: Follow the outside concrete wall to the spilled money on the floor.
1200$: In the washing machine.
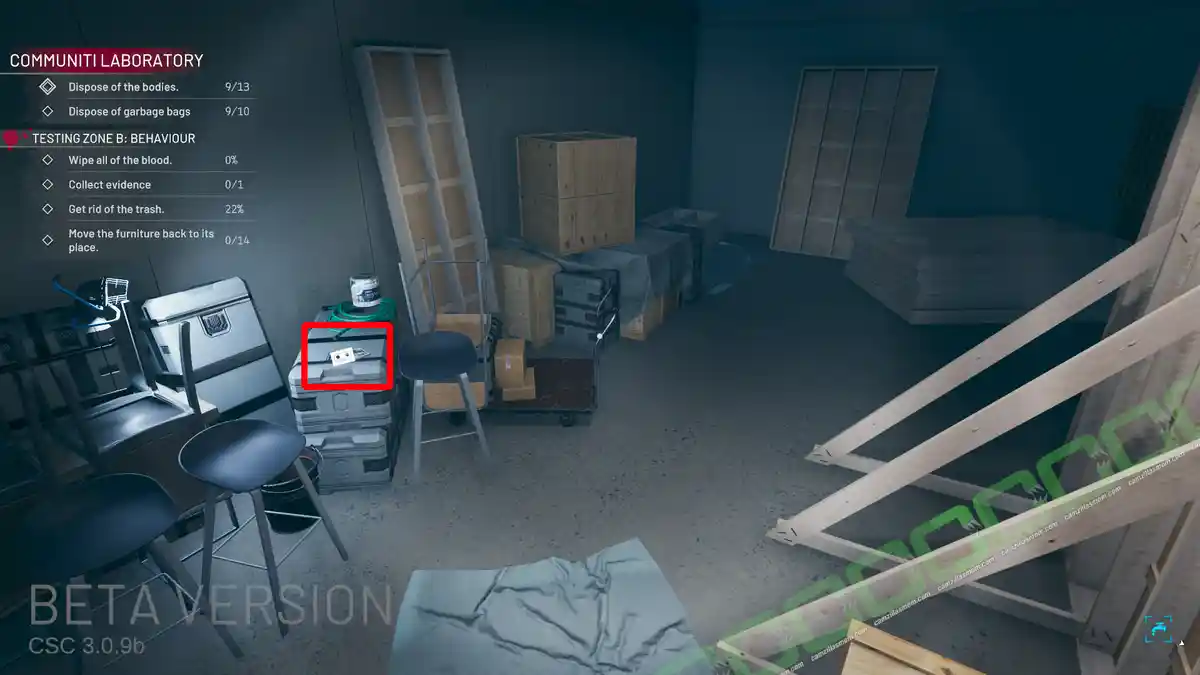
CASSETTE/CD COLLECTIBLE: TEST SITE – UNKNOWN
At the back of the test room. You can either reach it by jumping over the fence, as shown at the top of this section, or destroy a painting near the wooden couch with the white cushions in the simulation to get here. The painting has an “Access forbidden” sign above it.
10 – Morgue
The morgue is in the Laboratory, fenced off by prison bars and locked. The key is in the Control Room.
BODY 11 OF 13
Inside the drawer.
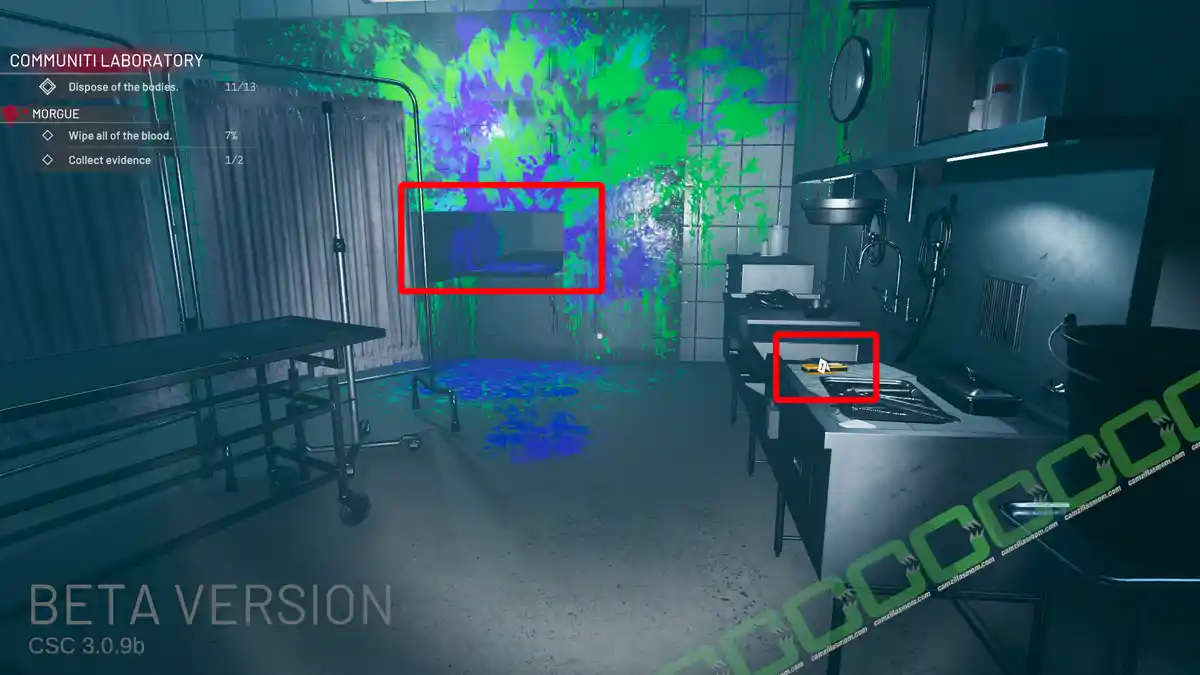
EVIDENCE 1 & 2: SYRINGE & TRANSPLANTS UPDATE
The syringe is on the body, and the other evidence is a yellow recorder on the table.
STEAL
0$ Ring: In the kidney dish.
Crime Scene Cleaner
Release: August 14, 2024
Developer: President Studio
Publisher: President Studio, Playway S.A.
Crime Scene Cleaner is available on Steam
