If you’re on the hunt for the Arendelle lucky emblems in Kingdom Hearts 3, you’re in the right place. This guide will walk you through all 11 emblem locations in Arendelle, where you’ll explore the frosty landscapes inspired by Disney’s Frozen. Use your in-game camera to snap pictures of these iconic Mickey-shaped symbols and complete your collection. Here’s the breakdown of every emblem location in this icy realm.
Also Available:
Kingdom of Corona
Monstropolis
Olympus
San Fransokyo
The Caribbean
Toy Box
Twilight Town
Golden Herc Figurines
More Guides at the Kingdom Hearts 3 Hub
- Treescape, North Mountain (1 Lucky Emblem)
- Labyrinth, Middle Tier (2 Lucky Emblems)
- Labyrinth, Lower Tier (1 Lucky Emblems)
- Labyrinth, Top Tier (1 Lucky Emblem)
- Mountain Ridge, North Mountain (1 Lucky Emblem)
- Frozen Wall, North Mountain (2 Lucky Emblems)
- Snow Field, North Mountain (2 Lucky Emblems)
- Foothills, North Mountain (1 Lucky Emblem)
Treescape, North Mountain (1 Lucky Emblem)

The first emblem is perched high on a ledge near the Gorge. To find it, jump down into the gorge area before scaling up the wall. Once there, take a right path high up near the edge of the Gorge, and you’ll be positioned to spot and photograph the lucky emblem.
Labyrinth, Middle Tier (2 Lucky Emblems)

Elevator 1 E1 to the upper Tier
Elevator 2 E2 to Middle Tier south
The labyrinth includes a variety of pathways. From Elevator 1 (E1) on the upper tier, descend to Elevator 2 (E2) to reach the middle tier’s south side. Inside a hidden room on the second floor, behind a frozen door, you’ll find one emblem. Smash the door to access it.
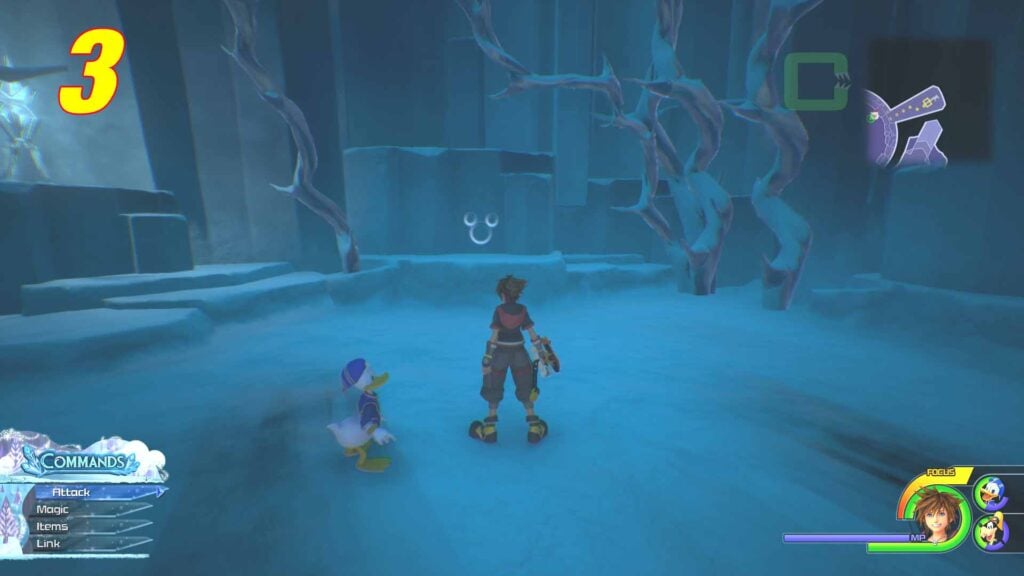
From here, continue deeper into the area. When you reach the transition to the lower tier using the Airstep, look out for the second emblem in this section. Don’t Airstep just yet; stay on the middle tier and search carefully for the emblem.
Labyrinth, Lower Tier (1 Lucky Emblems)

Descend to the Lower Tier from Lucky Emblem 4’s location. This Lower Tier emblem sits at the back of a long dead-end room within the lower tier. Explore thoroughly until you reach this dead-end space, and you’ll spot the emblem on the wall.
Labyrinth, Top Tier (1 Lucky Emblem)

Elevator E2 to middle tier south
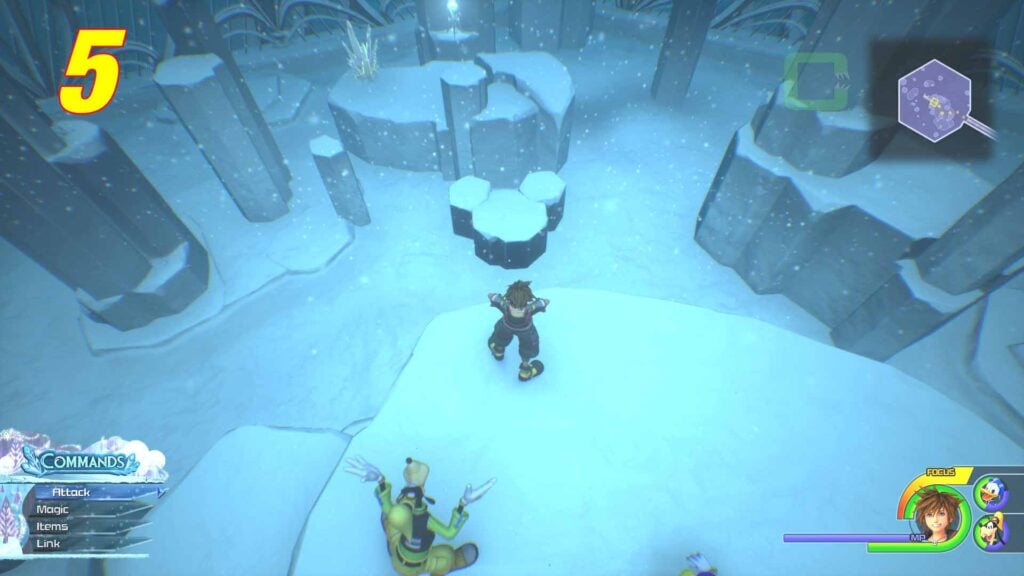
Return to the top of the labyrinth using the elevators. From Elevator 1 on the middle tier (north side), move toward Elevator 2 in the south. Once at the top tier, locate a rocky room. Climb onto the rocks to get a good vantage point; from here, you can look down to find and photograph this emblem.
Mountain Ridge, North Mountain (1 Lucky Emblem)

After exiting the labyrinth via its top-tier portal, you’ll find yourself in the Mountain Ridge area. At the base of the Ice Palace, right when you enter Mountain Ridge, you will spot another kh3 arendelle lucky emblem. Check around the bottom of this location before advancing further.
Frozen Wall, North Mountain (2 Lucky Emblems)

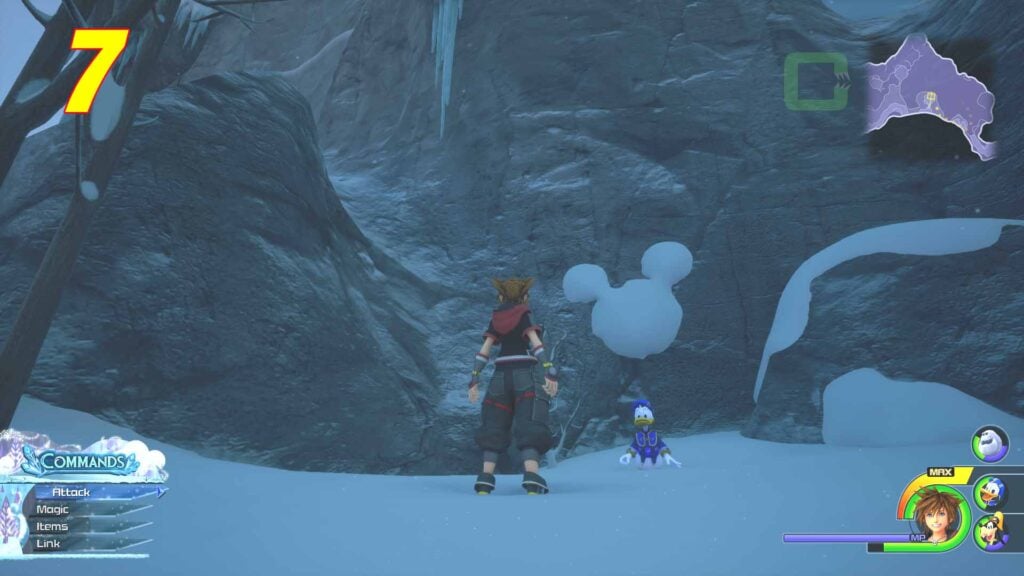
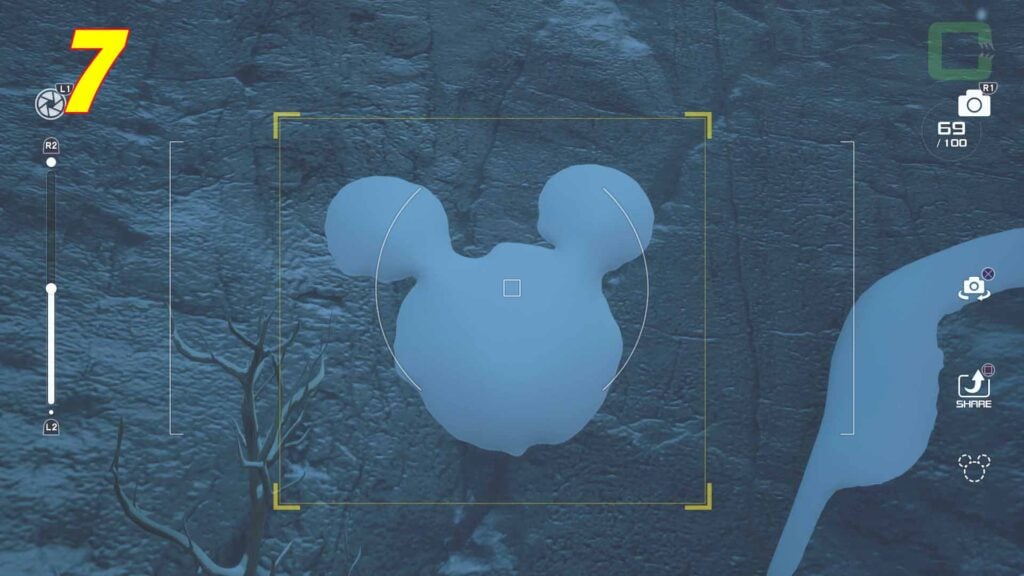
This section hides a couple of lucky emblems arendelle enthusiasts won’t want to miss. Start by locating the large iced-over wall requiring a big wall run. After successfully completing the run, look around carefully to find the seventh emblem along the area marked on the map.
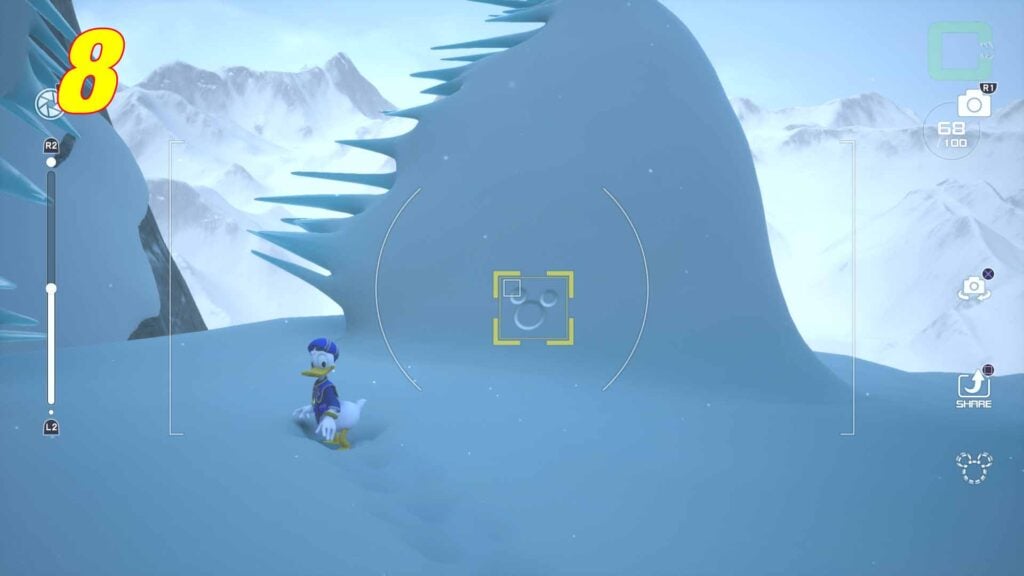
The eighth emblem is etched into the snow near the Ice Palace. Right before reaching this iconic spot, look closely at the snowy surroundings to spot the distinct Mickey shape.
Snow Field, North Mountain (2 Lucky Emblems)

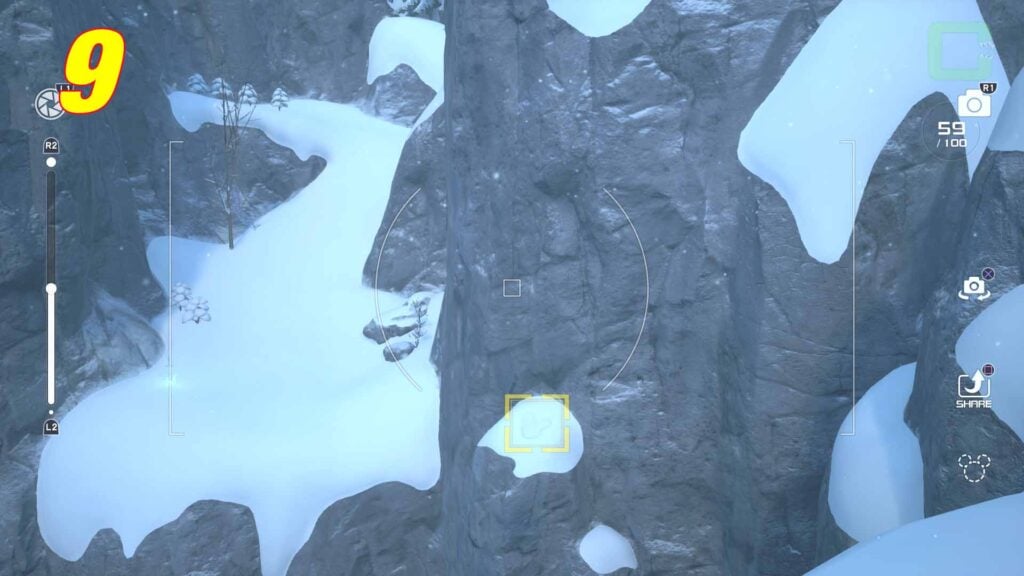
Continuing toward the Snow Field, be on the lookout for the ninth lucky emblem. This one requires you to perform a double jump in the story to cross a gap. Look at the snow for a small dent resembling Mickey’s shape.
The tenth emblem can be found in a pile of logs further along the Snow Field. These logs naturally form the familiar Mickey silhouette; you may need to adjust your camera angle to catch it perfectly.
Exploring Arendelle’s snowy mountains and icy labyrinths can be challenging, but uncovering these Kingdom Hearts 3 treasures will feel rewarding. Carefully follow the routes described above to snap photos of all 11 emblems. Whether you’re crossing the Snow Field or navigating the labyrinth, always stay attentive for these subtle arendelle lucky emblems.
Arendelle offers a frosty adventure for frozen fans and Kingdom Hearts players alike. With this guide, you’re all set to track down and capture each emblem with ease!
Kingdom Hearts 3
Release: January 25th, 2019
Developer: Square Enix
Publisher: Square Enix
Official Website: https://www.kingdomhearts.com/3/


