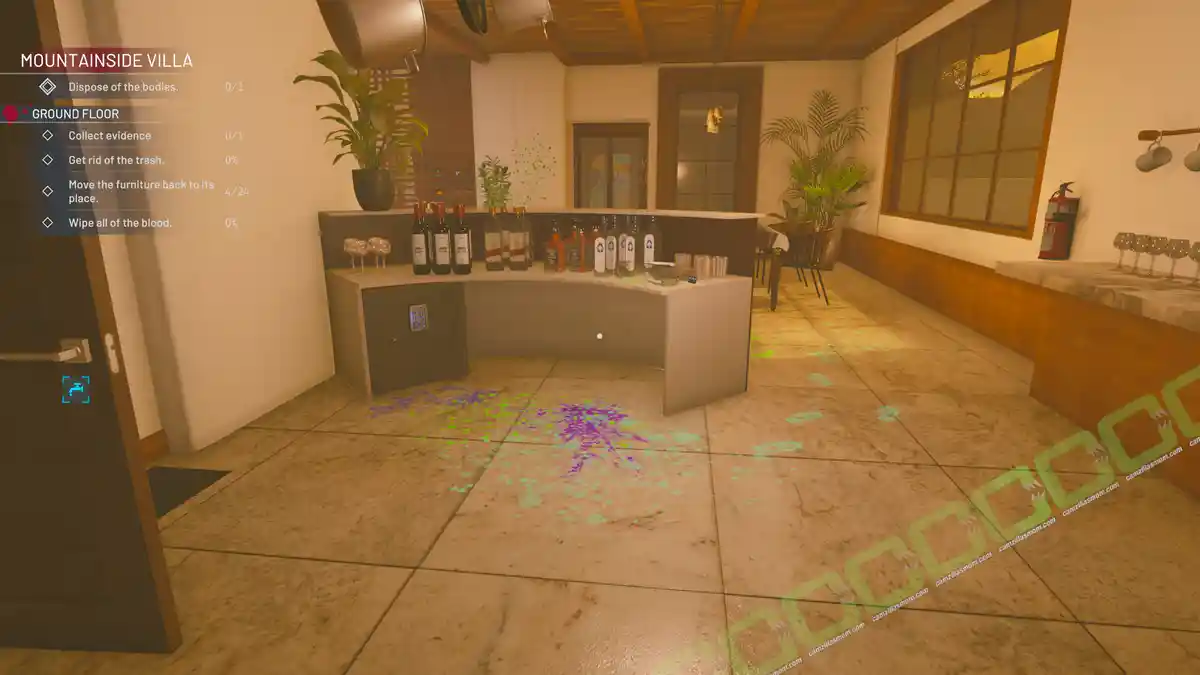
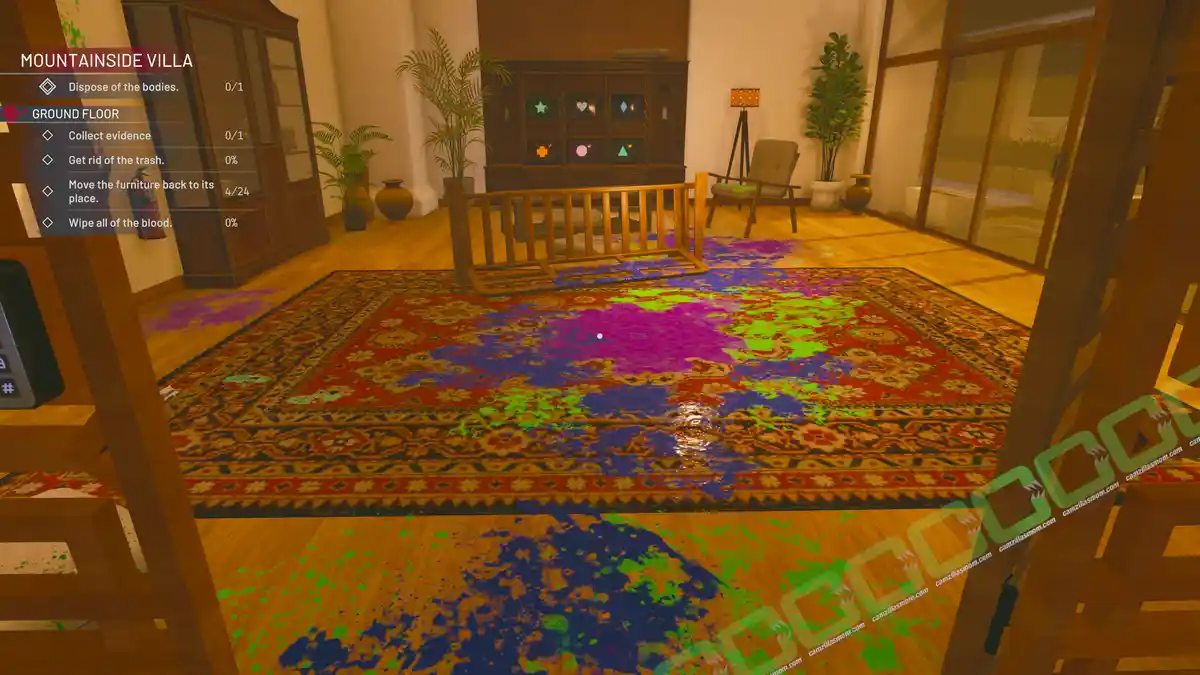
The Affair With Death – Nightmare Mode mission in Crime Scene Cleaner reworks the Mountainside Villa into a puzzle-heavy cleanup filled with locked doors, hidden codes, and connected areas that must be opened step by step. Unlike the standard mission, this version starts on the first floor and sends you through the villa, basement, driveway, and pool area while solving multiple object and symbol puzzles.
In this guide, you’ll find a complete walkthrough for Affair With Death Nightmare, including how to solve the duck puzzle, open the locked doors and gates, find all evidence, move the required furniture, and unlock the Amber Disc collectible. Follow along to finish every objective and clear the entire mission without missing anything.
Mission Details
“Impulsive mobster killed a bunch of people at some rich guy’s mansion. He left five bodies and plenty of evidence behind.”
Person count: 1 – Location Size: 3
“Delve into Kovalsky’s deepest nightmares and uncover the darkest corners of his mind. Visit previous crime scenes in twisted versions of themselves.”
Key Mission Steps:
1 – Find 1 Person
-> First in the First Floor Bedroom, then in the Swimming Pool area.
2 – Collect Evidence on the First Floor.
3 – Move 6 Furniture back to their places on the First Floor.
-> In the Bathroom, the Top of the Stairs, and the Restricted Area.
4 – Collect 1 Evidence in the Basement.
5 – Collect Evidence on the Ground Floor.
6 – Move 24 Furniture back to their places on the Ground Floor.
-> In the The Hall, Surveillance Room, Basement, Kitchen, Lounge, and Laundry Room.
7 – Find the Cassette/ Amber Disc Collectible!
8 – Pick up all the garbage and mop all the floors, walls, and ceilings. Then, pack all the garbage into the truck in the driveway.
-> More at the Crime Scene Cleaner Hub
Mountainside Villa Overview
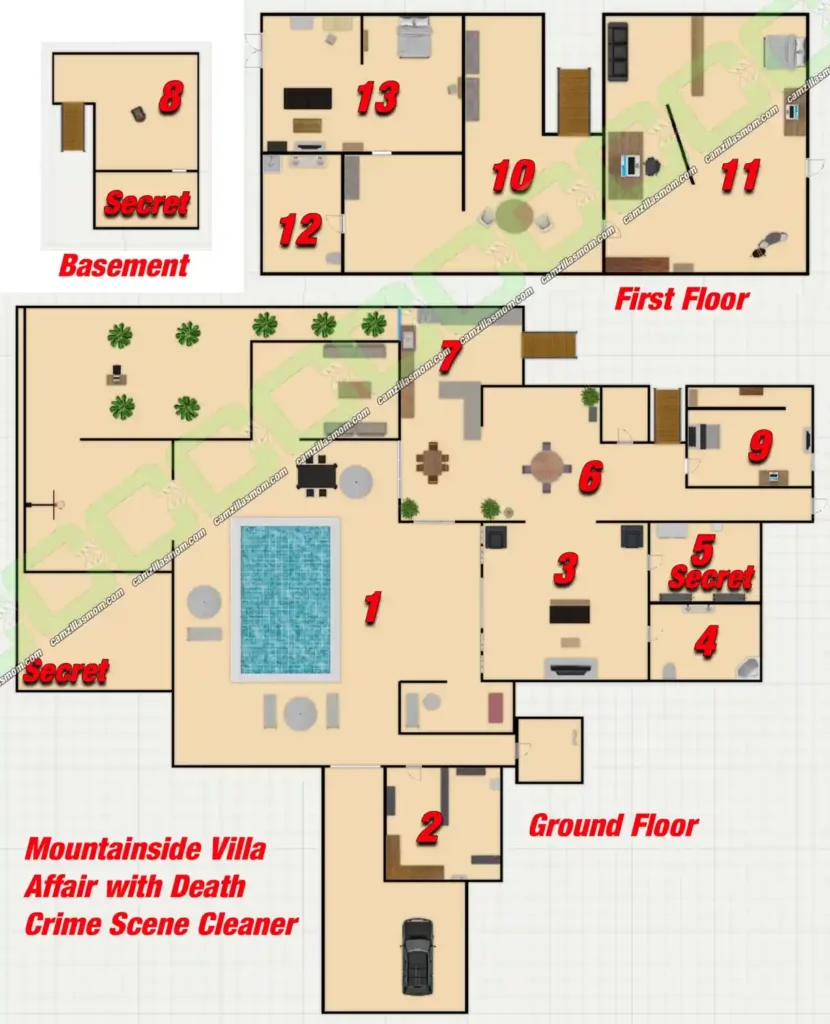
The Mountainside Villa Overview Map is from the Standard Mission. In Nightmare, the Starting point changes from the Pool (1) to the First Floor Bathroom (12). I will retain the numbers on the map included in this guide.
Objectives on the Ground Floor:
– Wipe all of the dirt.
– Collect Evidence.
– Move the furniture back to its place (24)
– Get rid of the trash.
Objectives on the First Floor:
– Wipe all of the dirt.
– Collect Evidence.
– Move the furniture back to its place (6).
– Get rid of the trash.
12 – First Floor Bathroom
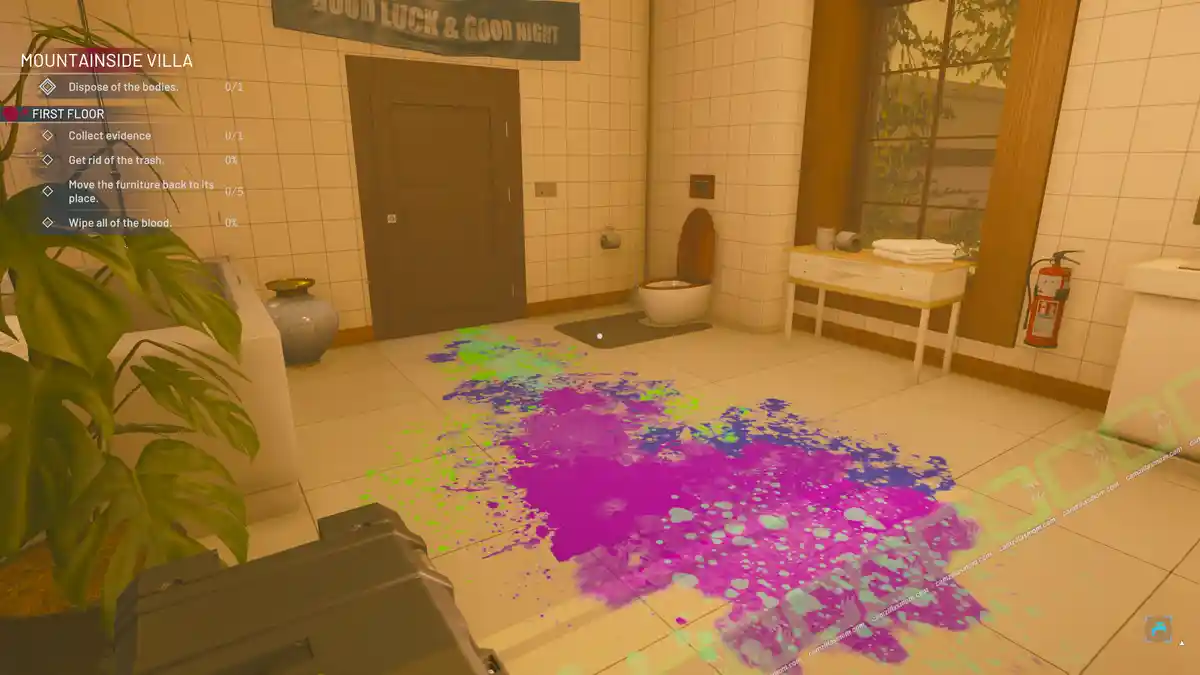
The “Affair with Death” Nightmare Mission in Crime Scene Cleaner begins in the first-floor bathroom. Inside, you’ll find a tap, traces of blood, and a chest containing a door handle. Use the handle to unlock and open the bathroom door to proceed.
MOVE FURNITURE
Door Handle – From the box to the door.
10 – Top of the Stairs
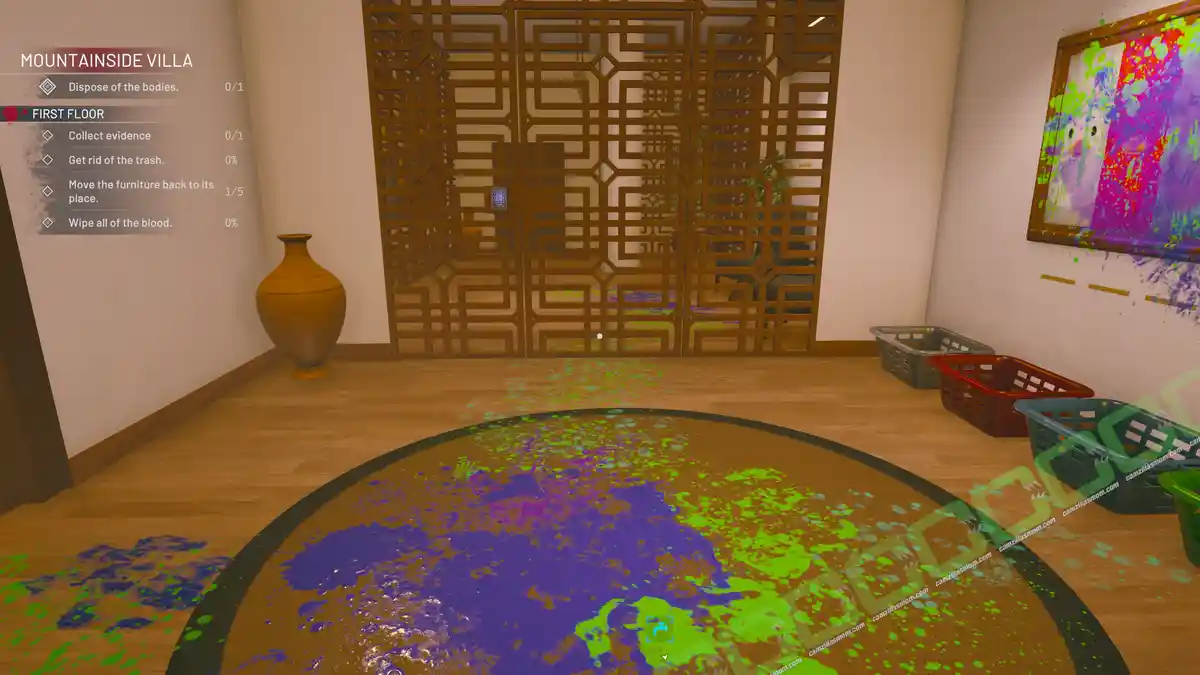
The First Floor – Top of the Stairs area now features a numberpad-locked gate (can be manually hacked) leading to the staircase and the Restricted Area (11). To the right, there’s a painting of four ducks – white, red, blue, and green – with matching colored washing baskets below it.
A single red duck in the red washing basket indicates that ducks need to be collected at the Mountainside Villa, First Floor Bedroom, to find the door code. The code is based on the number of ducks: 7 White Ducks, 5 Red Ducks, 3 Blue Ducks, and 4 Green Ducks, creating the code 7 – 5 – 3 – 4.
Beyond the first locked door, you’ll encounter a second, secured by a padlock and a number pad requiring a code. On the right-hand wall, you’ll notice a large zero positioned above one of four yellow horizontal lines. This detail reveals that the third digit of the code is zero.
MOVE FURNITURE
Round Table – Back between the two chairs.
Unlock the number pad with the padlock key (Puzzle Key 02) found on the Restricted Area Room’s balcony. Peer through the gate’s openings toward the staircase, and you’ll spot the second number for the padlock: 5.
You now know the code for the number pad:
First: 2 – As seen on the driveway.
Second: 5 – As seen in the painting by the staircase.
Third: 0 – As seen in the same area as the number pad.
Fourth: 1 – As seen in the Restricted Area Bedroom.
NUMBER PAD CODE: 2 – 5 – 0 – 1
You can now access the Ground Floor.
13 – First Floor Bedroom
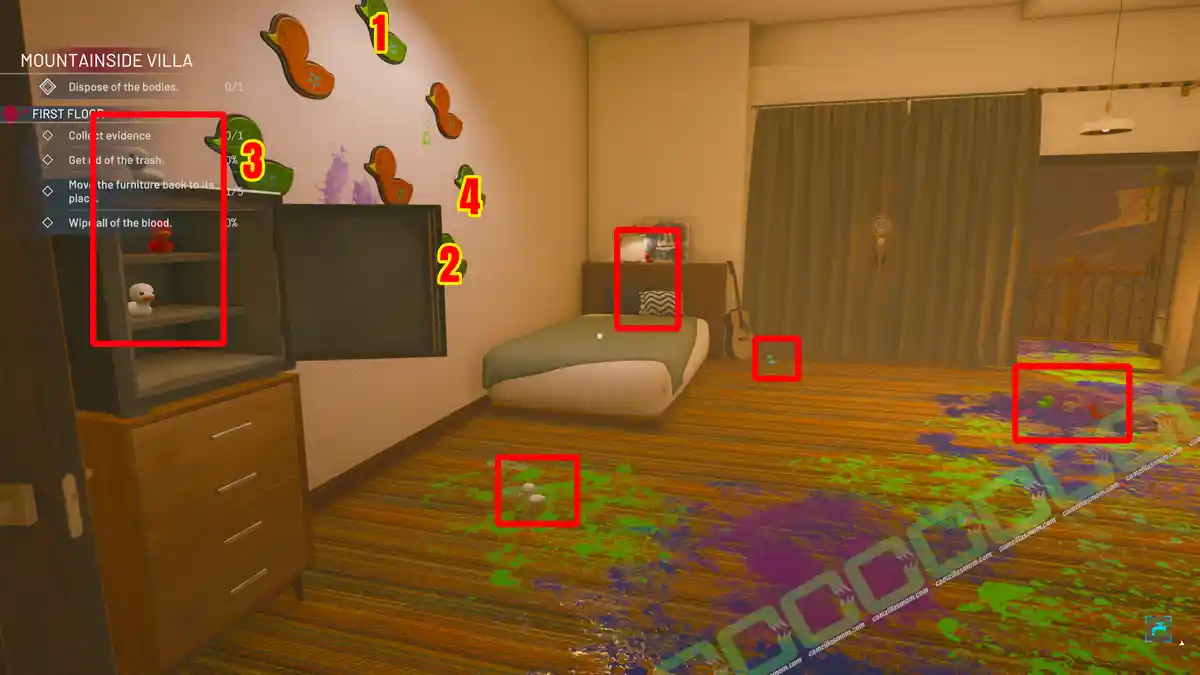
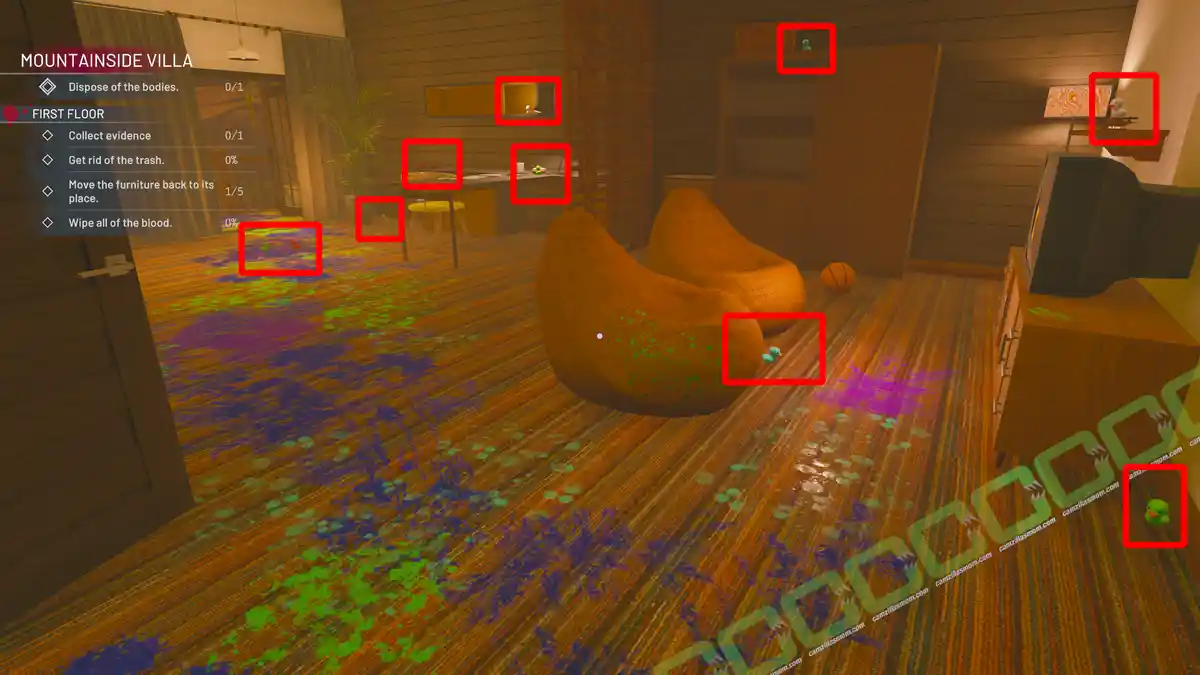
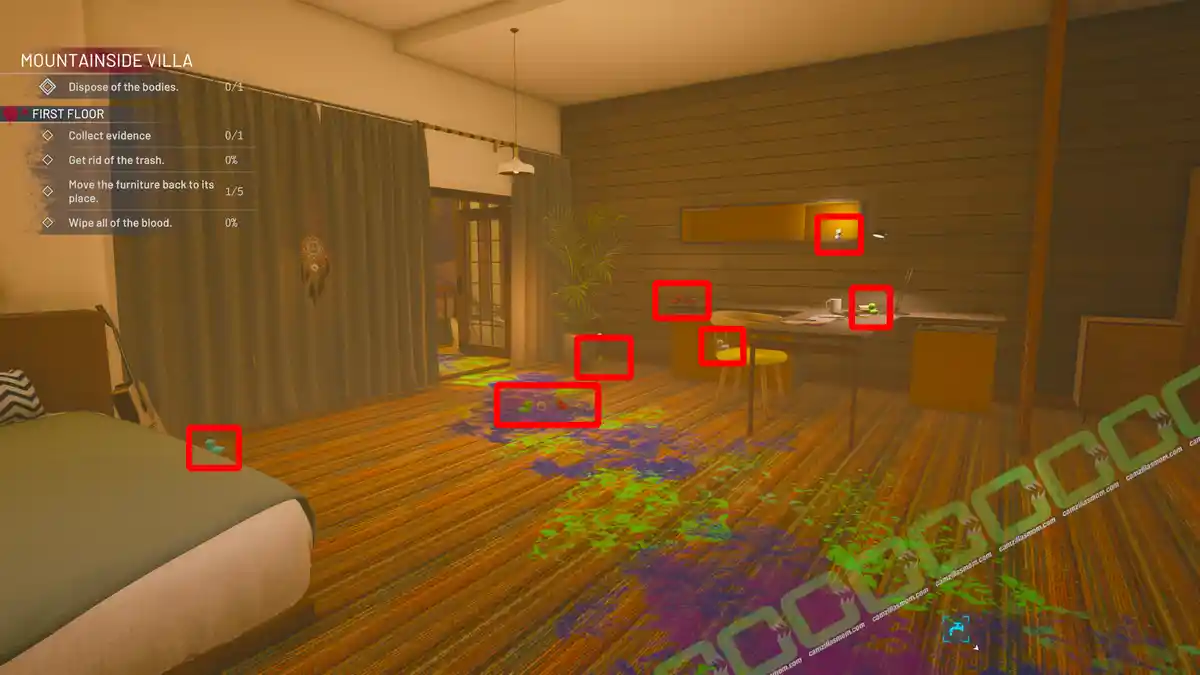
The First Floor Bedroom has a unique charm that sets it apart from the Standard Mission design. Be sure to keep an eye out for the ducks – they’re a delightful touch! In the screenshots below, I will highlight all the ducks. Some of them could be highlighted more than once just for clarification.
Inside, you’ll find a duck puzzle featuring a locked safe that emits a sound when you attempt to open it. To solve the puzzle, you must replicate this sound using the duck buttons on the wall. In the screenshot below, I’ve highlighted the correct button sequence with numbered annotations for clarity.
The TV screen displays a vibrant orange star.
1 Person
It will fall down to the Swimming Pool Area when opening the balcony door.
EVIDENCE
Dreamcatcher – Hanging on the curtain.
DUCKS
1 Blue Duck – Between beanbags.
1 Blue Duck – On top of the wardrobe.
1 Blue Duck – By the Guitar.
1 Green Duck – On the floor, by the TV cabinet.
1 Green Duck – On the desk.
1 Green Duck – Next to the potted plant.
1 Green Duck – In the center of the room.
1 Red Duck – In the safe (solve puzzle).
1 Red Duck – On the desk.
1 Red Duck – In the center of the room.
1 Red Duck – On the bedframe.
1 White Duck – On shelf next to TV.
1 White Duck – On the floor next to the safe.
1 White Duck – On top of the safe.
1 White Duck – In the safe (solve puzzle).
1 White Duck – In the shelf above the desk.
1 White Duck – On the desk chair.
1 White Duck – On the bed.
11 – First Floor: Restricted Area
Formerly the Restricted Area Room in the Standard Mission, this space has been transformed into a second bedroom on the first floor. Notable details include a TV displaying a pink heart and a padlocked door positioned behind a glass-door cabinet.
Just around the corner, you’ll discover a bathtub alongside a compact dressing area. Here, you’ll find the fourth digit needed for the number pad on the wall.
MOVE FURNITURE
Chair in the bathtub – To the other chair and the table.
Picture – Slides into place (hides the padlock key)
Cabinet – Slides into place.
STORY ITEM
Puzzle Key 01 – On the wall behind the Picture.
Use Puzzle Key 01, hidden behind the movable painting, to unlock the padlock and reach the balcony. From the balcony, you’ll spot your truck parked below in the lot. There are four parking lots at the Driveway, and the first field has the number 2 painted in blood.
STORY ITEM
Puzzle Key 02 – On the pillow by the balcony window.
6 – The Hall
The Hall is the first room on the Ground Floor when coming down from the First Floor. The Hall also includes the staircase. On the staircase is a drawer unit that requires 3 Elephant Statuettes to open the secret elephant door next to the drawer unit.
Unlike the Standard Mission, there is a locked door that restricts full access to the Hall. Therefore only allows access to the corridor, the cloak room, and the Surveillance Room (9). The rest of the hall (round table) will be covered in the Kitchen part of this guide.
MOVE FURNITURE
1x Elephant Statuette (staircase) – Back to the staircase drawer unit.
1x Elephant Statuette – Find it in the Surveillance Room.
1x Elephant Statuette – Find it in the Driveway.
ELEPHANT STATUETTE ORDER:
White – Red – Black from left to right.
FURNITURE FOR ANOTHER ROOM
Gaming Chair in the Cloak Room -> To the Kitchen.
Painting with 2 missing parts -> To the Kitchen.
The Elephant door leads to the Basement (8 on the map).
9 – Surveillance Room
The Surveillance Room is the only accessible area when descending from the first floor. In the Standard Mission, it serves as the location where you can retrieve the Surveillance item required for completion.
This office has a glass double door to the Driveway (not accessible in the Standard Mission), secured with a padlock, where your truck is parked. There is also a door secured with a number pad.
Observe the green diamond symbol displayed on the TV screen.
MOVE FURNITURE
Bull Statuette – Where the Elephant Statuette stands.
Comfy Chair – Behind the Desk
FURNITURE FOR ANOTHER ROOM
Elephant Statuette -> The Hall: Staircase
STORY ITEMS
Beneath the desk, you’ll find a red button you can press. It will open a drawer with the number pad code : 8 – 1 – 9 – 0.
Now you can open the number pad-locked door that leads to a small room with an Egyptian puzzle.
The puzzle includes three statuettes: Nefertiti’s head, Horus, and a Sitting Pharaoh.
How to solve the puzzle:
Nefertiti’s Head has the value of 3 (3+3+3=9)
Horus has the value of 4 (3+8-4=7)
Sitting Pharaoh has the value of 12 (12-4=8)
Therefore, the number pad’s code is 1 – 2 – 3 – 4
The wall in this room with turn and reveal Puzzle Key 03. Now the double glass doors to the Driveway can be opened.
Driveway
The Driveway can be accessed through the Surveillance Room (9). However, it is not available during the Standard Mission of “Affair With Death” in Crime Scene Cleaner. As a result, it will not appear on the map provided at the beginning of this guide.
The corridor entrance door is now unlocked, providing access to your truck for the discreet disposal of both garbage and bodies. While the garage door remains locked, one of the garages is partially open, allowing you to crouch and slip inside.
Inside the garage, a wall adorned with spanners catches your eye. Nearby, a padlocked, prison-like room separates this garage from the adjacent one. Through the bars, you spot the final of the three elephant statuettes resting inside.
FURNITURE FOR ANOTHER ROOM
Elephant Statuette -> The Hall: Staircase
Additionally, there is another TV here featuring a white cross, resembling a medical or plus sign.
The number pad requires four additional numbers to unlock. These numbers can be discovered by using the spanners on the wall. Interact with the spanners to uncover the code: 7 – 0 – 4 – 8.
You can now take the Elephant Statuette to the Hall Staircase.
8 – Basement
To reach the Basement from the Hall: Staircase, you must first solve the Elephant Door puzzle.
The kitchen door is locked and lacks a handle. In the basement, first, move all the blocking shelves back into their places. Then, “steal” all the money on the trolley to find a “7” at the bottom of it.
Take note of the additional TV featuring a blue circle symbol.
EVIDENCE
Dreamcatcher – On the wall between the shelves.
There’s another keypad-locked gate in the basement. Four numbers are hidden in specific spots, and a painting next to the gate reveals the order: 1. Dart, 2. Billiard Ball, 3. Money, 4. Knife.
How to find the code for the number pad:
Dart – Look through the bars to the dartboard: 9
Billiard Ball – What number is missing from the Billiard Balls: 4
Money – Steal all the money on the trolley to reveal a 7.
Knife – Interact with “Knife my Wife” Magazine, and rotate: 5
CODE: 9 – 4 – 7 – 5
Enter the locked area and destroy the “Fragile” box to find the door handle for the kitchen door.
7 – Kitchen
Equipped with the door handle from the basement, you can now enter the kitchen. Below the kitchen bar is a safe with a number pad lock. The code for the same is the number of bottles on the counter: 9 – 5 – 4 – 6. Inside is the key for the Display Cabinet Padlock.
In the second part of the hall, where the round table is, is the key that can be used to open the padlock door to the staircase.
STORY ITEM
Puzzle Key 04 – On the round table – Opens padlock door.
Puzzle Key 05 – In the bar safe – Opens the display cabinet padlock.
MOVE FURNITURE
Wooden Chair – To the round table.
1x Back Cushion – For the wooden chair.
1x Bottom Cushion – In the room below the stairs.
Display Cabinet – Slides into place.
Chair with Straps – To the dinner table.
Gaming Chair – From the Corridor Cloak Room to the small office.
Near the round table is a wall full of numbers after you cleaned it. This wall requires three colourful paintings with holes in them. Here’s where you find them:
1 – In the Hall Corridor.
2 – Below the number wall amongst the pottery
3 – In the display cabinet with the padlock (open the bar safe for the key)
Place the paintings like this:
The access code for the lounge’s number pad lock is 1 – 4 – 0 – 8.
3 – Lounge
At the Lounge, you will quickly see the six TVs with the symbols.
Unlike the Standard Mission, there is a locked door that restricts full access to the Hall. Therefore only allows access to the corridor, the cloak room, and the Surveillance Room (9). The rest of the hall (round table) will be covered in the Kitchen part of this guide.
Tracks lead to the bookshelf, which serves as the entrance to the Laundry in the Standard Mission. However, the door is locked. Interact with the Rome Empire Book to open.
EVIDENCE
Dreamcatcher – Next to the Bookshelf that leads to the Laundry.
MOVE FURNITURE
Coffee Table – Slides into place.
Couch – Slides into place.
3 Back Cushions (Present) – Back to the sofa.
2 Bottom Cushions – Back to sofa.
1 Bottom Cushion – In the Laundry Room.
To open the glass door to the Swimming Pool, interact with the 6 TVs and correctly enter the symbol’s color as found in the Mountainside Villa’s rooms. Orange Star, Pink Heart, Green Diamond, White Cross, Blue Circle, Pink Triangle.
5 – Laundry (Bookshelf)
The room that is the Laundry in the Standard Mission is now a bookshelf. Interact with the red book “Rome Empire” to open it. Inside this room, next to the door, is a red button to push. It will only close the door.
MOVE FURNITURE
Big Painting – Back on the wall.
FURNITURE FOR ANOTHER ROOM
Bottom Cushion -> To the Lounge.
Once the painting is returned to its place on the wall, you can access the Lounge TV code for the pink triangle TV.
1 – Pool
The pool area is clean. The workshop from the Standard Mission is completely missing, but there is a power box to the left of the pool, near where the workshop would be.
Person
Once you open the balcony door of the First Floor Bedroom, the only person of the Affair with Death Nightmare Mission in Crime Scene Cleaner will fall into the Swimming Pool area, near the sofas.
CASSETTE/DISC: AMBER
In the Swimming Pool area are 16 Puzzle Cubes that form together a yellow duck picture. In the basketball court, there is a wall next to the door where you can place them. You have to look everywhere, even in the “Secret” Areas from the Standard Mission. Remember: There is a power box to drain the pool.
Once the puzzle is solved, the door opens, and you can access the Cassette/Disc.
Follow this guide to tackle the Affair With Death Nightmare mission in Crime Scene Cleaner step by step. Collect evidence, organize items, and achieve full mission completion.
Crime Scene Cleaner
Release: August 14, 2024
Developer: President Studio
Publisher: President Studio, Playway S.A.
Crime Scene Cleaner is available on Steam
