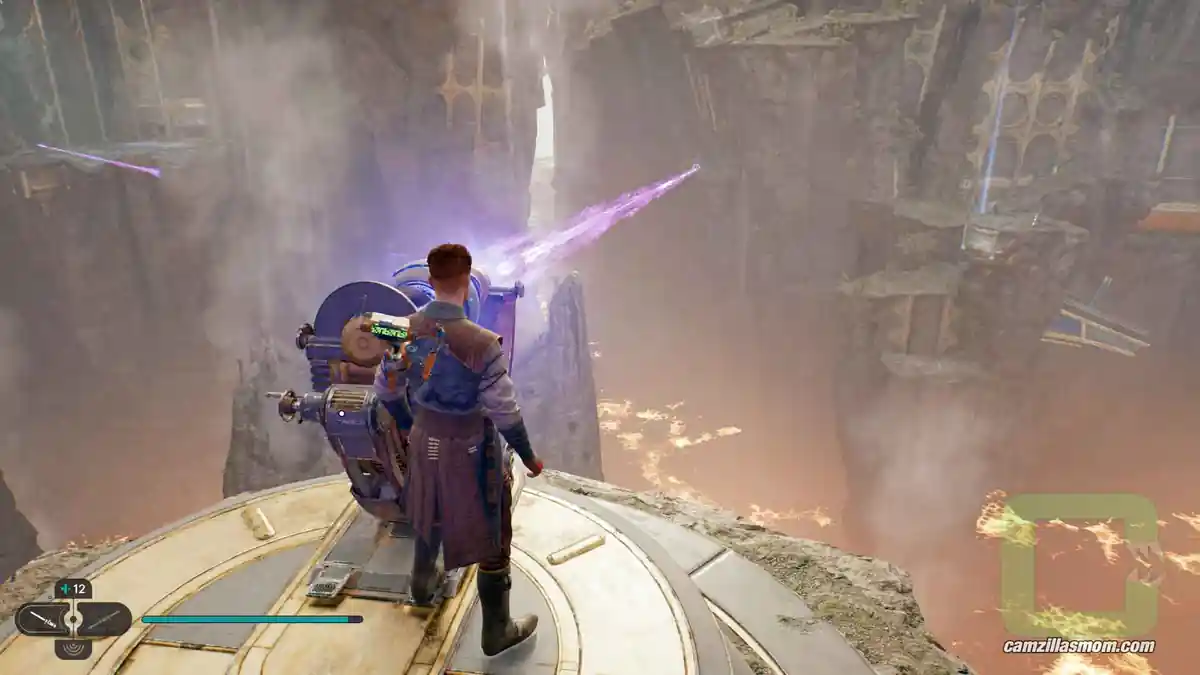
The Path of Restoration is one of three Jedi Challenges locations on Jedha, where Cal follows in Master Cordova’s footsteps to unlock a memory of the past. Solving it is also one of three requirements to activate the elevator at the Wayfinder’s Tomb in the center of Arid Flats. This path of restoration jedi survivor guide walks through every ball-and-rail puzzle step by step and shows exactly where to find all 5 collectibles along the way – 1 chest, 1 essence and 3 databank entries.
Related Guides:
Jedha: Path of Persistence Collectible
Jedha: Penitent Chambers Collectibles
Jedha: Sheltered Hollow Collectibles
Jedha: The Archives Collectibles
All Map Upgrades in Jedi Survivor Guide
Star Wars: Jedi Survivor Game Guides Hub
Path of Restoration Collectibles – Overview Map
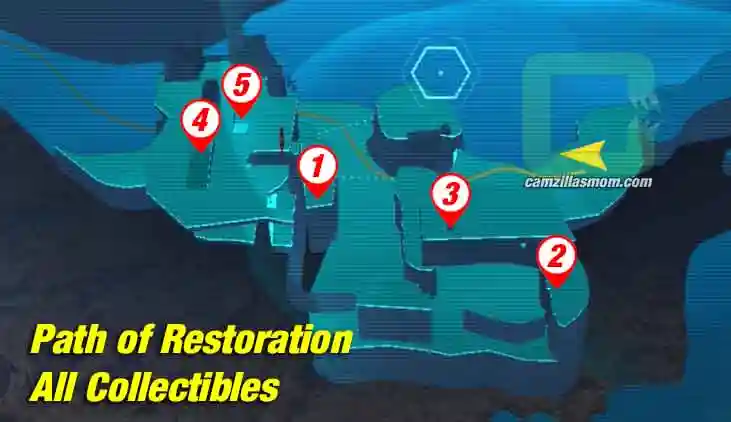
1 – Databank #348
2 – Databank #363
3 – Chest
4 – Databank #360
5 – Essence
The Path of Restoration is between two Meditation Points: Arid Flats and Desert Ridge. You can reach the location from both of the Meditation points but the way is a bit shorter from Desert Ridge.
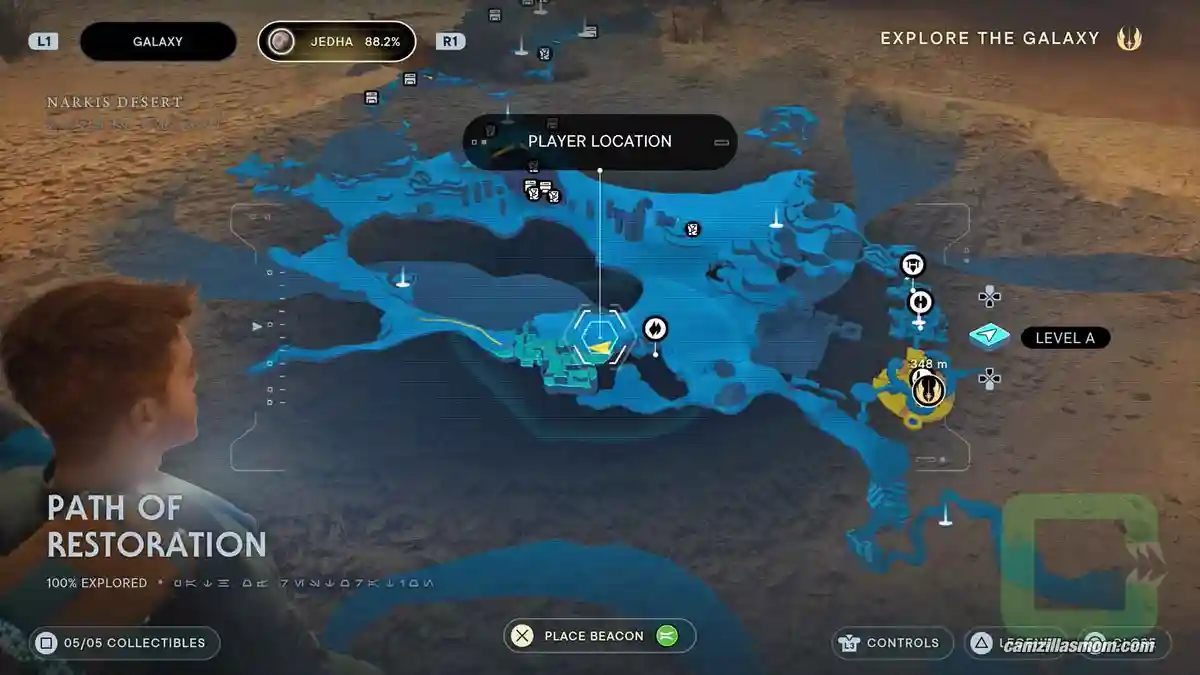
1 – Databank Entry #348
Title:
Cordova’s Travels on Jedha II
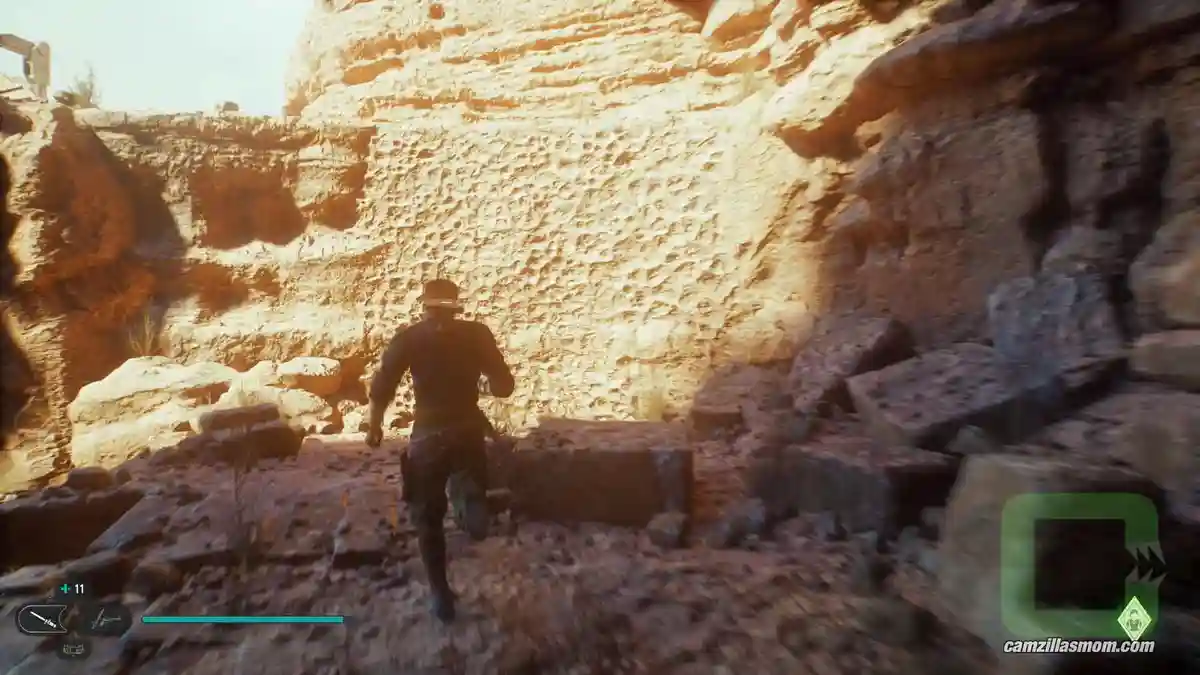
When you arrive at the Path of Restoration, look for a rocky wall you can climb up on the rock pillar.
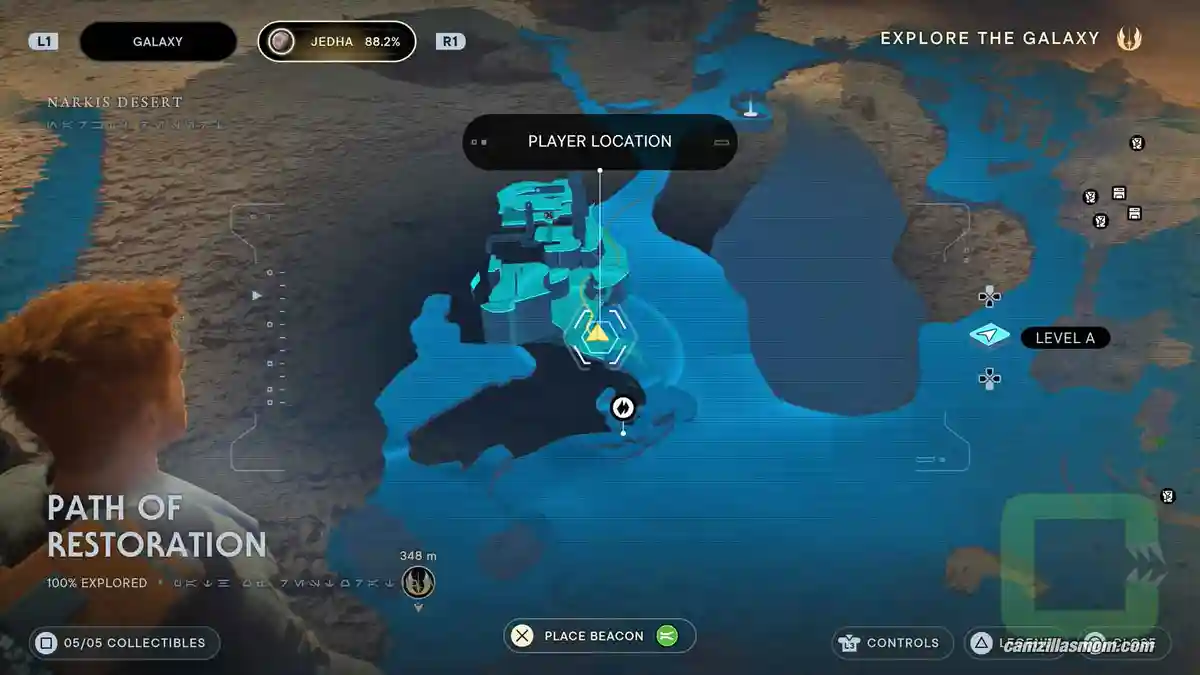
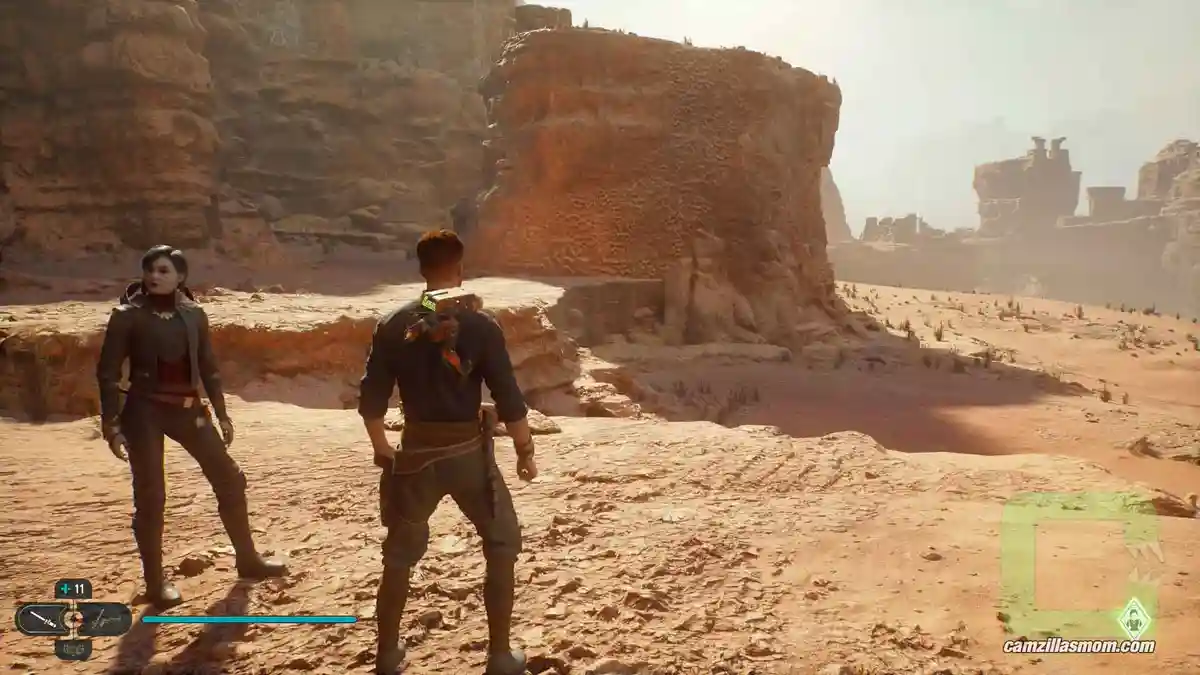
From the top of this pillar, jump over to the other side, and climb to the top where a passage is. Up here you can scan a monument – BD-1 will point it out for you.
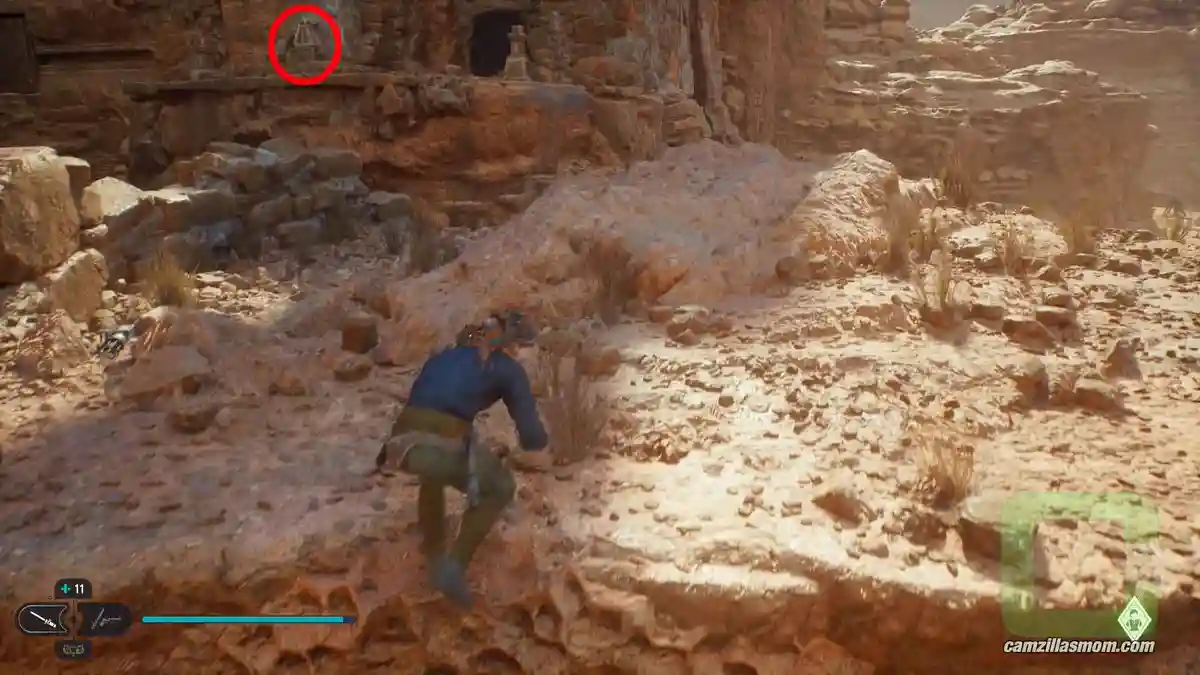
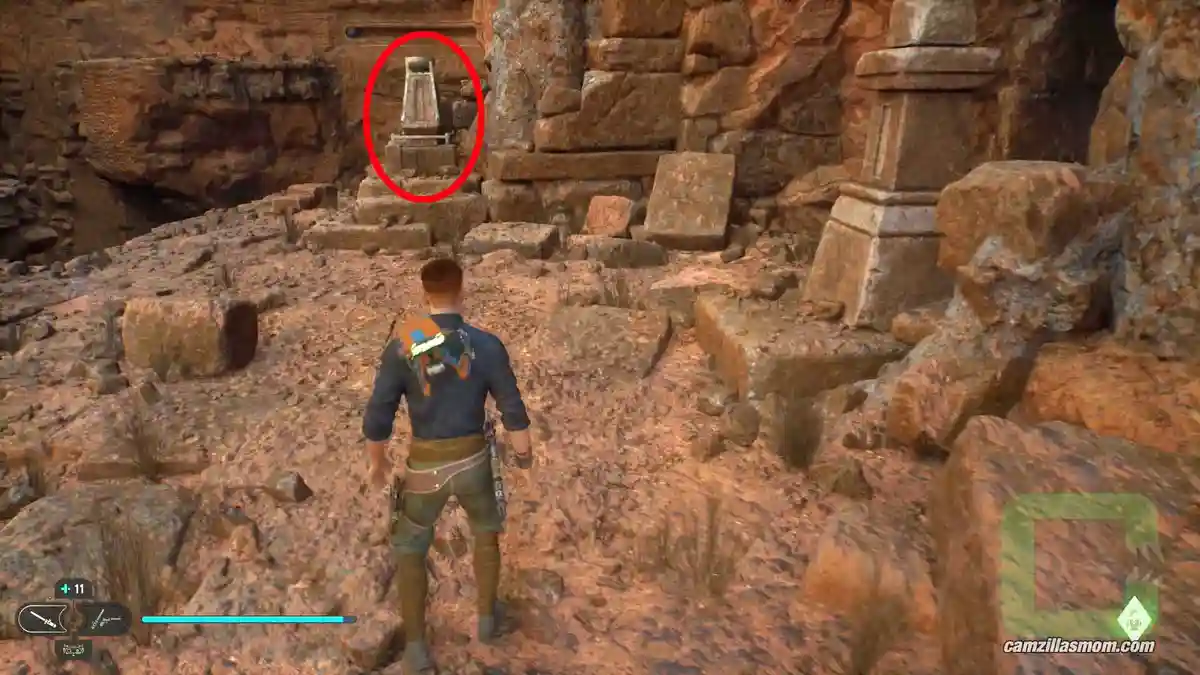
2 – Databank Entry #363
Title:
Voice to the Past
After you’ve scanned the first Databank entry, look around. On the wall just next to the monument are a couple of rails with balls that you can move with the force. One of the rails go to the top. That’s where the Essence will be.
To start with the rail puzzles, cross over to the other side from here.
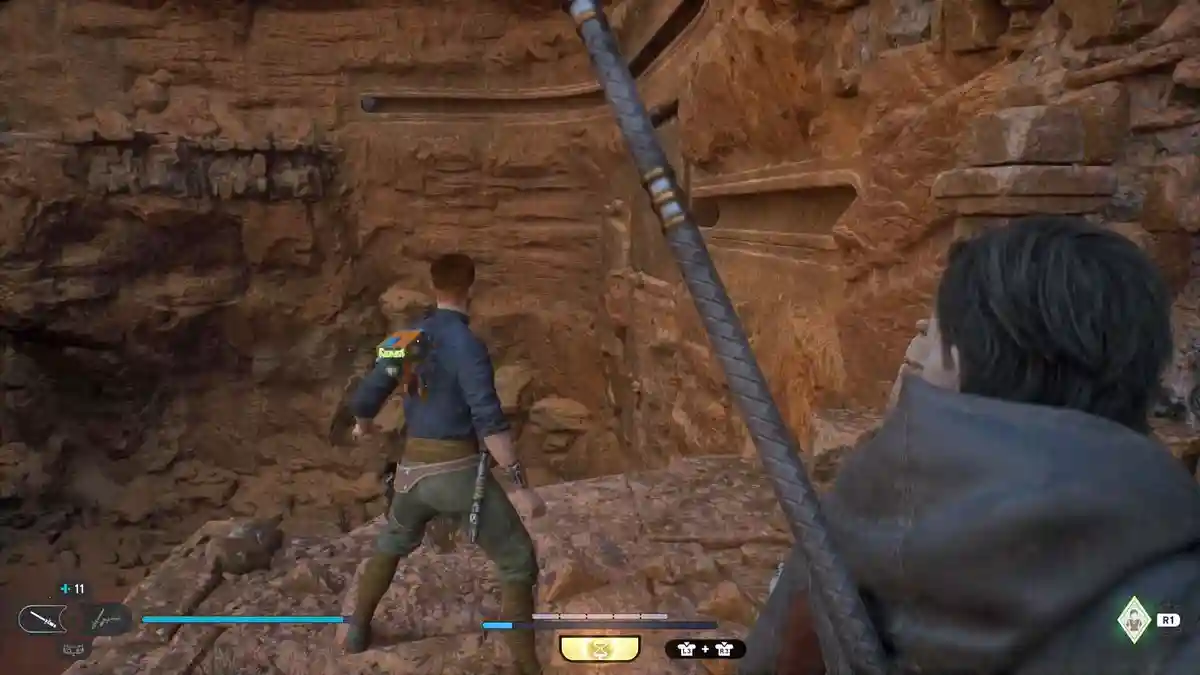
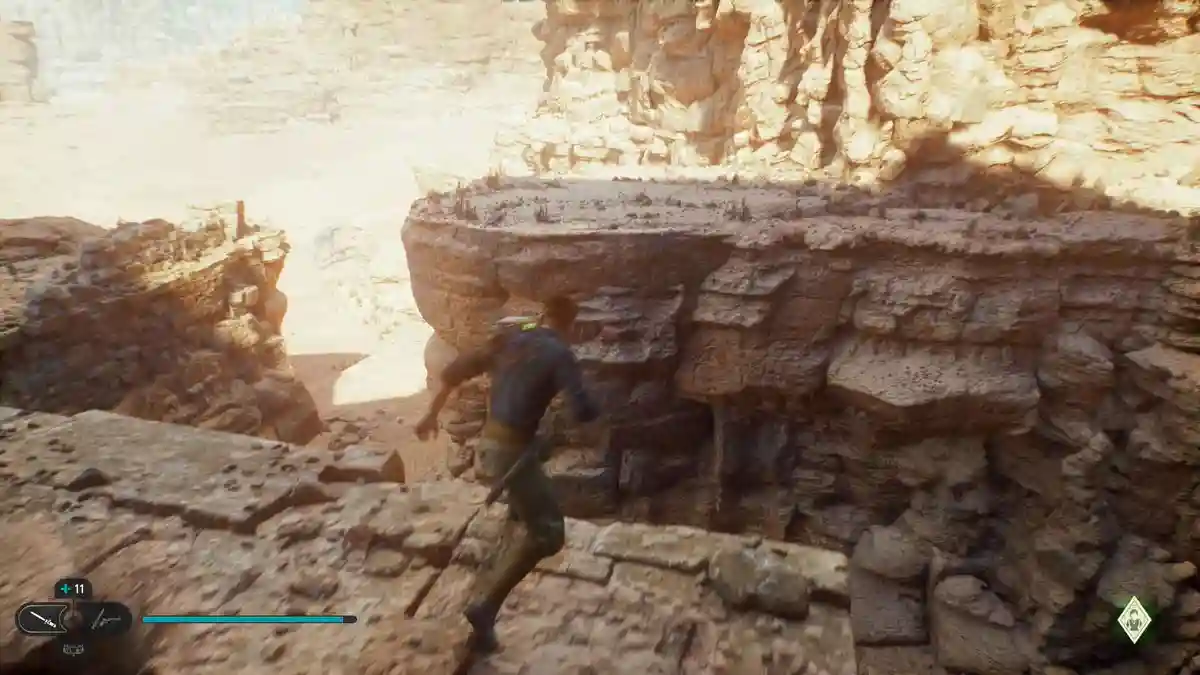
From here, you can jump over to a wall climb and to the ball and rail that would go to the top if the line wasn’t broken. – I will call this the main rail from now on.
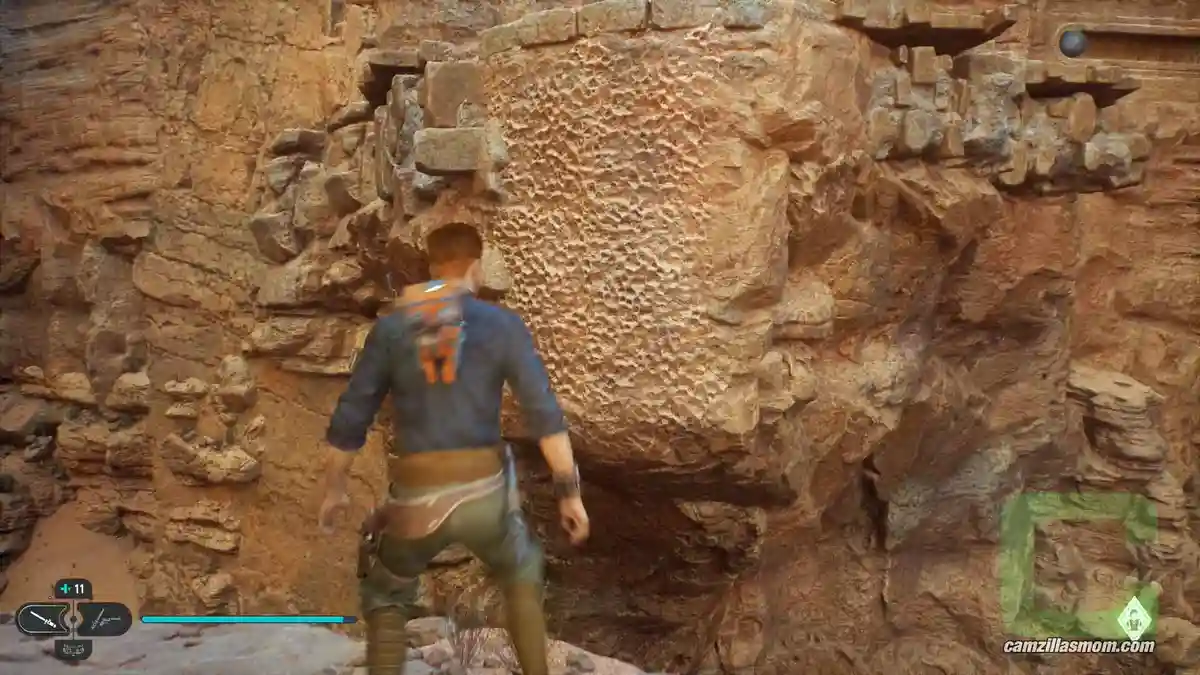
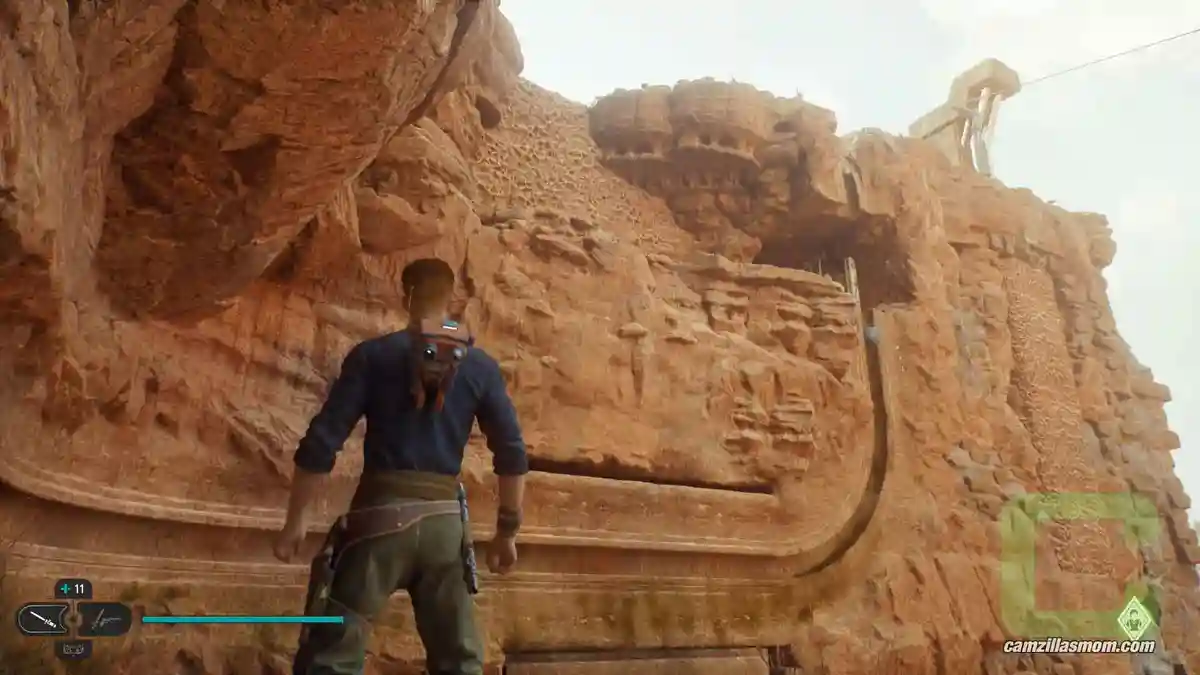
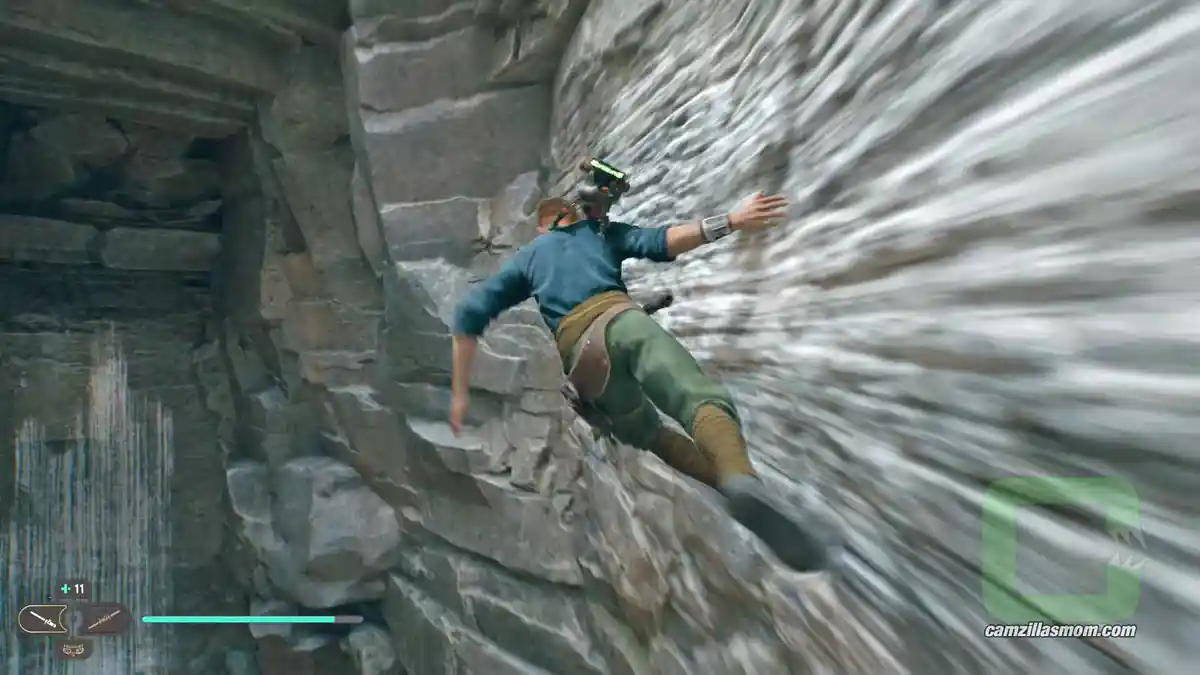
The main rail is broken – for now. Look around. There is a wall-run to the right and on the other side is the Databank Echo glowing brightly. Cross over using the wall-run to pick it up.
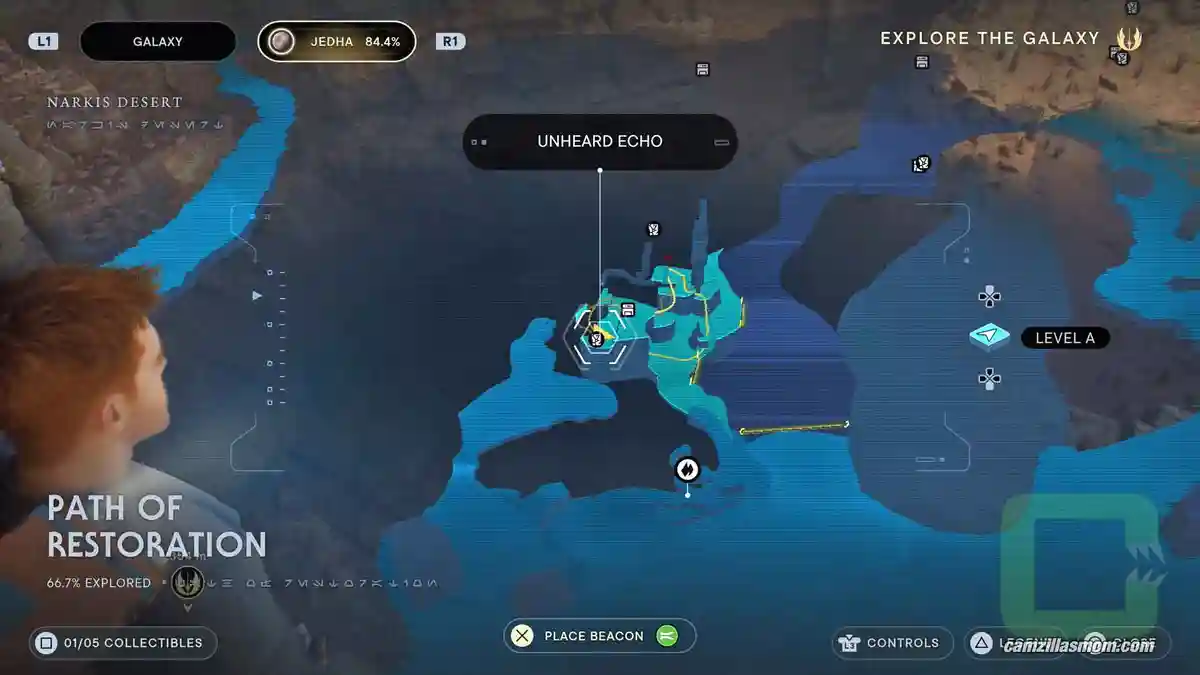
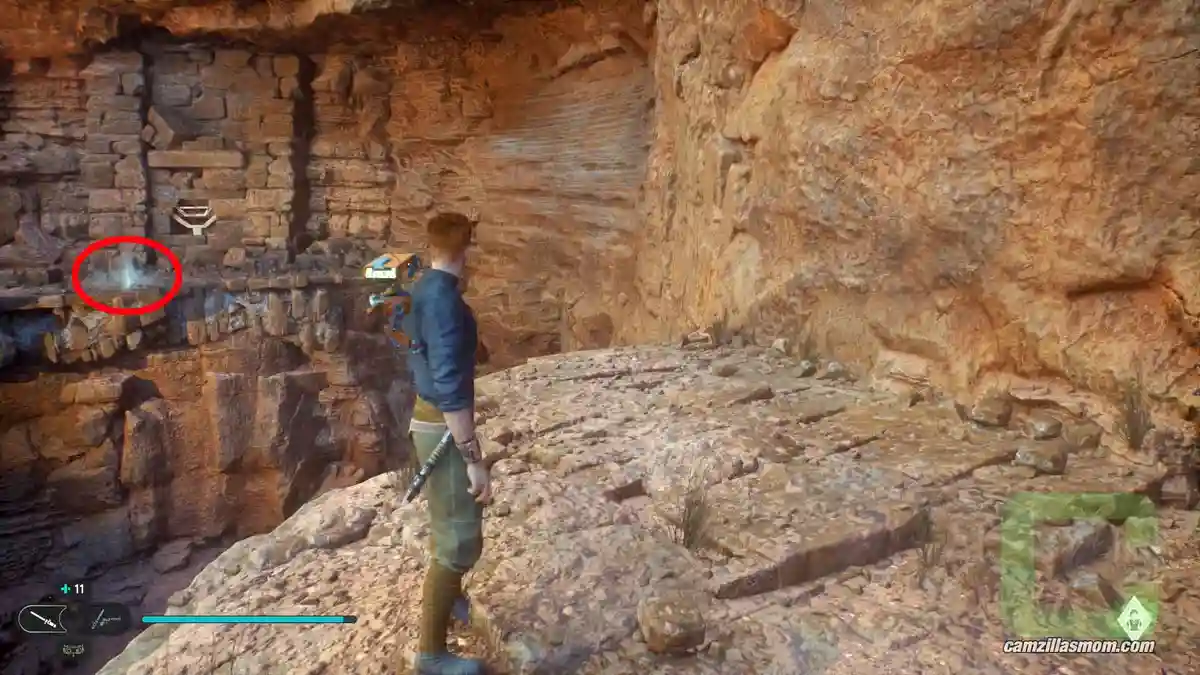
3 – Chest
Contains:
Material – Wanderer
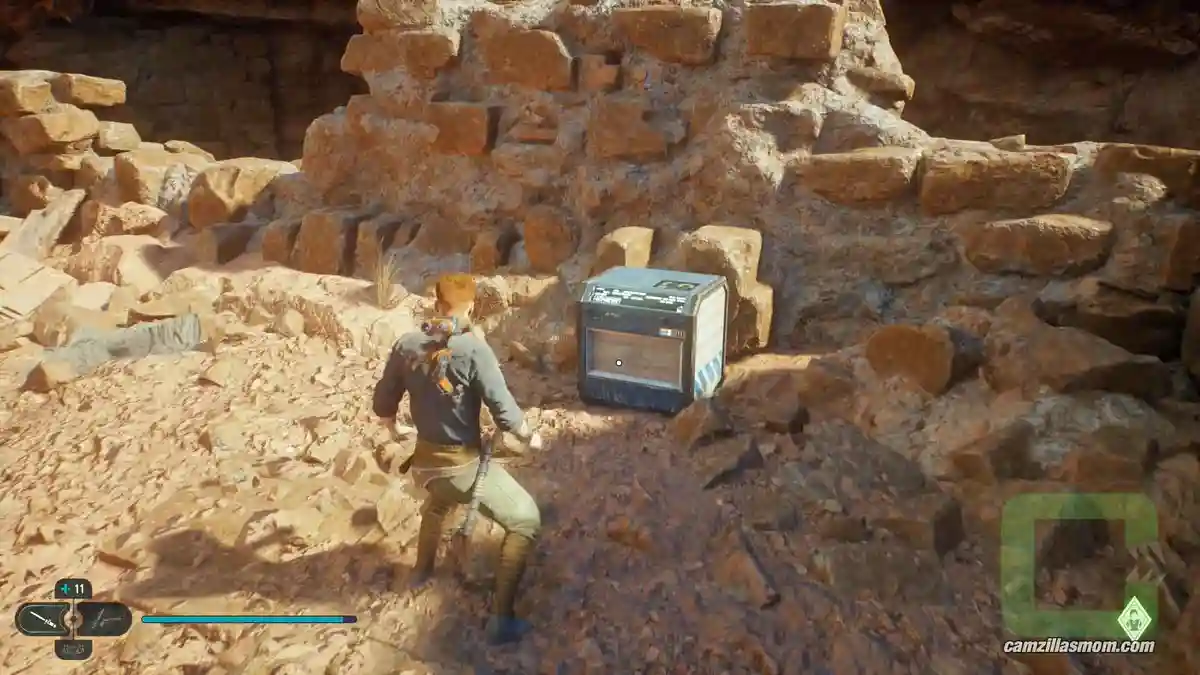
After you’ve picked up the previous echo, climb up a rock wall to the right. Up there is the only chest in the area.
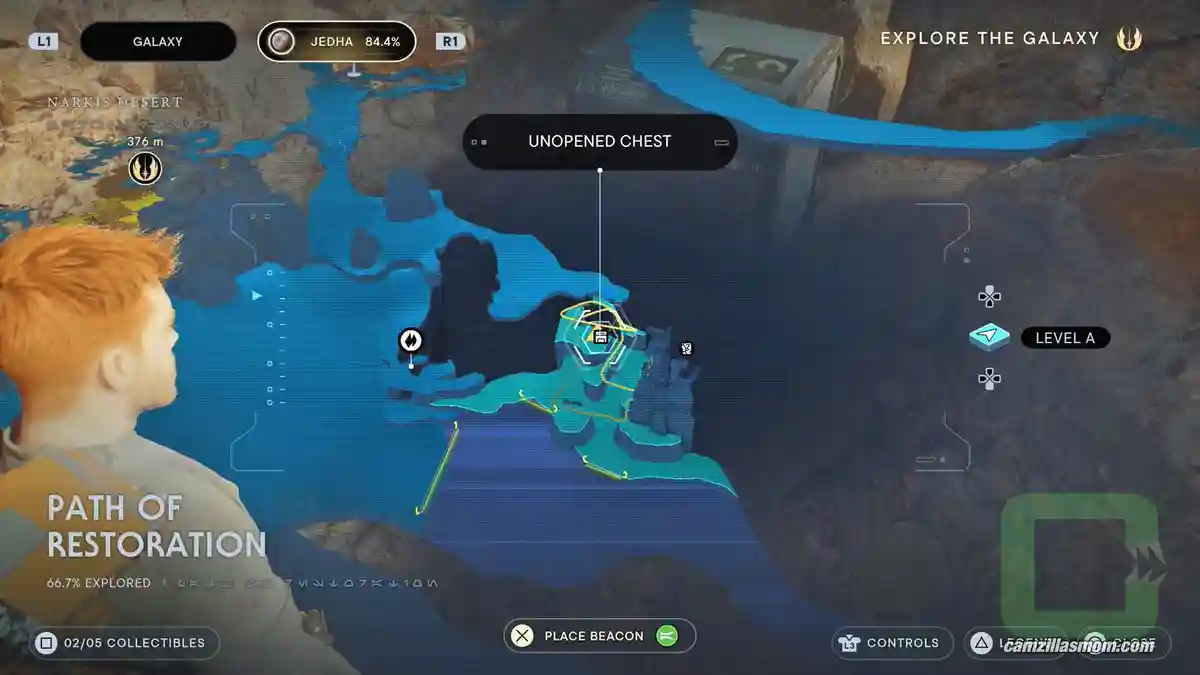
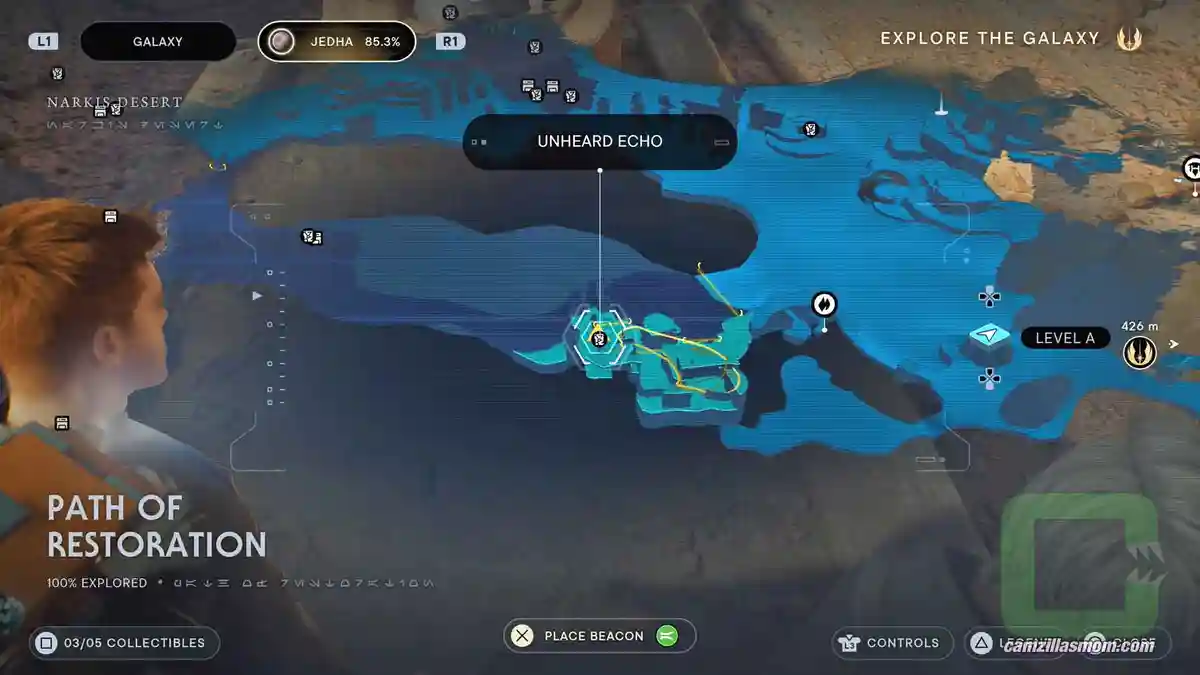
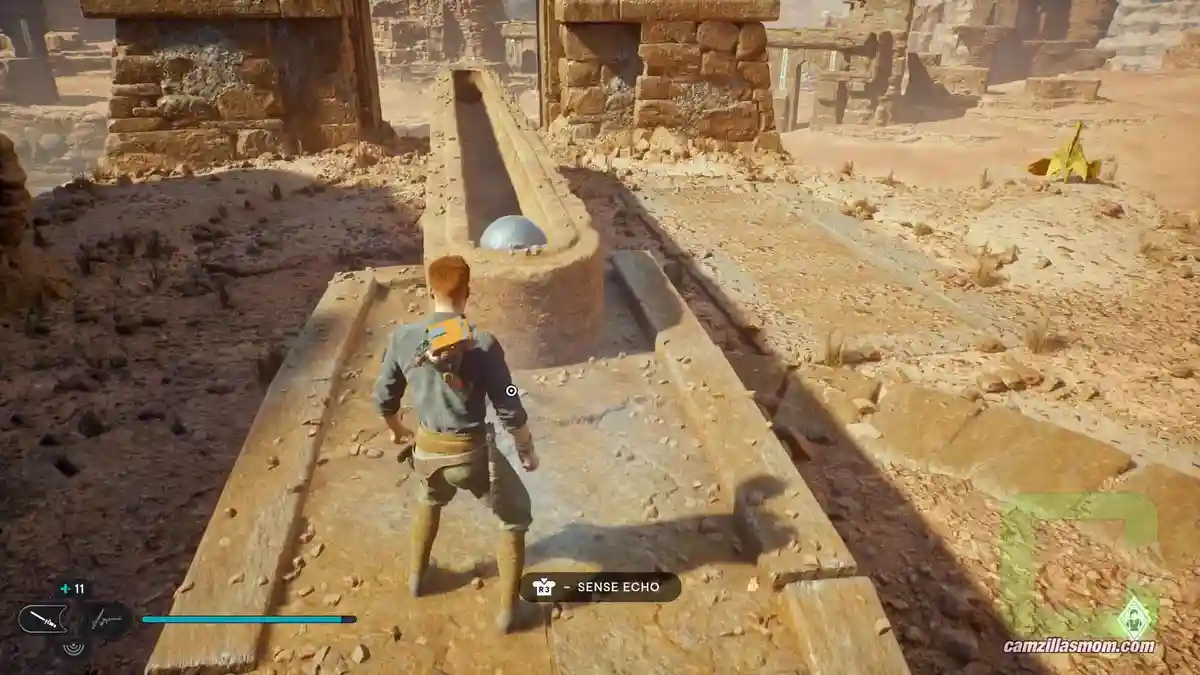
4 – Databank #360
Title:
A Master’s Realization
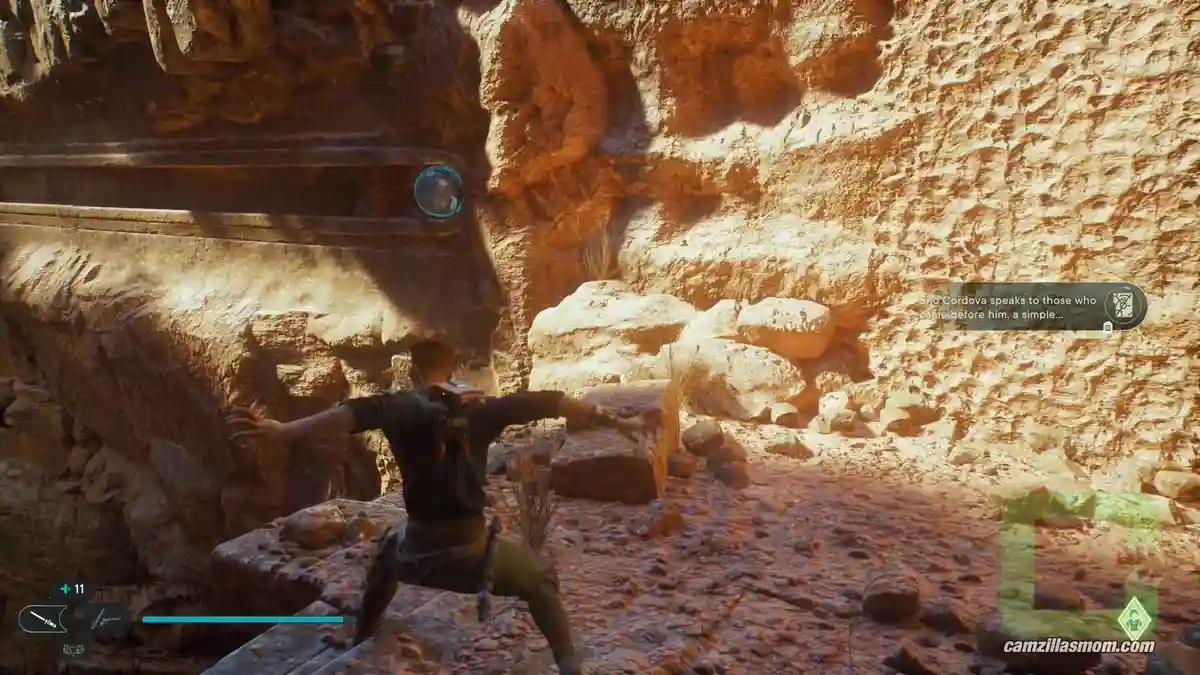
Climb back down where you’ve picked up the last Echo. From there you can Force Push a ball to the back of a short rail to the right. This will change the rail of the main rail.
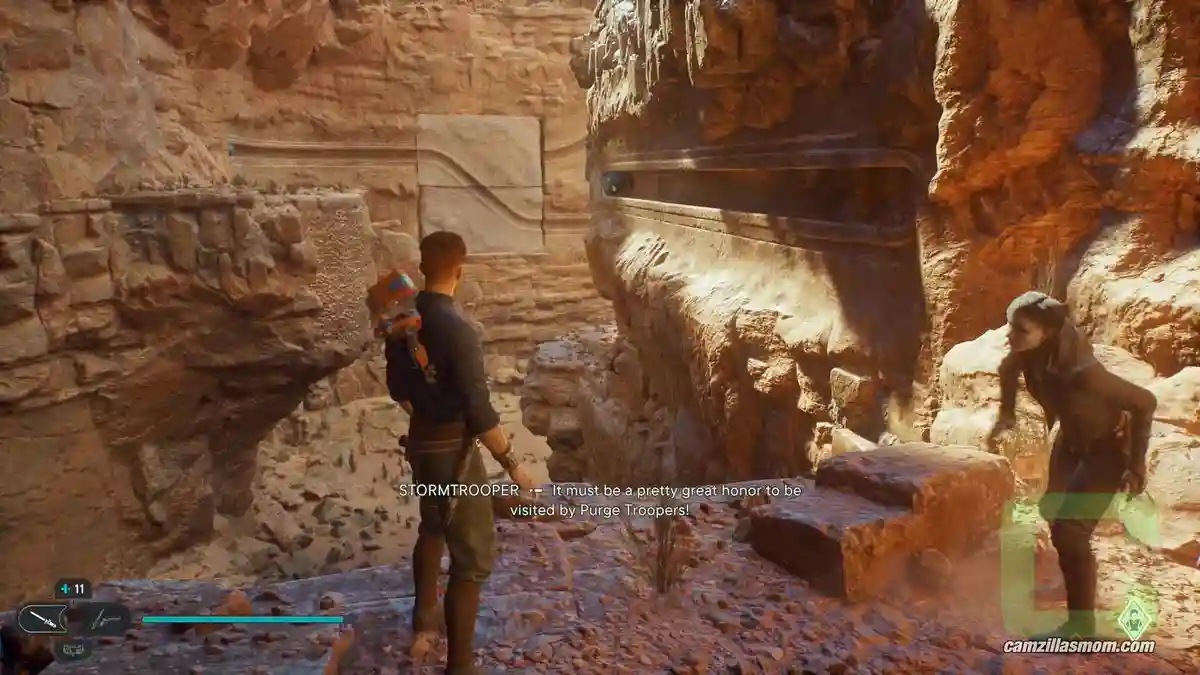
Do the wall-run to the left to get back to where the main rail is with the ball. Push the ball to the back. This will make a climbable wall near the monument (first databank collectible) move down.
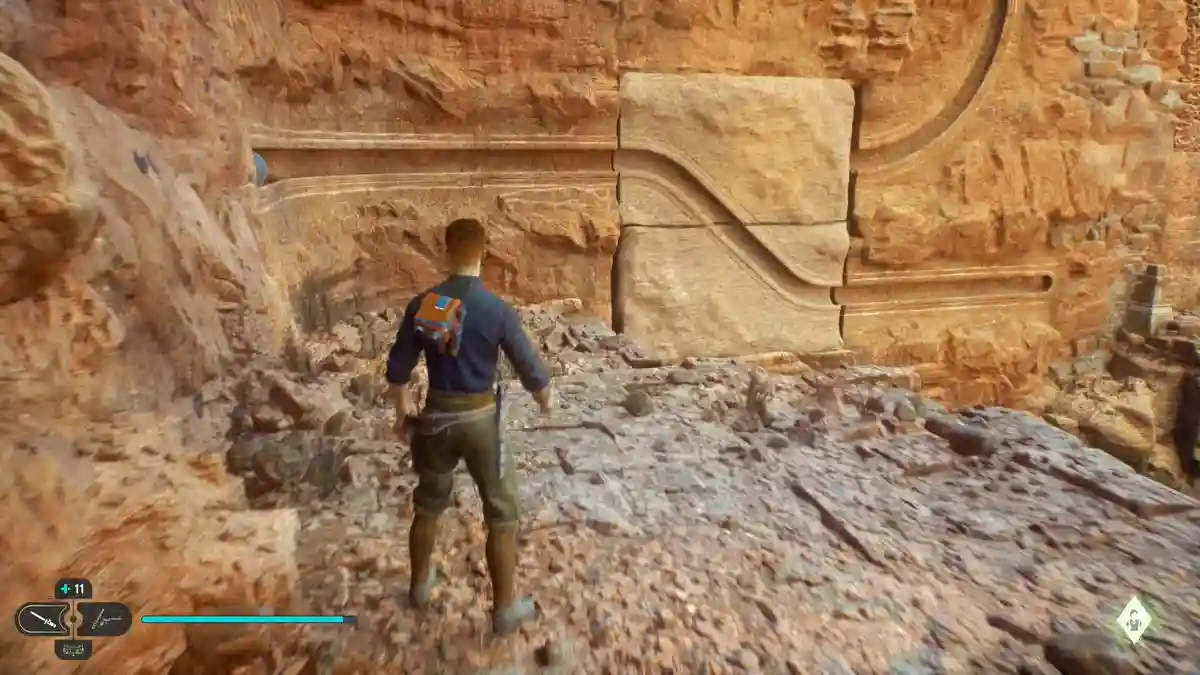
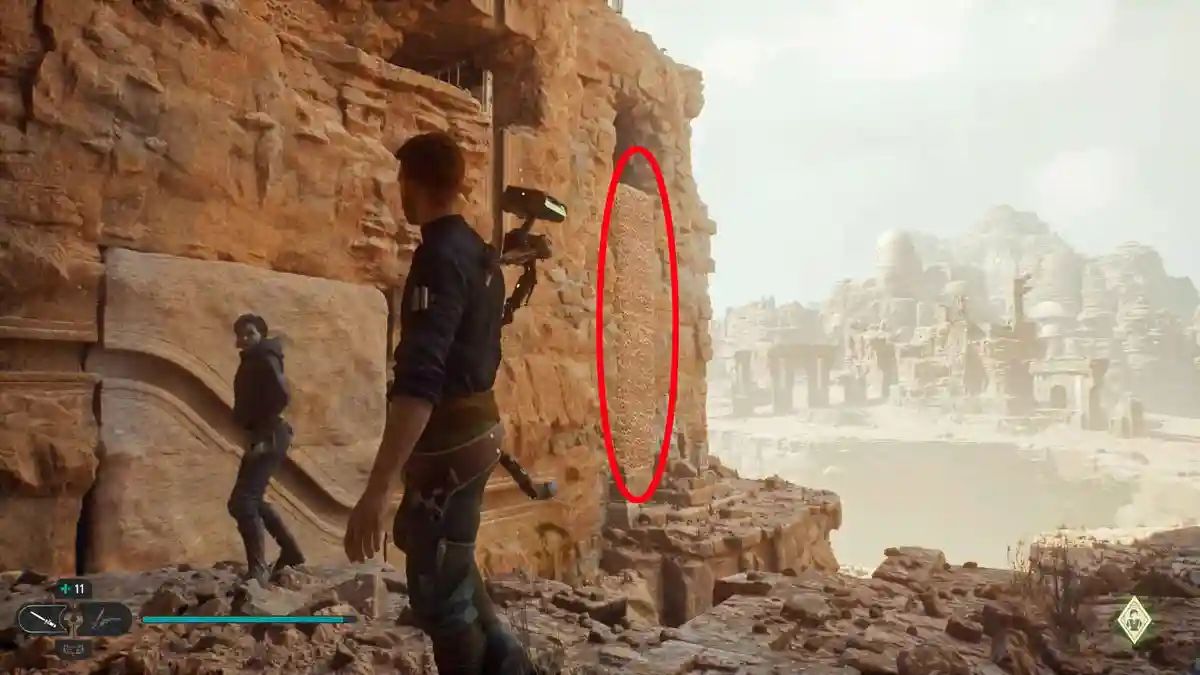
Cross back over to the monument and climb up the wall. At the top is a dark room with another rail and a ball. Push the ball to the back. This will repair the top of the main rail.
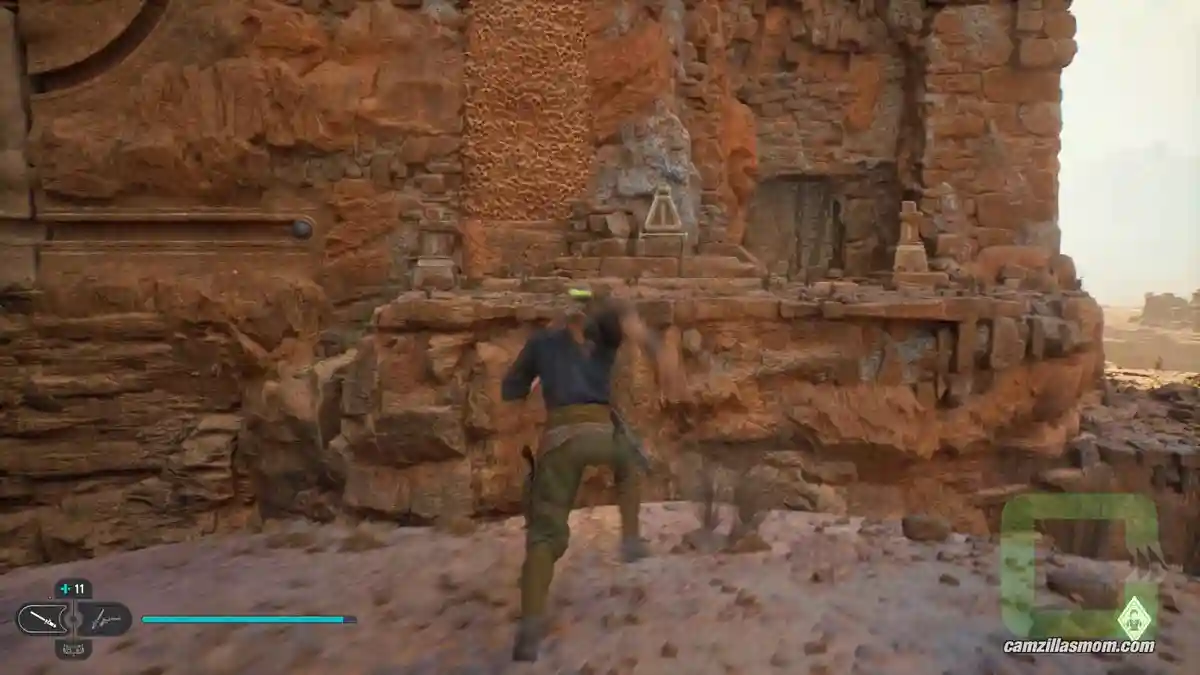
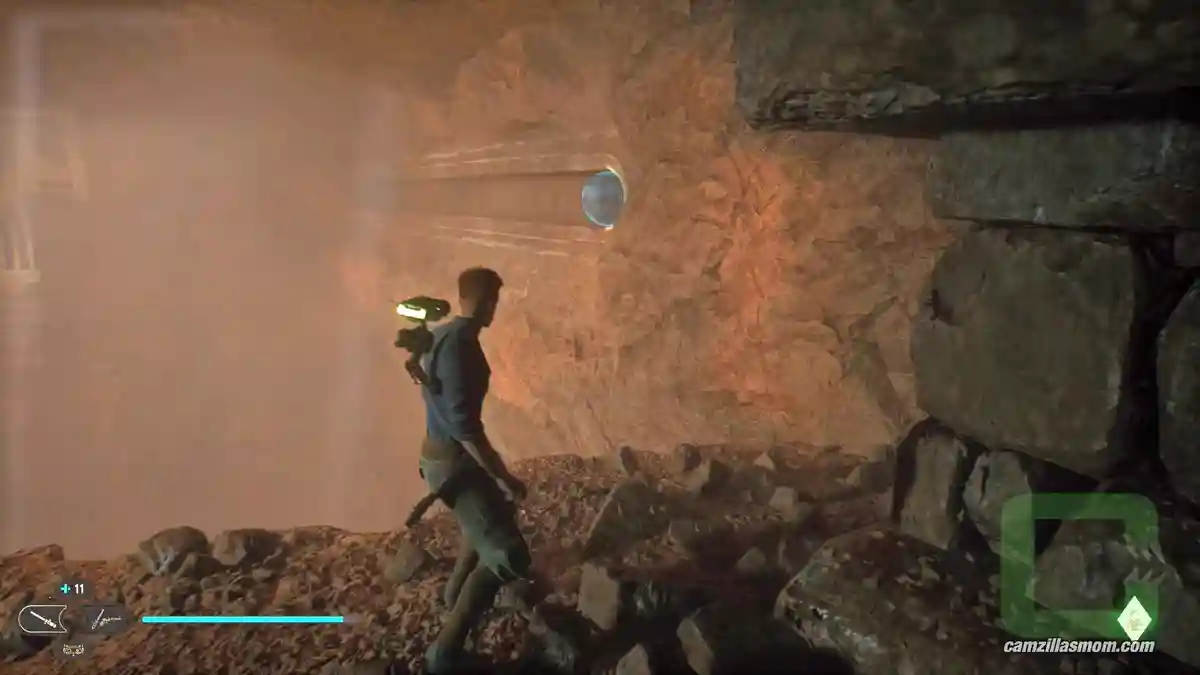
Climb down the rock wall and push the main rail ball back to the other side. The climbable wall will move back up again but we don’t need it anymore. Follow the ball to the other side. From here you can reach the ball from the small rail. Push it back to the other side, too.
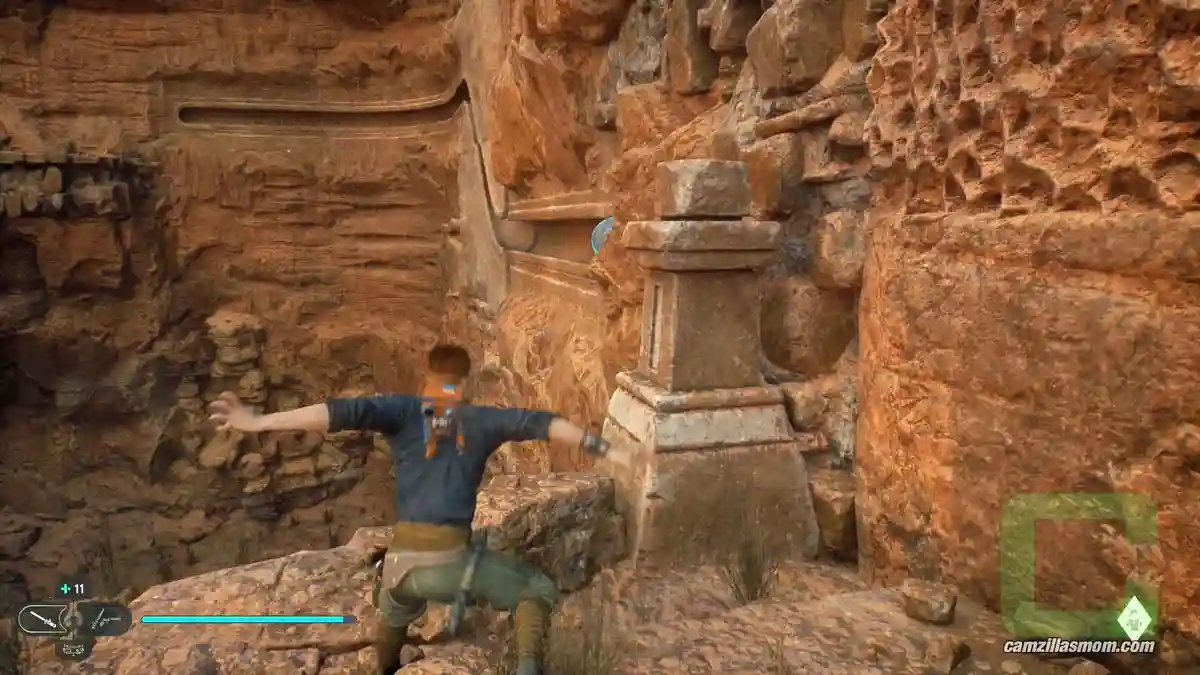
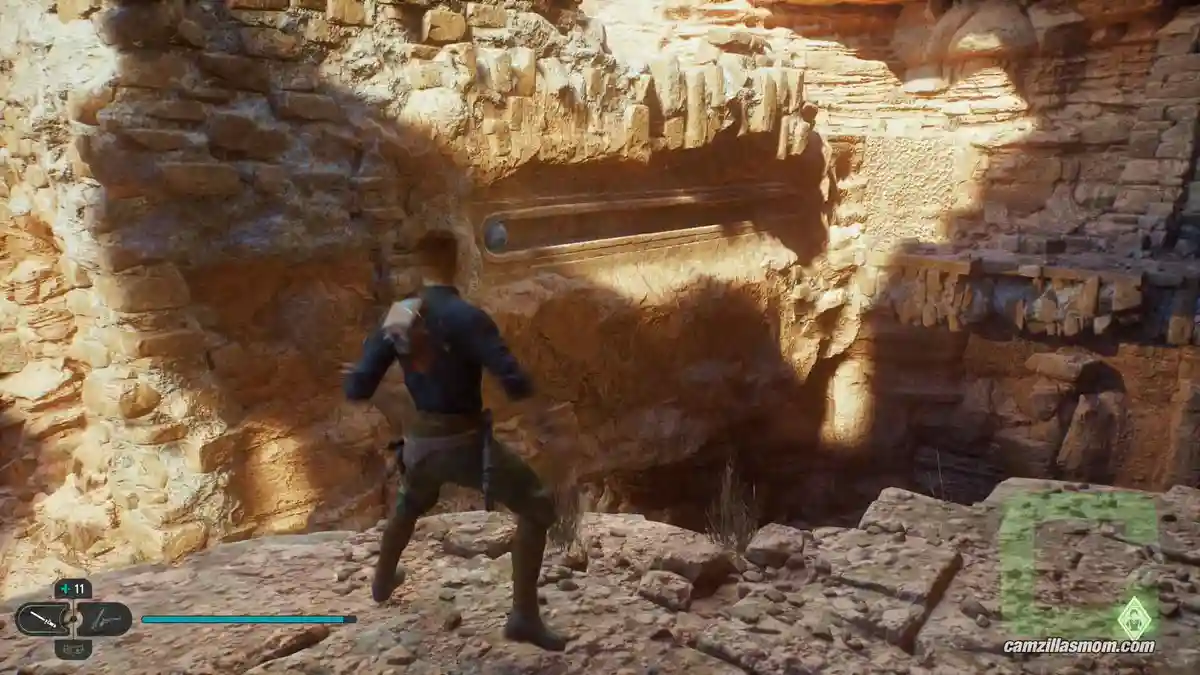
All is now set for the main rail to work. Push the ball to the back and it will roll all the way to the top. Next, do the wall-run to the right and climb up where the chest is. There you can use the zipline to get to the top.
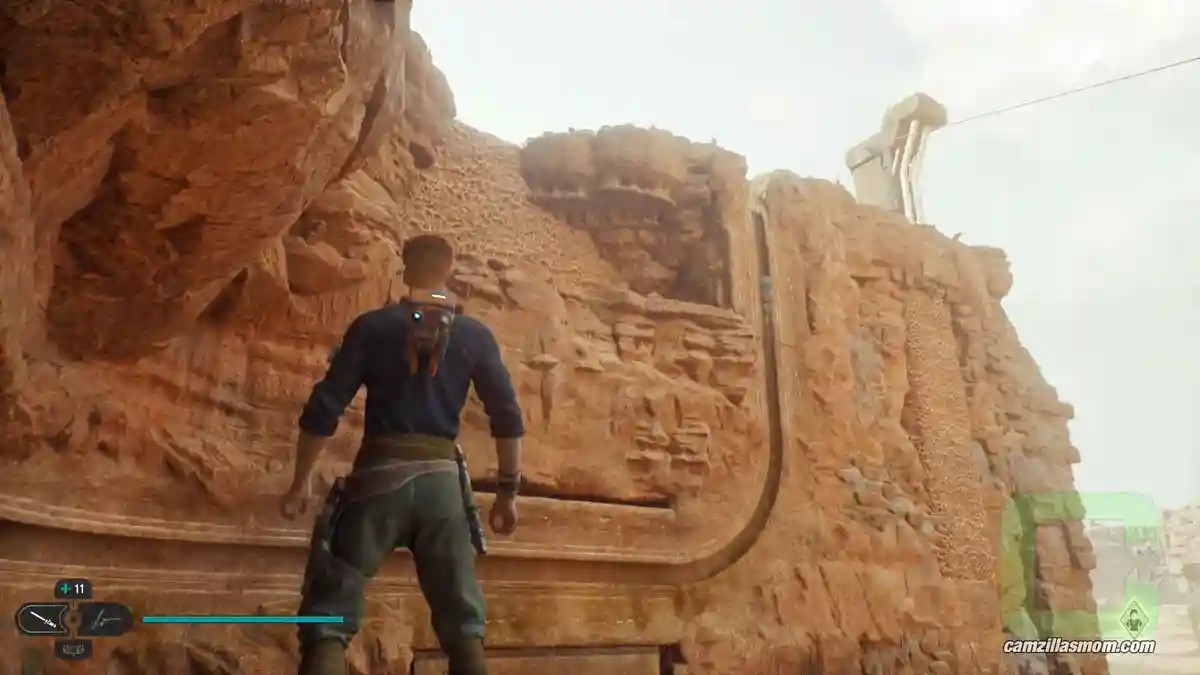
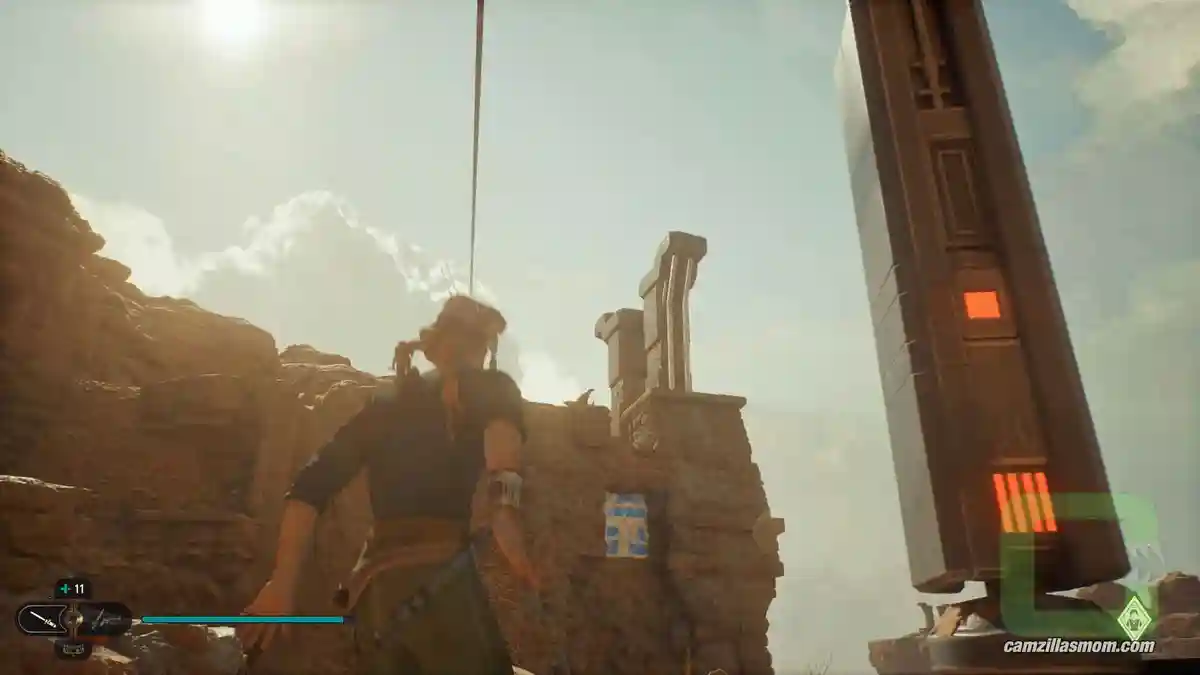
At the top of the zipline, climb the staircase to pick up the last Databank collectible of the area.
5 – Essence
Contains:
New Perk Slot
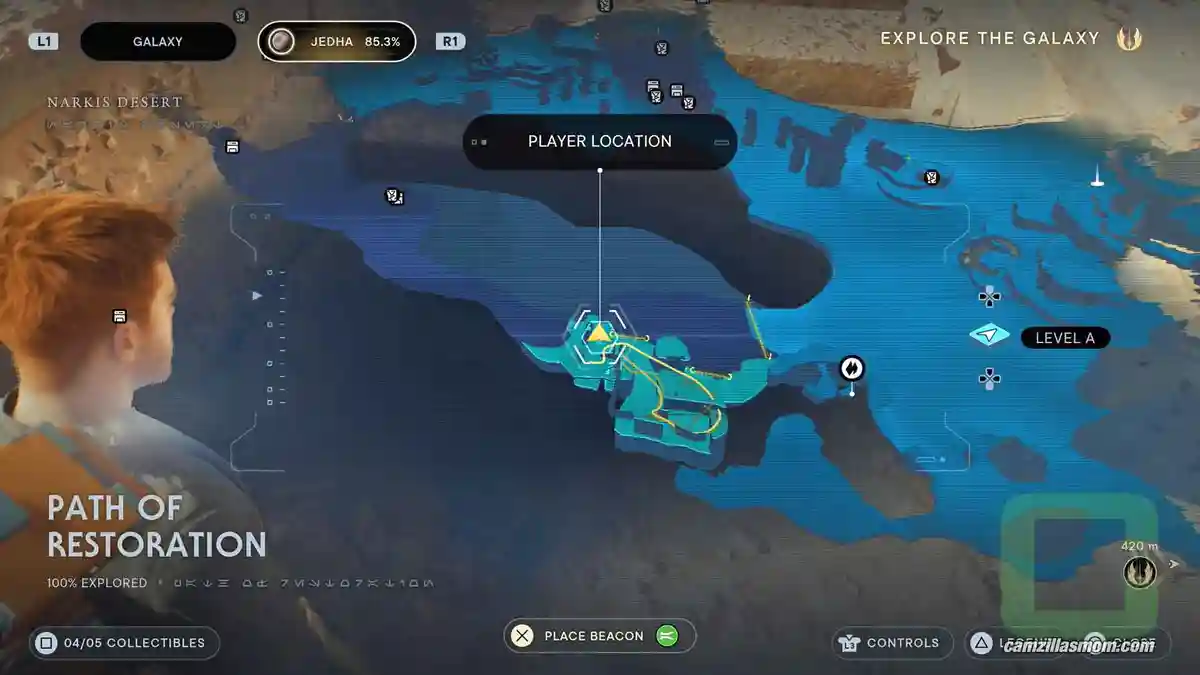
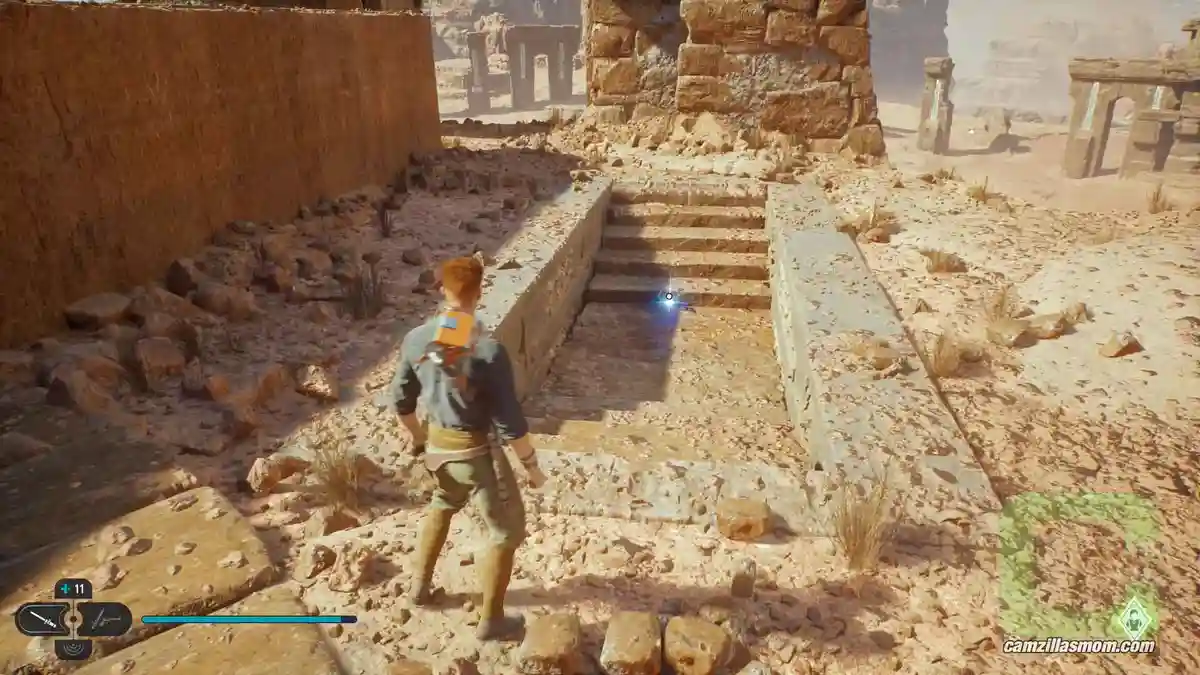
The Essence is the reward for you hard ball-work! Push the ball one last time in the rail at the top. This will open a small area to the right, where the Essence is.


About Star Wars: Jedi Survivor
Release: April 28th, 2023
Developer: Respawn Entertainment
Publisher: Electronic Arts
Official Website: https://www.ea.com/games/starwars/jedi/jedi-survivor