Skip to content

All You Need – Lucky Dice: Weepwild Dankness

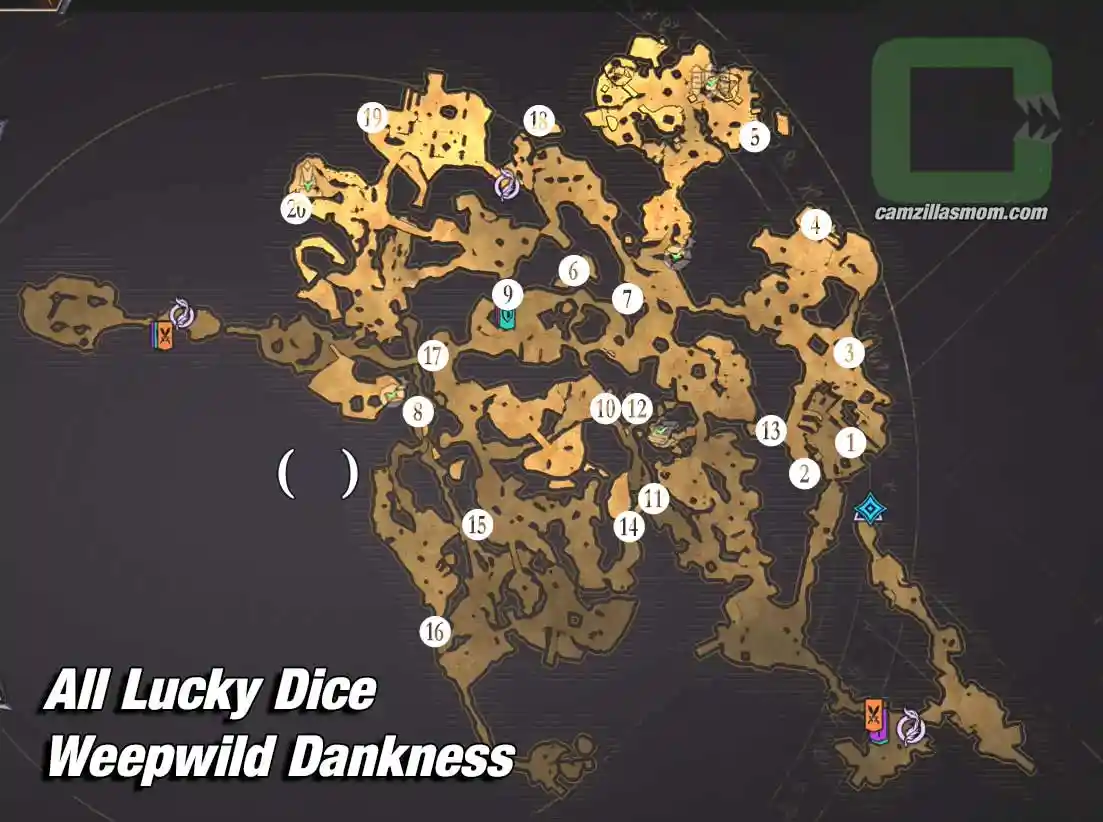
Here’s all you need to find the 20 Lucky Dice: Weepwild Dankness. This covers 20 of 25 Campaign Challenges of the 100% Weepwild Dankness Progress completion.

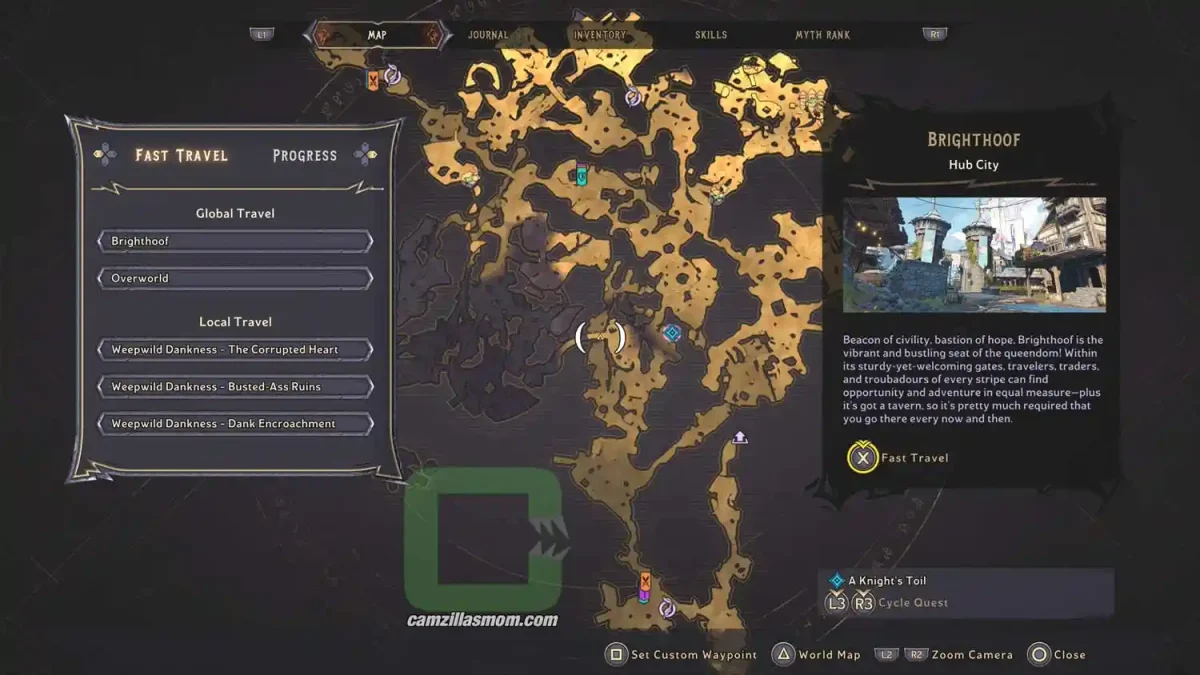
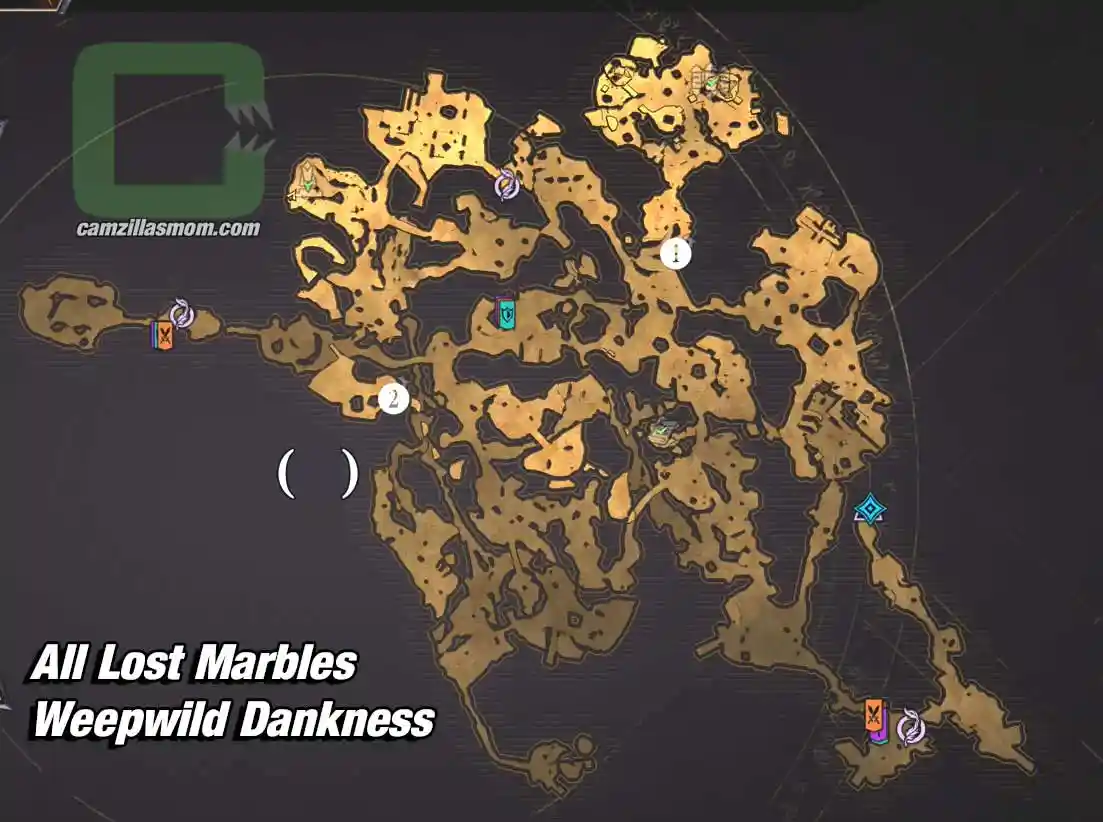
Here’s the overview map on where to find them all. Detailed maps below.

| camzillasmomcom
Lucky Dice Weepwild Dankness – Overview Map

Lucky Dice 1

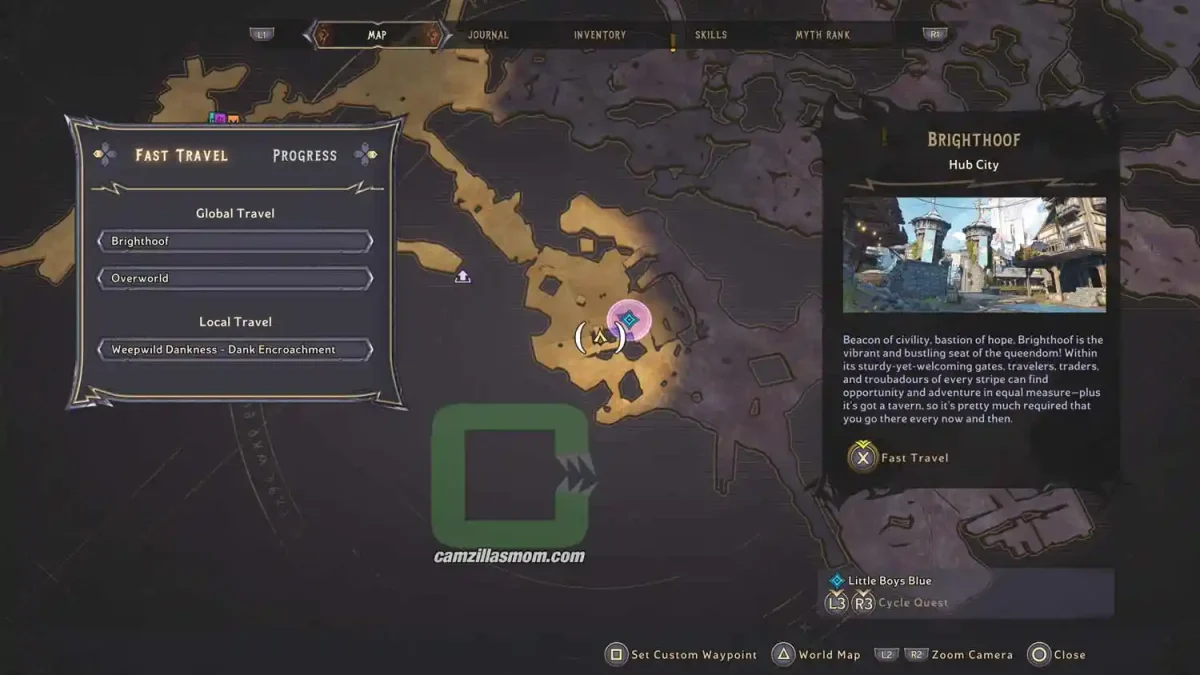
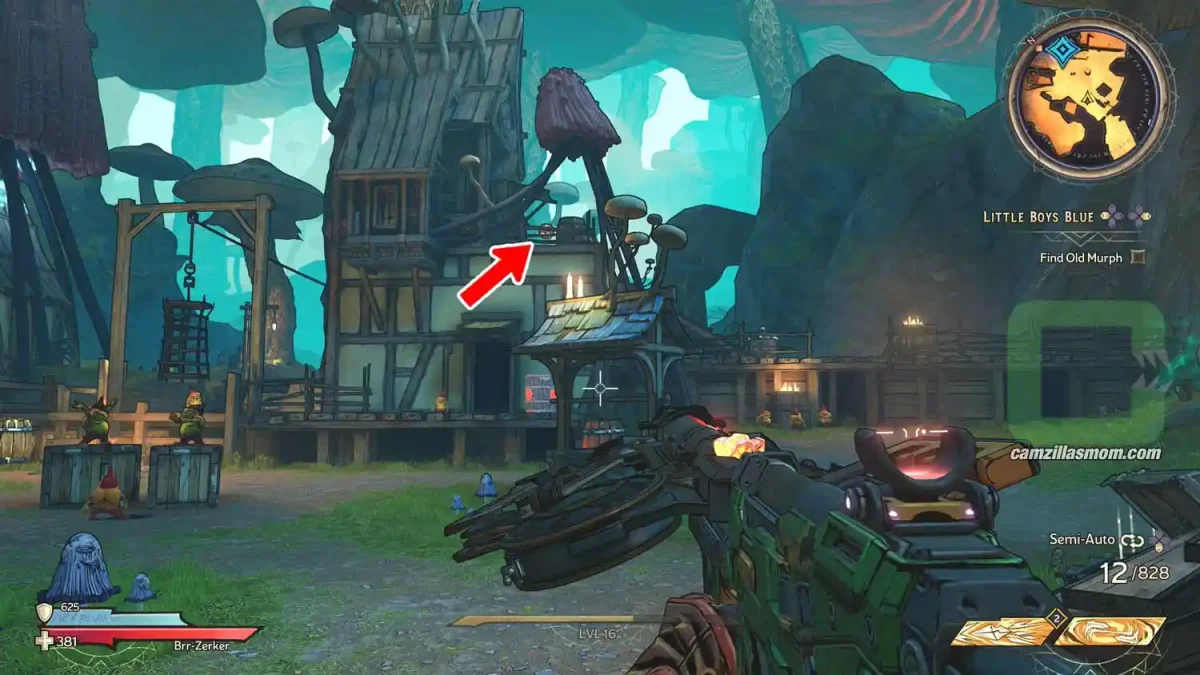
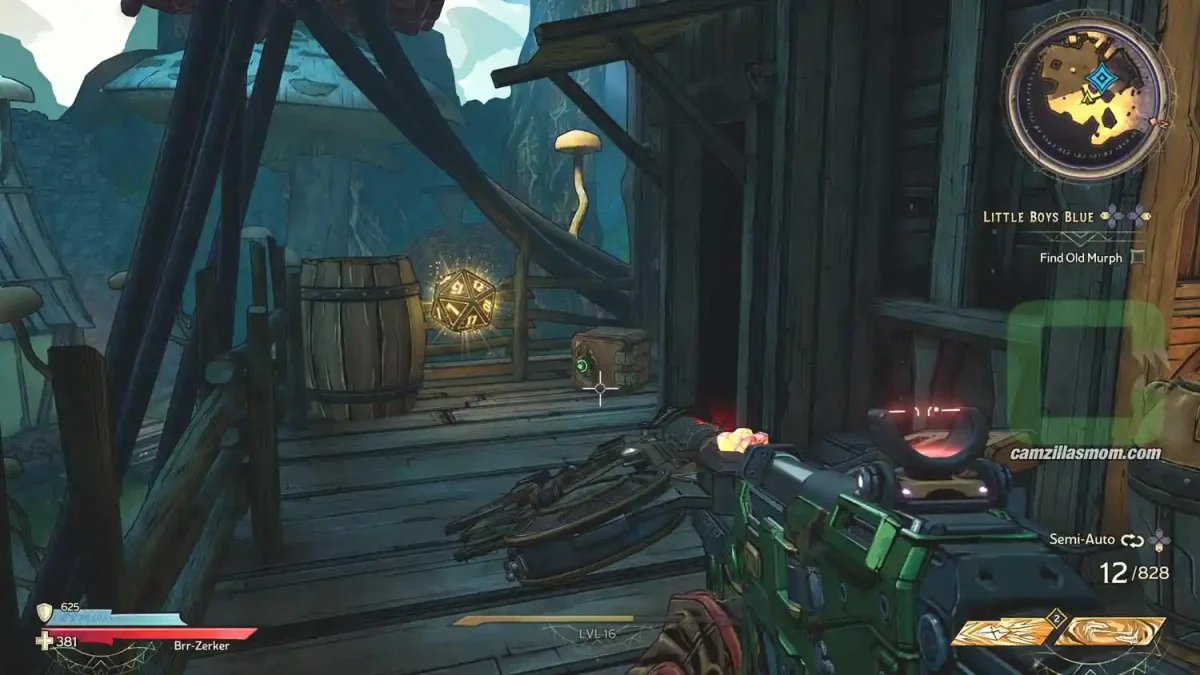
At the “Murph Refugee Camp” is a two storey house with the Lucky Die at the top.

| camzillasmomcom
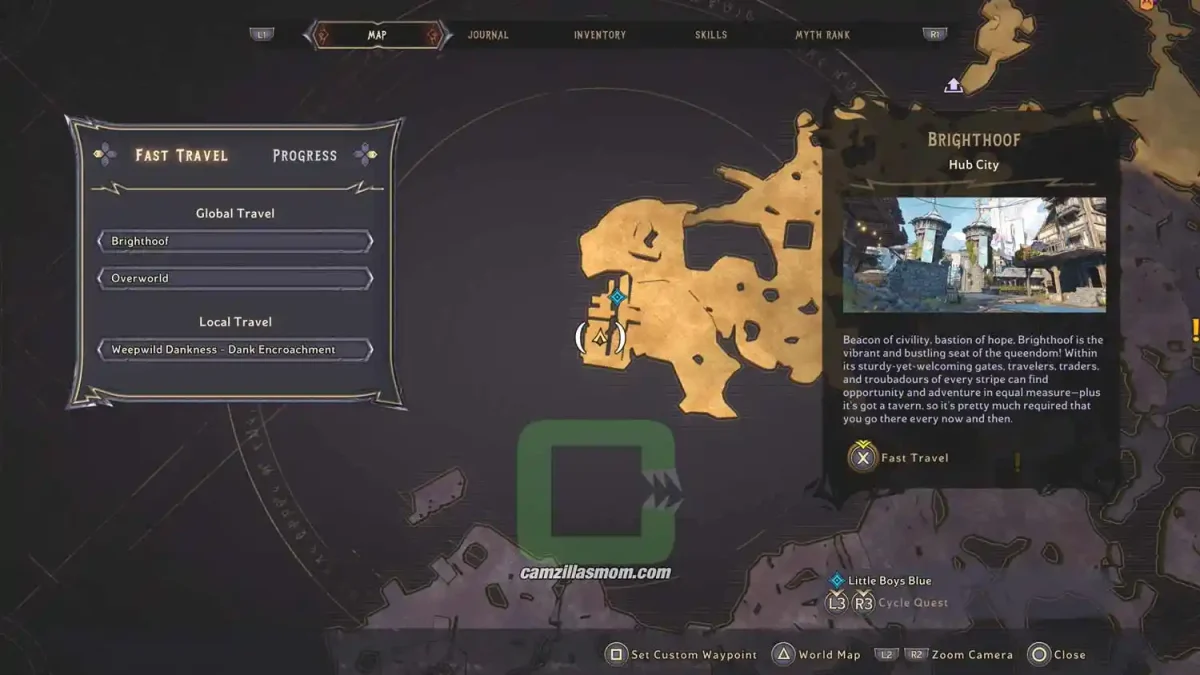
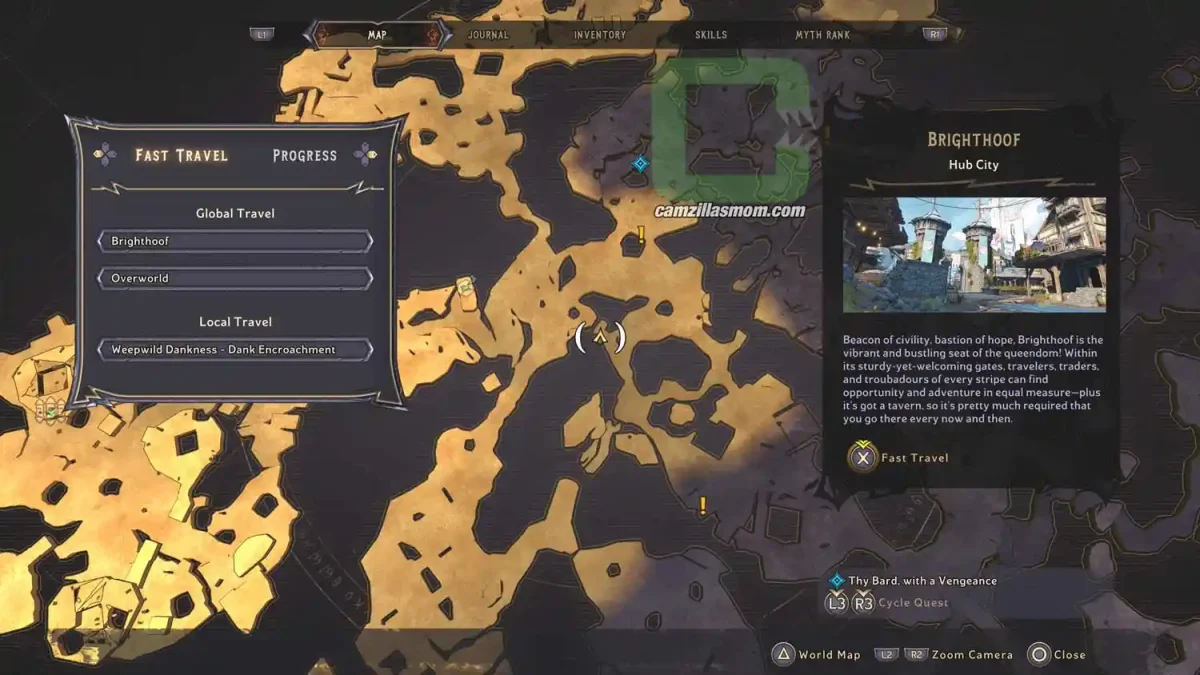
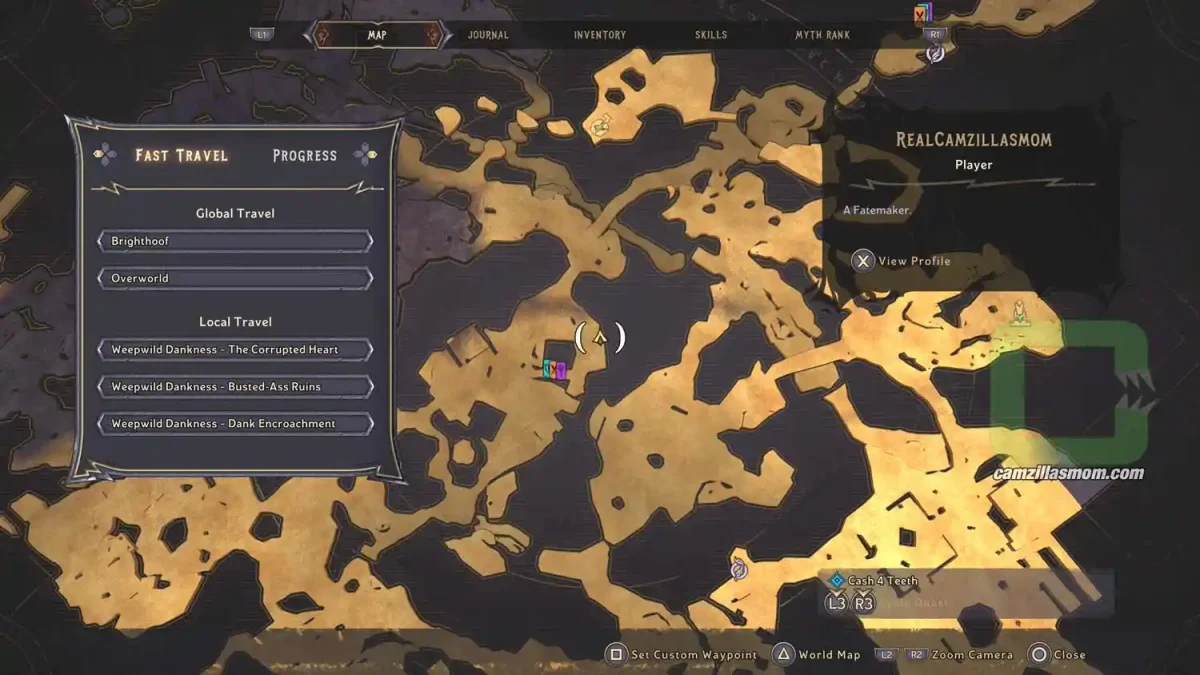
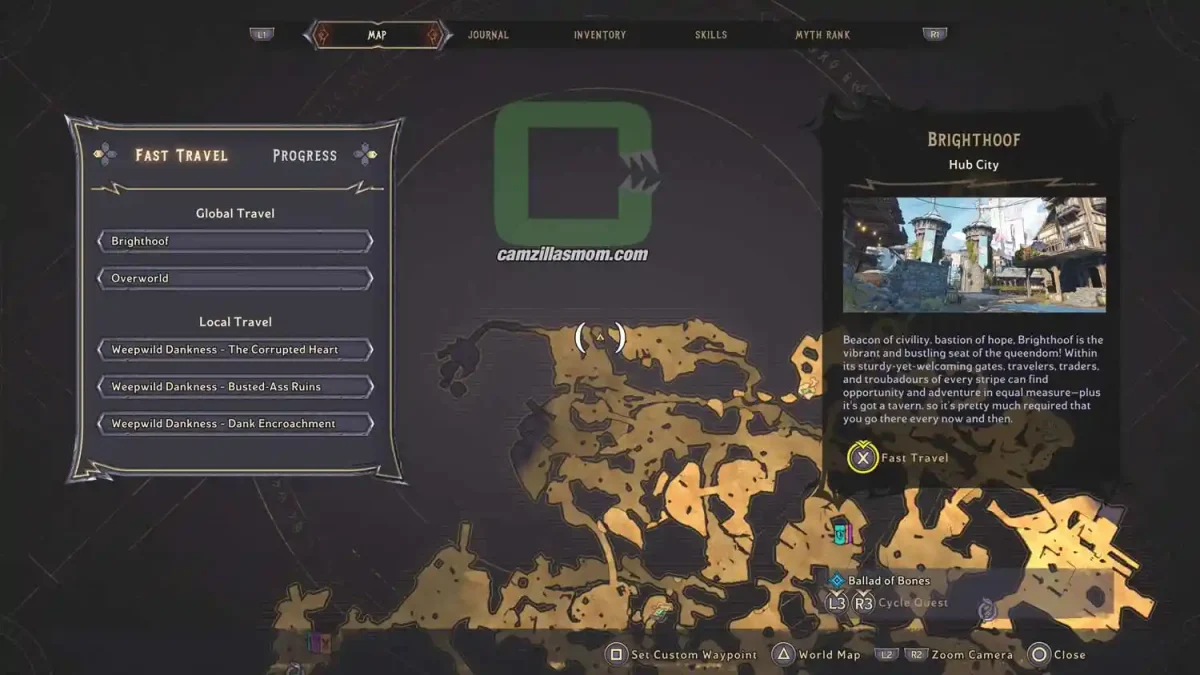
The location on the map with full zoom out.
| camzillasmomcom
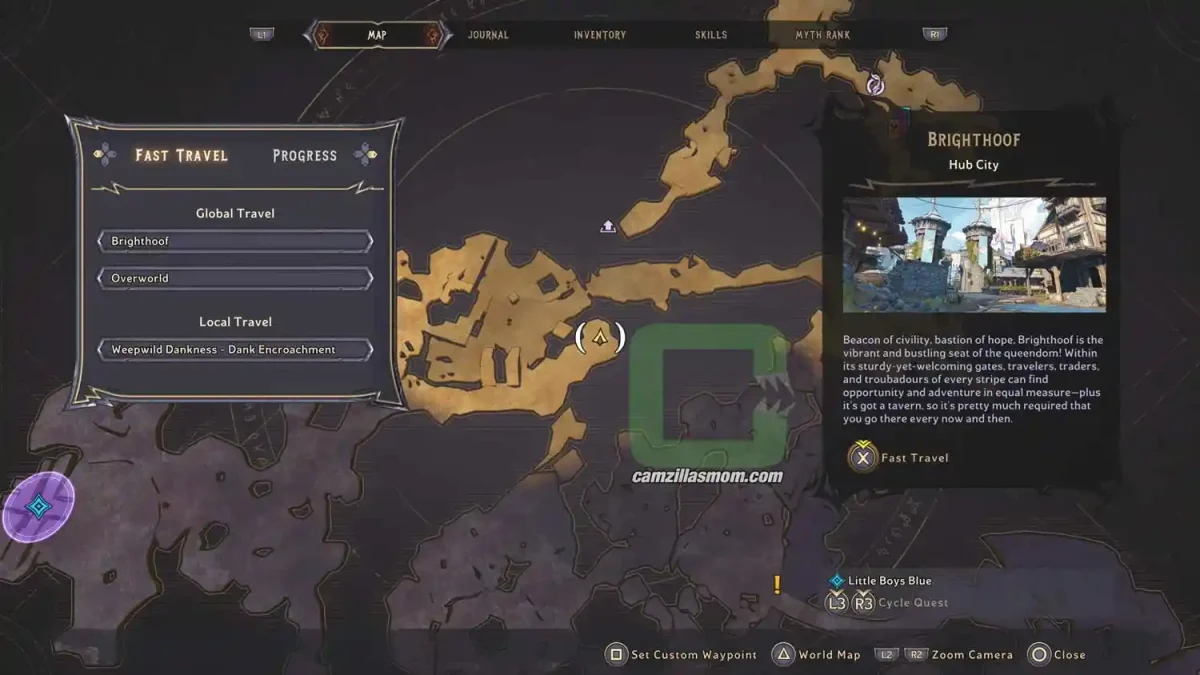
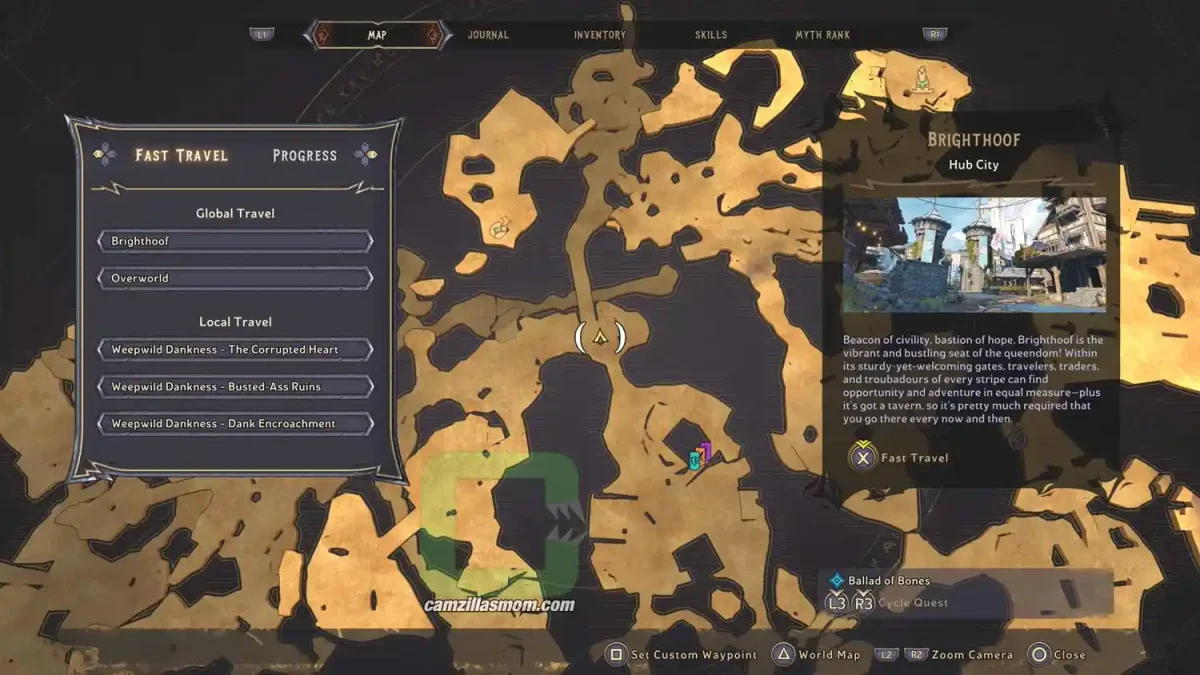
The location on the map with zoom in.
| camzillasmomcom
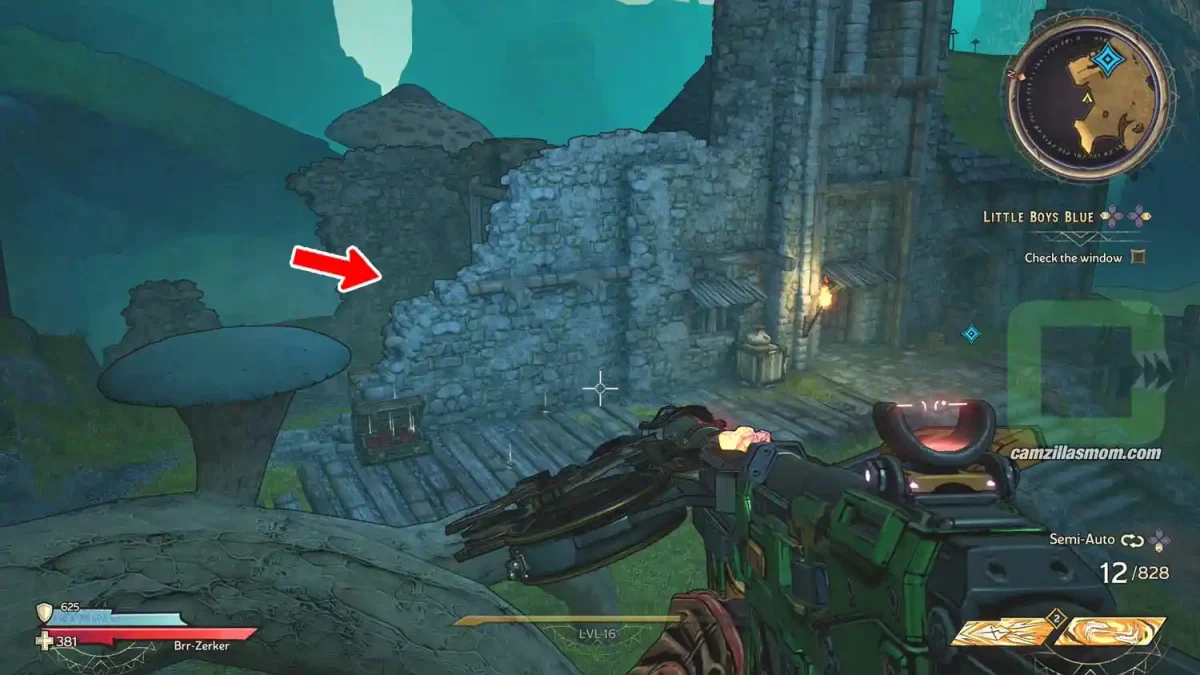
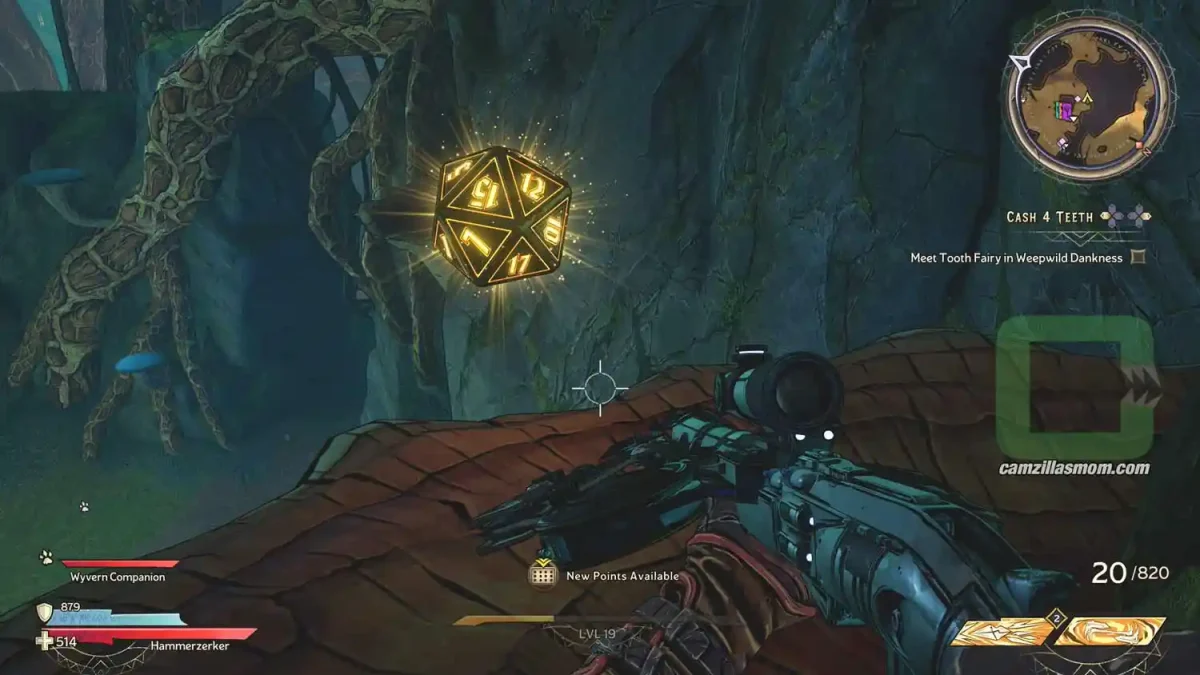
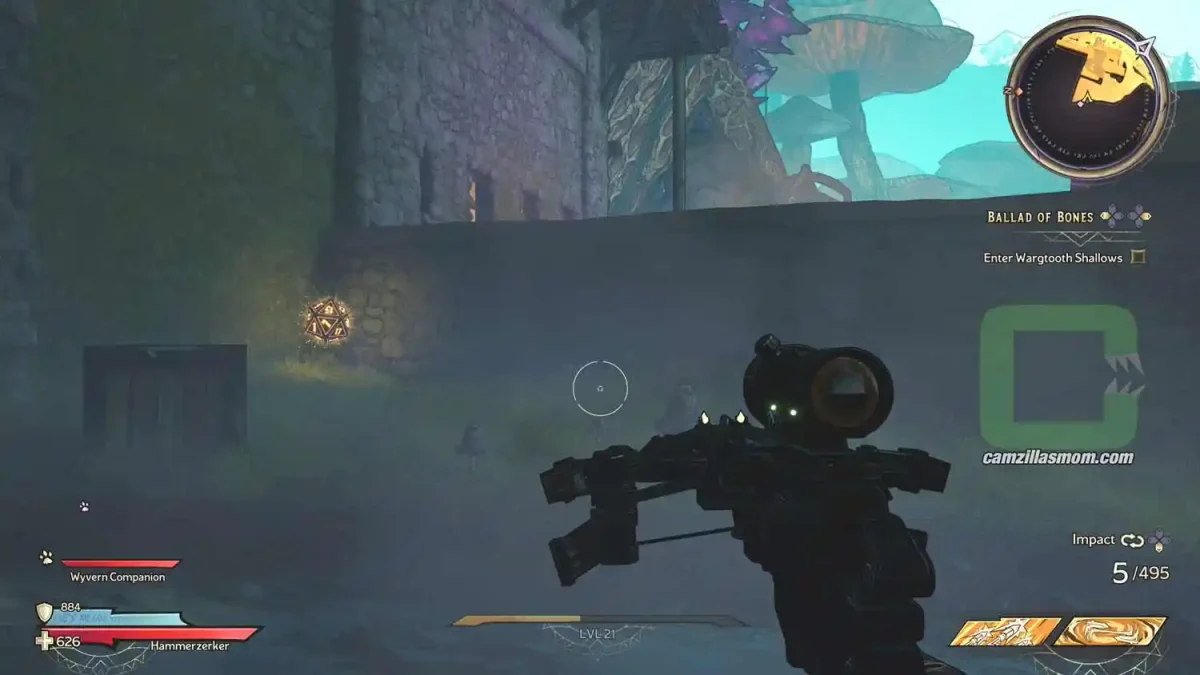
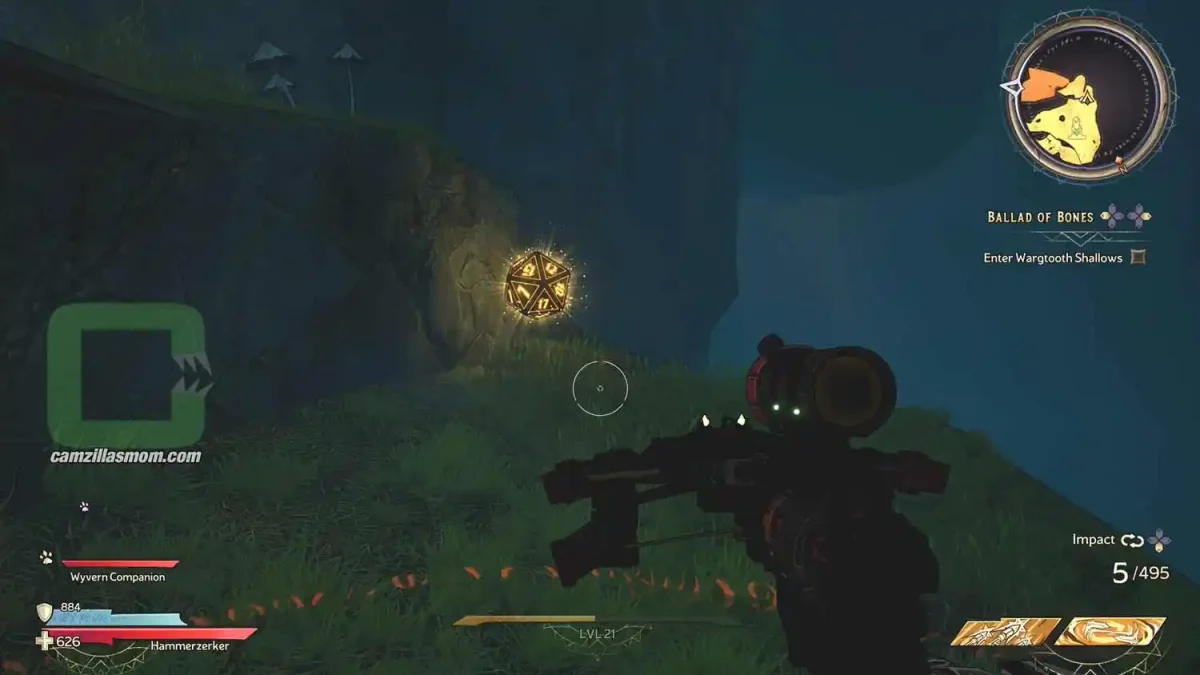
The Die at the top of the house.
| camzillasmomcom
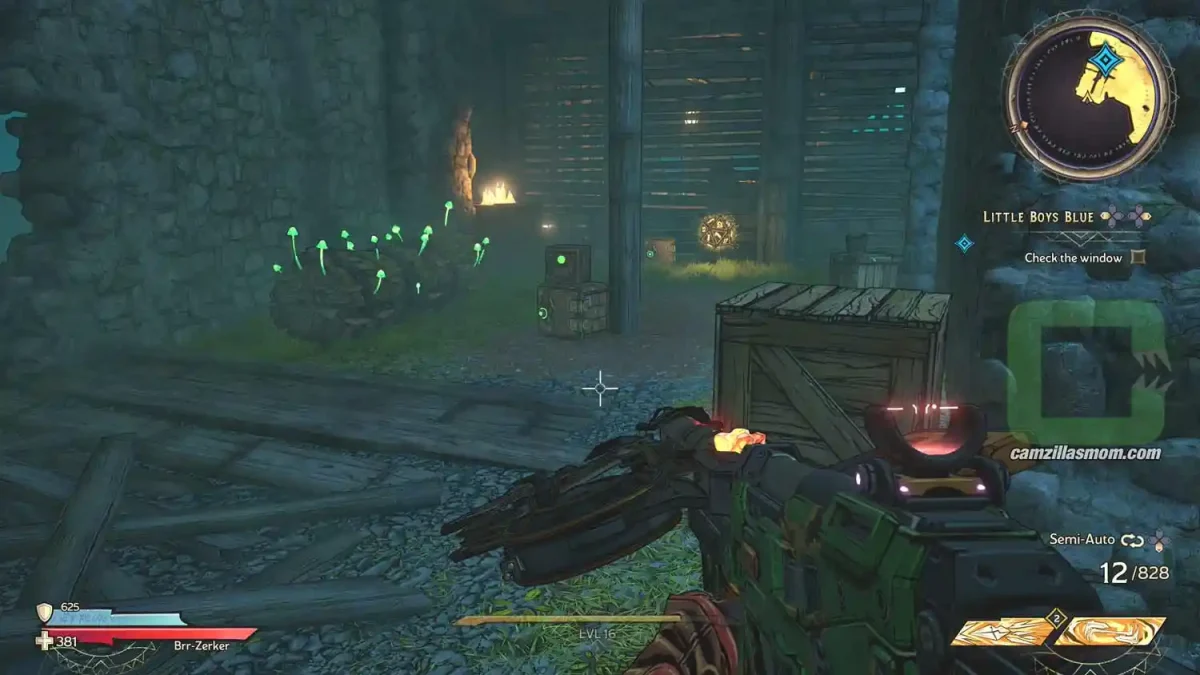
Up at the top.

Lucky Dice 2

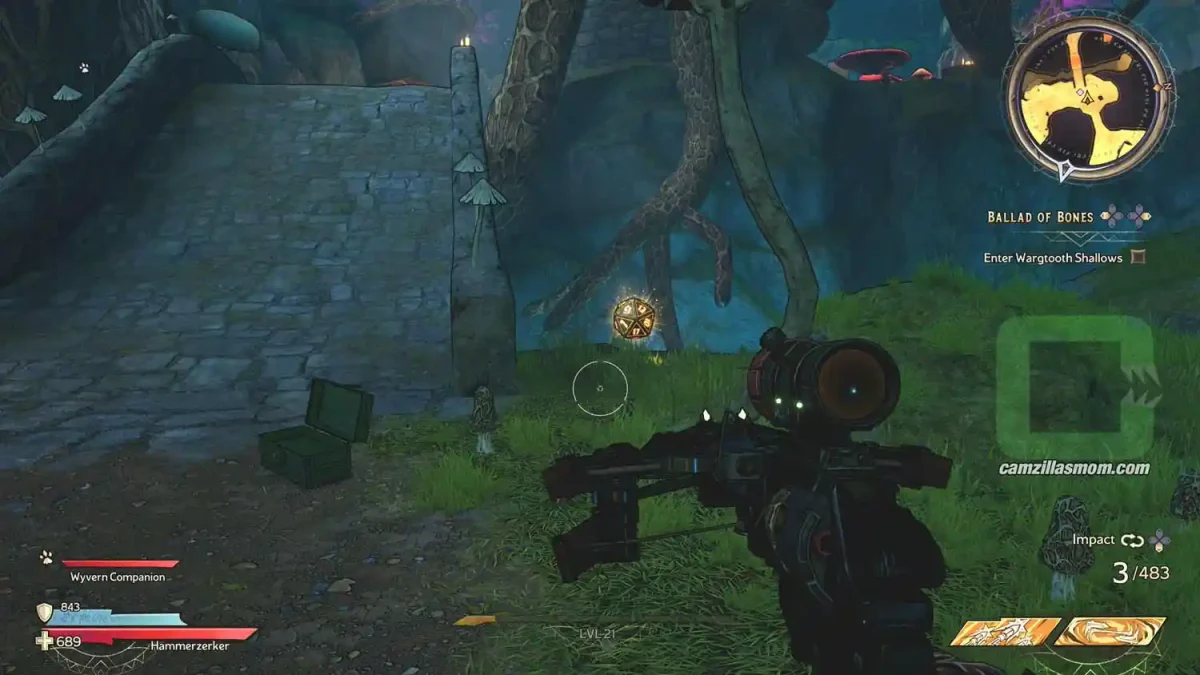
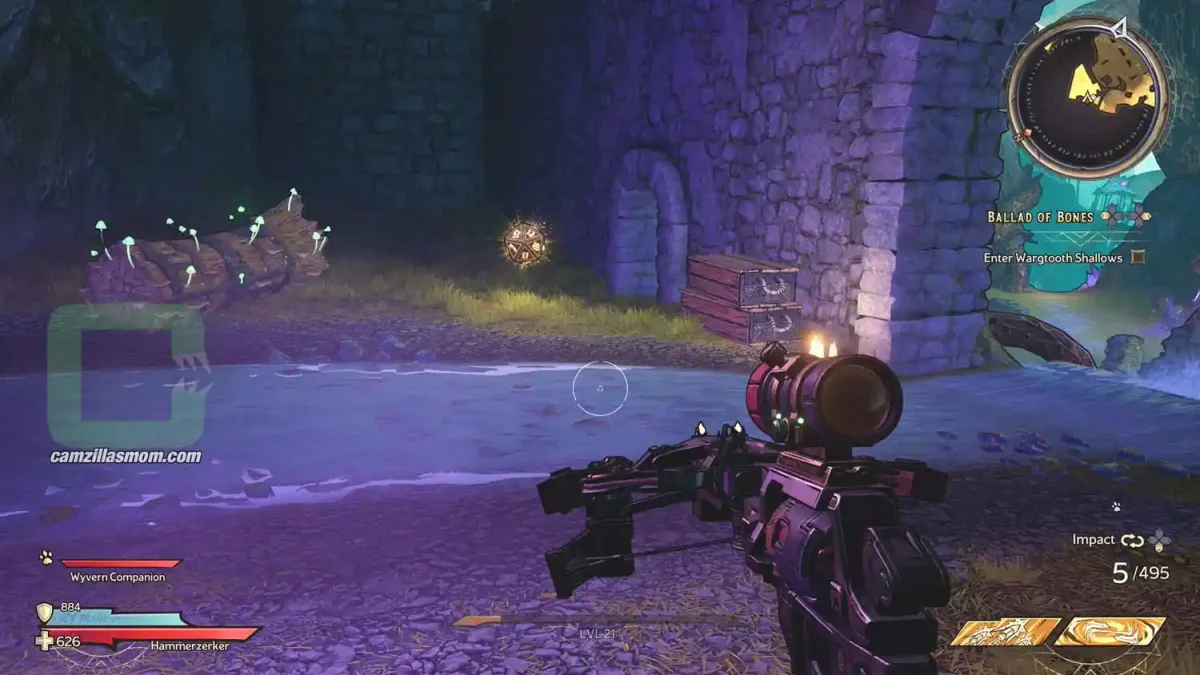
Right above the safe point for “Murph Refugee Camp” is a Lucky Die.

| camzillasmomcom
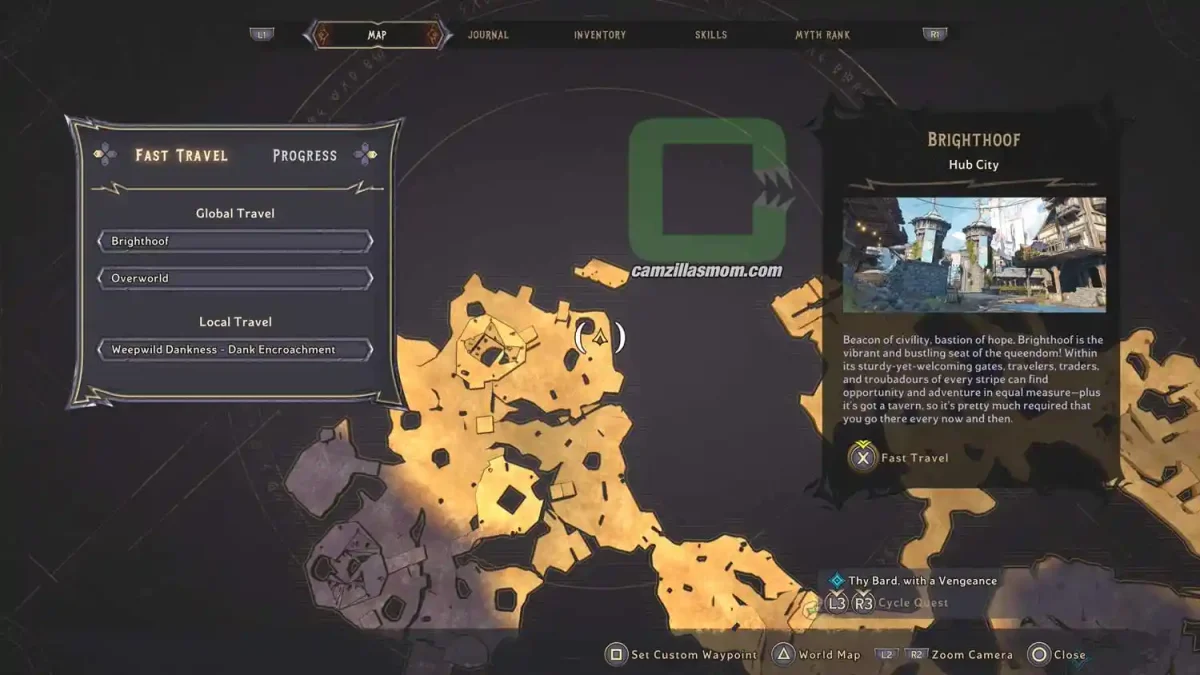
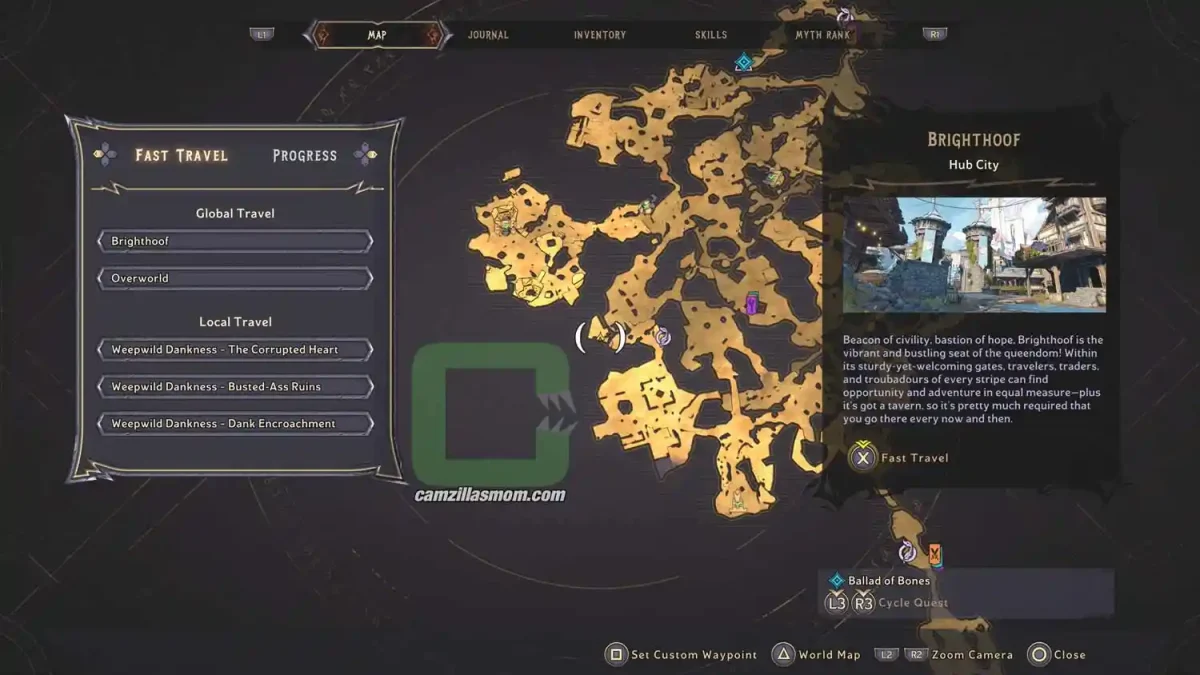
The location on the map with full zoom out.
| camzillasmomcom
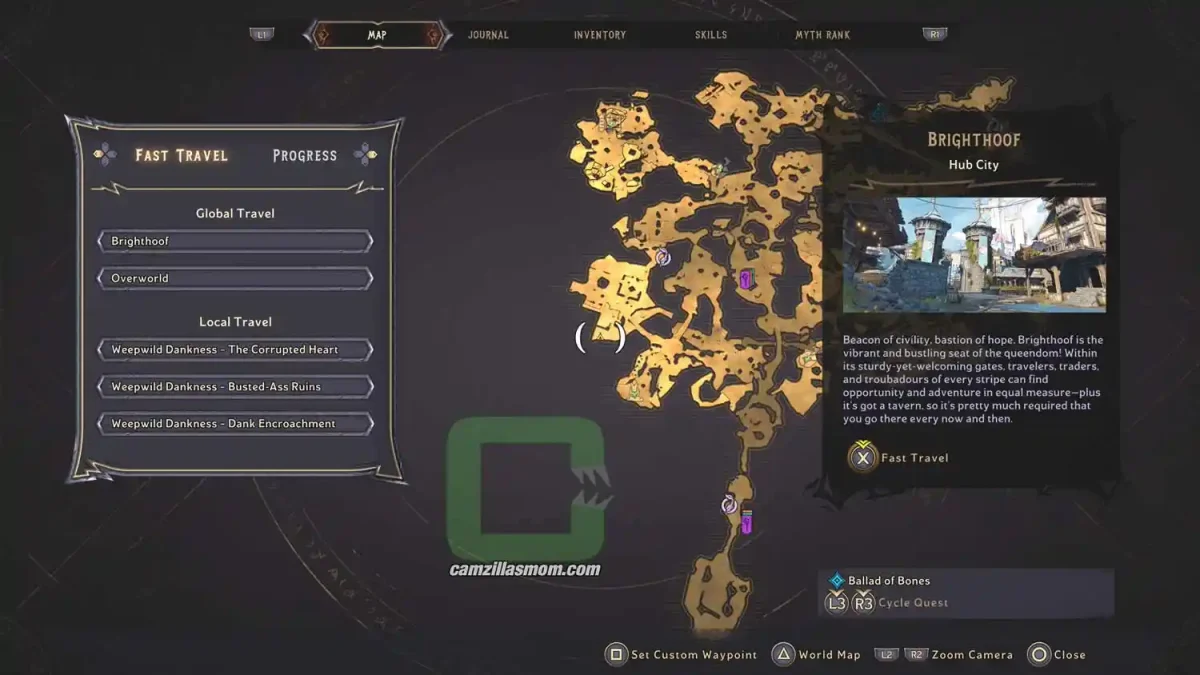
The location on the map with zoom in.
| camzillasmomcom
The Die at the top of the house.
| camzillasmomcom
Up at the top.

Lucky Dice 3

At the top of “Murph Refugee Camp” is a lookout platform where this Lucky Die is.

| camzillasmomcom
The location on the map with full zoom out.
| camzillasmomcom
The location on the map with zoom in.
| camzillasmomcom
Upper parts of Murph Refugee Camp.
| camzillasmomcom
Viewing platform with the die.

Lucky Dice 4

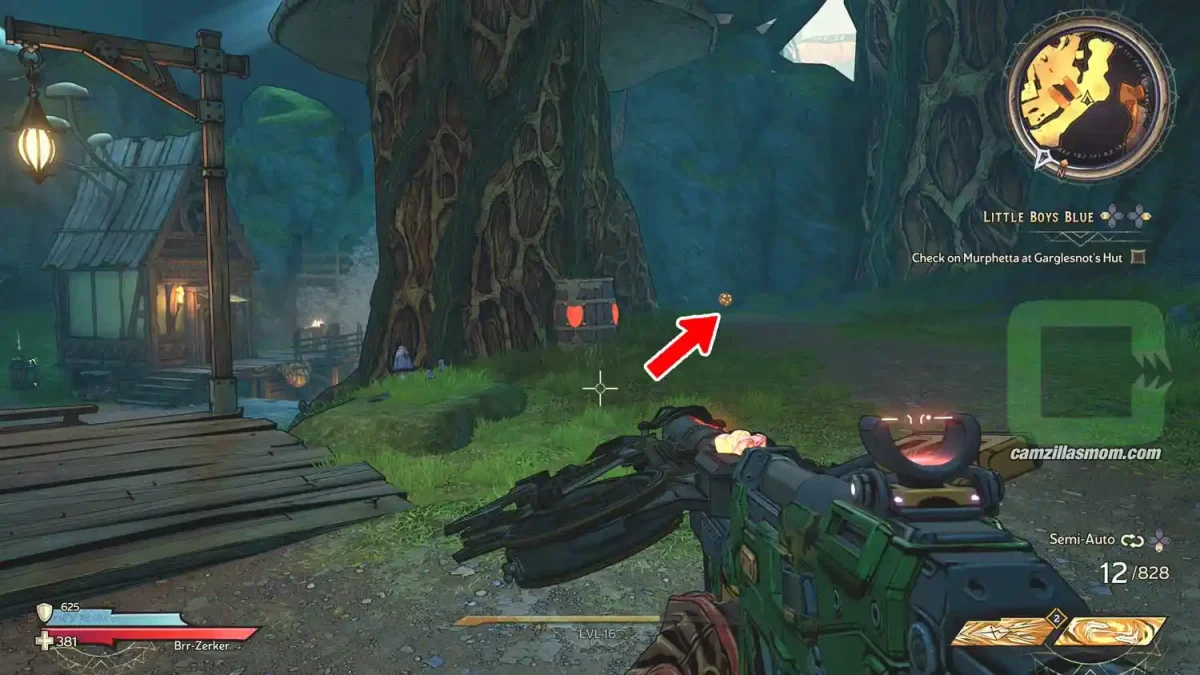
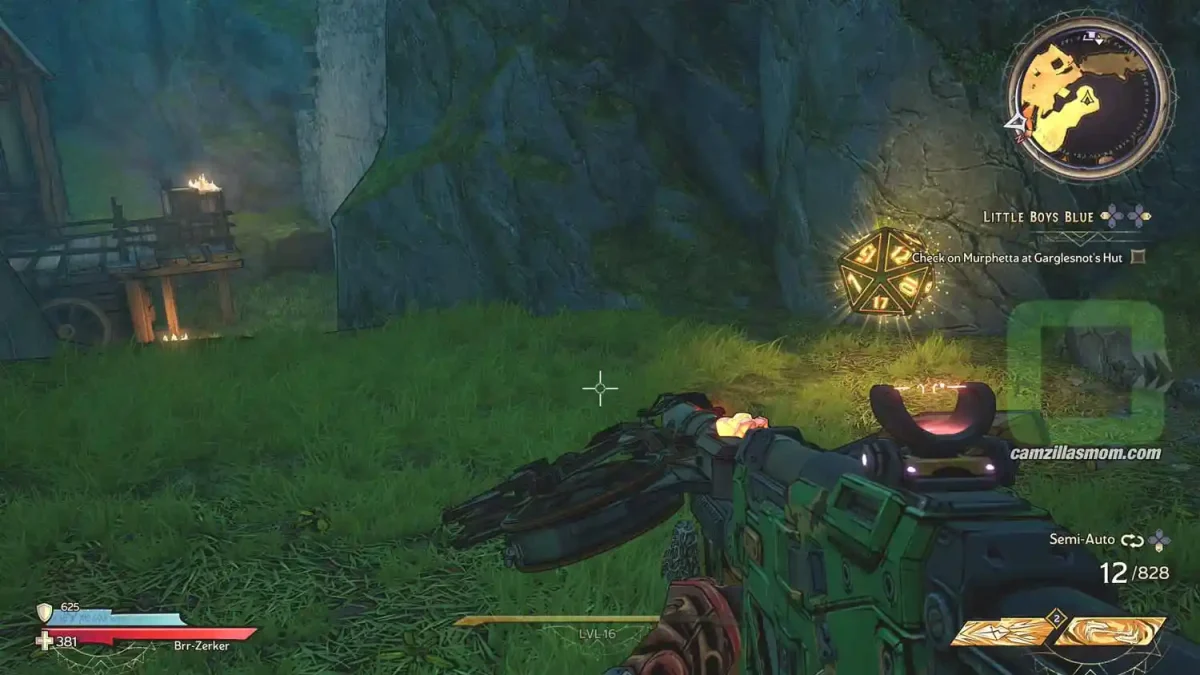
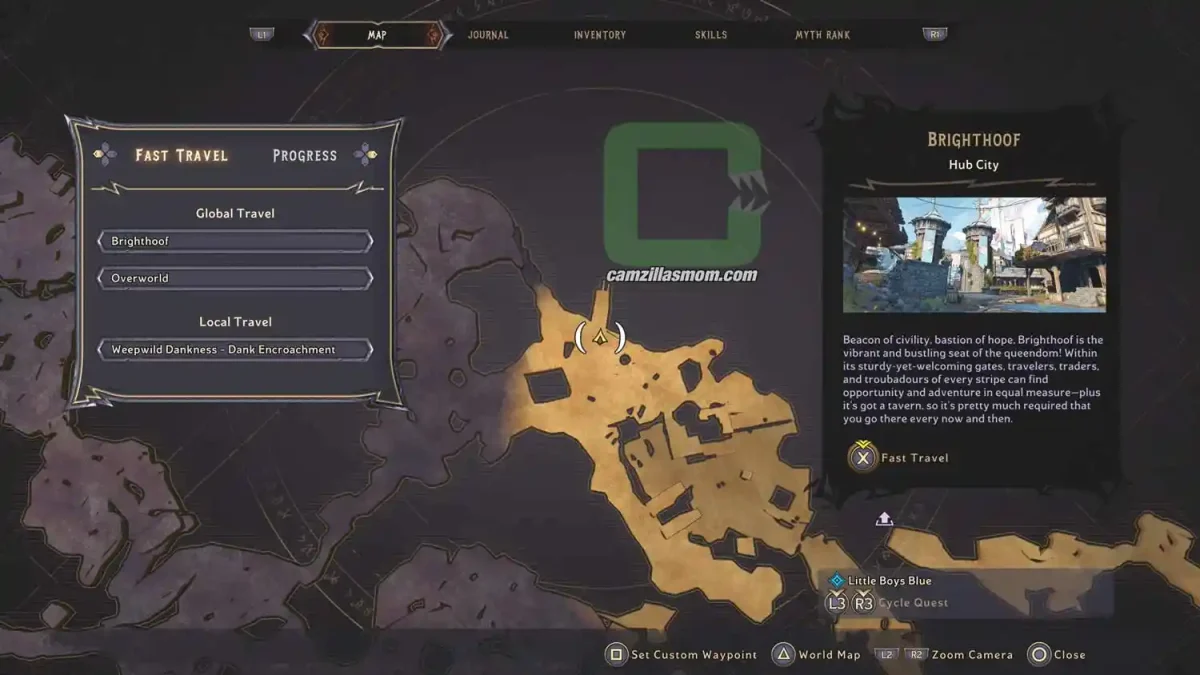
Cross “Murph Refugee Camp” and enter “Snot’s Pot” where Garglesnot lives. At the back of his wrecked house is a Lucky Dice.

| camzillasmomcom
The location on the map with full zoom out.
| camzillasmomcom
The location on the map with zoom in.
| camzillasmomcom
The Die is at the back of the house.
| camzillasmomcom
This is inside the wrecked part.

Lucky Dice 5

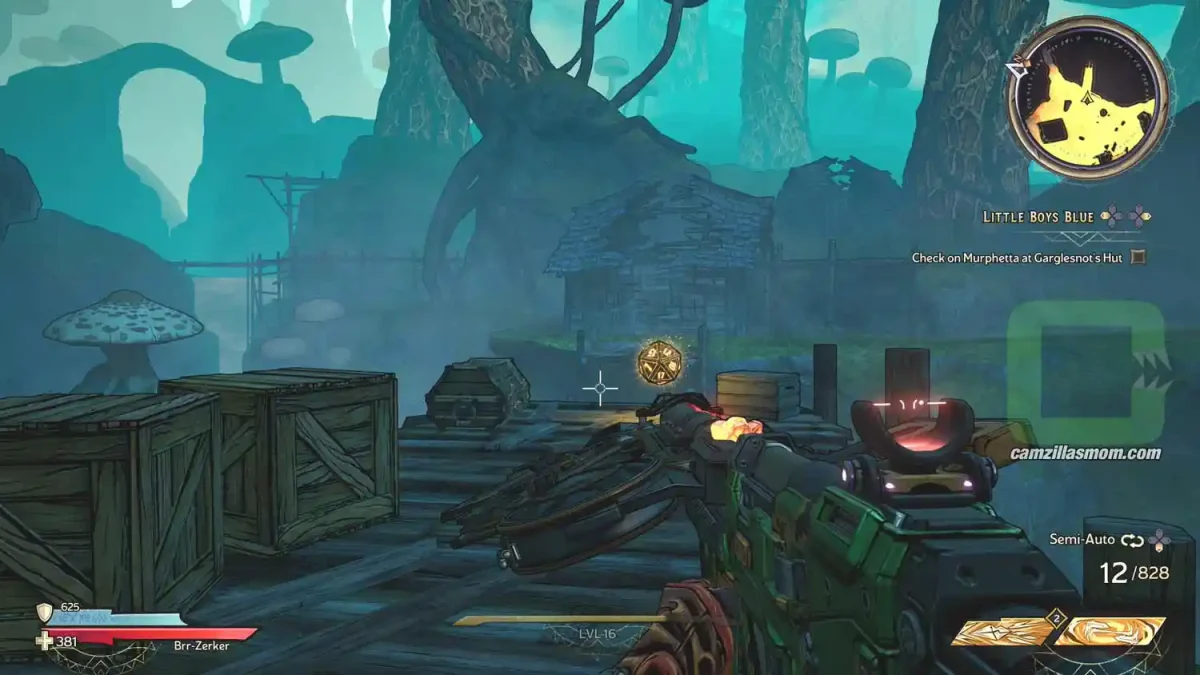
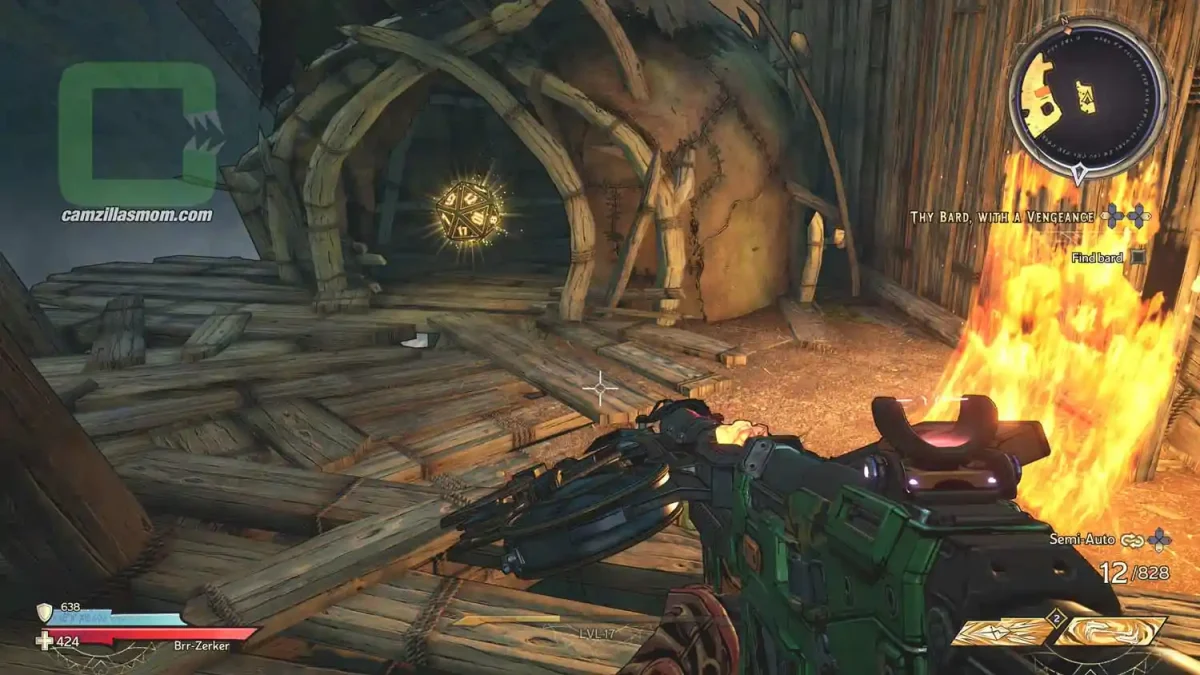
In the top area of “Murphshire”, the Murph village, is a mushroom you can jump onto to get to a remote area. The Die is inside the hut.

| camzillasmomcom
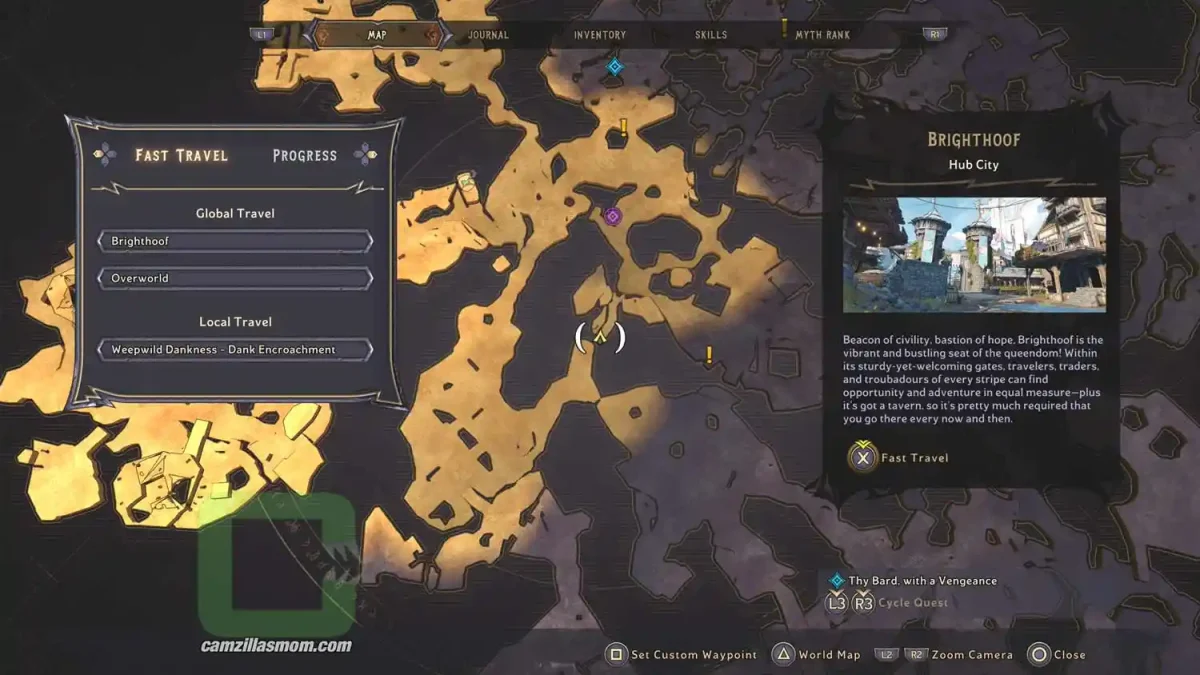
The location on the map with full zoom out.
| camzillasmomcom
The location on the map with zoom in.
| camzillasmomcom
Use the sparkly mushroom to get over the abyss.
| camzillasmomcom
There it is in the hut.

Lucky Dice 6

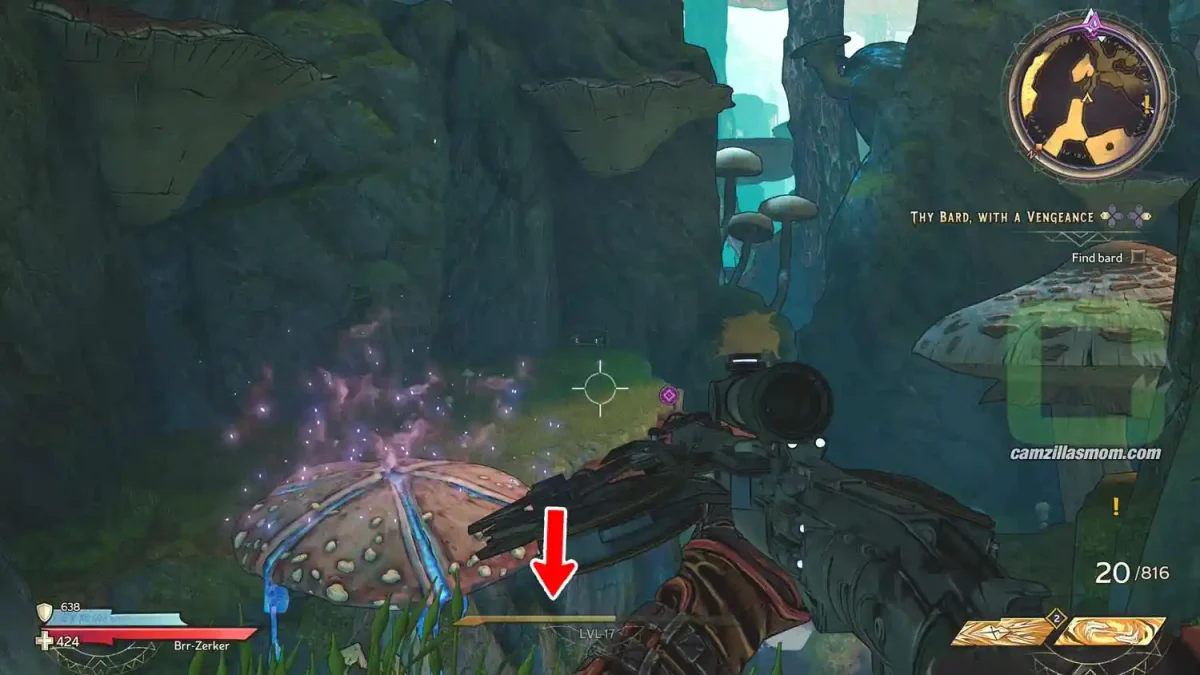
Look for the river near “Murphshire” and follow it downstream until you see a purple jumpy mushroom. The die is right below it.

| camzillasmomcom
The location on the map with full zoom out.
| camzillasmomcom
The location on the map with zoom in.
| camzillasmomcom
The sparkly, jumpy mushroom by the river.
| camzillasmomcom
And the die below it.

Lucky Dice 7

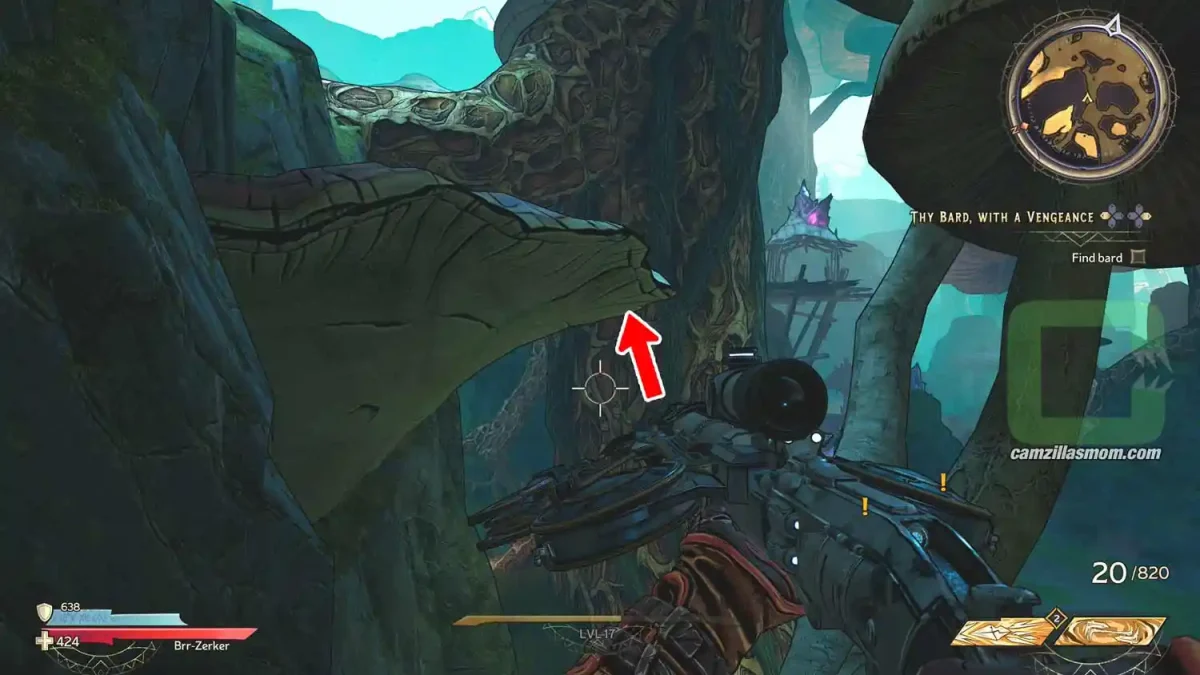
Lucky Die 7 is nearby. Go up to where the purple mushroom is and look downstream. There is yellow paint on the rock. Jump up there. Next, you have to jump onto the big mushroom on the mountain wall. Stay as much right on the yellow painted rock as possible before you jump, otherwise you will bounce off and fall down. Get ready to try this a couple of times…

| camzillasmomcom
The location on the map with full zoom out.
| camzillasmomcom
The location on the map with zoom in.
| camzillasmomcom
The yellow paint. The sparkly mushroom behind you.
| camzillasmomcom
Jump onto this mushroom.

Lucky Dice 8

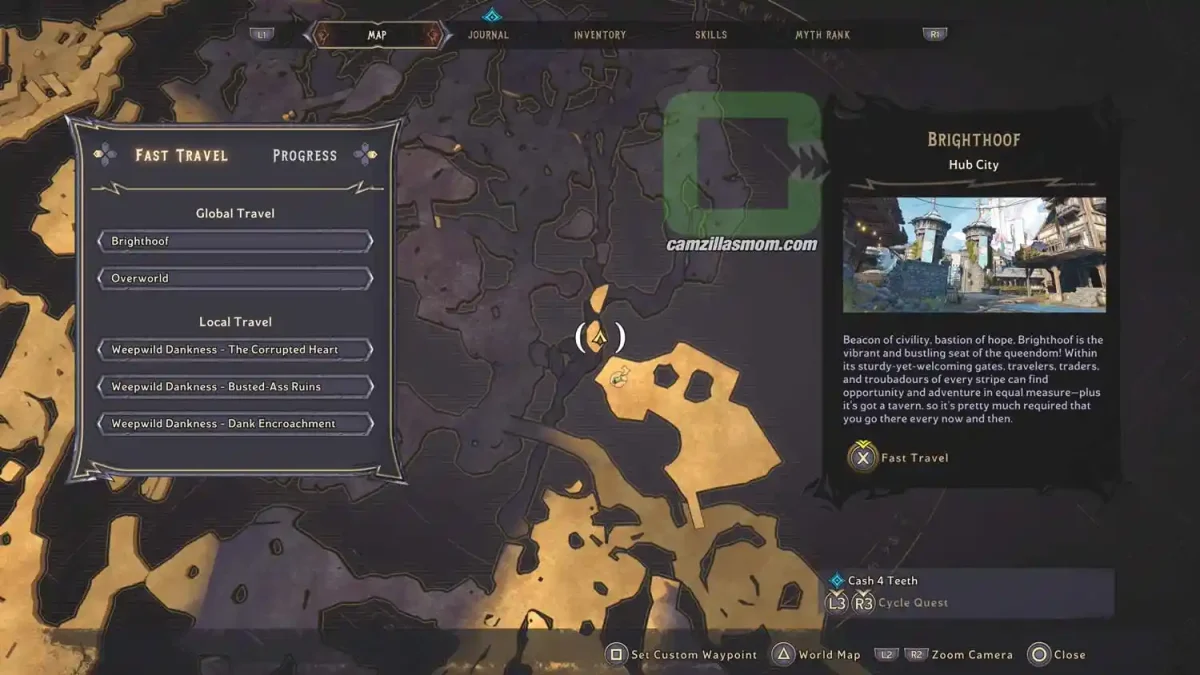
In the area before you get to the “The Corrupted Heart” waypoint, there are two purple, sparkling mushrooms you can use to get to a higher area. This is where one of the Lost Marbles are. Behind the Marble, you can continue to move up jumping on the big mushroom heads on the mountain wall. There, at the back, is this Lucky Die.

| camzillasmomcom
The location on the map with full zoom out.
| camzillasmomcom
The location on the map with zoom in.
| camzillasmomcom
Jump up those sparkly mushrooms.
| camzillasmomcom
The die at the far back.

Lucky Dice 9

At “Terra Sanguina”, which is above the “The Horns” Settlement, there is a puple, sparkly mushroom you can use. It’ll take you straight to the Lucky Die.

| camzillasmomcom
The location on the map with full zoom out.
| camzillasmomcom
The location on the map with zoom in.
| camzillasmomcom
Jump up the sparkly mushroom
| camzillasmomcom
You’ll land right in front of the die.

Lucky Dice 10

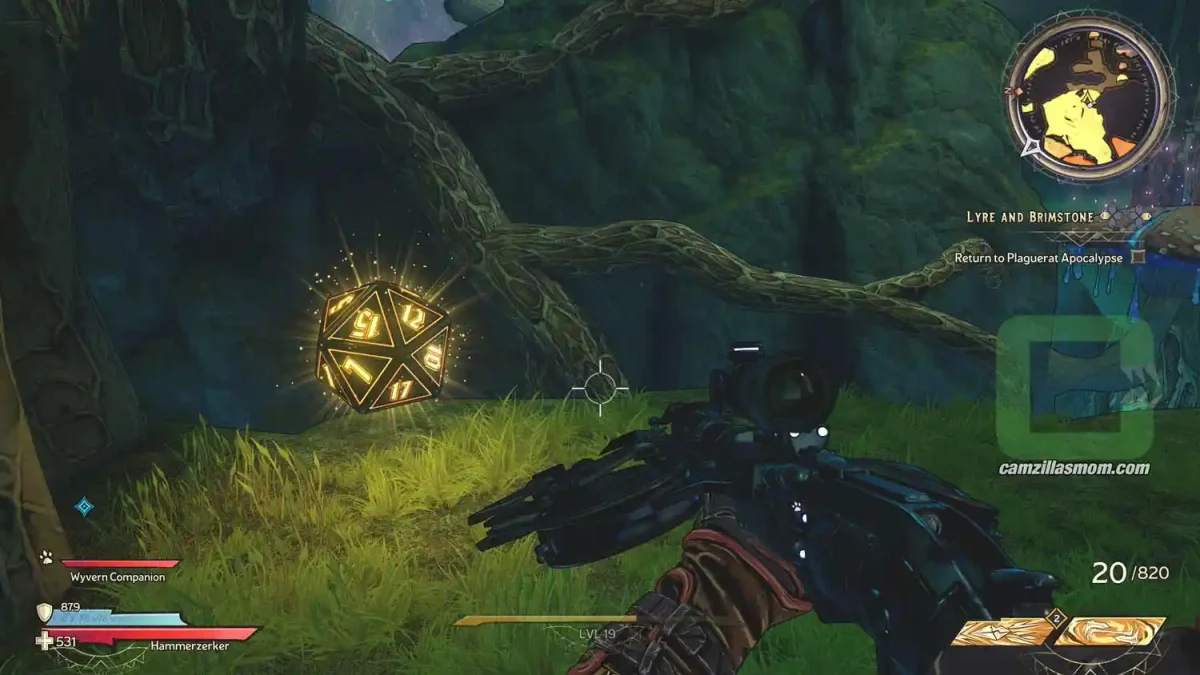
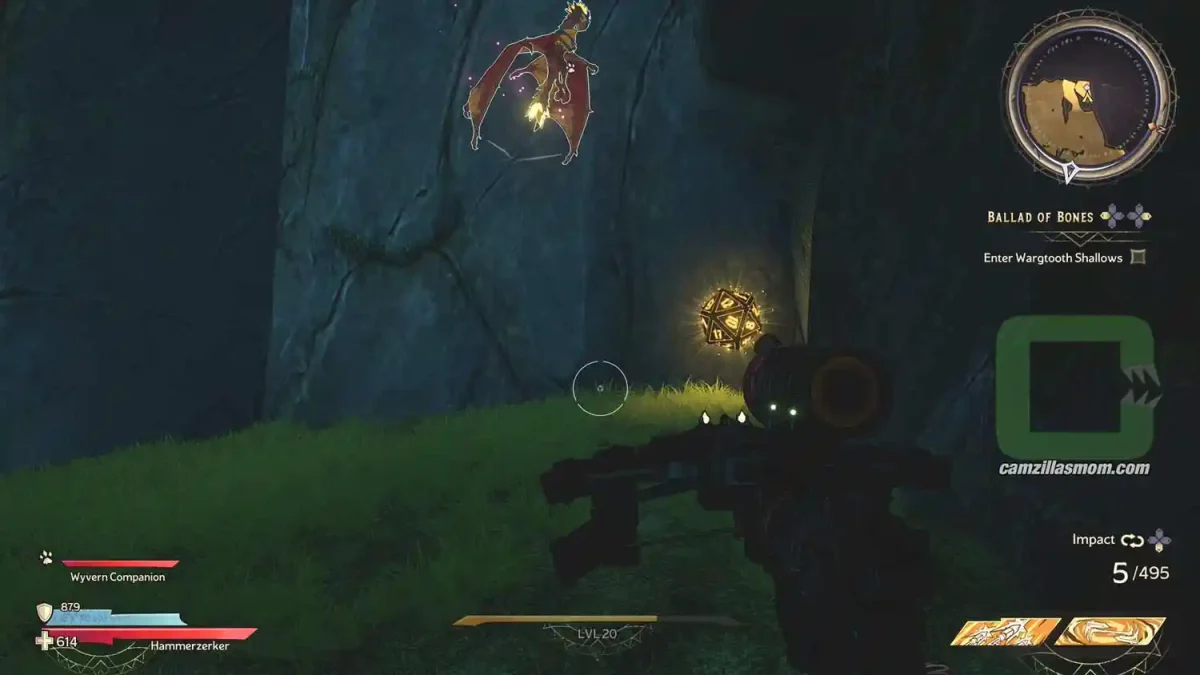
For the “Lyre and Brimstone” Side Quest at “The Horns” Settlement, you need to get an eye. This is where you find it and the Lucky Die too.

| camzillasmomcom
The location on the map with full zoom out.
| camzillasmomcom
The location on the map with zoom in.
| camzillasmomcom
| camzillasmomcom

Lucky Dice 11

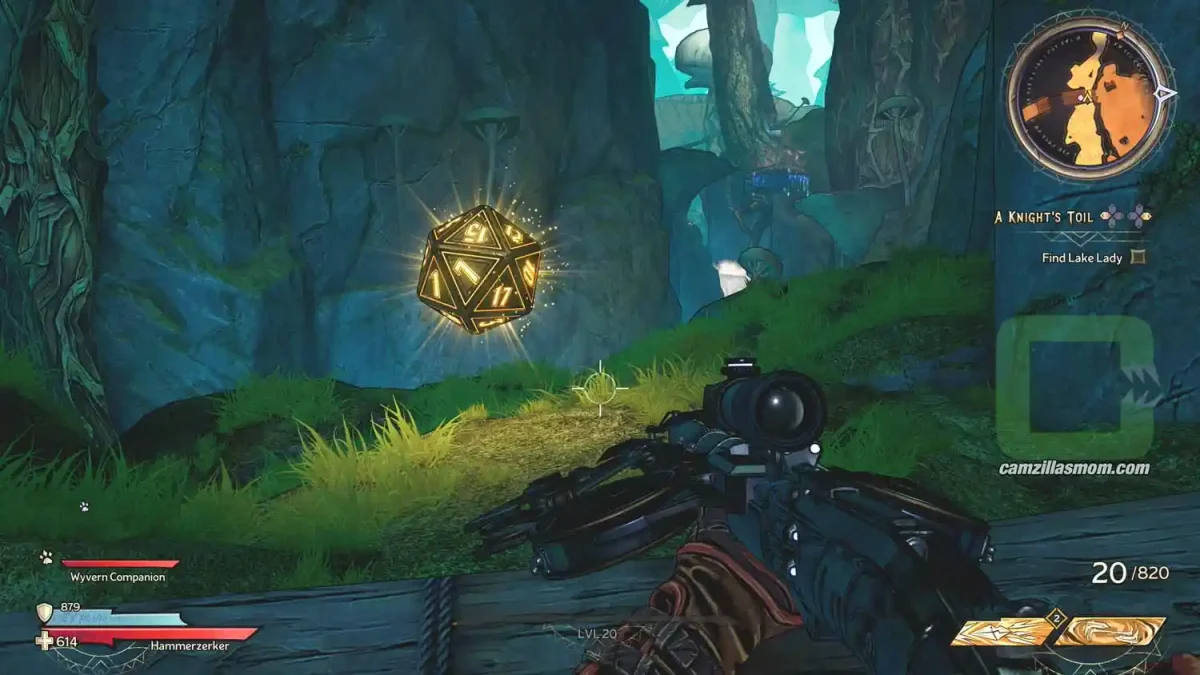
This Lucky Die is right below the “Lake Lady” by the stream. Nearest Travel Point: Dark Encroachment.

| camzillasmomcom
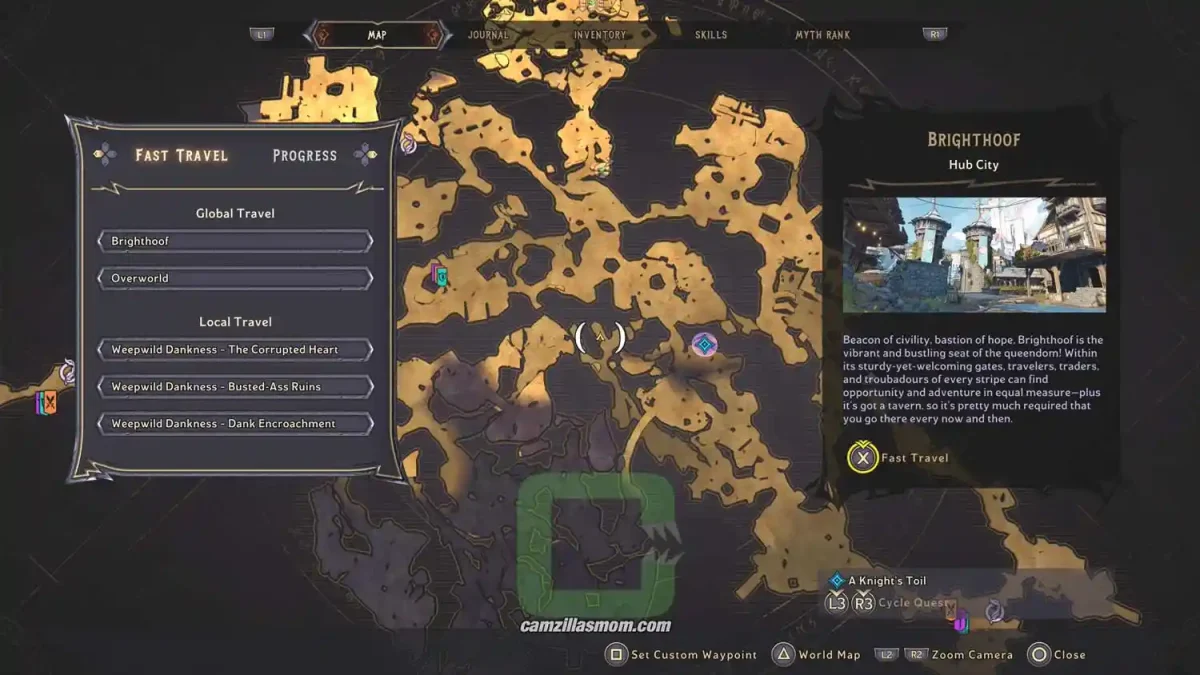
The location on the map with full zoom out.
| camzillasmomcom
The location on the map with zoom in.
| camzillasmomcom
The Die at the back below the Lake Lady.
| camzillasmomcom

Lucky Dice 12

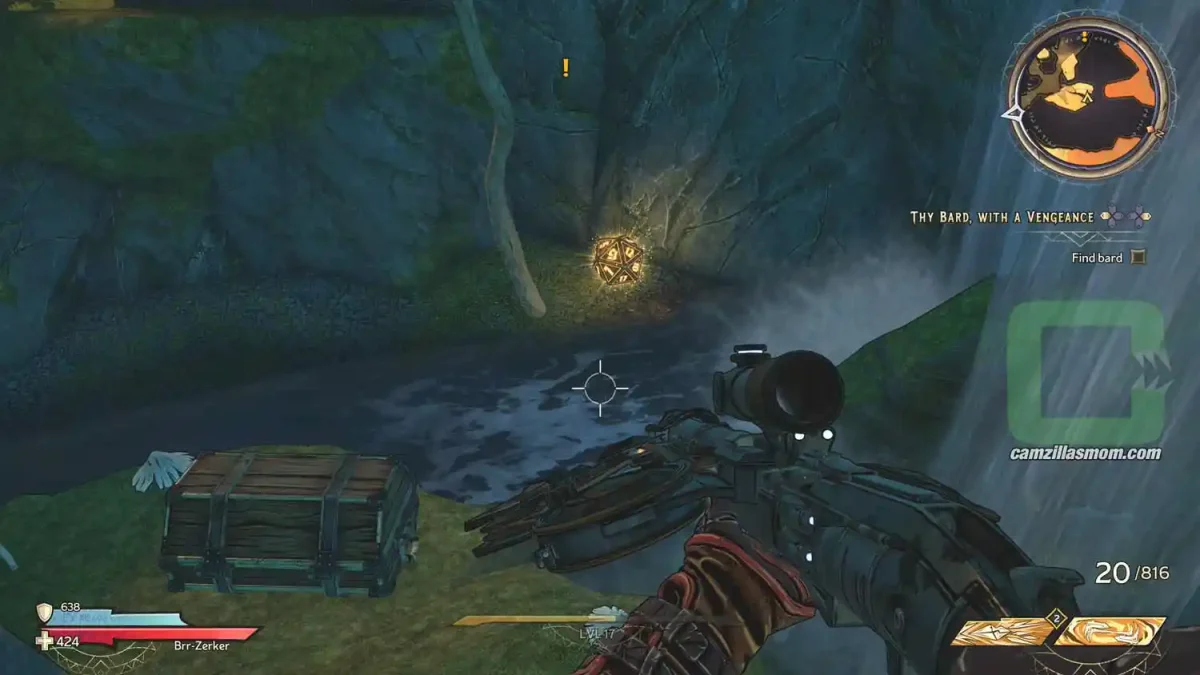
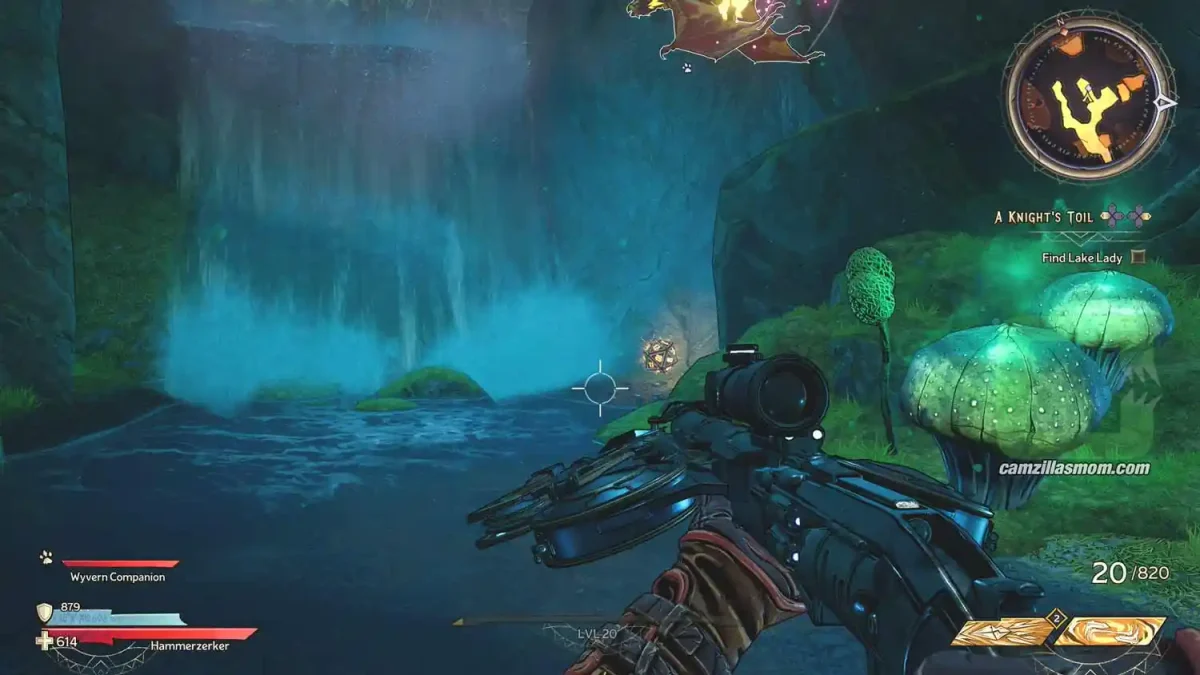
At the last Lucky Die location (Number 11) just jump into the stream and walk upwards. You will find this die next to a waterfall.

| camzillasmomcom
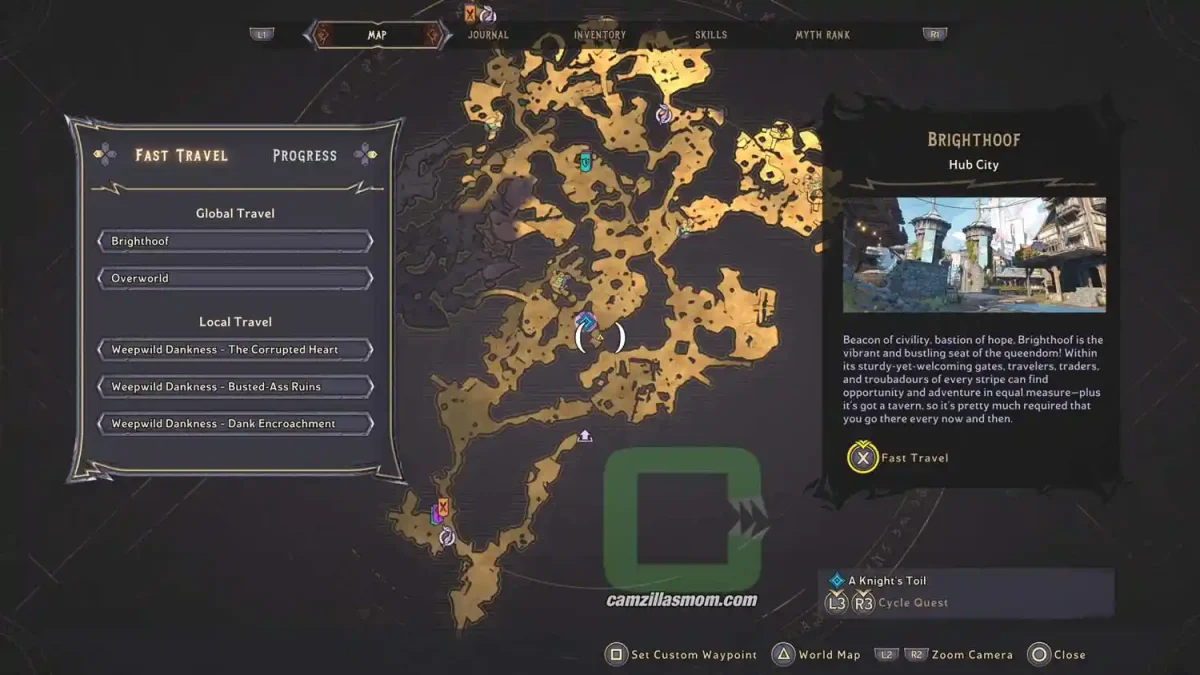
The location on the map with full zoom out.
| camzillasmomcom
The location on the map with zoom in.
| camzillasmomcom
Ahead by the waterfall.
| camzillasmomcom

Lucky Dice 13

This Lucky Dice is just above the Lake Lady. You can get on top of the hut and then jump over to the die.

| camzillasmomcom
The location on the map with full zoom out.
| camzillasmomcom
The location on the map with zoom in.
| camzillasmomcom
The die far above the Lake Lady.
| camzillasmomcom
Get on top of the hut to the left to reach the die.

Lucky Dice 14

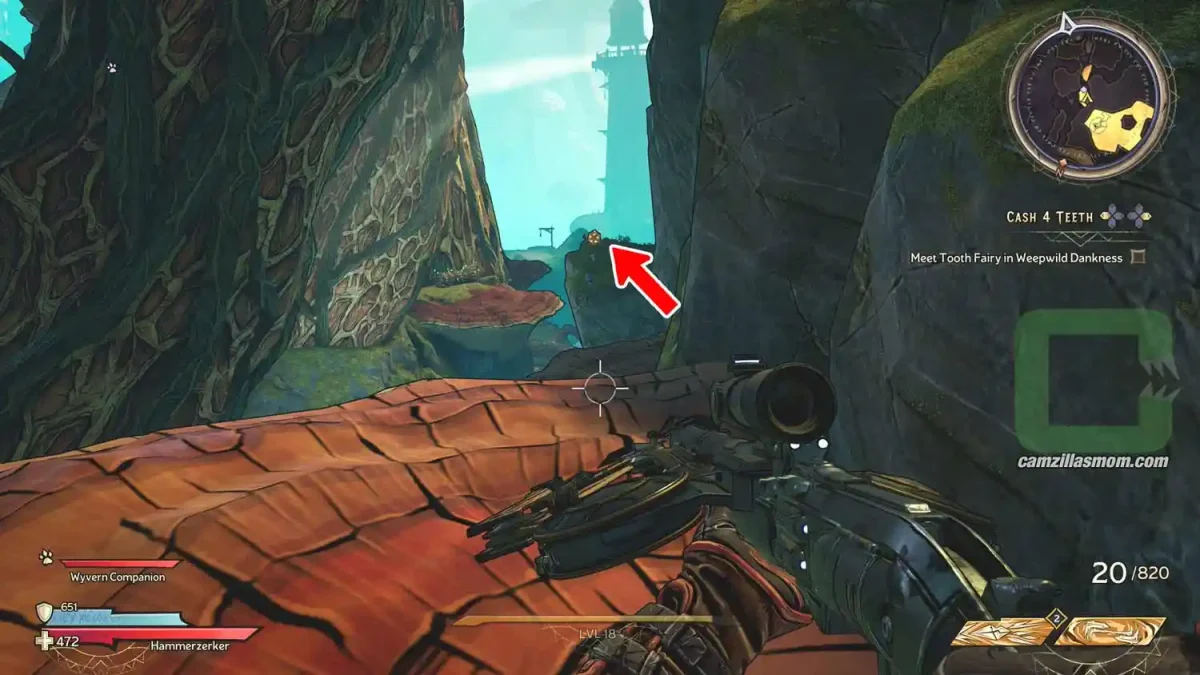
Towards the “Tooth Fairy” is a small village with a large brick wall. Go through the left gate and you will see yellow paint on the rock. Jump onto the big mushroom and follow the yellow stain on the other side. That’s where the Lucky Die is.

| camzillasmomcom
The location on the map with full zoom out.
| camzillasmomcom
The location on the map with zoom in.
| camzillasmomcom
Find the brick wall and go through the left passage.
| camzillasmomcom
The die on top of the hill.

Lucky Dice 15

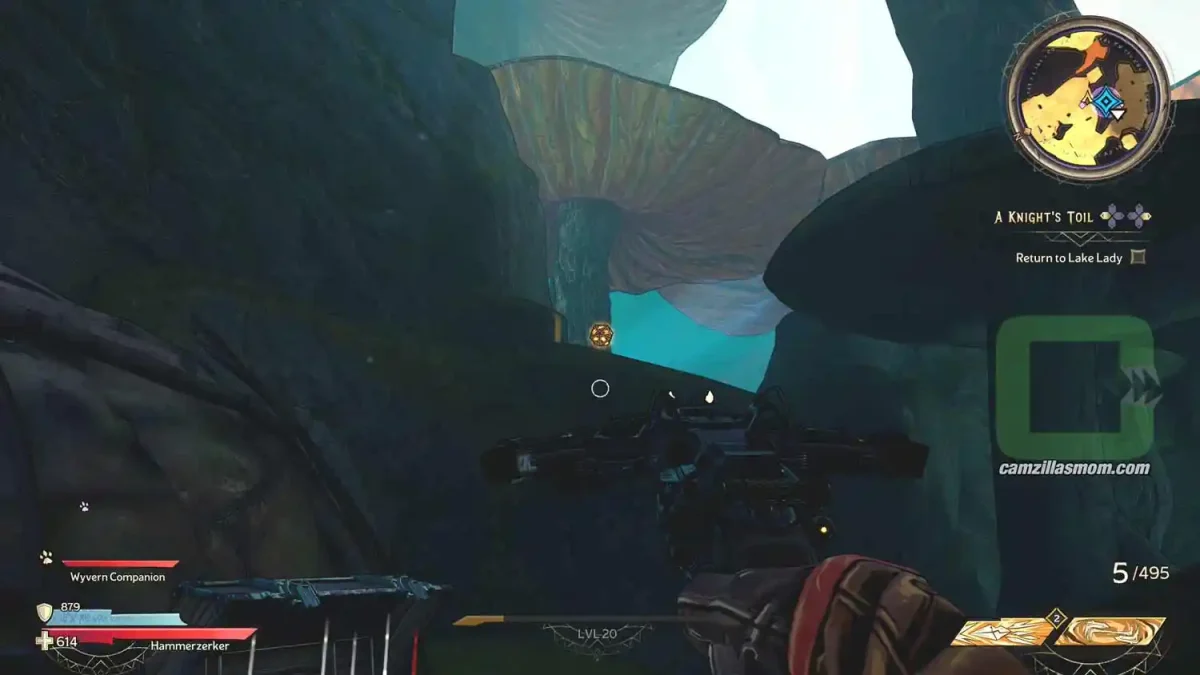
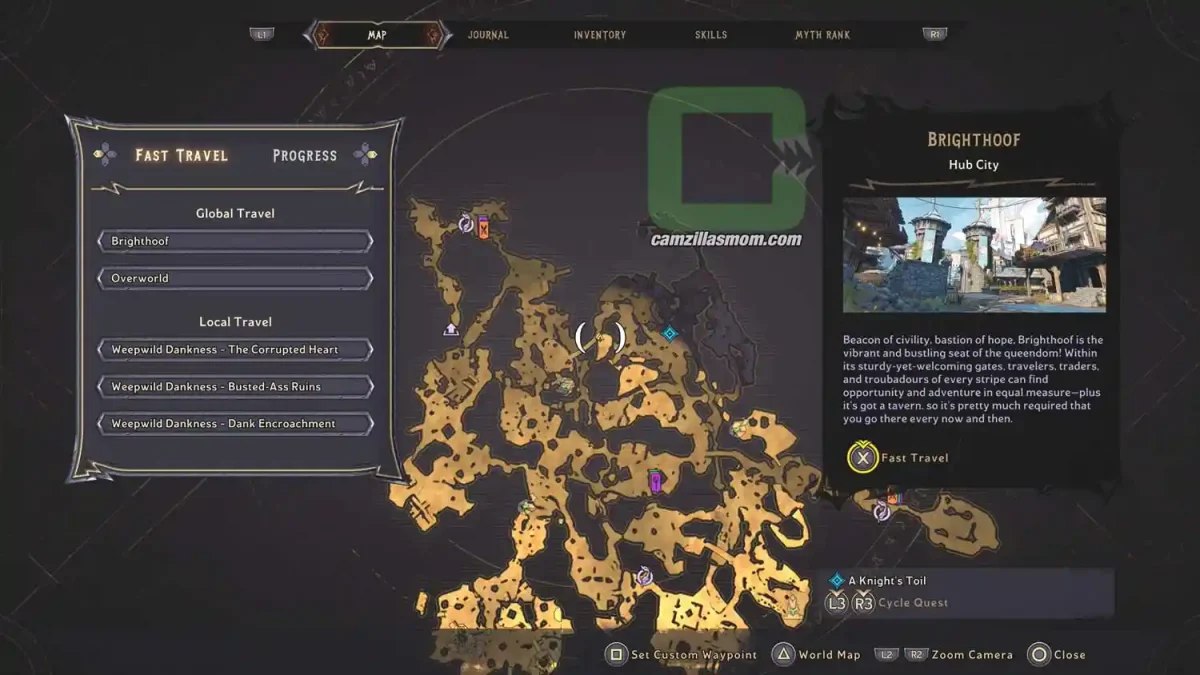
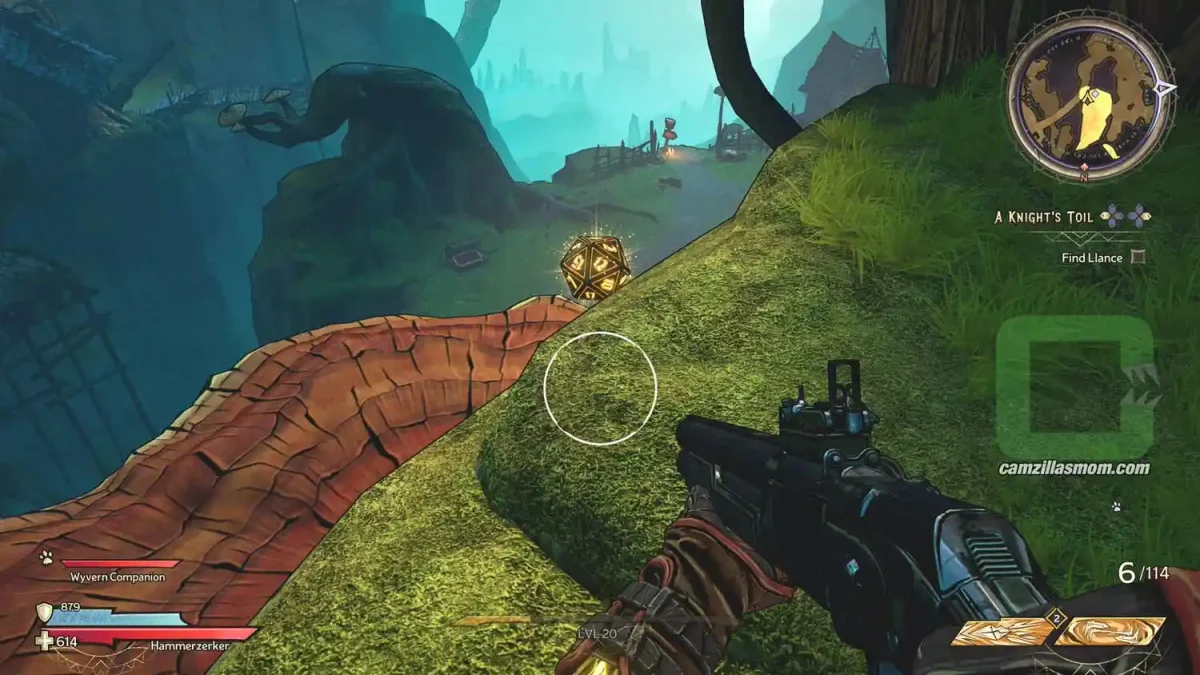
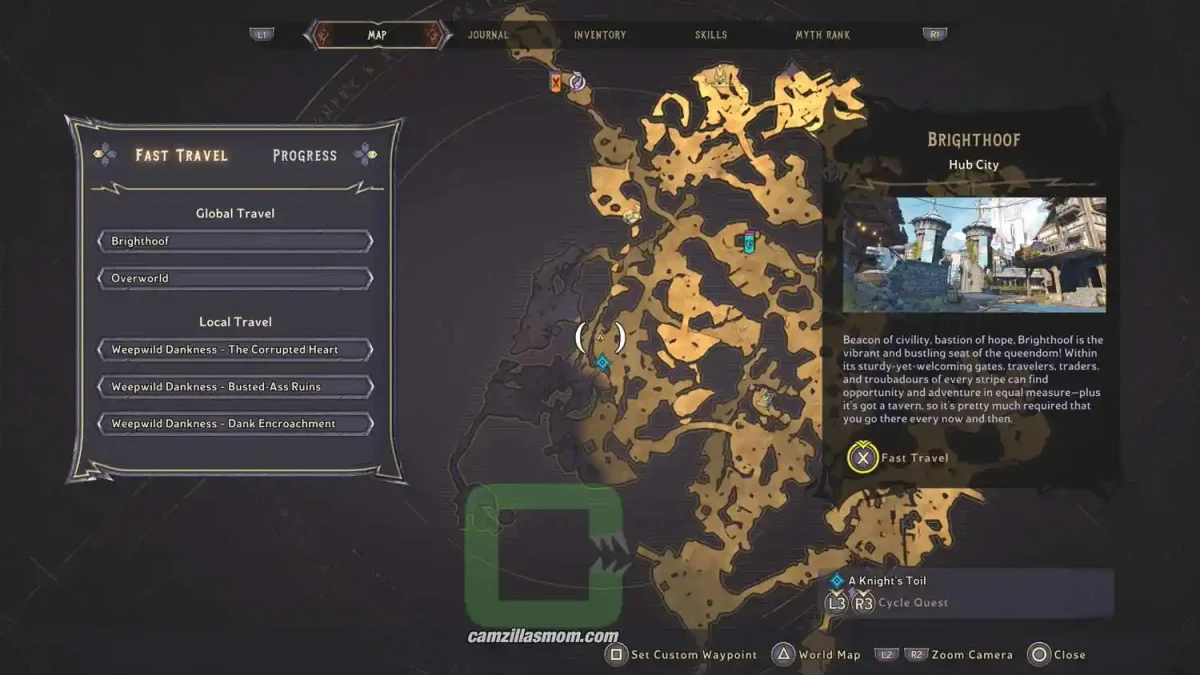
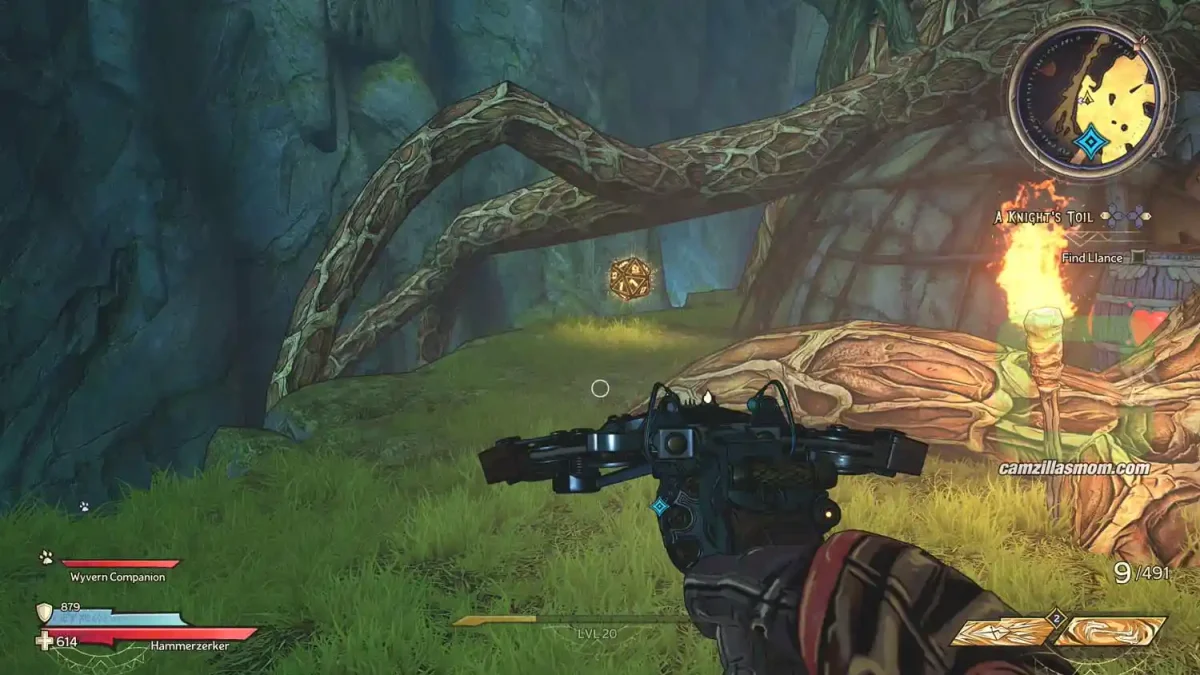
In the Side Quest “A Knight’s Toil” you have to find Llance near the “Tooth Fairy” in the area where Llance is is the Lucky Die behind a hut.

| camzillasmomcom
The location on the map with full zoom out.
| camzillasmomcom
The location on the map with zoom in.
| camzillasmomcom
Llance to the left, the die behind a hut.
| camzillasmomcom

Lucky Dice 16

At the base of Mervin’s tower, near the purple, sparkly mushrooms, is one Lucky Die.

| camzillasmomcom
The location on the map with full zoom out.
| camzillasmomcom
The location on the map with zoom in.
| camzillasmomcom
The die right next to the mushroom.
| camzillasmomcom

Lucky Dice 17

Leave “The Horns” towards the west and you will get to a stone bridge. The Lucky Die is right next to the bridge.

| camzillasmomcom
The location on the map with full zoom out.
| camzillasmomcom
The location on the map with zoom in.
| camzillasmomcom
The die next to the bridge.
| camzillasmomcom

Lucky Dice 18

Near the “Busted-Ass Fast Travel Point”, go towards the north. There is another set of ruins left on a hill. Inside, next to a mushroom treasure chest is the Lucky Dice.

| camzillasmomcom
The location on the map with full zoom out.
| camzillasmomcom
The location on the map with zoom in.
| camzillasmomcom
The dice is in the ruins.
| camzillasmomcom

Lucky Dice 19

This one is also near the “Busted-Ass Fast Travel Point” but in the other direction. In the Busted-Ass Ruins. Go up and at the back of the watermill, where the water comes rushing down. Here at the back wall is the Lucky Dice.

| camzillasmomcom
The location on the map with full zoom out.
| camzillasmomcom
The location on the map with zoom in.
| camzillasmomcom
The dice is behind the wall.
| camzillasmomcom

Lucky Dice 20

Not far away is the Ancient Obelisk. It’s there at the ledge where this Lucky Dice is.

| camzillasmomcom
The location on the map with full zoom out.
| camzillasmomcom
The location on the map with zoom in.
| camzillasmomcom
The dice is behind the wall.
| camzillasmomcom

This is TINY TINA’S WONDERLANDS
Release: May 26th, 2022
Developer: Gearbox Software
Publisher: 2K Games
Official Website: https://playwonderlands.2k.com/
Guides by camzillasmom.