All You Need – Lucky Dice: Tangledrift

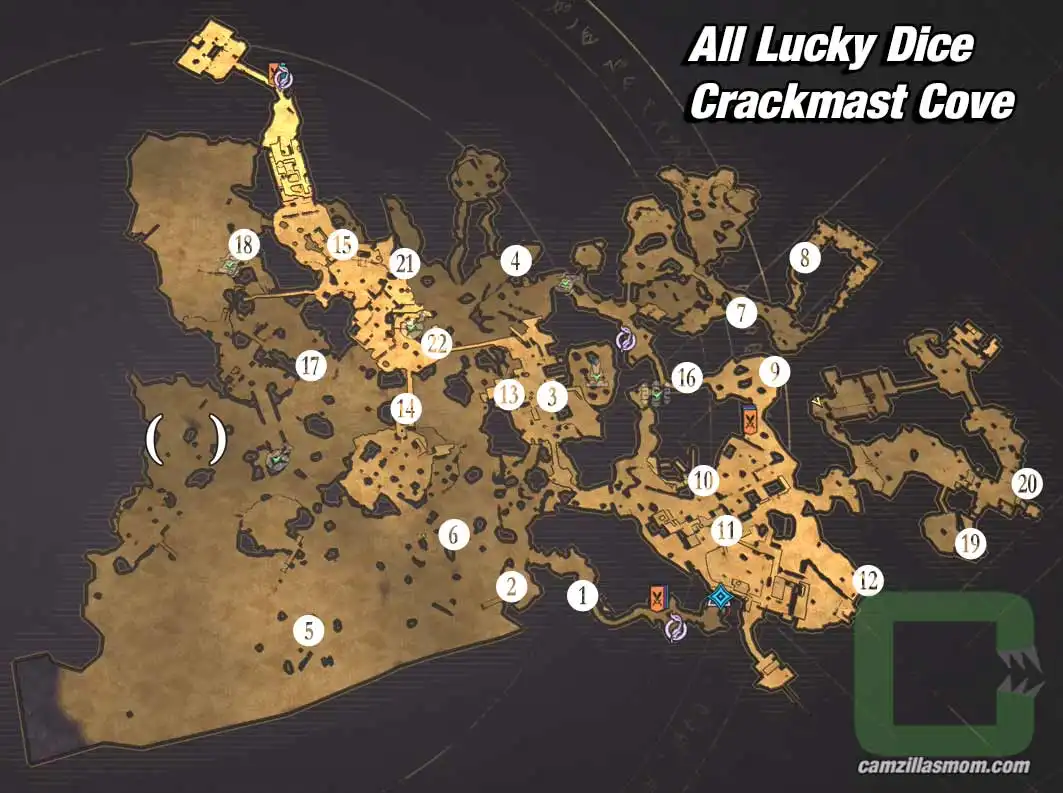
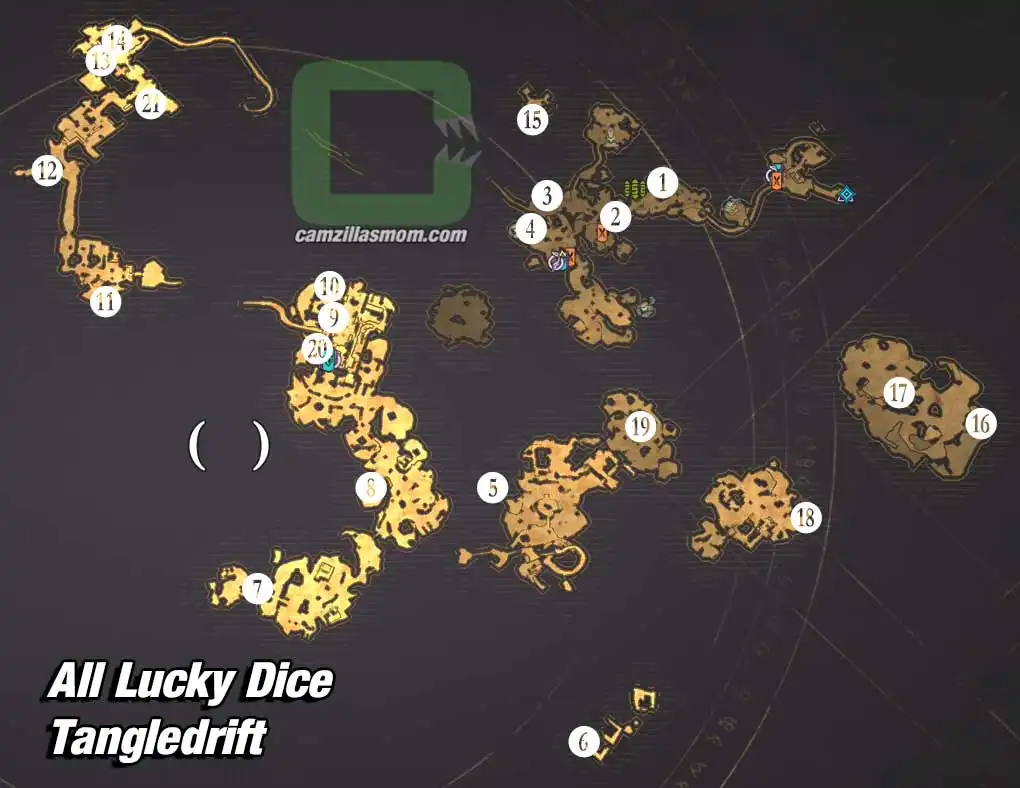
Here’s where you can find all 21 Lucky Dice: Tangledrift. This covers 21 of 26 Campaign Challenges you have to complete to get 100% Tangledrift Progress completion.

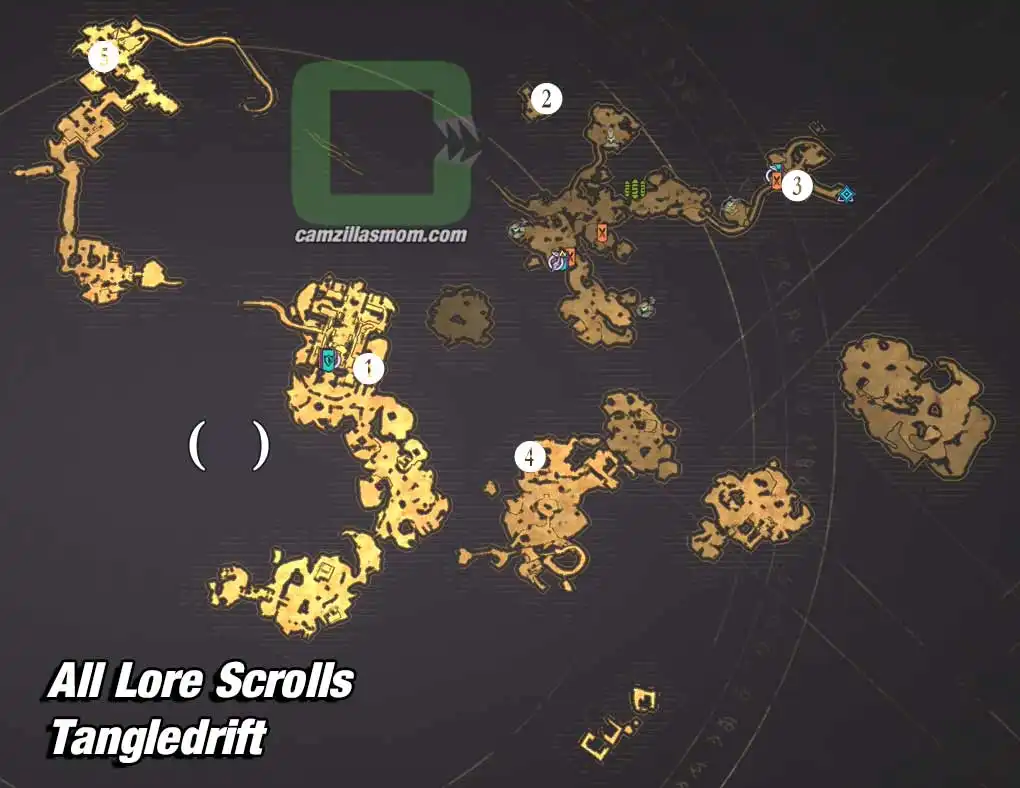
Here’s the Overview map on where to find all of them in Tangledrift. For detailed maps and screenshots, check below.

All Lucky Dice Tangledrift – Overview Map

Lucky Dice 1

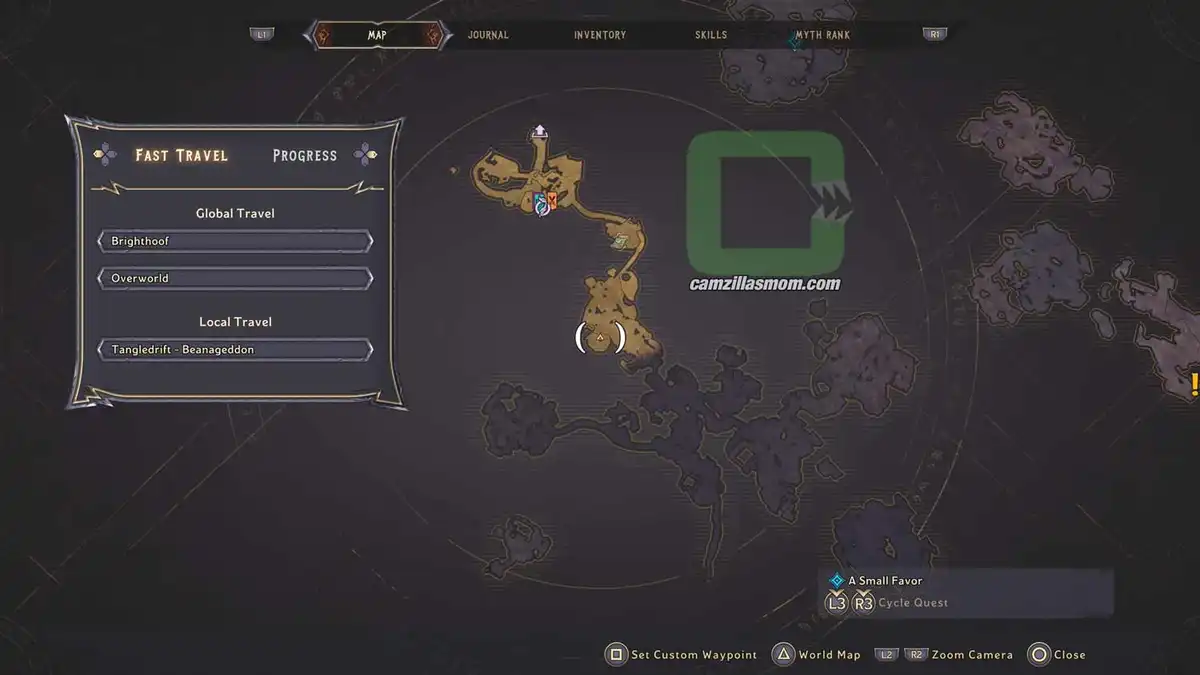
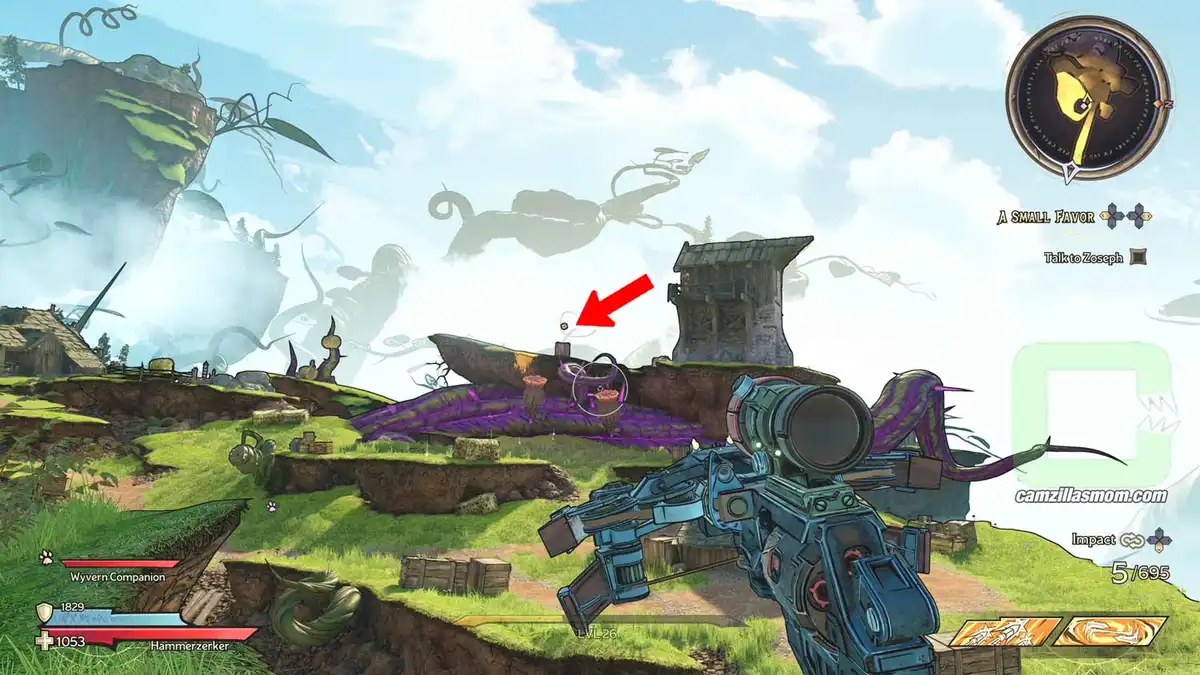
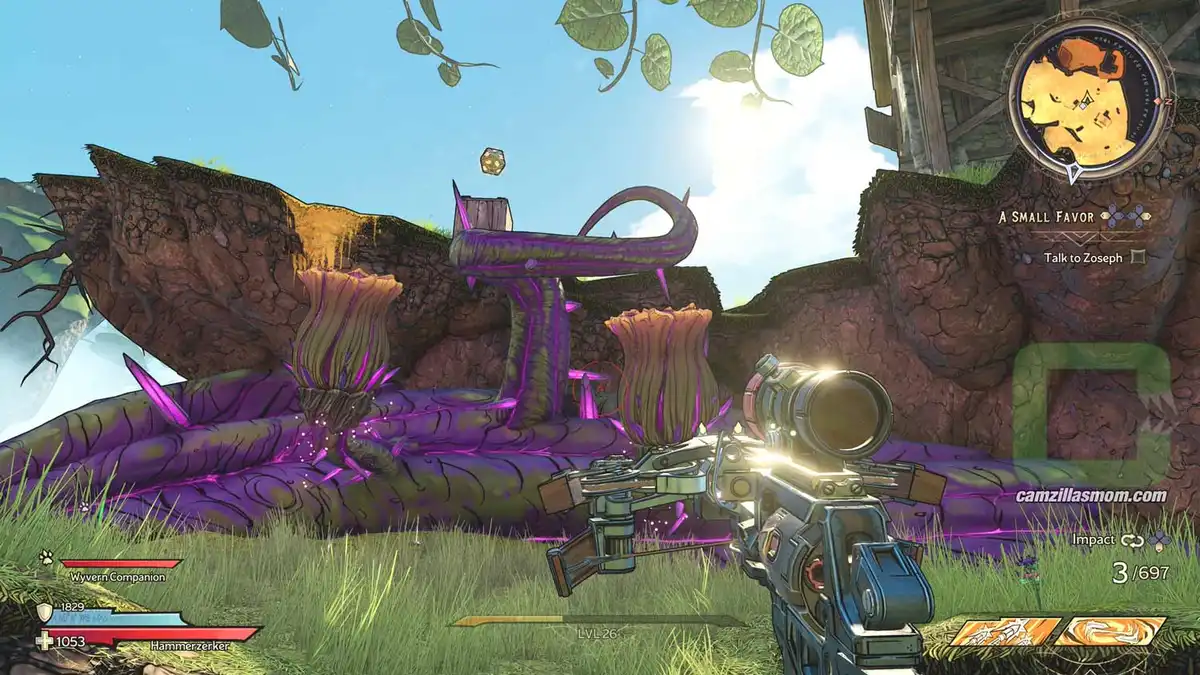
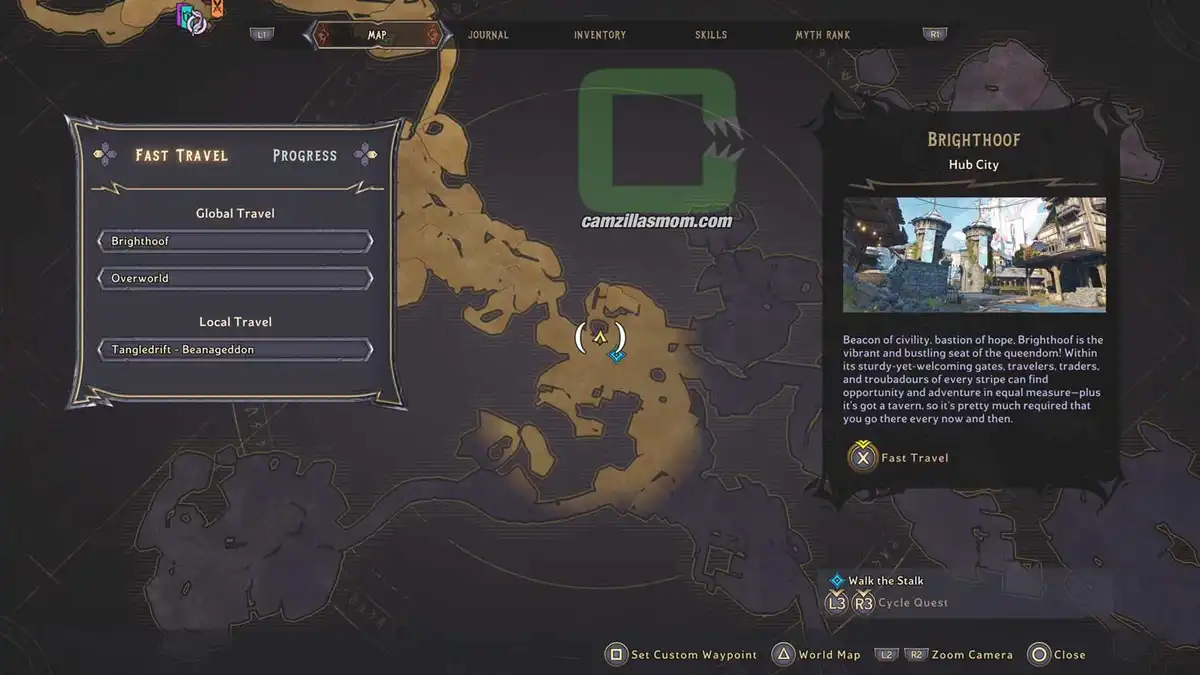
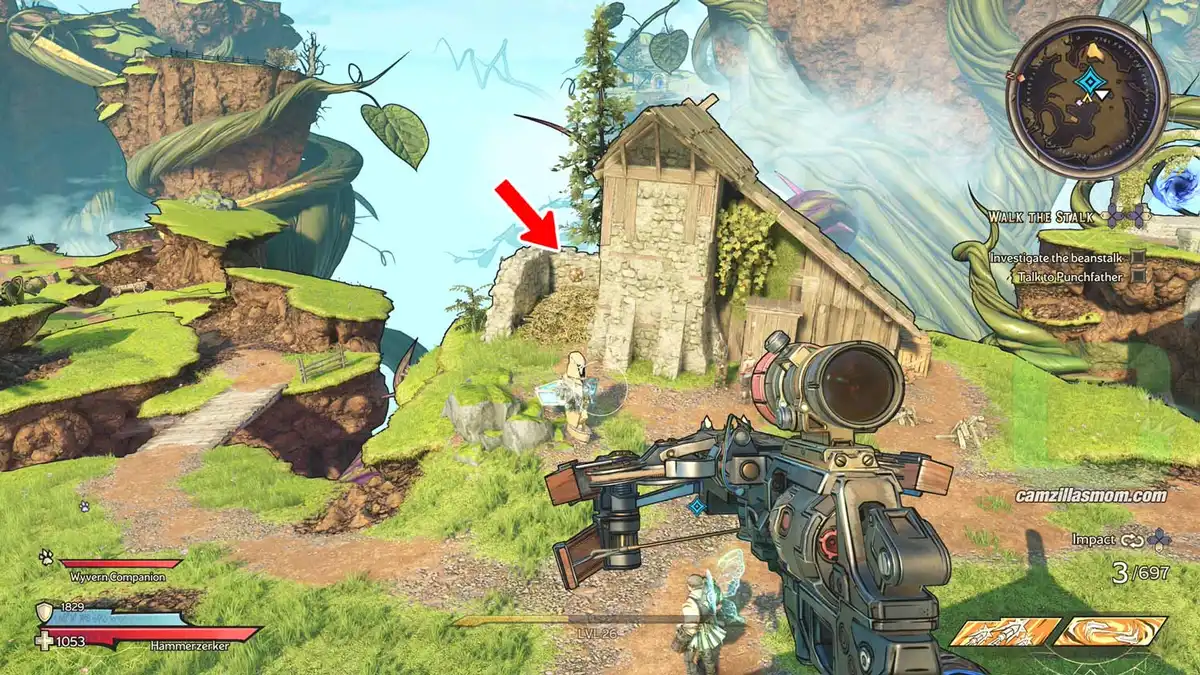
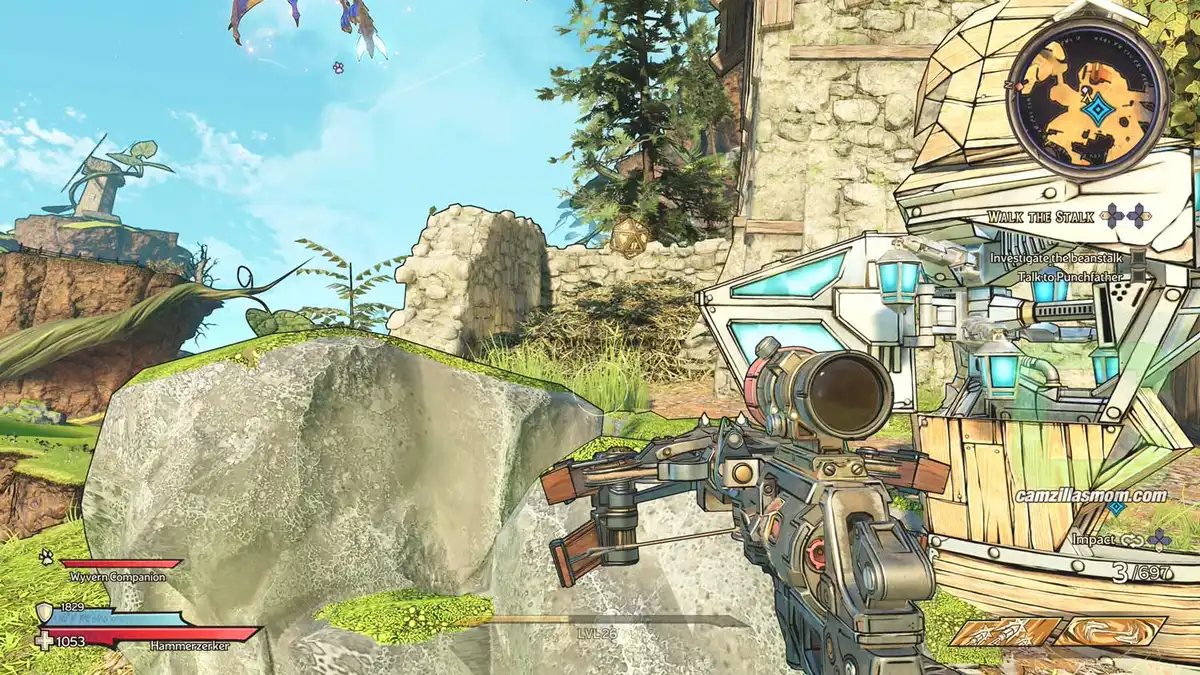
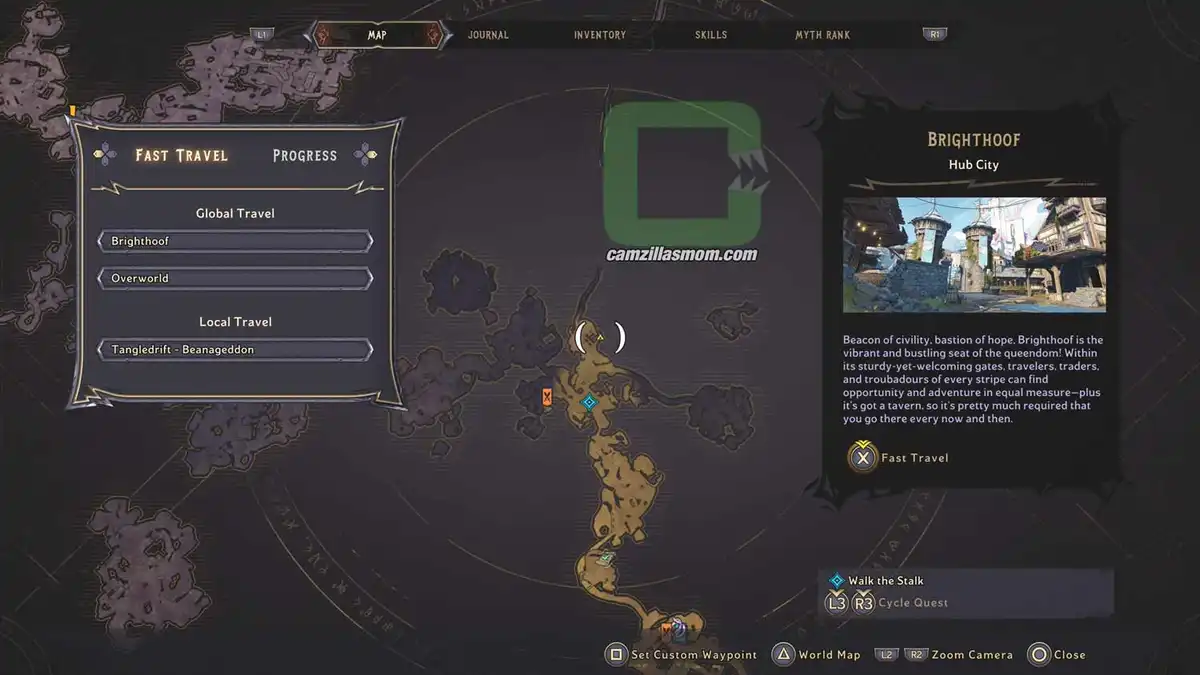
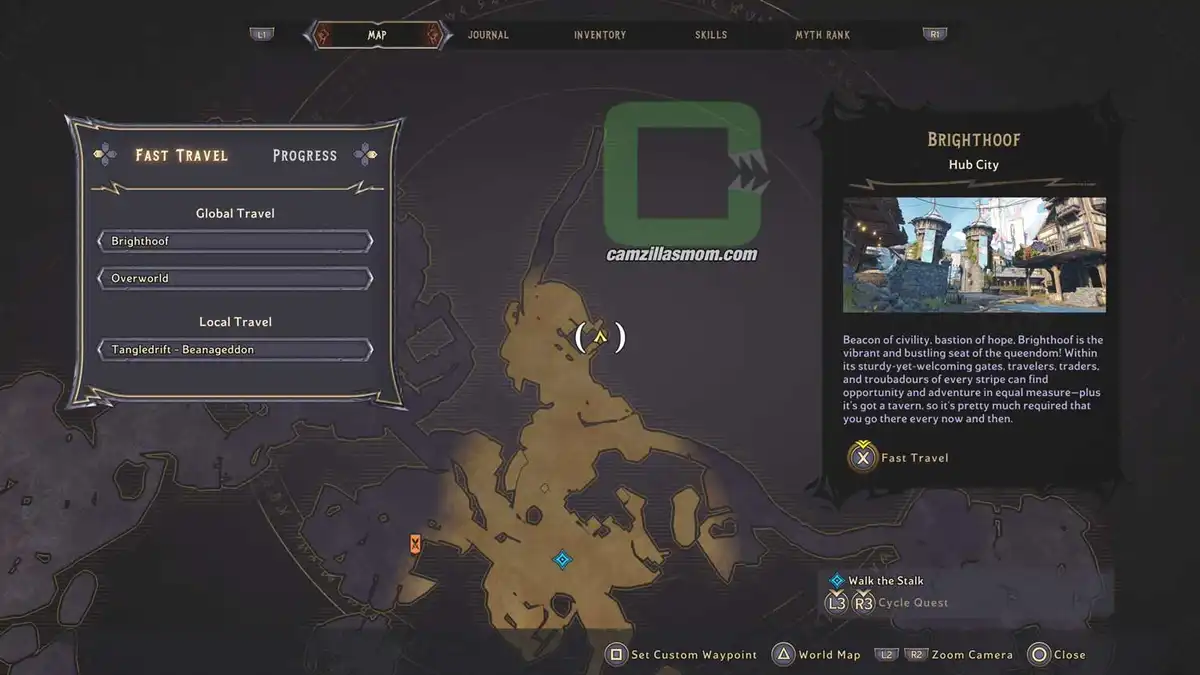
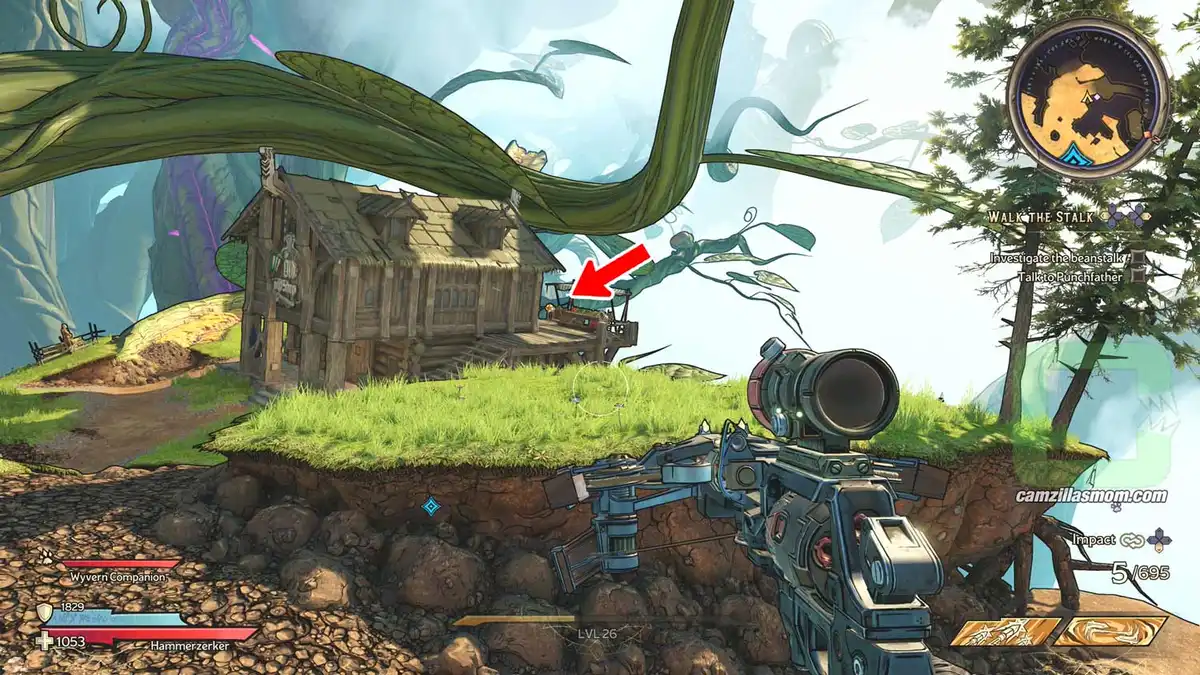
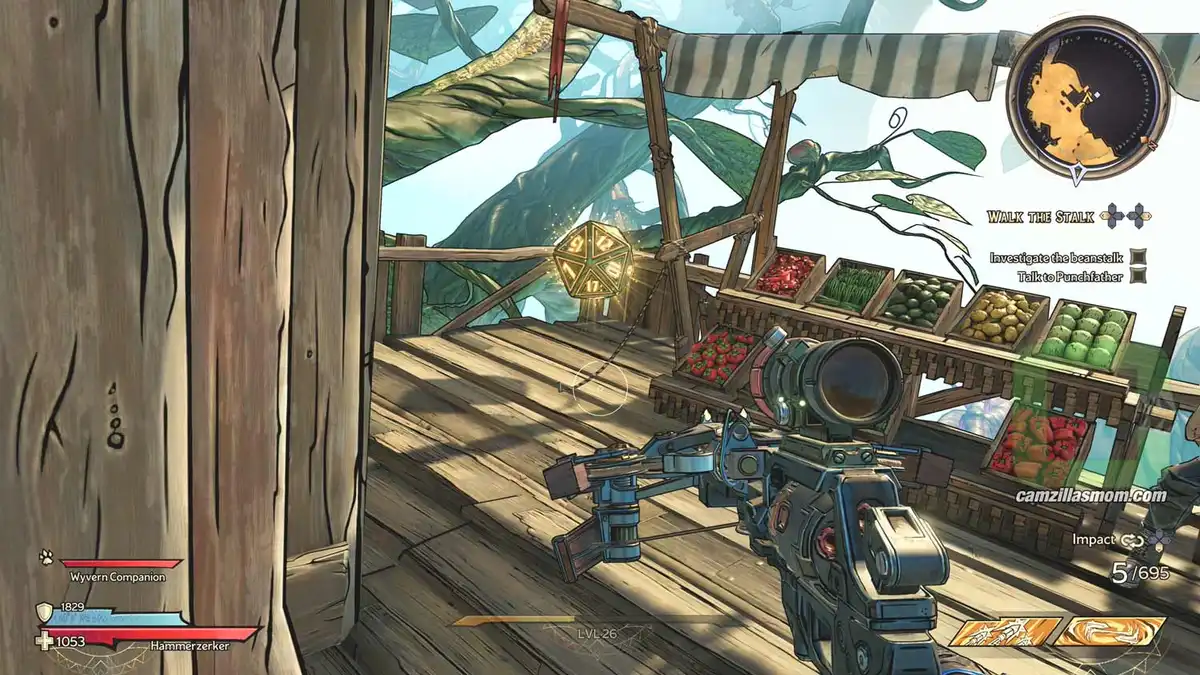
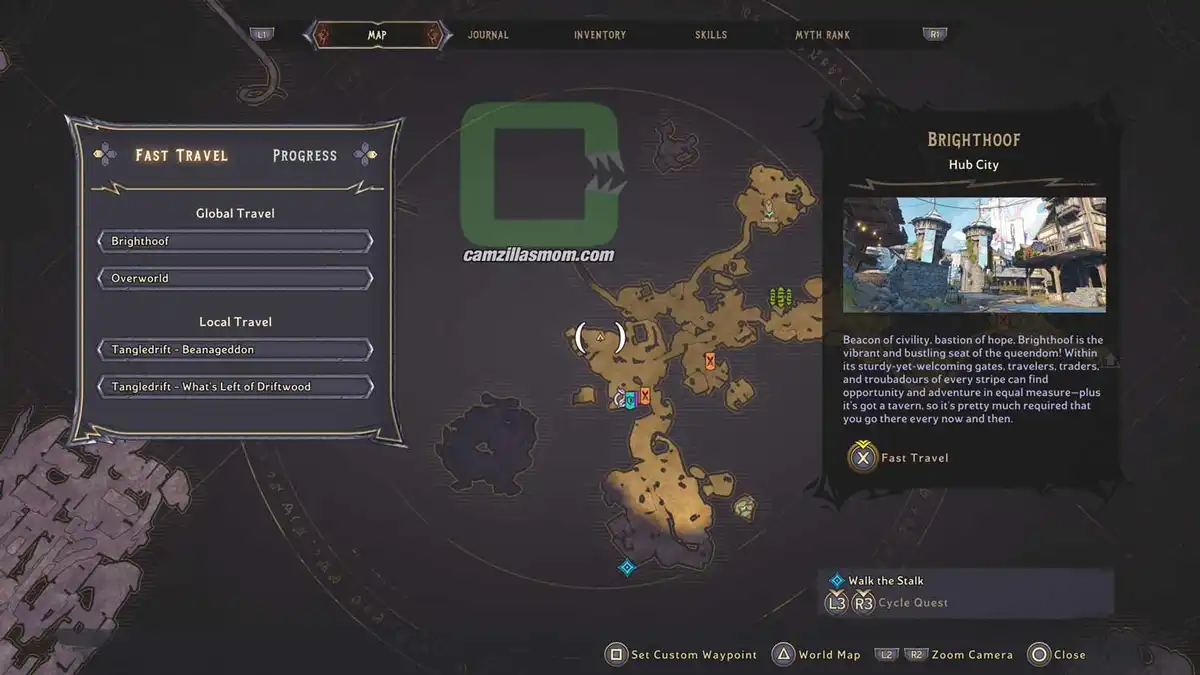
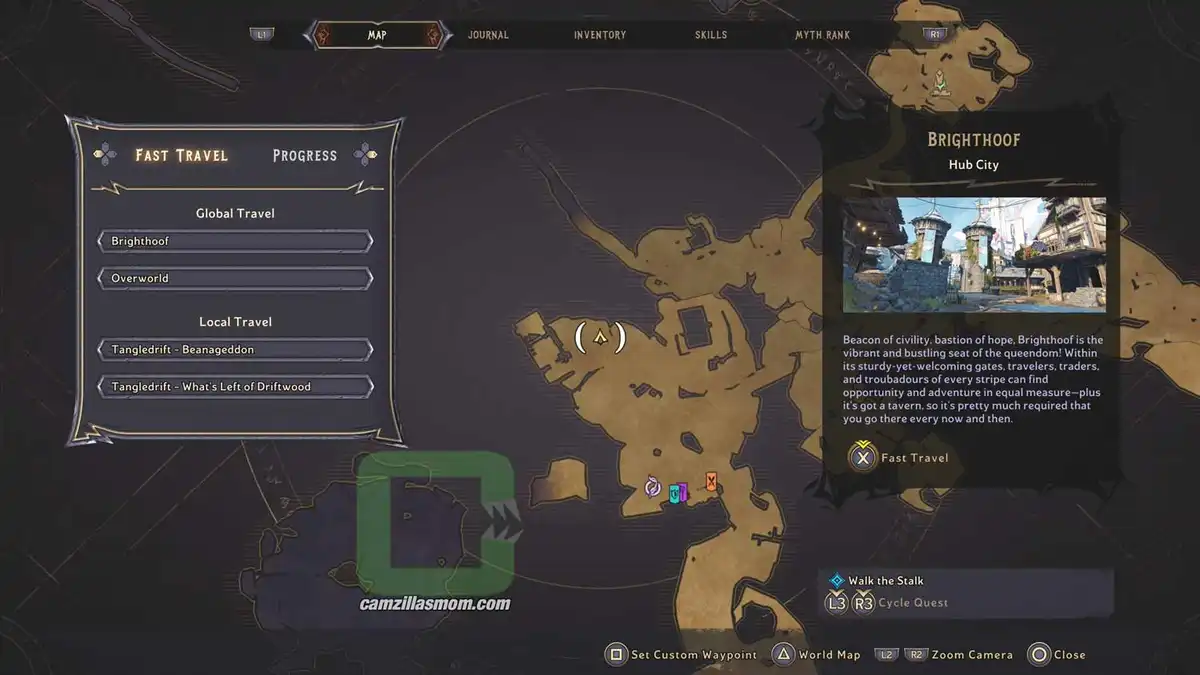
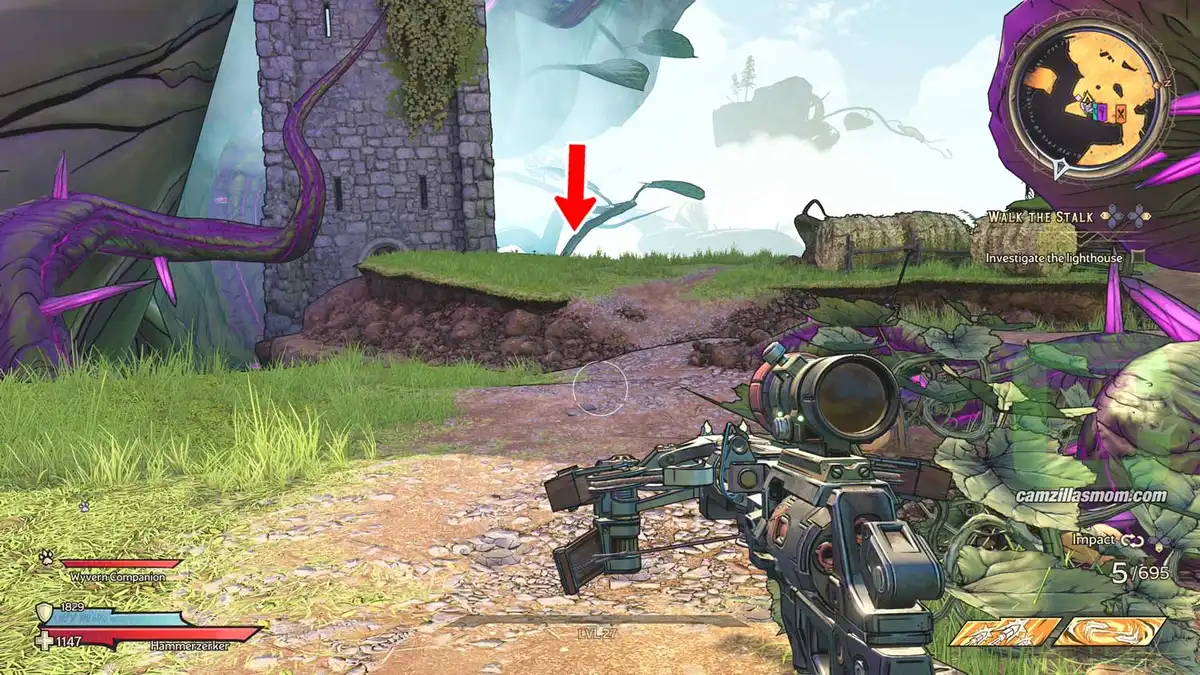
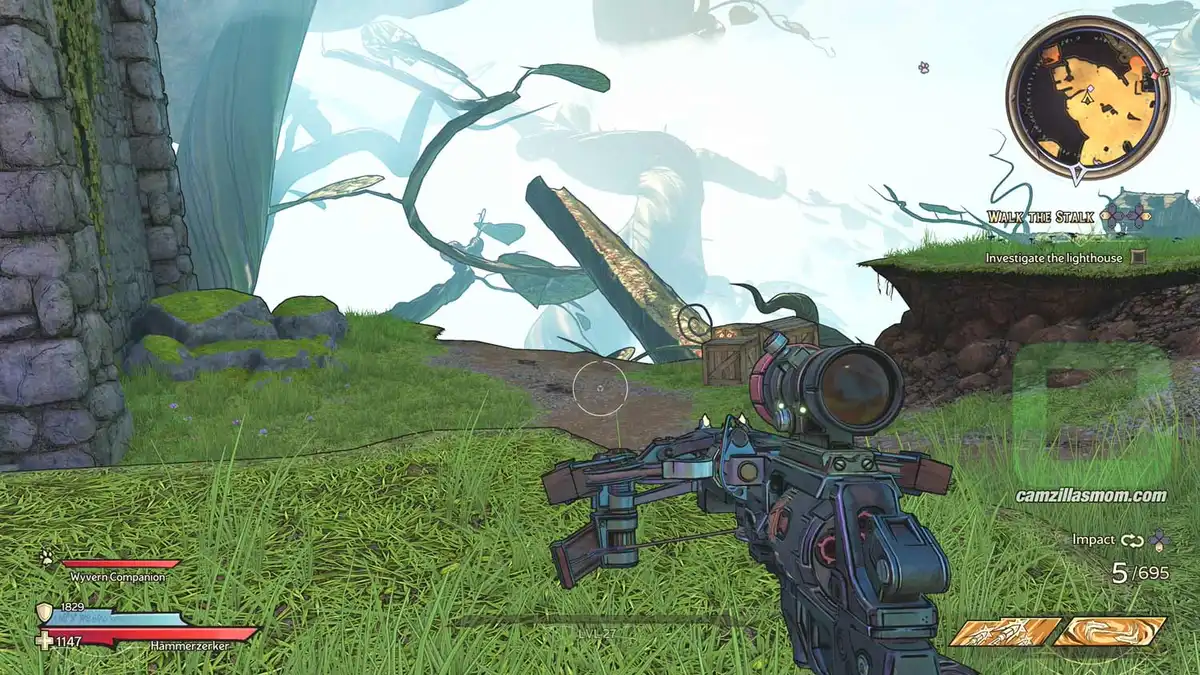
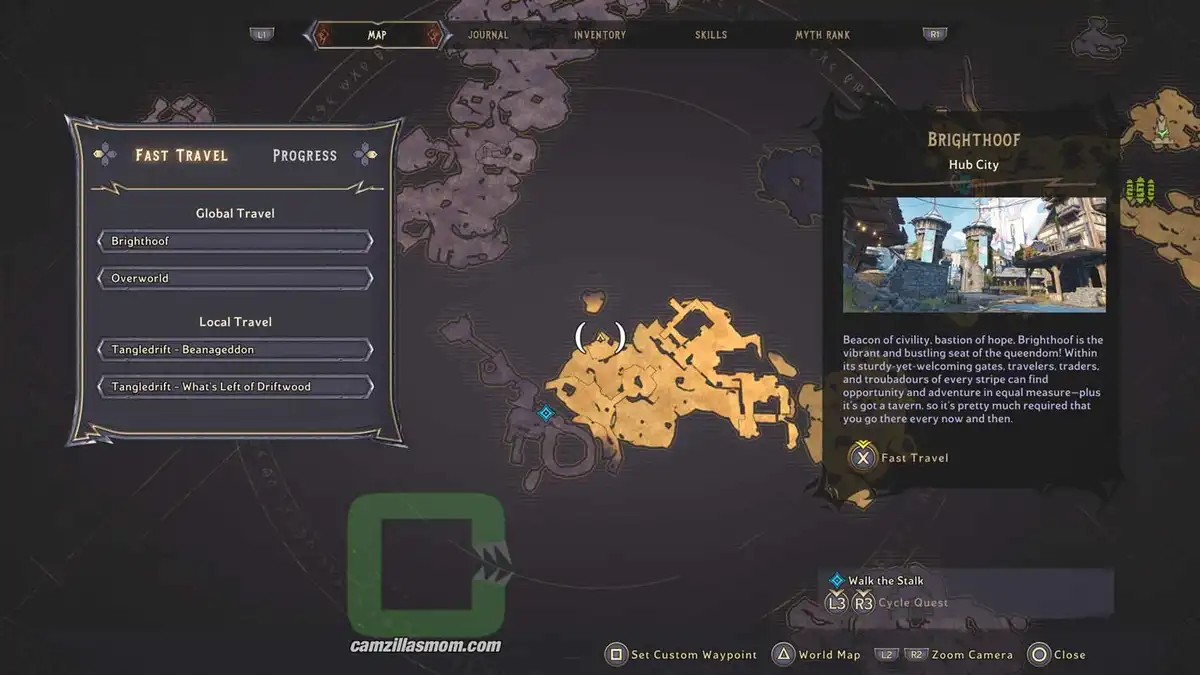
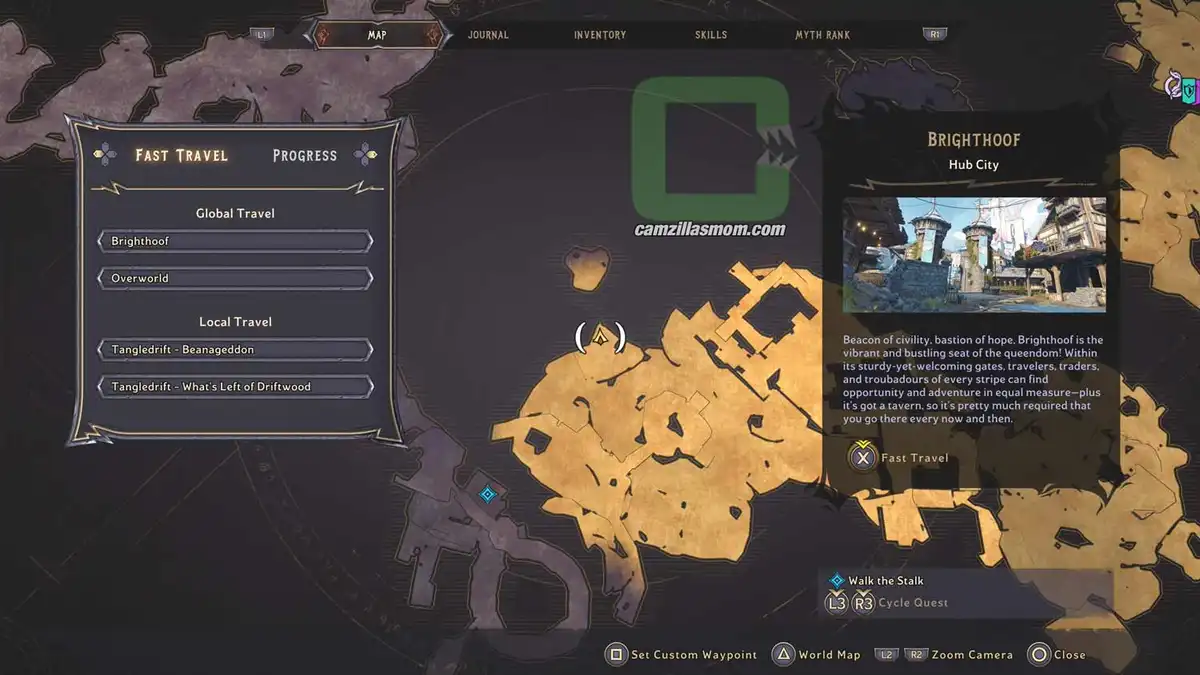
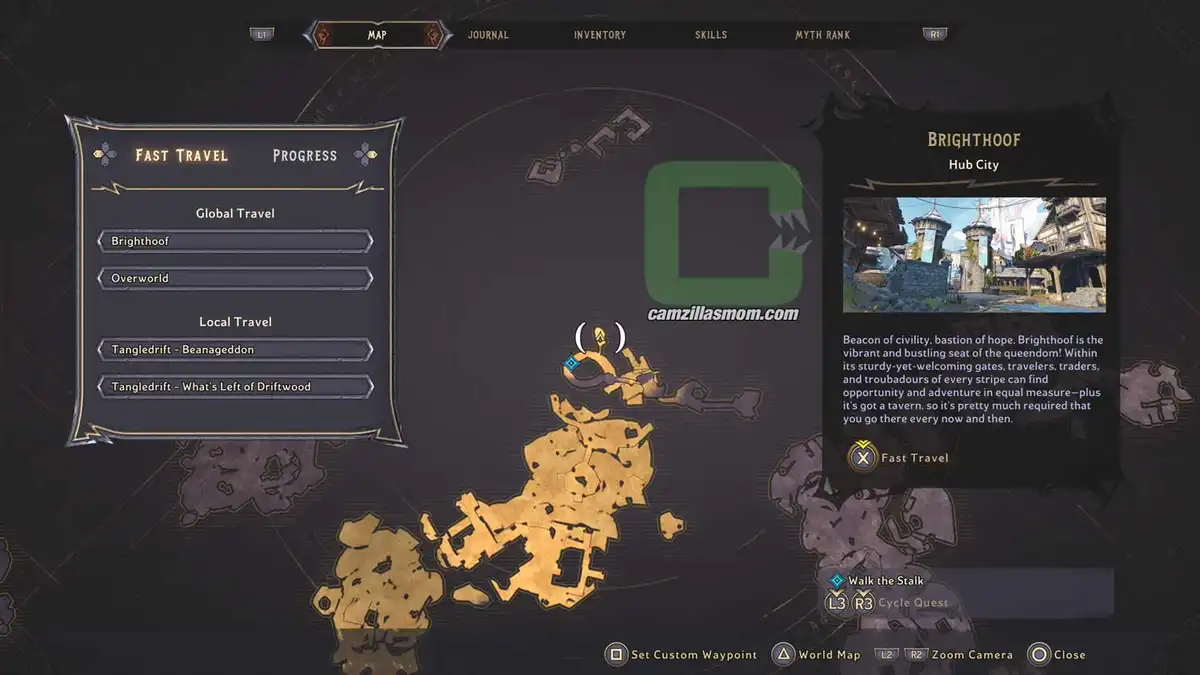
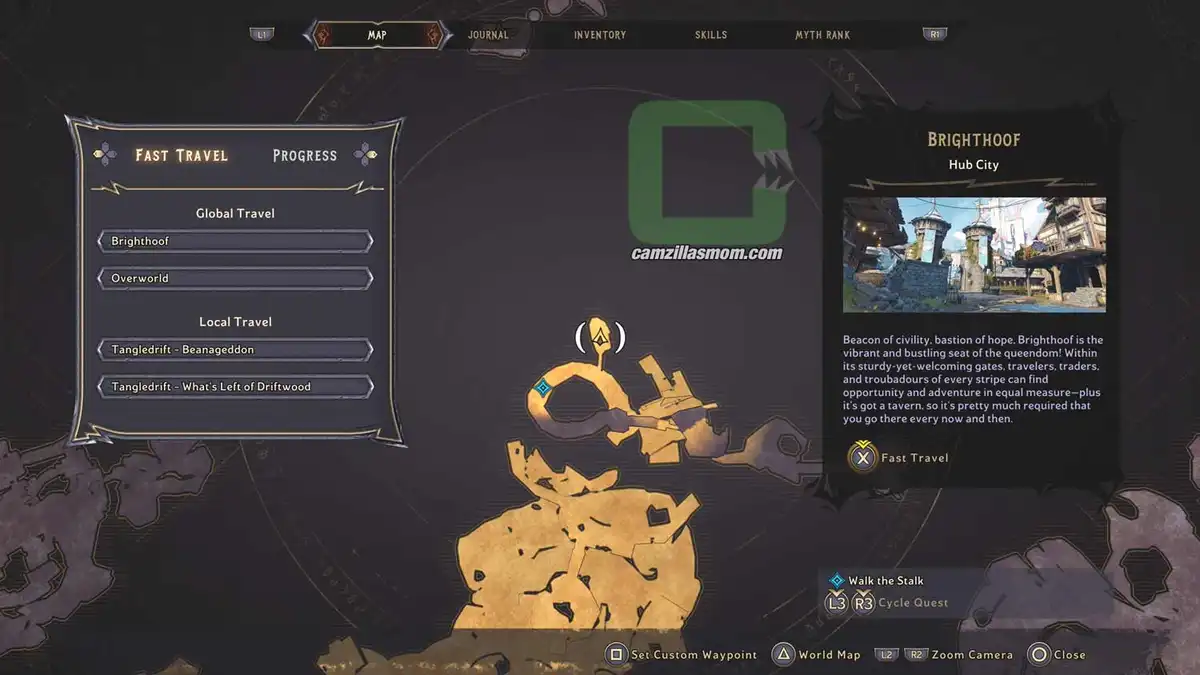
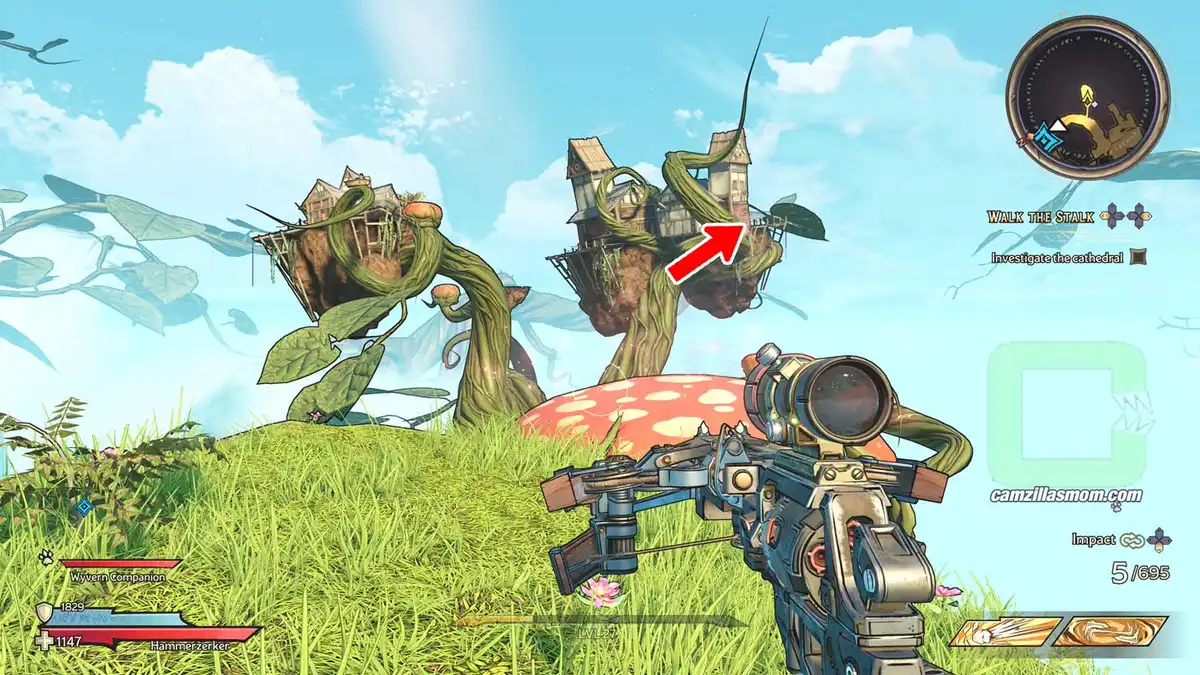
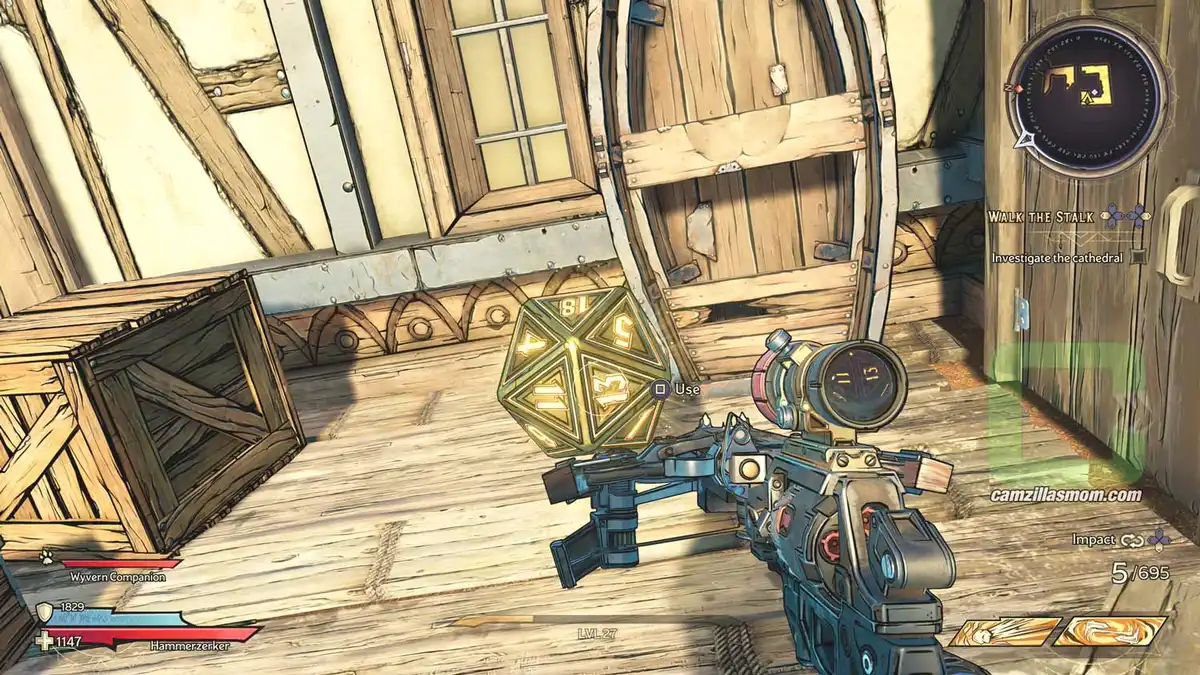
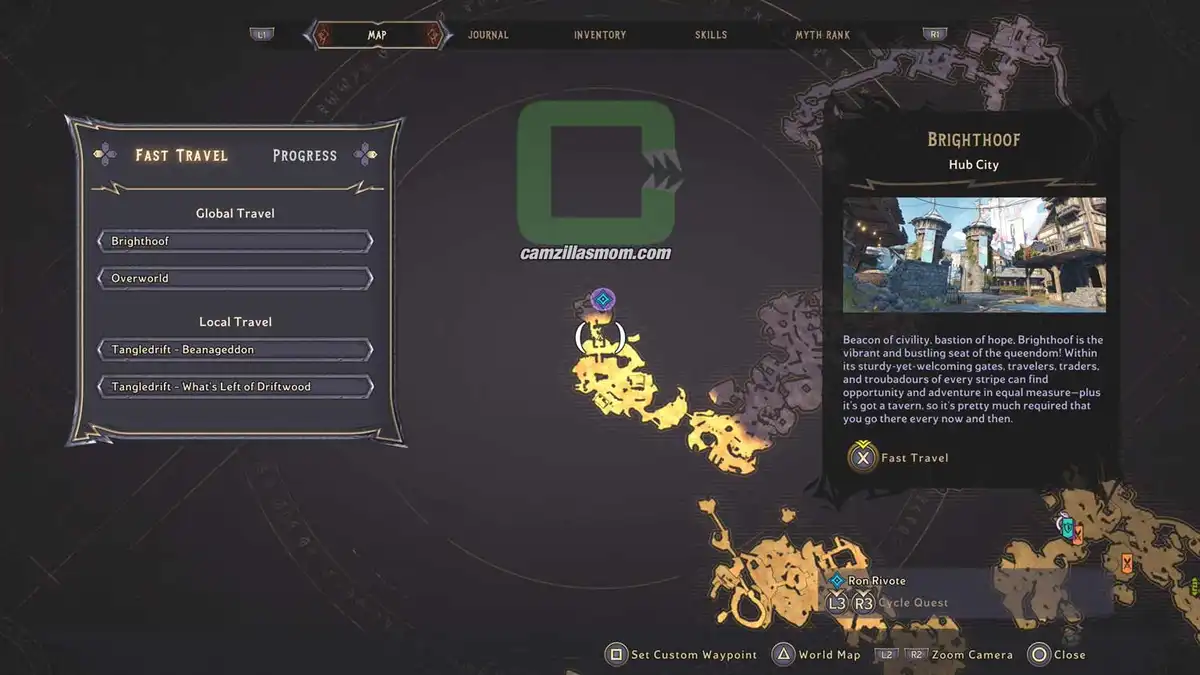
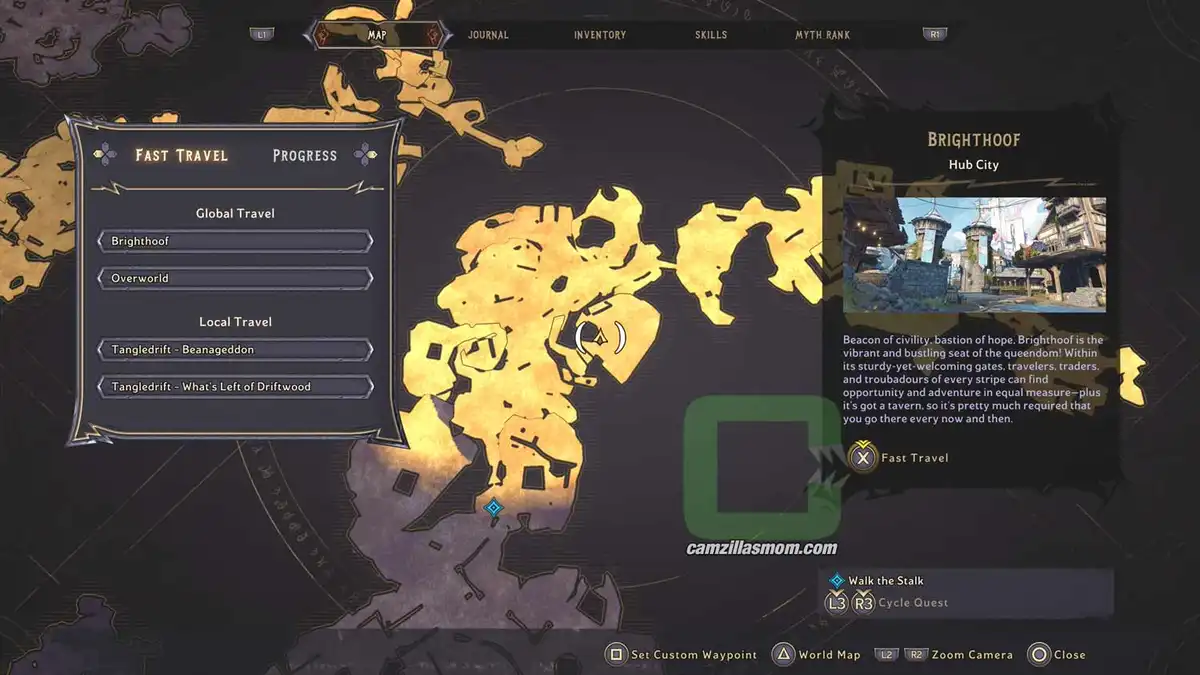
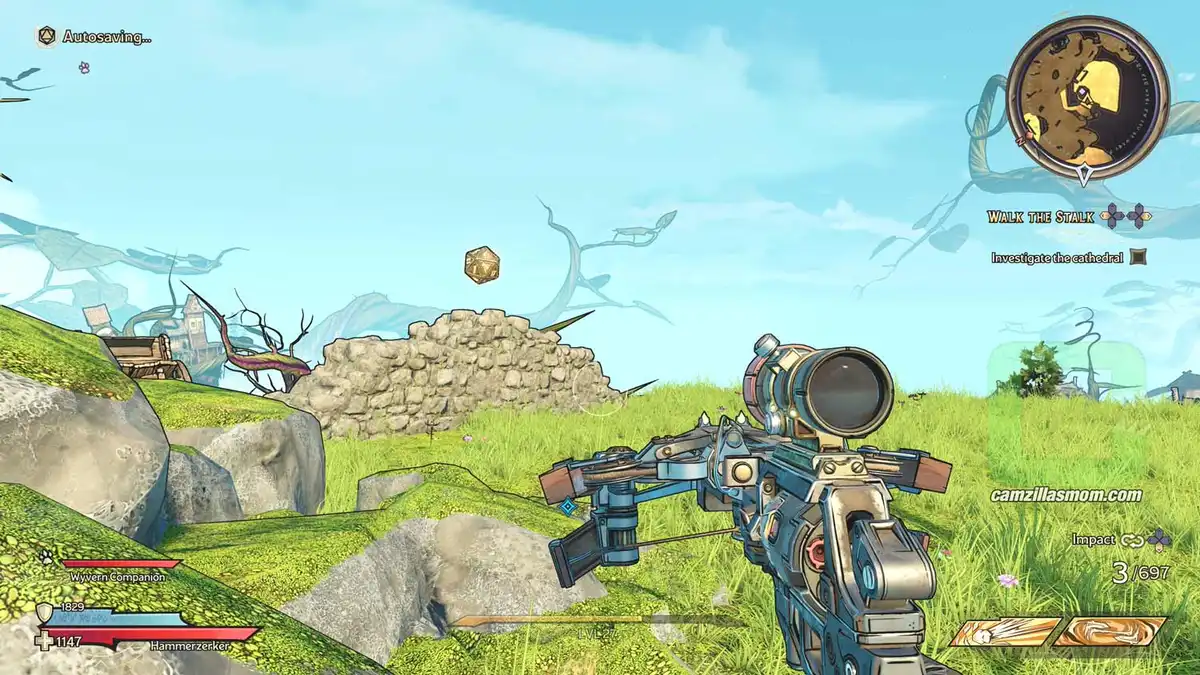
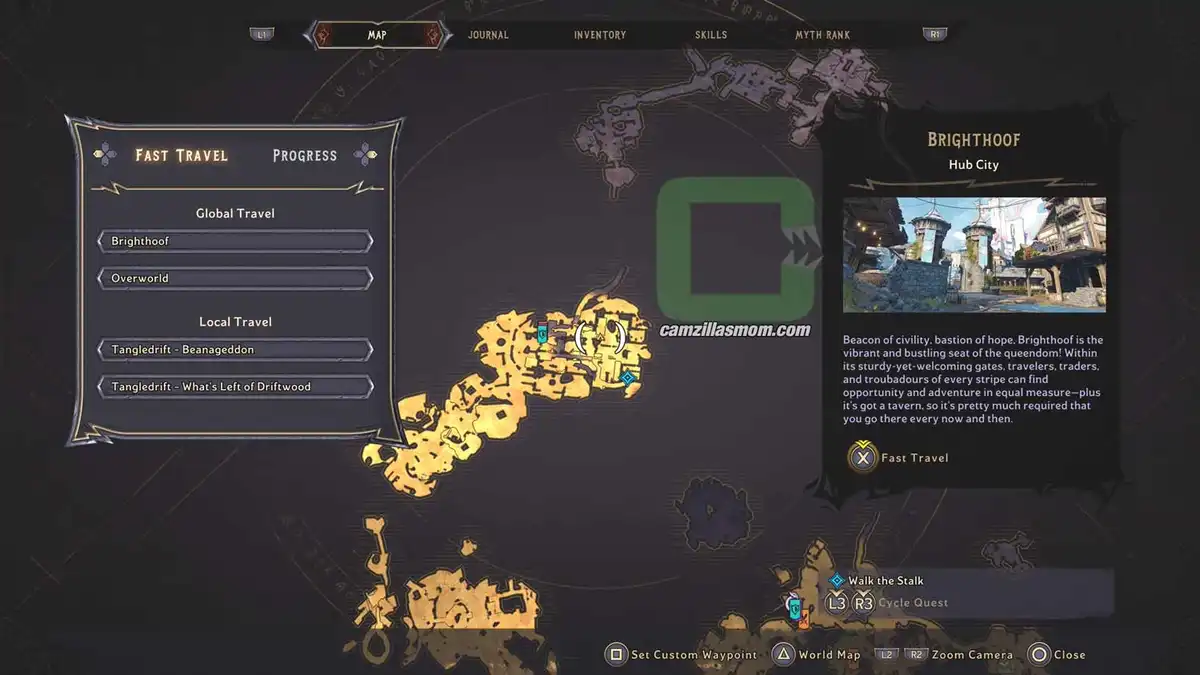
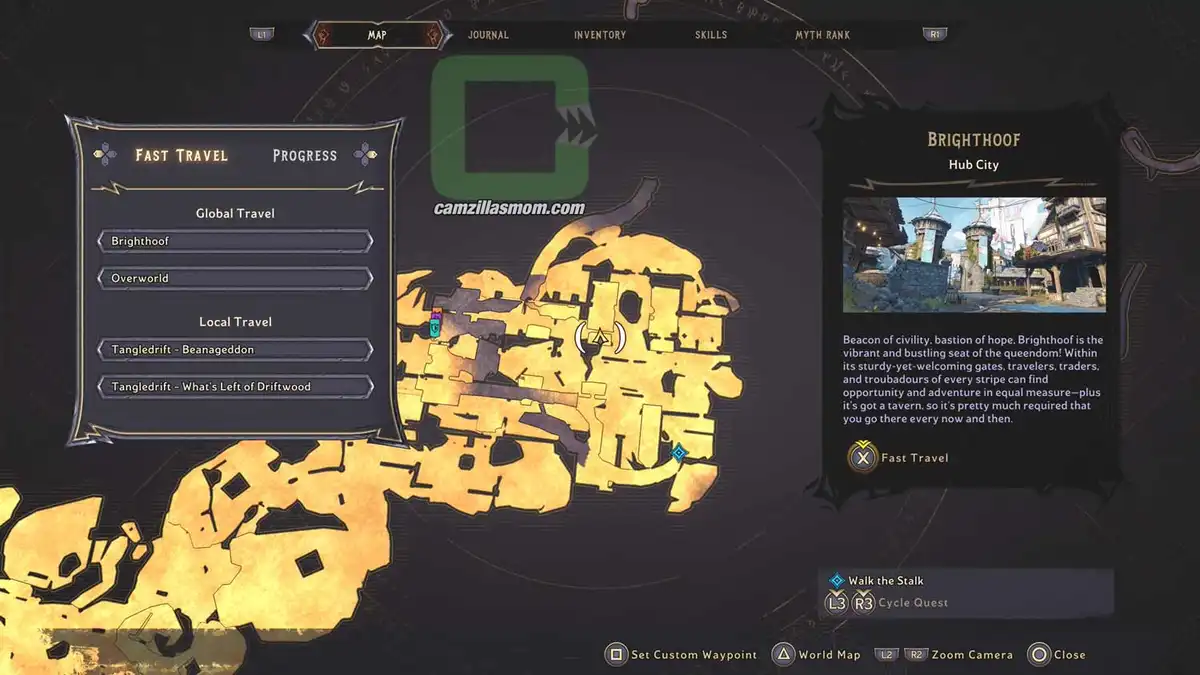
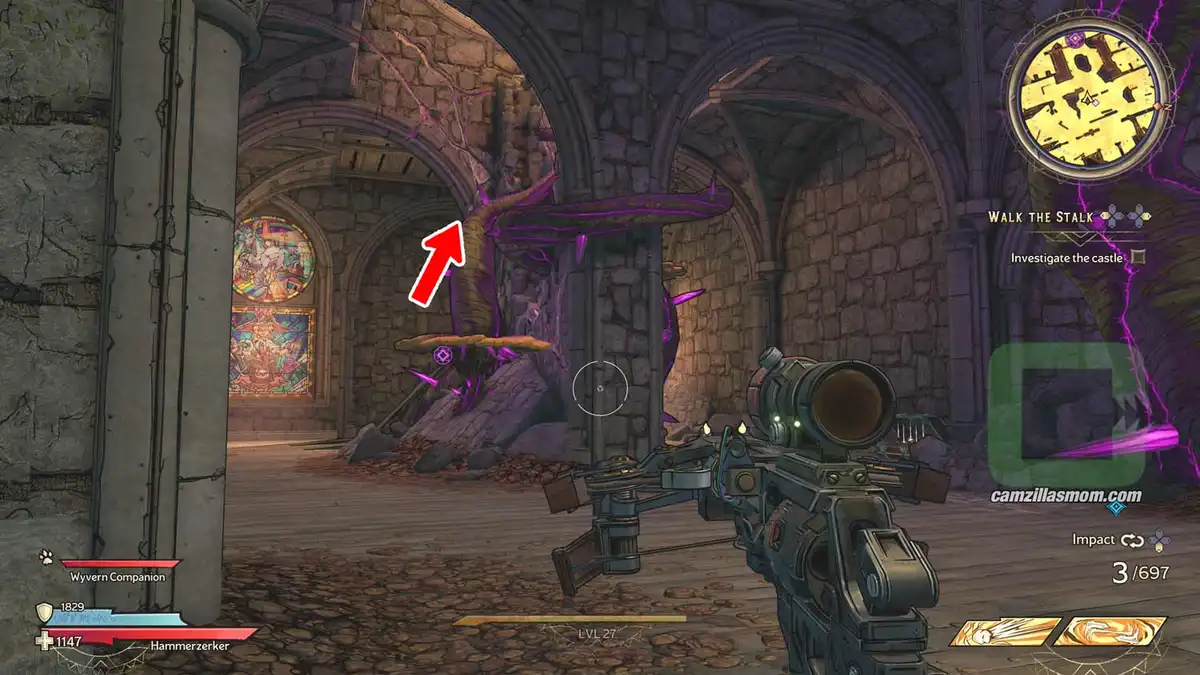
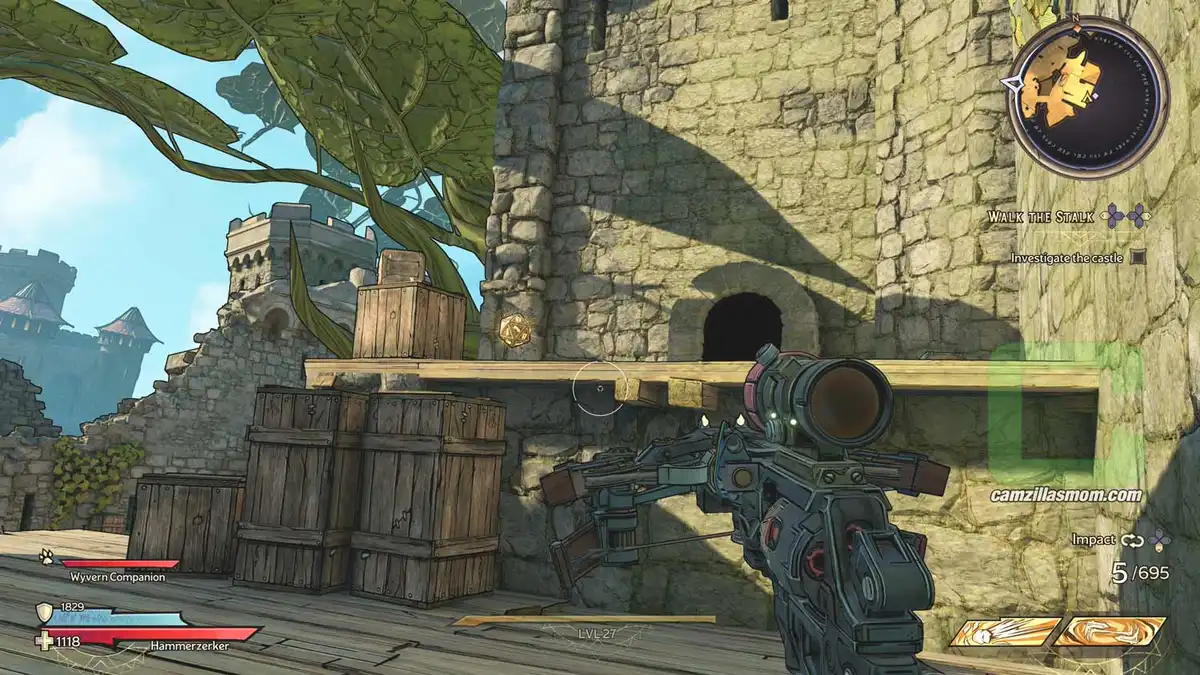
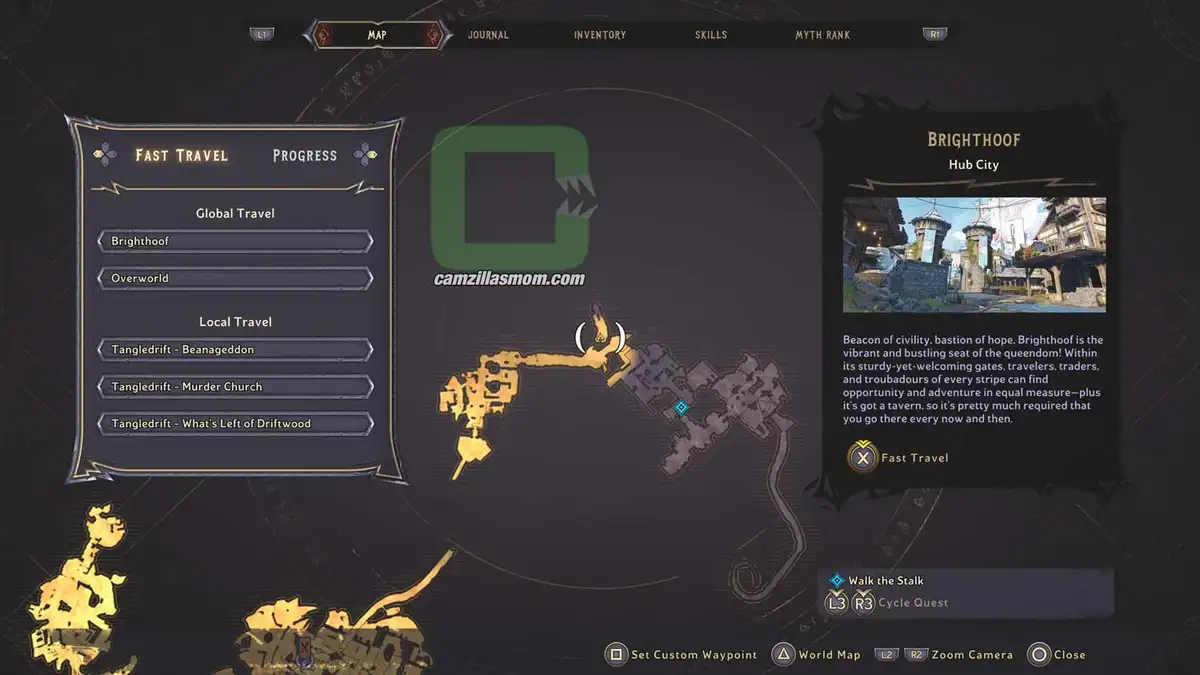
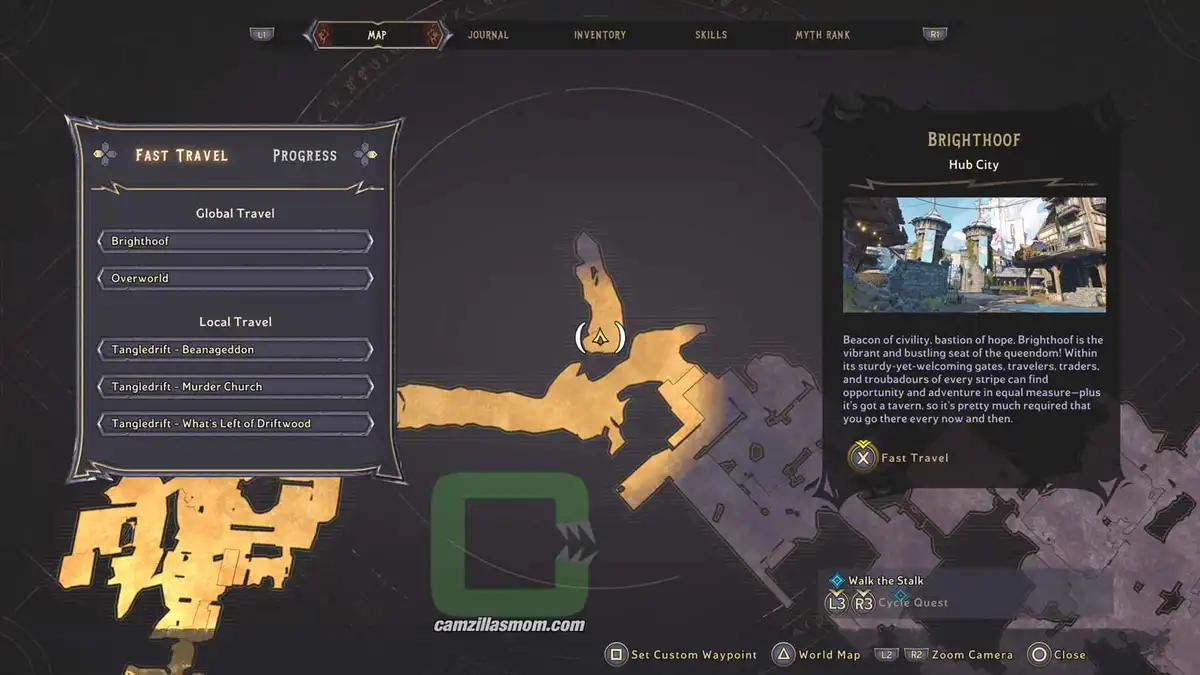
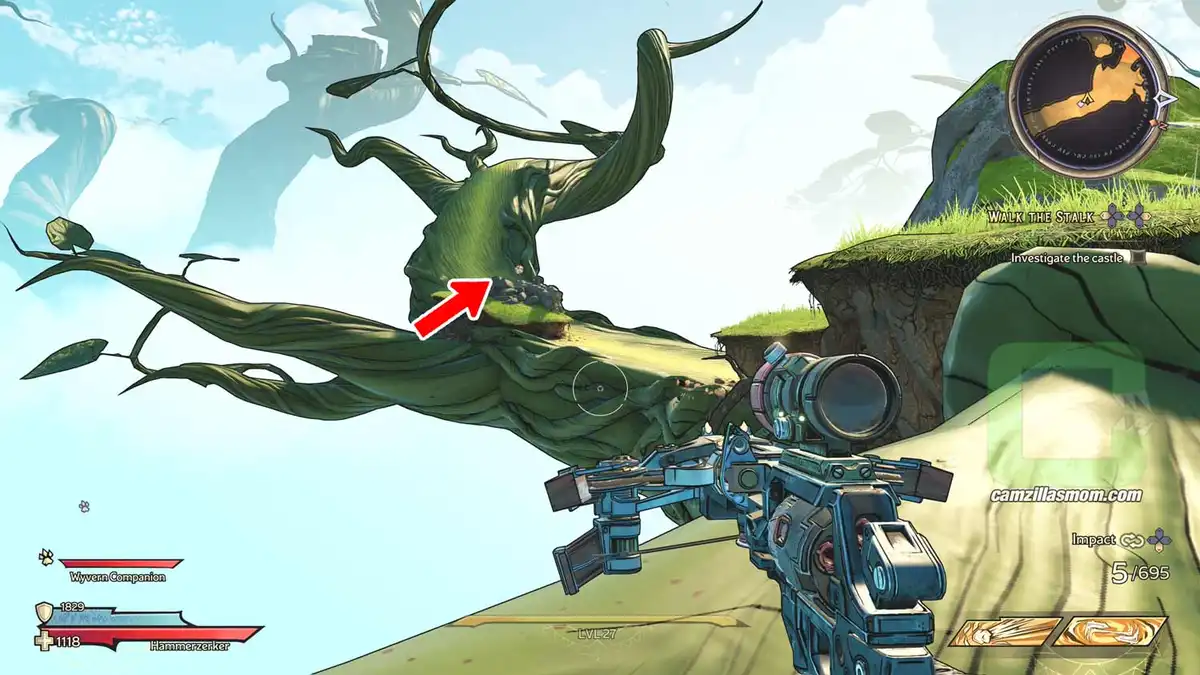
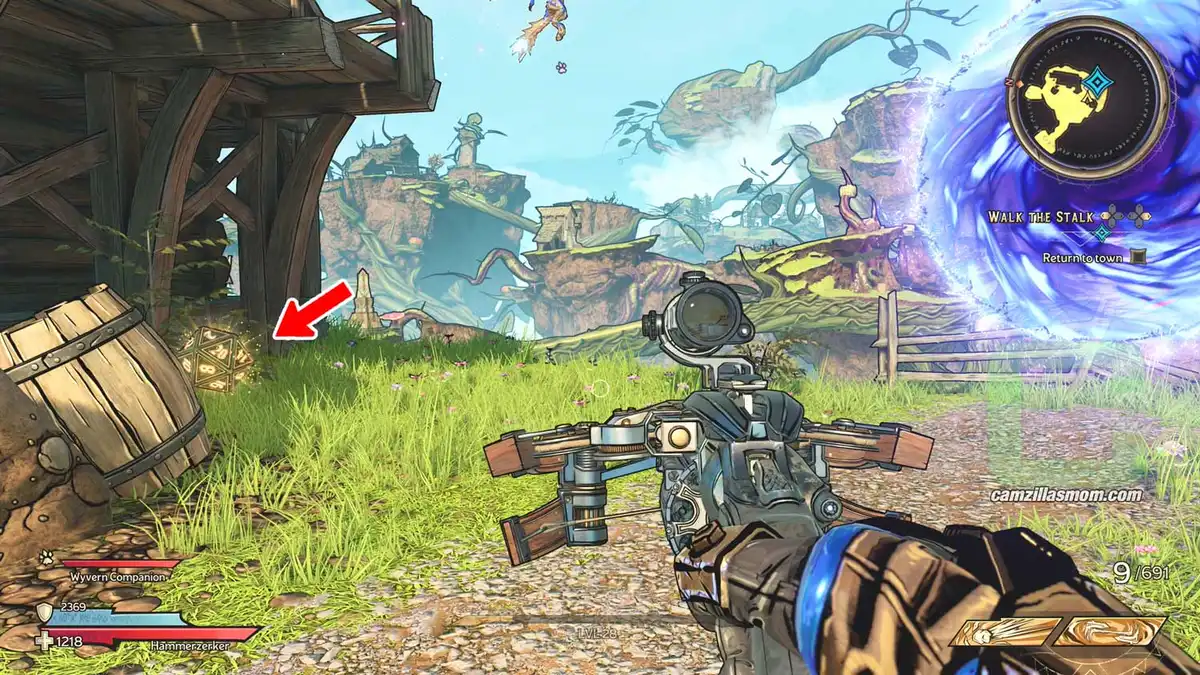
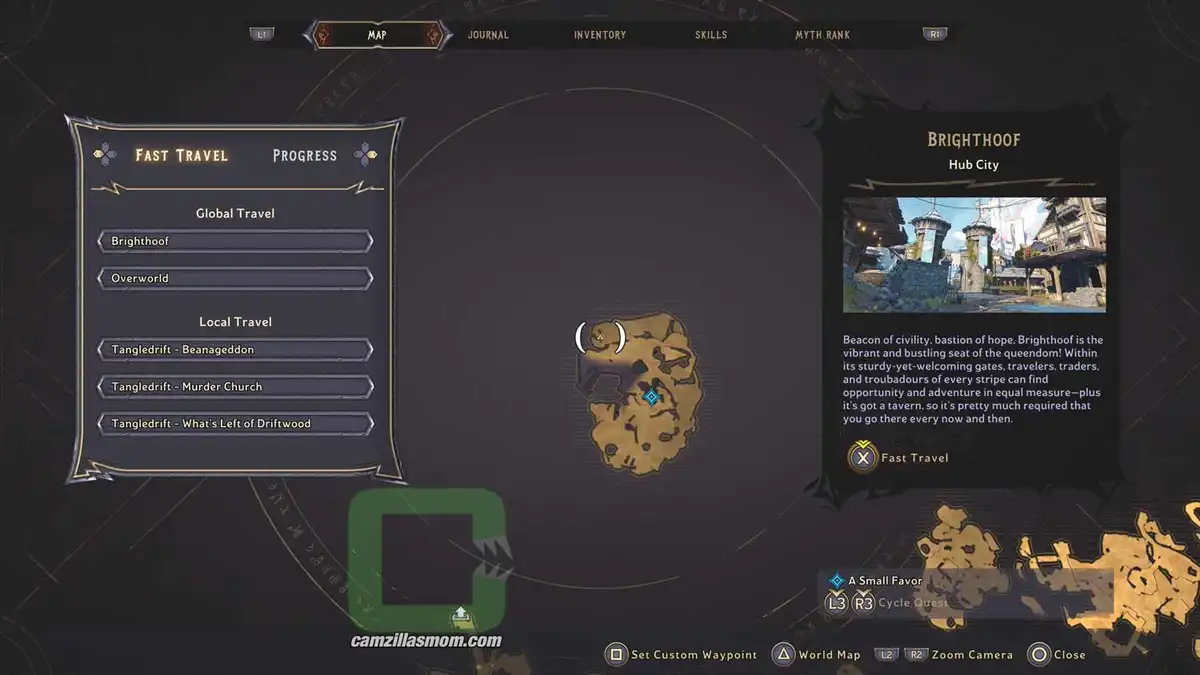
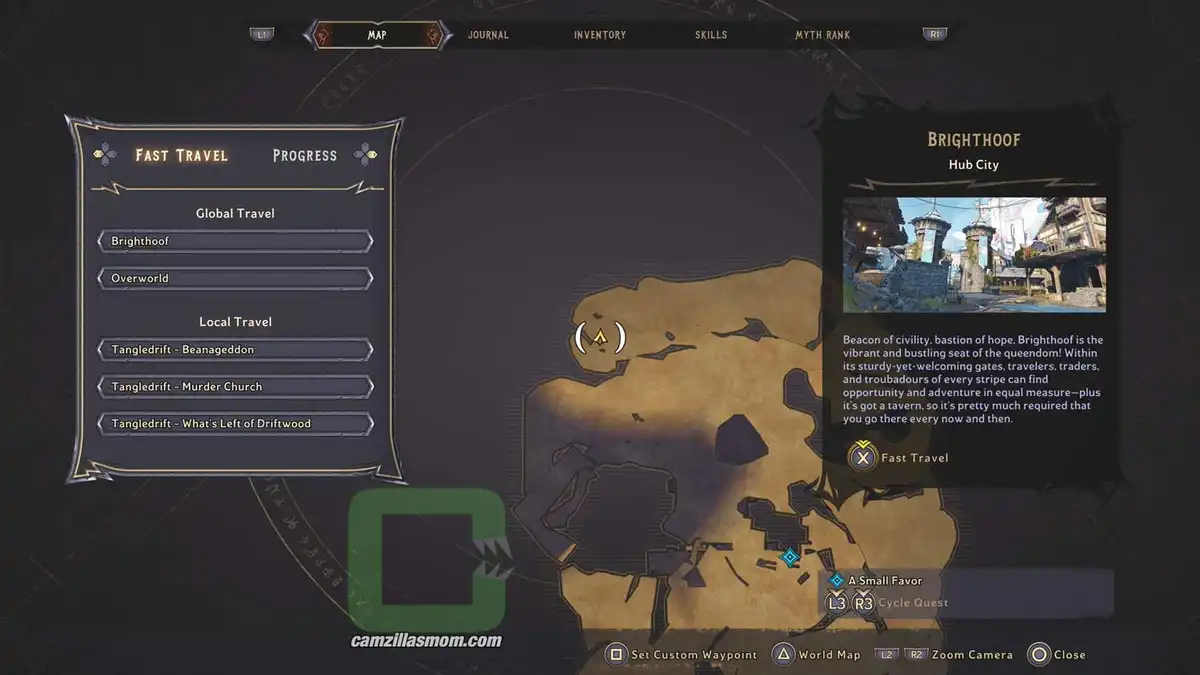
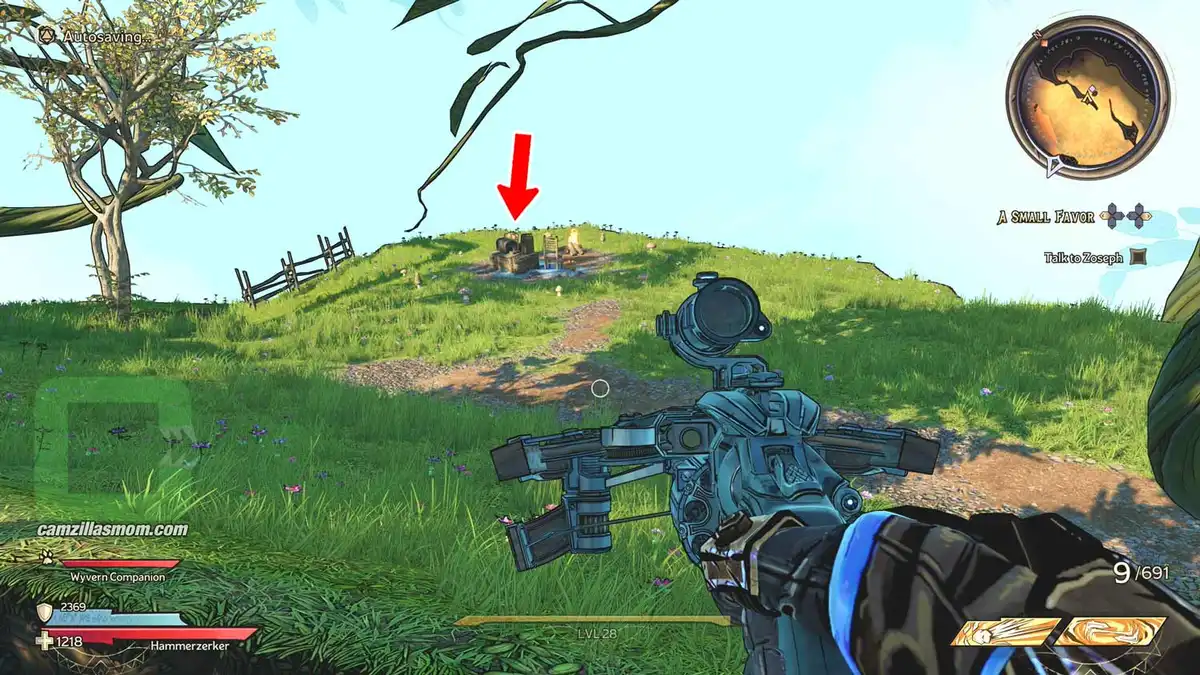
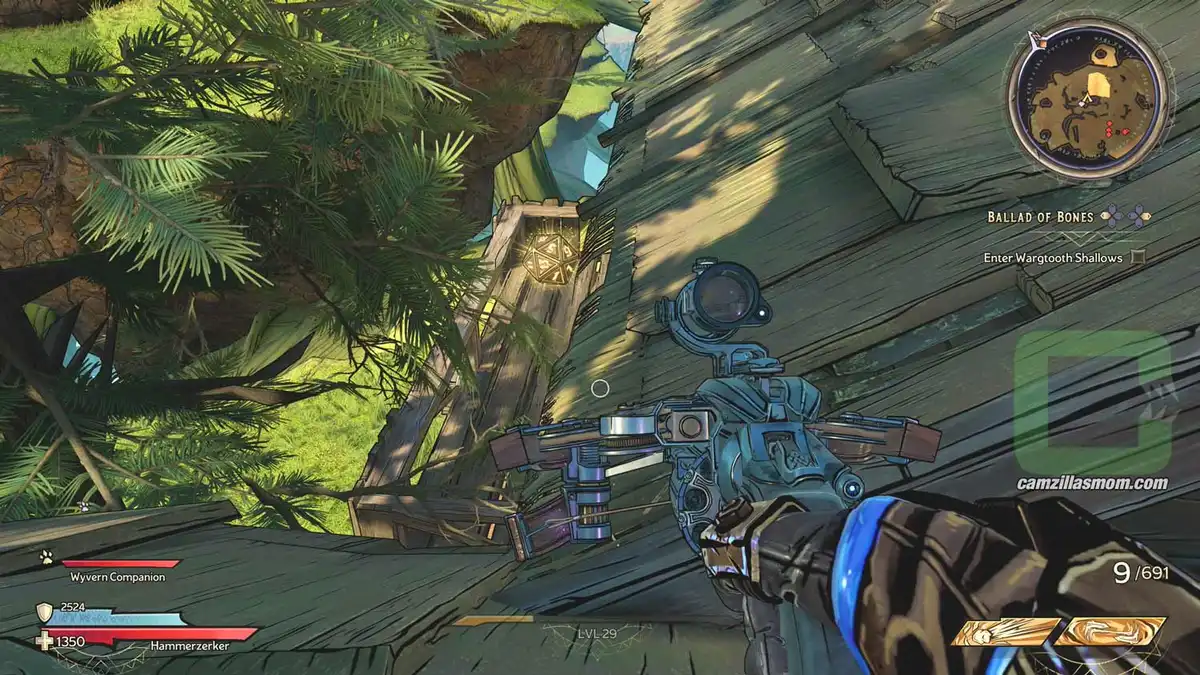
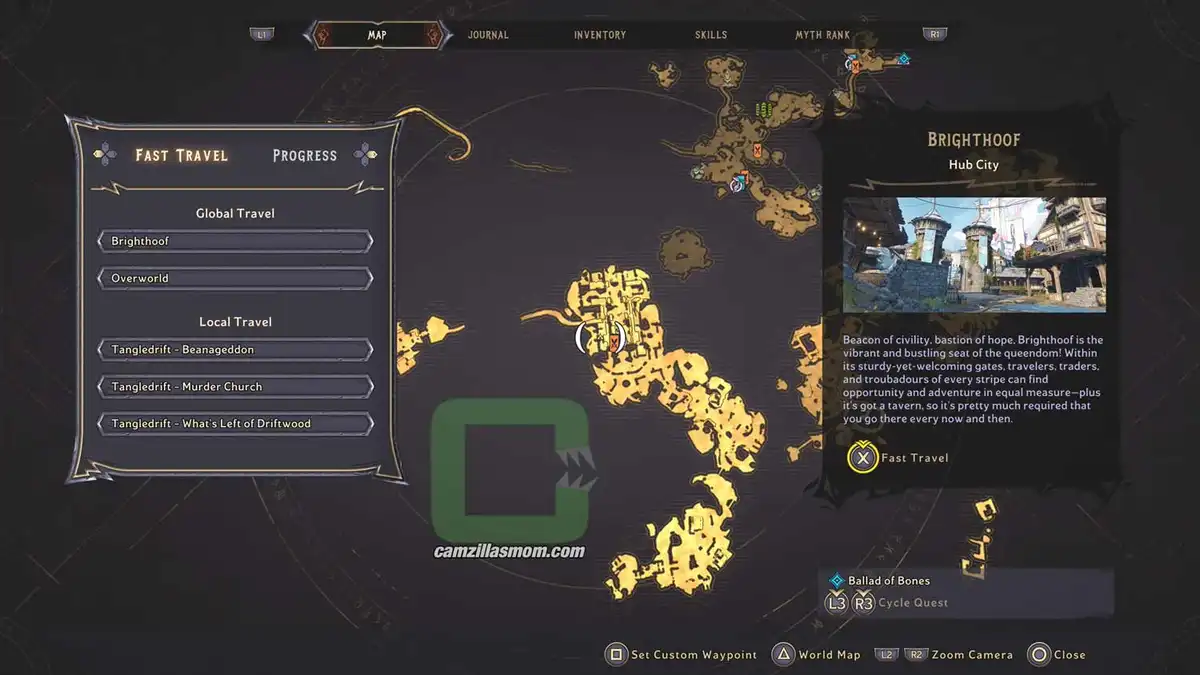
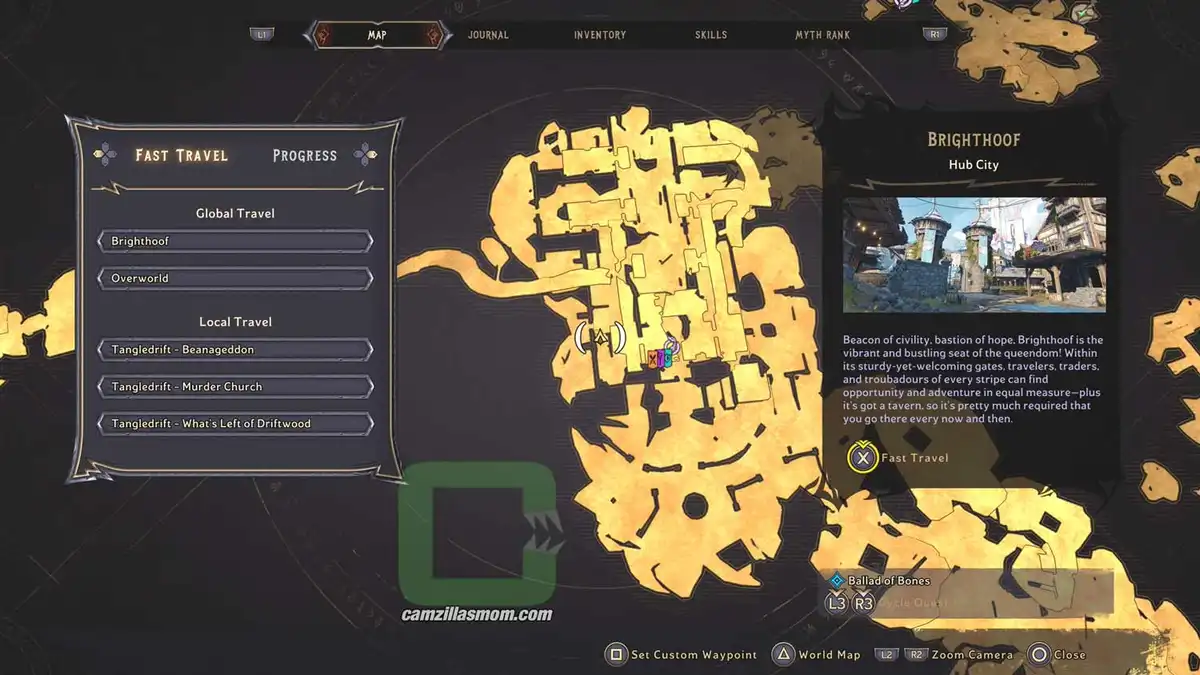
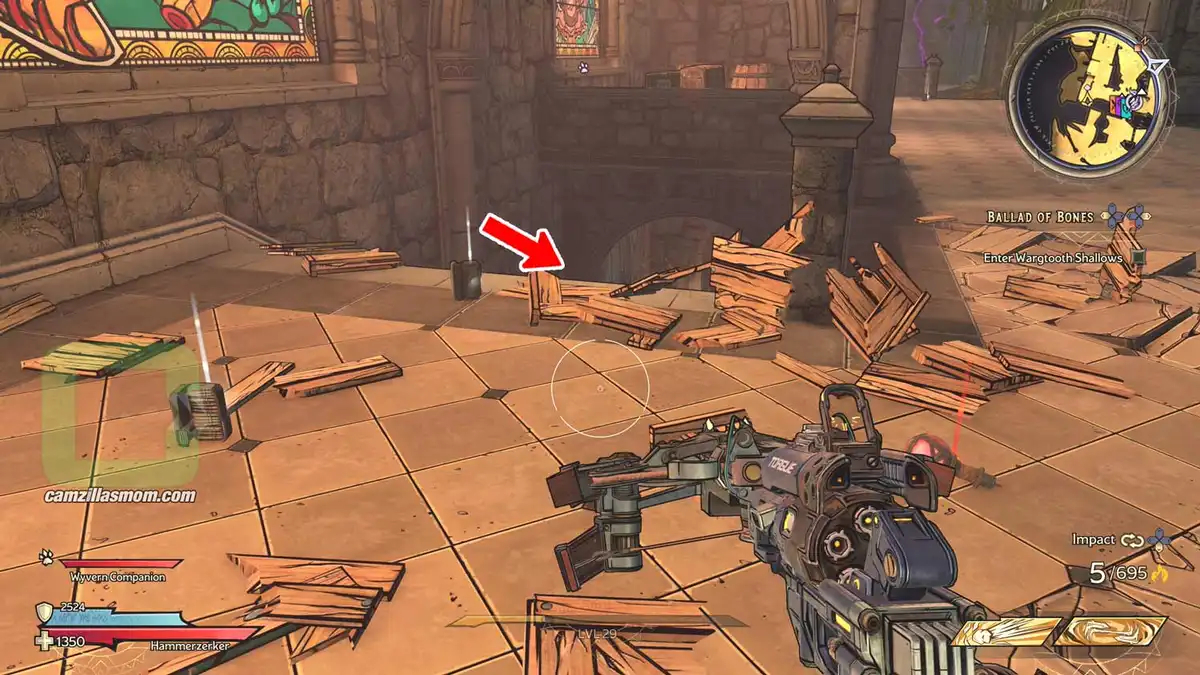
From the Tangledrift entrance at Beanageddon, take the slide down, where the Undead attack you. Here, at the top of a hill is the first Lucky Dice. You can climb up the purple stalk to get it.

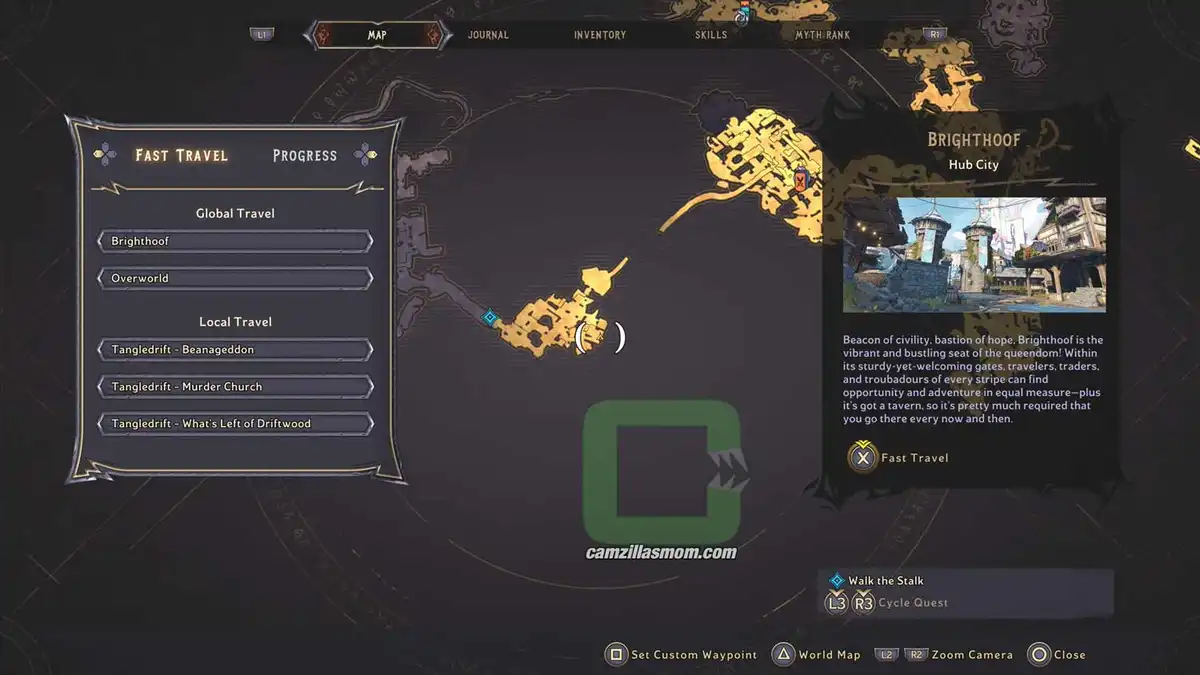
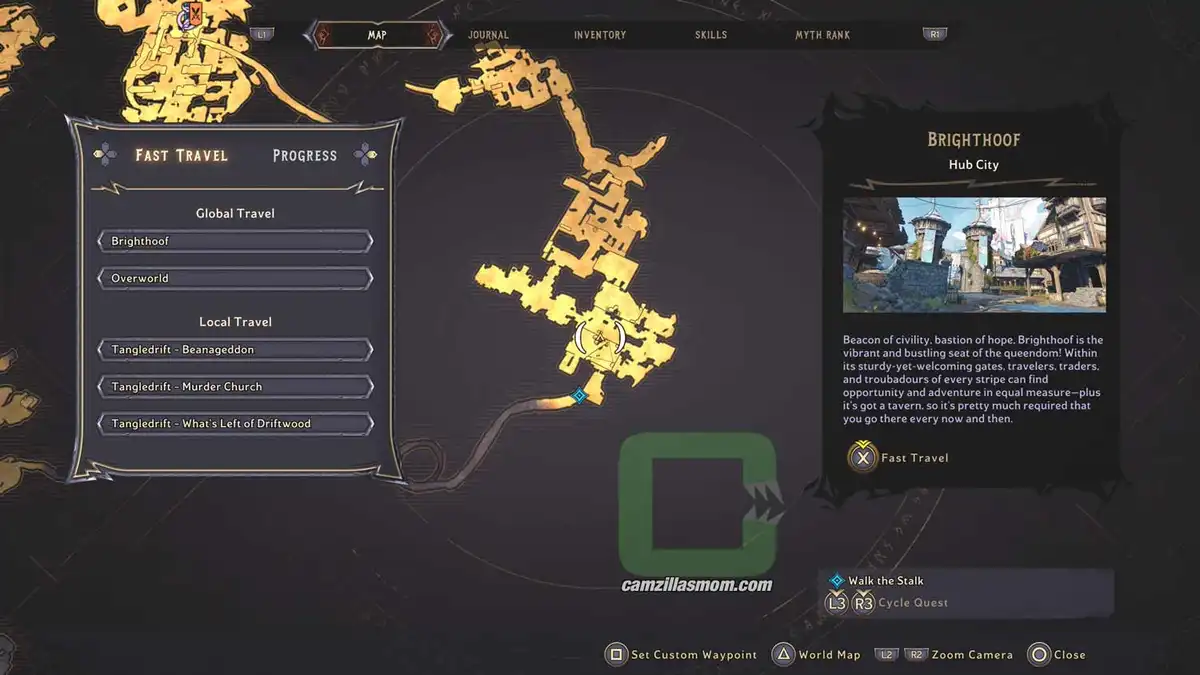
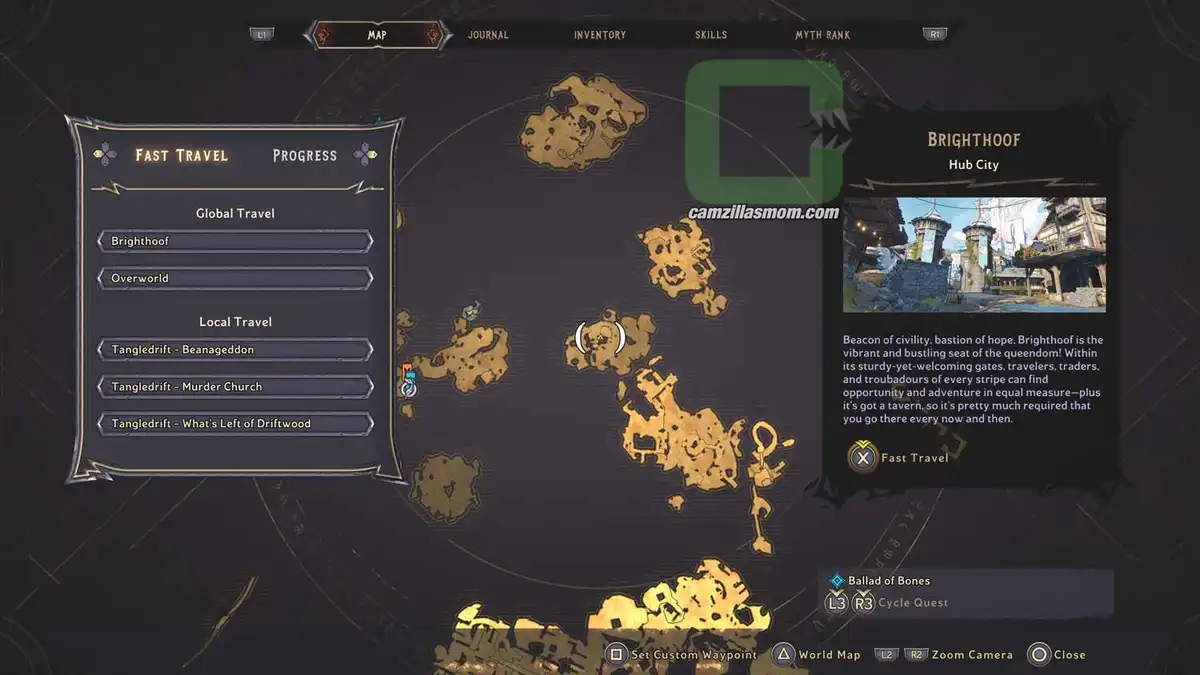
The location on the map with full zoom out.
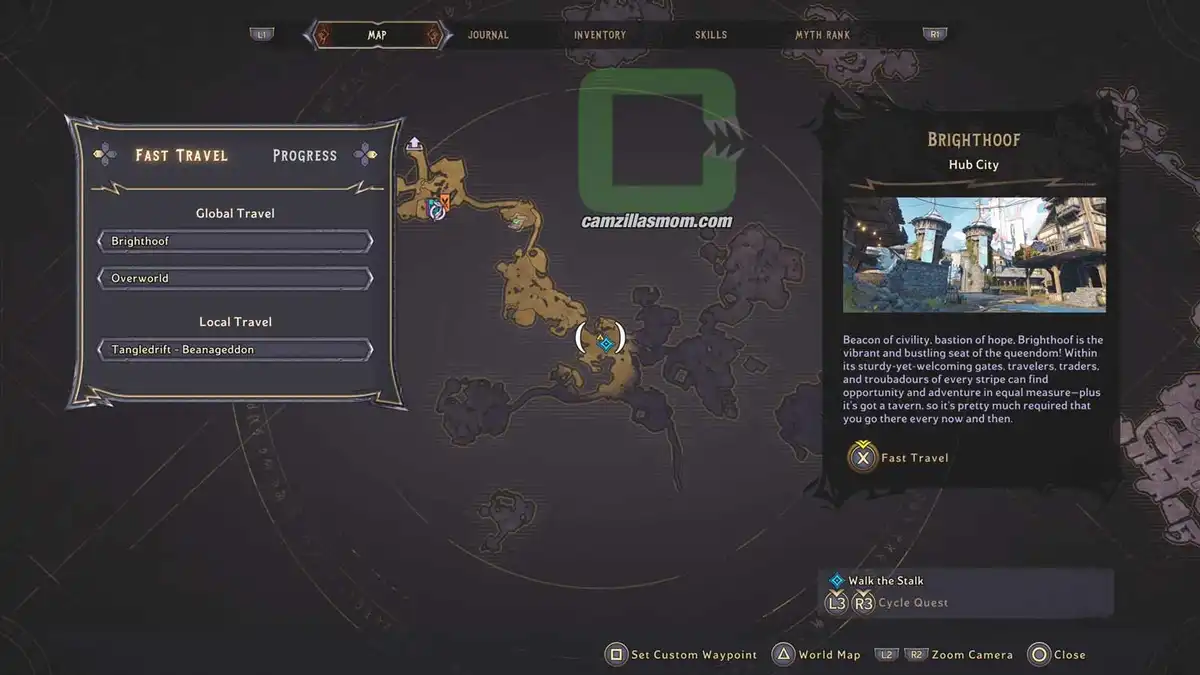
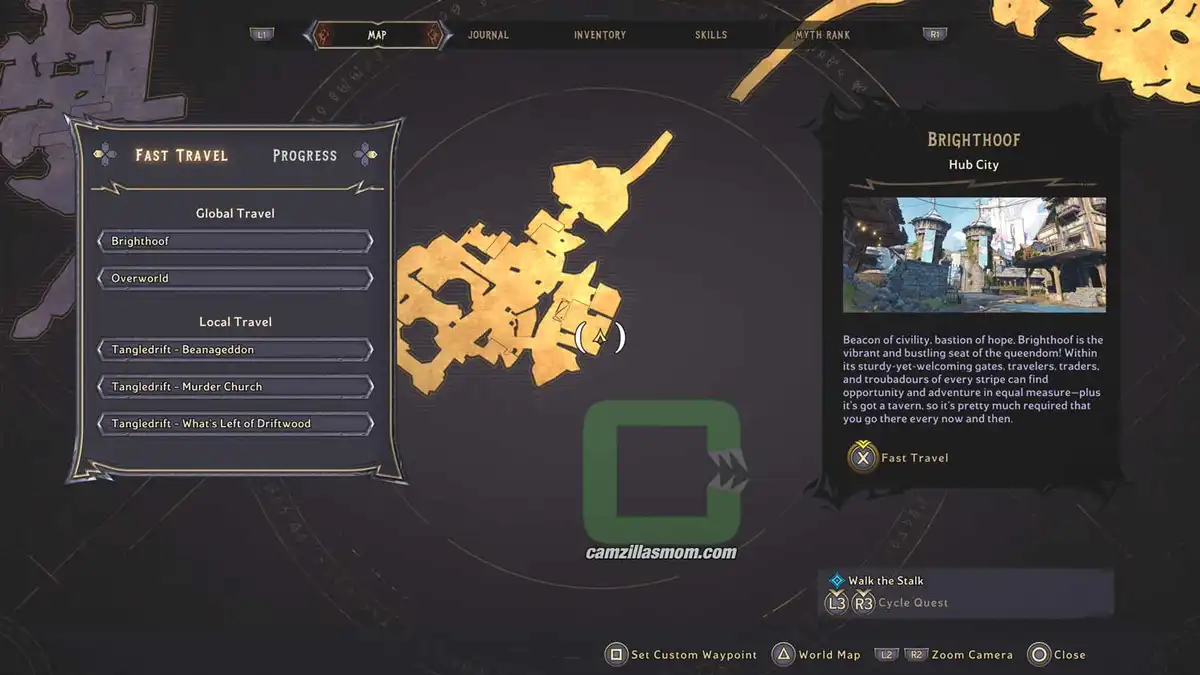
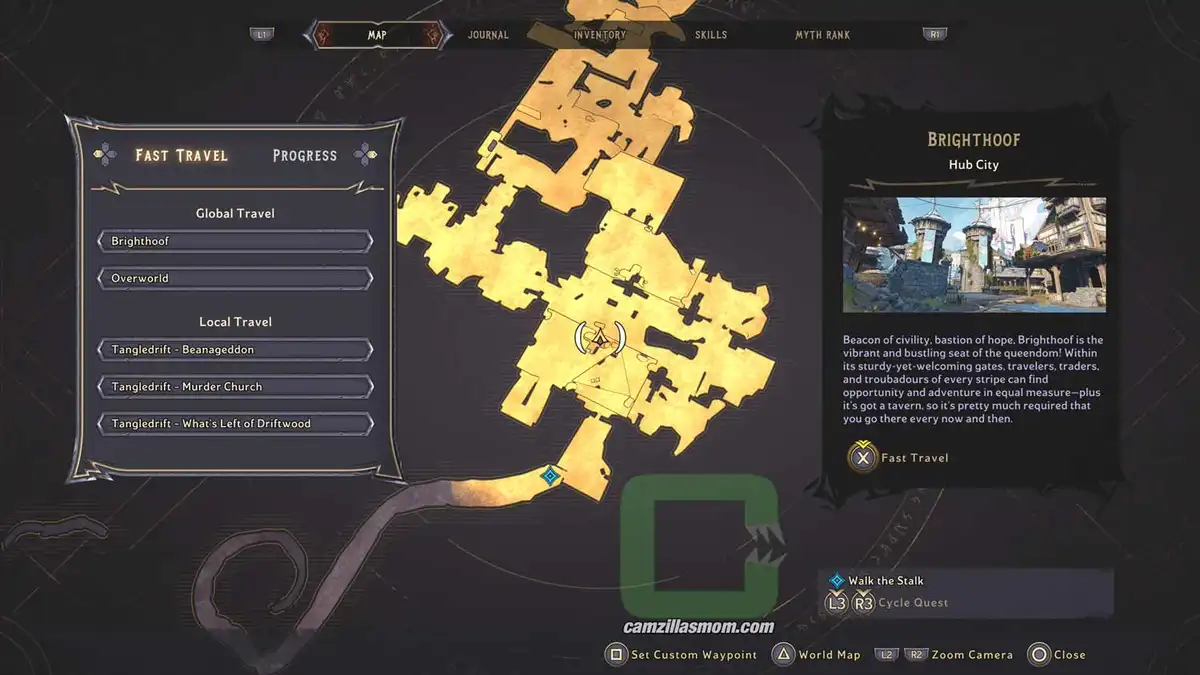
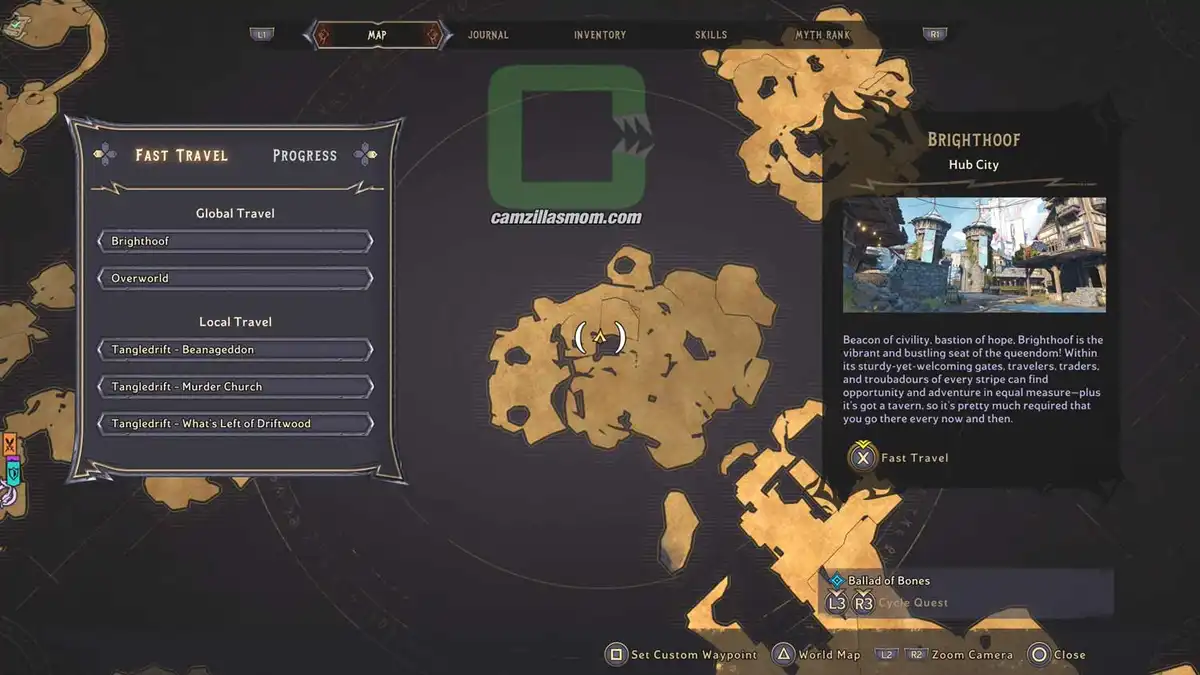
The location on the map with zoom in.
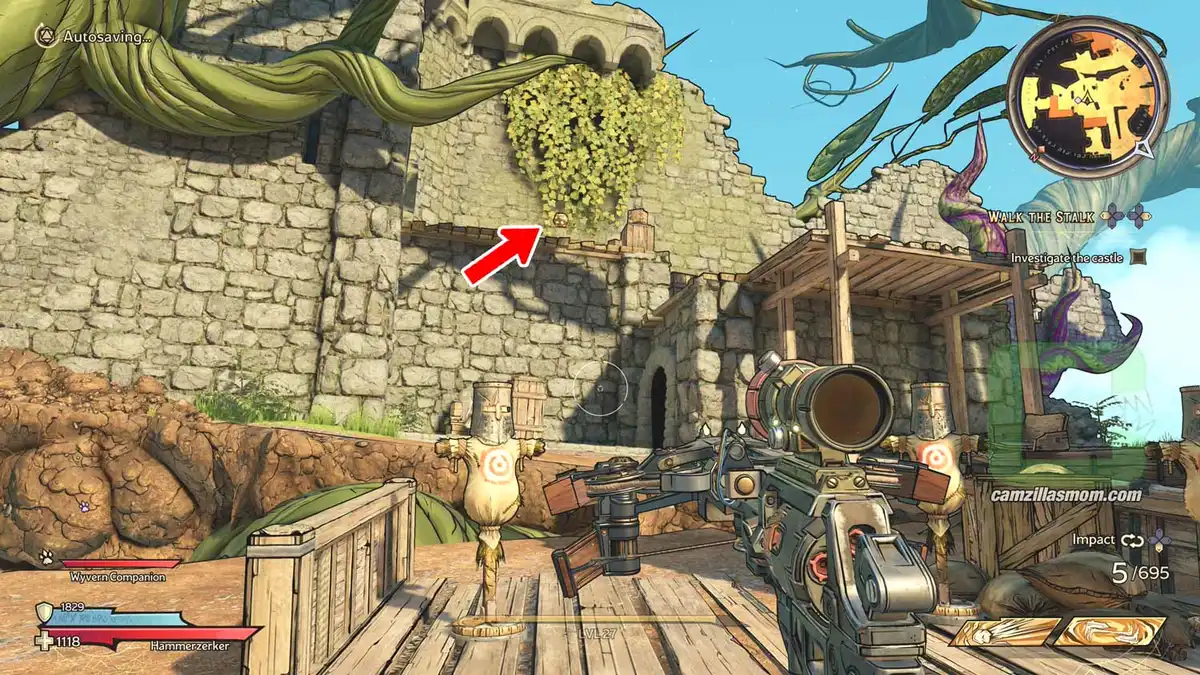
The Lucky Dice far ahead on top of a box.
Climb up the purple stalk.

Lucky Dice 2

The next Lucky Dice is at “What’s left of Driftwood”. It’s next to the safe point on top of a dung heap.

The location on the map with full zoom out.
The location on the map with zoom in.
Behind the safe point on top of the heap.

Lucky Dice 3

Still at “What’s left of Driftwood”, look down towards the west and you will see a house called “Old Gift Shop”. Behind the house is the Dice.

The location on the map with full zoom out.
The location on the map with zoom in.
The Dice behind the Gift Shop.

Lucky Dice 4

At the “What’s left of Driftwood” Fast Travel Point, where the Vending Machines are, is a stone tower. At its base is a Lucky Dice hidden behind some boxes.

The location on the map with full zoom out.
The location on the map with zoom in.
It’s at the base of the tower.
Glowing inside the boxes.

Lucky Dice 5

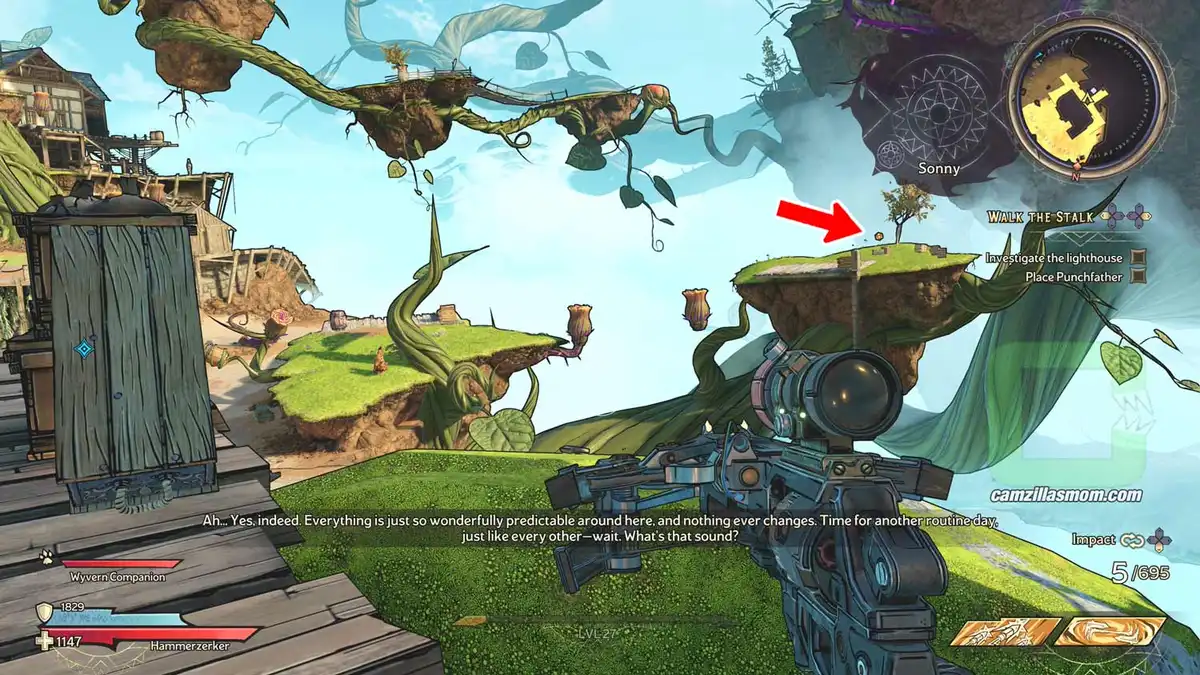
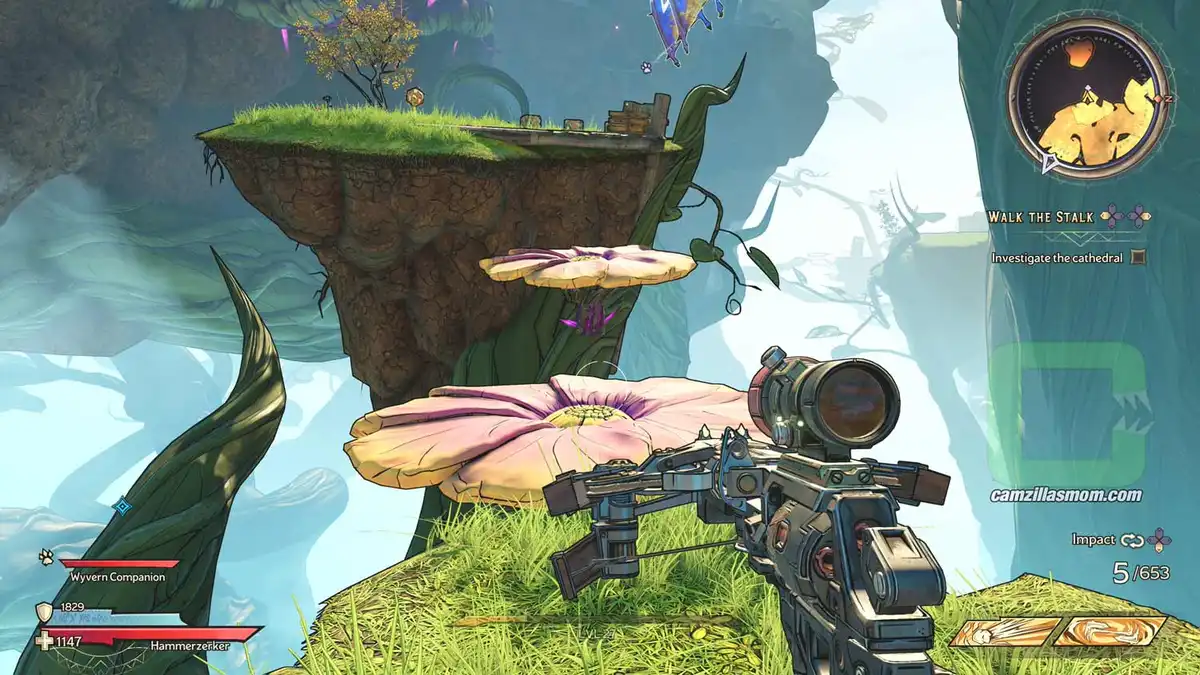
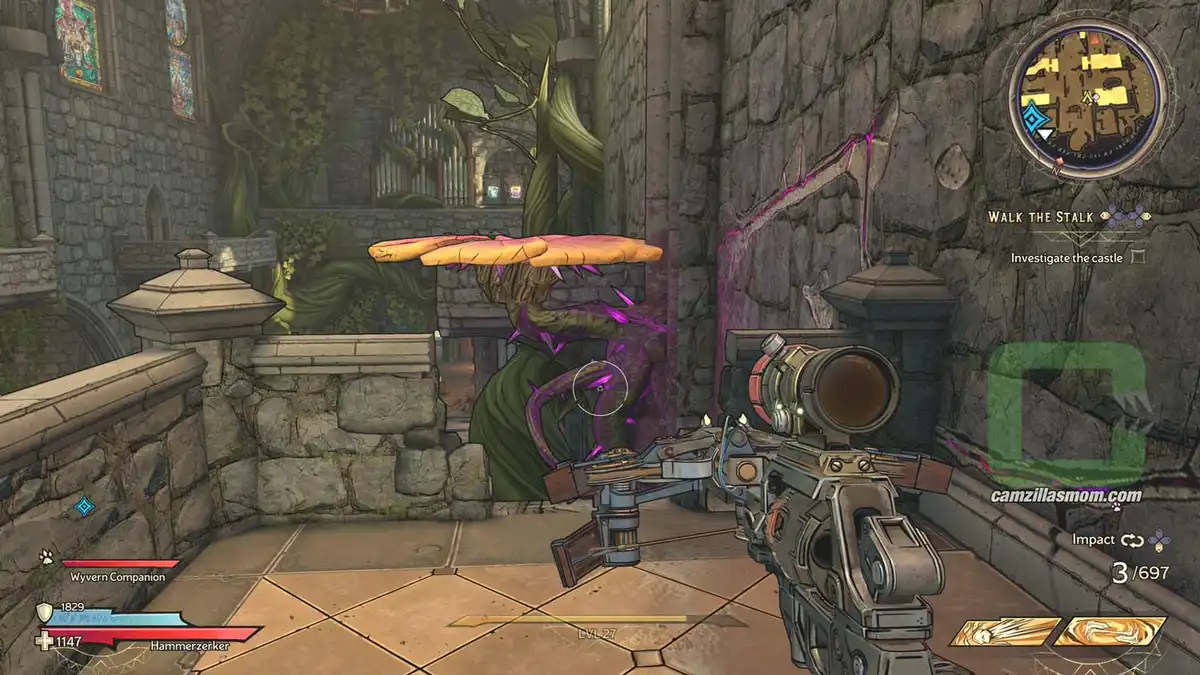
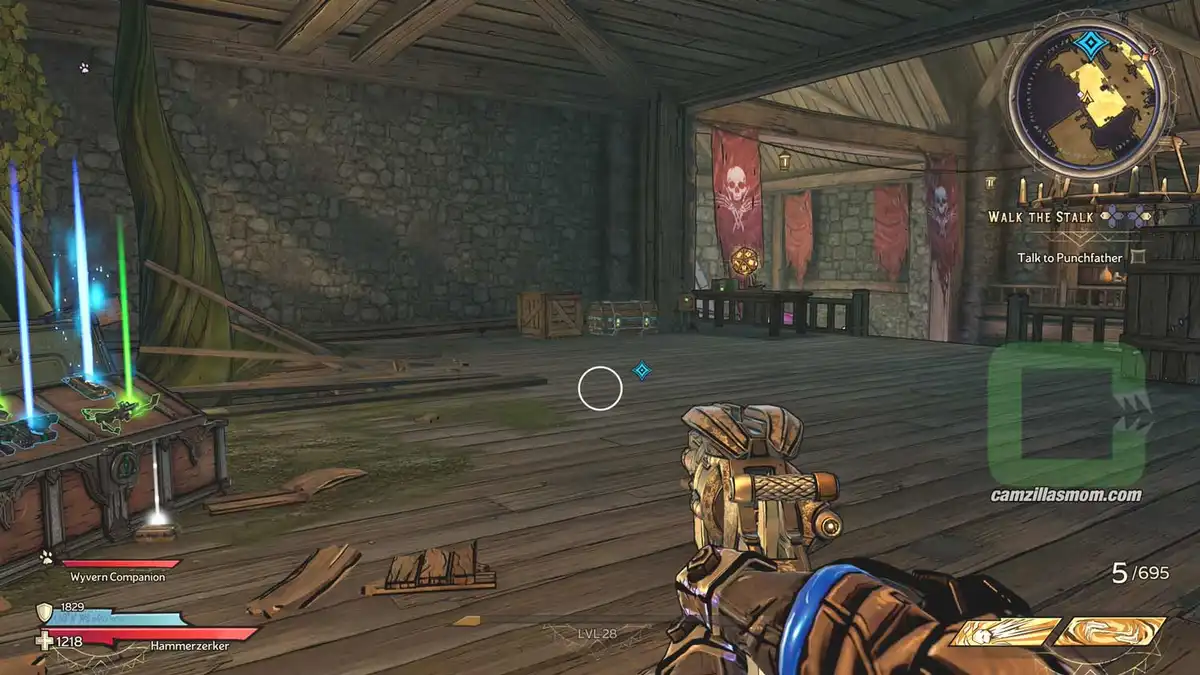
This one is at “Last Light”, the lighthouse area. There is an “island” to the right of the lighthouse with closed flowers. Make Punchfather heal the flowers in the Quest “Walk the Stalk”. Then, the flowers open and you can cross over to collect the Lucky Dice.

The location on the map with full zoom out.
The location on the map with zoom in.
The dice in the distance on the island.
Now the flowers are open.

Lucky Dice 6

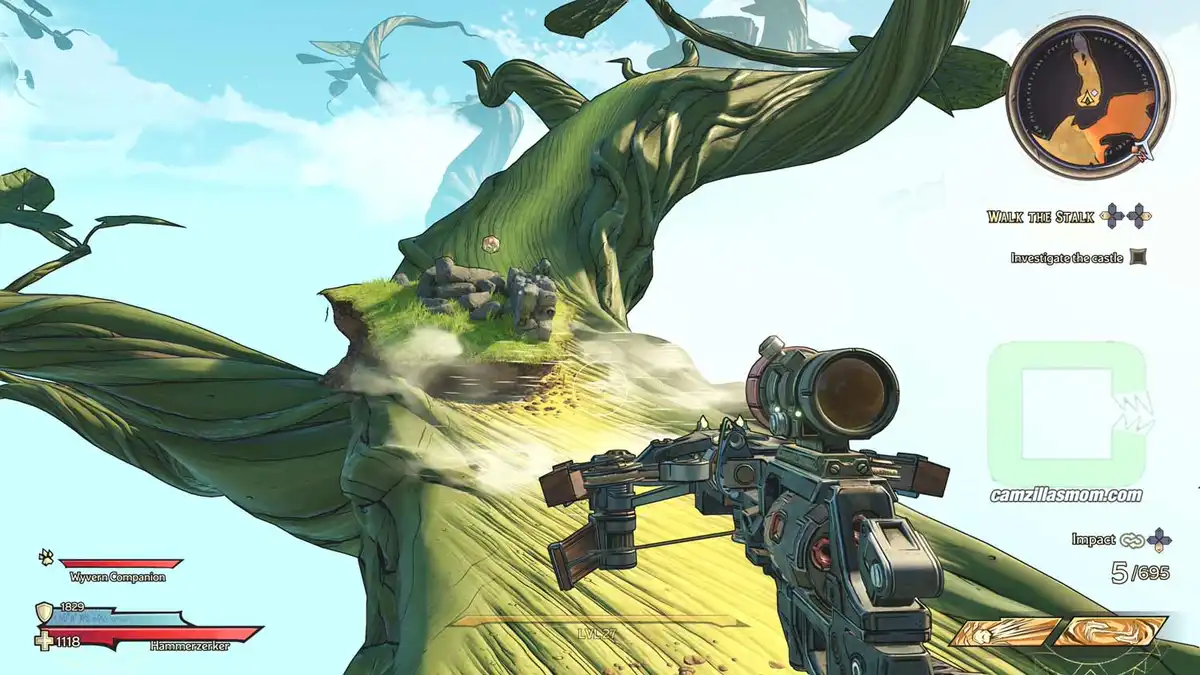
On the way up to the lighthouse at “Last Light”, you will come across a toadstool. Use it to jump over the abyss to the houses flying in the air. You will land just in front of a Lucky Dice.

The location on the map with full zoom out.
The location on the map with zoom in.
The toadstool and the houses in the distance.

Lucky Dice 7

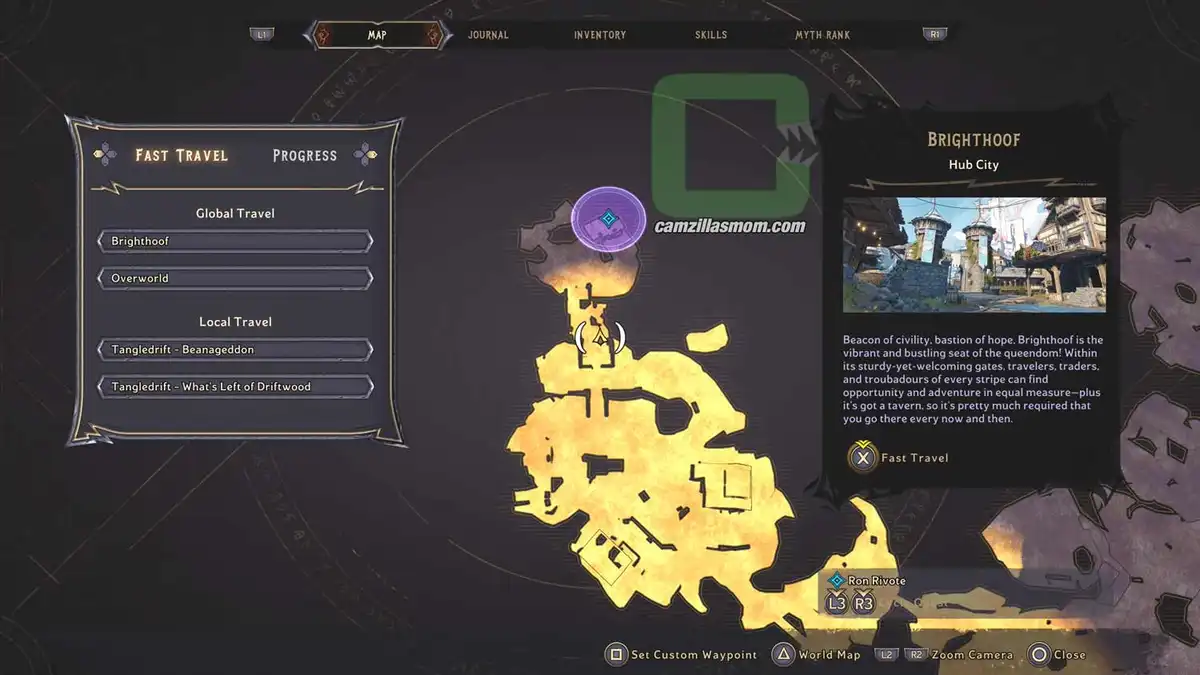
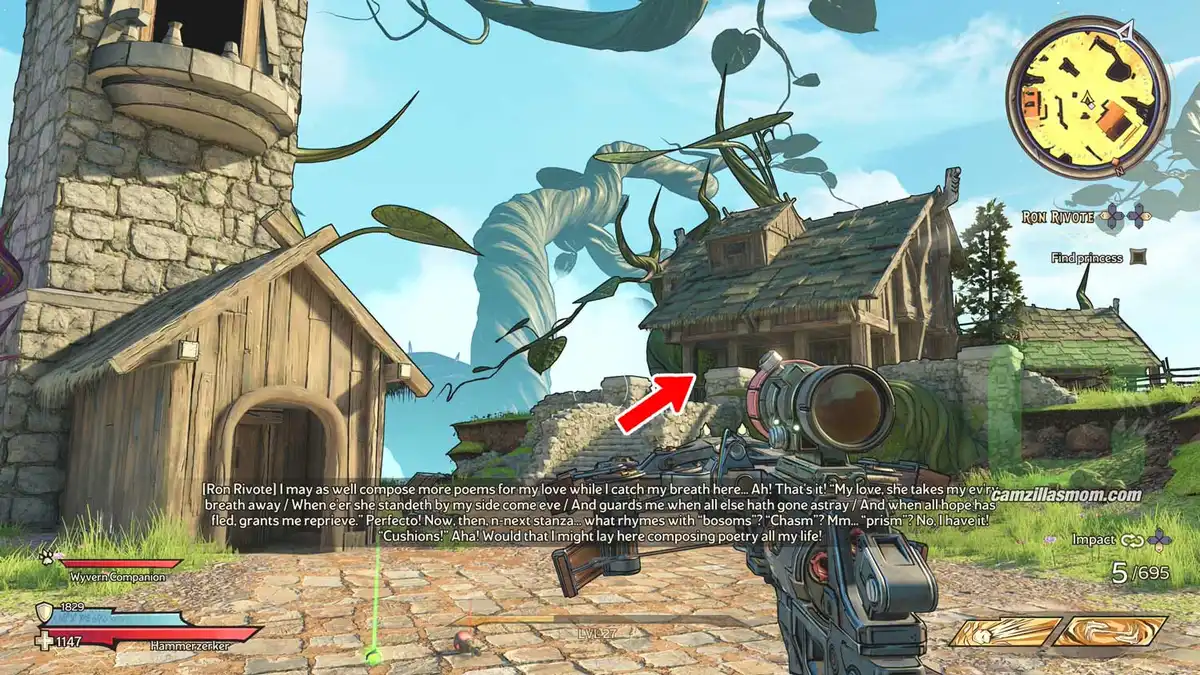
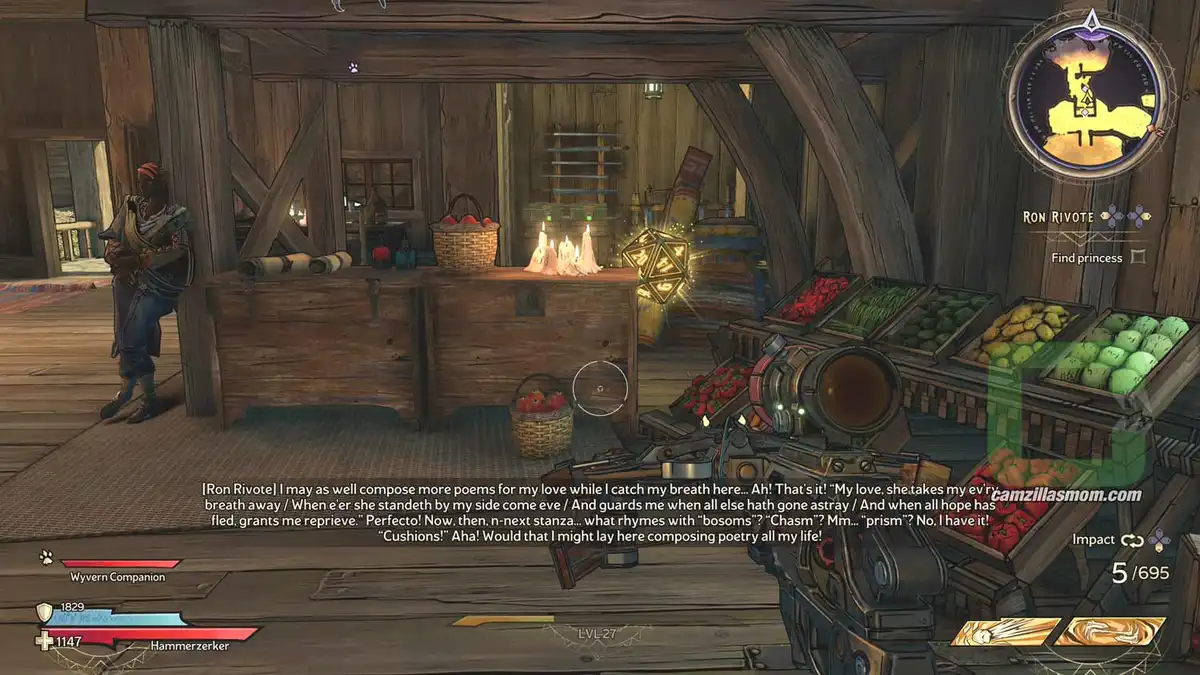
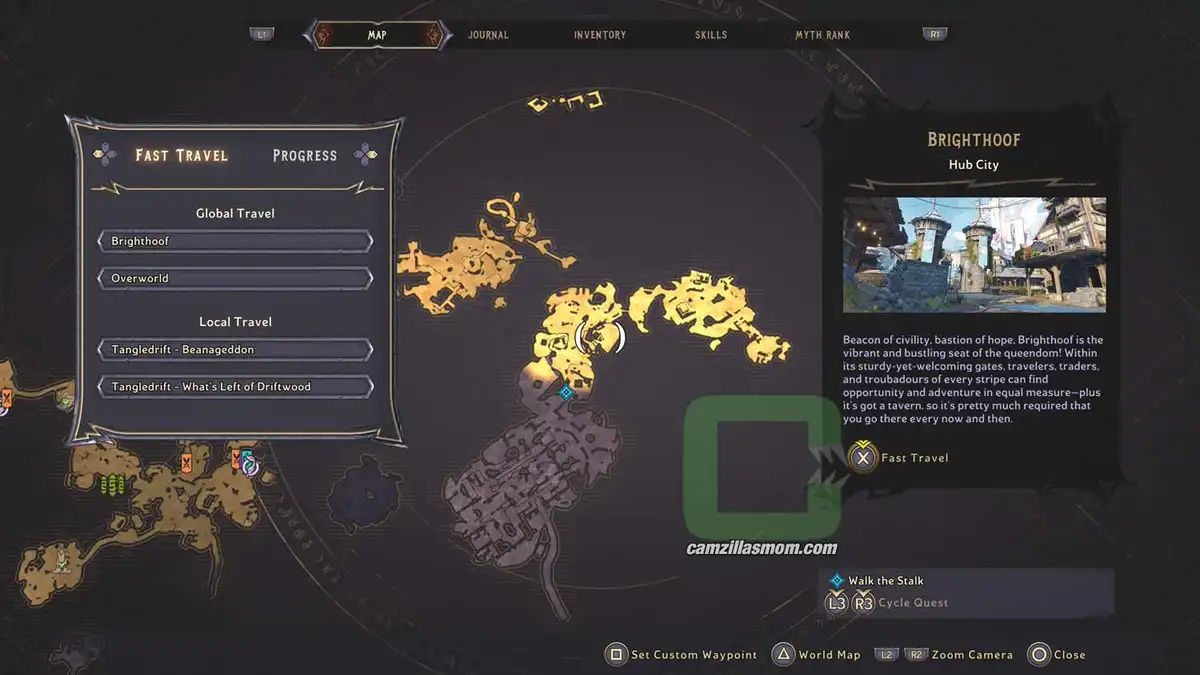
While doing the “Ron Rivote” Side Quest at “Tilter’s Whirl”, you get to fight a clocktower. Next to the clocktower is a house, where you have to “save the princess”. Inside this house is a Lucky Dice.

The location on the map with full zoom out.
The location on the map with zoom in.
The toadstool and the houses in the distance.

Lucky Dice 8

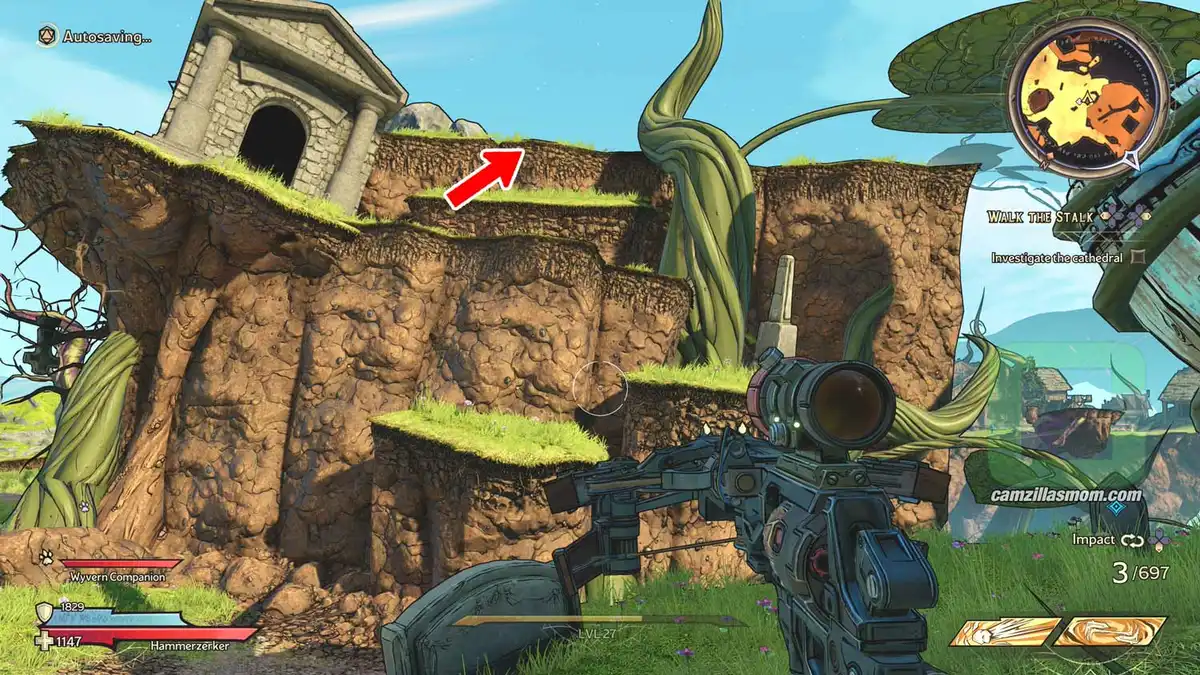
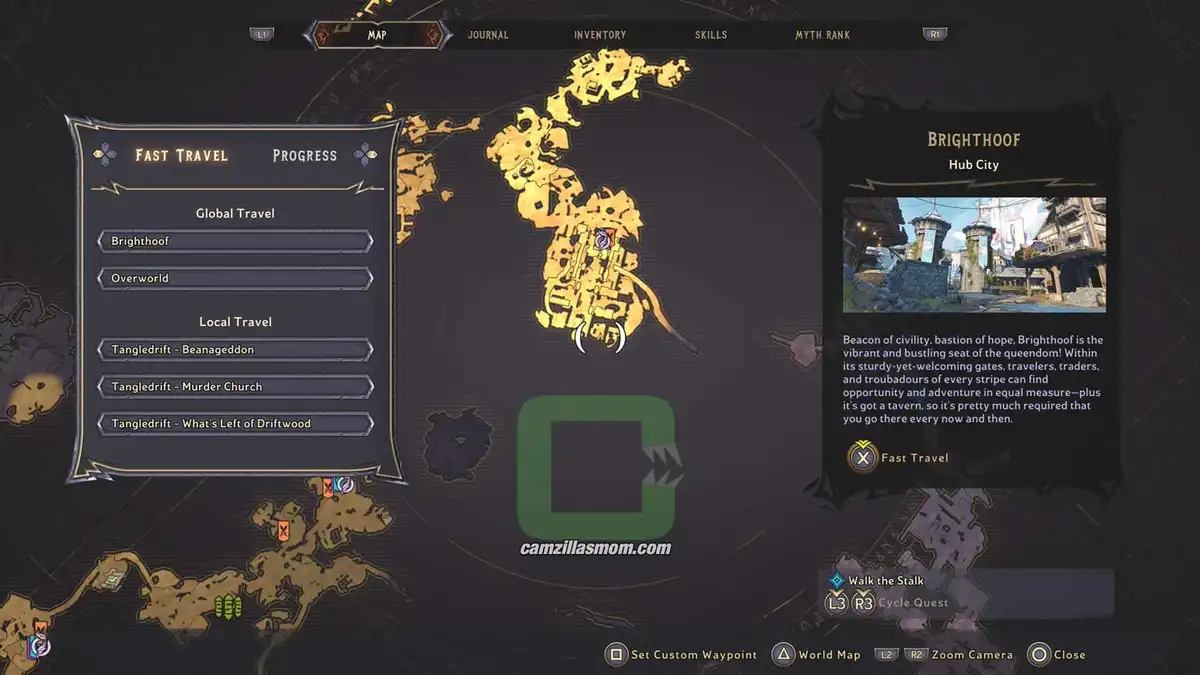
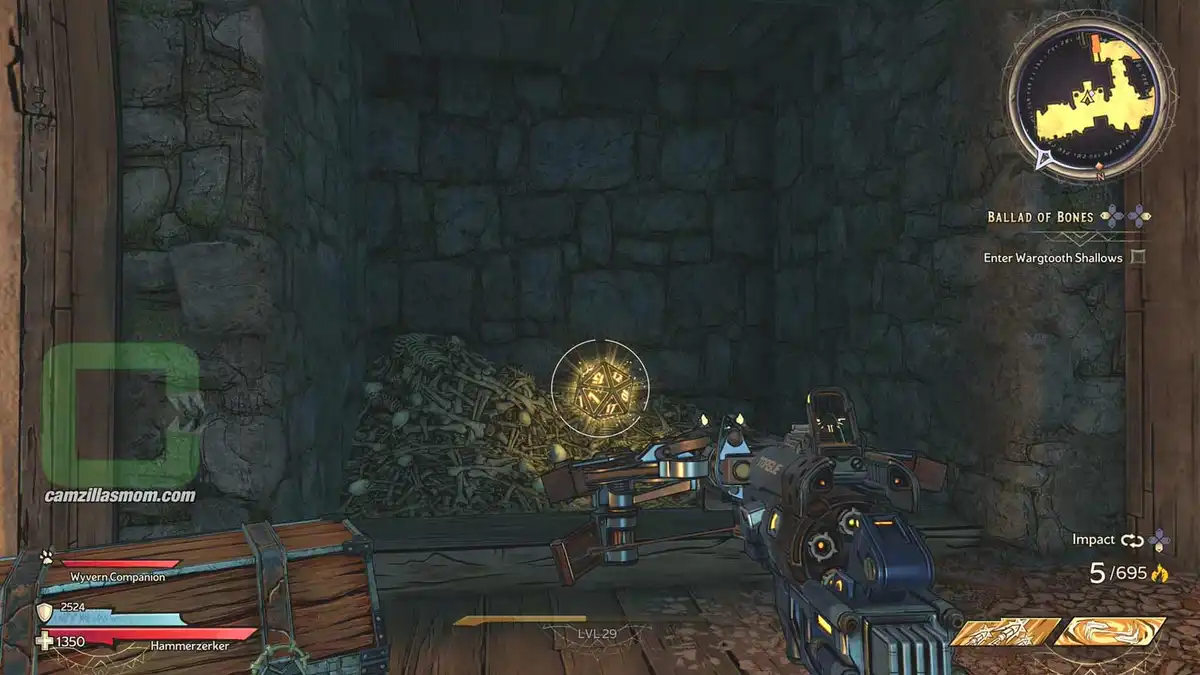
Going over to the nearby “Murder Church”. There is a hill up above with a tomb. Climb all the way up and you will see the Lucky Dice at the top.

The location on the map with full zoom out.
The location on the map with zoom in.
Climb the hill up here.

Lucky Dice 9

At the ground floor inside “Murder Church”, take advantage of the now open flower bubs to jump up to the second floor balcony. From there you can crossover on another flower to the next balcony. Inside the room of this balcony is the Lucky Dice

The location on the map with full zoom out.
The location on the map with zoom in.
Up the purple vines by using the flowers.
Crossing over to the next room.

Lucky Dice 10

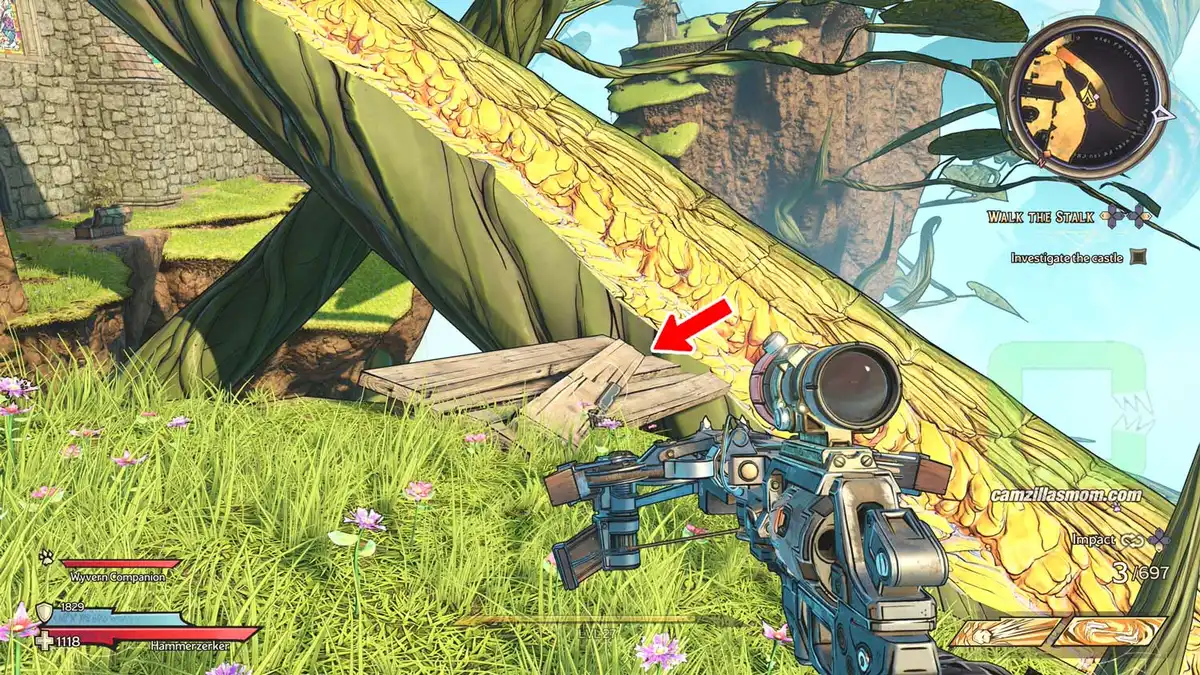
At the top of “Murder Church”, near the Vending Machines and the Fast Travel Point, take the slide down as indicated by the main quest marker. Look for the wooden planks to the right where you have to jump off – could be that you have to try this more than once…

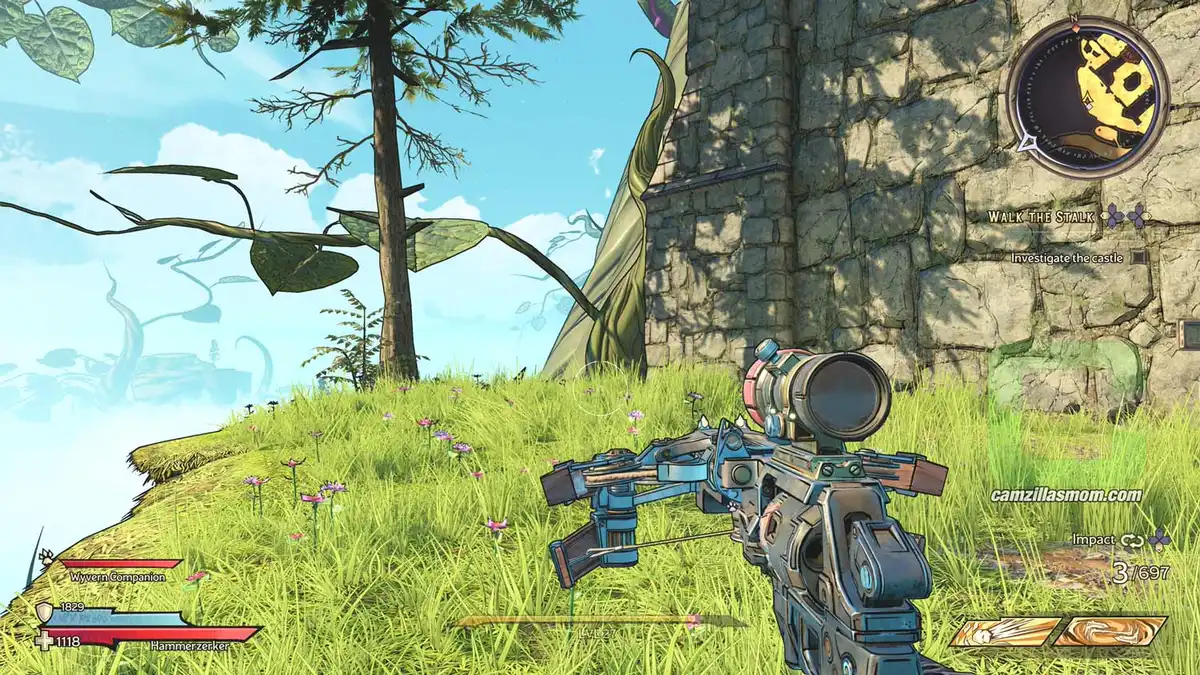
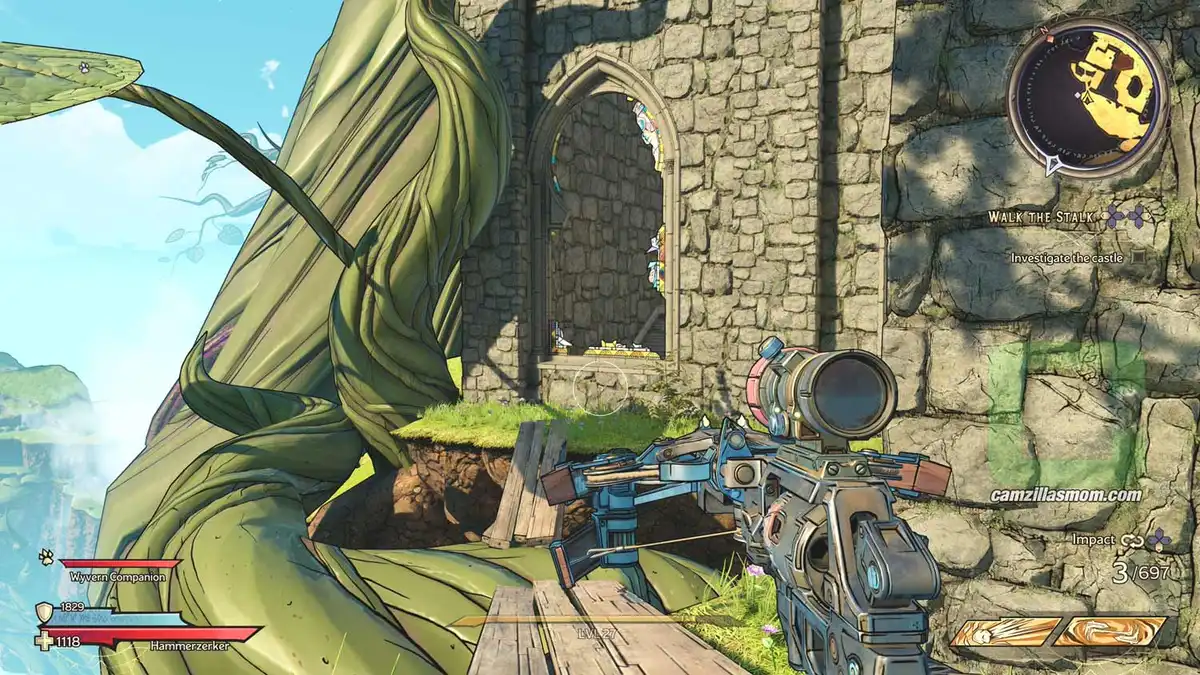
From here, move upwards and to the left around the church. You should see a broken window. Climb into the room and you will see the Lucky Dice.

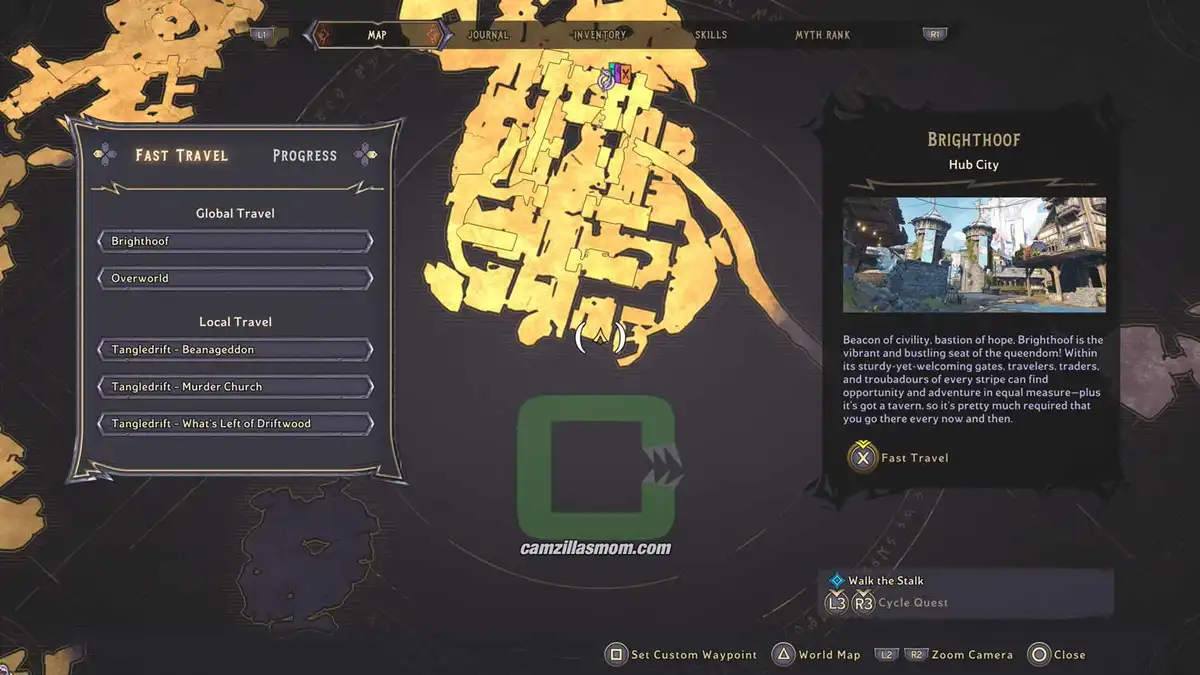
The location on the map with full zoom out.
The location on the map with zoom in.
Jump onto the planks from the slide.
Move left around the building.
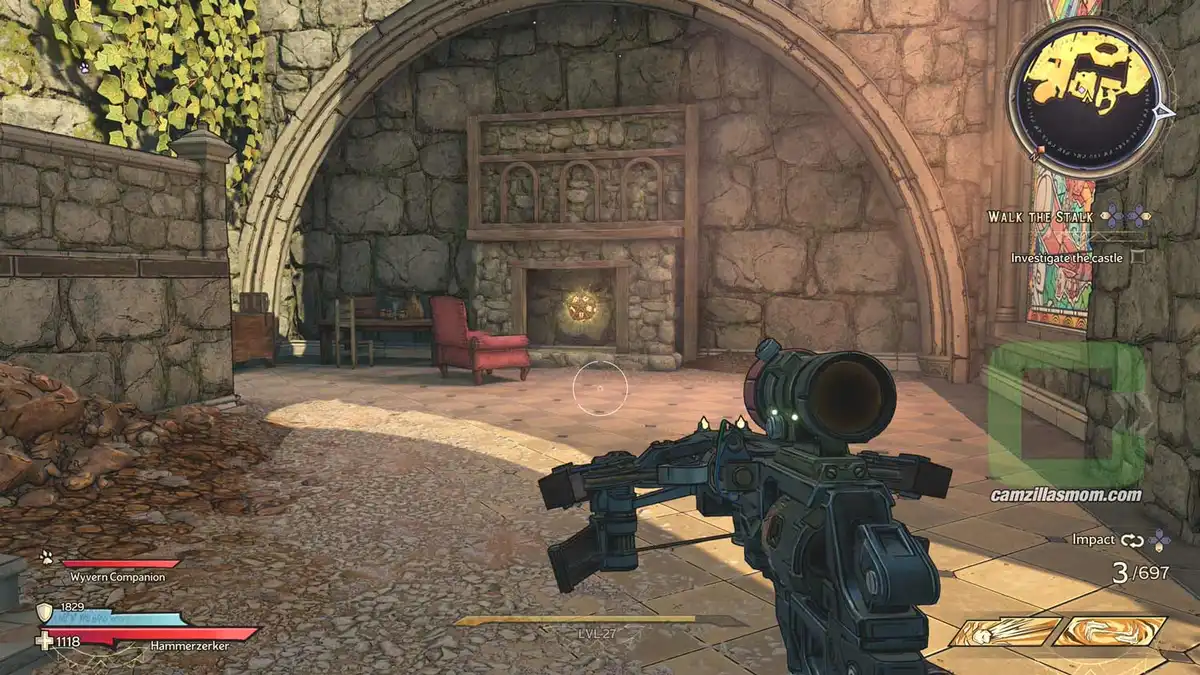
The broken window you climb into.
Lucky Dice in the fireplace.

Lucky Dice 11

After sliding down to “Upkeep Keep”, enter it and look up to the left. There’s the next Lucky Dice.

The location on the map with full zoom out.
The location on the map with zoom in.
High up in the first area of the keep.

Lucky Dice 12

Go through the first part of “Upkeep Keep” and exit on the other side where you have to fight some Wyvern while crossing a green bridge. Here, look to the left. There is a Lucky Dice on this little piece of land. Be wary of the wind bursts!

The location on the map with full zoom out.
The location on the map with zoom in.
The Dice in the distance.
The wind trap just ahead.

Lucky Dice 13

At “Upkeep Keep”, at the end where you cleanse a flower together with Punchfather in the story, go upstairs and use the now open flower to cross over. You will see where when you look for the yellow paint smears. Close to a red chest is the Lucky Dice.

The location on the map with full zoom out.
The location on the map with zoom in.
Cross over by jumping on the flower.
Lucky Dice ahead.

Lucky Dice 14

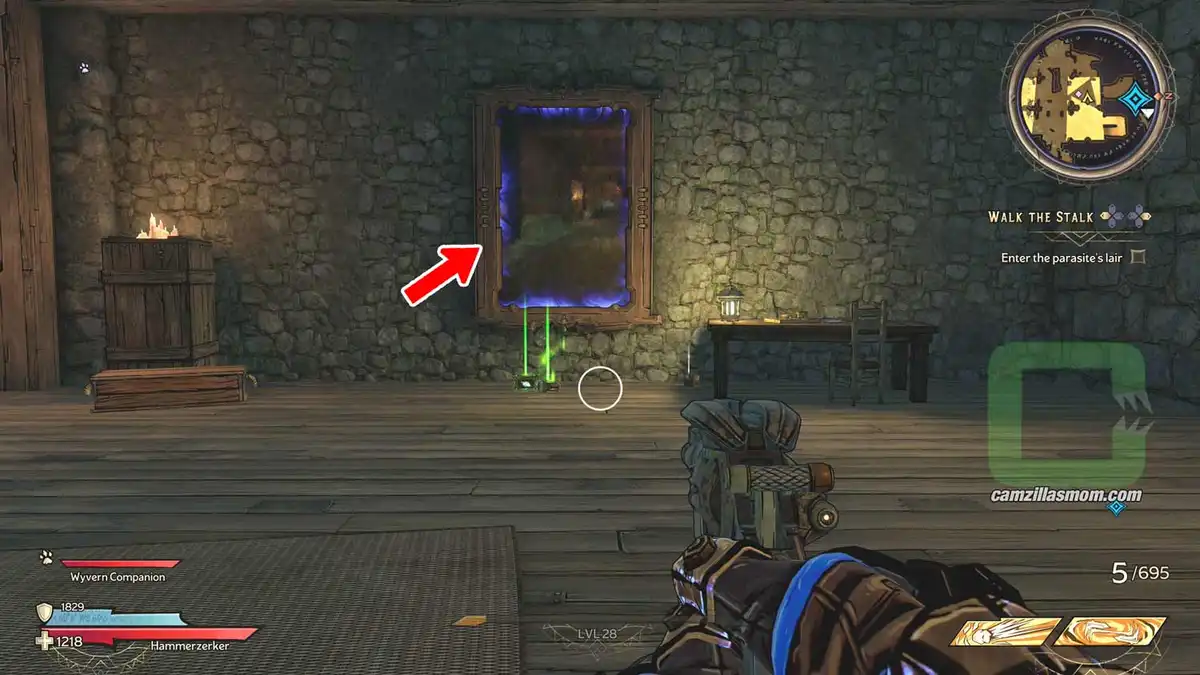
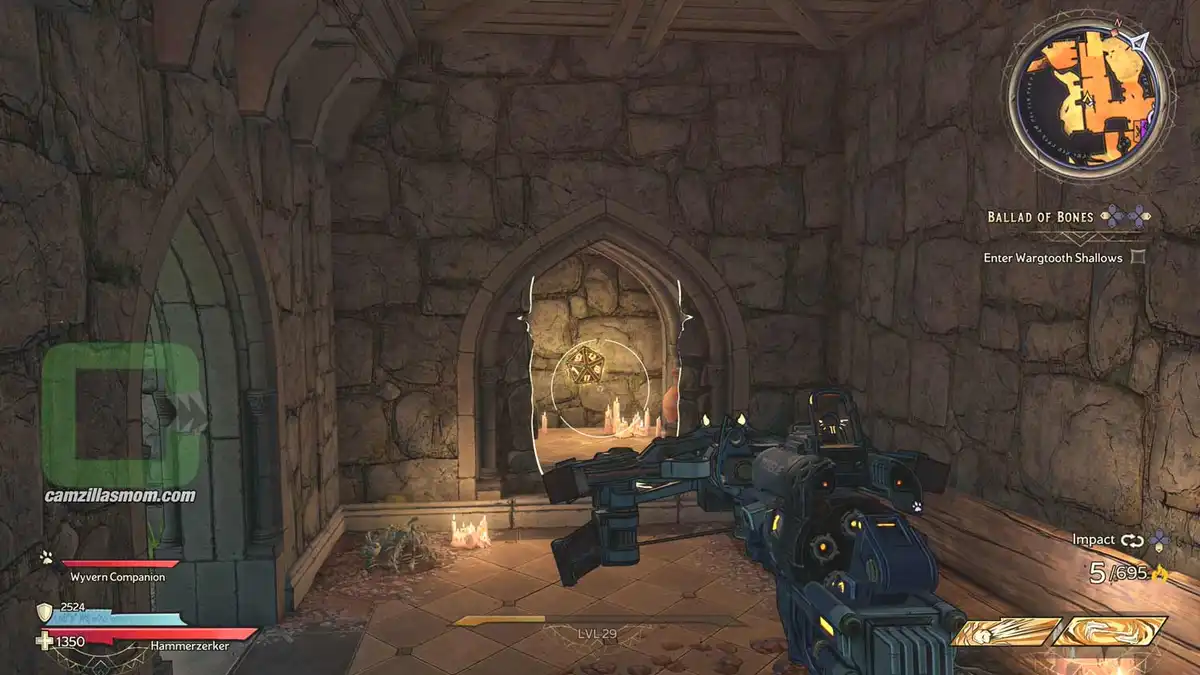
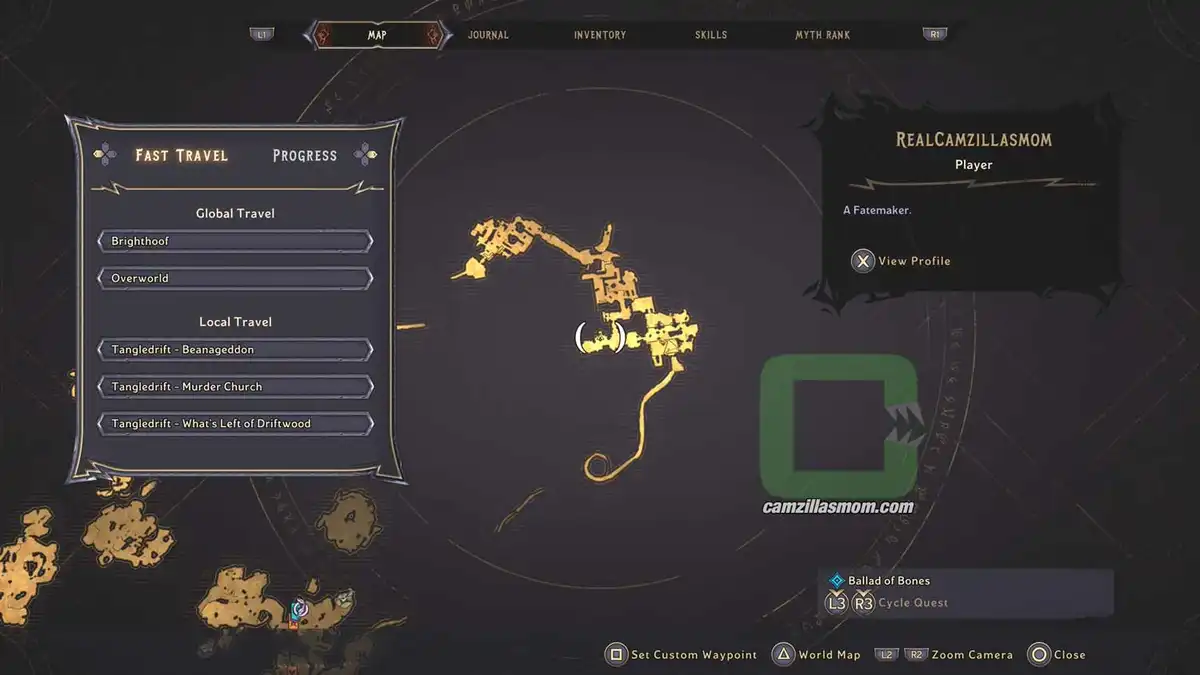
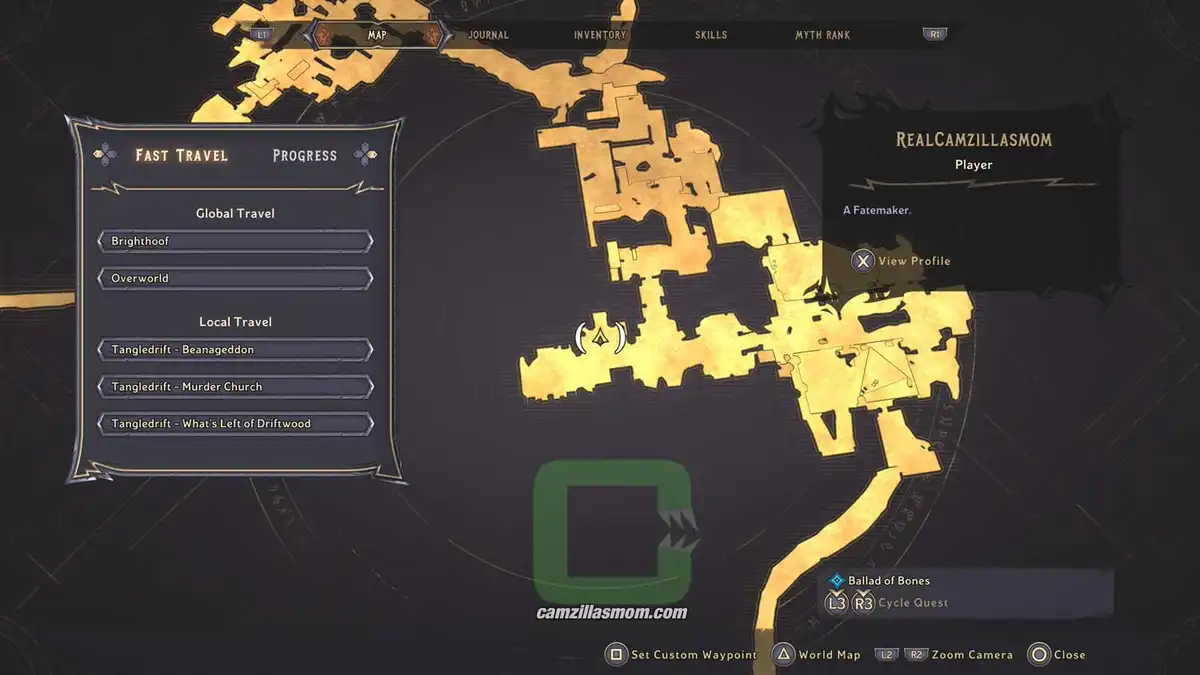
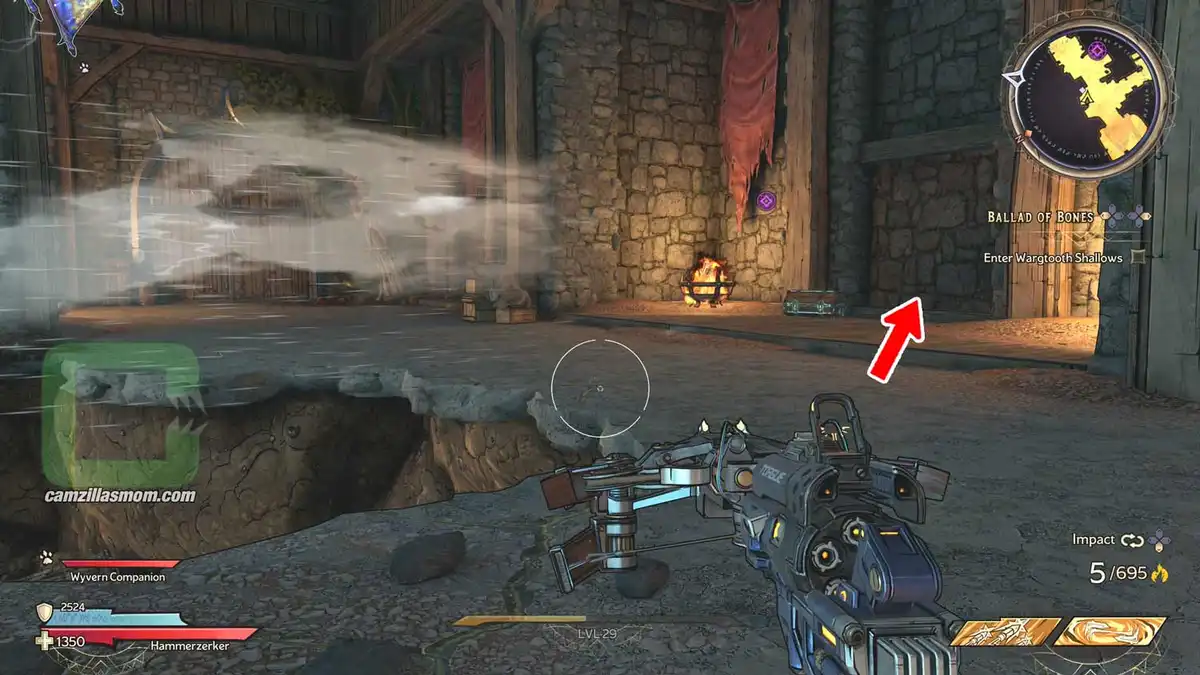
Also upstairs at the “Upkeep Keep”, but on the other side of the last Lucky dice, there is a teleportation mirror. Go through. Right around the corner is the Lucky Dice.

The location on the map with full zoom out.
The location on the map with zoom in.
Teleportation Mirror.

Lucky Dice 15

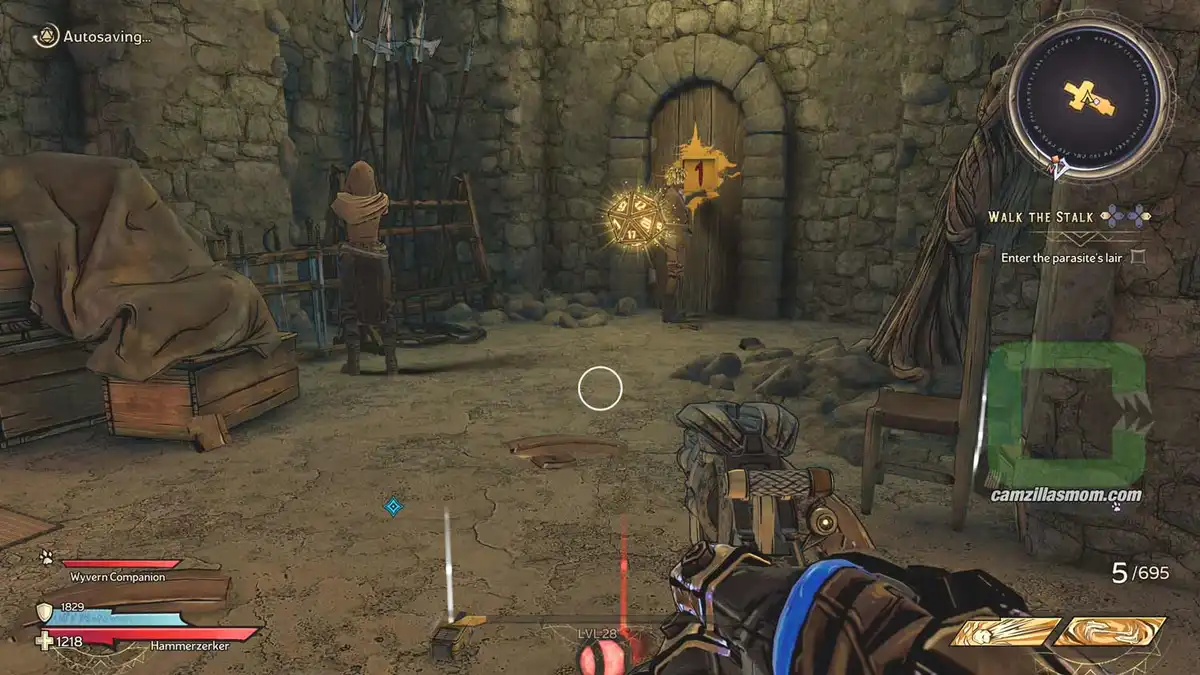
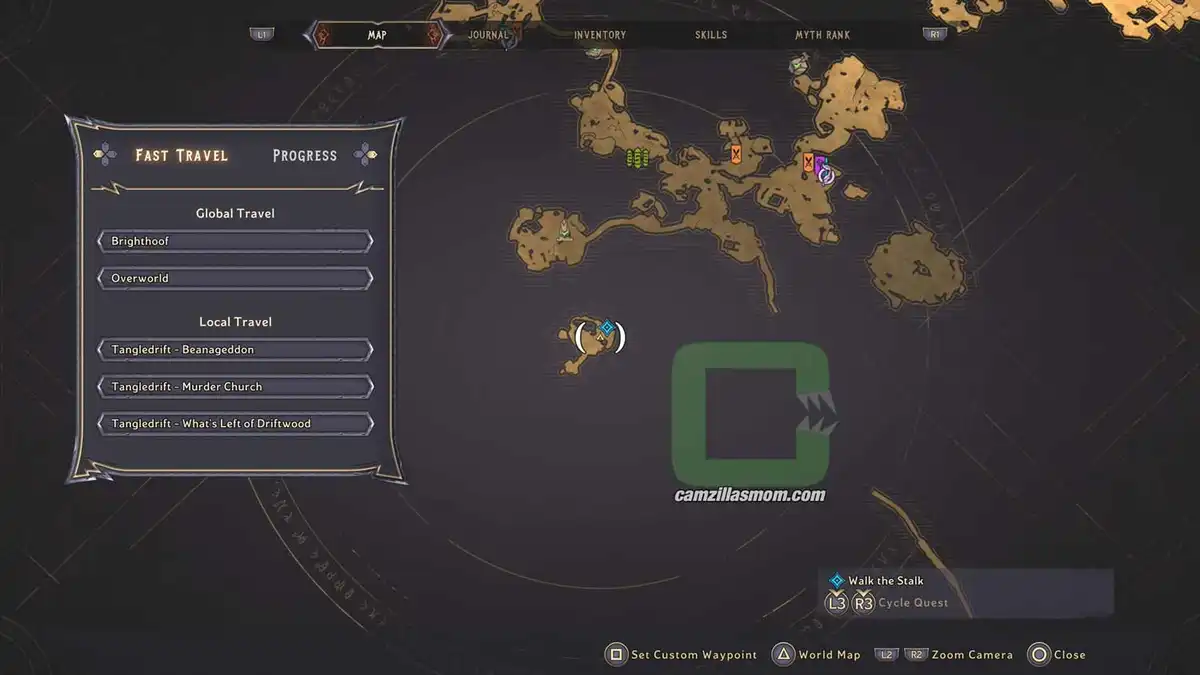
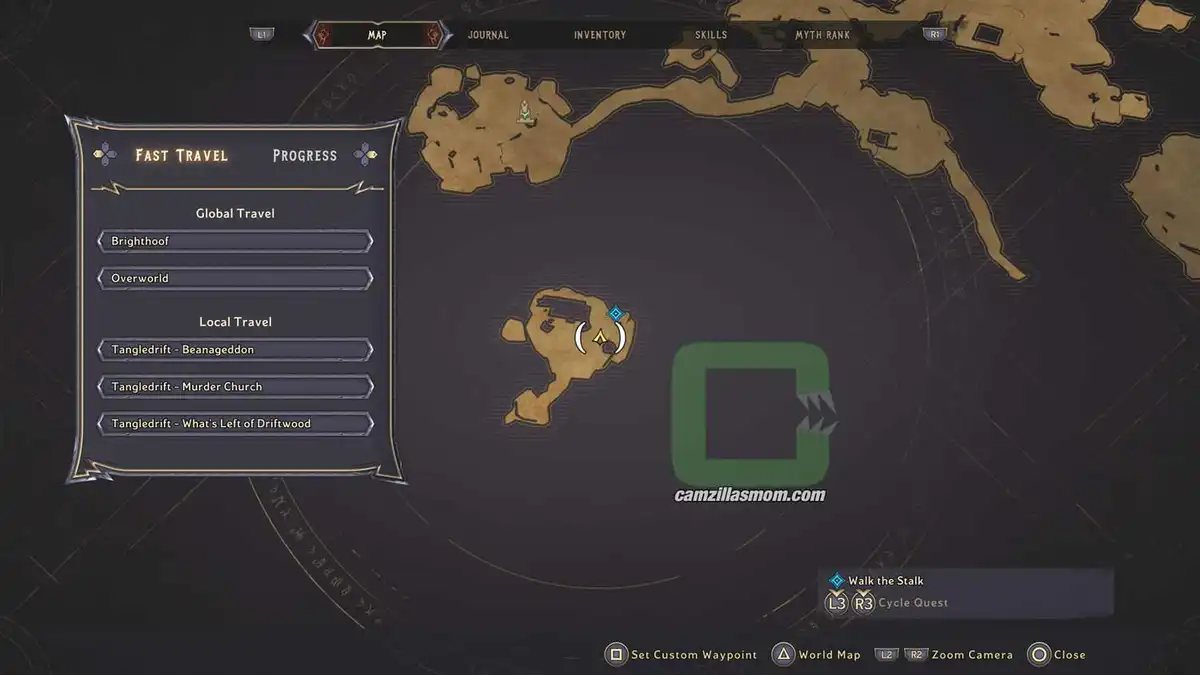
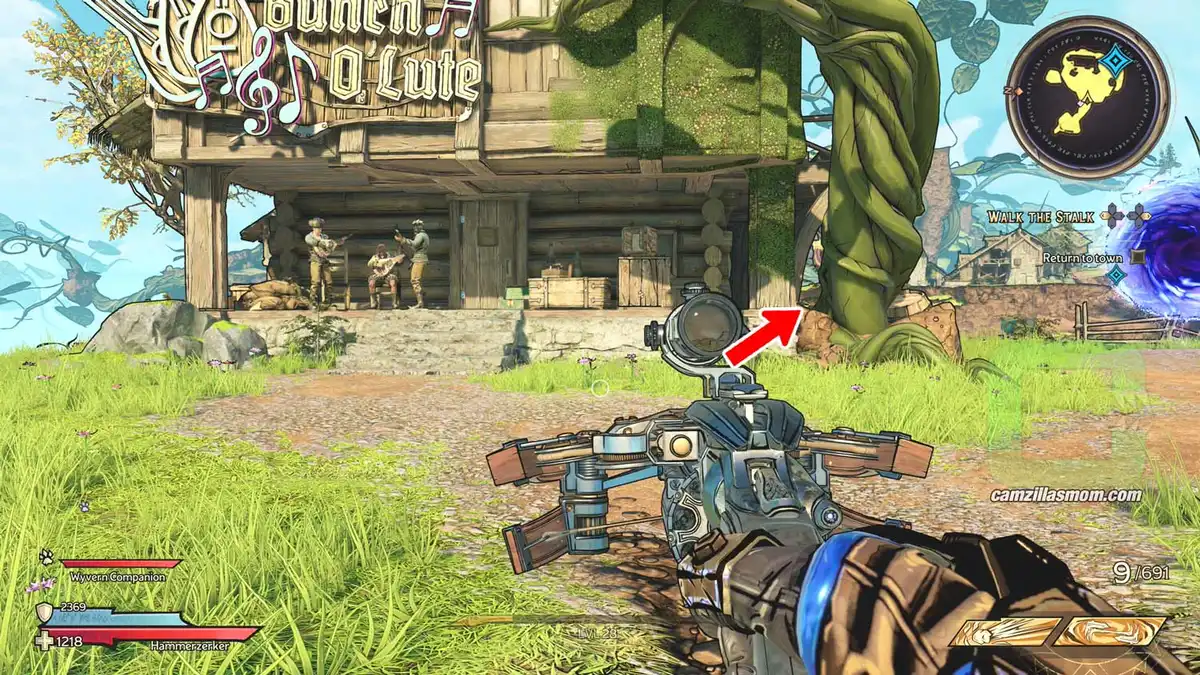
Defeat the Parasite in the Main Story and exit through the portal. Here on this little exit island is the Lucky Dice. Go to the right. It’s opposite the portal.

The location on the map with full zoom out.
The location on the map with zoom in.
Opposite the portal.

Lucky Dice 16

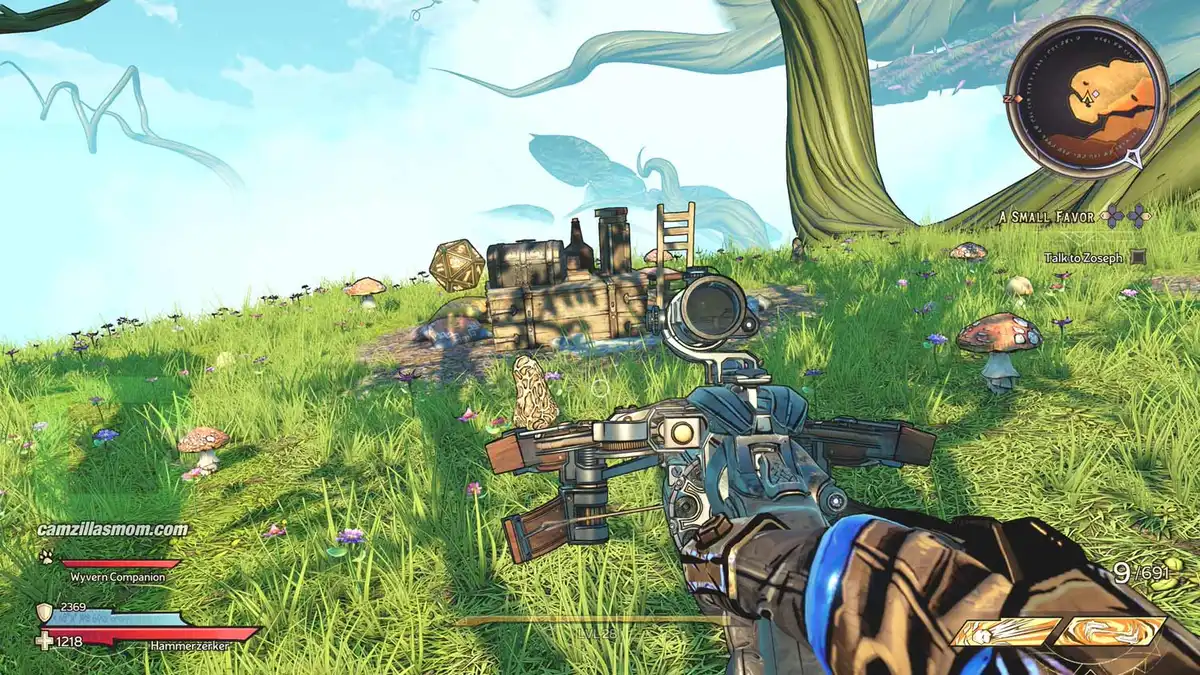
From “What’s Left of Driftwood”, teleport to the “Ratty Shack”. At the far end of the island map is a picnic site, where the Lucky Dice is.

The location on the map with full zoom out.
The location on the map with zoom in.
Picnic site.

Lucky Dice 17

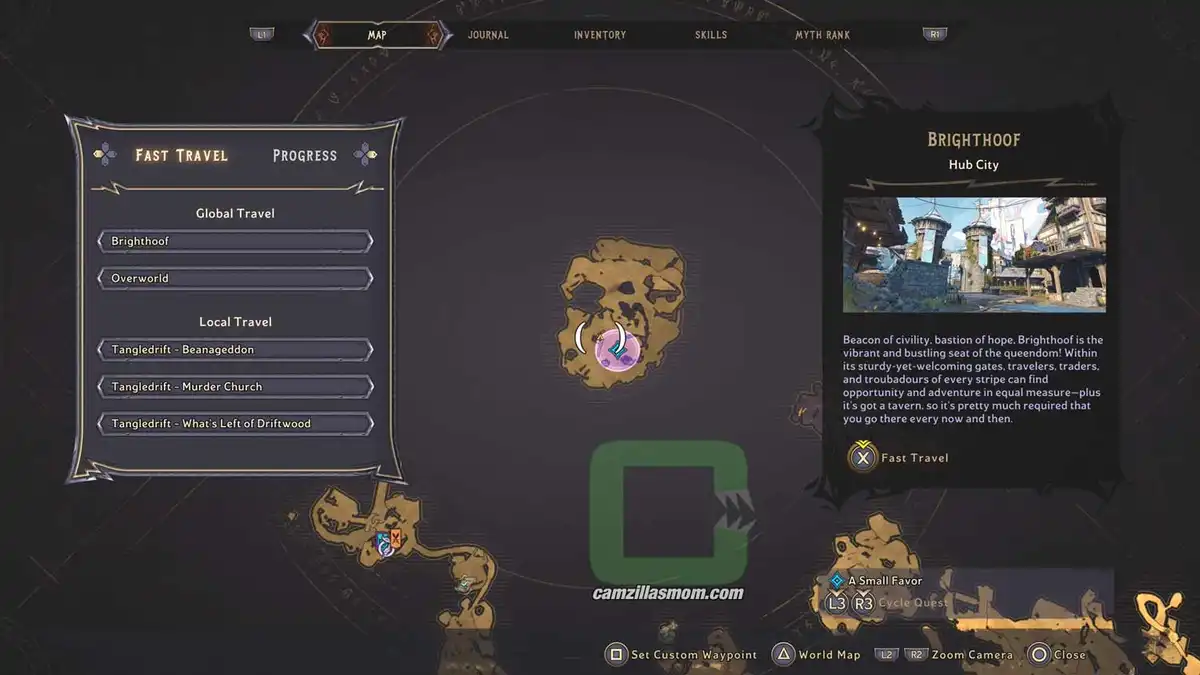
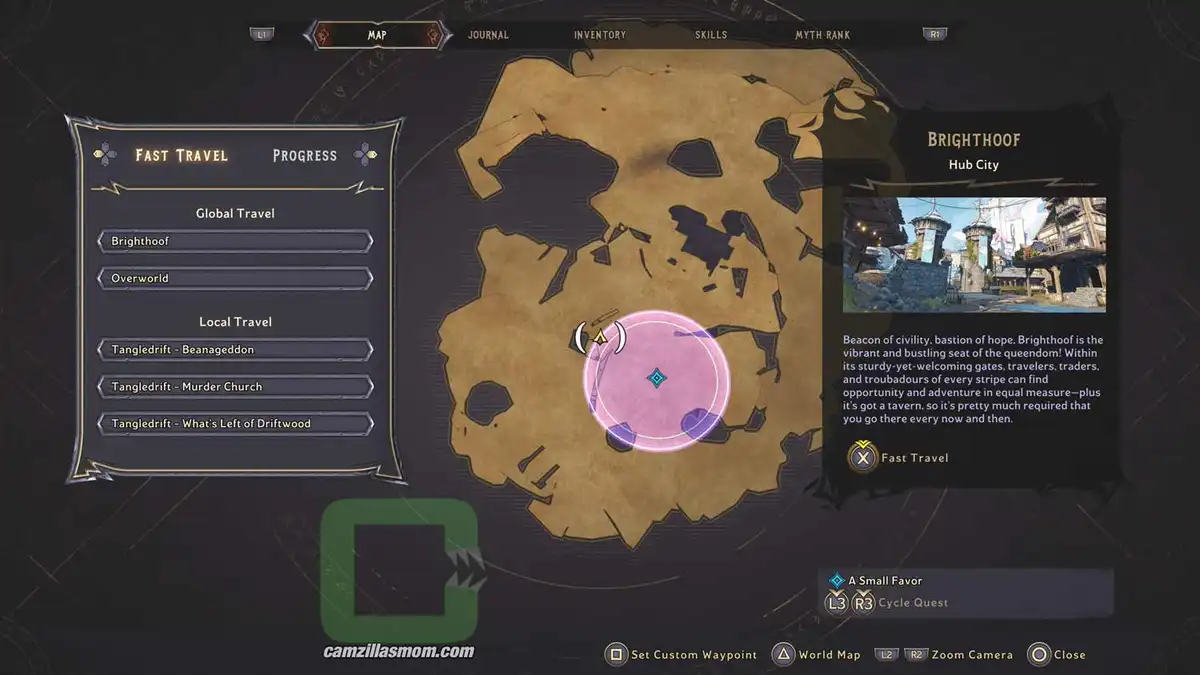
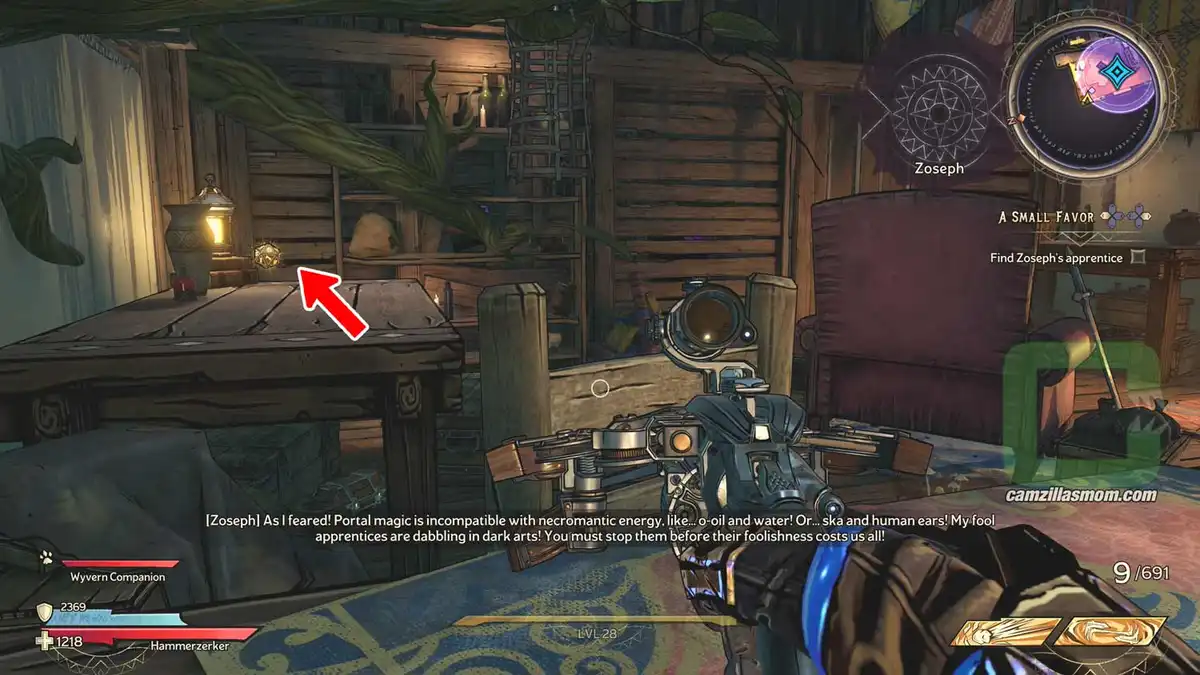
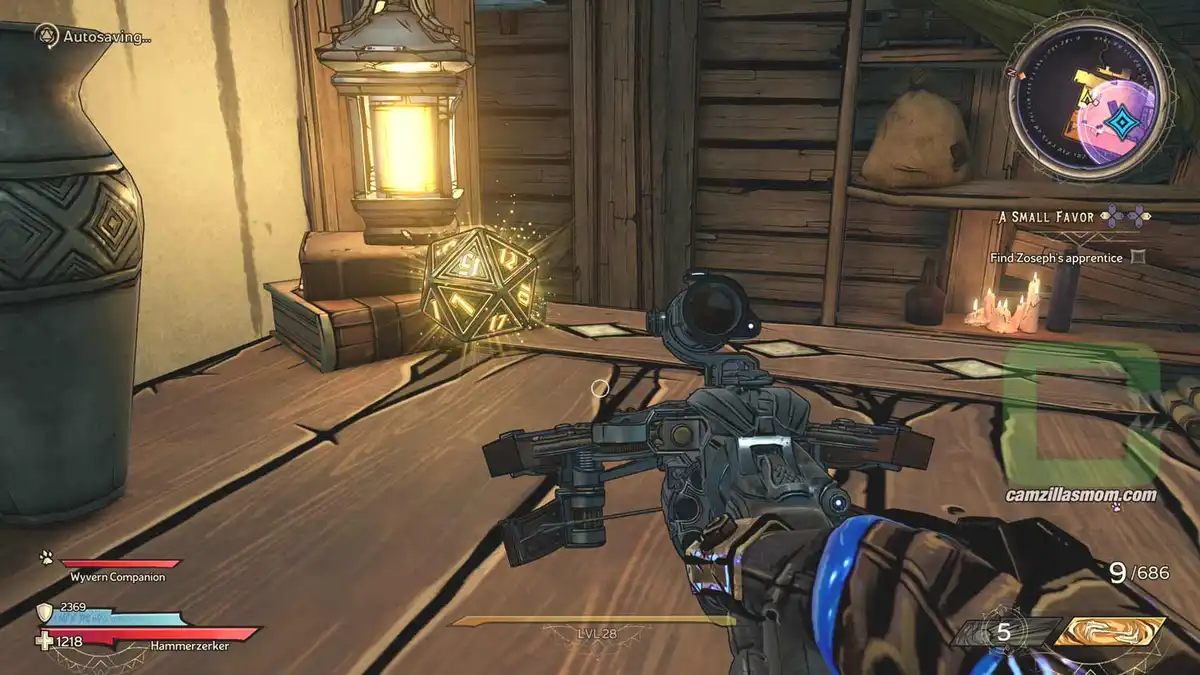
Pick up the “A Small Favor” Side Quest at “What’s Left of Driftwood” and meet Zoseph at the “Ratty Shack”. You can use a blue portal near “What’s Left of Driftwood”. He will make a blue portal so you can enter the house. Inside, cross over to the table with the Lucky Dice.

The location on the map with full zoom out.
The location on the map with zoom in.
The Lucky Dice on the table.

Lucky Dice 18

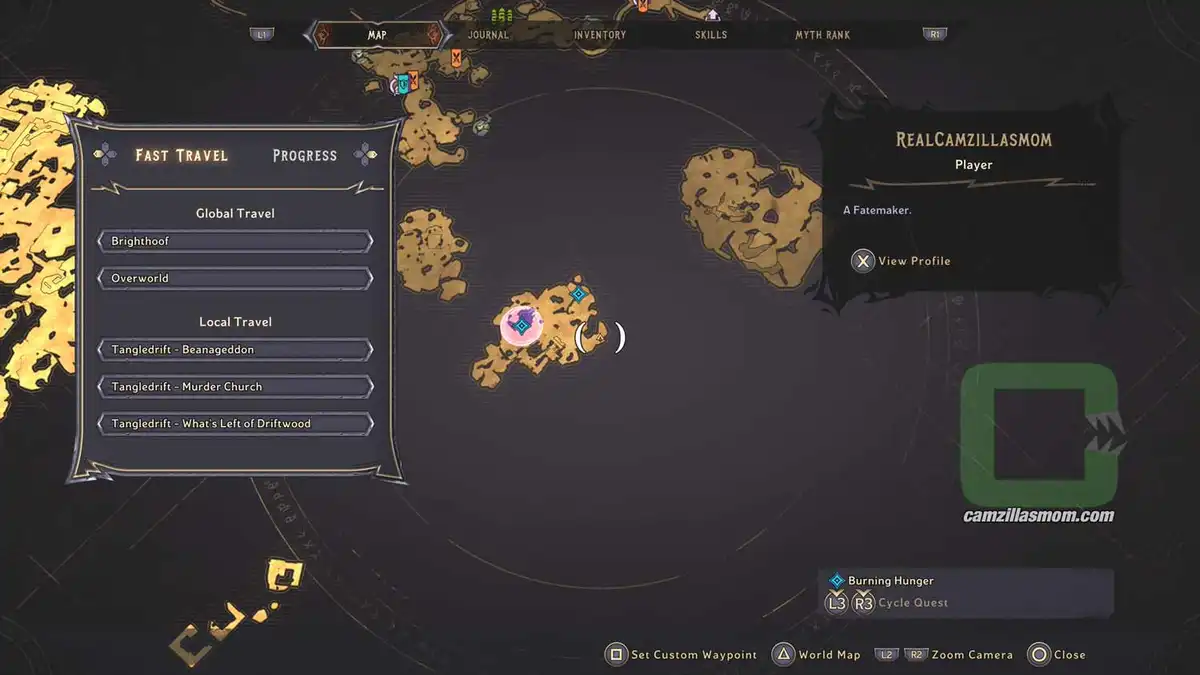
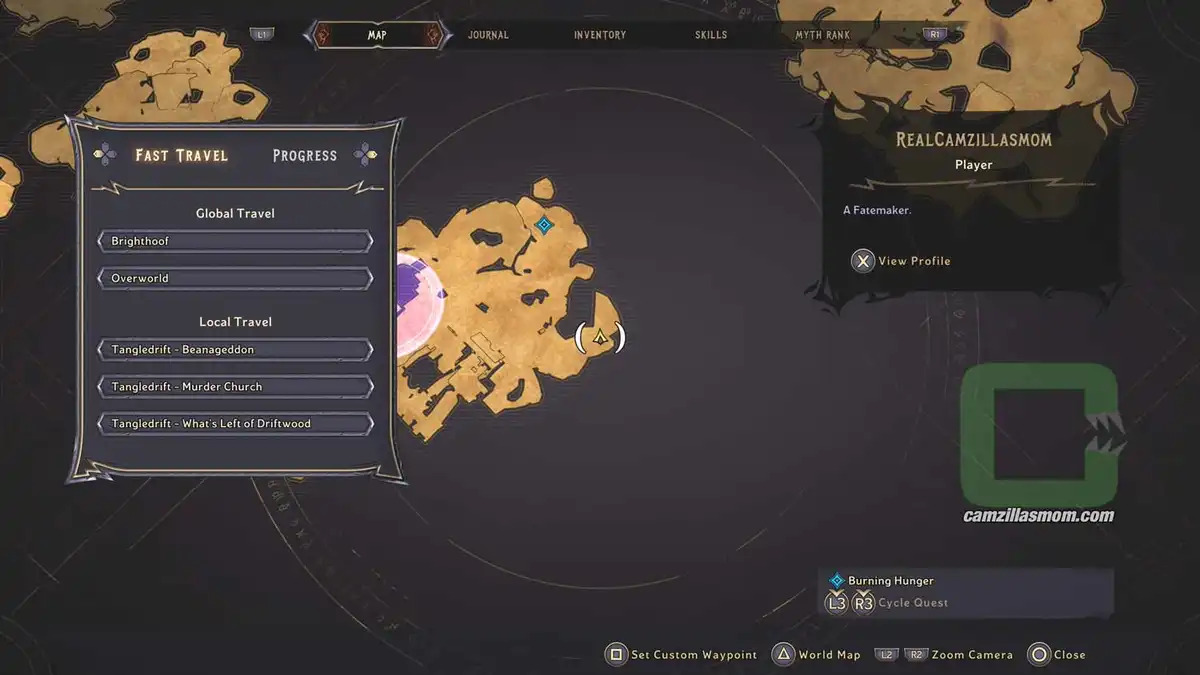
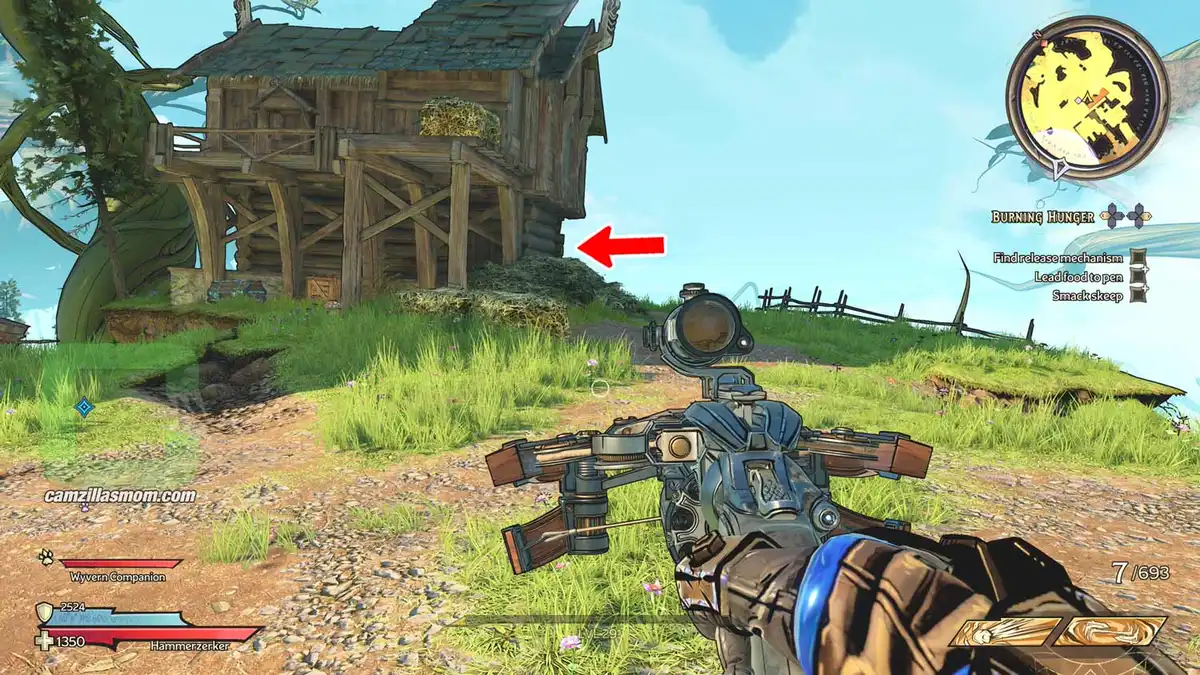
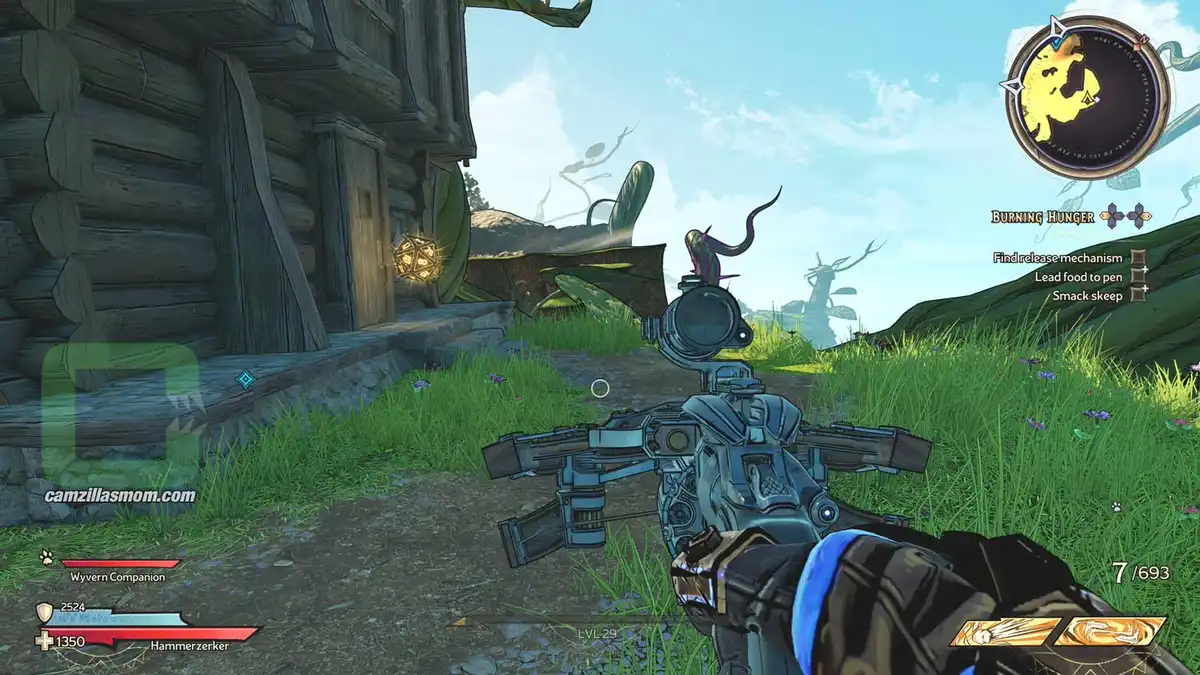
Do the Side Quest “Burning Hunger”. At the top of the “Chains of the Elder” area, there is the Lucky Dice behind a house.

The location on the map with full zoom out.
The location on the map with zoom in.
Behind the house.

Lucky Dice 19

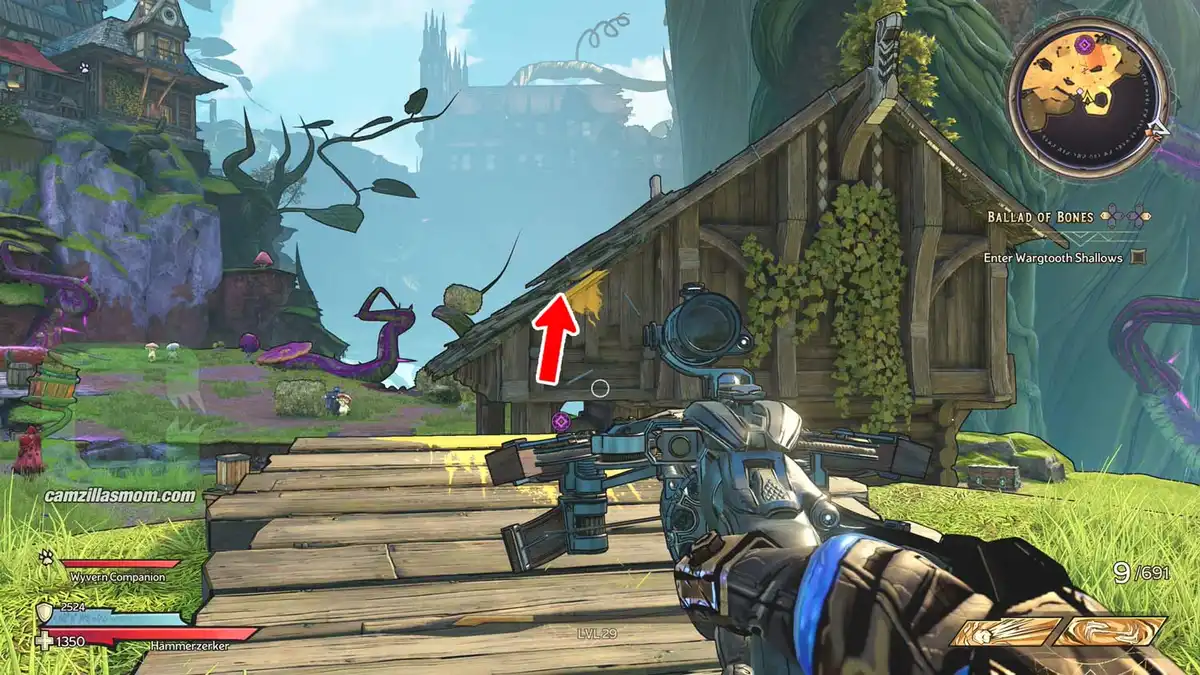
From “What’s Left of Driftwood”, go back towards the Lighthouse. Take the traversal toadstools in an area with a house and attacking mushrooms. Here are two suspicious paint smears on a platform and on the house. Jump onto the houses roof, walk around and look at the balcony.

The location on the map with full zoom out.
The location on the map with zoom in.
Follow the yellow paint onto the roof.
Walk around onto the roof and look at the balcony.

Lucky Dice 20

Back at the “Murder Church”, at the ground floor entrance, go down the stairs to the left basement. At the bottom of the stairs is a magic wall straight ahead. If you wait long enough and stare at it, it will reveal a Lucky Dice. Just melee the wall and you can pick it up.

The location on the map with full zoom out.
The location on the map with zoom in.
Down the left basement.
Lucky Dice behind the magic wall.

Lucky Dice 21

At “Upkeep Keep” go through the main courtyard and enter it. Go upstairs. There is a suspicious wind blowing towards a wall. When you stand long enough in front of this wall, the Lucky Dice behind it will reveal itself. Just melee the wall to pick it up.

The location on the map with full zoom out.
The location on the map with zoom in.
The wind trap blowing towards a wall…
Lucky Dice behind the wall.

This is TINY TINA’S WONDERLANDS
Release: May 26th, 2022
Developer: Gearbox Software
Publisher: 2K Games
Official Website: https://playwonderlands.2k.com/
Guides by camzillasmom.

Scroll to top