Dive into the “Keystone of Rage” investigation in Hell is Us with this comprehensive walkthrough. Whether you’re navigating the Ministry of Lethe, solving intricate puzzles in Jeljin Cemetery, or unlocking the secrets of the Auriga Museum, this guide provides step-by-step instructions to help you conquer every challenge.
1 – Keystone of Rage Investigation Start
Return to the APC and Talk to Tania.
Question 1:
What can you tell me about this symbol (The Charioteer)?
Answer:
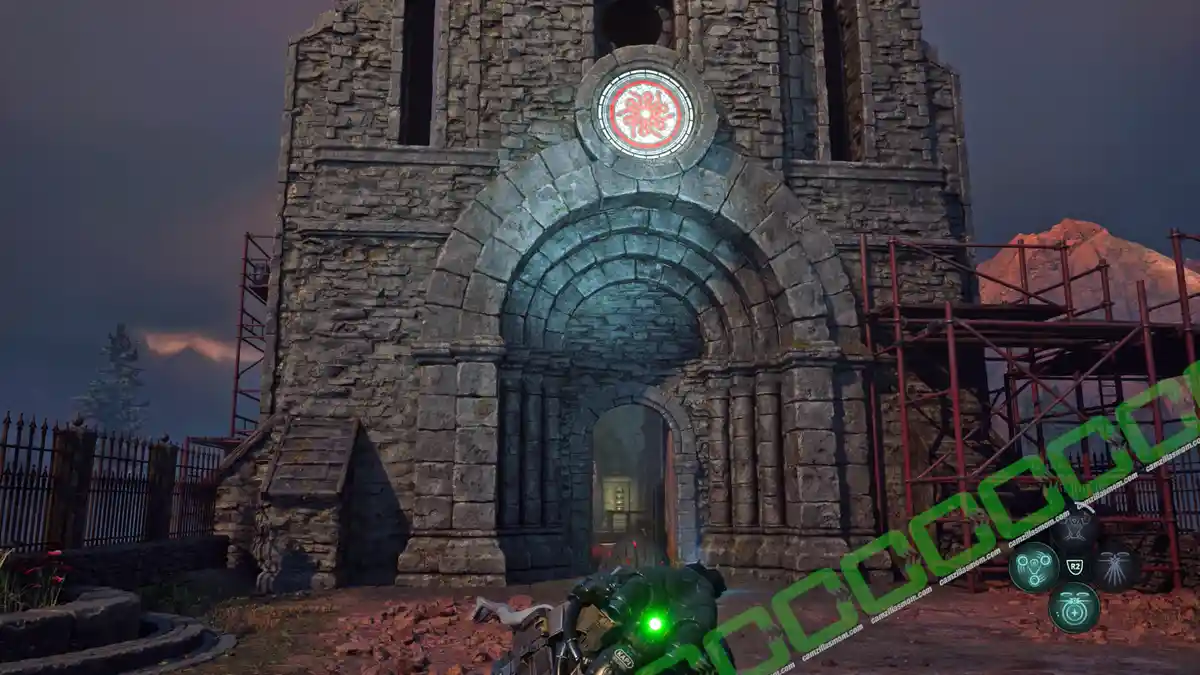
I’ve got two leads. The first takes us into a small chapel on the grounds of a cemetery near the village of Jeljin.
Why would a small chapel have this symbol above its entrance? It might be worth our while to investigate the area.
The second lead is quite strange. It’s the symbol of the Ministry of Cultural Primacy. They should call it the Ministry of Propaganda. They’re not fooling anyone. Their offices are in Lethe.
Apparently, Deputy Minister Marton Ralst suggested the design. He may know about the symbol’s true origins. It’s up to you where you want to start, Jeljin or Lethe.
Question 2:
Is there more information on Deputy Minister Ralst?
Answer:
I found a few things. Before becoming Deputy Minister, Marton Ralst was an archaeologist.
He discovered new evidence concerning an ancient monarch who ruled over Hadea. Ralst’s file is heavily redacted, so I can’t tell you which monarch it was.
The best thing we can do is go to Lethe and talk to Ralst himself.
You can now travel to the Ministry of Lethe.
2 – Ministry of Lethe
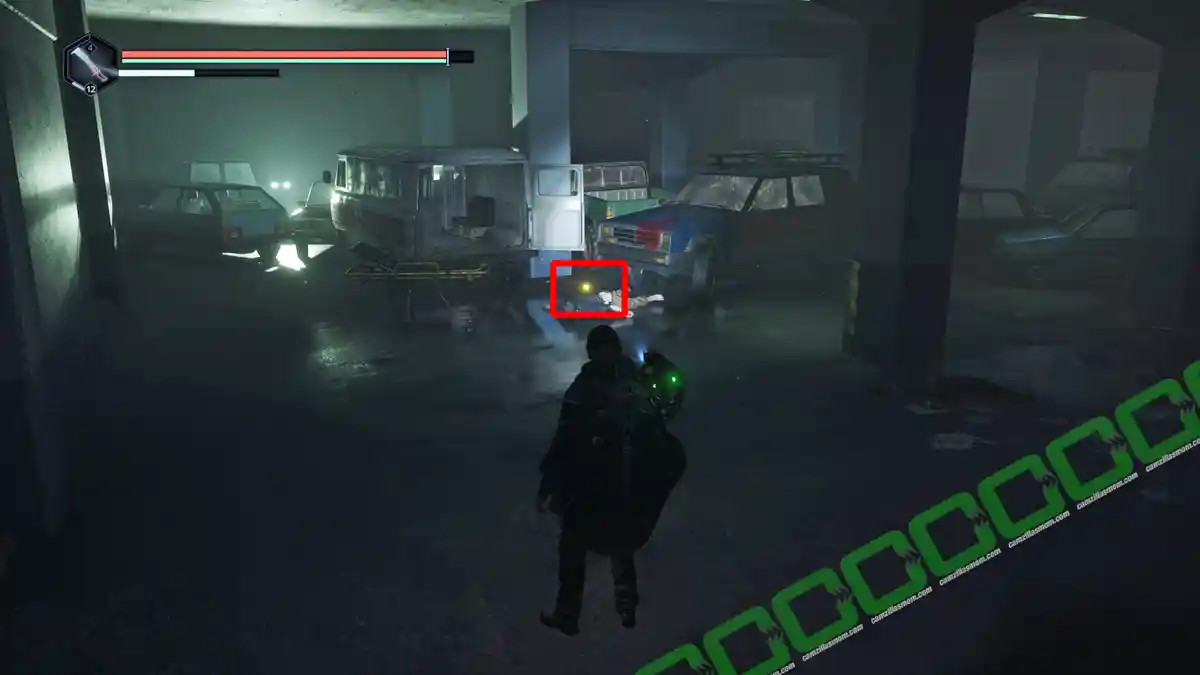
In the parking of the Ministry of Lethe, go first to the lowest level of the parking to pick up the Keycard – Ministry off the floor.
Now you can enter the building. Check for a new cap gear underneath the stairs before going up, though. Keep going upstairs, past the closed Cafeteria door, past the Office, until you arrive at the level of the Ministry of Cultural Primacy.
Access the Computer
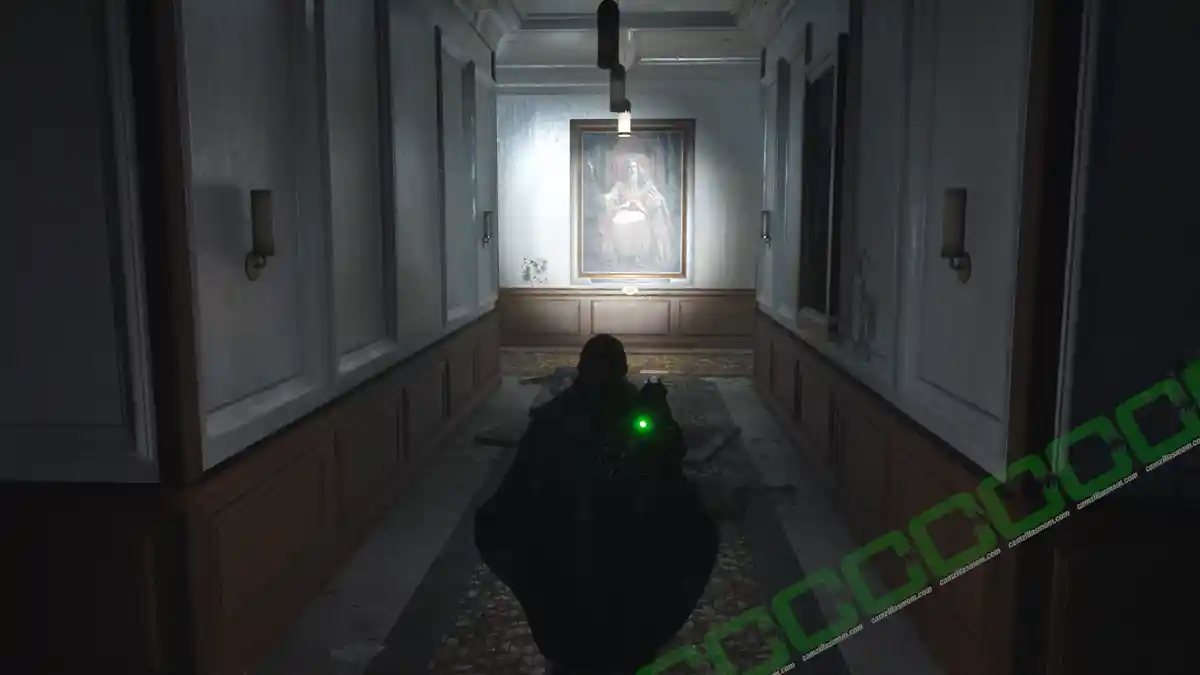
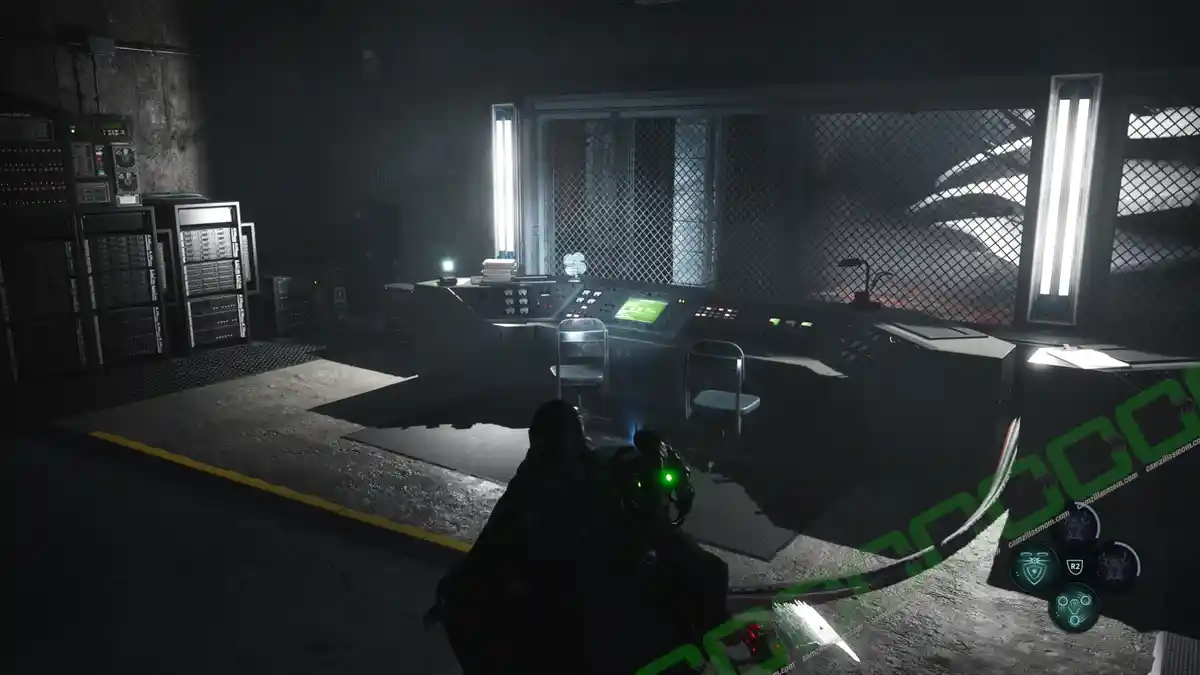
In Marton Ralst’s office, you need to access the computer on the desk. It is secured with a three-digit passcode. To uncover it, exit the room and look for the coronation painting of Brohm Aster. The coronation date is 773.
Enter the code 773 into the computer and read the files. The pieces from the digsite are in the office’s safe. The code comprises the portrait’s captions. The numbers are the date for the Bridal War, replacing the Coronation date of 773.
Open the Safe
The paintings have the following information on them:
Birth: 714 (79), Death: 793(20), Coronation: 773 (59), Twins: 754 (2)
There is a distressed woman in the cafeteria, just after the coronation painting. Marton Ralst was her boss. She wants you to help her before she helps you. Defeat the nearby Hollow Walker to help her. She will then flee to Marton Ralst’s office.
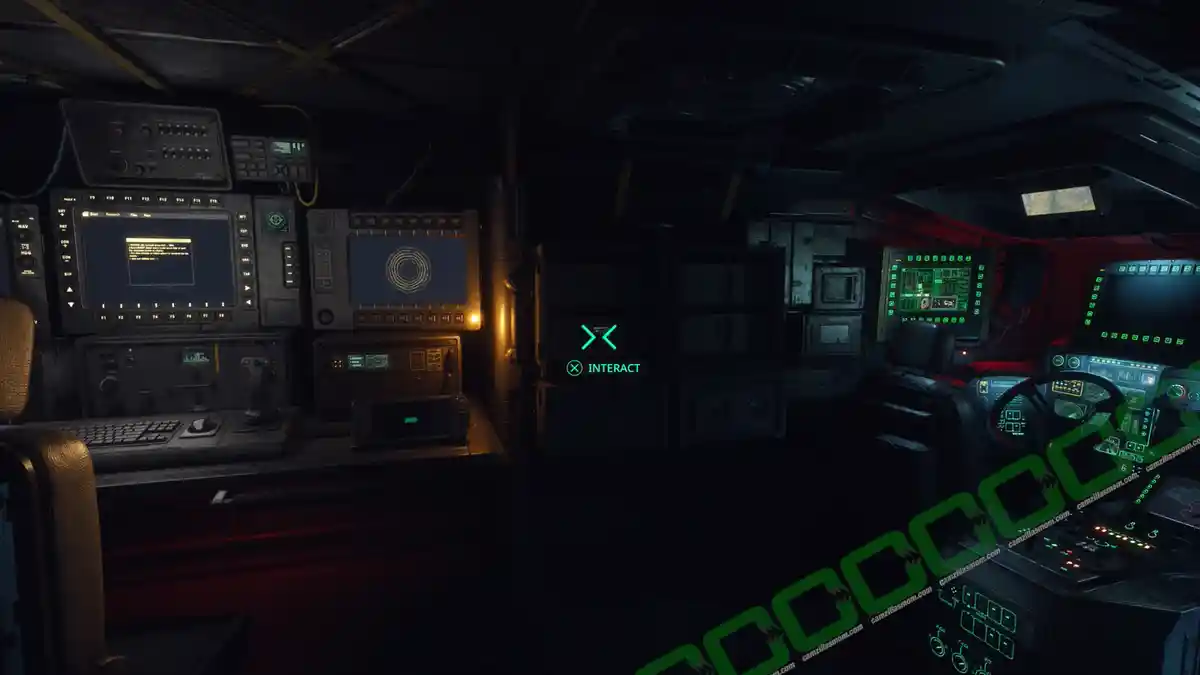
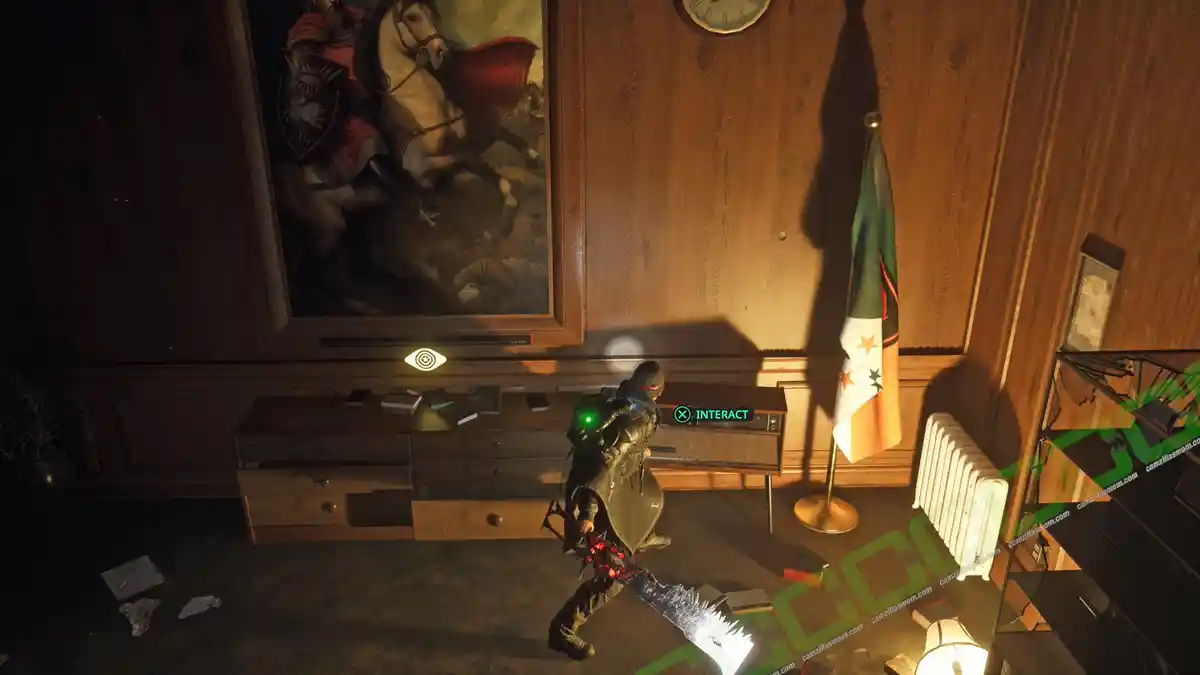
Find the reception area and read the files on the computer. The repairs on the radio have been completed, and it needs to be on channel 60 for it to work. Interact with the radio in Ralst’s office. Switch to AM and set it to 60. This will slide away the painting, granting access to the safe.
Talk to the Distressed Woman after helping her escape the Hollow Walker.
Question 1:
Who are you?
Answer:
My name is Maeve Tristana. I was Marton’s assistant here at the Ministry.
I was working for him even back when he was an archaeologist. Things were much simpler back then.
Everything changed when Marton became the f*cking Deputy Minister.
Question 2:
Now, tell me more about Marton Ralst.
Answer:
Marton was obsessed with Lord Aster. He decorated this floor with several of his portraits.
Marton always found it strange that he could only find shallow information on such an important historical figure.
I’m pretty sure you didn’t risk coming here to gab about Marton and, even less, about Lord Aster.
However, you need to brush up on your knowledge of Lord Aster if you want to access Marton’s computer. Perhaps it has what you’re looking for.
Marton had a bad memory and kept reminders of his passwords and codes. They must be around here somewhere.
Question 3:
What can you tell me about this symbol?
Answer:
When the Ministry of Cultural Primacy was created, Marton proposed this symbol as its official emblem.
In fact, Marton’s obsession with Lord Aster began with that symbol. It concerned a vital discovery he made during one of his digs.
Marton believed this symbol would shed light on Lord Aster and his secrets.
I have no clue what the symbol means or where it’s from. Marton stored all his significant findings of Lord Aster in his safe.
I don’t know why, but each time Marton opened his safe, he said, “If only history moved backwards. ” I hope that helps.
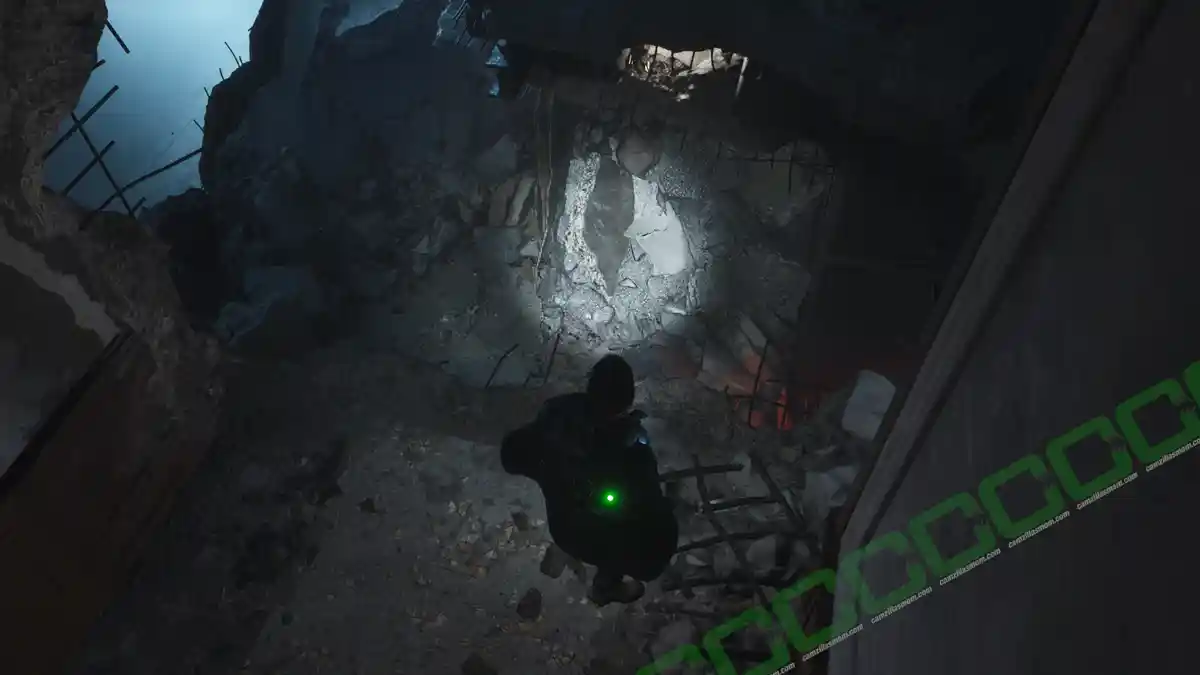
According to the computer, there is a painting downstairs that replaces the coronation painting. Go to the location in the corridor that has a crack in the floor and drop down to the floor below. That’s where the Hollow Walker attacked you from the other side.
The first room contains a book that recounts the Bridal War of 770 AD, a conflict that endured for three tumultuous years.
With this info, I can now put the dates and the numbers in order:
Birth: 714 (79), Twins: 754 (2), Bridal War (3), Death: 793(20)
Enter this order backwards.
Safe Code: 20 – 3 – 2 – 79
Inside is the Iron Seal – Rising, a Journal with the coordinates for the Auriga Entrance. This is one of two seals to unlock the Auriga Museum.
The second seal for the Auriga Museum is in Jelhin. Travel there next.
3 – Jelhin Cemetery
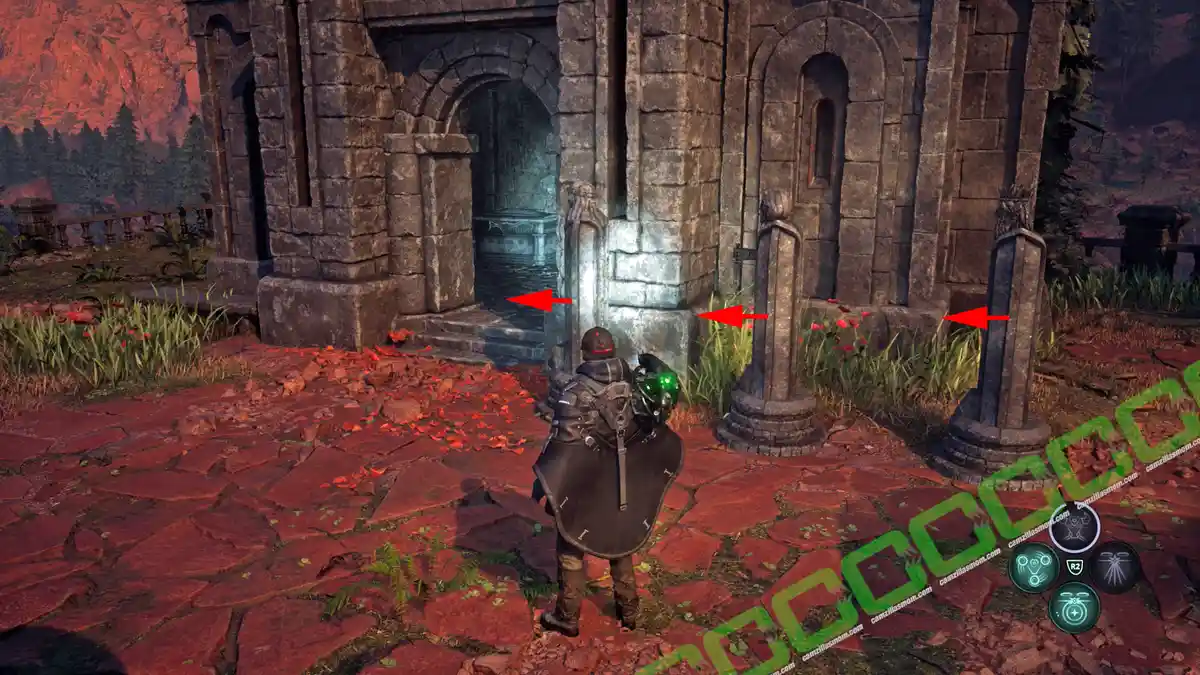
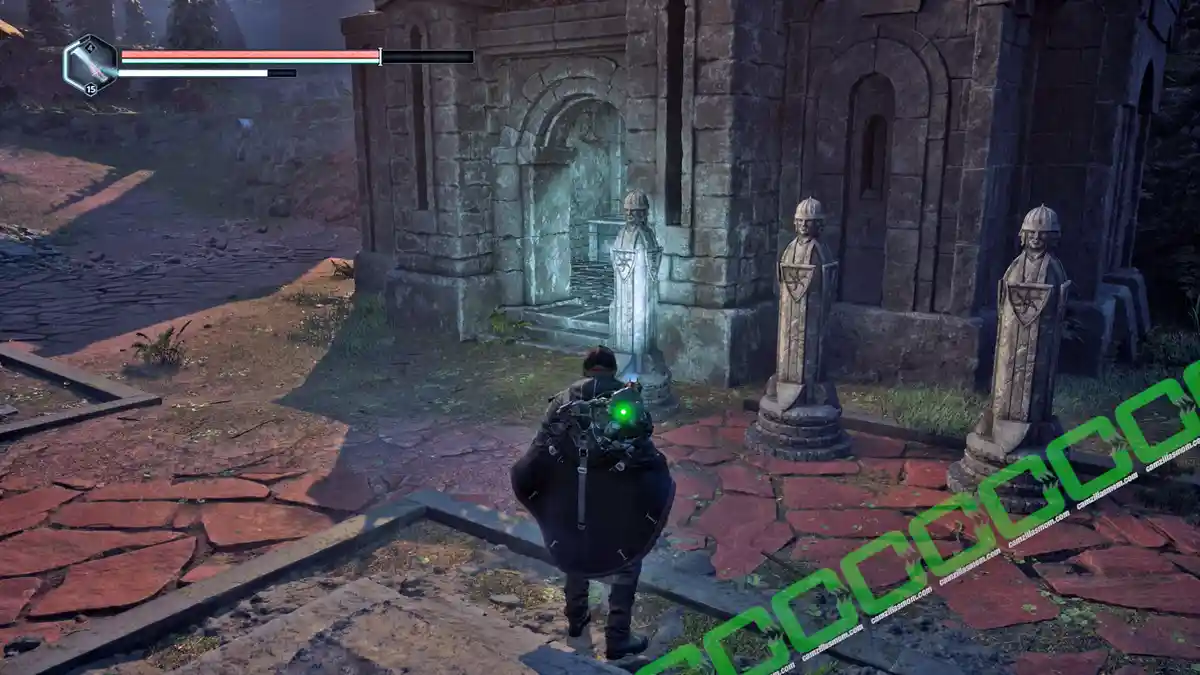
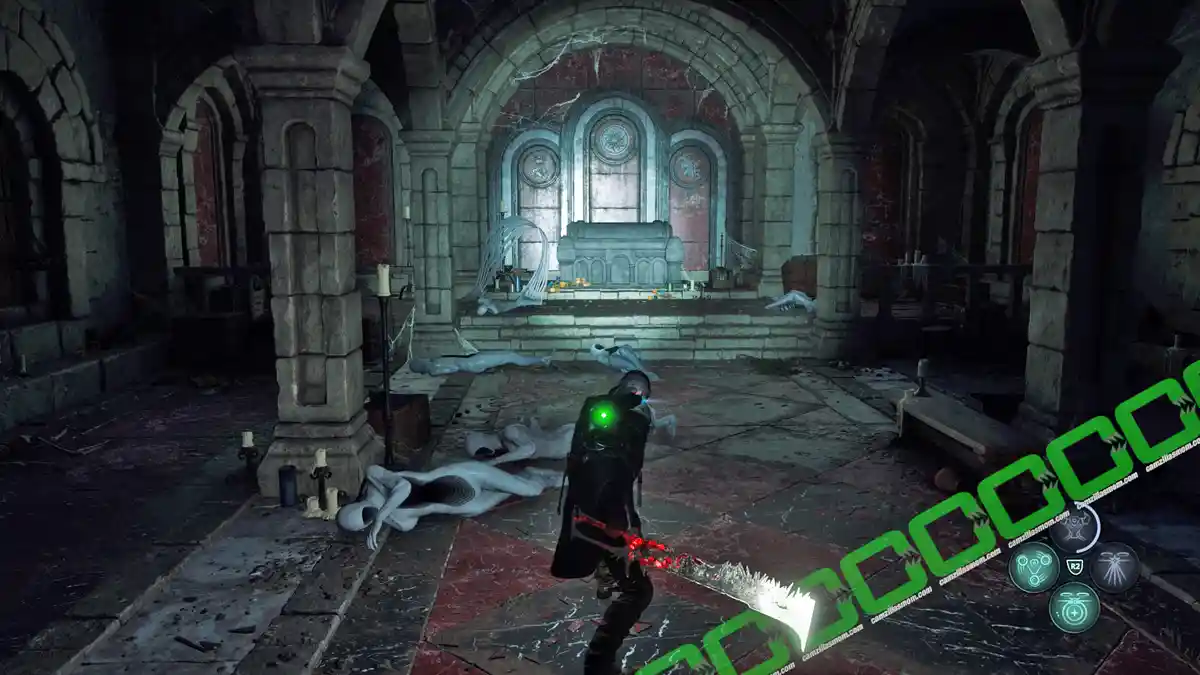
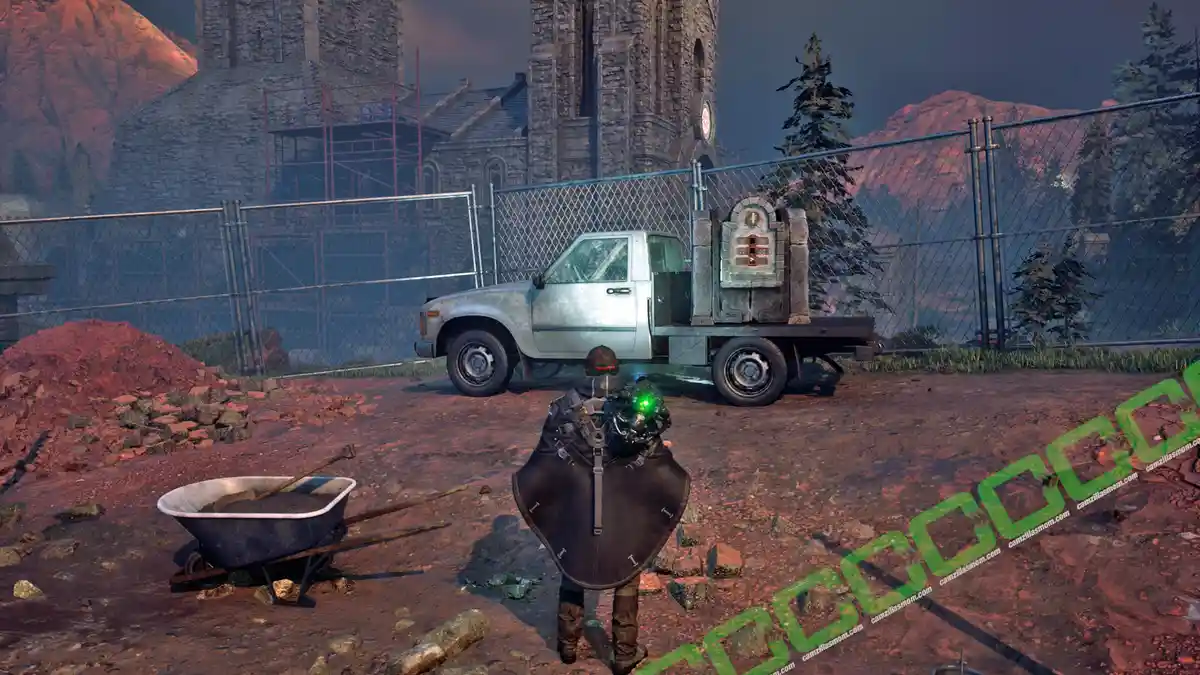
At Jeljin, make your way to the graveyard and enter the church, then exit through the back door.
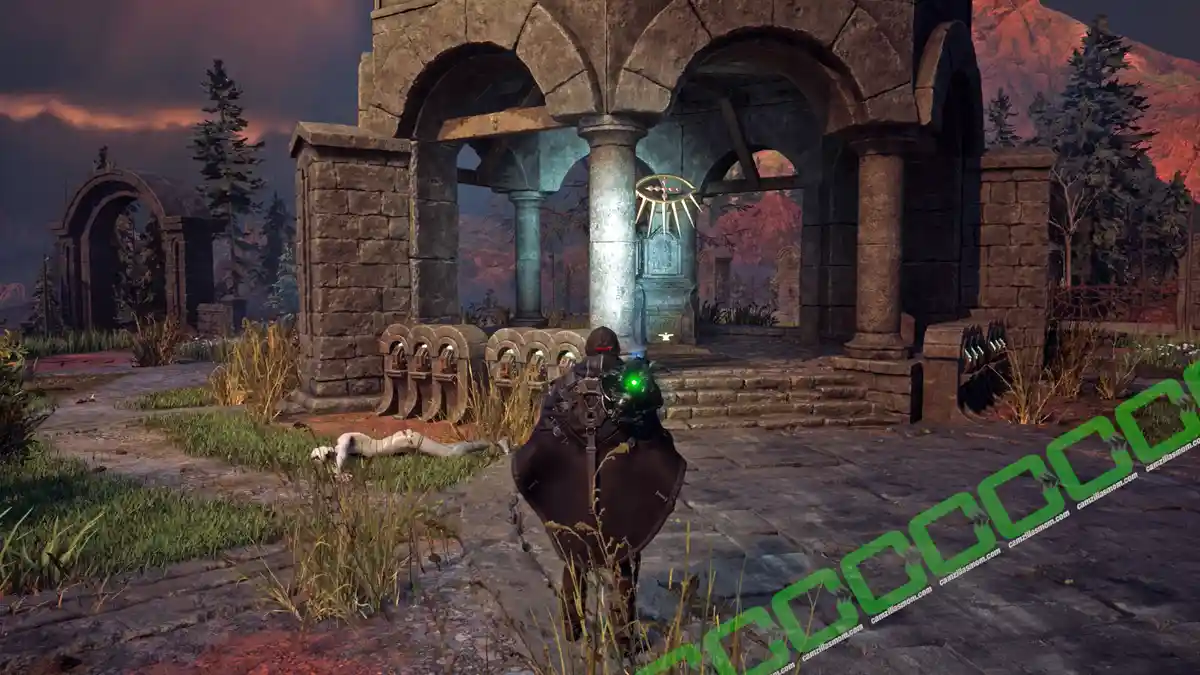
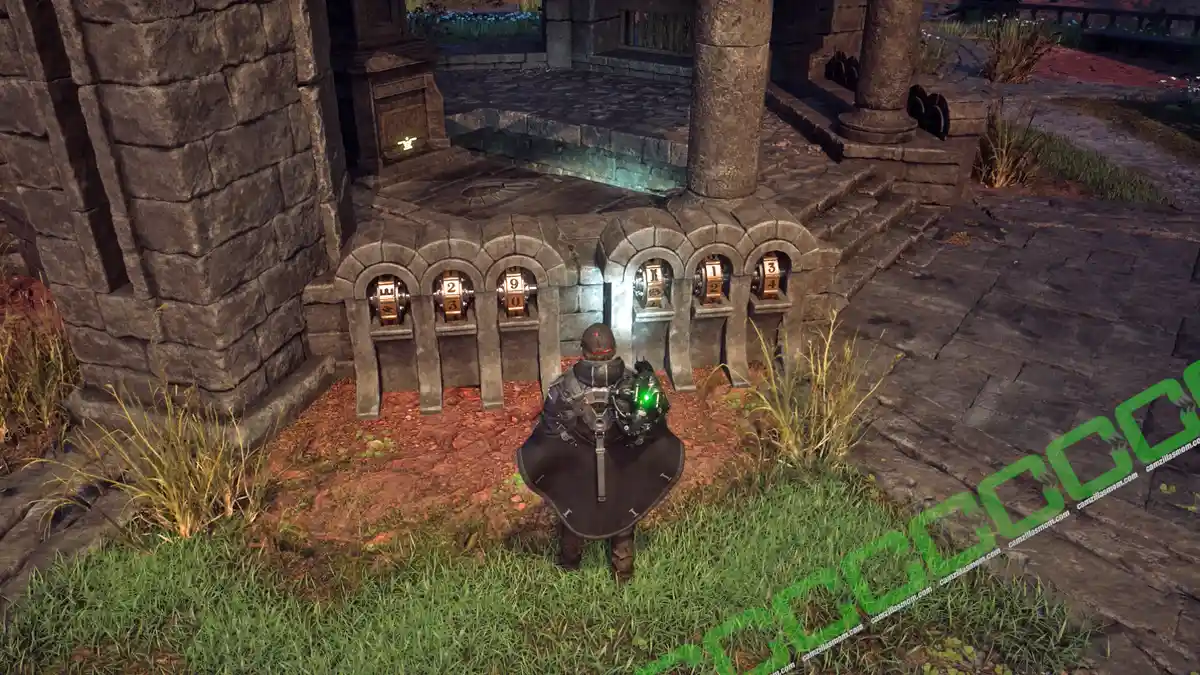
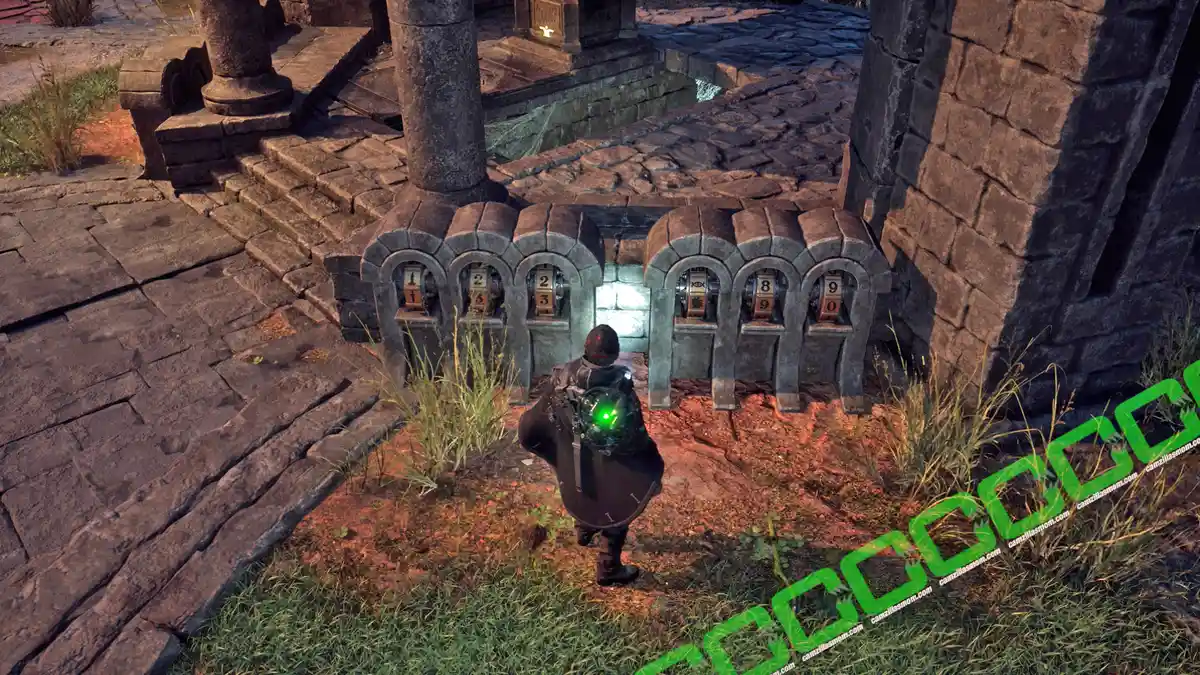
You’ll find a stone gazebo that requires a 4×3-digit passcode to unlock. Each of them has one symbol and two numbers.
The inscription says:
“May the truth be forever memorialized in this statue of my beloved, Vaahn Jehan. Unjustly taken.”
If you take a look around the area, you’ll notice four buildings adorned with banners: Rose, Sword, Horse, and Dove.
Dove Banner
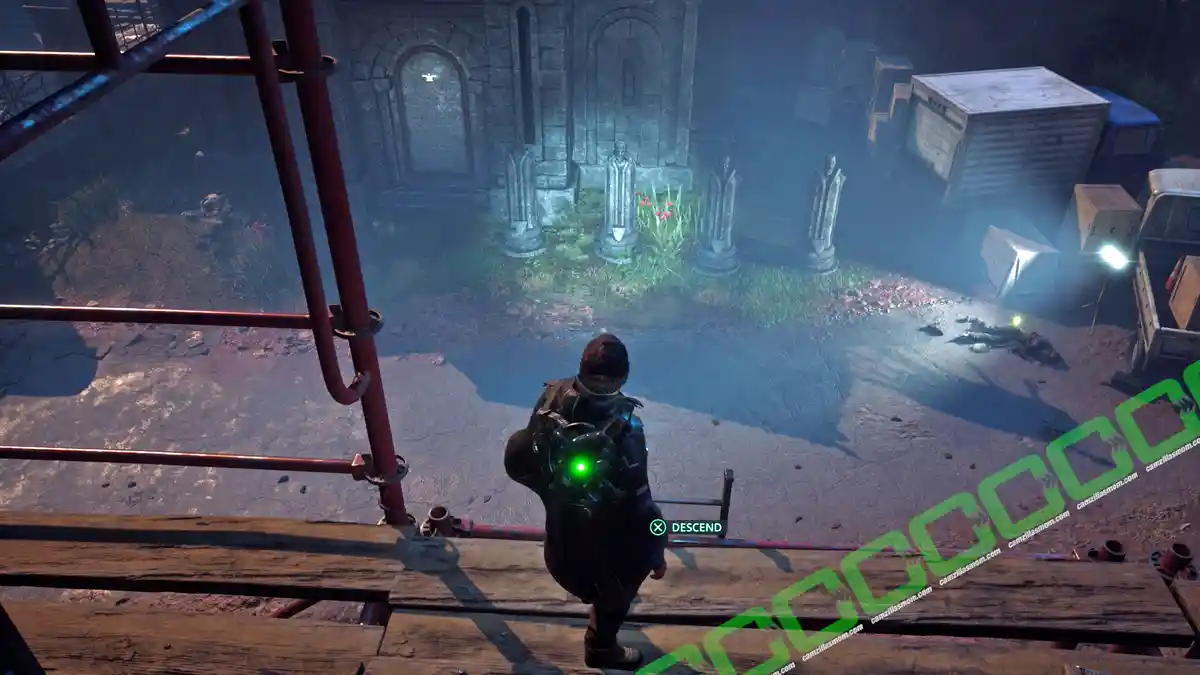
Climb up the nearby scaffolding, cross the rooftop and descend the scaffolding on the opposite side of the church to the building with the Dove banner. There, you can collect the Crane Keys and examine four glowing statues along with another inscription.
The inscription says:
“With locked eyes, Phenelo and Vaahn vow to love each other for eternity as their fathers, Lord Aster and Lord Jehan, look on. “
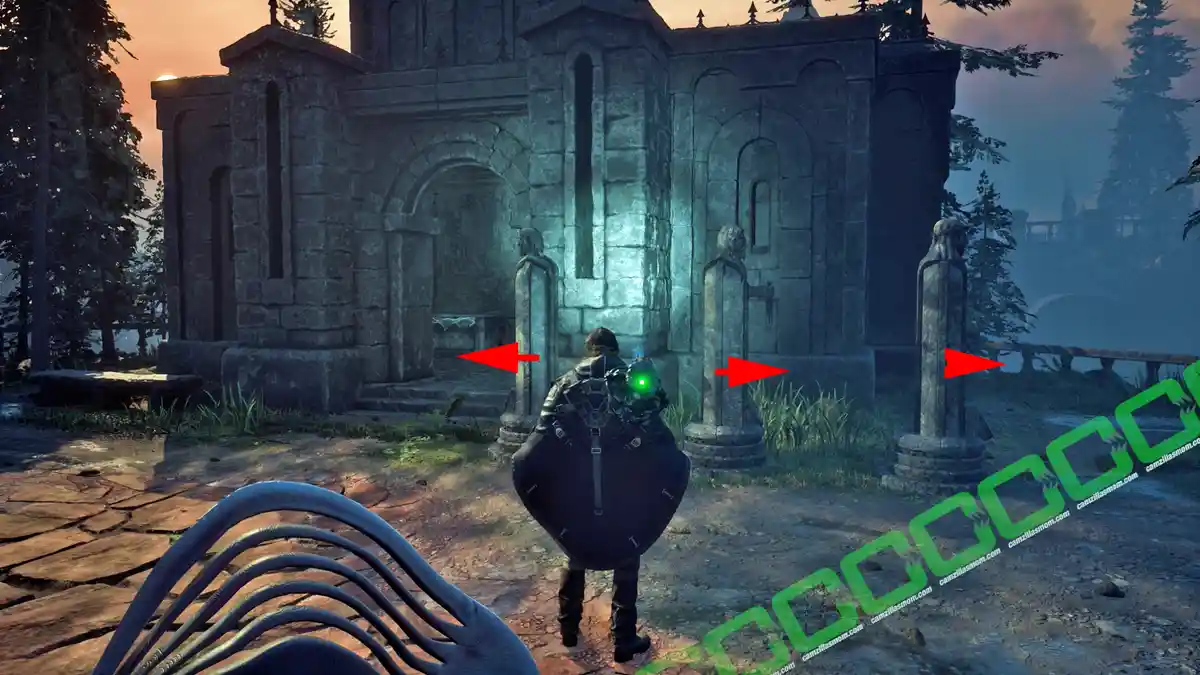
Turn the statues so that the left ones look to the center and the right ones look to the center. The inscription door will then open.
Inside is another inscription:
“October 30th, Phenelo Aster is betrothed to Vaahn Jehan. “
CODE SOLUTION:
Dove – 30
Horse Banner
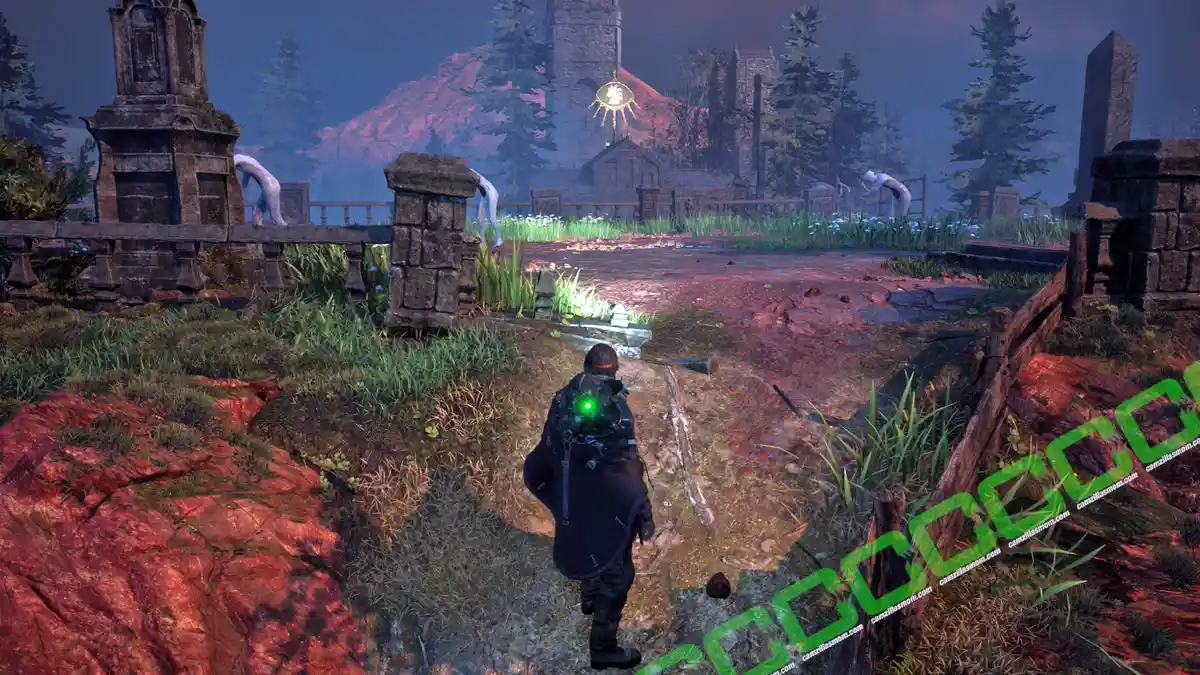
The building displaying the Horse Banner is located on the hill behind it; the one with the Dove Banner is nearby. To access it, navigate around the structure. An adjacent, open building filled with urns provides an alternate route. Continue along the path, passing through a small cave, and upon exiting, ascend towards the graveyard where the horse building is located.
Cross over by using the scaffolding.
This inscription says:
“It was as if her brother Konrad plunged a dagger into Phenelo’s back, as she and Vaahn looked away from each other in panic. “
The two statues to the right need to be turned to the right; the statue to the left to the left.
Inside is another inscription:
“Phenelo Aster mourns her husband at the Jeljin cemetery for 90 days.
CODE SOLUTION
Horse – 90
Sword Banner
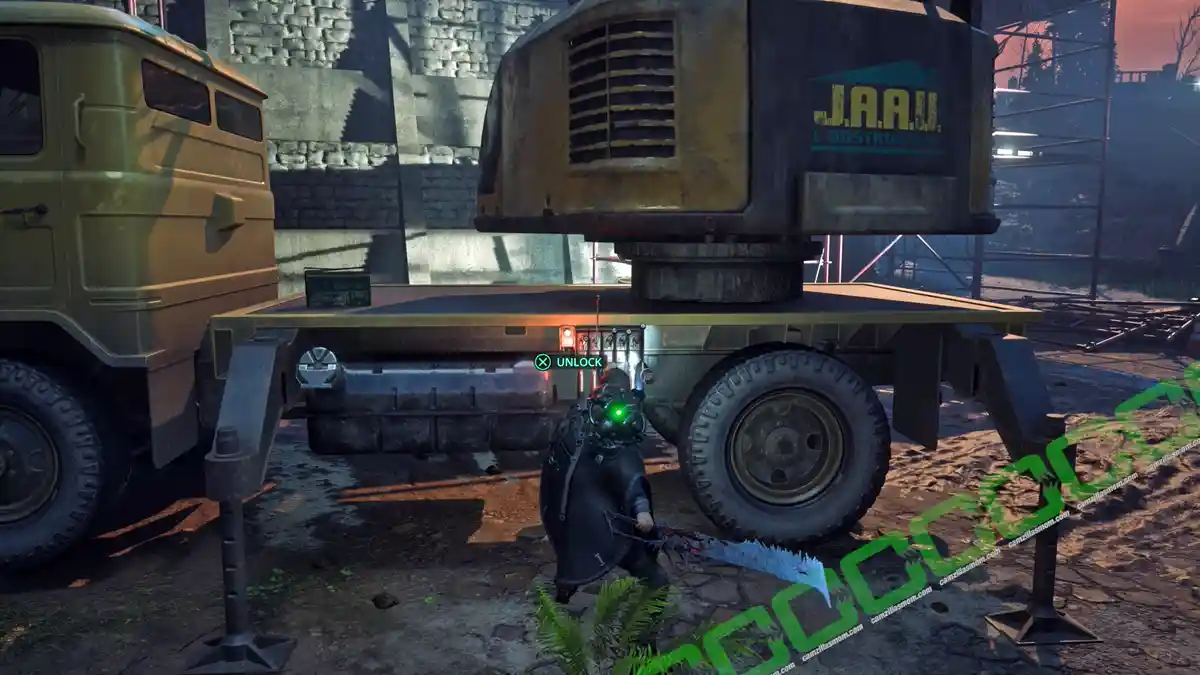
The crane for the key is on the northern side of the graveyard. Use the key on the controls to lower the beam at the scaffolding. It is used to cross over to the other side.
Climb the scaffolding and ascend to the building with the Sword Banner. There is another inscription door and three statues to turn.
The inscription says:
“So great was Phenelo’s hatred and rage towards her brother and father that she could no longer look at them, while they looked to her with disappointment. “
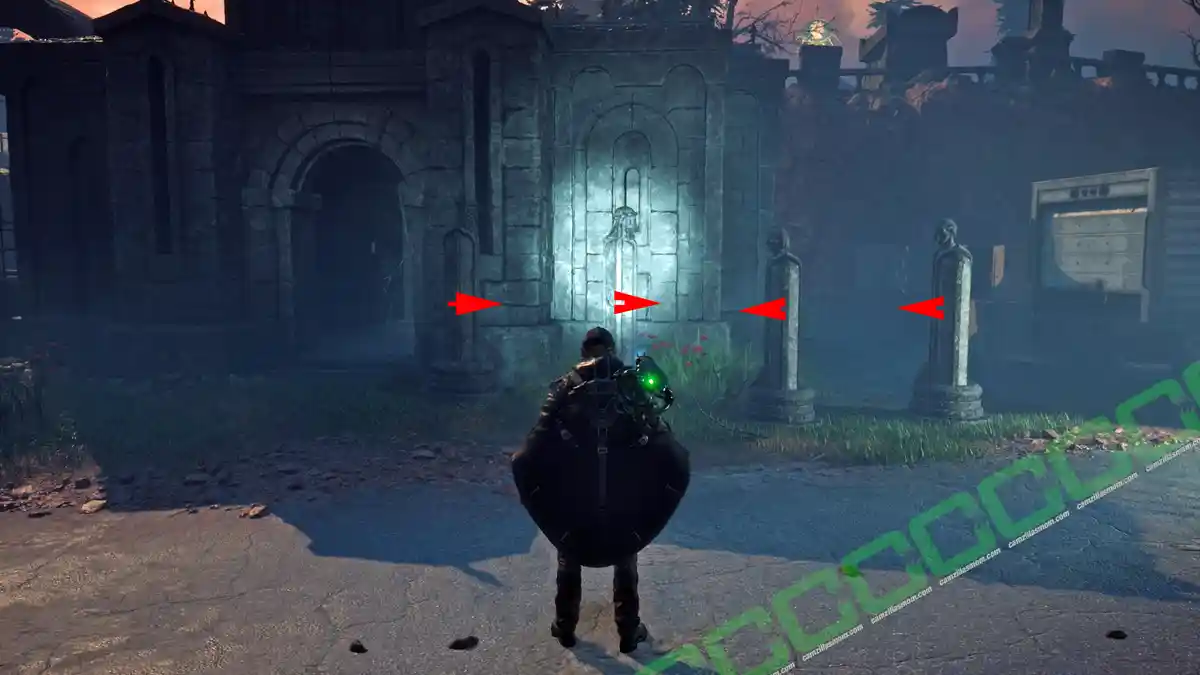
This time, the statues all look to the left. Like in the screenshot below.
Inside is another inscription:
“Vaahn Jehan is assassinated at his wedding by 33 Asterian soldiers. “
CODE SOLUTION
Sword – 33
Sword Banner
From the church’s backyard, you can reach the building with the Rose Banner.
This inscription says:
“In a grand deception, Asterian soldiers replaced their lion crest with that of the Aargaulan star. “
Rotate the statues so that their crest displays a star, as shown in the screenshot.
Inside is another inscription:
“June 24th, Vaahn Jehan and Phenelo Aster are wed during a lavish ceremony. “
CODE SOLUTION
Rose – 24
Church Gazebo Code
Return to the church’s backyard gazebo. You need to input the three-digit codes in the correct order from left to right:
Dove 30, Rose 24, Sword 33, and Horse 90.
The gazebo will open, granting you entry. Below lies a hall teeming with Hollow Walkers and the sarcophagus of Vaahn Jehan. Activate the lever to reveal its contents: the Iron Seal – Fading, the second key to unlocking the Auriga Museum, and an Ancient Map of Hadea.
4 – Auriga Museum
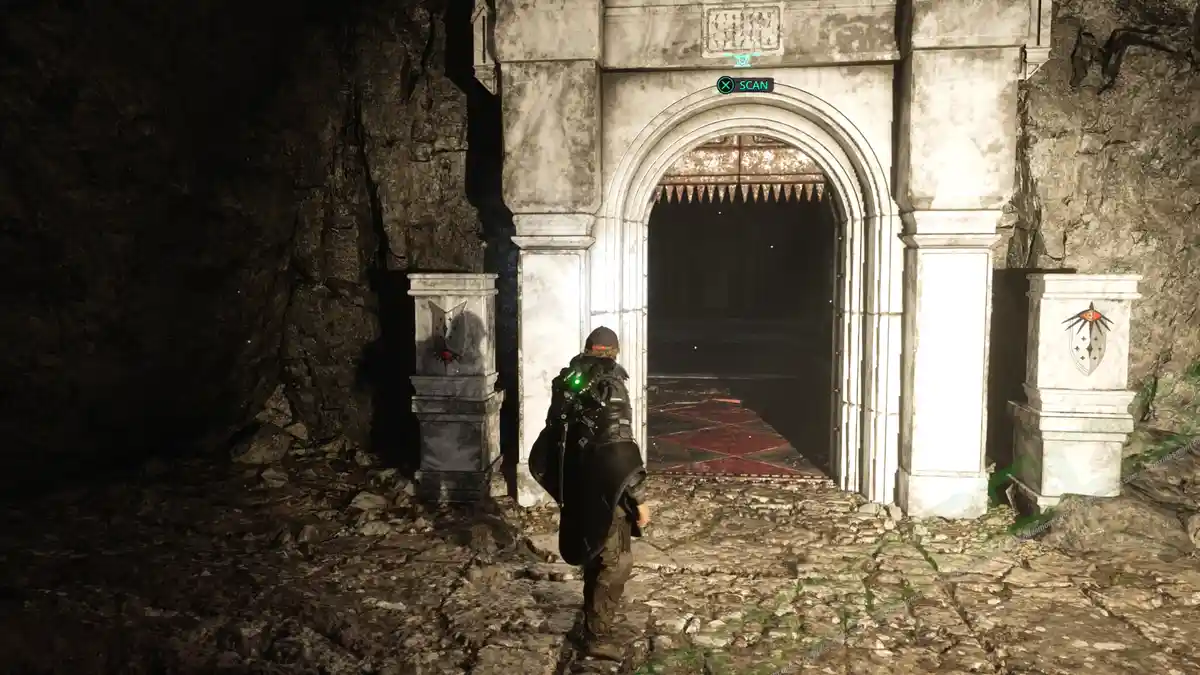
Now you can travel to the Auriga Museum and open the door with the two sigils – the Iron Seal – Fading and the Iron Seal – Rising.
Hollow Walker Statues Puzzle
Inside the room are four pedestals with life-like Hollow Walker statues that can be turned, and an inscription:
“All shall look upon me and obey!”
-> Turn the Hollow Walkers towards the inscription.
The door will open, leading into a military facility with a blaring alarm. There are two exits: an open one leading to the staircase and a locked one leading to the elevator. This level here is B0.
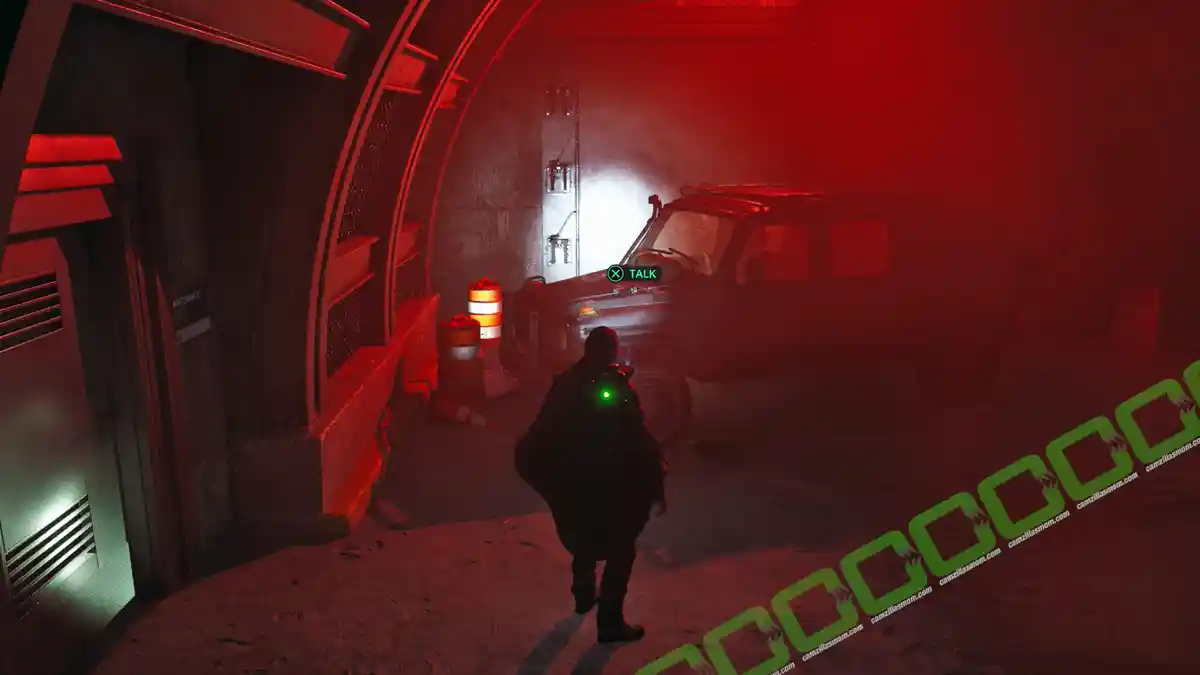
Proceed into the stairwell and descend to level B1. On this level, you’ll find the OMSIF Training Room, the Maintenance Room, and a car equipped with a walkie-talkie – connecting you to someone in need of assistance. They are stuck in the Training Room on B1.
Finding the Maintenance Room Keys
The Maintenance Room requires keys.
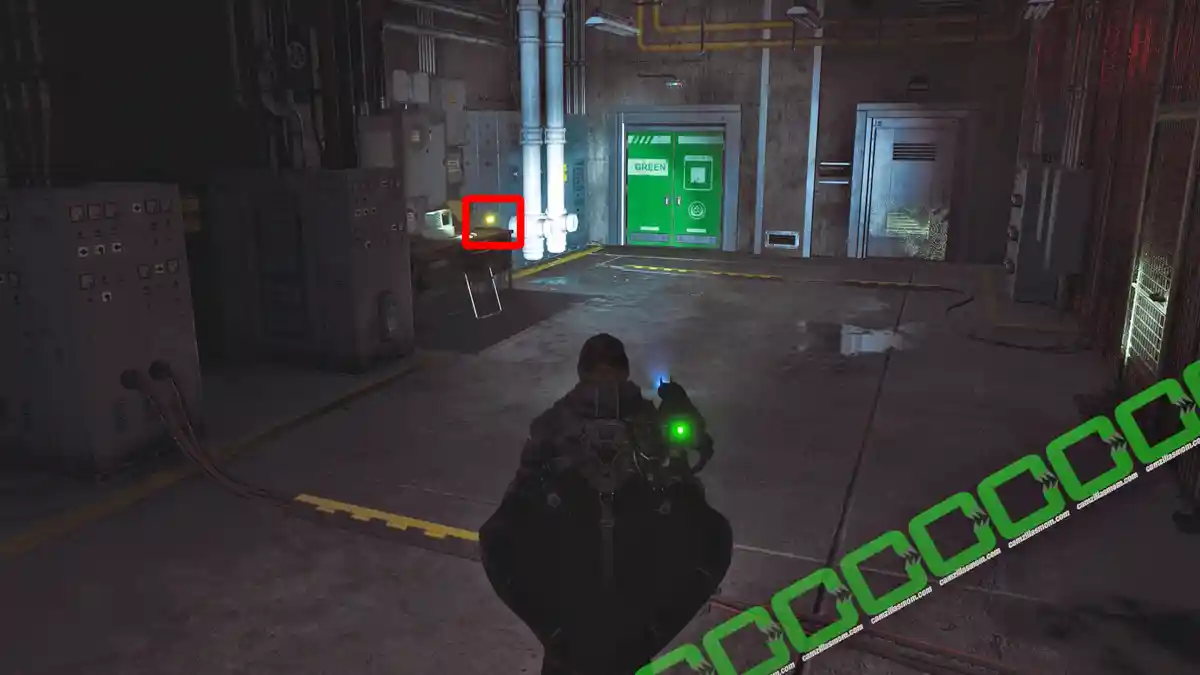
Go down to level B2. Here, someone needs help in the Maintenance Supply Room. Walk past this door to find the Keys – Maintenance, next to a computer. There are also two interactable doors in this area.
Turning on the Emergency Power
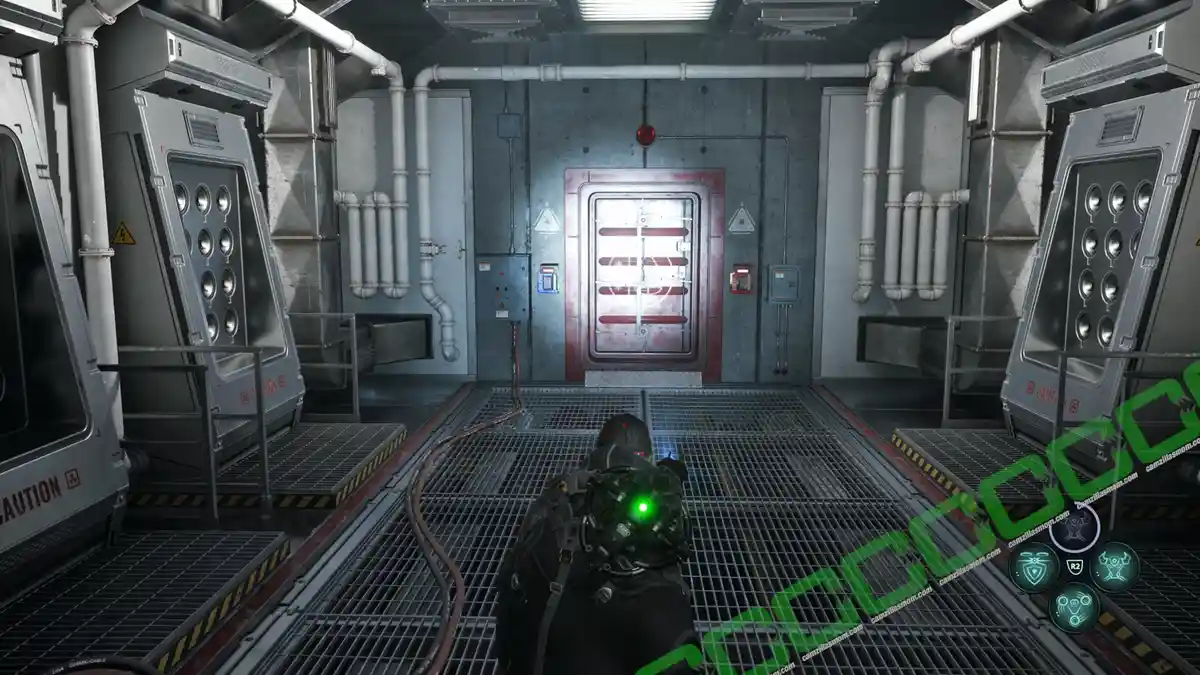
When you read the file on the computer, you will learn that Emergency power must be activated manually and that power can only be distributed to one or two grids at once. This means, on this level, you can either open the green doors or the red doors. This is the case on all levels of the facility.
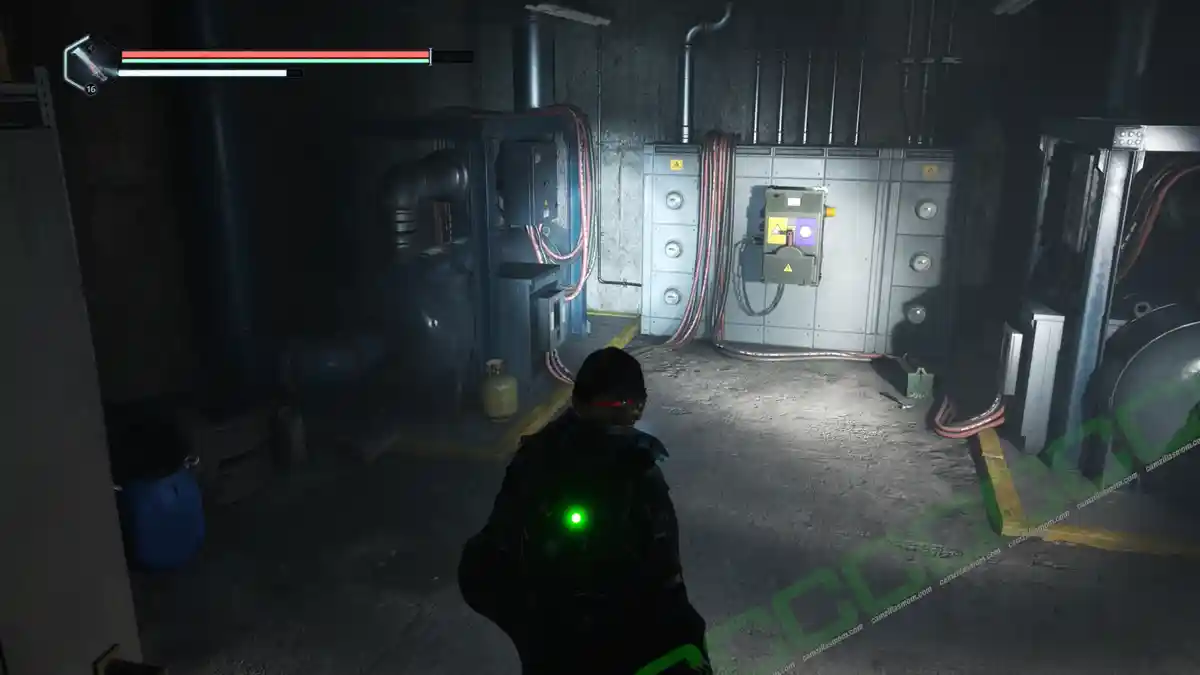
Open the generator door and use the levers. Next, head to the door beside the green door to locate the door switch. Set the switch to red to unlock the red doors, or switch it to green to unlock the green doors. To navigate through the facility, you’ll need to alternate between opening and closing these doors strategically.
OMSIF Training Room
Return to level B1 to open the Maintenance Door with the Keys you found. Here is the switch to open the yellow and purple doors. Switch to purple to open the OMSIF Training Room.
Step into the Training Room, and the door will seal behind you, triggering the program to begin. To exit, you must complete the entire training sequence to enter the control room.
Timeloop Observatory
The technician knows the Symbol of the Charioteer. They found a stone with this symbol that is now in a Storage Room on B4. She will give you the Keycard – Clearance Alpha. To exit the training area, go through the leftmost door in the training room.
Use the Blue Card, Clearance Alpha, to reach the Observatory – Timeloop – The Timeloop room in this region. In this room, swipe the card once more on the Maintenance Room door. It will lead back to the B1 corridor, where you can activate the yellow security switch to enter the control room.
Level B3 Lab
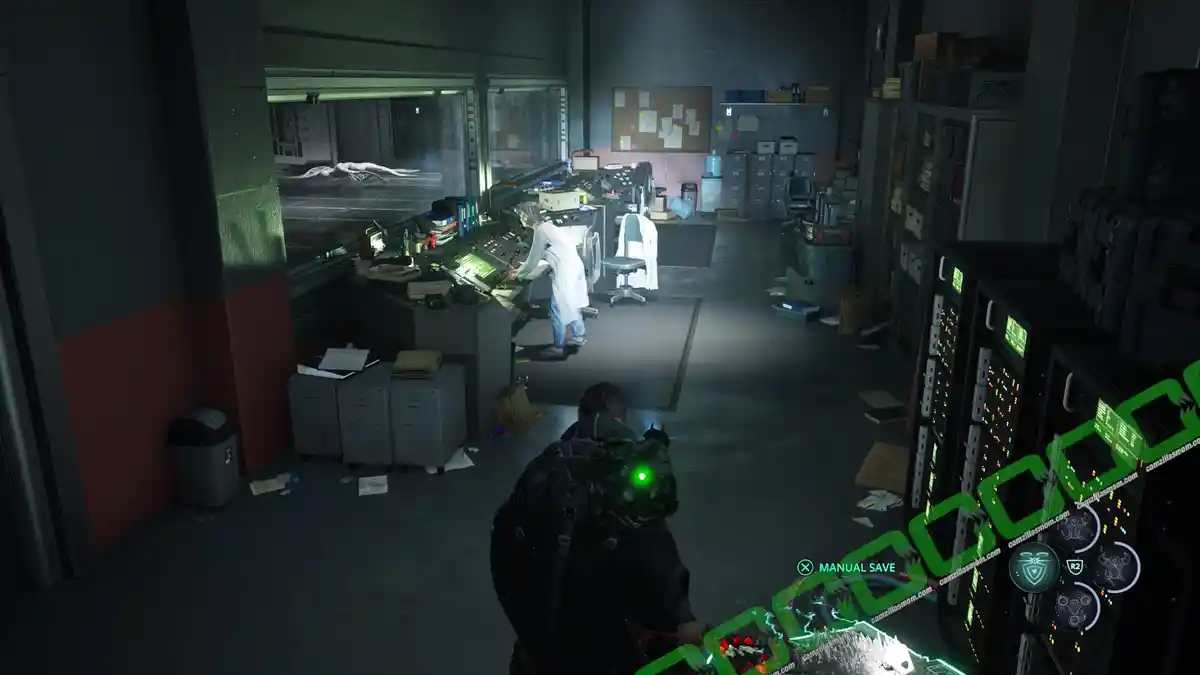
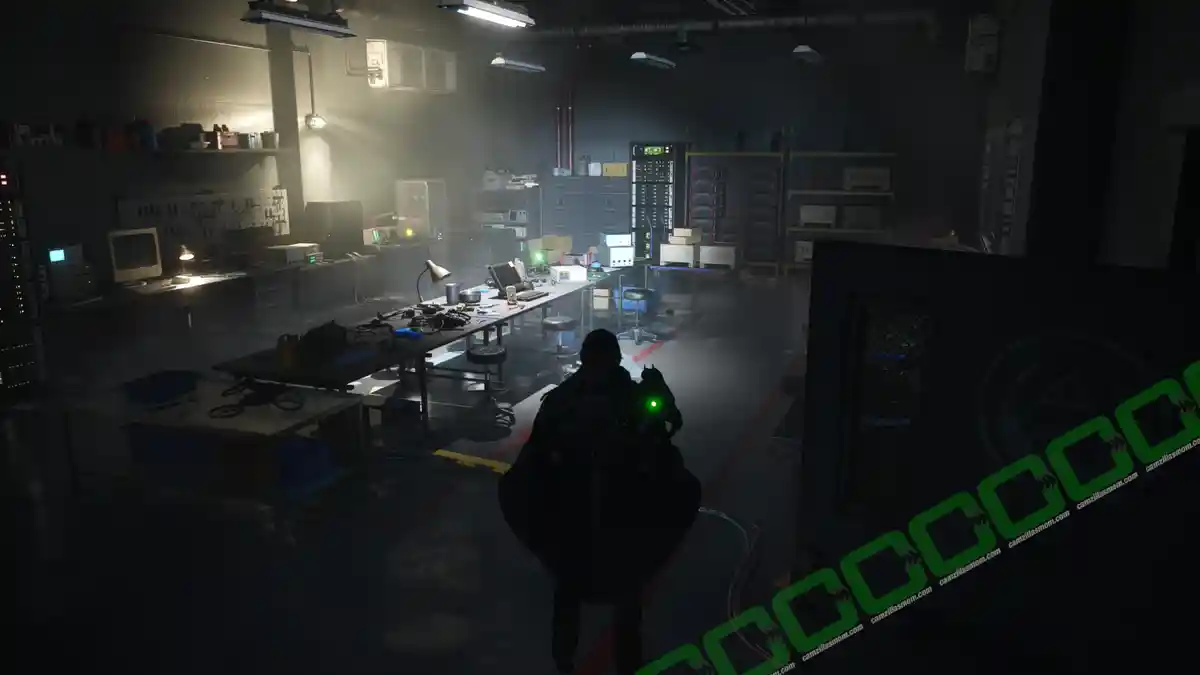
Return to the staircase and descend to level B3, where someone needs assistance inside a lab. Go through the only open lab and exit through the maintenance door at the other side. Notice that there are blue and orange doors to open on this level.
Keep opening and passing through the maintenance doors. The blue door leads to the person in distress. – Doctor Marga Hamil, one of the drone creators. She will also point to a storage area in B-4 to find the Symbol of the Charioteer. She needs a drone processor from a nearby lab. Access Code 230317. In the drone test room, you will also find a Key – Auriga Locker for the Whistleblowers Mystery.
Enter the control room with the Code 230317.
Inside is the Drone Processor she needs. Return to the lab and trade the Drone Processor for her Keycard – Clearance Beta.
Finding the Keystone of Rage
Head down to Level B4 and follow the path to the only accessible door. Here, you will have to enter the blue and the red keycard. Enter to find another Timeloop in this room, and you’re trapped with it.
Use the intercom in the center of the room to talk to the Scientist in the control room, Dr. Mabden.
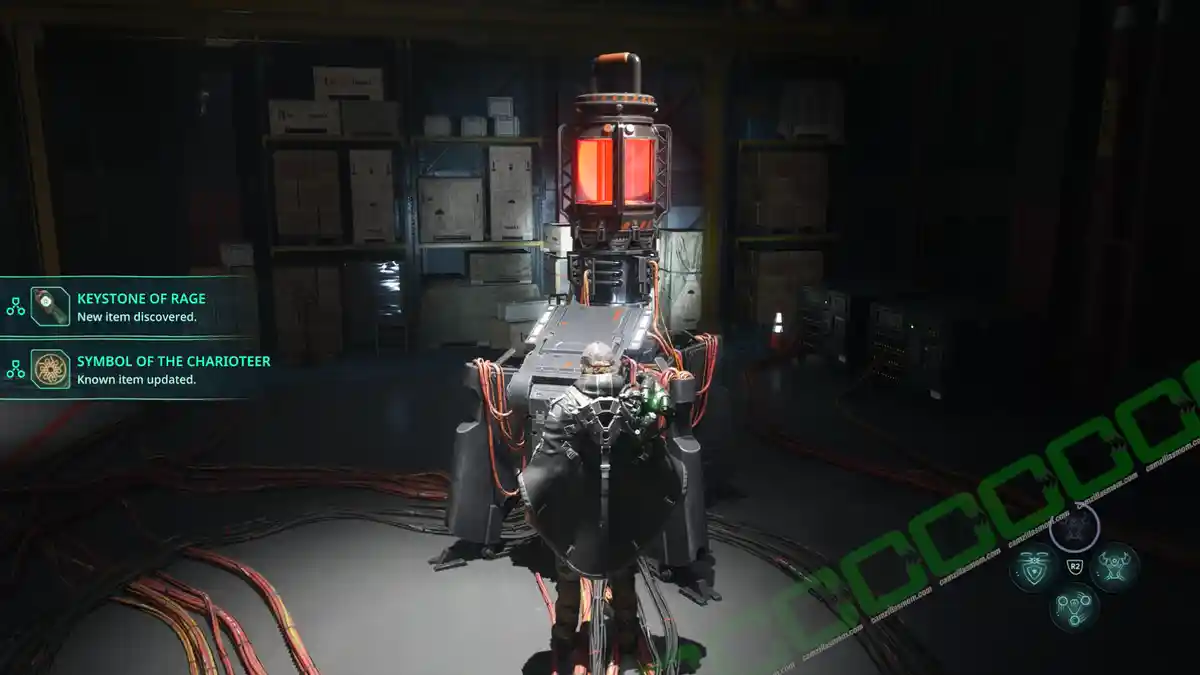
Go through the whole test, then pick up the Keystone of Rage in the device to the left of this room.
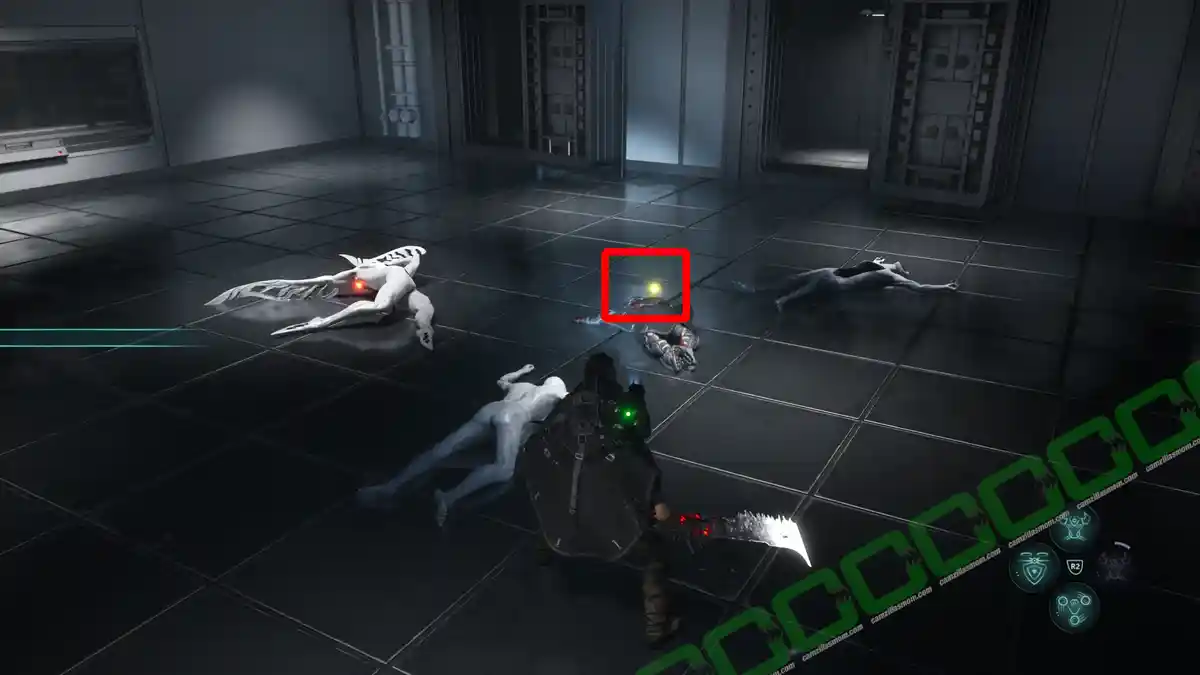
Exit through the open door and enter the Stock Room. Here on the Floor is Keycard – Clearance Delta, and the Tome: Advanced Lymbic Forging. Further inside the Stock Room, in the metal rack ahead, is the Lymbic Rod – Grief X.
With the keycard, you can now open the control room, but the Doctor is already gone. There is an elevator in the control room that takes you up to Level B0, where the survivors wait by their car. Then return to the APC and talk to Tania.
Question 1:
What am I supposed to do with this keystone?
Answer:
We must return to the Lymbic Forge and insert the keystone in its groove.
Return to the forge at Lake Cynon to put the Keystone of Rage in the groove. This will complete the investigation.
Hell is Us
Release: September 4, 2025
Developer: Rogue Factor
Publisher: Nacon
Official Website: https://www.nacongaming.com/en-US/hell-is-us
