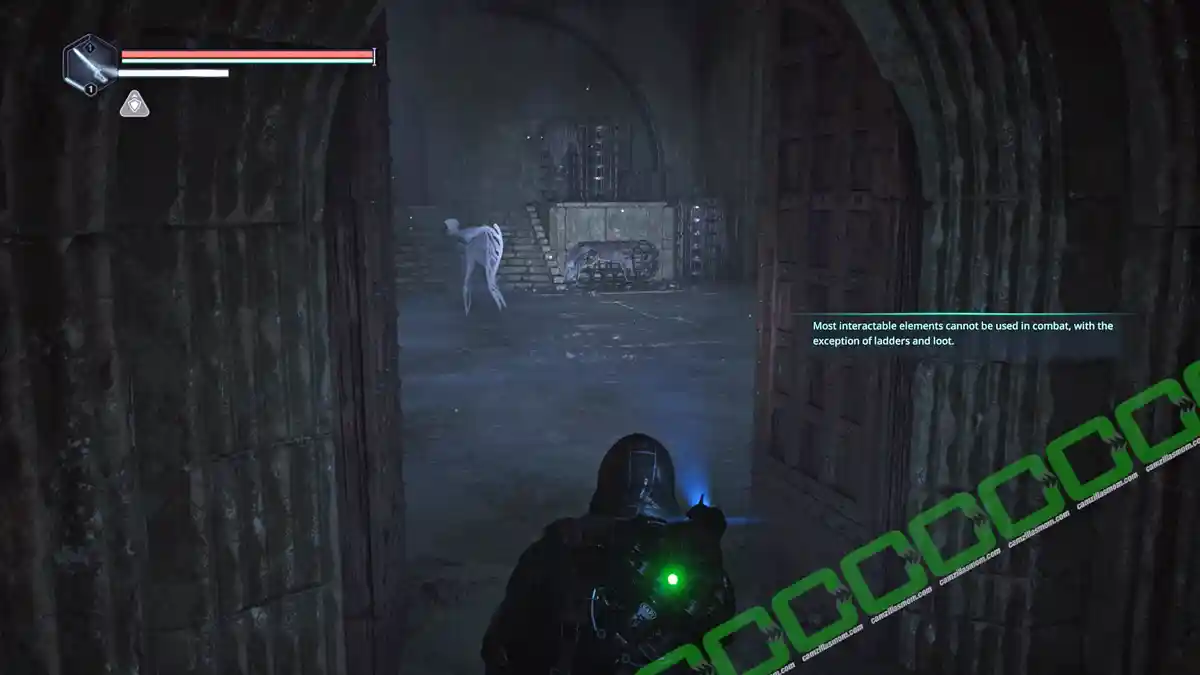
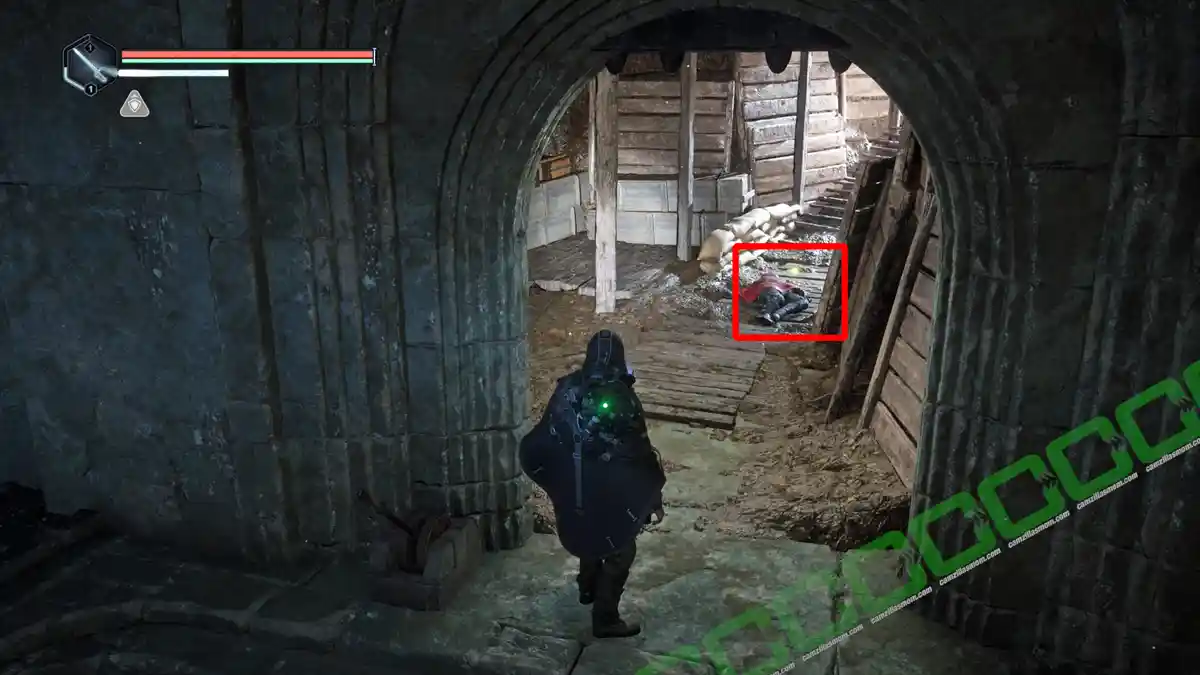
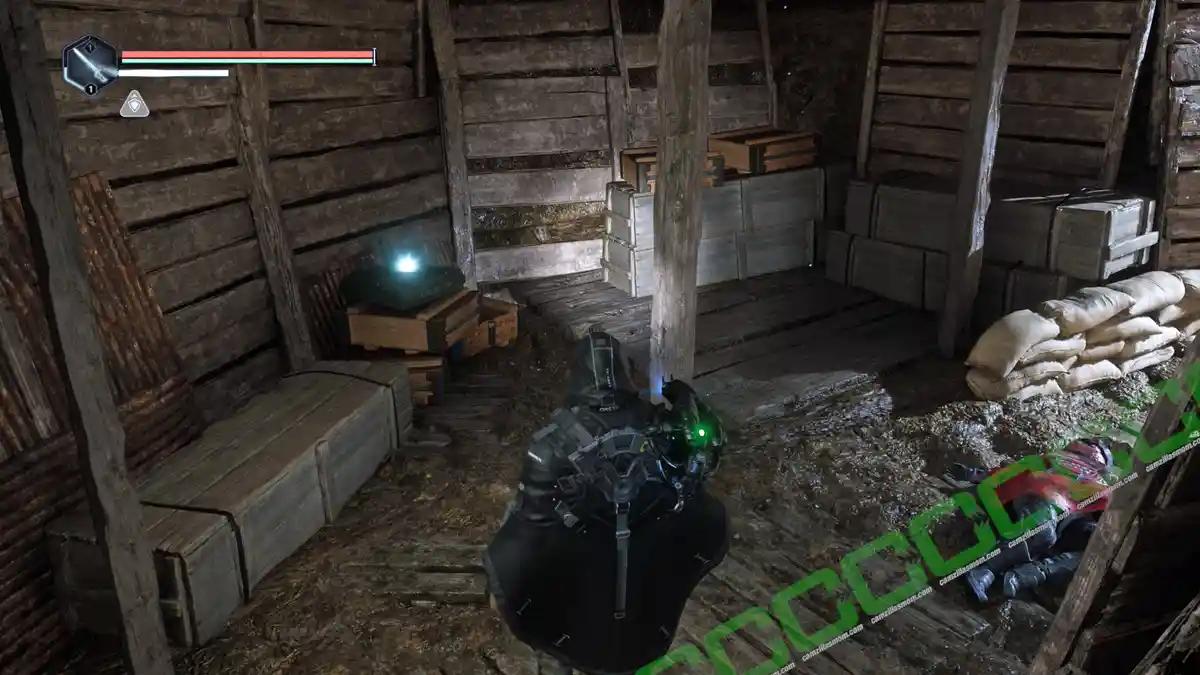
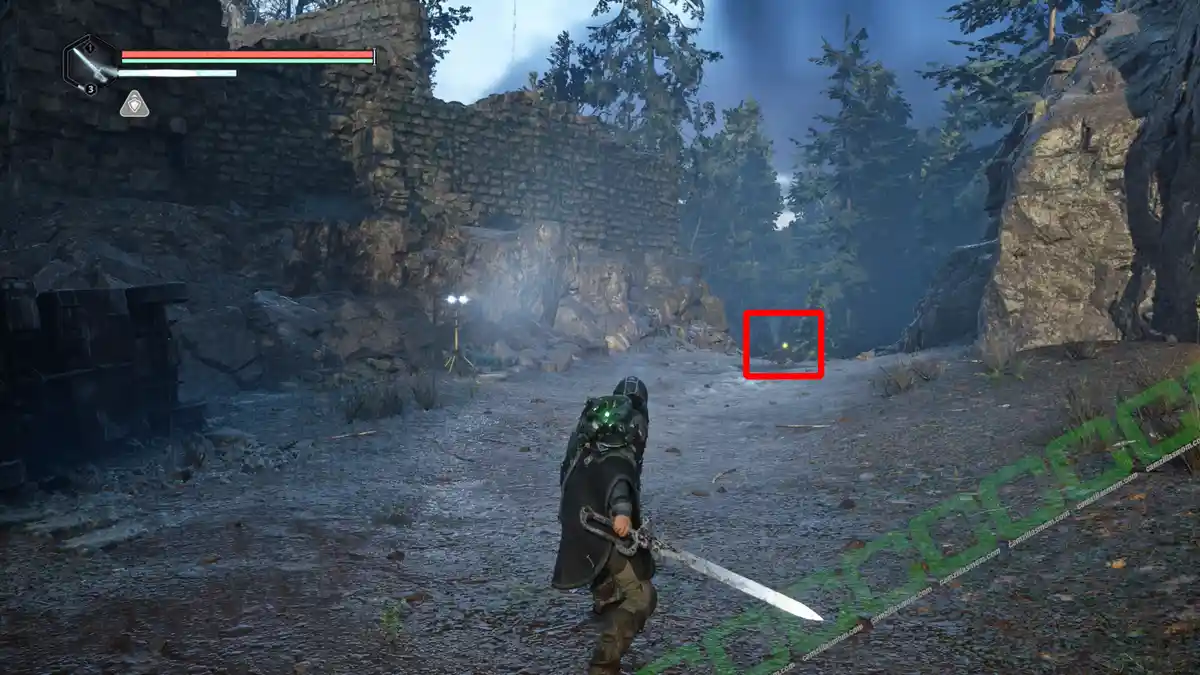
Dive into the gripping world of Hell is Us with this comprehensive guide to the “Family Reunion” investigation. Whether you’re navigating the eerie landscapes of Jova Village, uncovering hidden treasures, or piecing together the protagonist’s mysterious past, this walkthrough has you covered. Follow step-by-step instructions to solve puzzles, locate collectibles, and tackle challenges as you unravel the secrets of Hedea. Let’s get started!
The game begins in the present, with a man awakening in a medical chair, sensors attached to his temples. He is being interrogated by a man with an imposing, angular chin, demanding to know how he ended up in Hedea. The man explains that he came seeking answers and to confront his past. His father had been Jova’s blacksmith, while his mother risked everything to smuggle him out. Before sending him away, she handed him her necklace and warned him never to return.
1 – Family Reunion Investigation Start
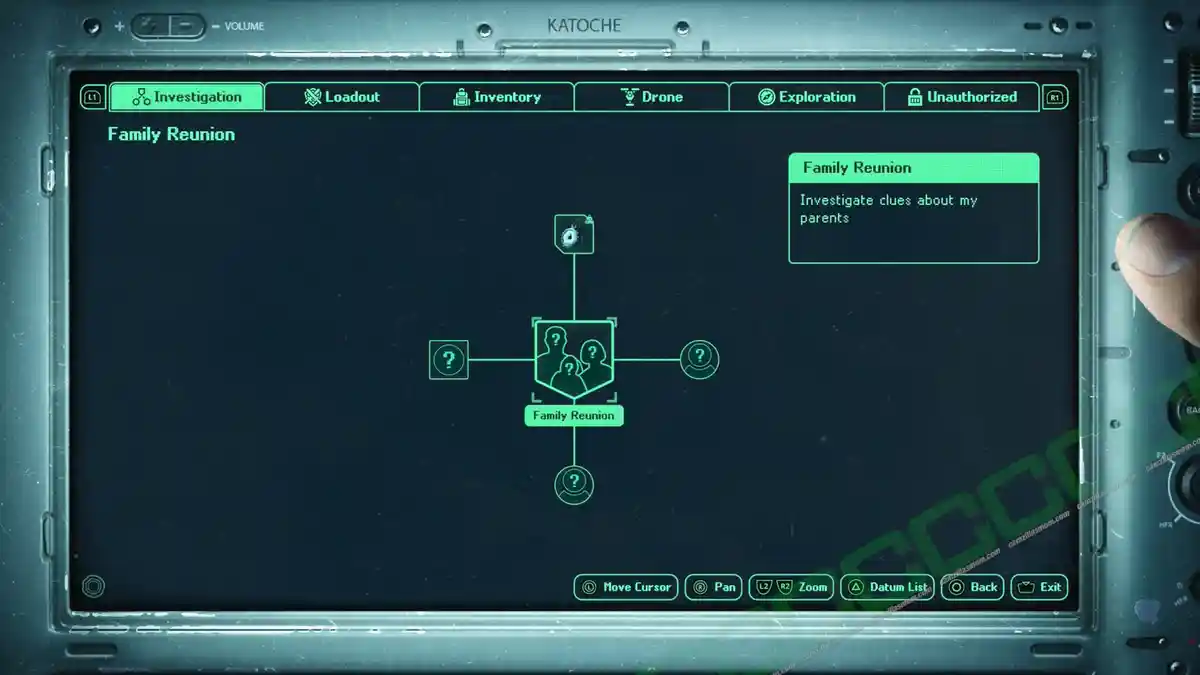
The Family Reunion Investigation starts with four topics:
-> Heirloom Necklace: My mother gave it to me when I was five years old as she was smuggling me out of Hadea.
-> Mother: My mother used to live in the Village of Jova. Don’t remember what she looks like
-> Village of Jova: Childhood village, the last location of my parents. Jova is where I was born.
-> Blacksmith of Jova: My Father was the Blacksmith in the Village of Jova.
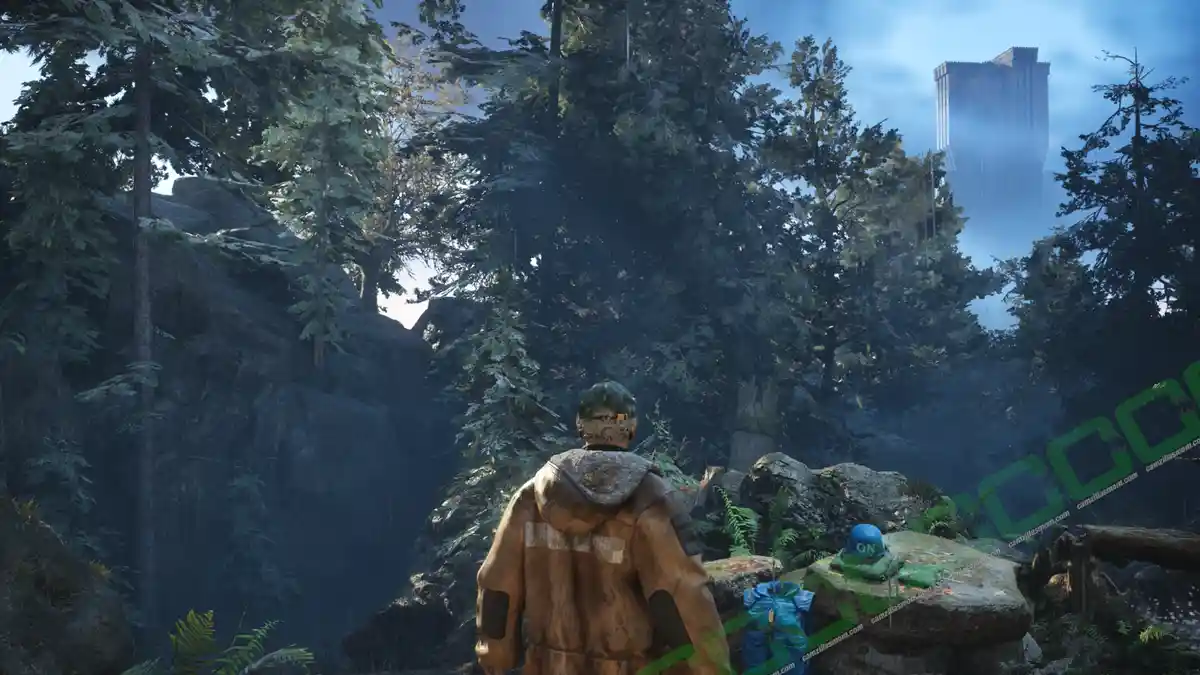
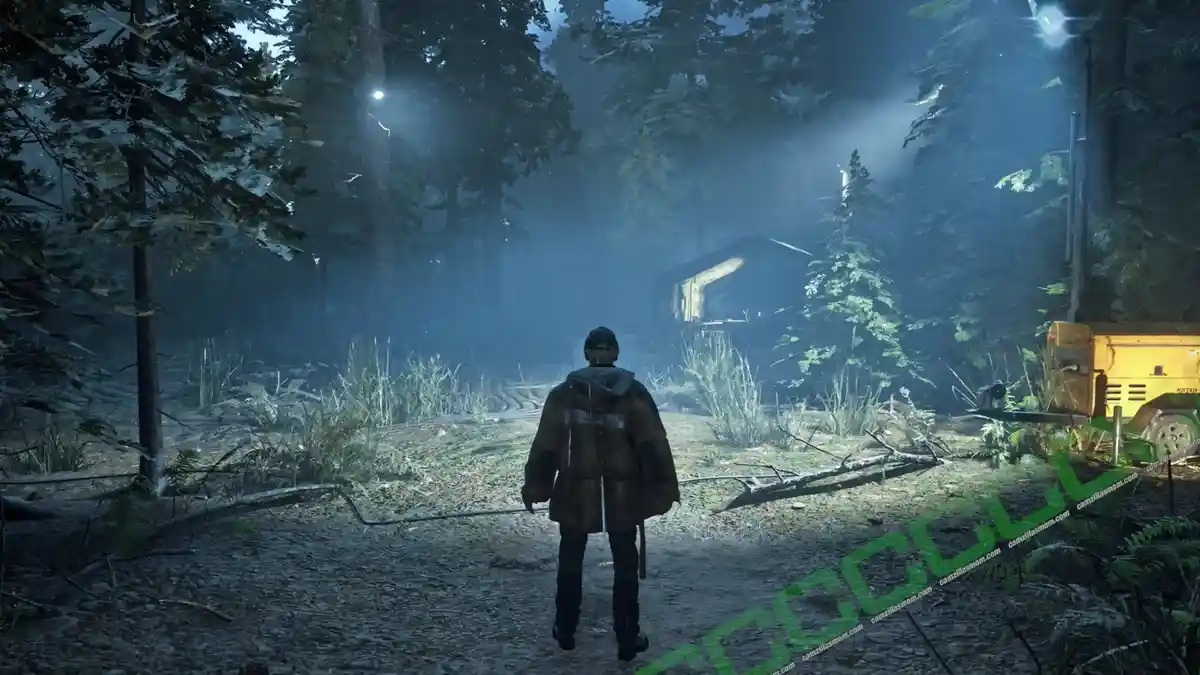
At the starting area, a towering structure looms prominently ahead to the right. There’s only one path forward – leading down to the left. Follow the trail as it descends toward the stream. If you choose to turn right and head toward the waterfall, you’ll discover a Gold Medallion collectible along with an inscription that, for now, remains unreadable.
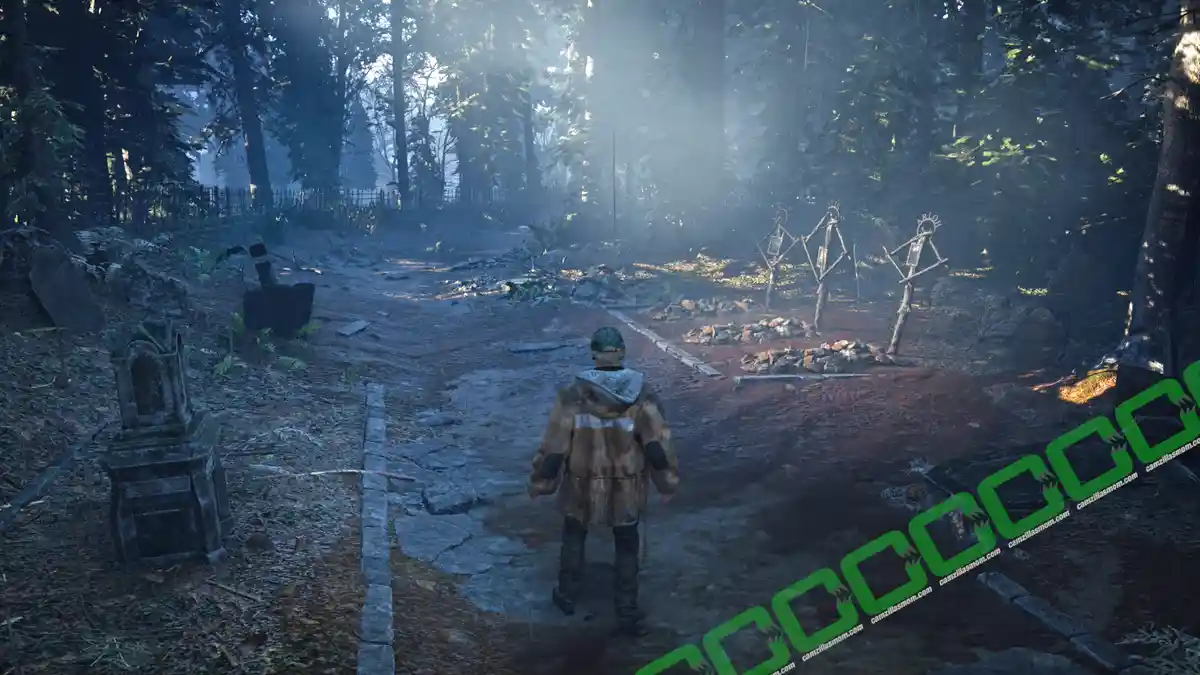
Continue following the stream as it flows downward, until fencing appears on your left and a stone bridge comes into view ahead. Beyond the bridge lies a cemetery. The path widens here, lined with border stones, and gravestones flank both sides of the trail. As the path curves gently to the left, you’ll notice three freshly dug graves on the right, each adorned with photographs.
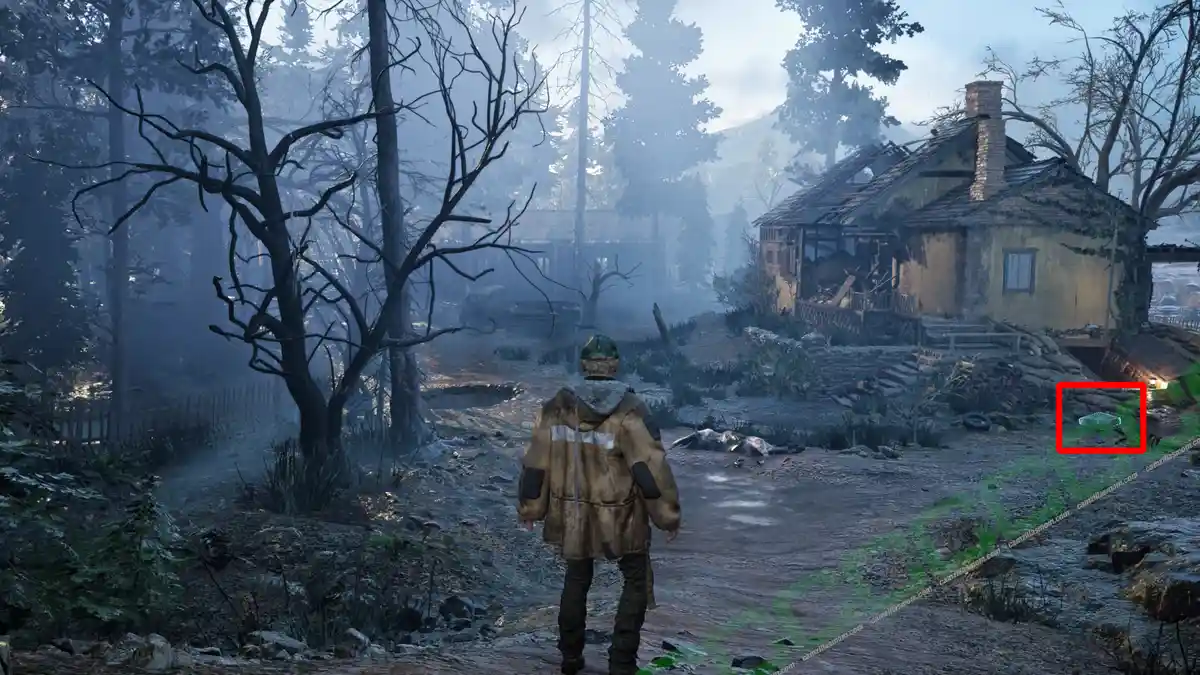
Follow the path to exit the cemetery and reach the first settlement – a farm. Along the way, you’ll come across a house with another building situated further ahead. By the entrance to the basement, you’ll also find a manual save point.
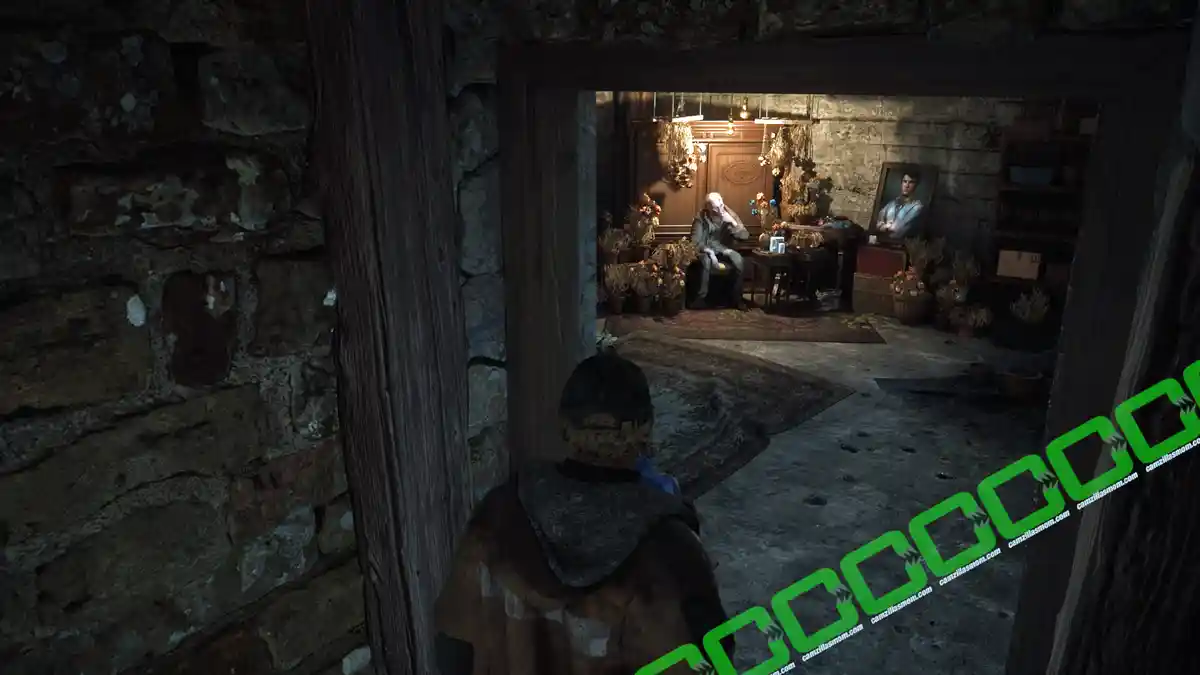
Step into the open basement to encounter your first character. You can choose to initiate a conversation or trade, but you’re limited to discussing topics or items you’ve already discovered. You may need to return later once you’ve gathered more knowledge.
Ernest Caddel, an elderly farmer, resides in the basement. He holds the key to the gate and will provide it to you. -> Key – Caddell Farm.
Question 1:
Who are you?
Answer:
The name’s Ernest Caddell. My family has tilled the earth here for generations.
When the Sabinian army dug in for the winter, they used our home as their headquarters. I wasn’t here at the time, but my sons were. When I finally came back, the Sabinians were long gone.
They left my sons’ bodies in the forest. My only solace is knowing that my fourth son might still be alive. I hope he finds his way home if he’s out there somewhere.
Conclusion:
The three fresh graves in the graveyard are Ernest Caddell’s sons. There is a fourth son – potentially still alive.
Question 2:
Do you know where the village of Jova is located?
Answer:
It’s in Acasa Marshes. It’s quite a way from here. I’m afraid you’ll need a vehicle. Unfortunately, I have none.
A group of strange-looking soldiers arrived here last night in an APC. You could ask them for help. It’s not the first time I’ve seen them. They always seem to be snooping around here for something.
Conclusion:
The soldiers have a vehicle.
Question 3:
Where can I find the APC?
Answer:
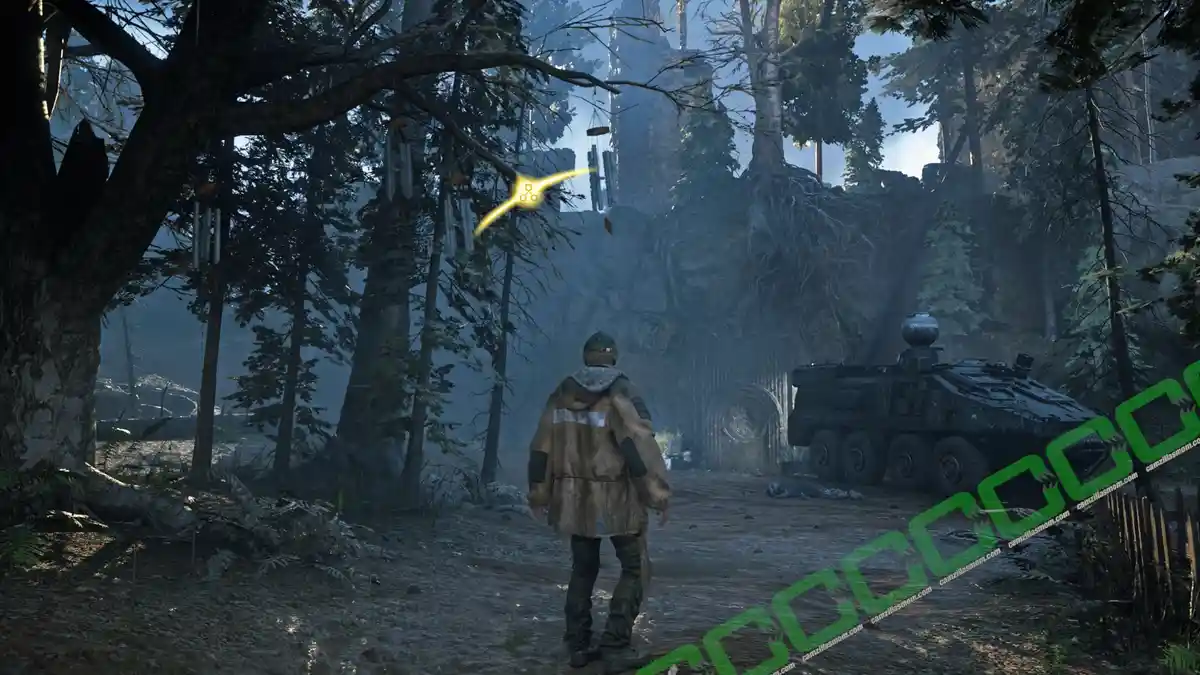
They parked their APC just beyond the woods to the North. Once in the woods, follow the wind chimes. They will lead the way through.
I hung them in the trees so my sons would stop getting lost when they were children. Sethyris bless their souls. [Sigh]. The gate to enter the woods is locked. Here. Take this key to unlock it.
2 – Finding the APC
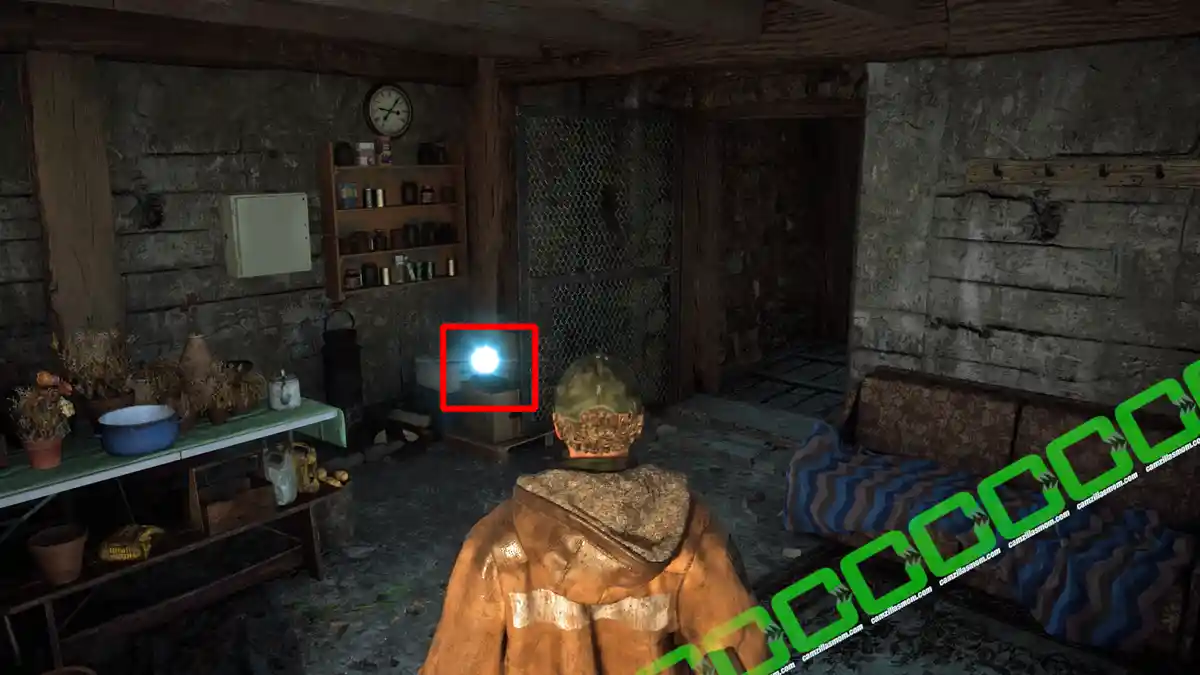
Before exiting Ernest Caddel’s basement, be sure to collect the Miscellaneous Item: Recording – Atticus’ Phone Call. You’ll find it in the same room, tucked away behind the door.
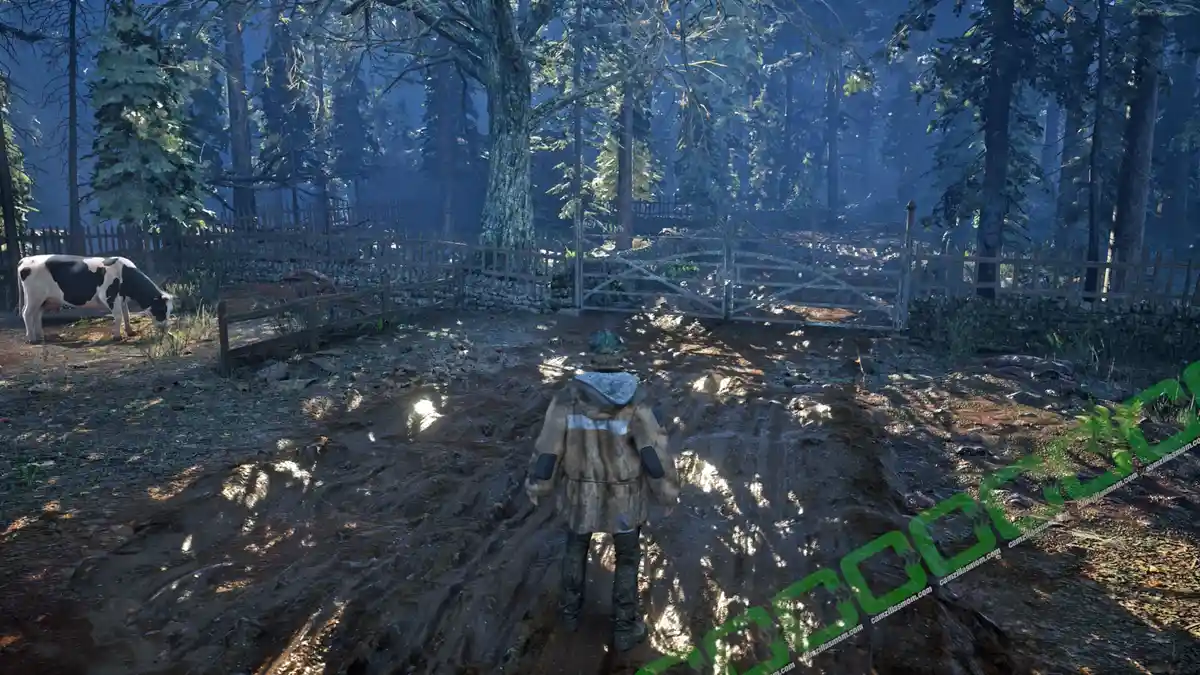
Step outside and follow the lone path leading past the house and craters. Continue towards the wrecked truck, where you’ll find a farm shed nearby. Beside a solitary grazing cow, you’ll come across the locked gate to the woods. Use the Key – Caddell Farm to unlock it. Once the gate is opened, the key will be removed from your inventory.
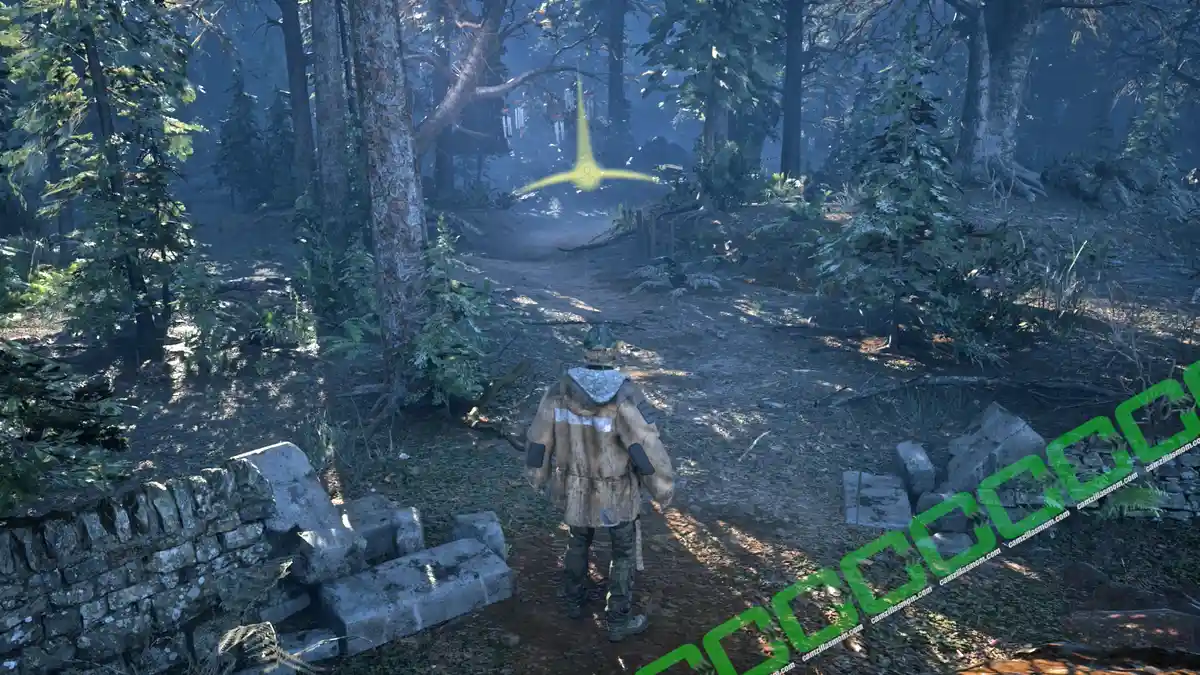
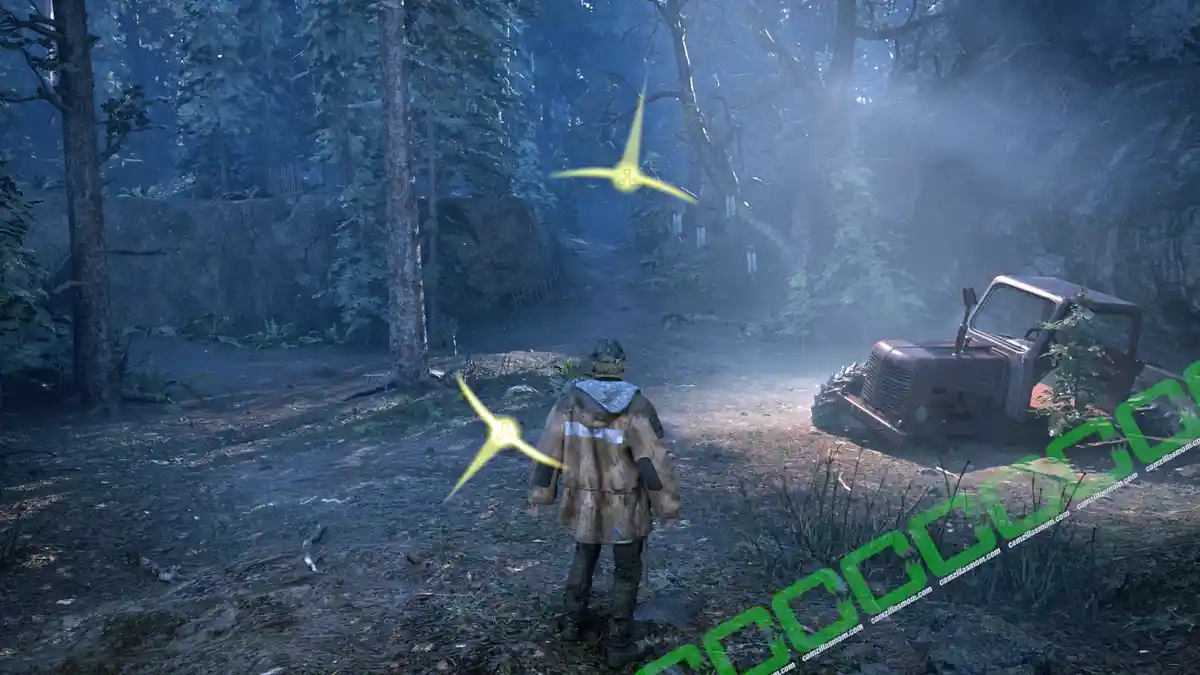
Take the footpath to the left. The main road is obstructed by a truck, but this trail leads into the woods, where you’ll discover the first windchime mentioned by Ernest Caddell. A yellow spike on the screen visually guides you toward the source of the sound, making it easier to locate.
Before heading to the second set of wind chimes on the right, make your way to the area behind the truck obstructing the main road. Here, you’ll discover the Miscellaneous Item: AAF Orders – 6th Battalion.
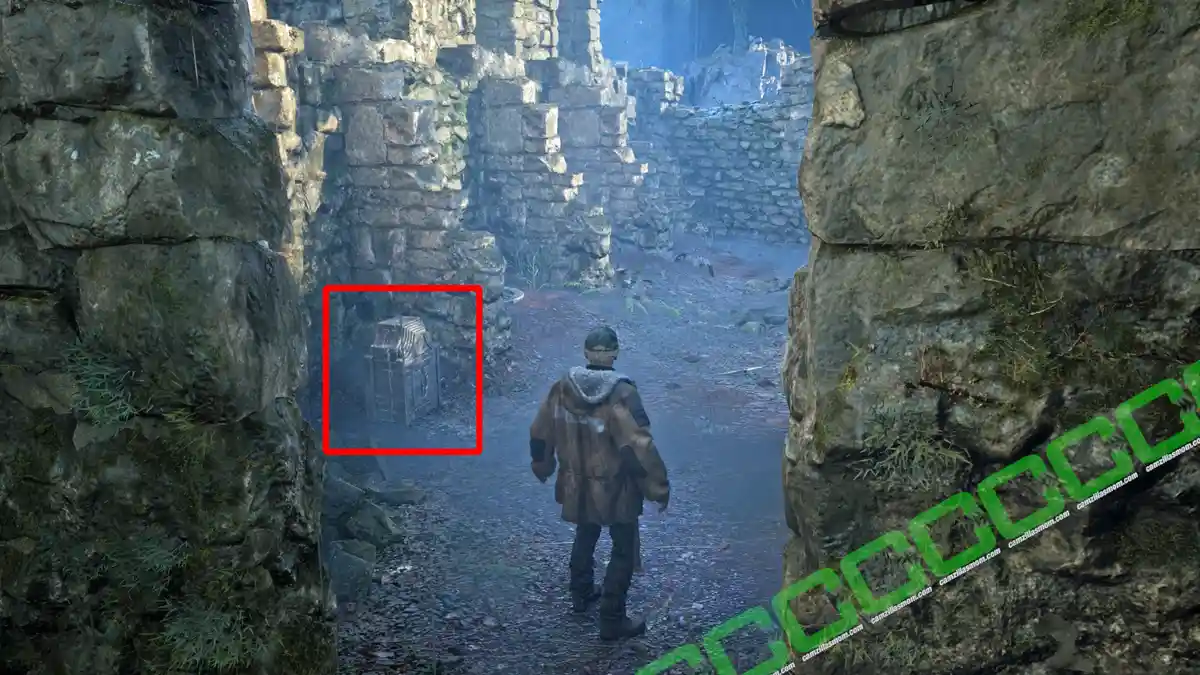
If you’re feeling adventurous, take a left instead of following the second set of wind chimes. Continue along the path until you come across some ruins. Within these ruins, you’ll discover the Research Item: Scorched Bell. Nearby, you’ll notice a steep earthen wall with a glowing item at the top. This item is a note that triggers the Caddel Family Treasure Mystery – but we’ll delve into that later.
Follow the sound of the chimes until you arrive at an open area with a wrecked car. From there, continue to let the windchimes guide your path.
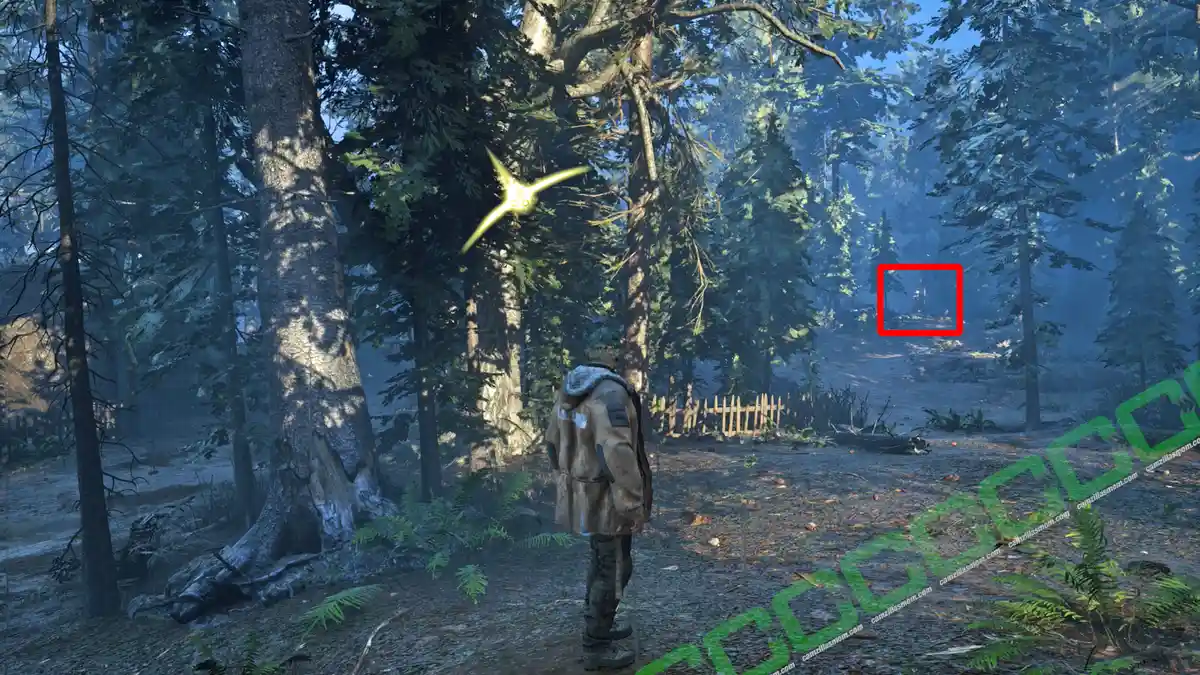
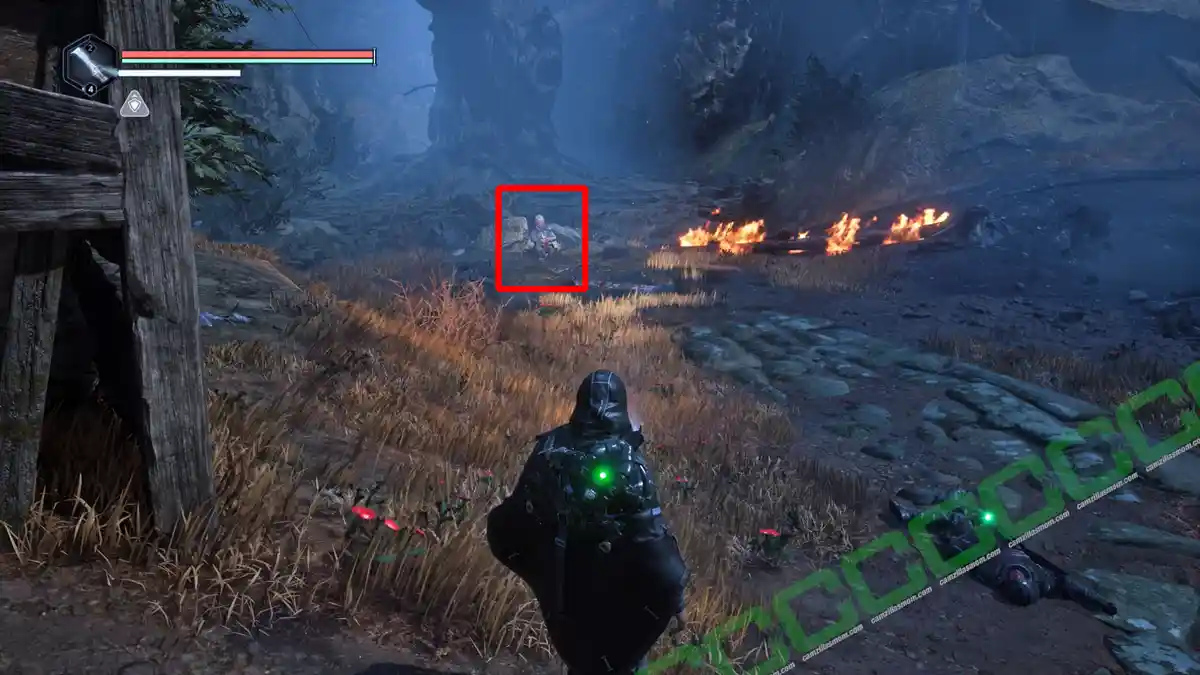
As the final windchime fades, you arrive at the APC vehicle. The area is eerily devoid of soldiers—yet something unusual catches your eye: a strange door. As you approach, you notice an injured soldier lying just beside it.
Before going to the door, turn left here and look back, where you can find the yellow shining item that you saw at the ruins. It’s the Usable Item: Note – Caddell Treasure Hint. It will start the Caddell Family Treasure Mystery.
3 – Finding the APC Key
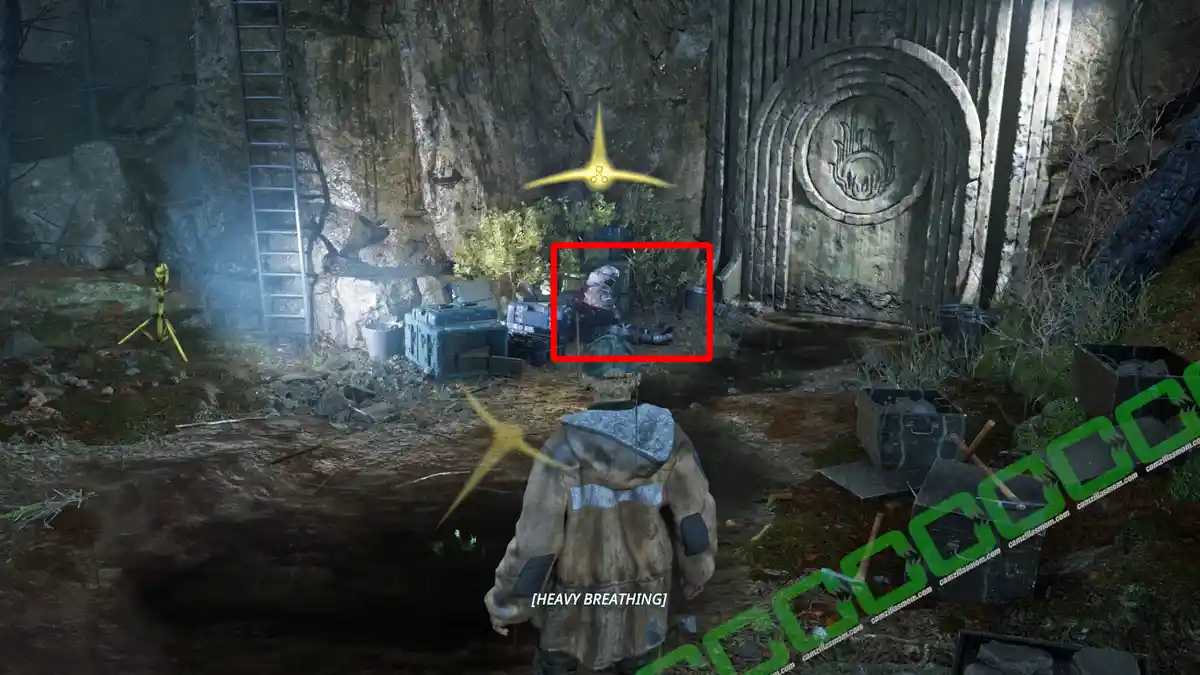
Near the closed door to the ruins, beside the APC, stands a soldier. As you approach, you’ll hear the sound of his labored breathing. His name is OMSIF-0451.
Question 1:
Who are you?
Answer:
OMSIF 0451, Epsilon 11. I got separated from my unit. They’re still down there behind that door. We were on an SSE, and we got jumped.
I’m not sure how I got here. All I remember is hearing the door shutting behind me. I must have triggered something. We need the key to the APC. We need to get the f*ck out of here.
Question 2:
Who has the APC key?
Answer:
The sergeant has the key. He’s inside with the team. The sarge is easy to spot. He’s the one with a dark red poncho. Shit. I’m… Oh God… I’m hurt pretty bad. I need to stop the bleeding.
We have a med kit in a camp we set up in the woods West of here. We marked the trees to make it easier to navigate. Bring me the med kit, and I’ll give you what you need to open the door.
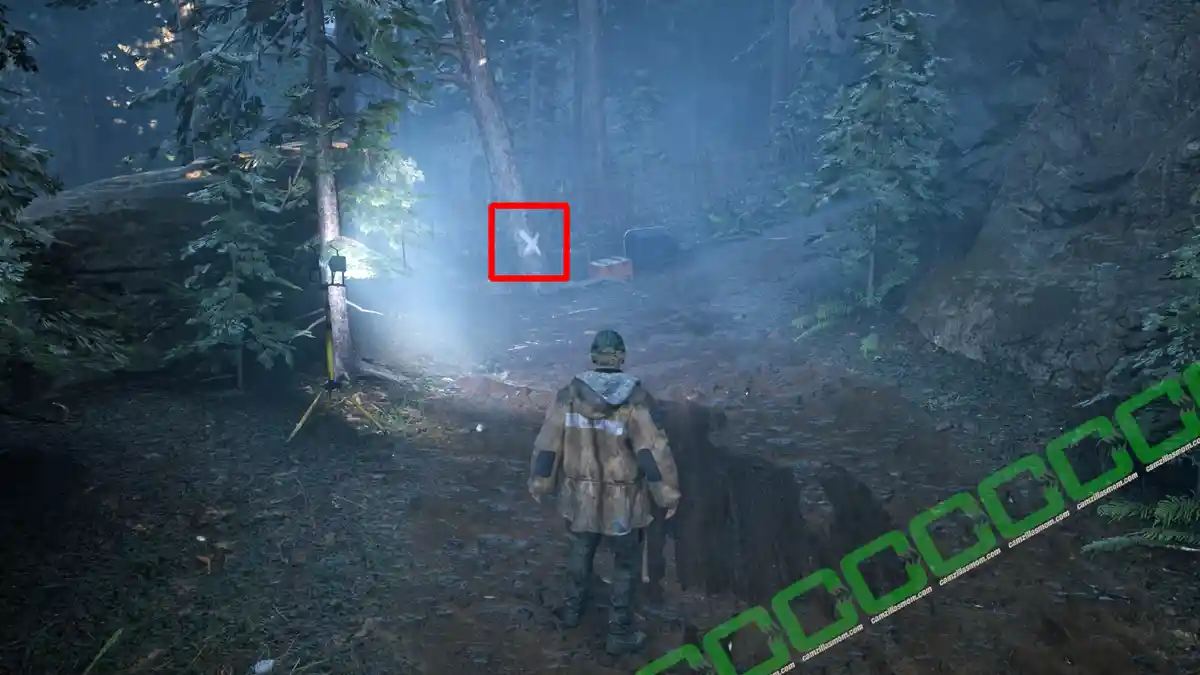
Equip the compass in your loadout and head west. Follow the uphill path illuminated by lamps. In addition to the lamps, keep an eye out for trees marked with a white “X” to guide your way.
Follow the marked trees to the camp in the center of the area. You can also solve the Caddell Family Treasure Mystery while you’re in the area.
Within the camp lies one of the enigmatic stone inscriptions, the meaning of which is initially unclear. Inside the tent, you’ll find three collectibles:
-> Yellow: OMSIF Medkit
-> Blue: OMSIF Report – Field Research
-> Blue: Vial of Strange Substance
Go back to the soldier and hand him the medkit. You’ll need to trade it with him. He will give you the Investigation Item: Ancient Mechanism.
Climb the ladder located near the soldier and the door, ascending until you reach the ruins above. From there, follow the singular path leading to a glowing mechanism. To activate it, use the Ancient Mechanism item provided to you by the soldier.
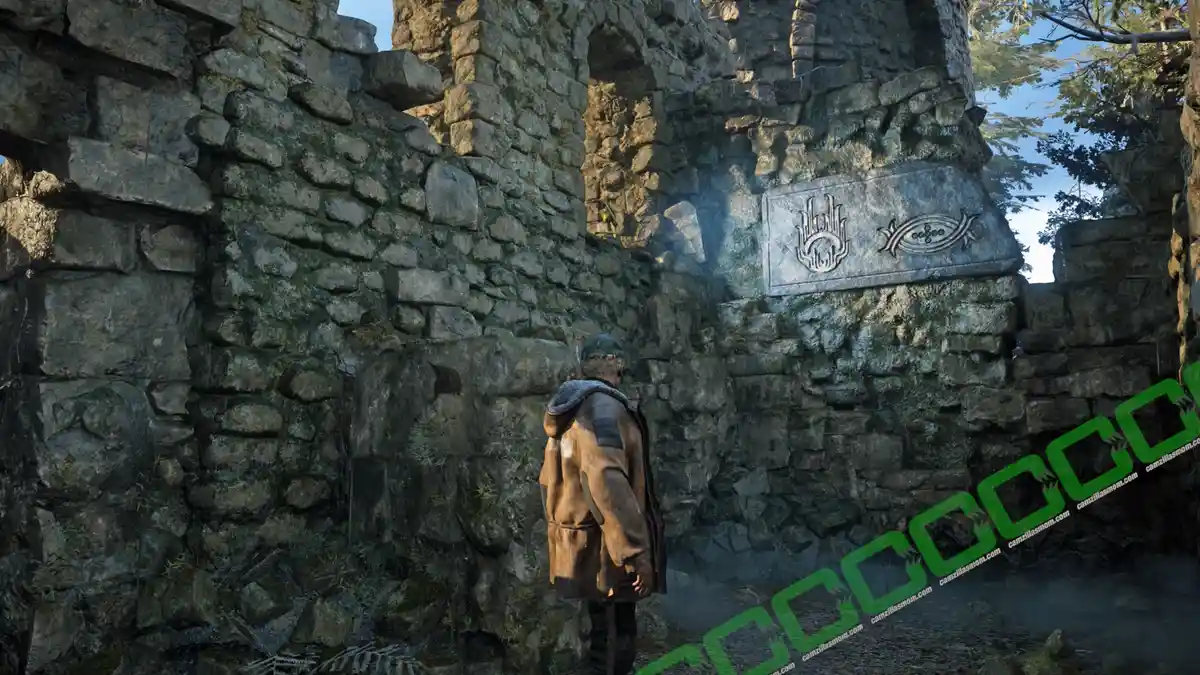
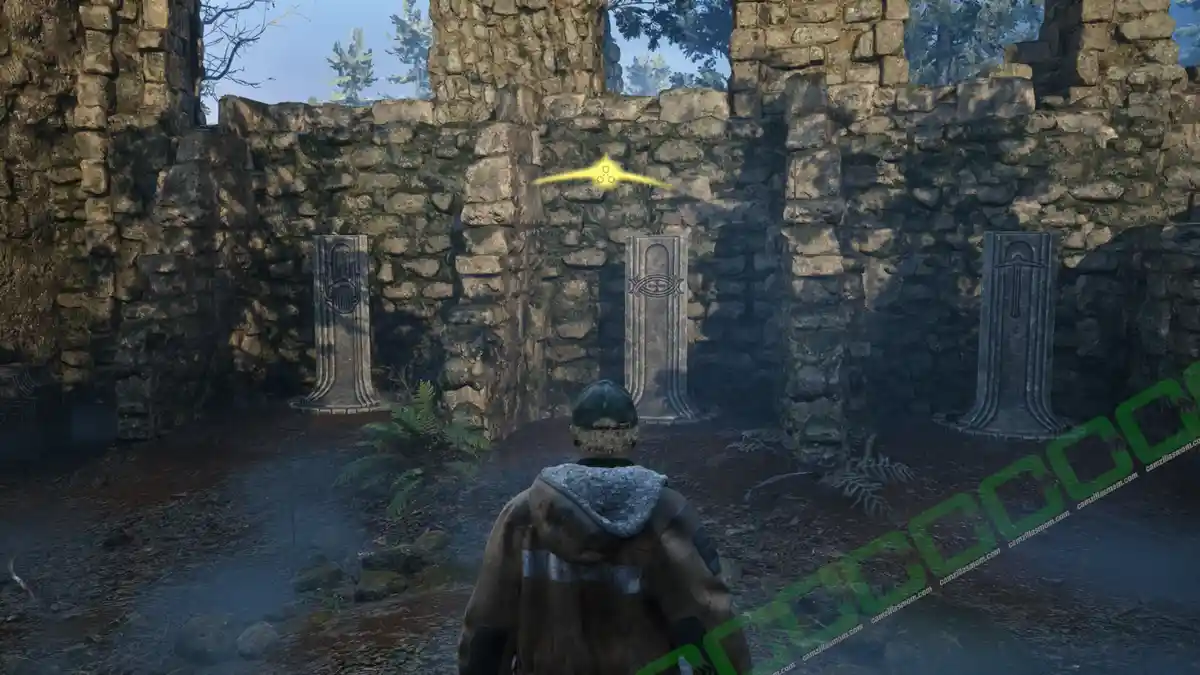
This action will raise three pillars, each featuring the same three rotating symbols. Behind the pillars, you’ll find a plaque displaying two symbols: the symbol on the door near the soldier and an oval. However, the third symbol is noticeably missing. By circling around to the other side, you’ll uncover the missing piece on the ground – a pickaxe symbol that has broken off from the plaque.
Adjust the pillars and align them precisely to this specific symbol combination. A rumble and noise indication will tell you that something will open. It’s the door near the soldier. Return to the open door and enter.
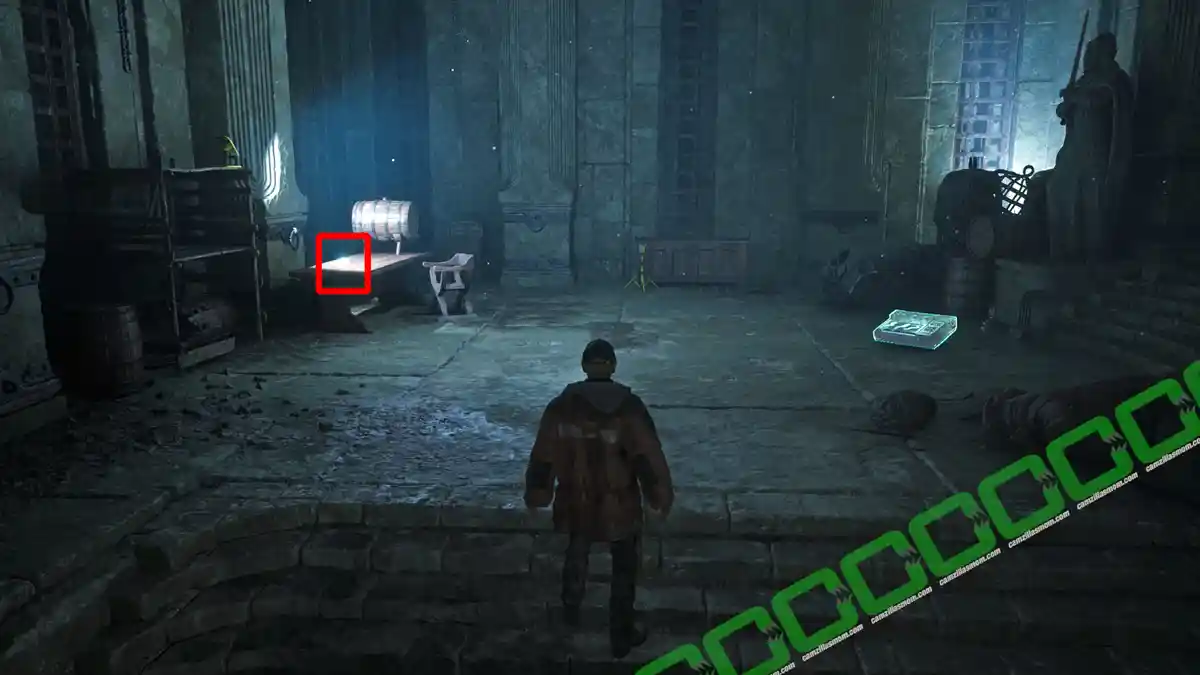
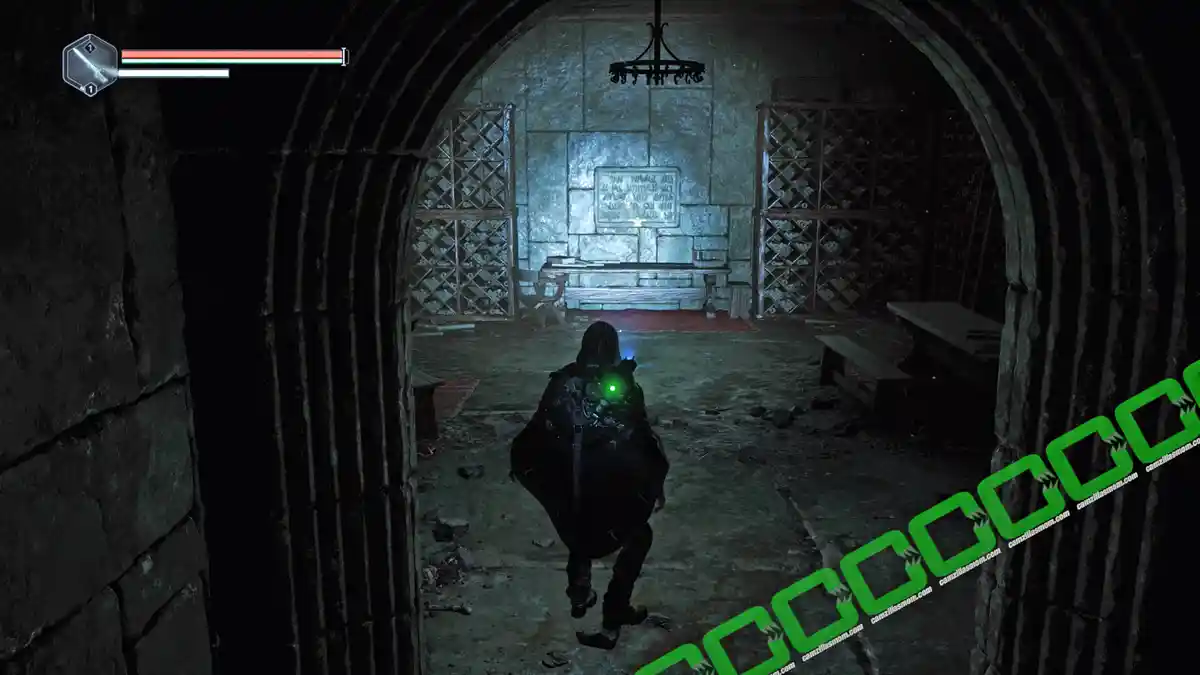
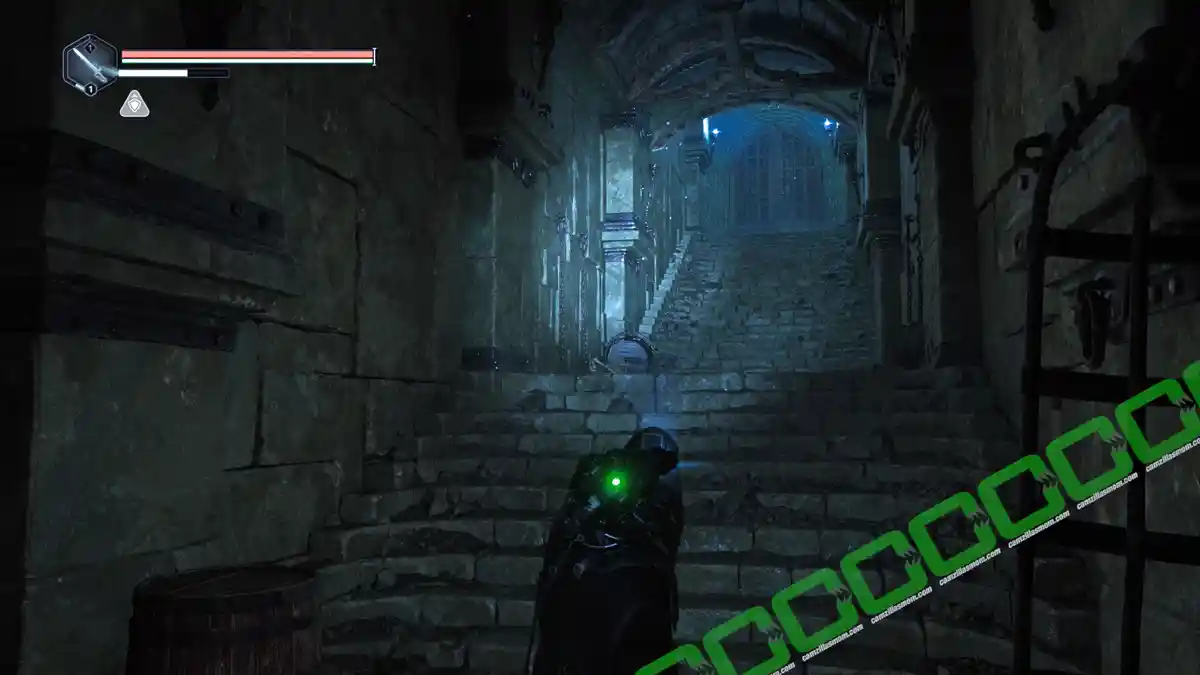
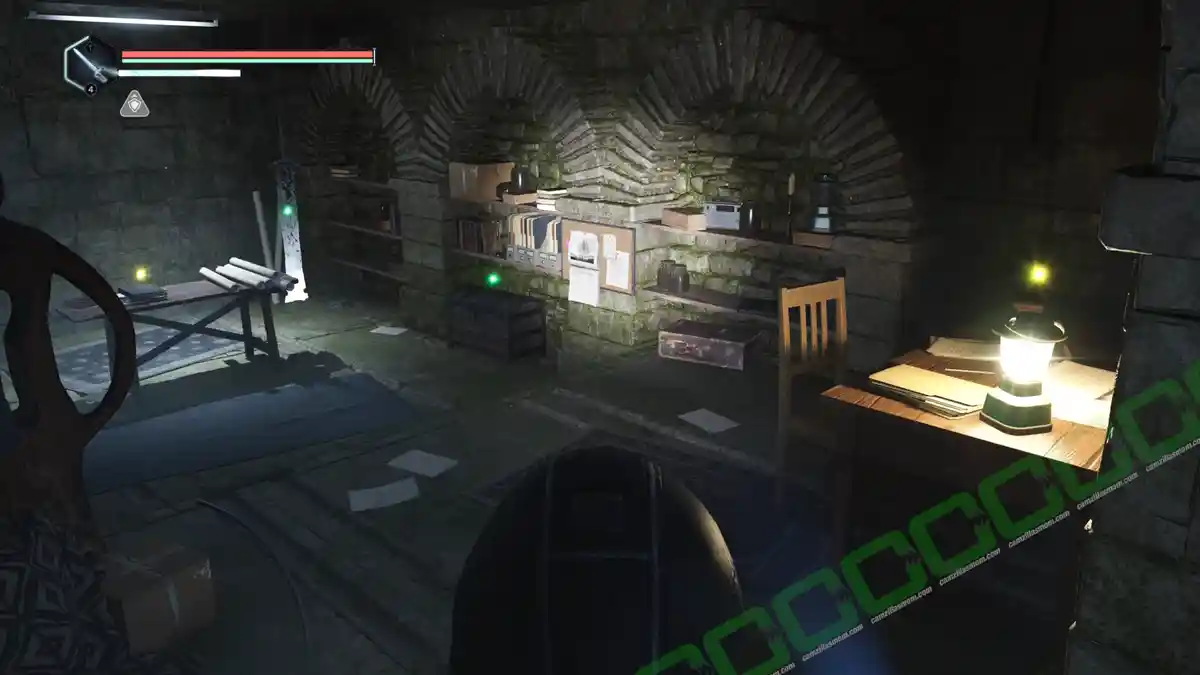
Head down the corridor and descend two staircases. As you reach the first skeletons, illuminated by a lamp, you’ll hear and feel a rumble behind you. In the first large room, you’ll find a save point and a collectible resting on a table.
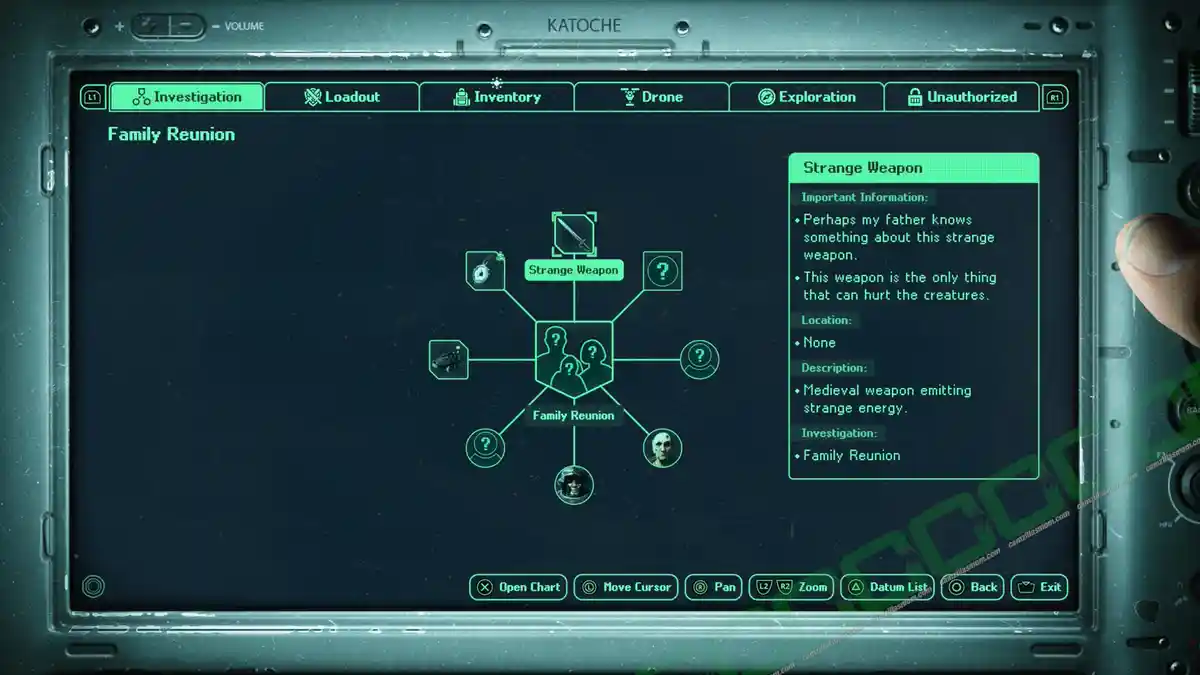
Follow the corridor deeper into the ruins to find the missing soldiers and the first enemy in a cutscene where you will get your gear and the fighting tutorial. You can now toggle the light of the drone that is sitting on your right shoulder on and off. You’ve also received a “Strange Weapon”. The Family Reunion Investigation is now updated. Also, the mysterious inscriptions in the world of Hell is Us can now be scanned and read by the drone.
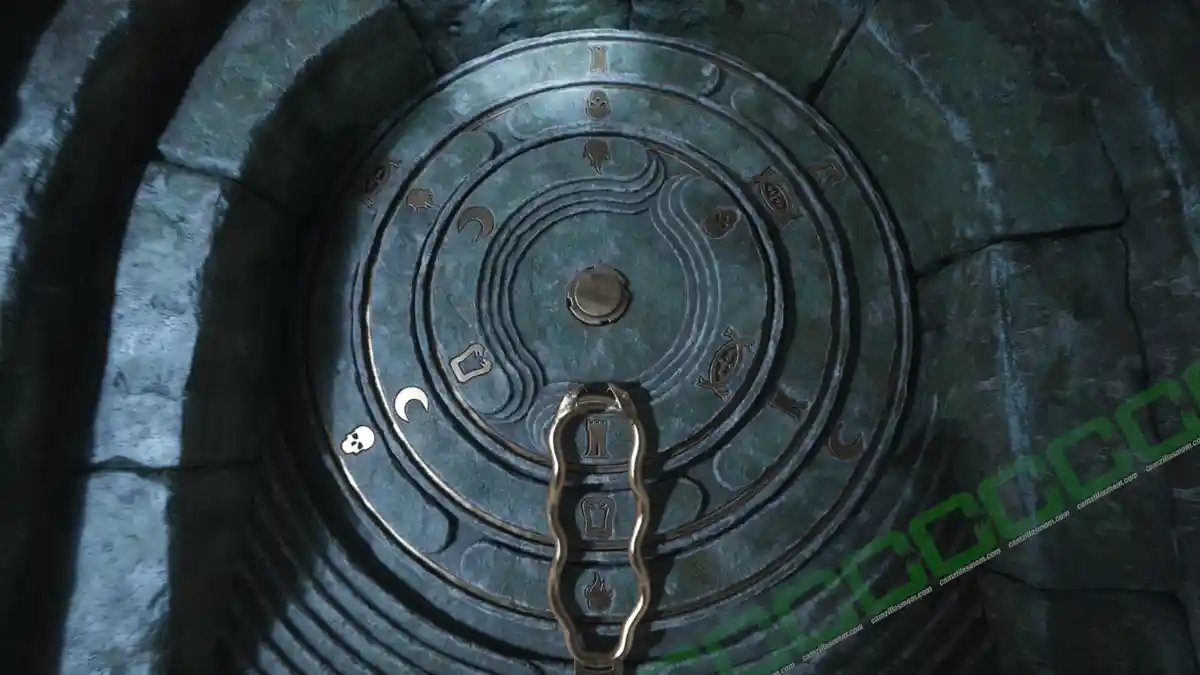
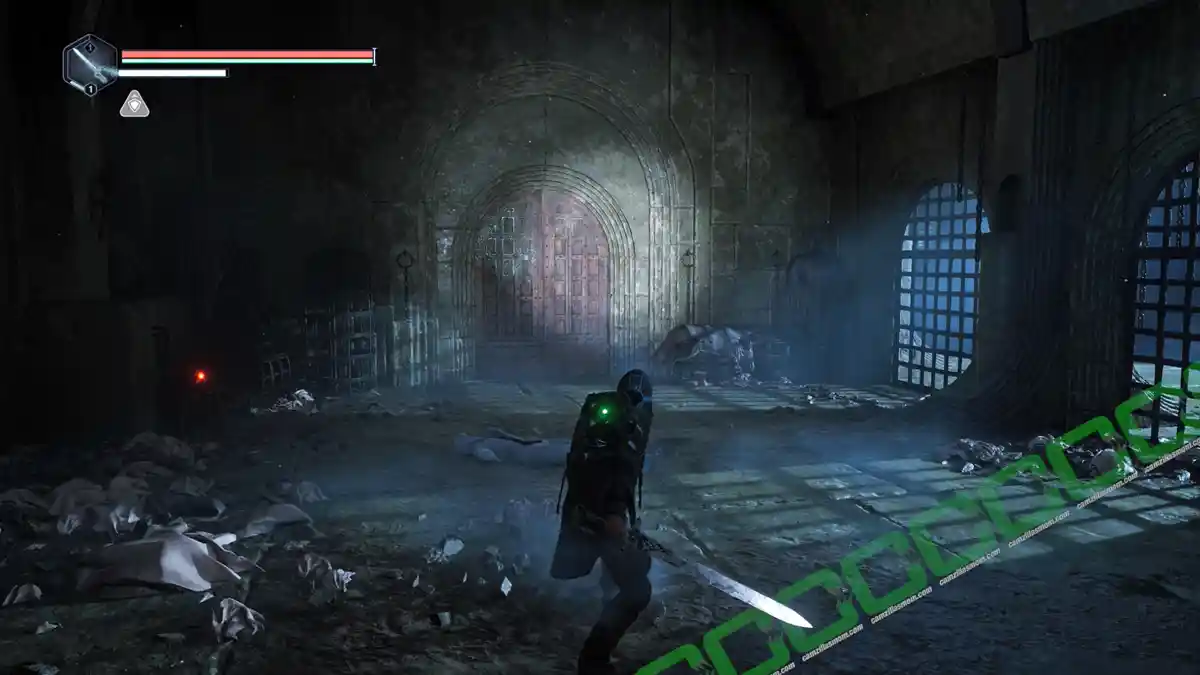
Turn on the flashlight and have a look around in this big room where your first fight took place. There is a big gate with a combination dial. You need to find the three-symbol combination to open this door.
Proceed along the only path leading out of the room – a dimly lit corridor. The next area is a library that also serves as a storage space for bones.
The library has a separate room towards the east that has a scannable inscription.
“First, the sinners are brought to the tower.”
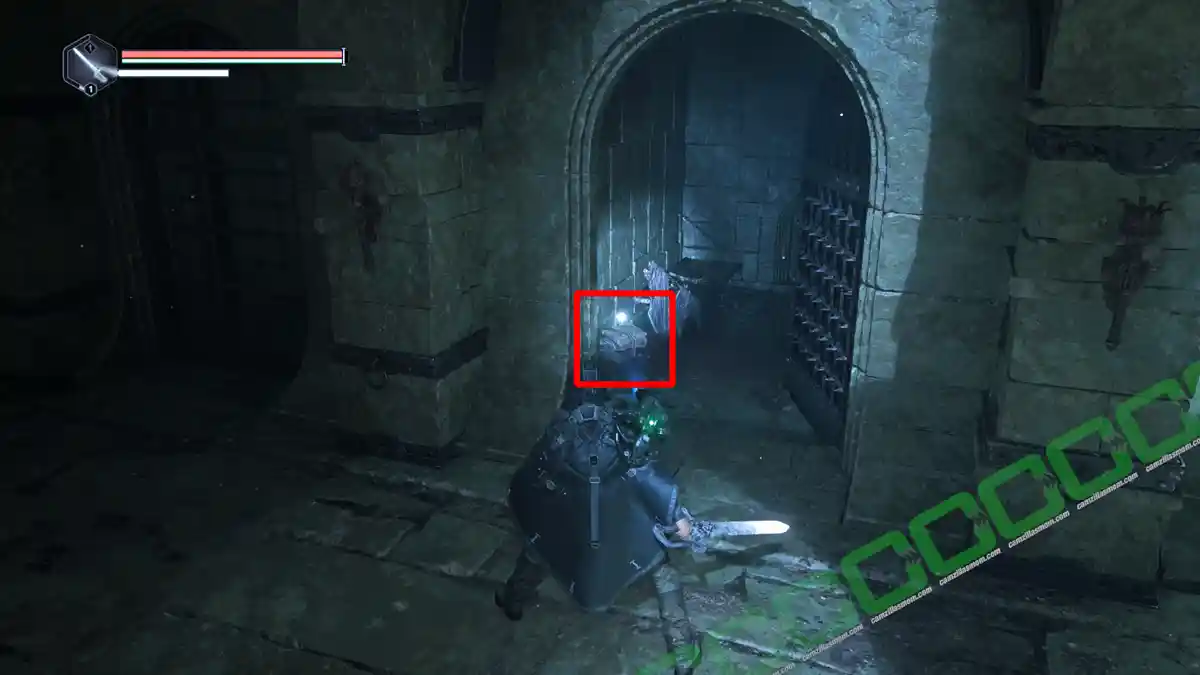
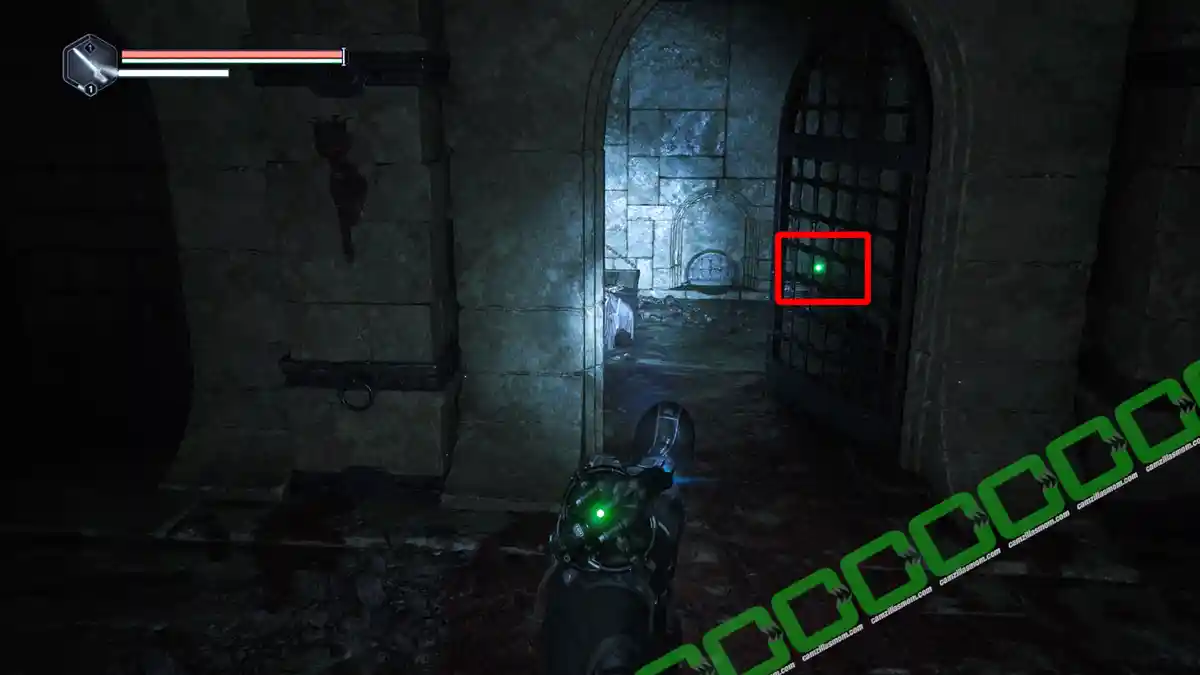
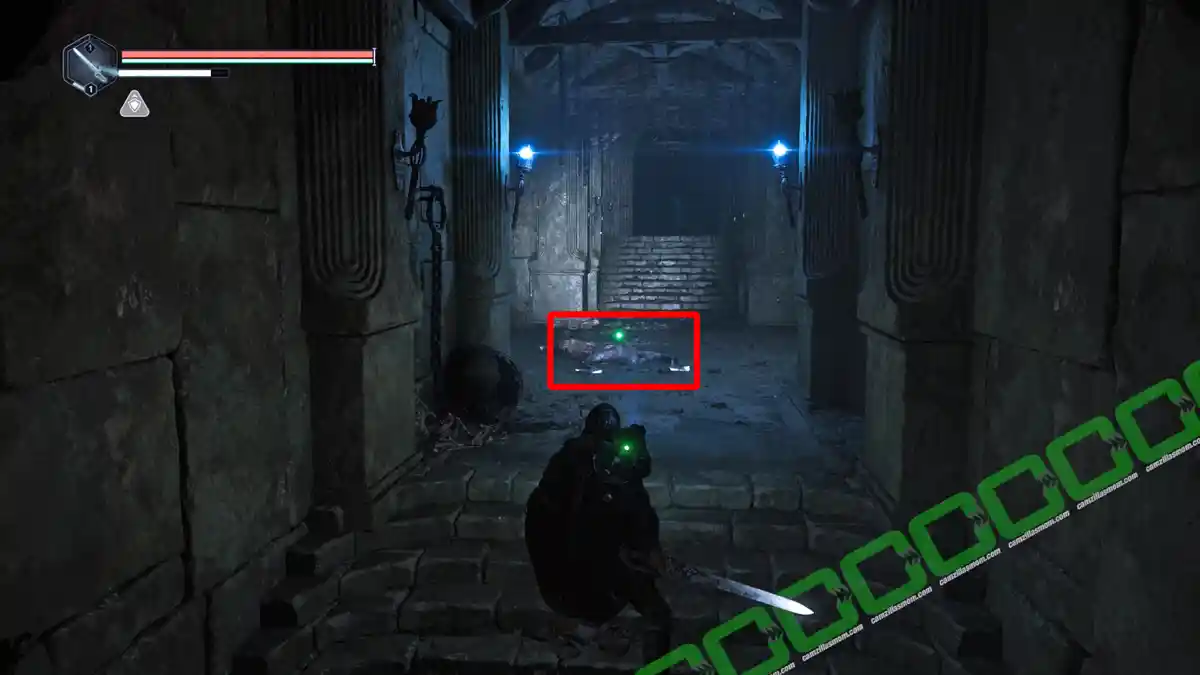
As you advance, you’ll notice someone lying on the floor, marked by a red light indicating a consumable item. Further ahead, you’ll encounter two doors: one to the north and another to the west.
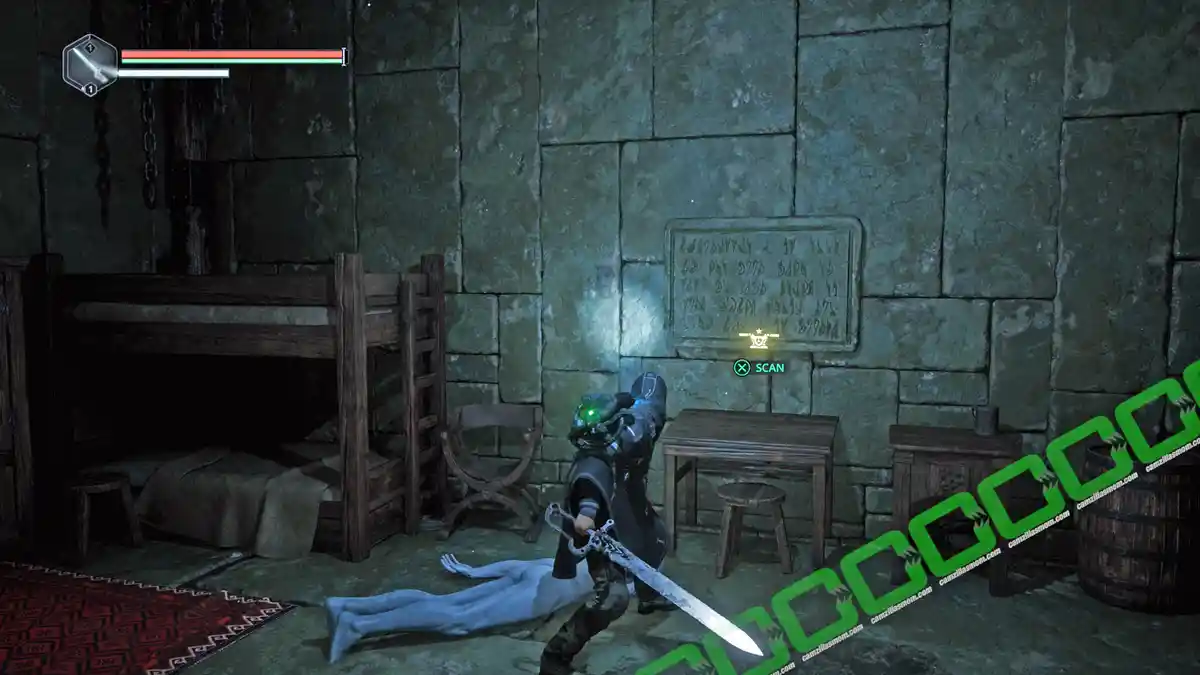
The door to the west leads to a bedroom that has a scannable inscription on the wall:
“Then, they will endure the climb through the Twin-Headed Serpent.”
The door to the north leads to another bedroom that has a scannable inscription on the wall:
“And finally, the sinners will fall into the fires of hell.”
Every inscription represents a symbol for the door combination from top to bottom:
-> Tower Symbol
-> Double-Headed Serpent Symbol
-> Flame Symbol
The door swings open, inviting you to step through into a room adorned with a striking blue mural. Beyond it lies another chamber, lined with prison cells and featuring a ladder that ascends to the next level. Up there, on a bench, you can find a Lymbic Capacitor Consumable Item. There is only one open prison cell to the south that has a collectible: Journal – Prison Guard.
Find the next ladder to get even higher in the prison. Here in the north is an open prison cell with the Bracers of Terror – Intimidating Bulwark Defensive Gear.
Locate the lit gate on level 3 of the prison and proceed through it to reach a save point. Continue on through this room towards the east to find a cupboard with another consumable item. Then go up the staircase to another door. Behind it, you will learn how to use the drone to distract enemies.
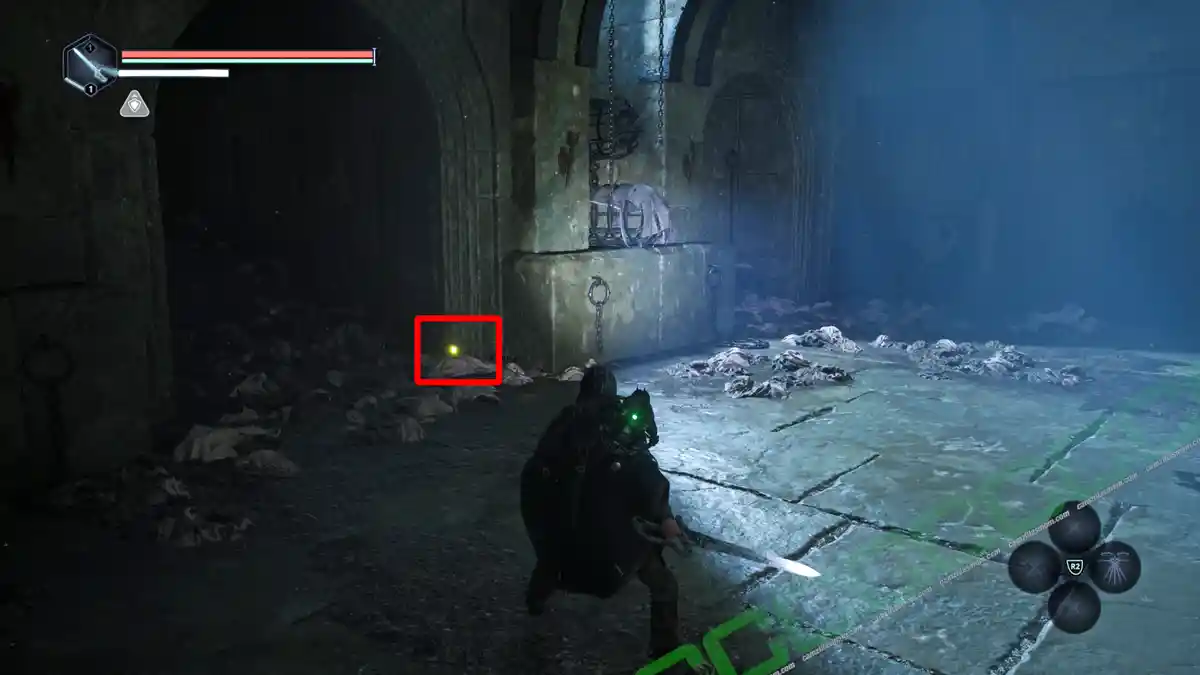
Defeat the enemies and continue on through the only passage possible. Where you can loot a new weapon from a fallen fighter: Lymbic Twin Axes.
Beyond the fallen warrior lies a locked gate that requires two medallions to unlock. This door is part of the Secrets of the Ram Mystery.
Head upstairs to discover a safe point and a doorway ahead. Step through the door to enter a space designed to help you hone your parrying and riposte techniques. Inside, you’ll notice a few enemies confined behind bars and a pathway leading north. Proceed through the northern door to confront the locked-up enemies and defeat them all.
In this room, you’ll discover the Ram Head Medallion – Viridian, one of two essential items needed to unlock the medallion door and complete the Secrets of the Ram Mystery.
After collecting the medallion, remain in the room and locate an alcove cluttered with debris and a broken back wall – this is your path forward. Follow it to a door guarded by a larger enemy. Defeat the foe, then take a moment to explore the room. You’ll find a lever that unlocks the door to the next area.
Behind the door is a soldier carrying the OMSIF Deployment Order for Senedra collectible, the APC Key, and the OMSIF Special Requisition 02 document. The path ahead leads to the outside trenches.
Once you locate the APC key, the datapad will update with the progress for the Investigation: Family Reunion. In the same area, you’ll also find a collectible titled Letter – Sabinian Superstition.
Follow the trench to discover another Letter – Sabinian Front at the first intersection, along with a Gold Watch engraved with “Otis Caddell.” Picking up this watch will trigger the quest “Good Deed: The Golden Watch.” Return the watch to Ernest Caddell to complete the Good Deed.
Continue along the path to find the trench’s exit, where you’ll come across a save point just below the ruins. If you proceed straight ahead, you’ll encounter a soldier carrying a Ram Head Medallion – Crimson near the end of a blocked path. This path leads back to the forest and the Ruins Entrance by the APC.
Once you have both Ram Head Medallions, you can return to solve the intriguing Secrets of the Ram Mystery.
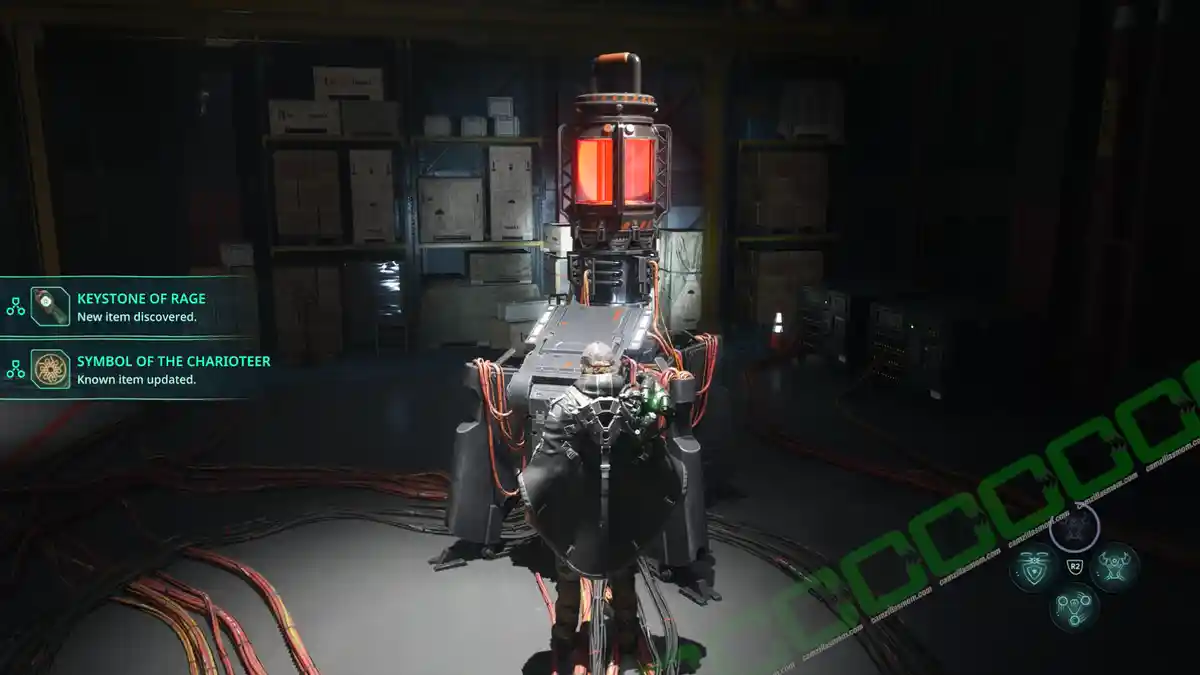
Follow this path, and you’ll eventually return to the soldier and the APC. Use the key to unlock the APC’s back door and step inside. Once inside, you’ll find a locker that can be opened using the code 199301. This code is mentioned in two documents: OMSIF Special Requisition 01 and OMSIF Special Requisition 02. The first document is already in your inventory at the start of the game, while the second is located alongside the APC key.
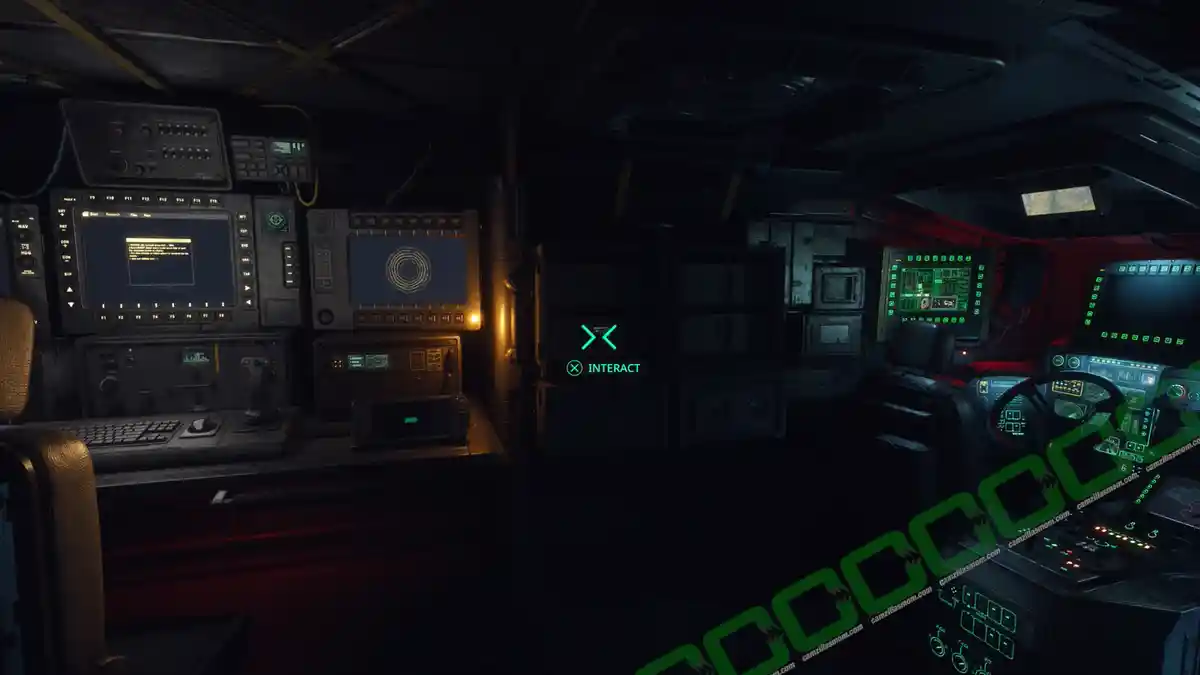
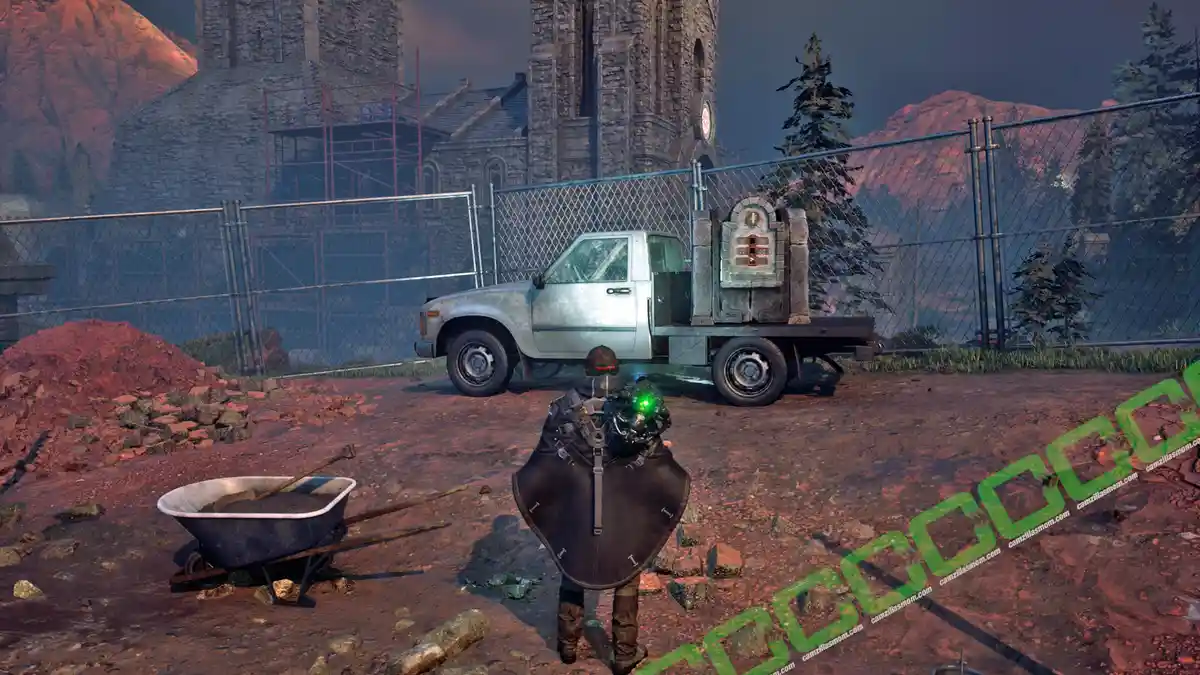
Use the Navigation Computer to reach Jova Village in the Acasa Marshes.
4 – Jova Village
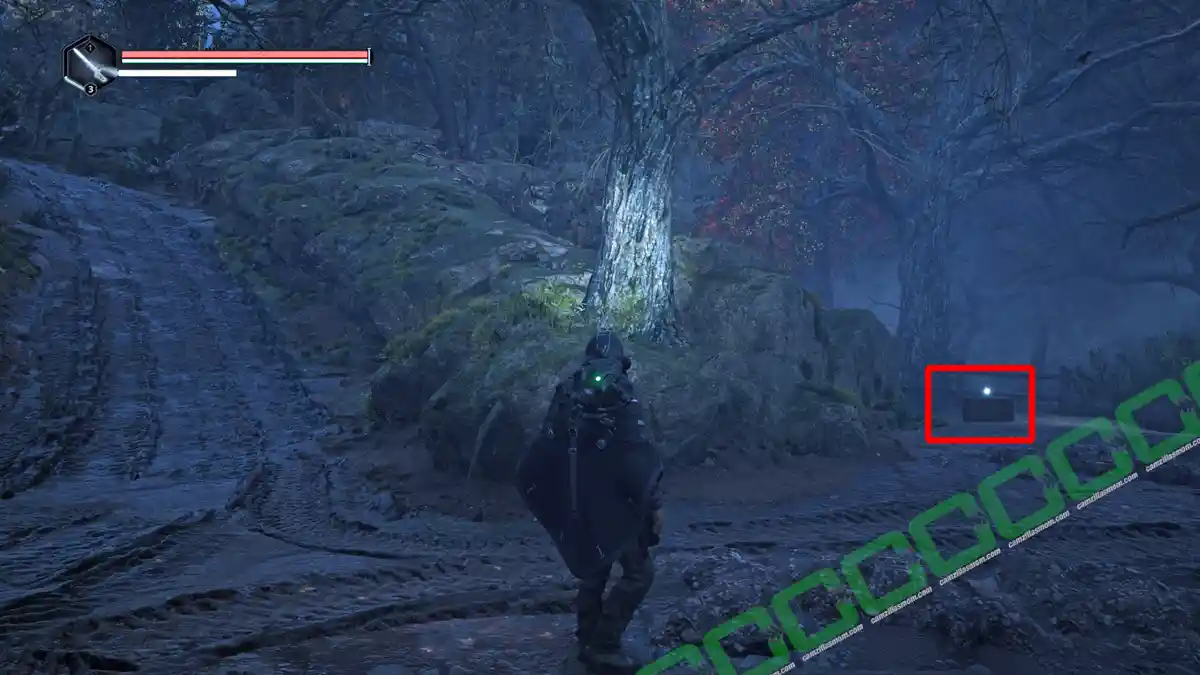
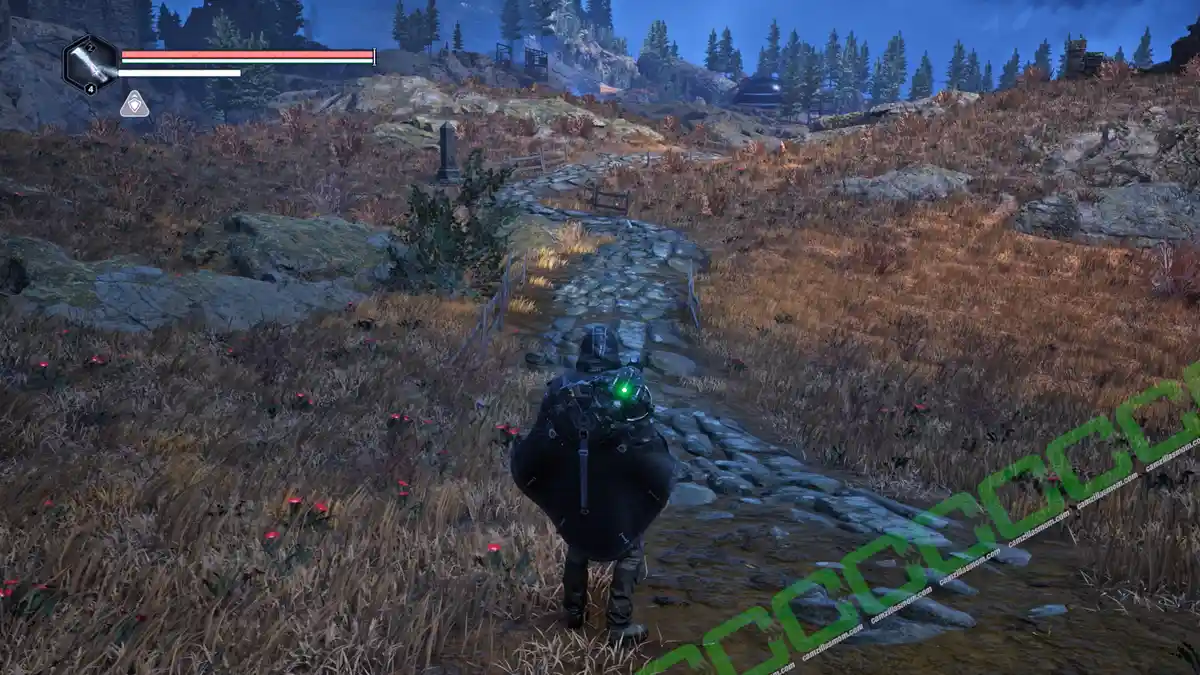
Upon arrival, follow the road and continue along the muddy trail leading to the marshes. As you progress, keep an eye out for a blue sign directing you toward a pit with a digger. Here, you’ll encounter the Grieving Father, a character tied to the “Asunder” Good Deed Quest. Take a moment to engage in a brief conversation with him. Before heading uphill past the digger, be sure to explore the surrounding area – hidden nearby is a Research Item: the Box of Bronze Acorns, waiting to be discovered.
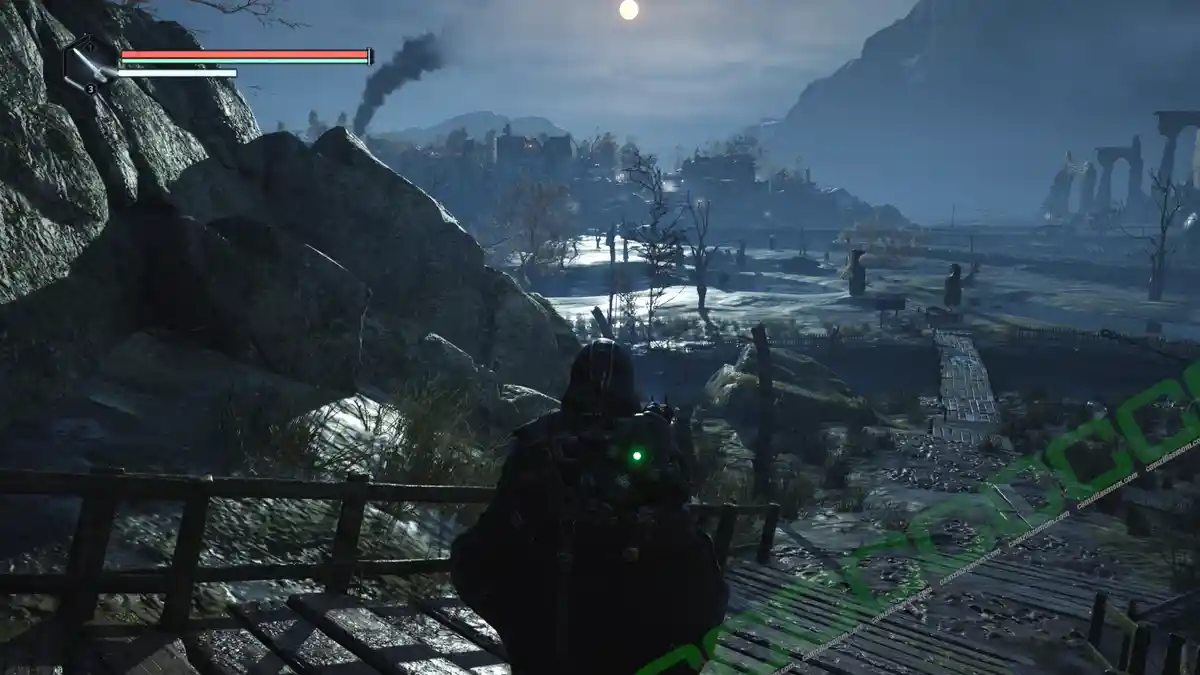
Continue along the path until you reach the wooden bridge. Look for the sign pointing to the Village of Jova. As you make your way along the wooden path, a helicopter will pass overhead. At the end of this section, you’ll find a save point. When the trail begins to slope downward, you’ll catch your first glimpse of Jova Village in the distance.
Ahead, you’ll come to a sign pointing straight towards Jova Village and to the right towards Pathem Abbey. If you glance up to your right, you might catch a view of Pathem Abbey. However, our journey continues onward to Jova Village.
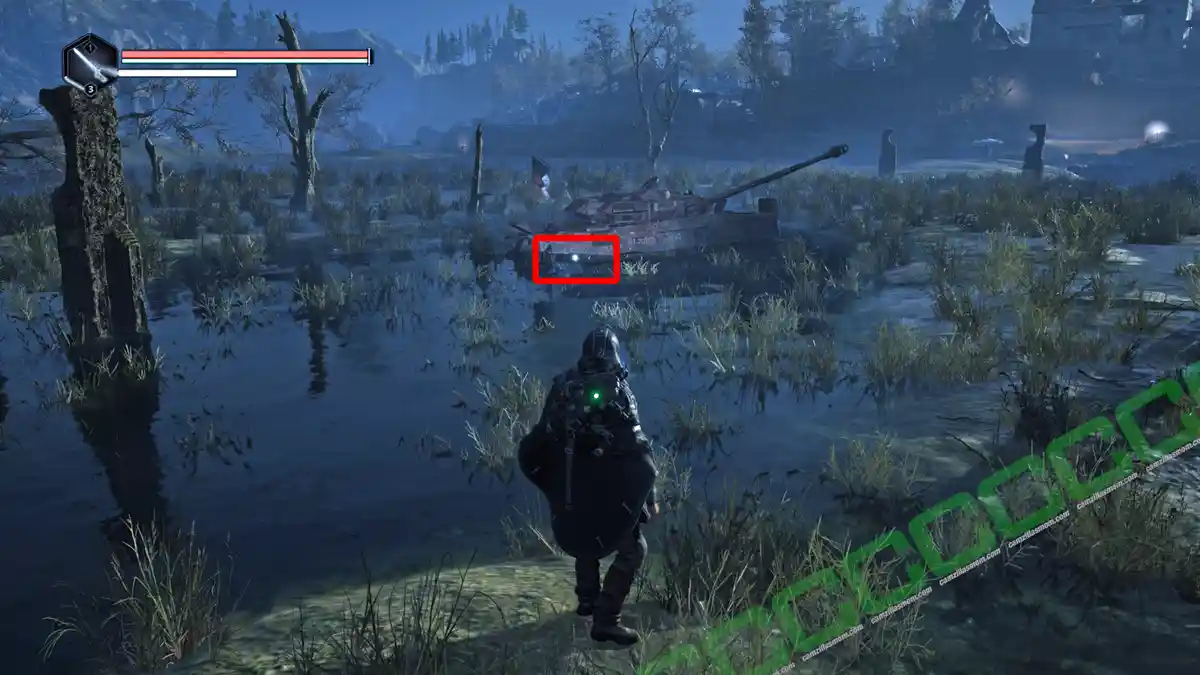
As you follow the path, you’ll soon come across a tank containing a Miscellaneous Item collectible: Note – Sole Survivor.
At the entrance to the village, you’ll find a save point, which also functions as a fast travel option back to the APC. Proceed through the checkpoint to enter the village, and take a moment to explore the area. Be sure to check the desk for a collectible: AAF Orders – Non-Interaction. Once you’ve collected it, speak with the Military Officer stationed at the checkpoint.
Question 1:
Who are you?
Answer:
I am Captain Vaas, 6th Battalion, 3rd Company of the Asterian Armed Forces. I’m in charge here.
Jova is part of Asteria now, so everything here belongs to the Sabinian cause.
I’ll follow my orders for now, but there’s a limit. The wayl see it, you’re not bulletproof, and you’re alone.
I think we understand each other.
Question 2:
What happened here?
Answer:
Justice happened here. If you think the Palomists aren’t doing the same thing to us, you’re a f*cking idiot.
Jova is part of Asteria’s relocation program. We were going to get everything readyfor the migrating Sabinian families.
That was before these creatures showed up.
Question 3:
I’m looking for Jova’s blacksmith. Have you seen him?
Answer:
He must’ve left with the ON convoy. I can’t find him anywhere.
We had a good deal. Our corps of engineers went dark right about when the creatures appeared.
He was going to help rebuild Jova. If you find him, tell him he can come back. I’ll go easy on him.
Question 4:
Where was the ON convoy going?
Answer:
I have no idea and I couldn’t care less. They’re either brave or stupid to have made a run for it. My money’s on stupid.
Wherever they’re going, I’m sure they didn’t get very far from their outpost.
Question 5:
Where is the ON outpost?
Answer:
The outpost is northeast of here, on the outskirts of town. It’s on the street behind the blacksmith’s forge.
After talking to Abbot Jaffer, Question 9:
What’s going on with the Priest?
Answer:
And here I thought we had an understanding. That priest is an AAF problem. He’s a goddamn spy. End of story.
After talking to Abbot Jaffer, Question 10:
What’s going on at the abbey?
Answer:
The abbey is off-limits, and it’s under investigation. We believe these priests are spies and informants for the enemy. We’ll get to the bottom of this very soon.
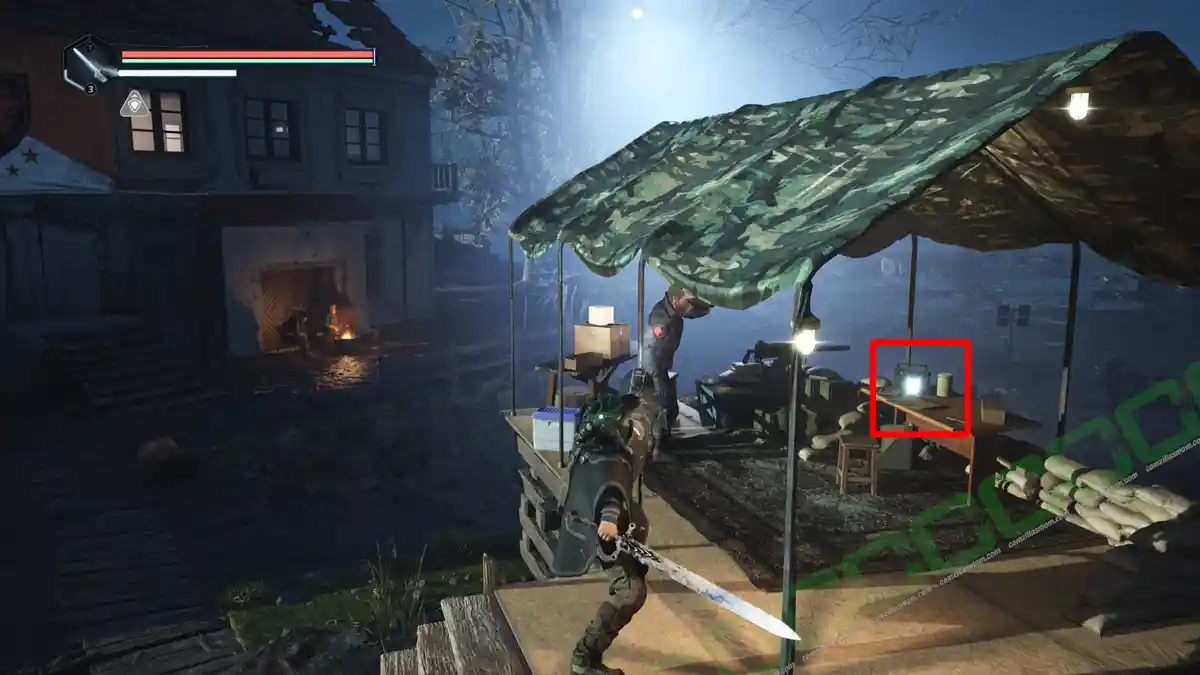
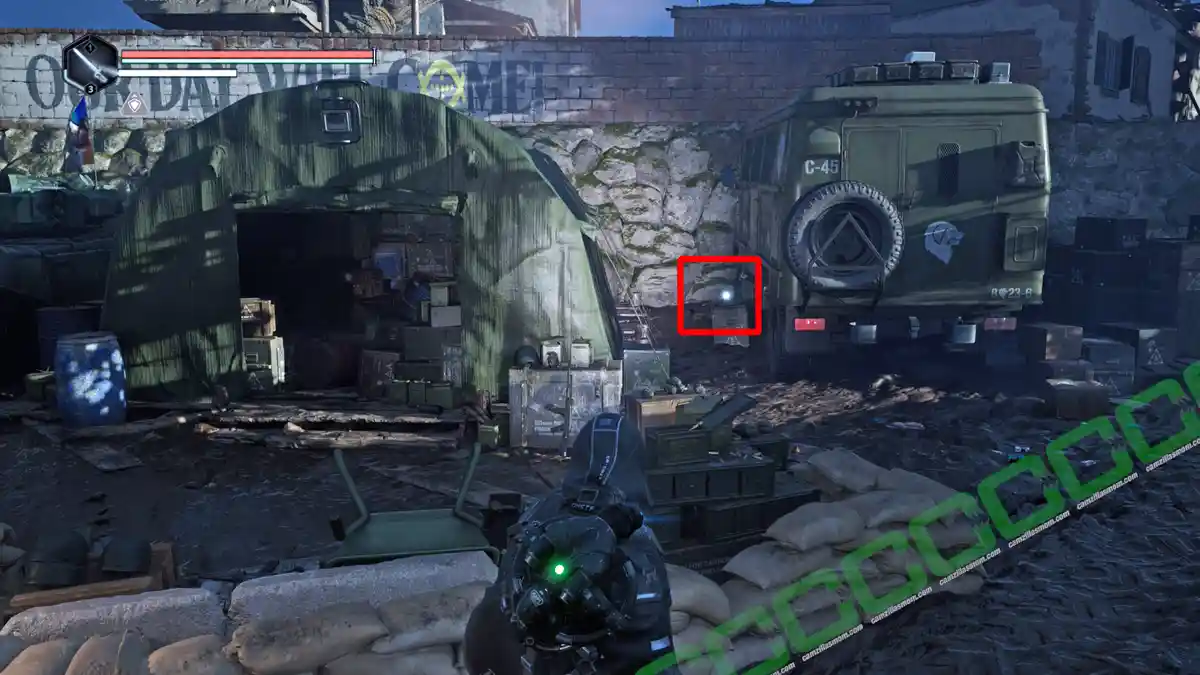
Nearby is a tent and a parked truck where you can find a collectible: Research Item – Ancient Censer.
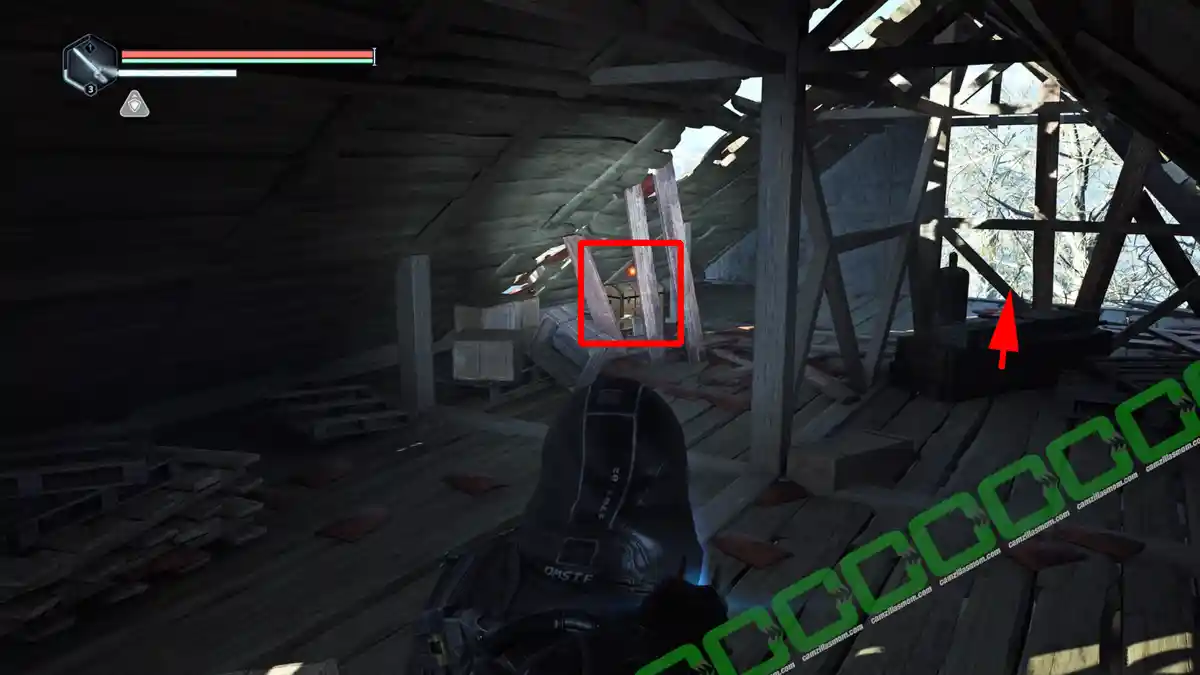
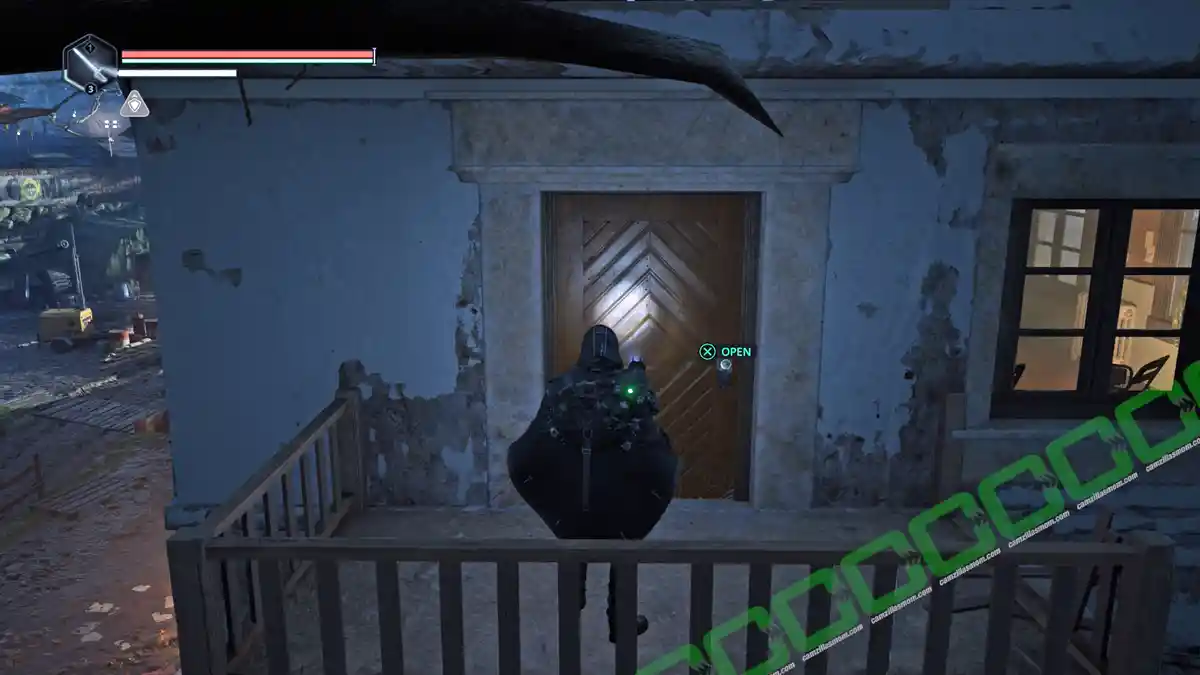
The large white house at the checkpoint offers plenty to explore. Look for a ramp that leads to a ladder, giving you access to the attic. Inside, you’ll discover a chest containing legendary suppressors. On the opposite side, you can drop down onto a balcony to reach a locked door – but you’ll need a key to open it.
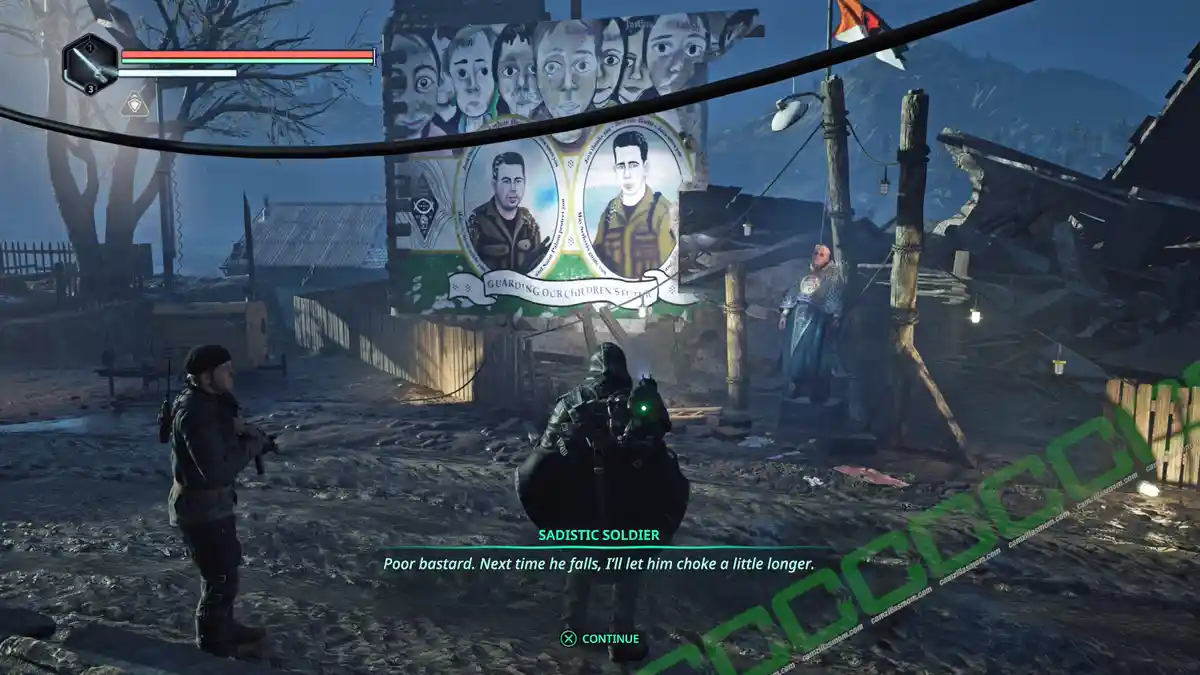
Go behind the same big, white building by the entrance, and you can meet a Priest.
Question 1:
Who are you?
Answer:
I am Abbot Jaffer, the spiritual leader of Pathem Abbey.
My life started here, and it seems it will end here.
I don’t know where you are from, but I’m afraid you’ve wandered into hell.
Question 2:
Do you know where I might find the blacksmith?
Answer:
Even before all this started, he was often gone. A dark burden weighed on him.
I sincerely hope he has escaped Jova with the ON convoy. Pray my son, pray he hasn’t been shipped off to the prison camps.
Question 3:
What happened here?
Answer:
Madness and hatred happened here, and lots of it.
When I finally managed to get back from Tulsi, I rushed to my brother’s home only to find my niece, Rebecca, orphaned.
Then, the soldiers began to round up the villagers. When they kicked in the door, I told her to hide. I gave myself up.
Question 4:
Where’s the abbey?
Answer:
It’s southeast of Jova, sitting on a rocky plateau. From the marshes, you can see its beautiful golden spheres and Sethyris’s ever-watchful eye.
Tread lightly, my son. Captain Vaas sent some of his men to ransack the abbey. He’s obsessed with finding a treasure that does not exist.
They can keep beating me for as long as they want. I have no idea what they are talking about.
Question 5:
Did you happen to see where the convoy went?
Answer:
Lieutenant Ru came to negotiate my release. Captain Vaas would hear none of it. I heard their trucks leave the outpost this morning.
Many roads lead outside the marsh. Sadly, my situation prevented me from seeing where they went.
Question 6:
Your niece Rebecca, is she ok?
Answer:
How long can a young child survive in these horrible conditions? Could you be so kind as to check in on her?
The last time I saw her was in my brother’s home. It’s the building with a treehouse next to it.
Question 7:
Why is Captain Vaas doing this to you?
Answer:
Captain Vaas is a criminal and thief parading as a soldier. You don’t believe me? Look inside his trucks. They are filled with things he stole from Palomist families.
It is the reason why he arrested me. He can beat me as long as he likes. My answer will always remain the same. There is nothing of value in the Abbey besides our barrels of mead.
Question 8:
Where is the ON outpost?
Answer:
It’s not far. Turn right, just before the blacksmith’s forge. You should see it down the hill.
After talking to Rebecca Question 9:
I found your niece. She’s okay.
Answer:
Thank Sethyris. She was always brighter than the other kids. When we leave this place, and we will, I’ll take her somewhere peaceful and quiet.
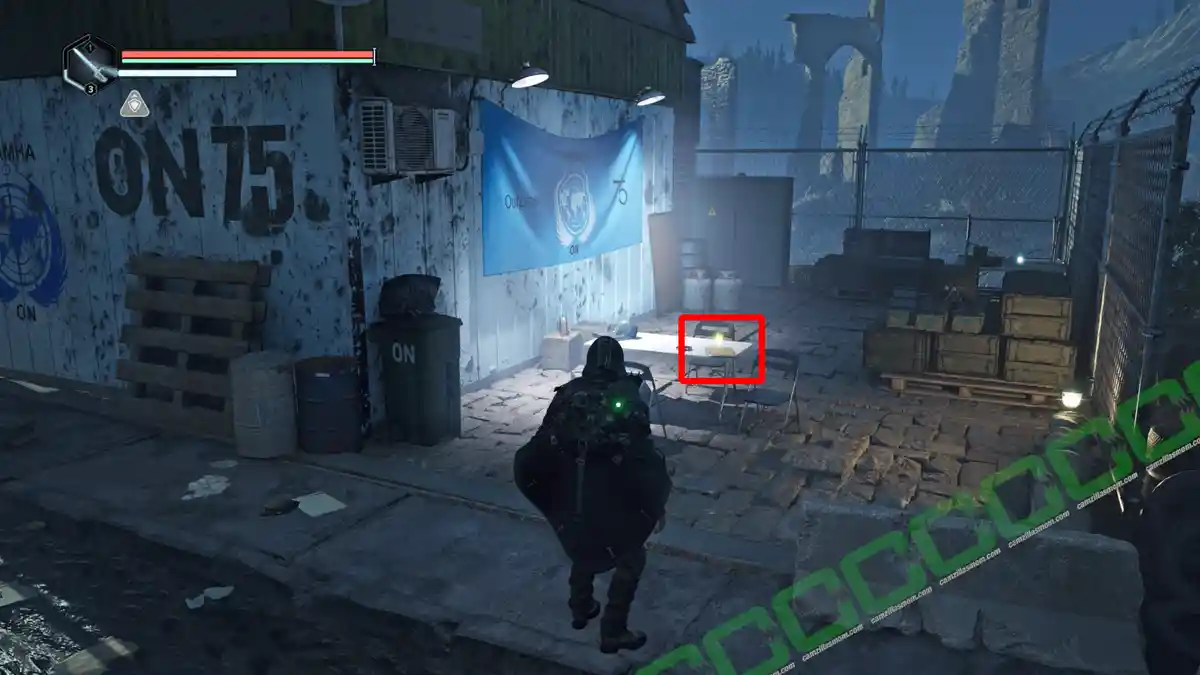
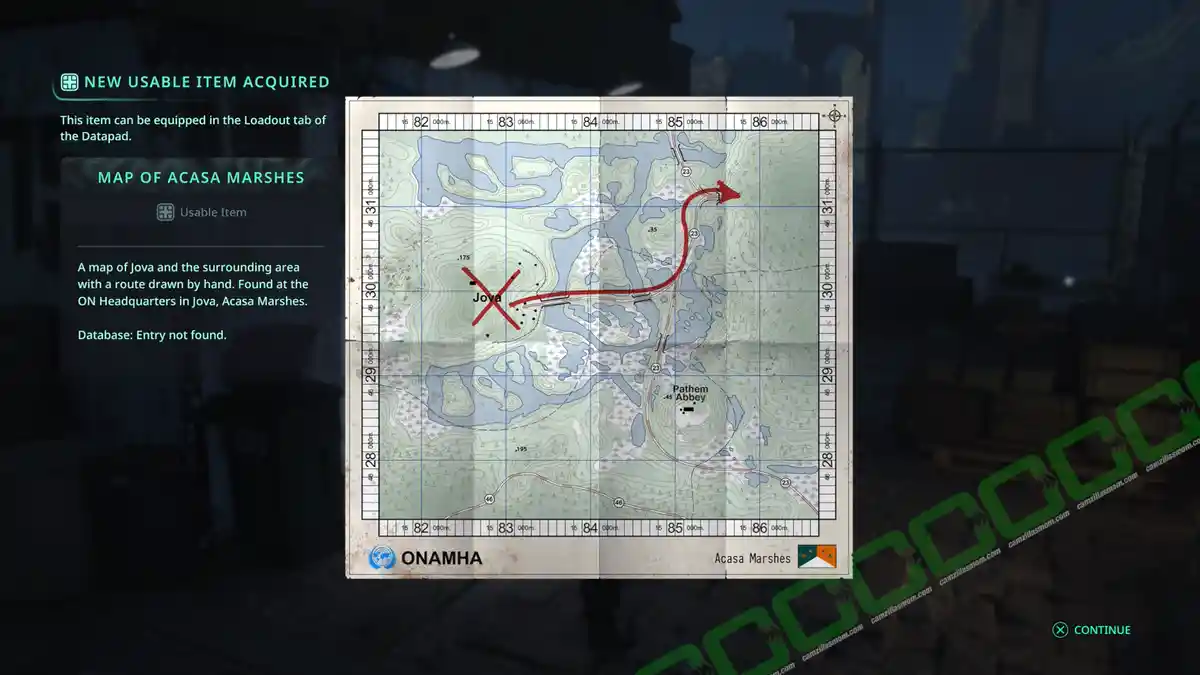
From there, head north, where you will find an O.N. Outpost. On the table, you can find the Map of Acasa Marshes. It’s a pretty handy item.
In the same area is also a Miscellaneous Item: Letter – Staying Behind, visible as a blue dot behind the table where the map is found.
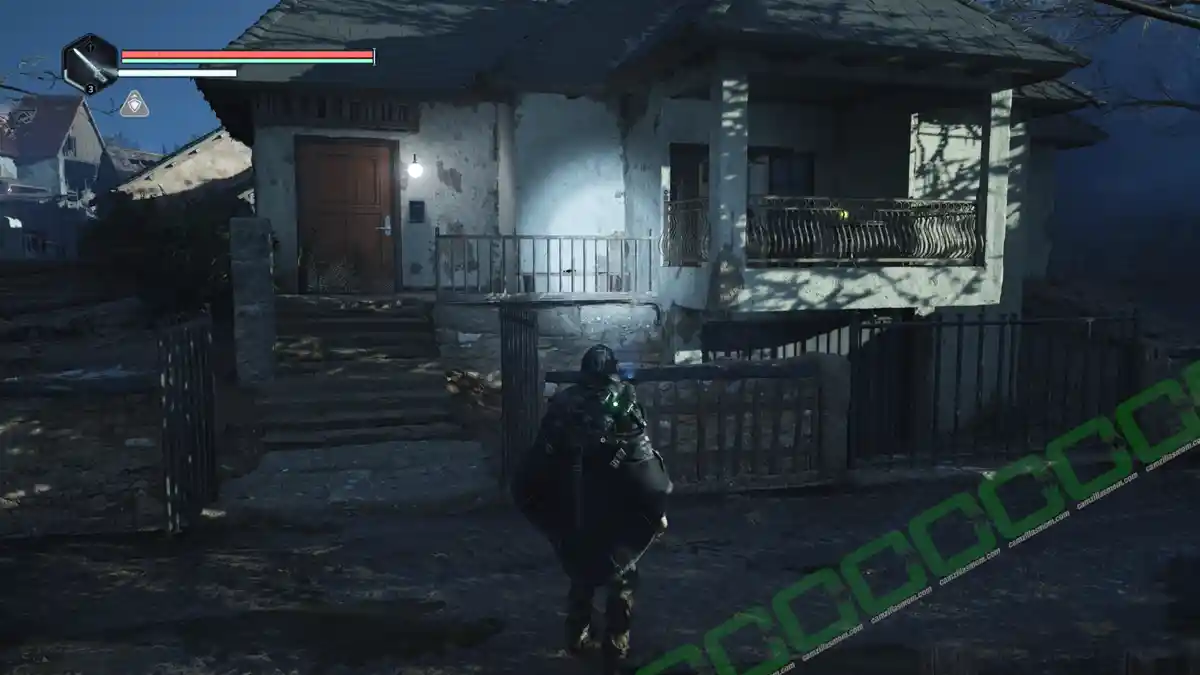
Head back up to the village and turn right to find the blacksmith. There is a save point right in front of the house. The door is locked from the other side, though.
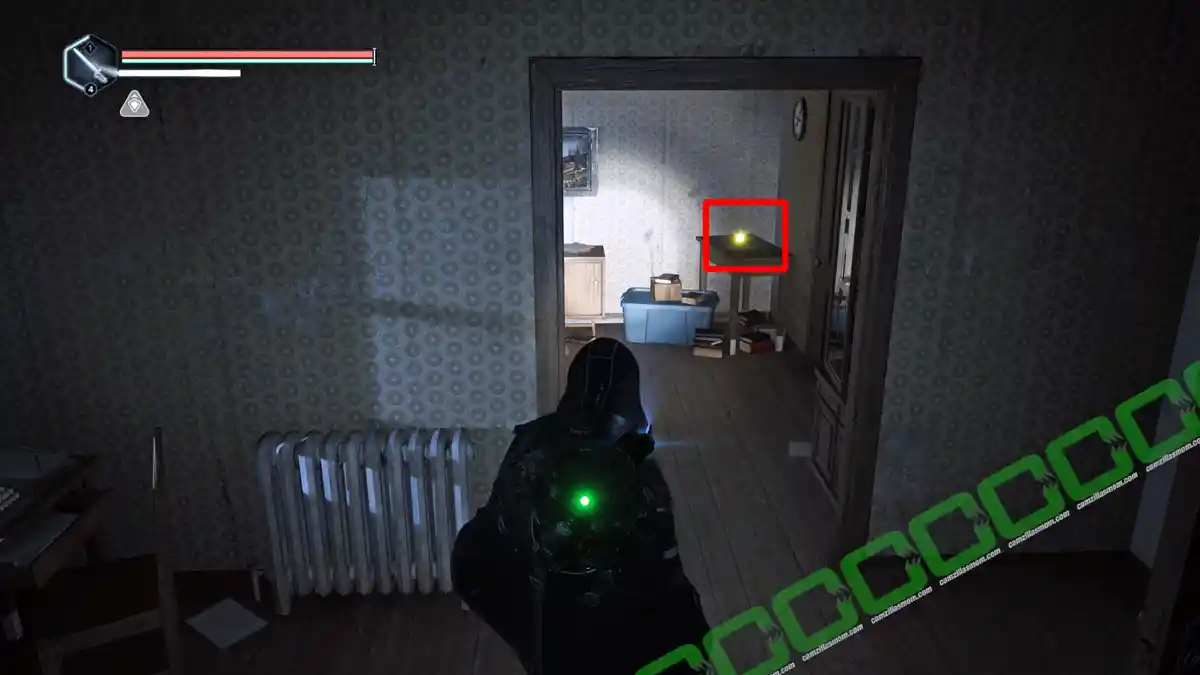
Opposite the blacksmith is a house that is locked and requires a key. It has a balcony with a yellow glowing collectible on it. This is the blacksmith’s (Vitalis’) house. You will receive the key later in the story.
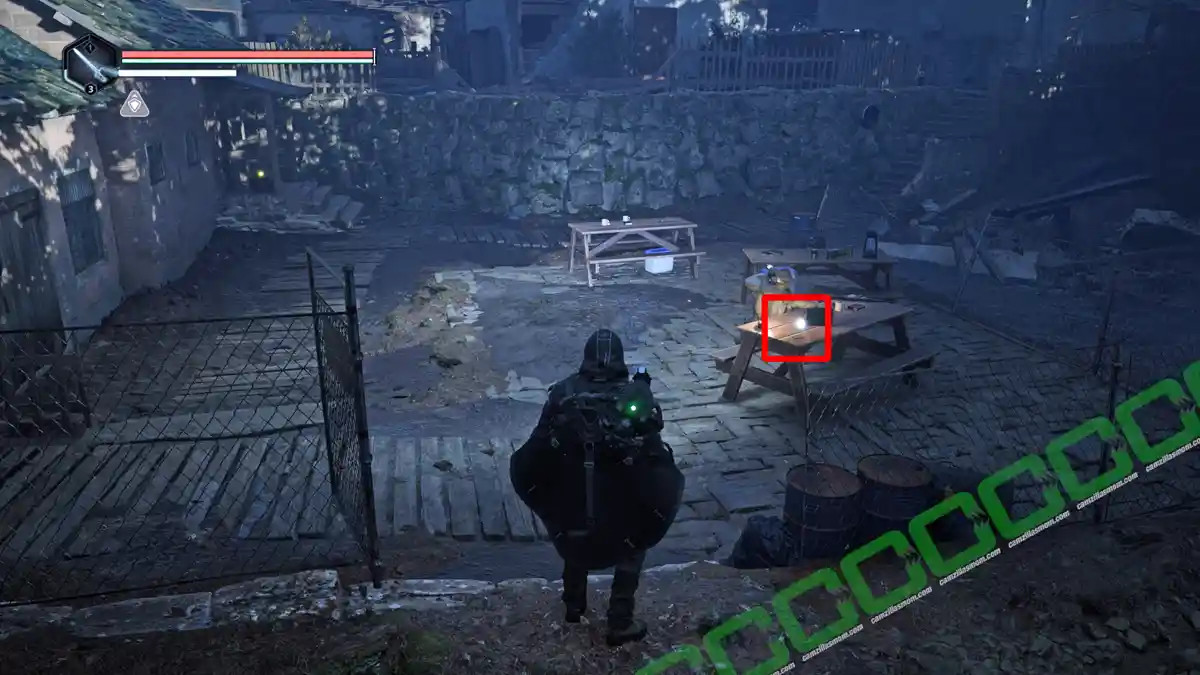
Behind this house is a picnic area with a bright, glowing collectible on one of the tables: Recording – Mass Grave.
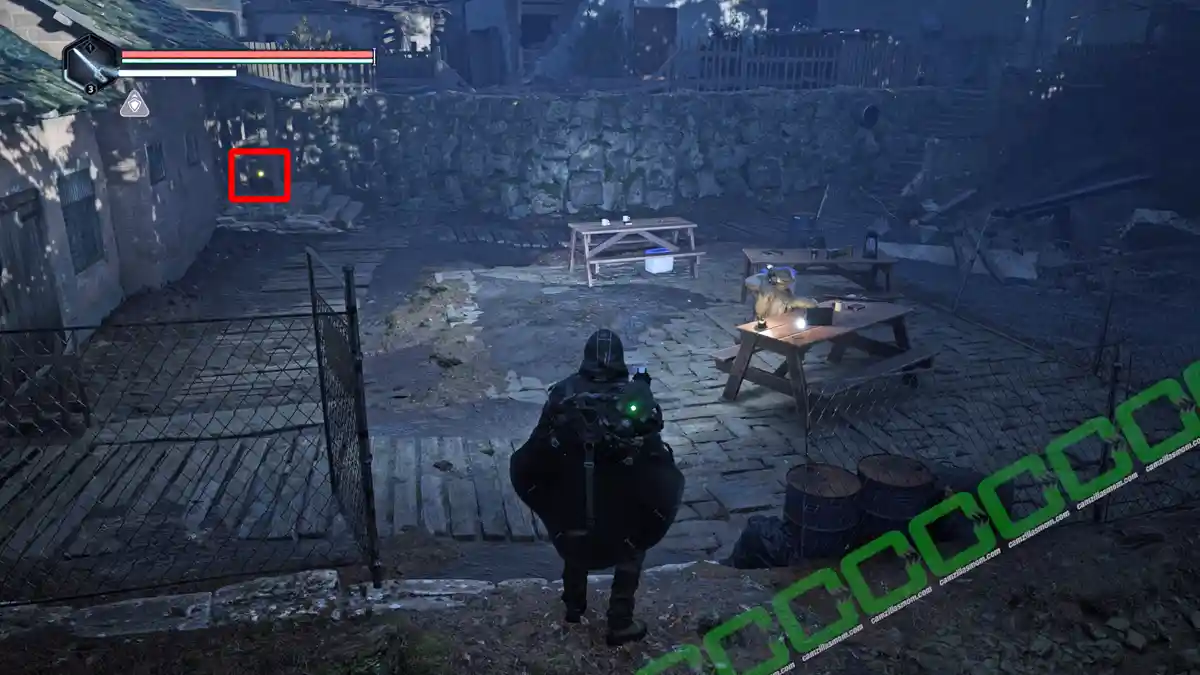
In the same area, further back to the left is a Usable Item: Letter – Worried Wife – a letter to Henry from Camille and Anna. This item will start the Good Deed: Asunder. Take it to the Grieving Father at the digsite.
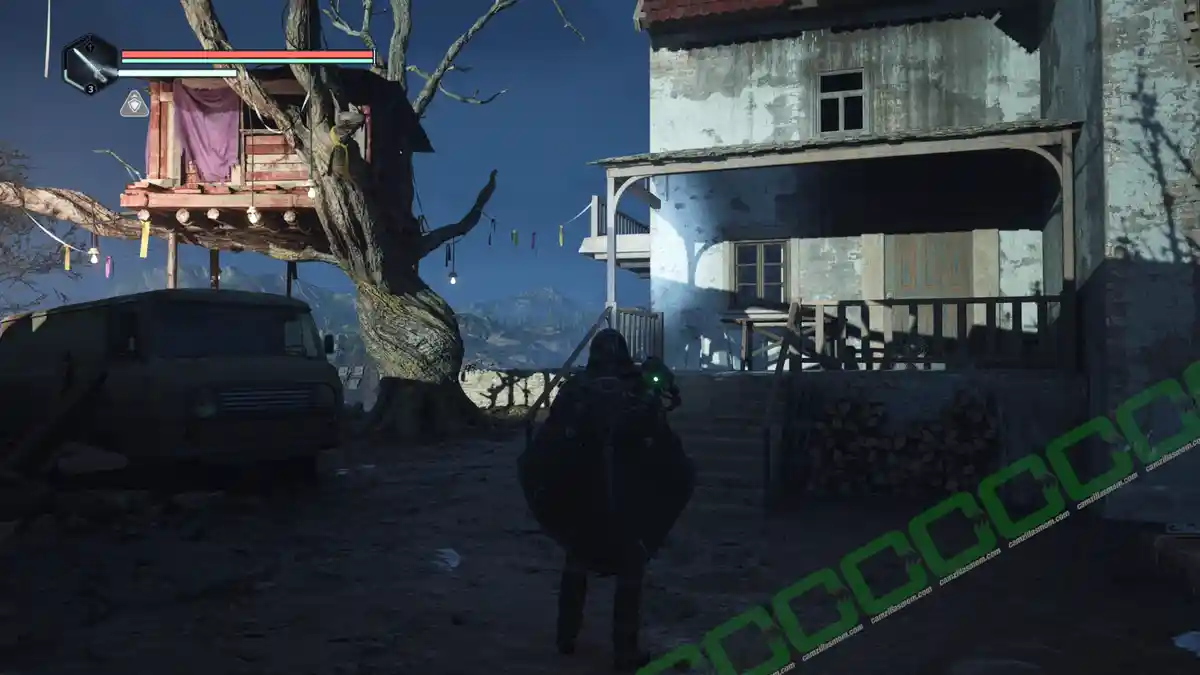
Look for the house with the treehouse next to it. That’s where Rebecca lives. The front door is blocked, but you can enter the house from the back. Upstairs is a collectible: Recording – Rebecca’s Diary in the destroyed bedroom. Climb up to the attic to find and talk to Rebecca.
Question 1:
Hey. Who are you?
Answer:
I’m Rebecca.
I’ve been hiding here since the attack on Jova.
When the bombs fell from the sky, I was playing in the treehouse with my baby brother. My parents ran out and screamed at us to get down.
My baby brother ran to them. That’s when the bomb exploded.
Question 2:
What happened here?
Answer:
The soldiers rounded up everyone. Uncle Jaffer told me to hide when they entered the house. They arrested him, and then they took him somewhere else.
The soldiers separated everyone: the men, the women, the children. People were screaming and crying when they were being forced into the buses.
The soldiers didn’t take everyone, though. The rest were brought into the forest across the marsh. Only the soldiers came back.
Question 3:
I saw your uncle. He’s going to be alright.
Answer:
Thank Sethyris. Uncle Jaffer is like all the great Saints in the stories he used to read to me. He told me about the great holy men who fought against the Sabinian sinners.
Uncle Jaffer always gives so much to help others in need. Sethyris would never let him die. He wouldn’t.
Question 4:
So, I’m looking for the blacksmith. Do you know where he is?
Answer:
I don’t know him very well. I think he doesn’t like kids much.
I saw some villagers leaving with the uhm… ON peacekeepers on their white trucks. Maybe he went with them.
Question 5:
Hey. Did you see where the white trucks went?
Answer:
I watched the white trucks drive away. They… they took the road that turns behind the hill with the ancient monuments. We can see them from here.
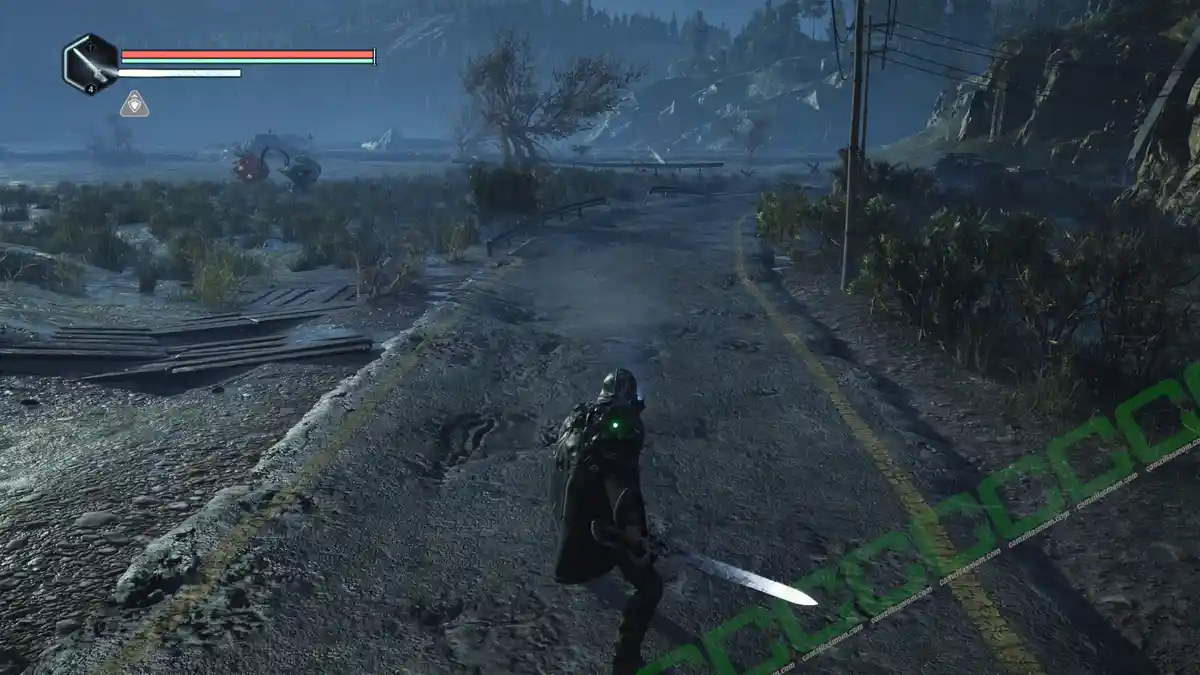
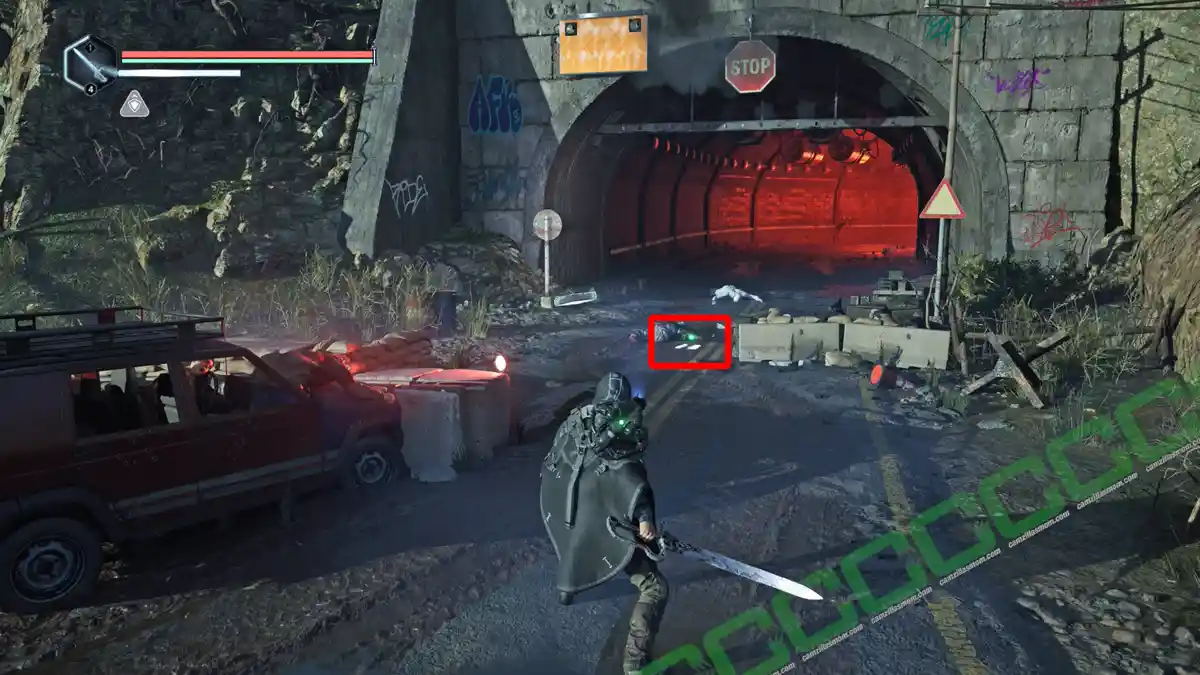
To locate the O.N. Convoy, start by leaving Jova Village near the blacksmith’s house and head east. Continue until you reach a cement road leading north. Follow this road until you find a turn heading east. Take the eastern path and proceed through the tunnel.
At the tunnel entrance, you will find a new weapon: Lymbic Polearm.
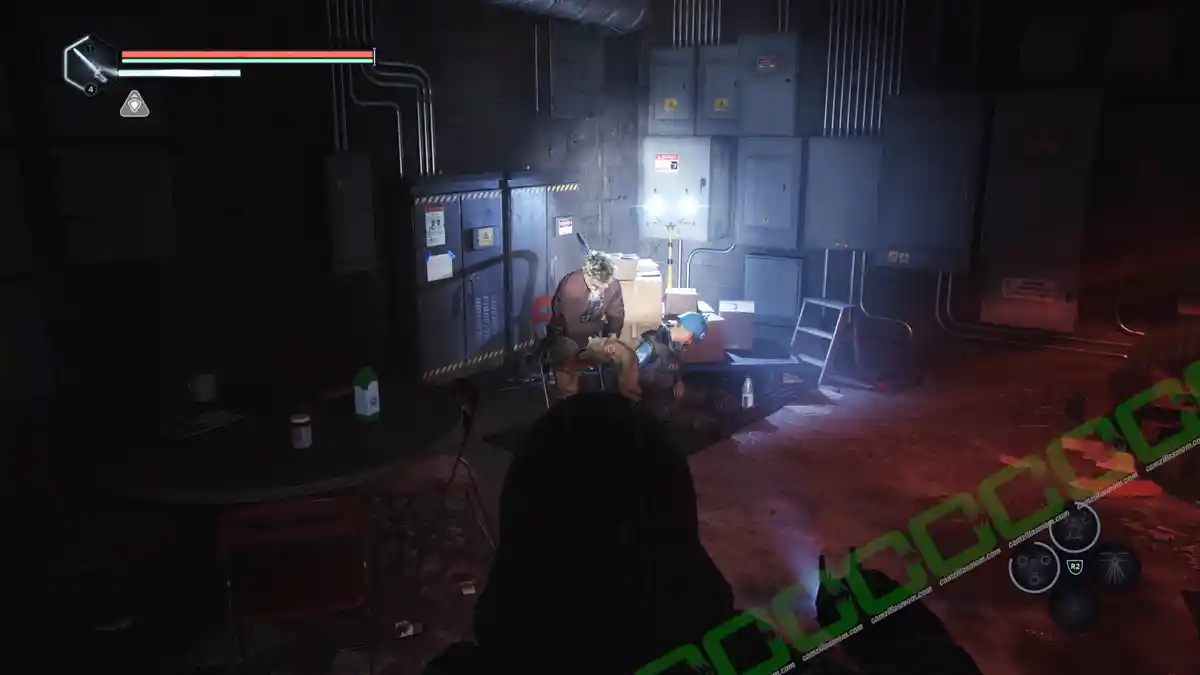
Inside the tunnel, you’ll discover the wreckage of the O.N. convoy and hear a man calling for help from the maintenance room. Inside sits a Scuffed Young Man, who recognises your necklace.
Question 1:
Who are you?
Answer:
I’m Victor Gaz. I left Jova to look for my mentor, Vitalis. My ears are still ringing from that damn explosion. The trucks must have driven over a mine or something.
I pulled Lieutenant Ru out just in time. We’re the only survivors. The… The explosion must have attracted the creatures. We hid in here until I could figure out a way back to Jova.
Question 2:
Who is Vitalis?
Answer:
Vitalis is the Blacksmith of Jova. I’ve been his apprentice for many years. I was an idiot to think I could go look for him.
Recently, some agents came looking for him. You know… Black suits, shades. Let’s just say they didn’t seem like the type to fuck around.
Listen, maybe we could help each other. Take the key to Vitalis’ home. I found a locked door in the basement, but couldn’t figure out how to open it. Maybe you’ll have better luck than I did.
I’ll come join you later. I need to make sure the Lieutenant can make it back to Jova. I’ll find a way to avoid the creatures.
Question 3:
Where’s Vitalis’ home
Answer:
The house is right in front of the forge in the northeastern part of Jova. You can’t miss it. There’s a blue swing in the tree next to the house.
Question 4:
Do you know what these weapons are?
Answer:
Not here. We’ll talk about it later when we get back to Jova.
Question 5:
D’you know anything about this necklace?
Answer:
We can talk about the necklace when we get back to Jova.
5 – The Blacksmith’s Home
You’ve obtained the Key – Vitalis’ Home. Vitalis, the blacksmith, resides in Jova. Head back to the village and unlock the door to his house, located directly across from the blacksmith’s workshop. Once inside, make your way to the balcony to collect the Keys – Car. Next, open the door to a child’s bedroom, where you’ll find the collectible Family Picture tucked away in the drawer unit.
The second Family Picture is in the office.
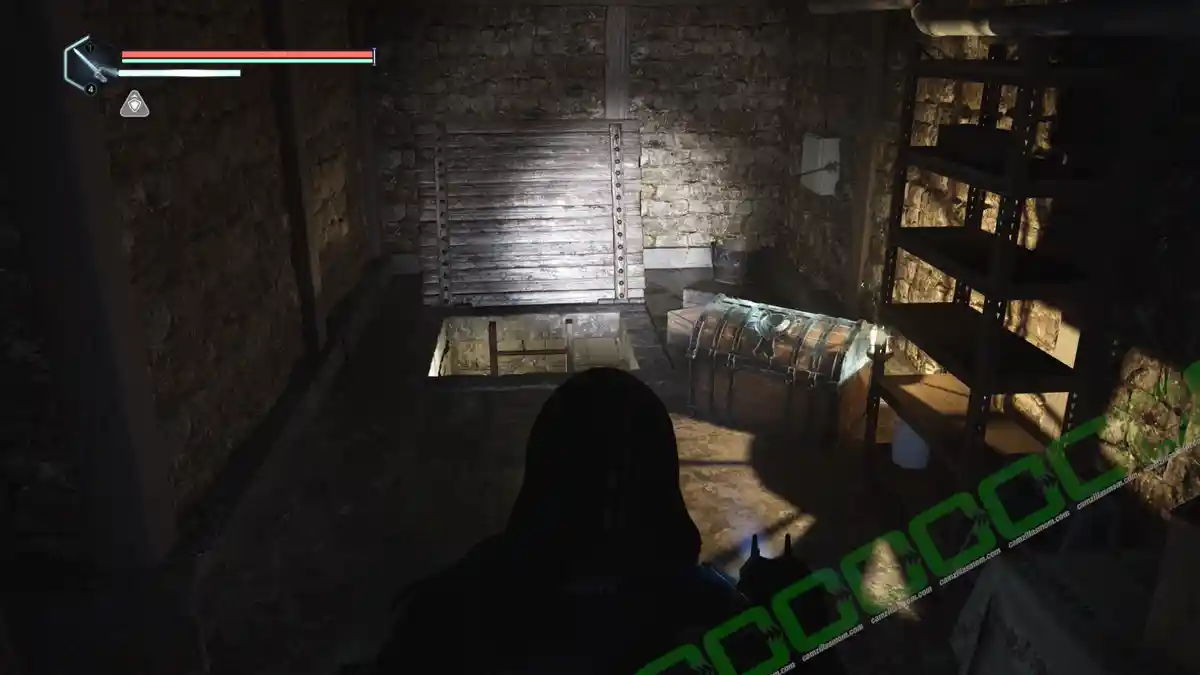
In the basement is a chest and a ladder going down. Open the chest with the heirloom necklace to receive the Note – Revenge and another Family Picture.
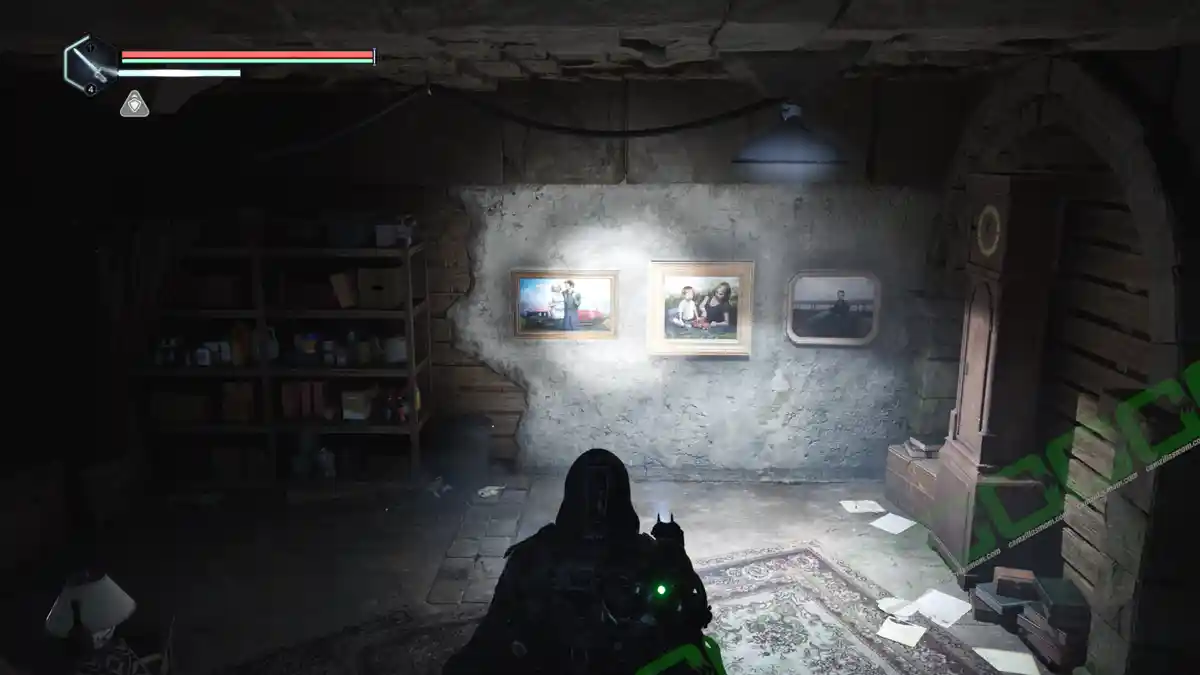
Descend the ladder into a stone corridor and follow its path. Along the way, you’ll encounter a Lymbic Chest. It is part of the Lymbic Chest – Acasa, Vitalis’ Basement Mystery, and requires you to find two Lymbic Rods. In the next room, you’ll notice three empty spaces on the wall where pictures should be. Fortunately, we recently collected them. Hang the pictures in the correct order as shown below. Once placed, they will reveal the code needed to unlock the nearby door. Pay attention to the details – the car in the third picture may be muddy, but it’s parked in the basement. The combination you need is 32-17-13.
In the hidden room are various things to collect:
-> Note – Lymbic Locks (On the desk)
-> Lymbic Rod – Grief, W (On the desk)
-> Vigil Note (Desk at the back)
-> Lymbic Greatsword (In the corner of the room)
-> Glyph – Perfect Guard (In the chest)
-> Glyph – Lingering Pain (In the chest)
-> Glyph – Rage Spike (In the chest)
-> Glyph – Frightful Ambush (In the chest)
-> Glyph – Delirium (In the chest)
-> Letter – Warning (In the shelf)
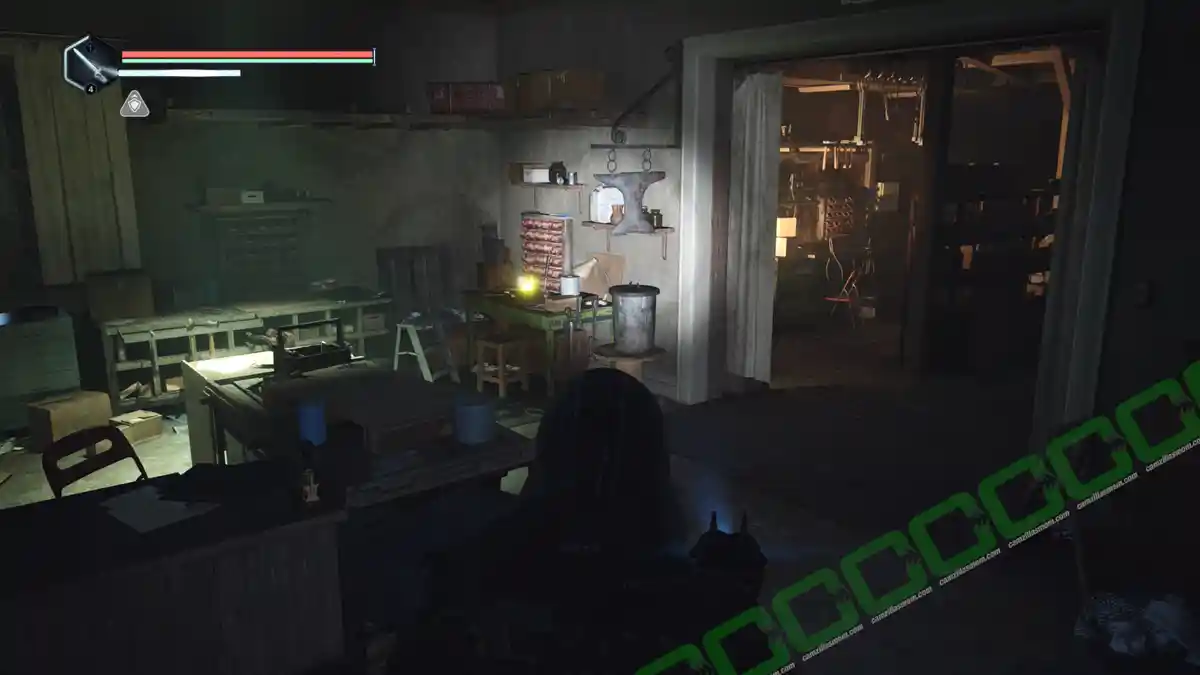
The Family Reunion Investigation has now been significantly updated. Check the datapad. Once you exit the blacksmith’s house, you can see that Victor has returned, and he is working at the smithy. Enter the Blacksmith Shop to find a Lymbic Sword on a table, together with the Note – Training Ground. Talk to Victor and ask new questions.
Question 1:
Can you tell me more about yourself?
Answer:
When I met Vitalis, I was in a very dark place. If it wasn’t for him, chances are I’d either be a criminal or dead, face down in a ditch somewhere.
But Vitalis saw something in me. He gave me focus, discipline, and skills… skills that would one day serve a great purpose.
Question 2:
What are these weapons?
Answer:
They’re called Lymbic Weapons. Vitalis told me that they were intricately tied to this country’s history. He taught me how to repair and enhance them.
But to do so, I need Lymbic Shards. Vitalis wouldn’t tell me where the shards come from.
He kept a small stash hidden behind the red toolbox. Go get it, and I’ll show you what I can do.
Question 2:
D’you know anything about this necklace?
Answer:
Vitalis has one, too, though it’s not quite the same. I noticed some of his friends wore similar ones around their necks. They call themselves the Vigil.
I think they’re made of Lymbic Shards, like your weapons, but I’m not sure. The weapons, the necklaces, and the Vigils are all connected somehow. I guess Vitalis left out some lessons.
Question 3:
What is going on with Abbot Jaffer?
Answer:
When I left to find Vitalis, they kept him in a small house in the center of town. Exposing him like that in the open… Captain Vaas wants to send a message to whoever remains in Jova.
I’ll find a way to get him some water when the guard is distracted. It’s all I can do for him. Whatever Captain Vaas wants from Abbot Jaffer, he won’t stop until he gets it.
Question 3:
Any idea what Captain Vaas is up to?
Answer:
My best guess is that he’s thieving. Be careful when dealing with Vaas. Men like him are unpredictable, which makes Vaas very dangerous.
I’m only alive because I’m useful to him. Thank Sethyris, too. Otherwise, I’d be dead or, worse, shipped off to a prison camp.
Question 4:
What do you know about the Vigil?
Answer:
Vitalis told me about the Vigil, but not in detail. Before he left, he promised to explain everything upon his return.
Question 5:
What do you make of this note?
Answer:
Hmm. Vitalis never mentioned a journalist. I know where the Weeping Knight is, though. It’s in the Vyssa Hills.
It’s a large statue of a Sabinian knight holding another, fallen in combat. I’m surprised it’s still around, considering it’s in a Palomist province.
It’s nestled under a large weeping willow tree. People often light candles and leave pictures of their loved ones at the foot of the statue.
Question 6:
Do you know the woman in the pictures?
Answer:
Whoever she is, she seems to be a painful memory.
Vitalis became angry whenever I asked about her, and he would shut me out completely. So, I dropped it.
Question 7:
Can you tell me more about Vitalis?
Answer:
Vitalis was haunted by the past and anxious about the future. He was often away. Sometimes for months at a time.
After seeing the destruction of the war and the creatures’ sudden appearance, I now understand why he was so preoccupied.
6 – Weeping Knight Statue
You can now craft and upgrade Lymbic equipment. A new APC travel region has been unlocked: Vyssa Hills. Gather the shards behind the red tool cabinet next to Victor and upgrade your weapon. There is also the Lymbic Rod – Grief, Y. You now have all Lymbic Rods needed to open the Lymbic Chest in the Blacksmith’s basement for the Lymbic Chest – Acasa, Vitalis’ Basement Mystery.
Before heading to Vyssa Hills, stop by the O.N. Outpost to check on Lt. Ru. While she is present, she’s too exhausted to engage in conversation. Once that’s done, it’s time to set off for Vyssa Hills. Locate a save point—there’s one conveniently positioned near the blacksmith – and select the APC. Board the vehicle and travel to Vyssa Hills.
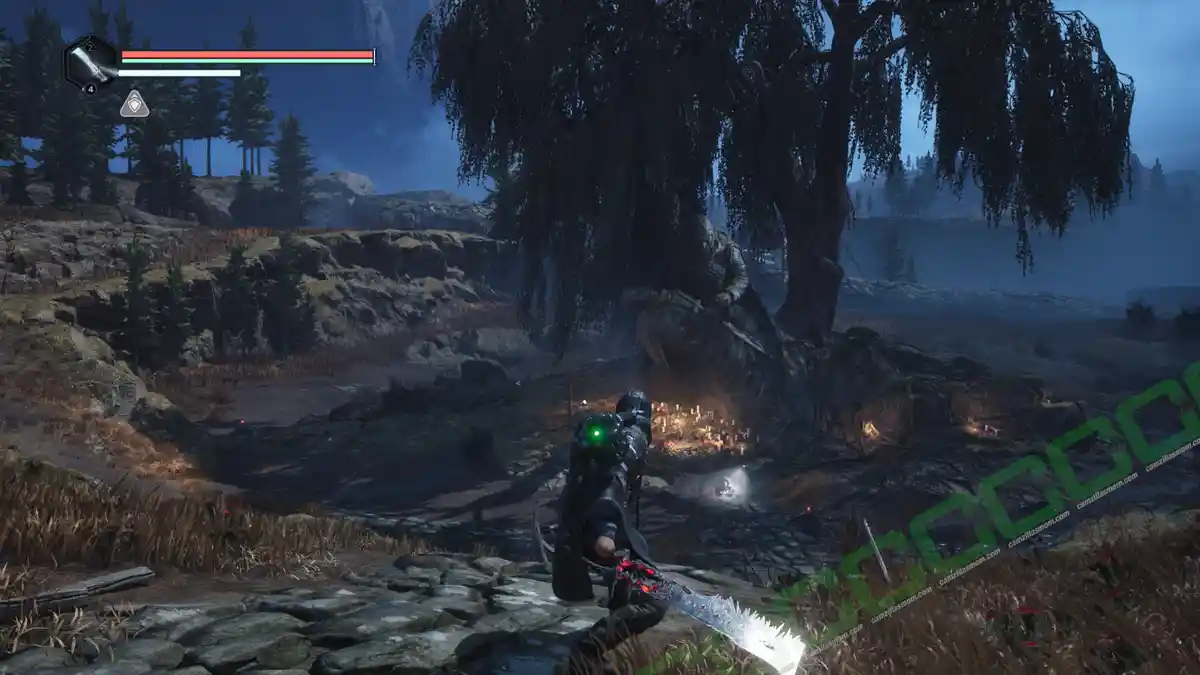
Once you arrive, look for the Weeping Knight Statue underneath a large weeping willow tree. Follow the only stone path up the hill.
Just keep following the path, and you will arrive at the willow tree and the Weeping Knight statue. At its base is a Dying OMSIF soldier calling out. She will tell you that “they” fled northeast over the hill. Before you go, make sure to read the plaque there, too, to add more information to the Weeping Knight statue entry.
Use your compass to locate northeast – it will be to your right. If you hear gunshots, you’re heading the right way. Along the path, you’ll encounter an “Unknown Man” lying on the ground. This is Vitalis.
Question 1:
Who are you?
Answer:
I’d sooner die before I tell you anything. W… Wait. Wait. Your necklace. Show it to me.
After the cutscene, the Family Reunion Investigation is complete, and the Family Legacy Investigation starts.
Hell is Us
Release: September 4, 2025
Developer: Rogue Factor
Publisher: Nacon
Official Website: https://www.nacongaming.com/en-US/hell-is-us
