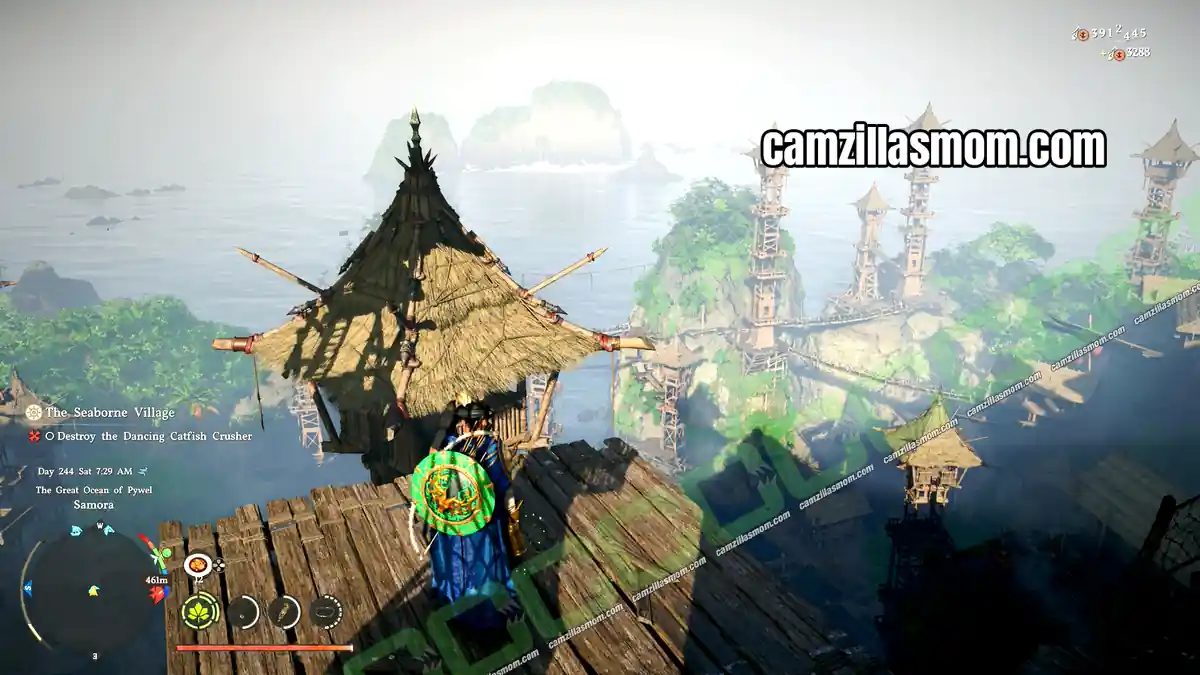
Mistbound Sea is the second Samora Island faction questline in the Crimson Desert Charting the Unknown DLC, and it picks up right where Remote Islands ends. Pirates have stolen Samora’s ancient relic, the only key to a sunken temple where the islanders’ ancestors imprisoned a mechanical serpent. This walkthrough covers all 4 quests in journal order: how to get into the underwater shrine at the Phragma Islands, the gate and wheel puzzles inside, how to destroy all of Leviakan’s power cores and Maintenance Units, and the rewards.
Related Guides:
Remote Islands Questline
More at the Crimson Desert Hub
All 4 Mistbound Sea Quests
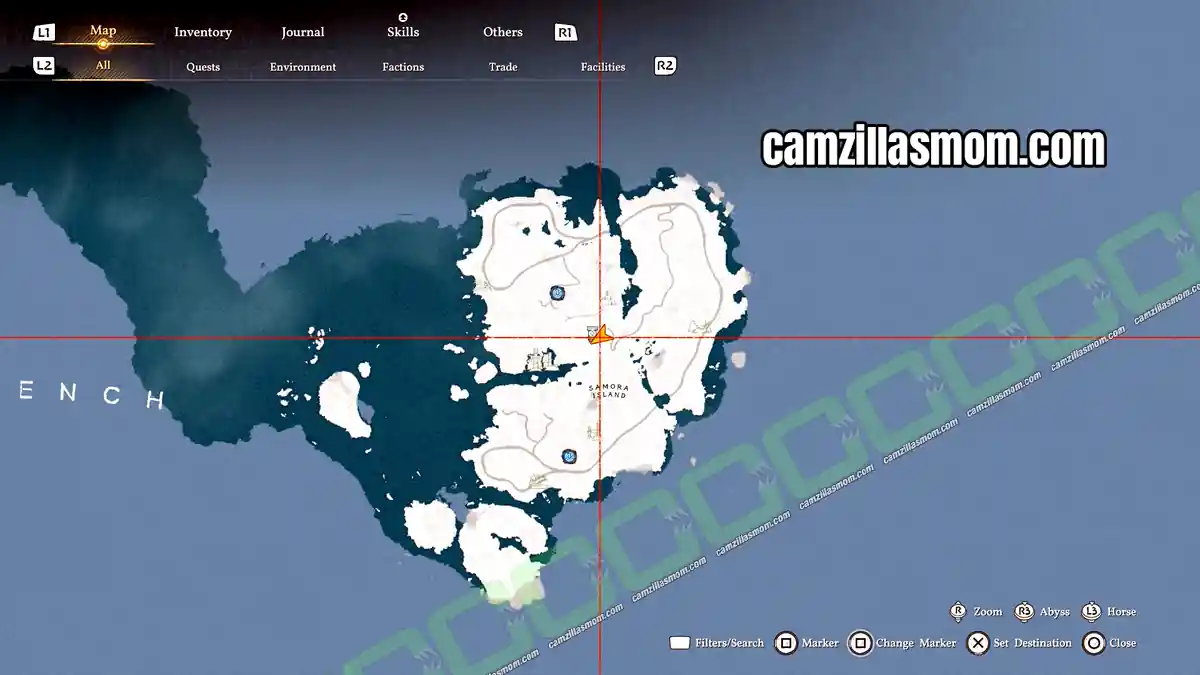
Samora Island
Reward: none
Phragma Islands, underwater shrine
Reward: none
Near Bergel Island
Reward: 20 Ancient Relics, Abyss Artifact, Guardians Gaze, 2 Leviakan Scales
Samora Island and Delesyia
Reward: none
Total: 4 quests – 20 Ancient Relics, Abyss Artifact, Guardian’s Gaze and 2 Leviakan Scales
1 – The Stolen Relic
The Stolen Relic needs no setup. It starts with the cutscene that plays right after the Remote Islands questline. Once you defeat Sir Catfish, village life returns to Samora, which ticks off the objective Look Around Samora.
In the cutscene, a villager tells Chief Ian that the relic has been taken from the altar, most likely by the pirates. Ian explains that it is far more than an old trinket. Long ago, a mechanical serpent shattered a single land into the islands of today. The Samorans’ ancestors imprisoned it in a hidden temple beneath the waves, and the relic is the only way to find that temple. If the pirates awaken the serpent, the devastation would be unimaginable. Milo overheard the pirates talking about a shrine beyond the coral reefs while he was their prisoner, and he marks its location on your map. This completes The Stolen Relic.
2 – Ancient Shrine
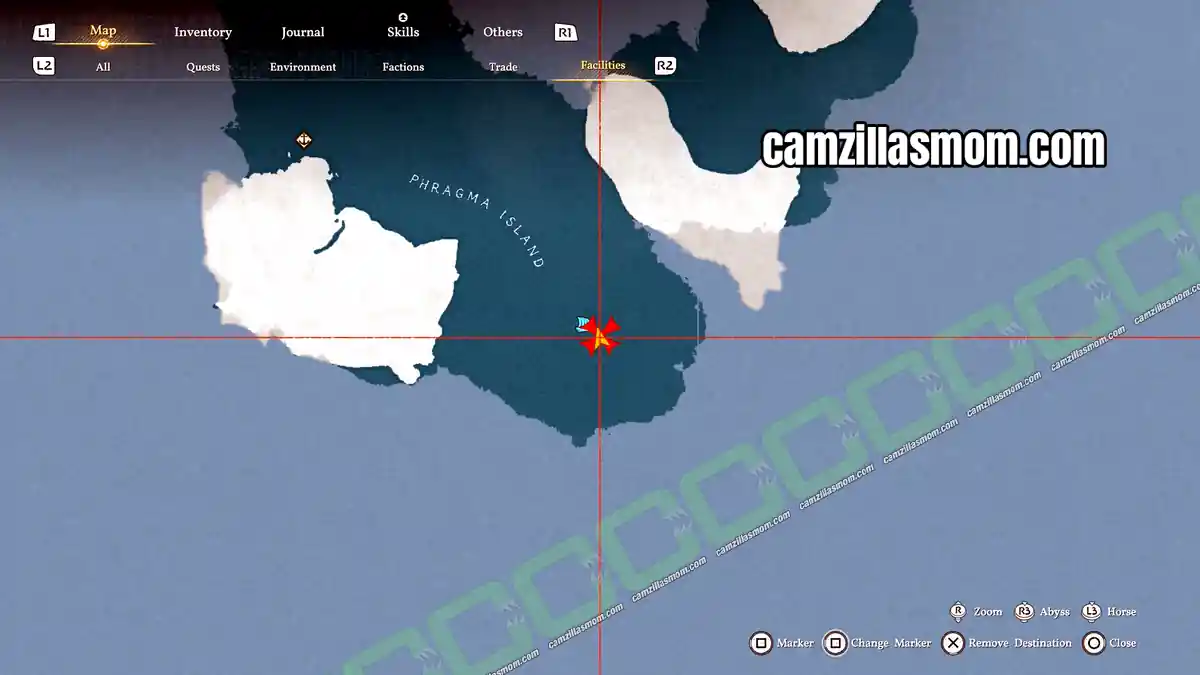
Ancient Shrine sends you to the shrine in the coral reef that Milo marked. Sail to the quest marker on your map, southwest of Samora Island.
Find the Underwater Shrine
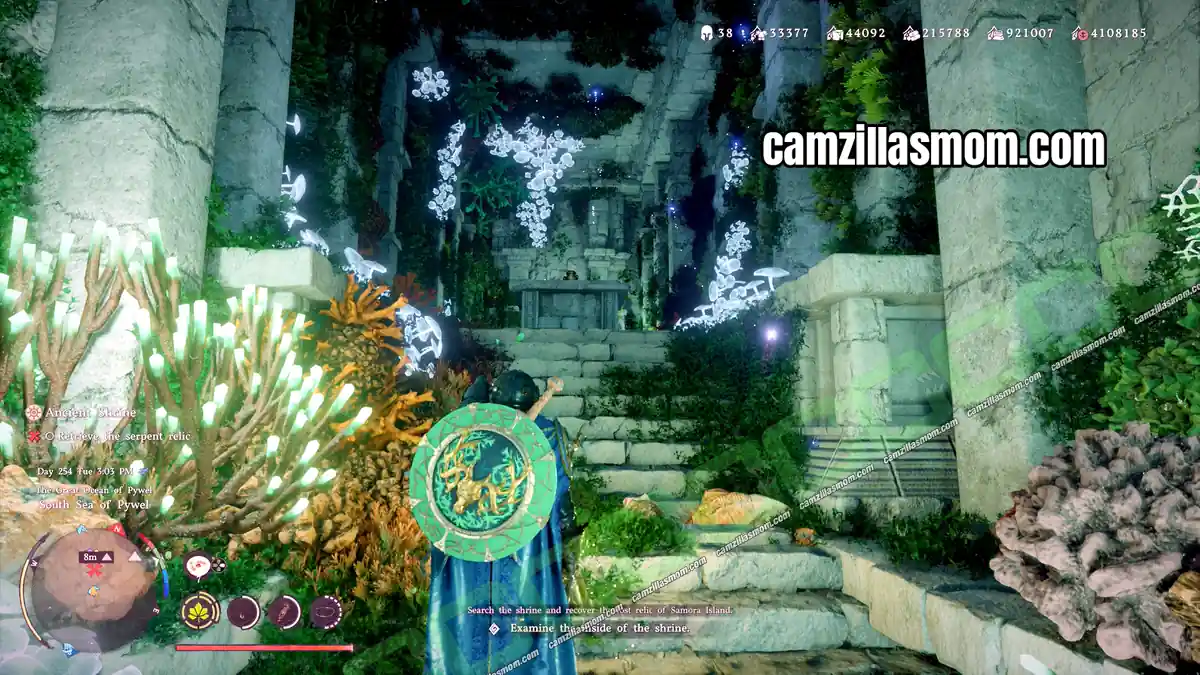
The quest marker is at the Phragma Islands. Before you dive, do the Pioneering mission there and unlock the Abyss Nexus on the bigger of the two islands. Then head to the marker, put on your diving suit and helmet, and equip the Harpoon Gun just in case. On the seabed, look for a tall entrance with painful red needle bushes near it. That is the way in. If something attacks you at the entrance, you can ignore it and swim straight inside.
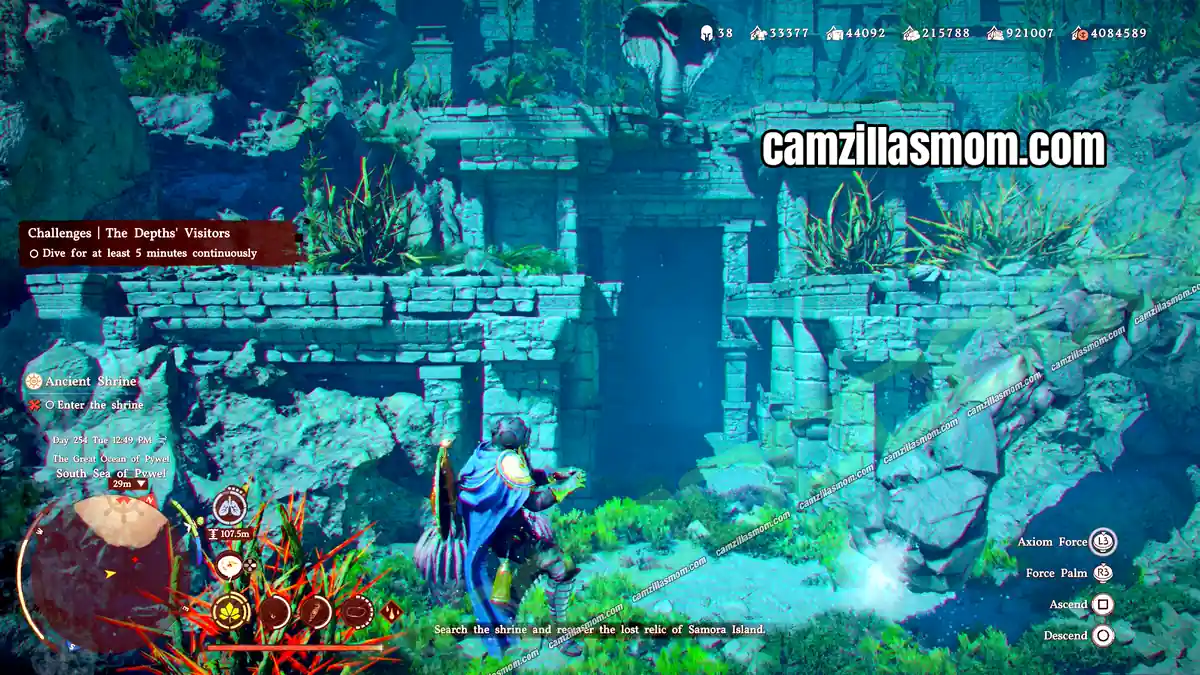
Enter the Shrine and Examine Inside the Shrine
Inside the first room is a wheel you can turn. This one is tricky: approach the bars slowly, or you will swim right underneath the wheel. Turn the wheel clockwise to open the passage under the floor.
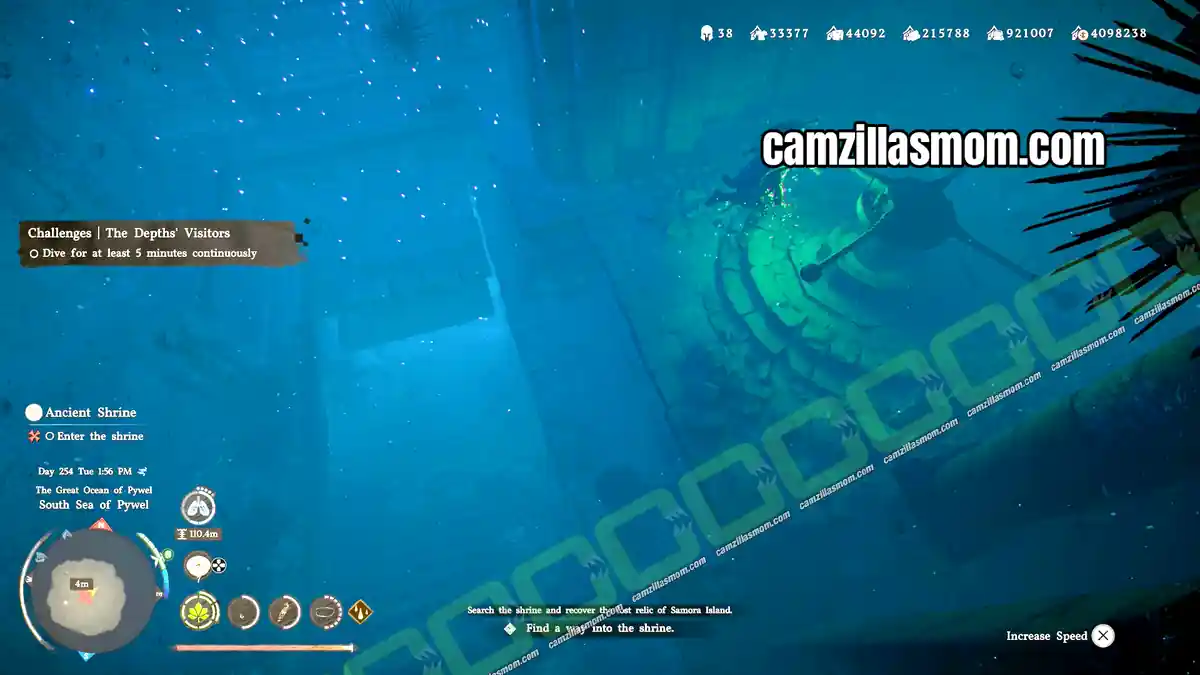
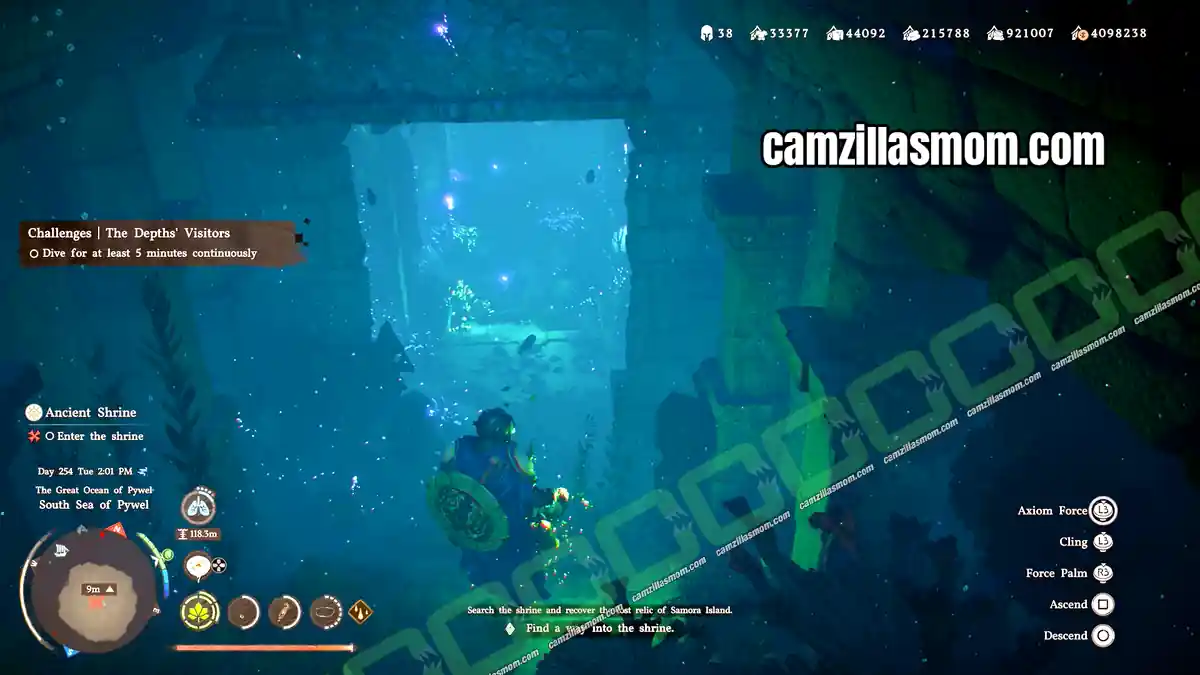
The passage to the shrine in the next room has caved in, but you can pass through the round metal gates. Cling onto one side of a gate, hold on with Resist and perform a Force Palm. The gate turns and you end up on the other side. Follow the corridor to the shrine, which has an air bubble.
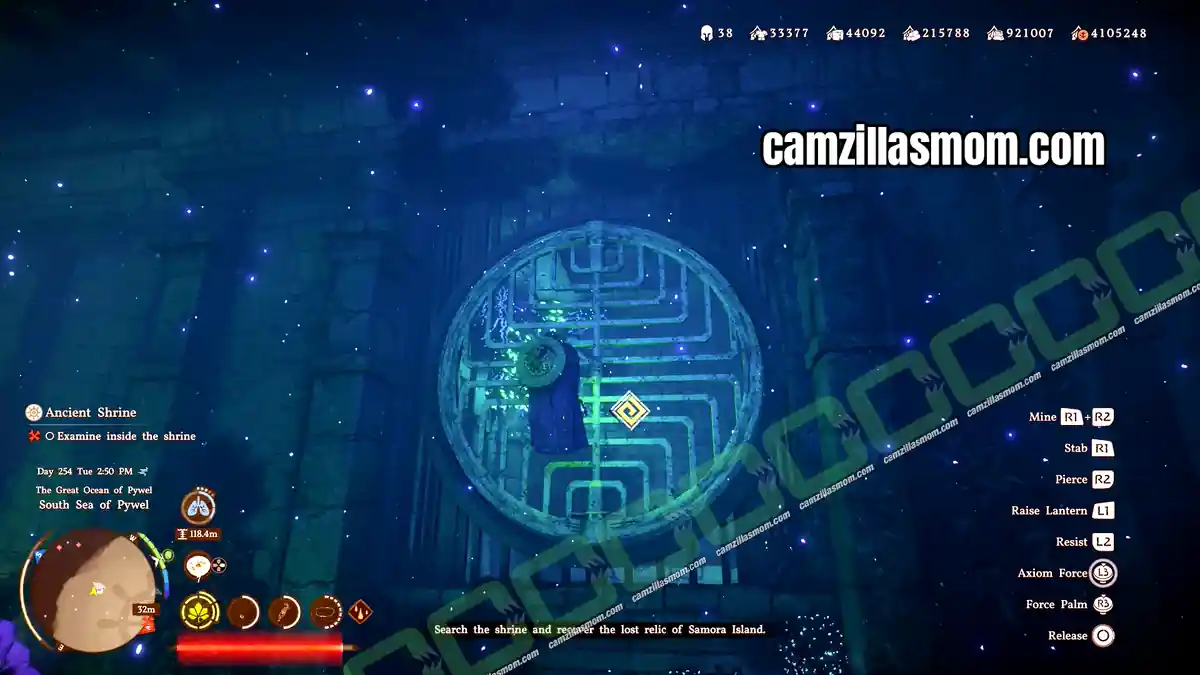
Retrieve the Serpent Relic
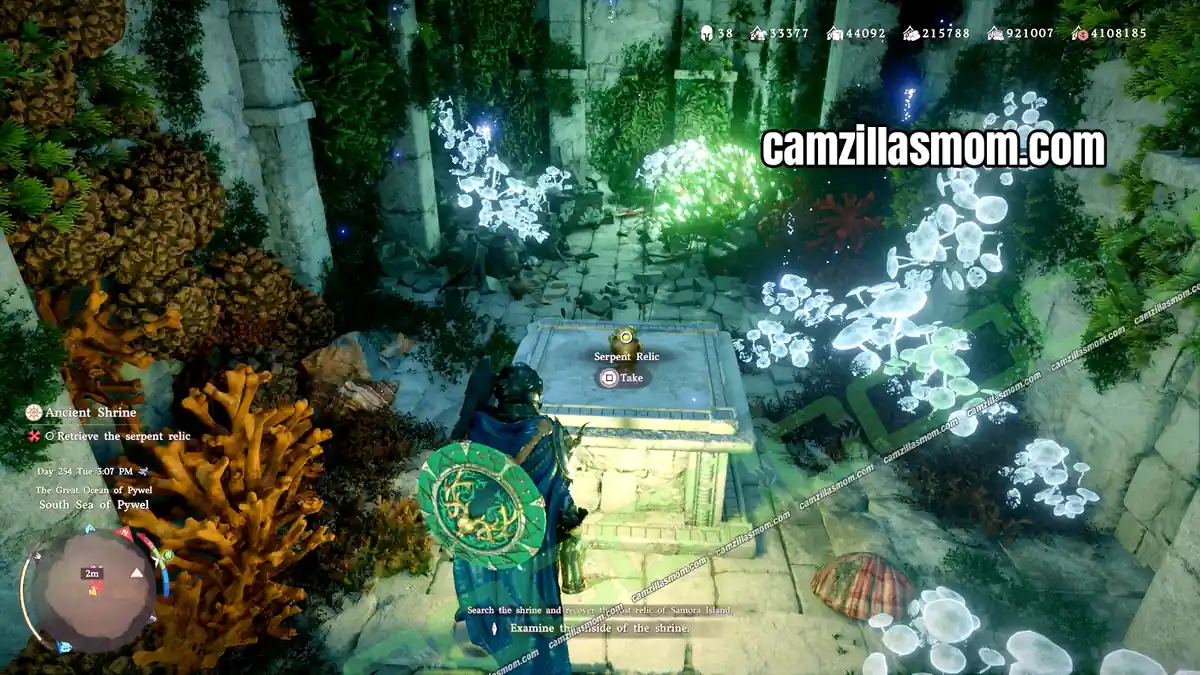
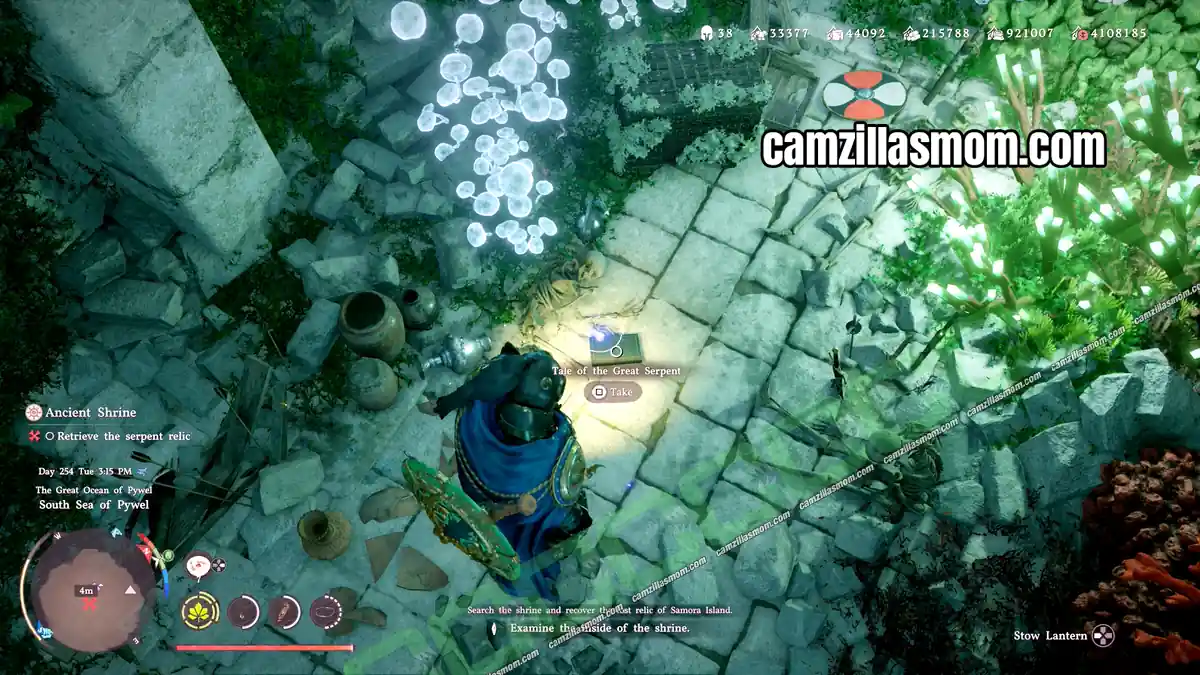
Approach the shrine and pick up the Serpent Relic. Behind the relic, the lore book Tale of the Great Serpent lies on the floor, and there is also a chest with a Shattered Relic. Picking up the Serpent Relic completes Ancient Shrine.
3 – Catastrophe of Ancient Times
Go Towards the Direction of the Roar
Taking the Serpent Relic awakens an ancient weapon in the depths of the sea: Leviakan, a giant mechanical serpent that can fly. Leave the shrine the way you came in and return to your ship. The next target is Bergel Island in the south. If you want some island hopping on the way, do the Pioneering work on Nirakan Island and Drangar Island before you continue to Bergel Island.
Slay the Awakened Giant Serpent
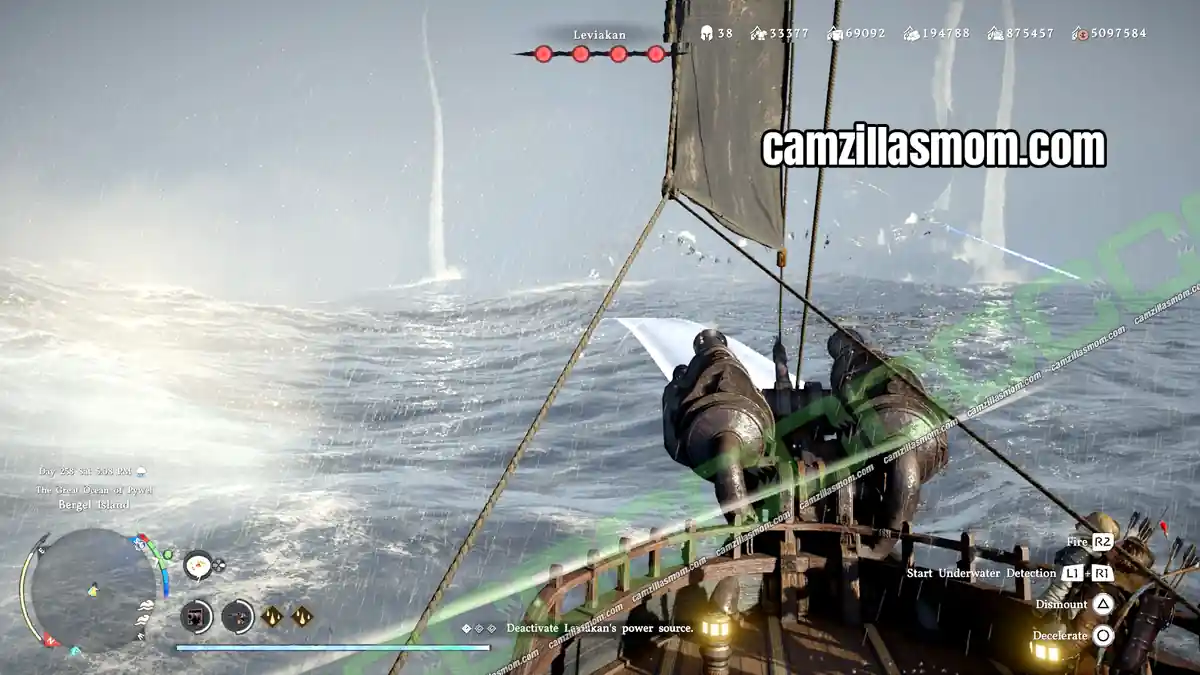
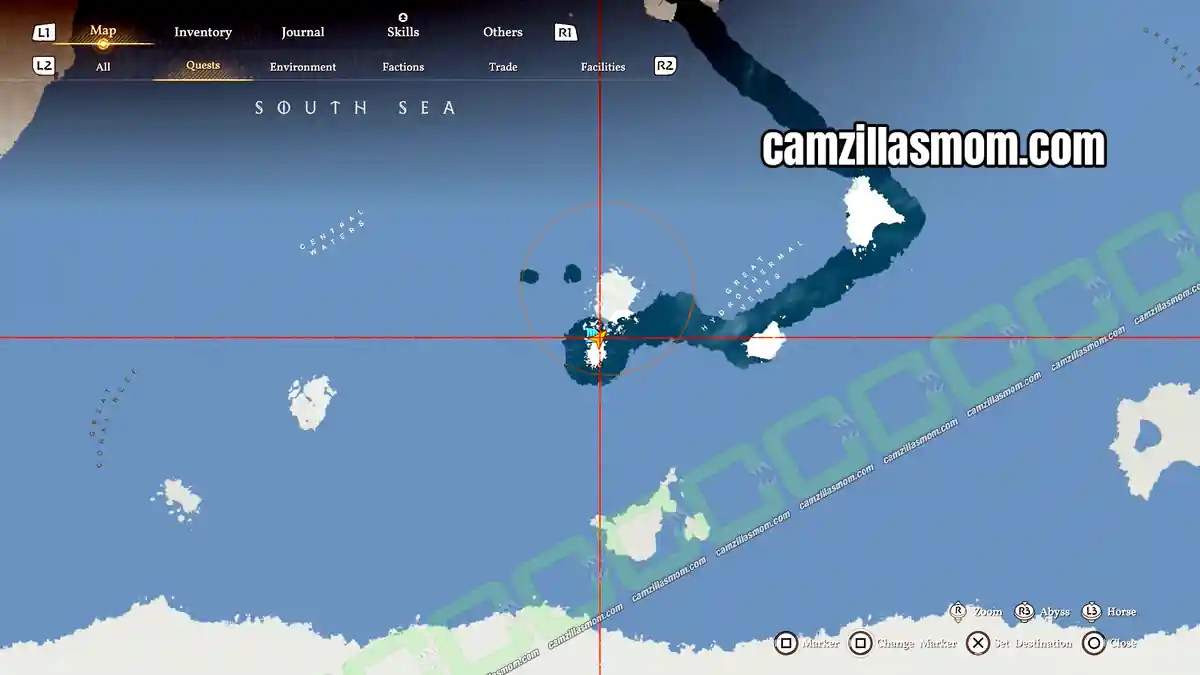
To defeat Leviakan, you have to deactivate its four power sources. Leviakan is inside the circle on your map, so find it with your ship and jump onto its wings to climb on top. If you fall down, use one of the tornados to get back up!
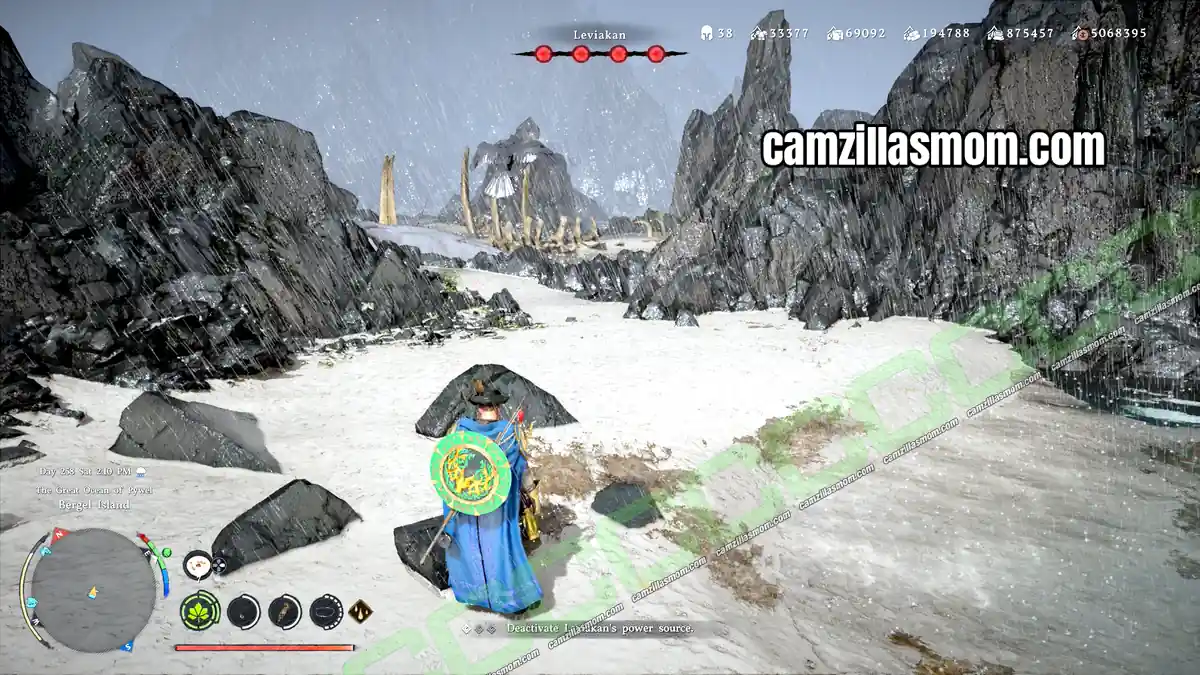
Leviakan has four red power cores on its back, which show up as red whirls on the minimap. It also has lightning cores that move up and down as a defence mechanism. You can destroy both with Force Palm: the lightning cores from the side and the power cores with a jumping Force Palm.
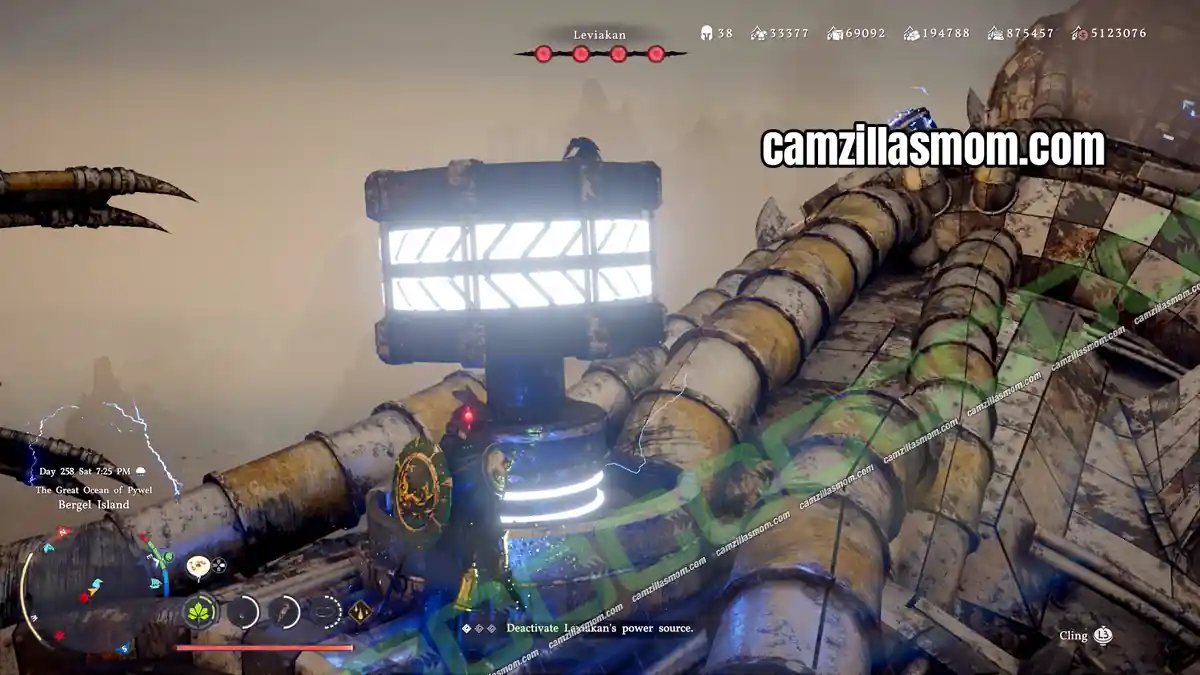
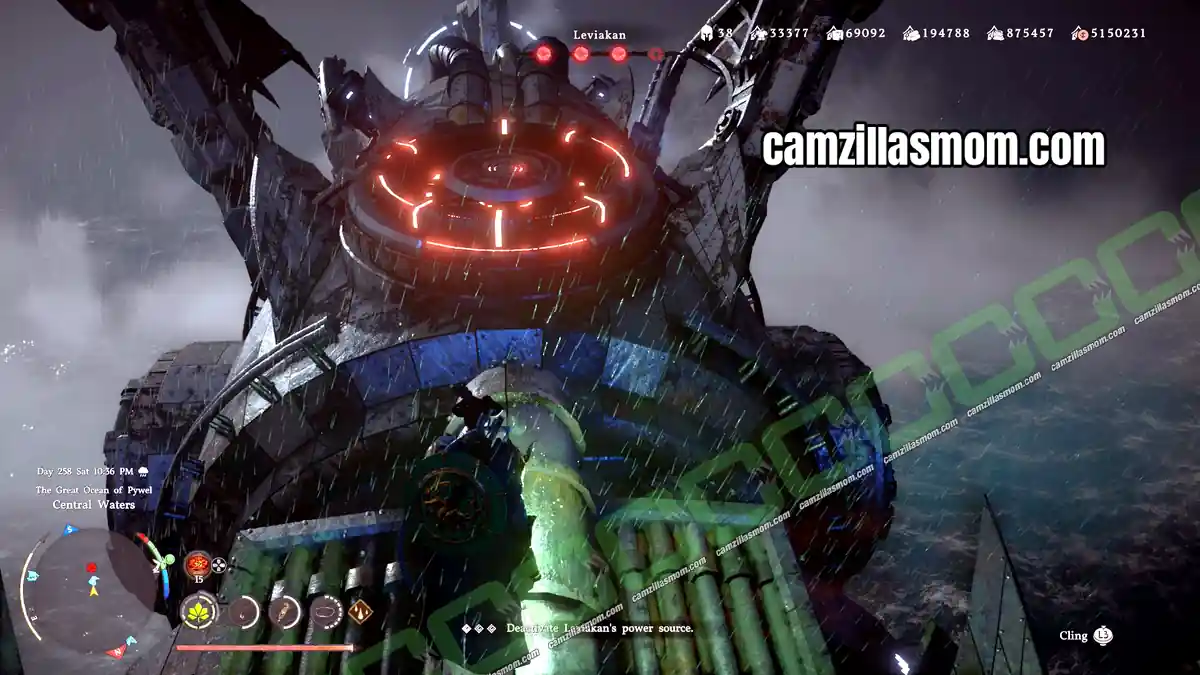
Only three of the four power cores are exposed. The fourth is protected by a lid. Solve the two power button puzzles on either side of it to open the lid, then destroy the core. Remember that pressing a button also switches the buttons directly above, below, left and right of it on or off.
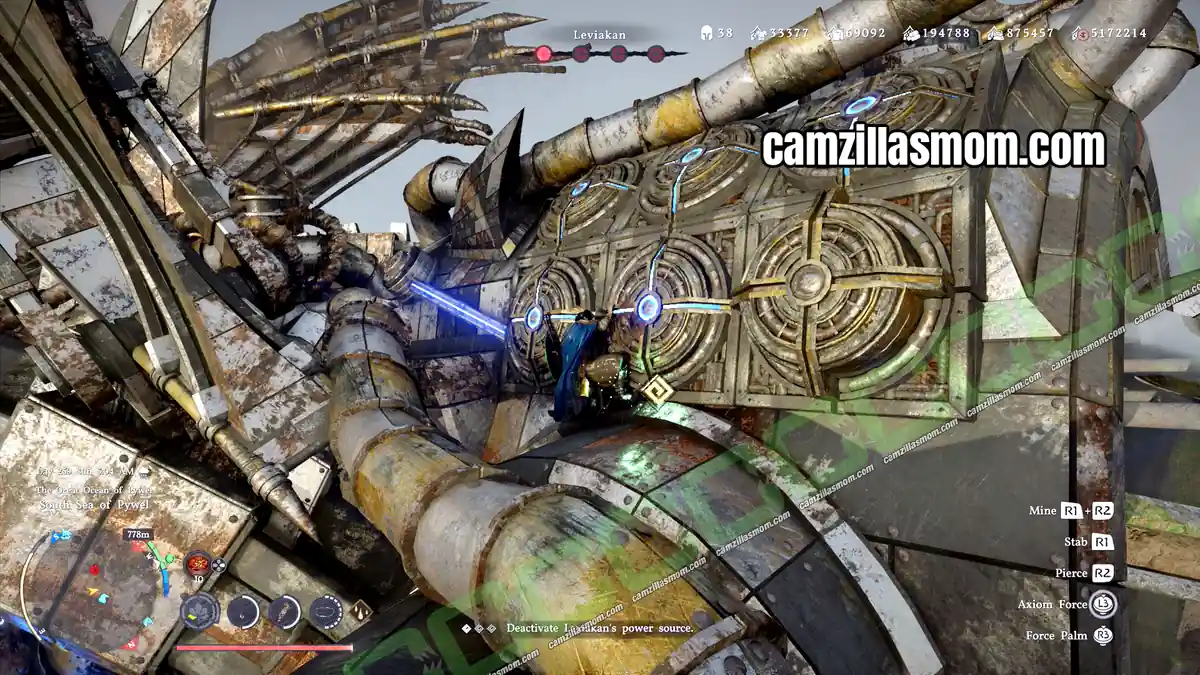
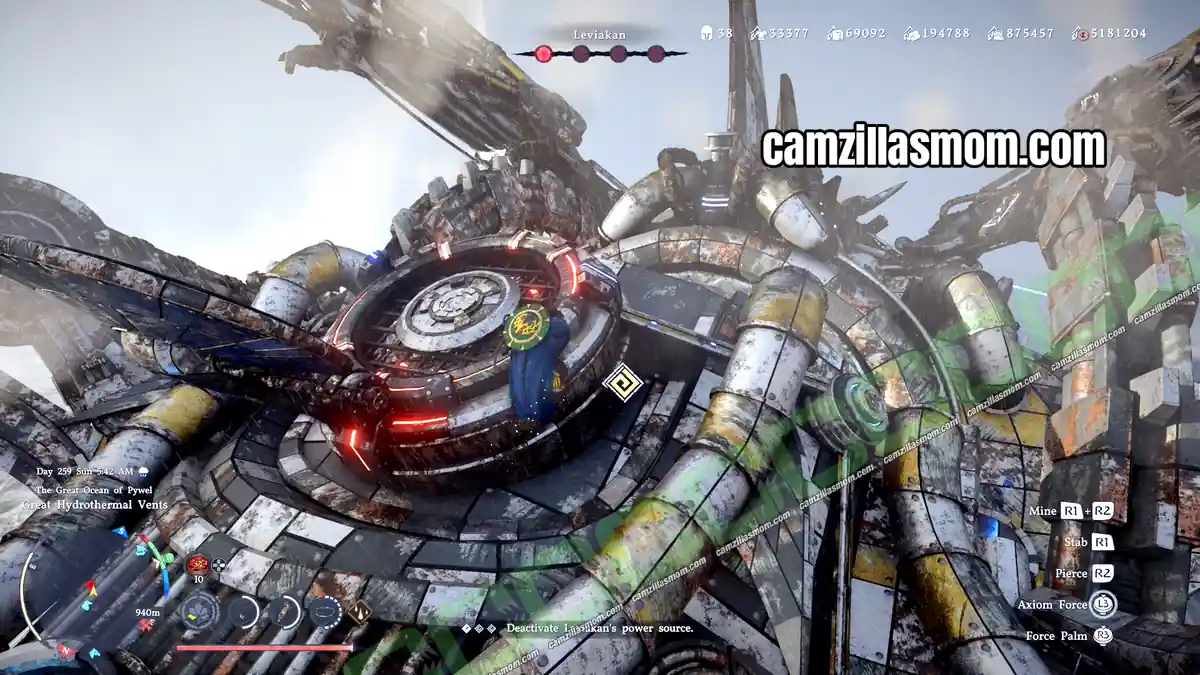
Once all four power cores are destroyed, Leviakan dives to the bottom of the ocean. Put on your diving suit and helmet and follow it to find and destroy the Maintenance Units. There are four Maintenance Units on Leviakan’s sides, but you only need to destroy three of them. They look the same as the power cores, both on the minimap and up close, and you destroy them with Force Palm as well. After the third Maintenance Unit, find and destroy the last power core inside Leviakan’s mouth.
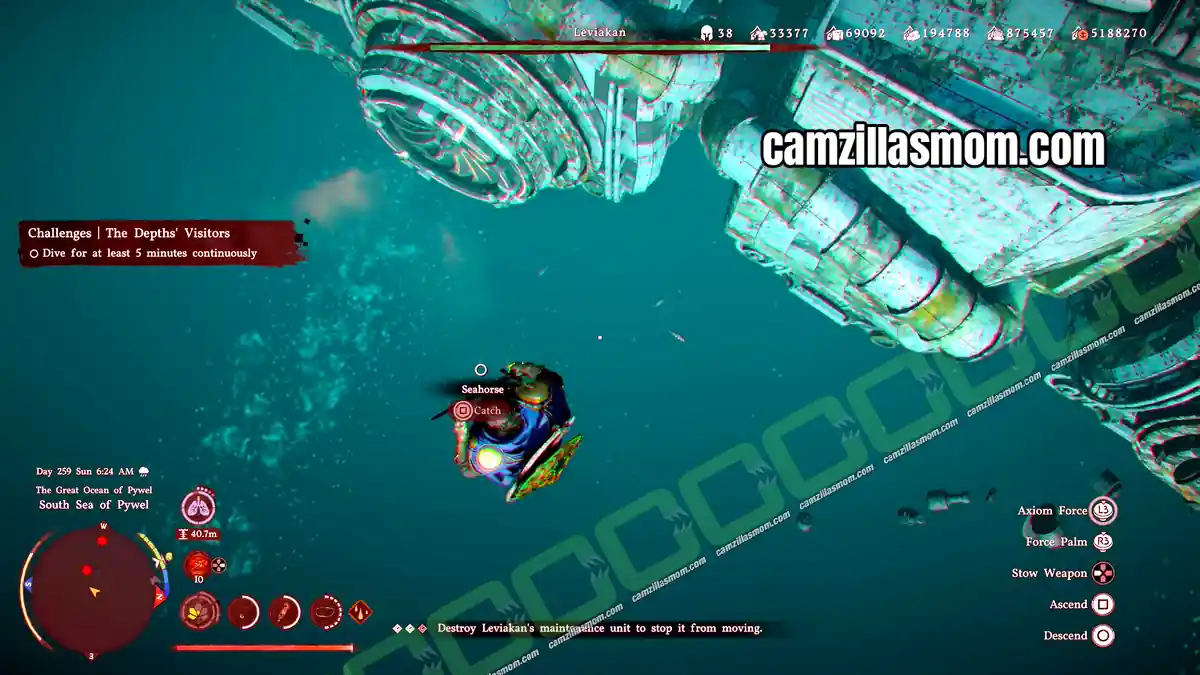
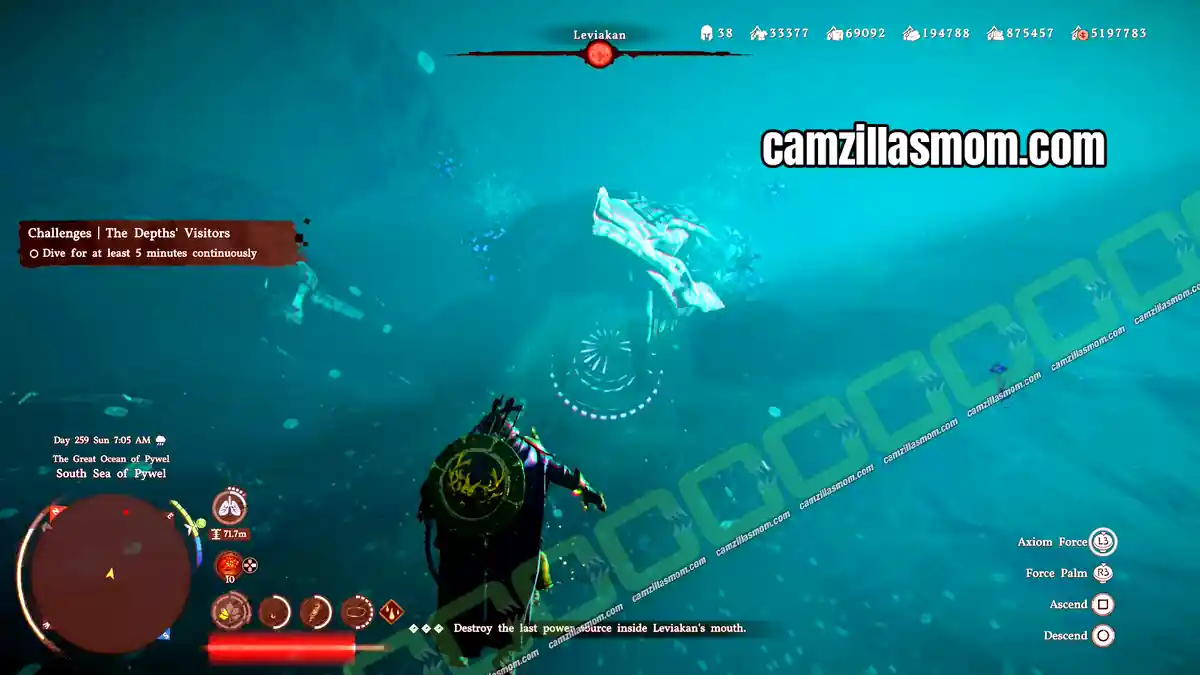
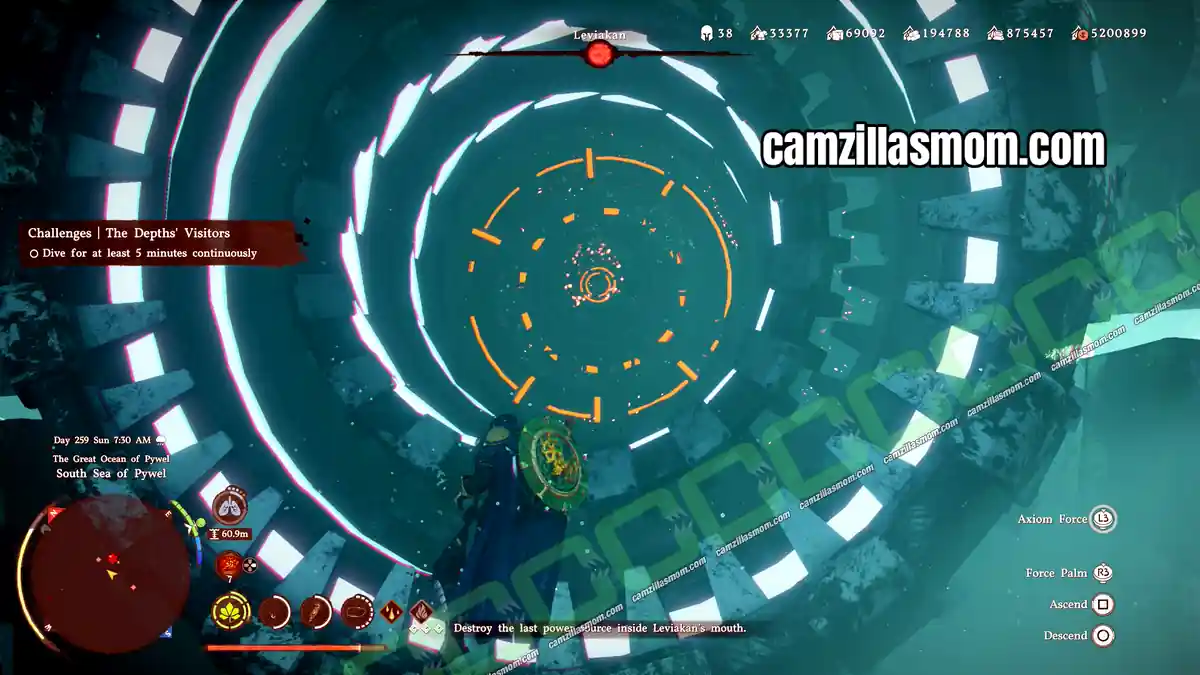
To reach the power core in the mouth, you first need to destroy the suction core. Perform a Force Palm the very moment you get pulled into the suction core. This blows away the power core cover, and you can then destroy the exposed core with Force Palm. Leviakan loses its power and sinks back to the bottom of the sea, which completes Catastrophe of Ancient Times. Reward: 20 Ancient Relics, Abyss Artifact, Guardian’s Gaze and 2 Leviakan Scales.
4 – The Stilled Sea
Deliver the News to Samora
Return to Samora Island. Chief Ian and the Samorans are waiting at the highest point of the island, where the relic is back on its altar. Ian thanks Kliff for saving the island and offers him a place to stay whenever he sails past, and Kliff tells the islanders to call on the Greymanes if trouble ever finds them again.
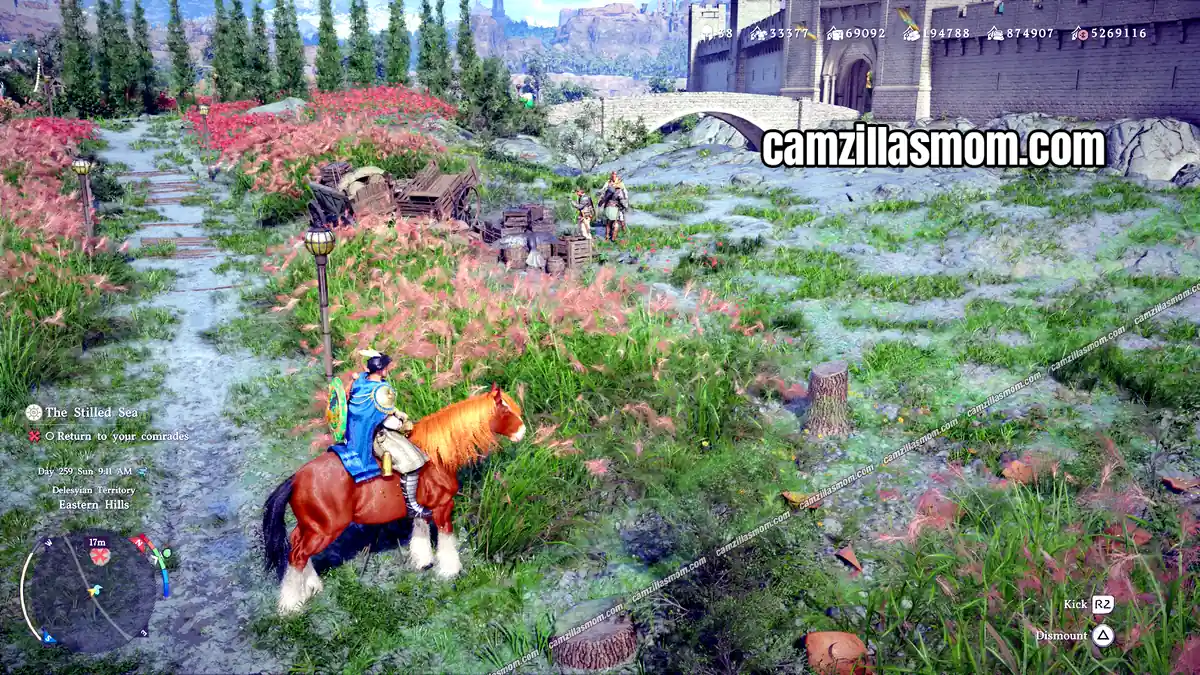
Return to Your Comrades
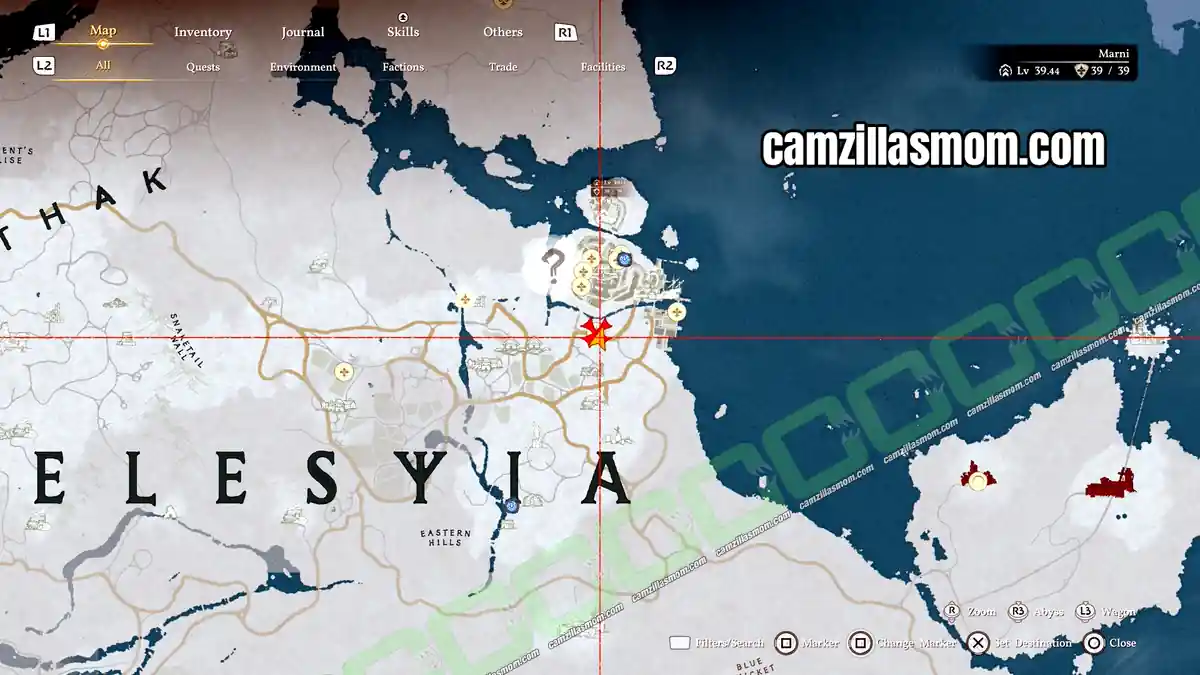
The last step takes you back to where it all started. Go to your comrades near Delesyia harbor and talk to them. In the final cutscene they learn the grounded ships are ready to sail again, so the supply mission can finally go ahead. This completes the Mistbound Sea questline. The Stilled Sea gives no rewards of its own, since the main rewards come from Catastrophe of Ancient Times.
More Crimson Desert Guides

Crimson Desert: Evelyn’s Request Quest Walkthrough
Complete Evelyn’s Request in Crimson Desert by finding Evelyn at Howling Hill and delivering 20 arro…

Crimson Desert: Familiar Curses Quest Walkthrough
Crimson Desert Familiar Curses walkthrough: get the Visitor Pass, use the Halssius disguise, find Ya…

Crimson Desert: Fang Without A Master Quest Walkthrough
Crimson Desert Fang Without a Master walkthrough: increase the dog’s trust, feed it, and take it in …

Crimson Desert: Favorable Trade Questline Walkthrough
Walkthrough for the Favorable Trade questline in Crimson Desert. A Chapter 7 Scattered Embers quest …

Crimson Desert: First Step to Rebuilding Quest Walkthrough
Crimson Desert First Step to Rebuilding walkthrough: speak with Marquis Serkis, follow the soldier, …

Crimson Desert: Flame Knights Questline Walkthrough
Complete the Flame Knights questline in Crimson Desert – defeat Tristan at the Flame Knights Castle,…


About Crimson Desert
Release: March 19, 2026
Developer: Pearl Abyss
Publisher: Pearl Abyss
Official Website: https://crimsondesert.pearlabyss.com/en-US/Main