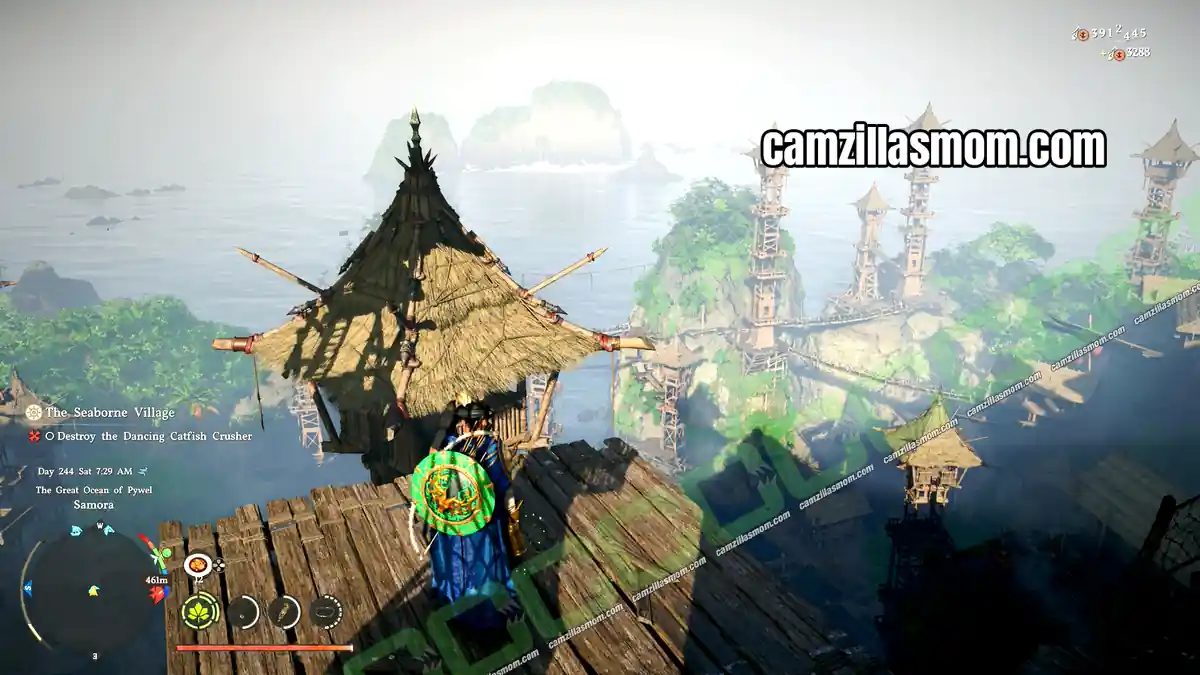
Forged Resolve is Oongka’s 10-quest main story questline in the Charting the Unknown DLC for Crimson Desert. Oongka travels to the Scholastone Institute to learn engineering, gets pulled into Marni’s Manor in another dimension and builds a stronger blaster to protect the desert from a machine built for revenge. This walkthrough covers every quest in journal order, with all locations, both puzzle solutions, the Marni’s Manor secrets and the boss fights.
Related Guides:
From the Ashes Questline (Damiane)
Beyond the Margins Questline (Kliff)
Demeniss Bound Questline
More at the Crimson Desert Hub
All 10 Forged Resolve Quests
Pailune City
Reward: none
Kharonso
Reward: none
Scholastone Institute
Reward: none
Scholastone Institute
Reward: Skyway Rocket Pack
Vargus’ laboratory
Reward: none
Marni’s Manor
Reward: none
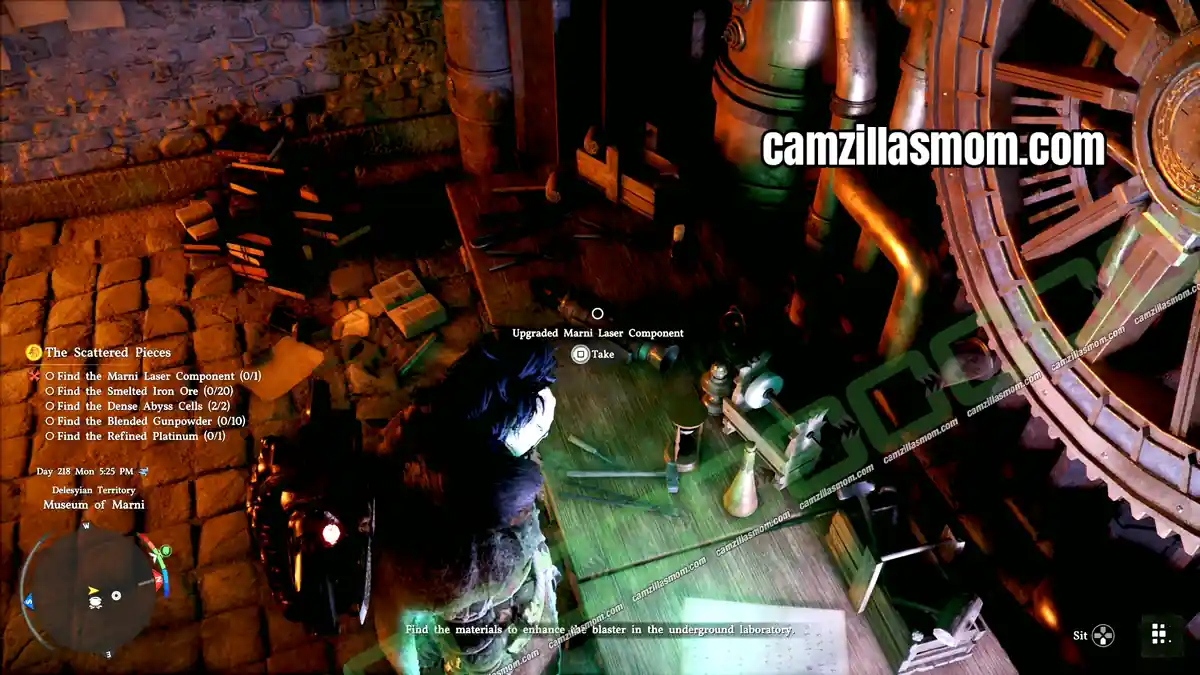
Marni’s basement workshop
Reward: Enhanced Fatum Blaster
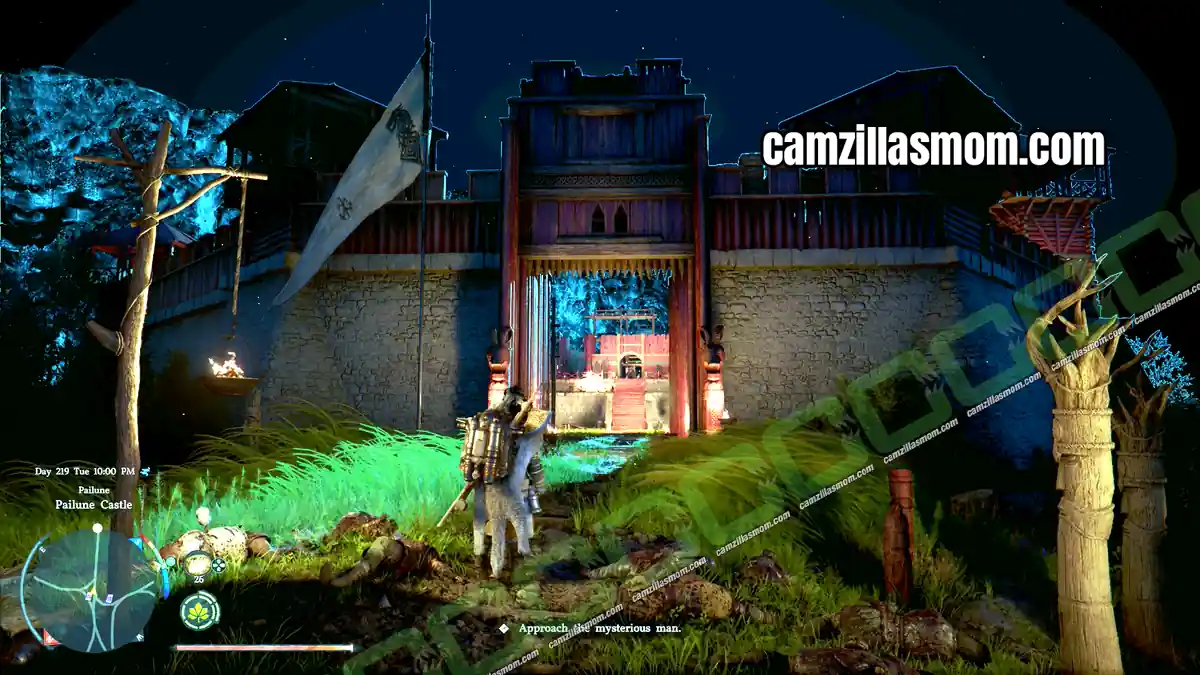
Pailune Town Hall
Reward: Storm’s Echo
Scholastone Institute
Reward: none
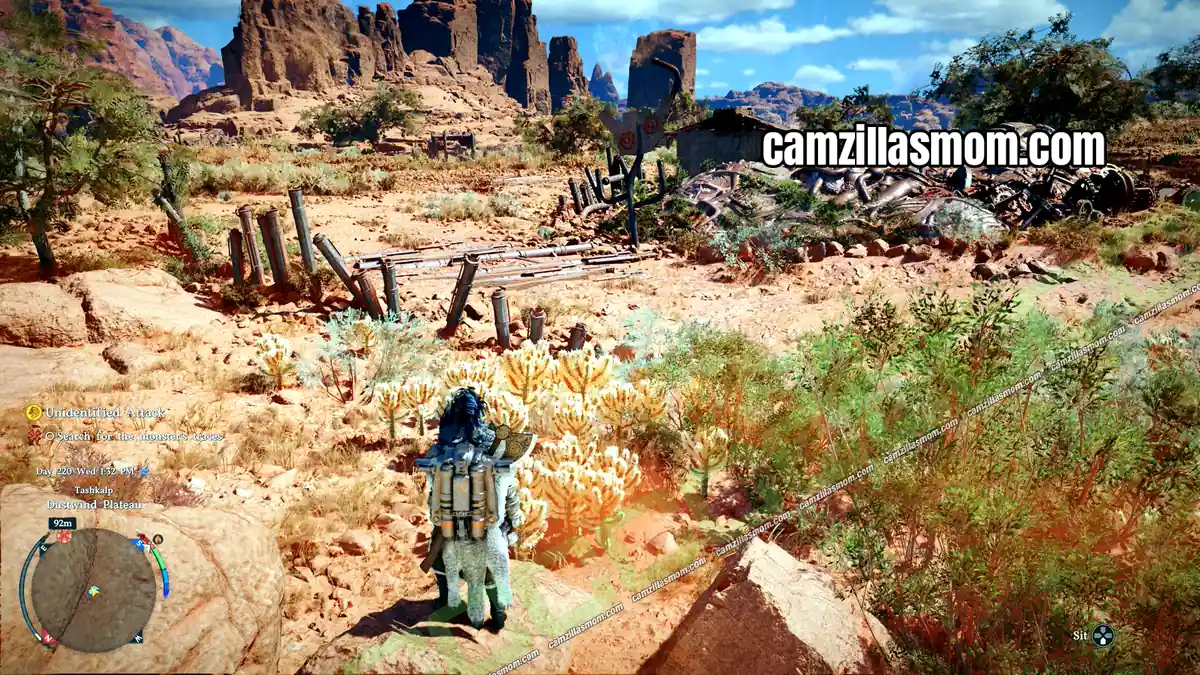
Tashkalp
Reward: Abyss Artifact, Radiant Flash
Total: 10 quests – Skyway Rocket Pack, Enhanced Fatum Blaster, Storm’s Echo, Abyss Artifact, Radiant Flash
1 – A New Path
A New Path is the first quest of Forged Resolve, Oongka’s main story questline in the Charting the Unknown DLC. The DLC has one main story questline per playable character, and this one can only be played as Oongka. Hold Up on the D-pad and select Oongka in the character menu to start it. Kliff’s questline is covered in the Beyond the Margins walkthrough, and Damiane’s in the From the Ashes walkthrough.
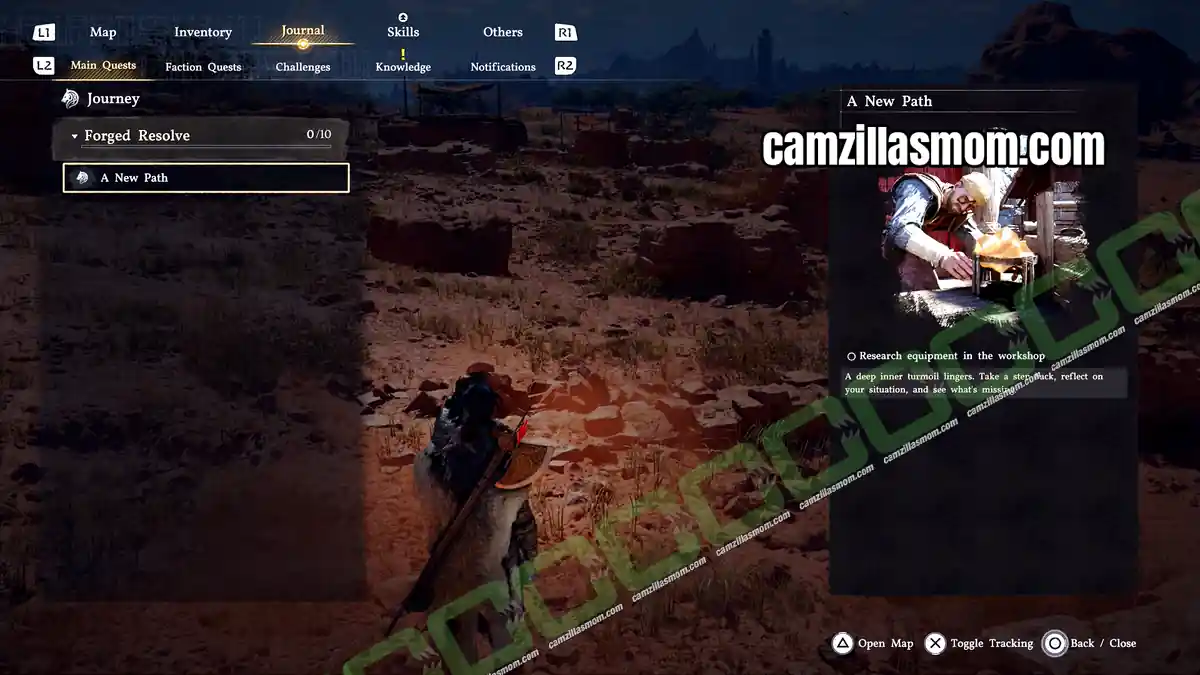
Research the Equipment in the Workshop
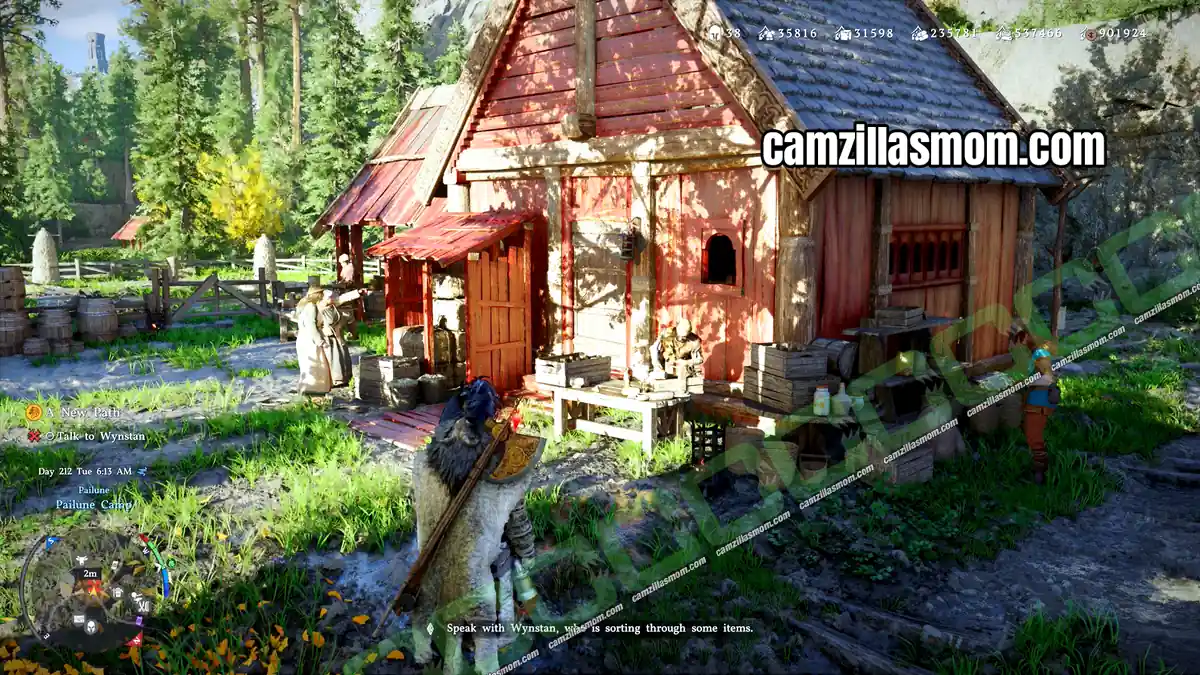
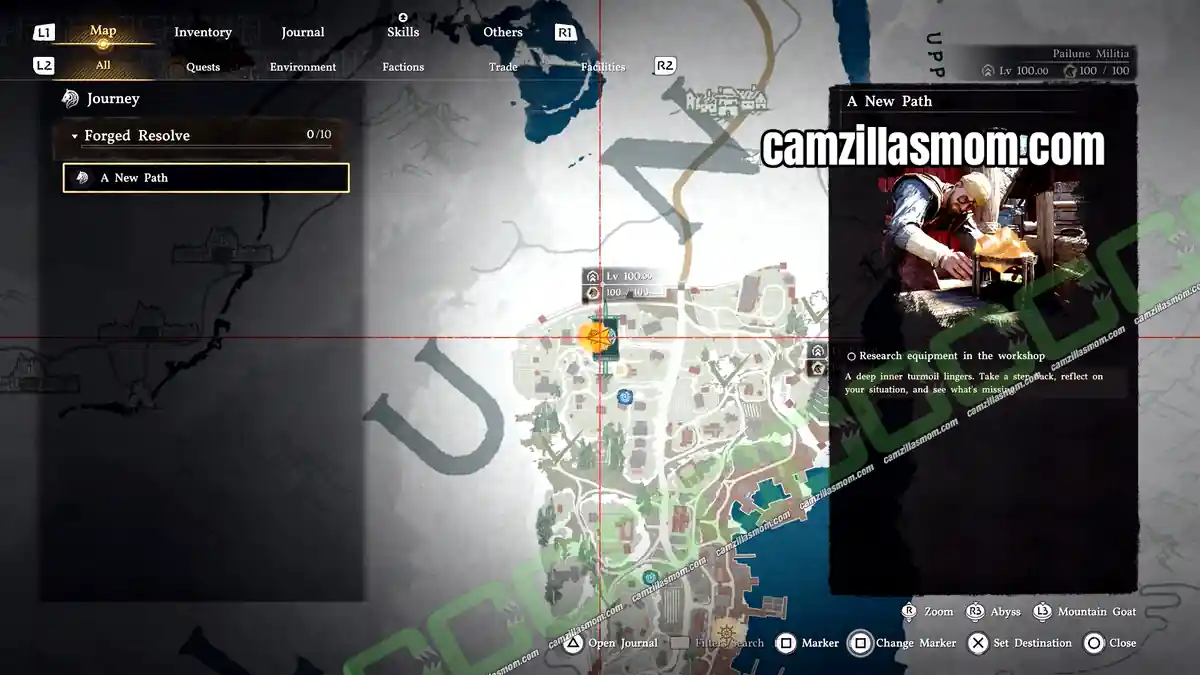
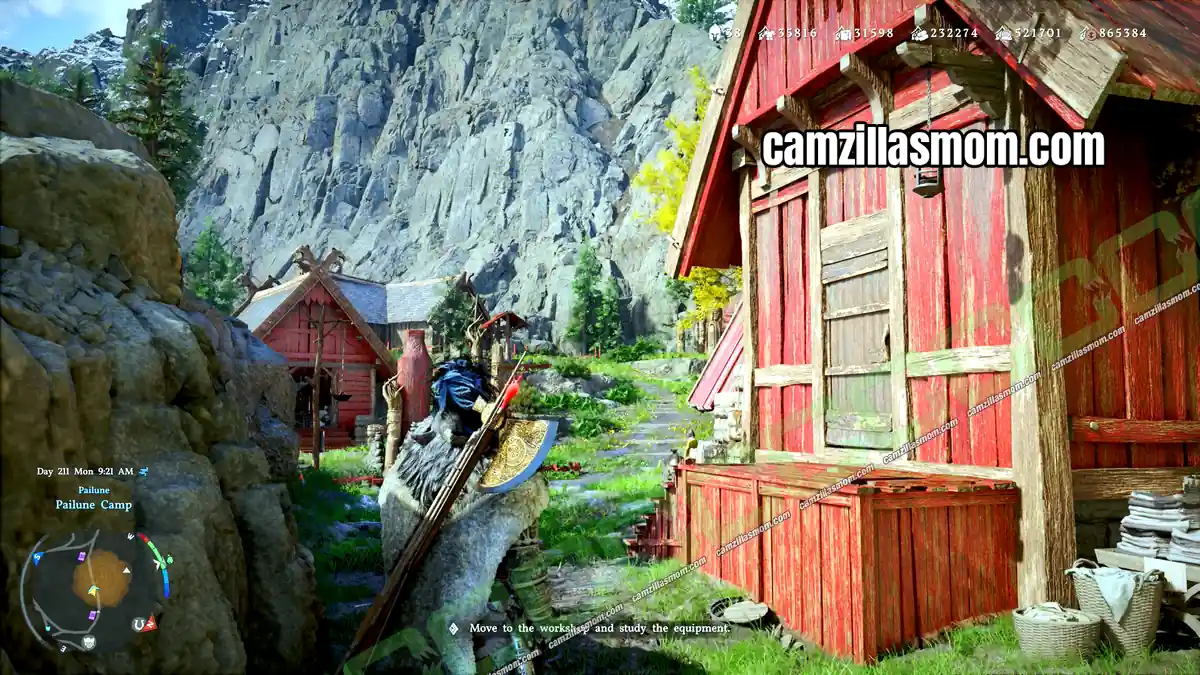
Return to the Greymane camp in Pailune City and enter the house at the top of the camp. A cutscene starts as you enter, showing Oongka working on his cannon. Kliff comes in briefly and leaves again without a word.
Talk to Wynstan
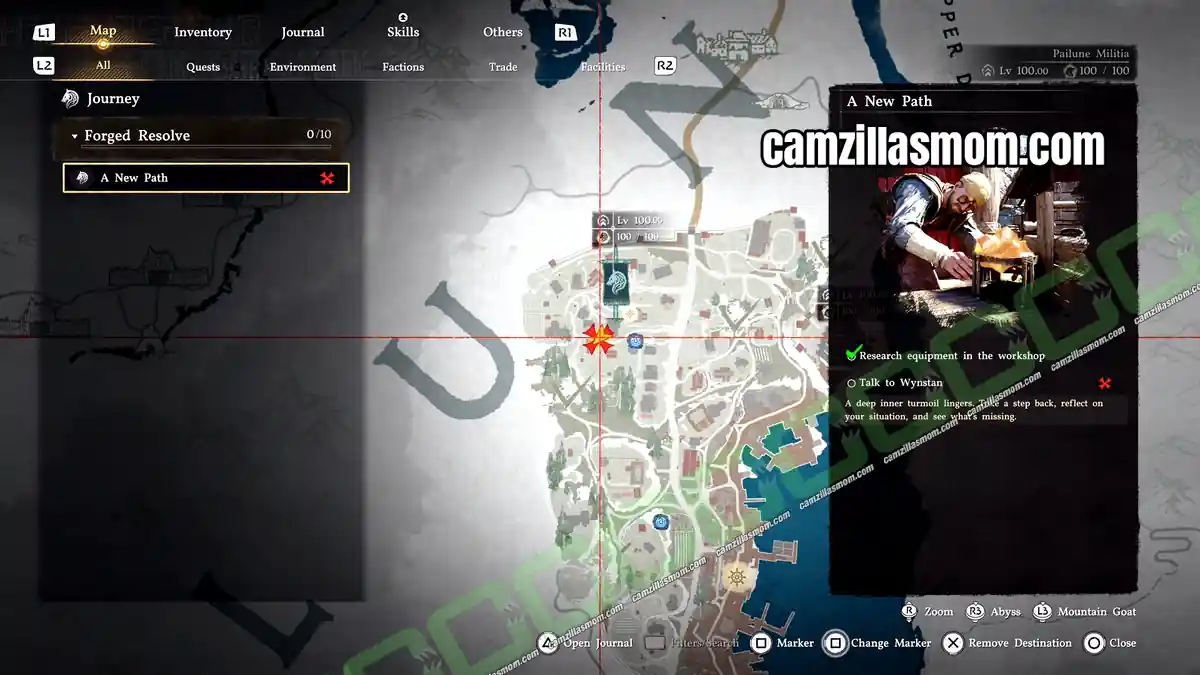
Wynstan is the Greymanes’ Provisioner and has his shop near the farm in the camp. Talk to him to start the next cutscene. Oongka is looking for a proper power source for his cannon, but Wynstan has nothing new and grumbles that Oongka scares his customers away by hanging around the shop every day. He suggests Oongka try one of the big cities to clear his head. This completes the quest.
2 – To Scholastone
Head to Scholastone
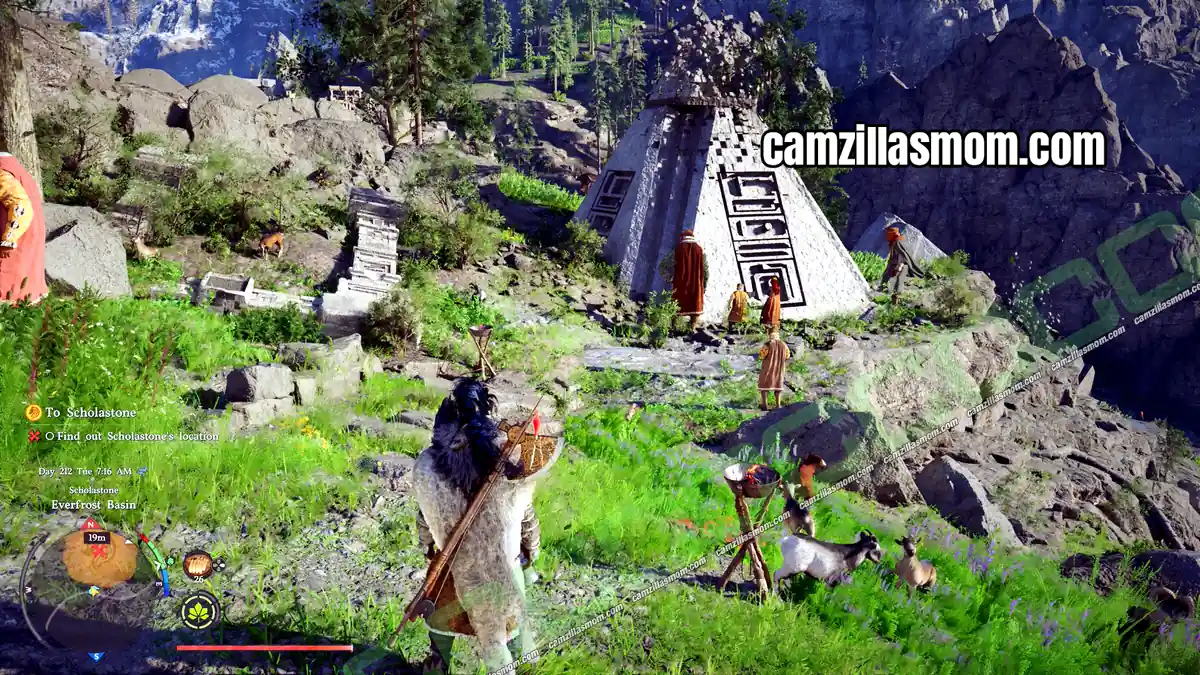
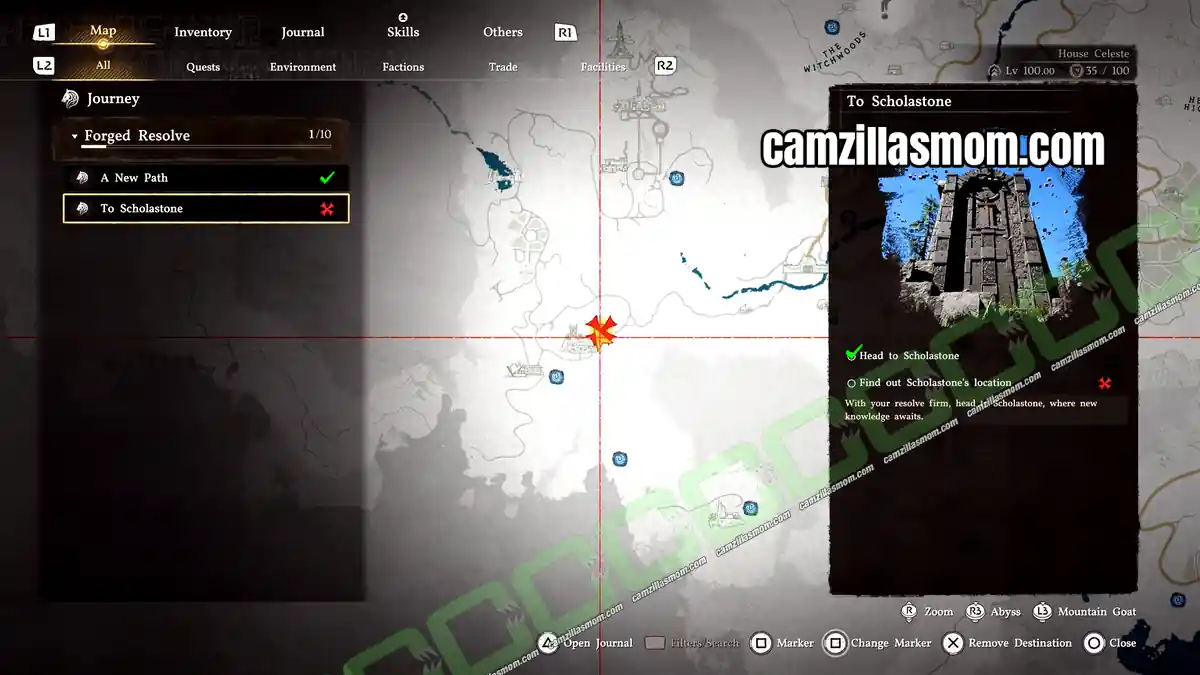
Scholastone was discovered in Crimson Desert’s main story in Forbidden Knowledge. It’s in the southwest of the map, and several Abyss Nexus fast travel points get you there. The quest marker leads east of Kharonso, the village at the base of Scholastone. The objective completes as soon as you enter the Kharonso area near the marker.
Find Out Scholastone’s Location
Enter Kharonso and talk to the scholar Grimrick at the pyramid, as Kliff did in Forbidden Knowledge. He offers to take Oongka to the Institute, so walk next to him along the road. On the way, Grimrick notices that Oongka is a Greymane and remembers another Greymane who helped when disaster struck the Institute. A scholar named Octavius tried to open a gate into the Abyss, the power source overloaded, and Octavius was dragged through as darkness poured out. That Greymane was Kliff.
Instead of taking Oongka to the Institute, Grimrick leads him to a vista in Kharonso, where the Institute is clearly visible high up on the cliffs.
Go to Scholastone
Either walk the winding path up to the Institute or use the Scholastone Abyss Nexus fast travel point. As soon as you enter the Scholastone Institute grounds, the quest completes.
3 – Unfamiliar Workshop
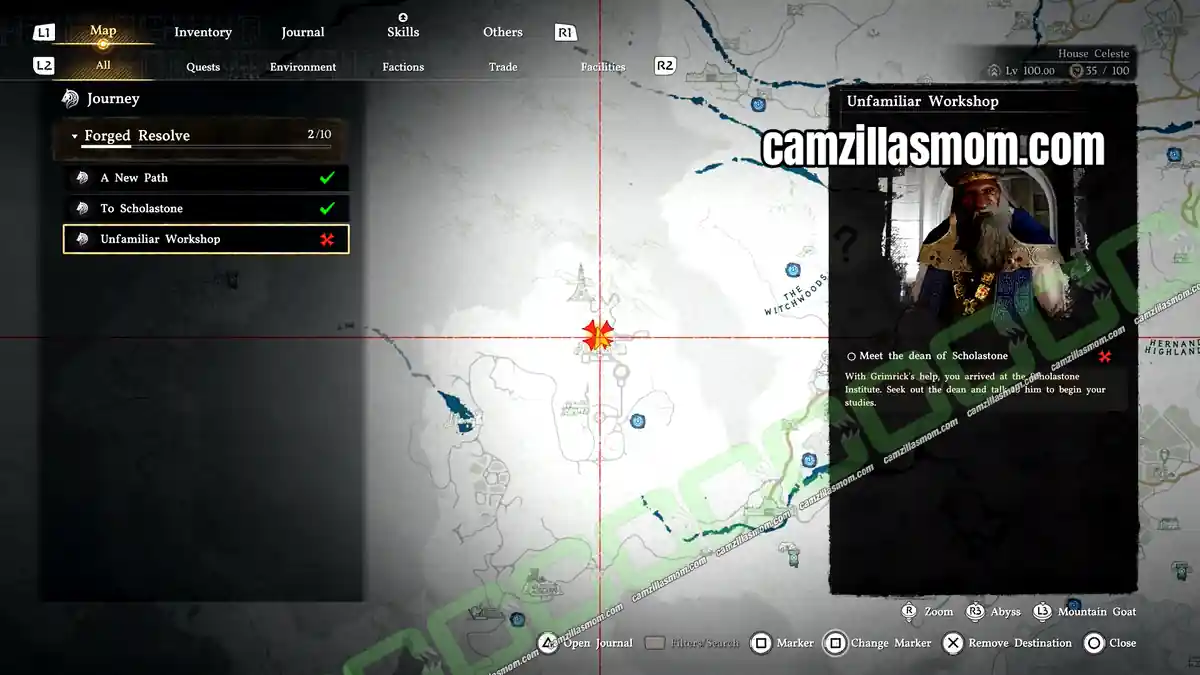
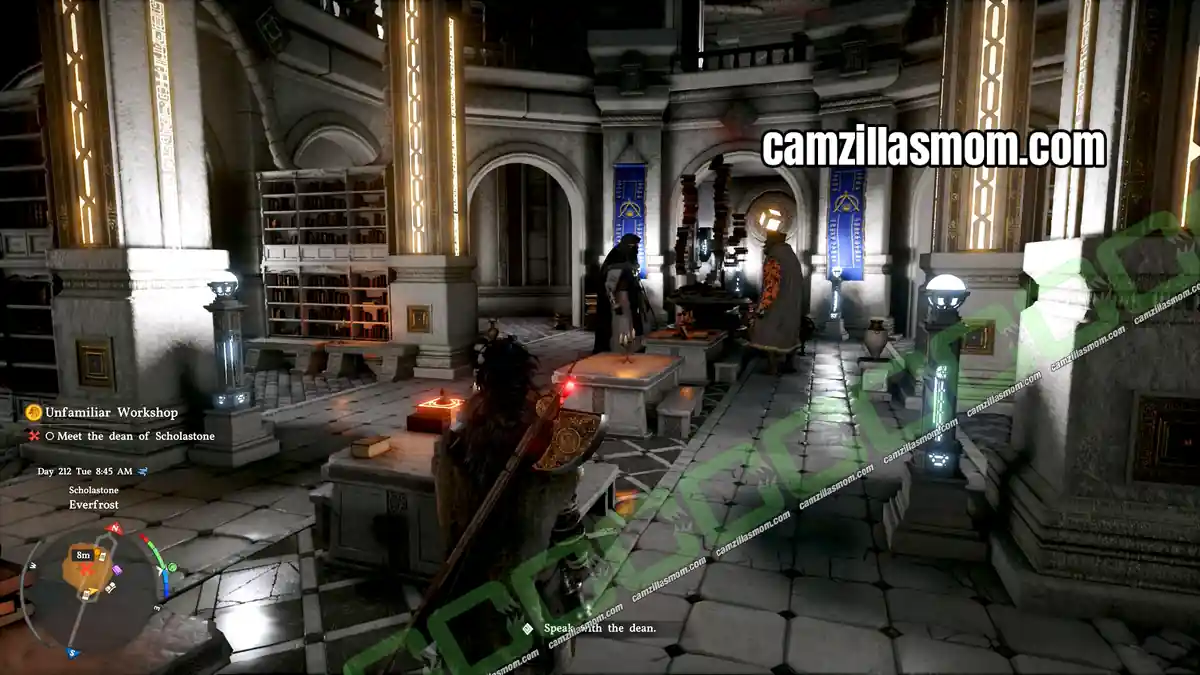
Meet the Dean of Scholastone
The dean of Scholastone, Grundir, is in the library of the main building, up the hill on the Institute grounds. Oongka tells him he wants to learn engineering to improve his equipment and master its power source. Grundir first points him to the smiths of Gorthak or an engineer in Delesyia, but Oongka wants to understand the principles, not get a ready-made solution. A strange force recently blocked his path and he nearly lost a companion, and he refuses to feel that helpless again. Grundir agrees to teach him and assigns a senior scholar as his guide.
Talk to Vargus
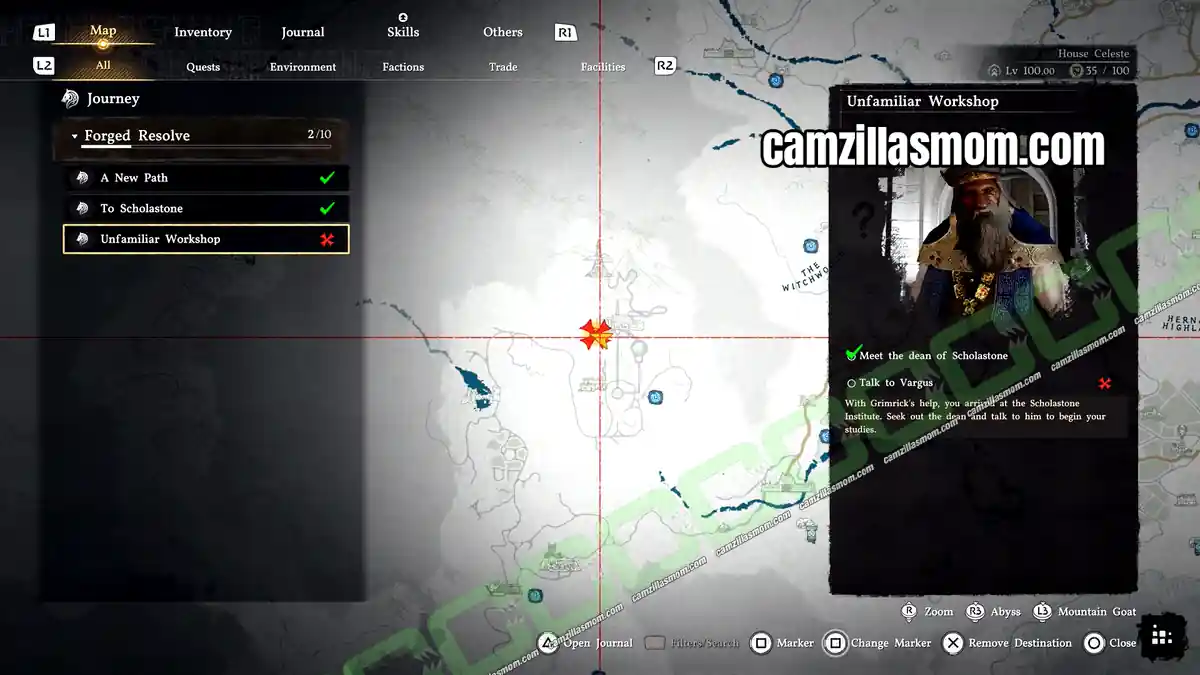
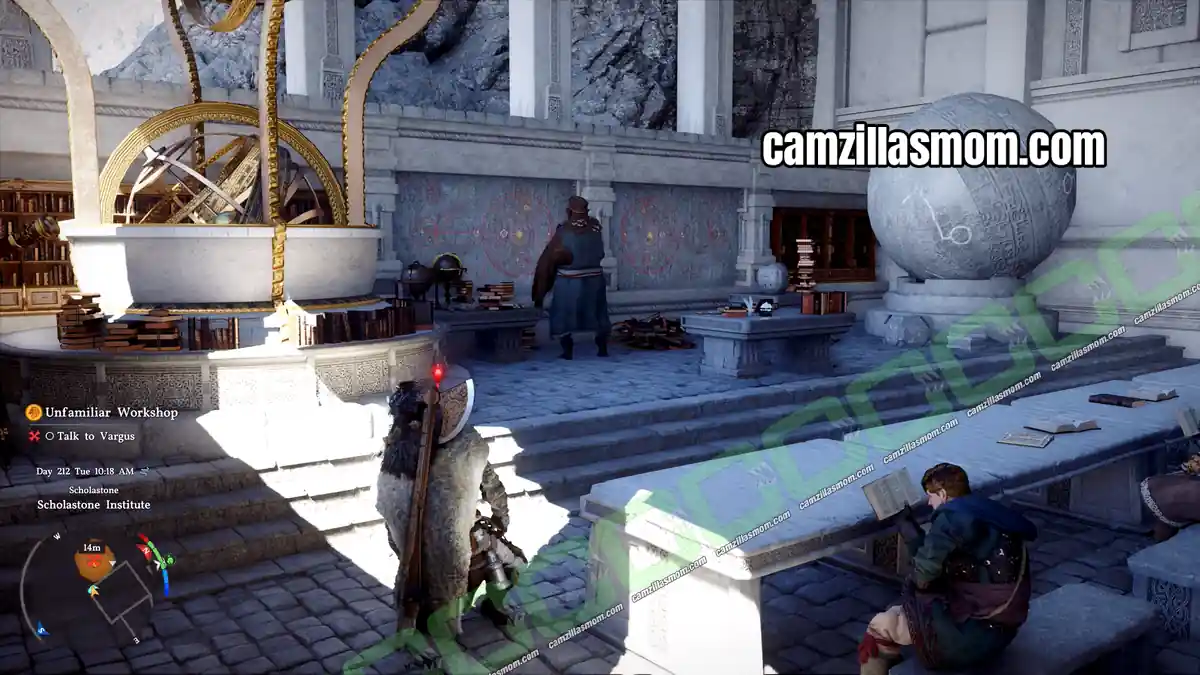
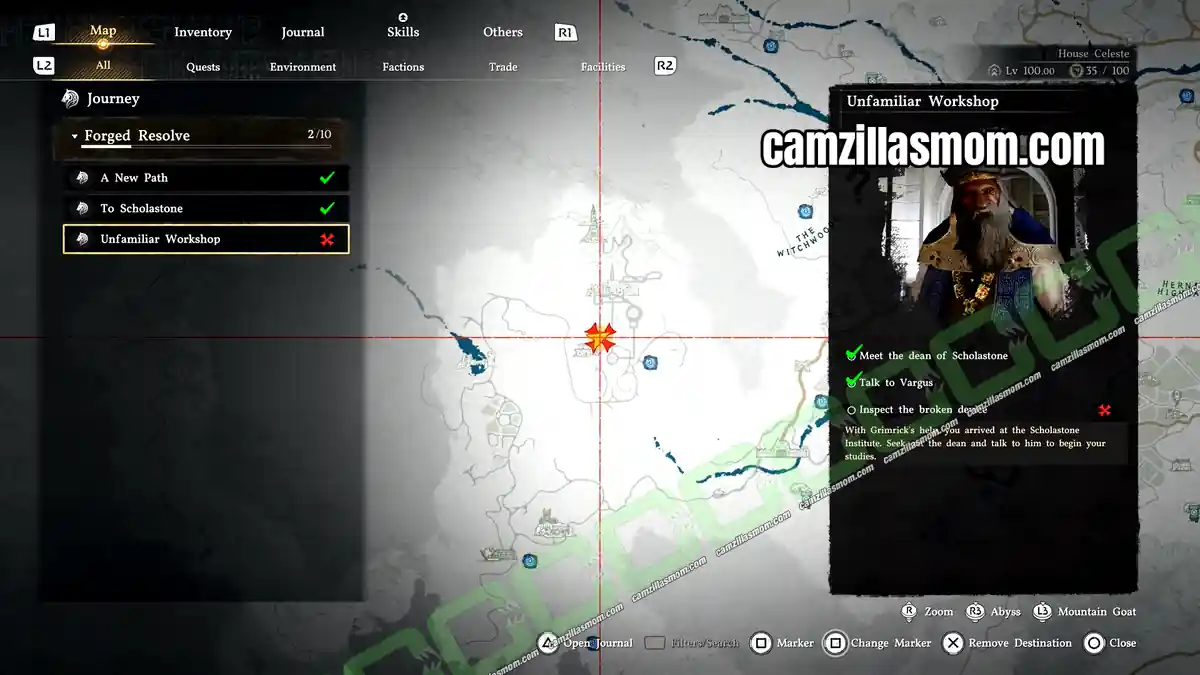
The dean takes Oongka to a study and points out the scholar Vargus. Approach him and talk to him to advance. Vargus agrees to start with the basics of structure, power and materials, and mentions that the laboratory’s Power Regulator needs repairing before anyone notices.
Inspect the Broken Device
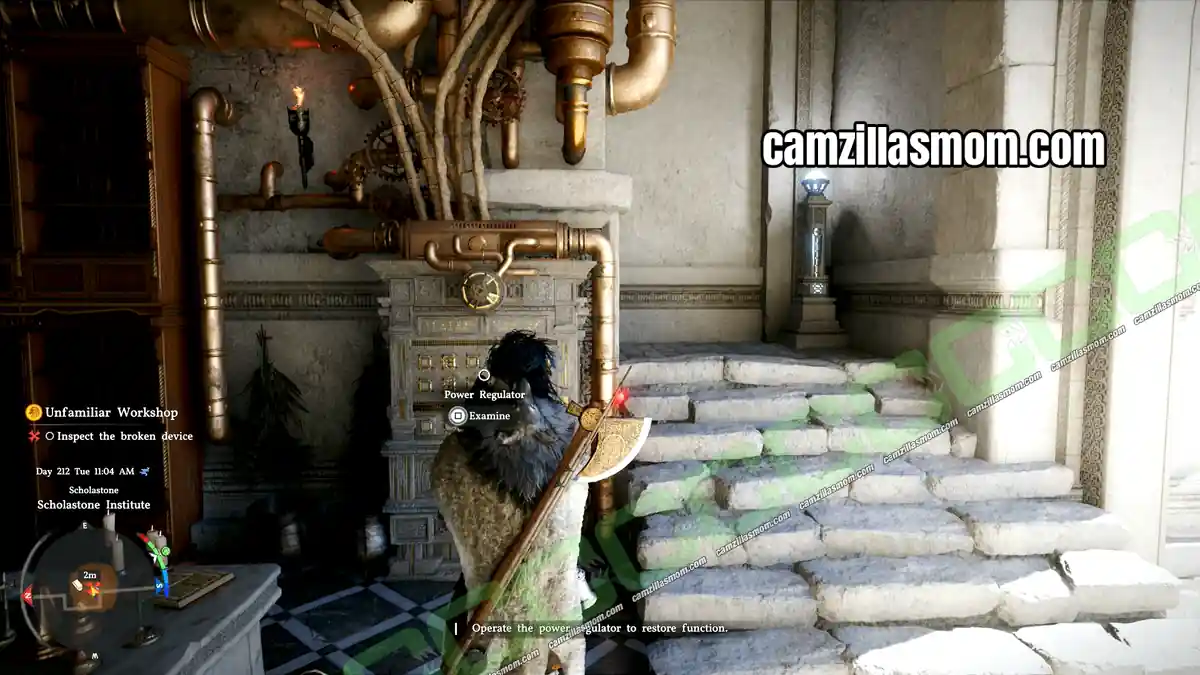
Vargus takes Oongka to a device called the Power Regulator, in a side building south of the Institute’s main building.
Interact with it and look at the two broken pieces. Leave the inspection view, and you now get the option to operate the Power Regulator.
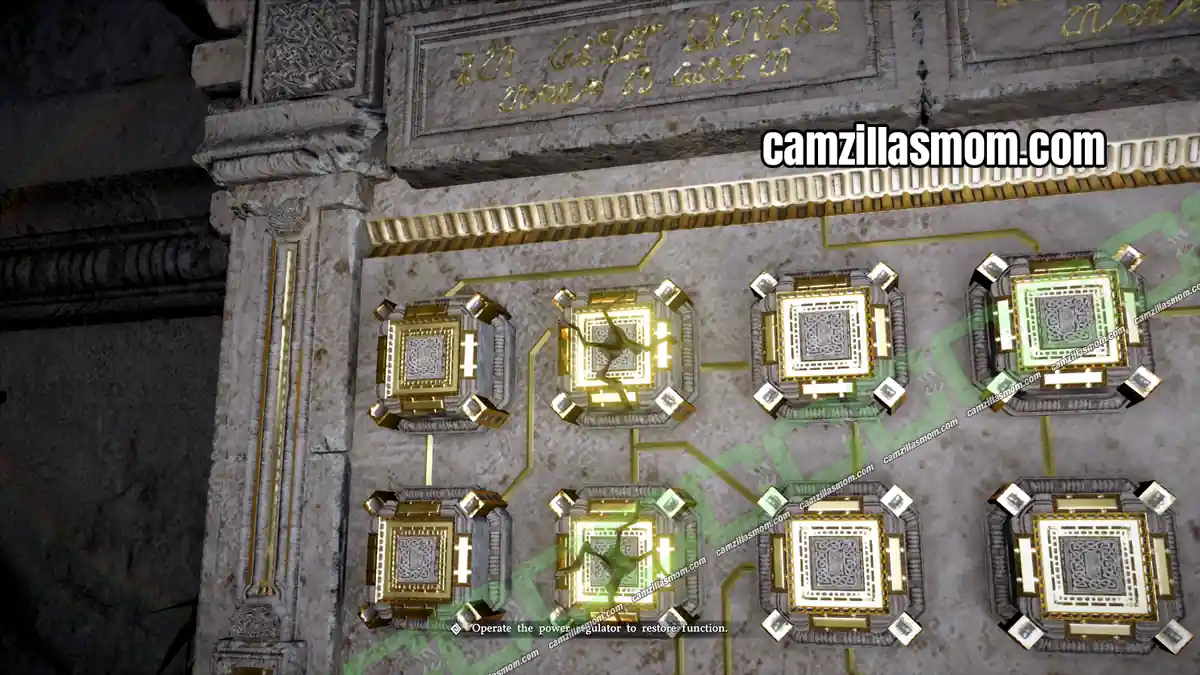
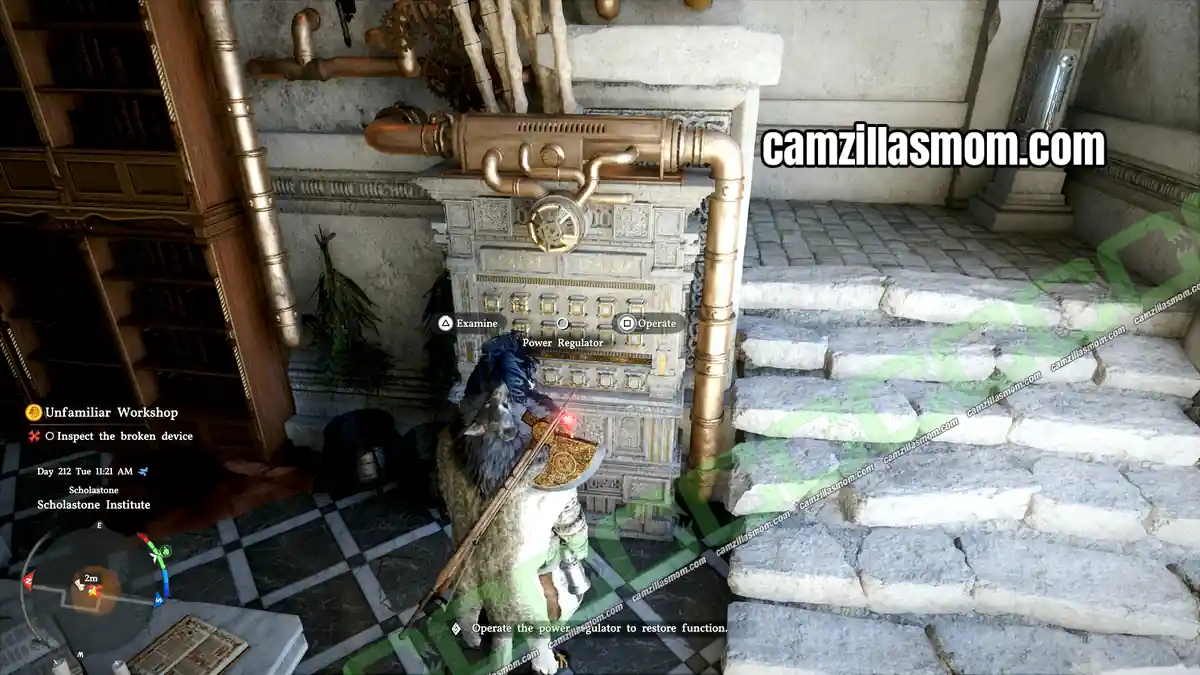
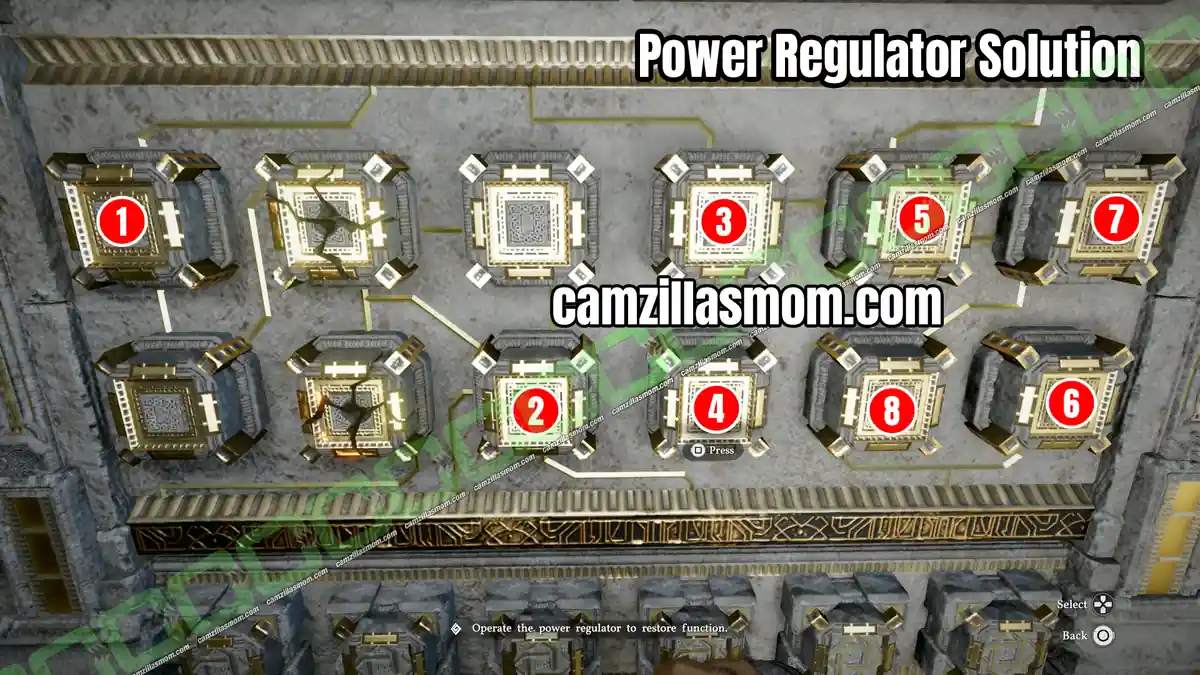
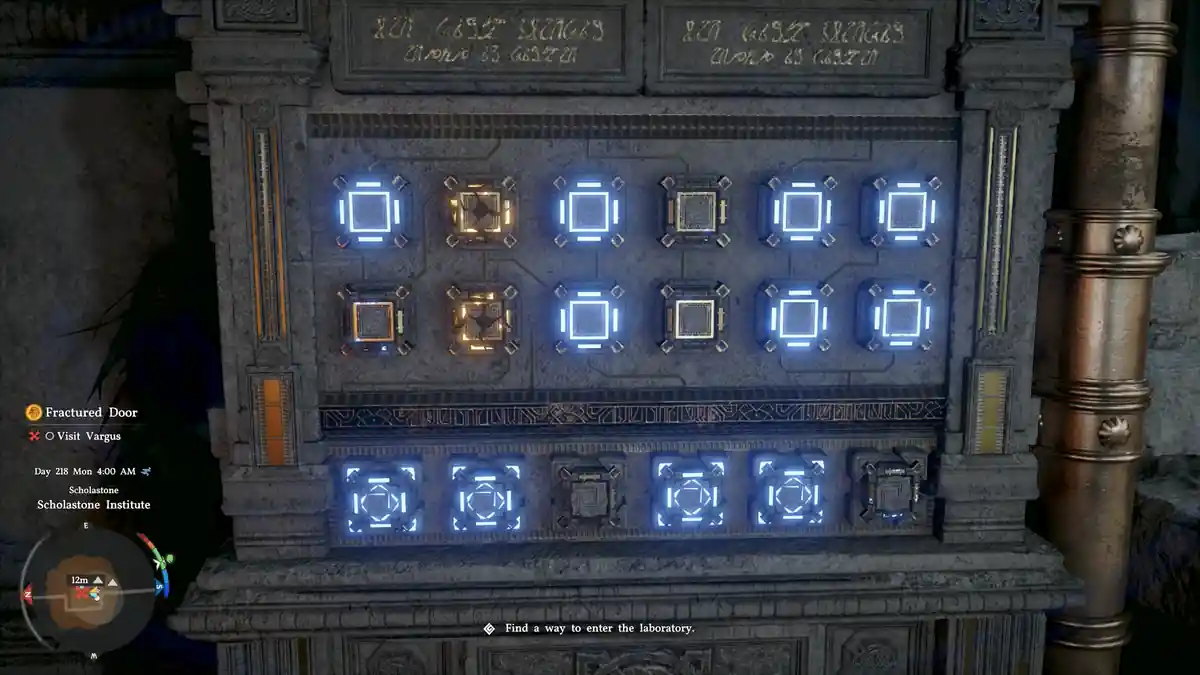
The Power Regulator has 12 square buttons in two rows of six. The two buttons in the second column are broken. Below the buttons is a row of six lights, and the puzzle is solved when the 1st, 2nd, 4th and 5th lights glow while the 3rd and 6th stay dark.
Press the buttons in the numbered order shown below: top row 1st button, bottom row 3rd, top row 4th, bottom row 4th, top row 5th, bottom row 6th, top row 6th and bottom row 5th. Later, the repaired Power Regulator shows a different button pattern with the same lights on, so there are presumably several ways to solve it. What counts is the row of lights at the bottom. Solving the puzzle completes the quest.
4 – Faltering Hands, Iron Will
Study with Vargus
This quest plays out entirely in a long, silent cutscene of Oongka studying with Vargus. Afterwards, the Skyway Rocket Pack is in Oongka’s inventory. It isn’t equipped automatically, so equip it in the Pack slot yourself. It gives Oongka Flight and reduces Stamina Cost by 20%. According to its description, it’s a rocket pack refined with Scholastone technology, and its stronger thrust gives a kick that probably no Greymane besides Oongka could handle.
5 – Fractured Door
Visit Vargus
Vargus is upstairs in the same building as the Power Regulator. When you head into the corridor, a warning appears that continuing restricts character switching and travel for part of the game. This is the point of no return, so save your game first and finish anything else you want to do.
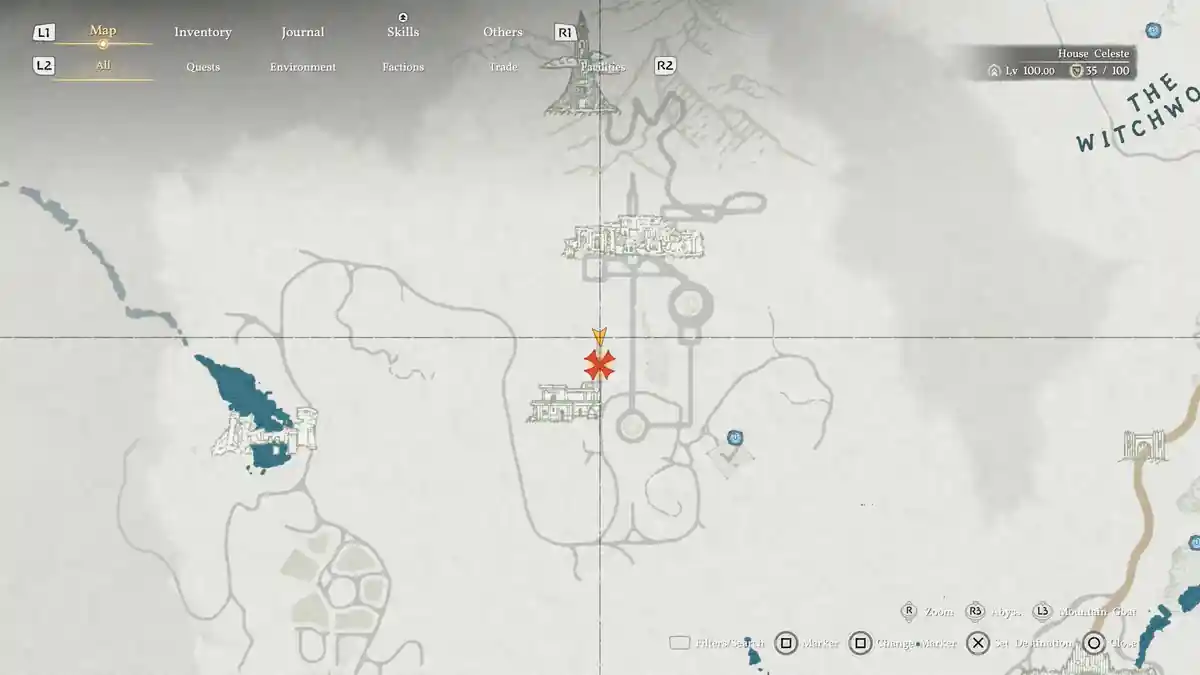
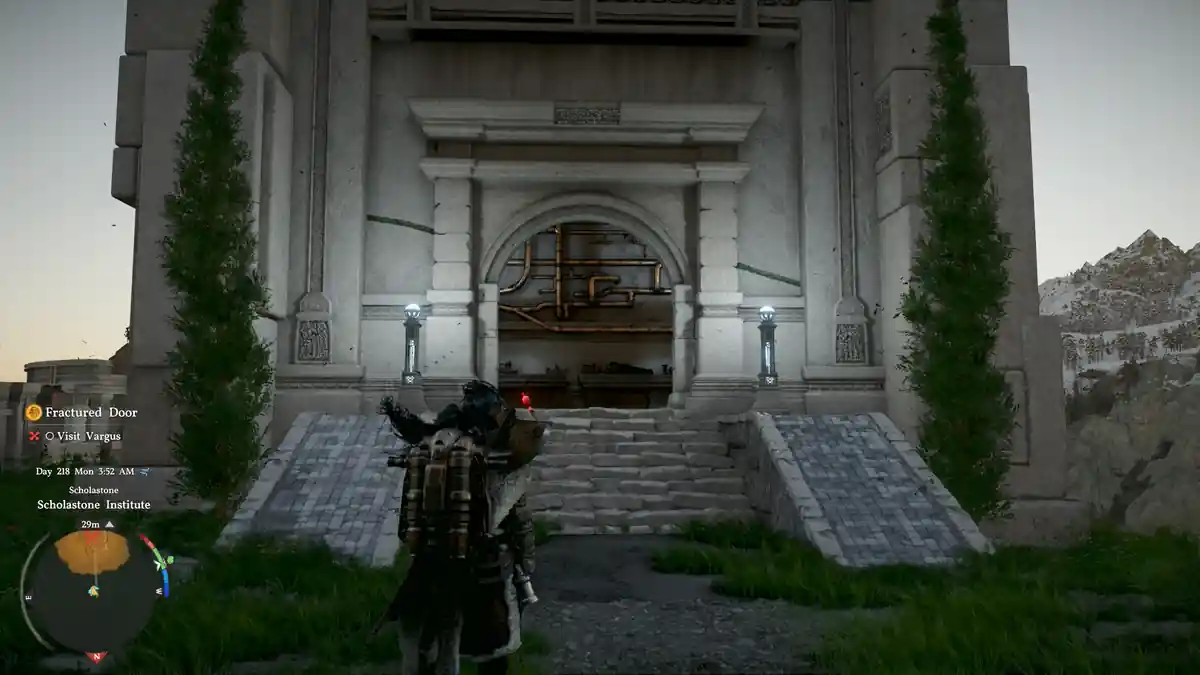
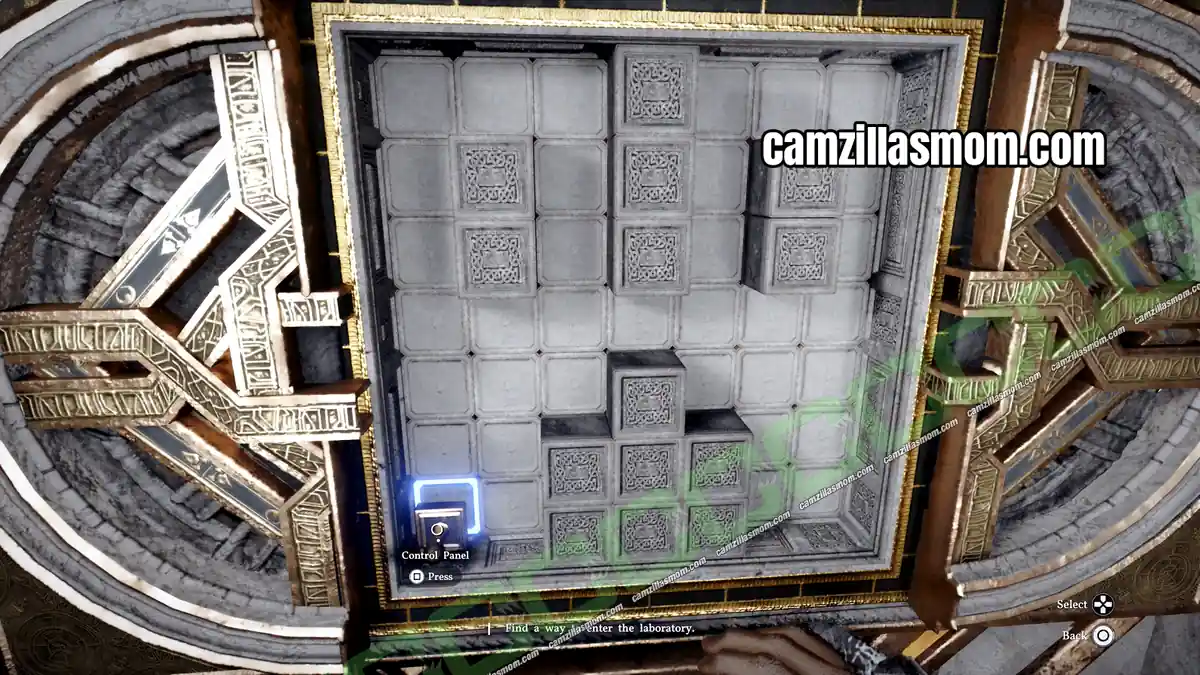
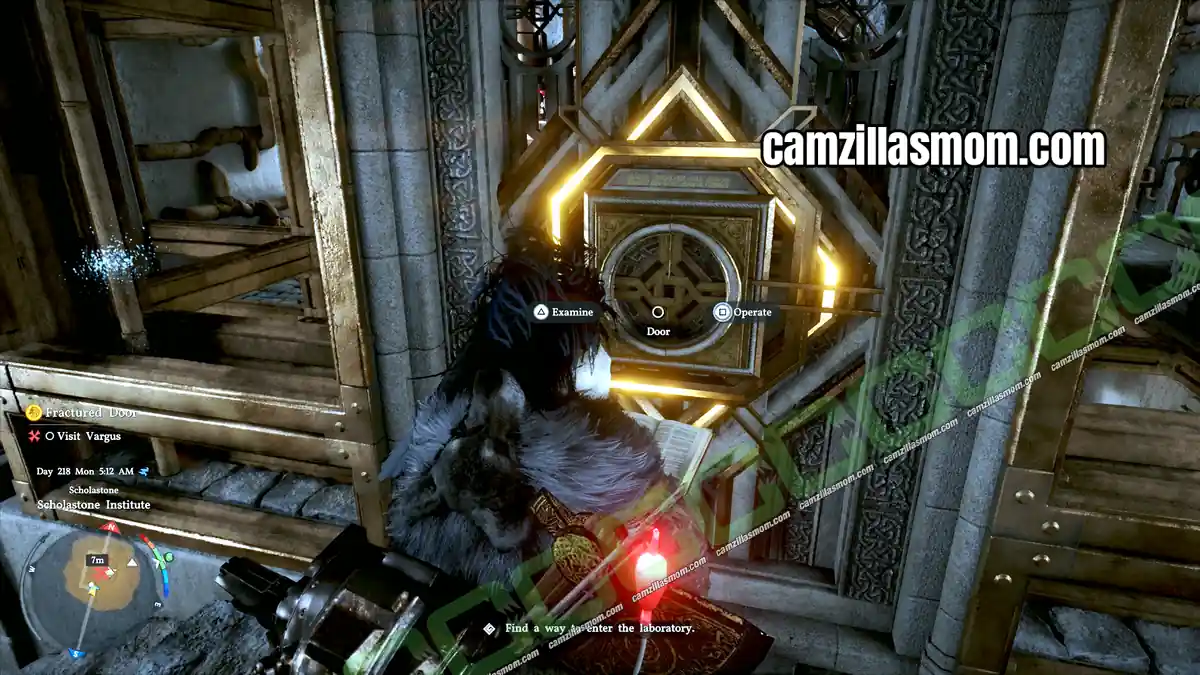
In the corridor is a mechanical door. Interact with it to start the Control Panel puzzle. You control the piece in the bottom left corner, and it slides until it hits a raised block or the edge of the grid. Activate all the inactive squares before time runs out. Here’s how to move the piece: Up, Right, Down, Left, Down, Right, Up, Right, Up, Left, Down, Right, Down, Left, Up. This opens the door.
Vargus is inside his laboratory. He wants to restart Octavius’ research to prove his professor was right, and he has rebuilt the transport device around a Visione. Most believe a Visione only shows the past, but Vargus thinks it can carry the user’s mind into another dimension. His own mind is supposedly too advanced for the device, so he needs Oongka to operate it. Oongka agrees on one condition: if anything goes wrong, Vargus shuts it down immediately. The machine powers up, and Oongka is pulled into a glowing vortex.
Oongka wakes up in a manor wearing a Visione and meets a hovering machine, the Great Marni’s butler. He realizes he has been transported to Marni’s Manor in another dimension. The last objective, Assess the Situation, completes here.
6 – Fateful Encounter
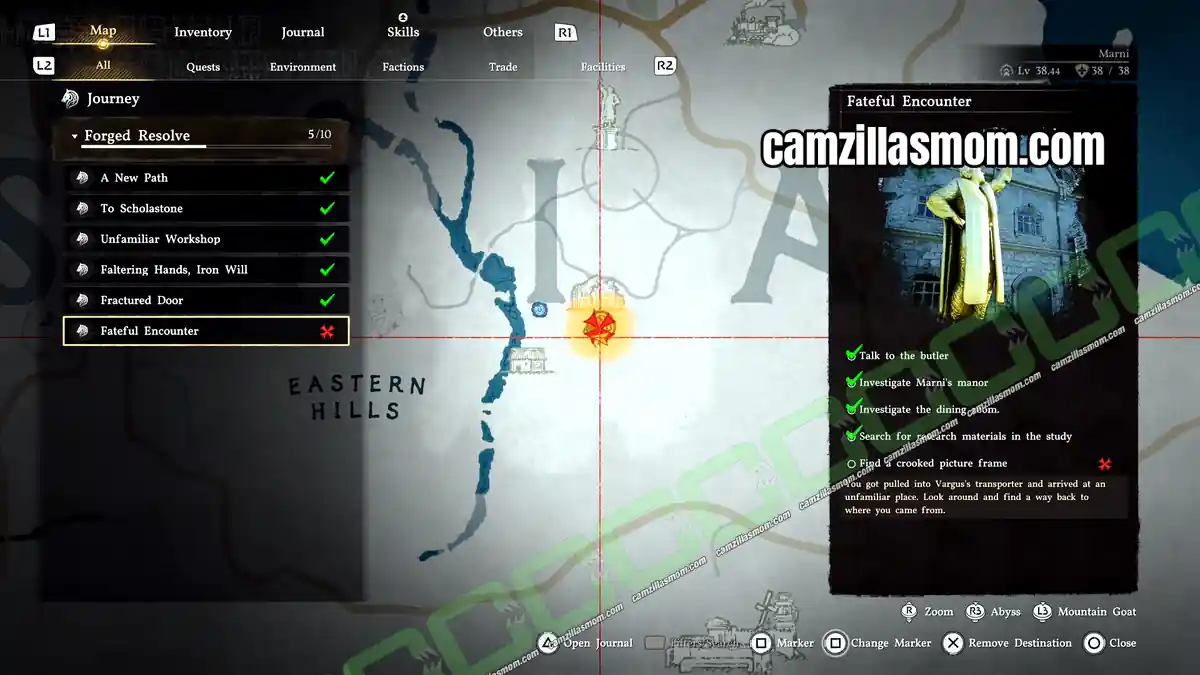
Talk to the Butler and Investigate Marni’s Manor
Talk to the butler. He explains that Marni is away chasing rumors of a great castle in the clouds and offers to help, although he is mostly lonely and chatty. Nothing you take in the manor counts as stolen, so if you’re into looting, this is the place for you.
Then inspect the candles on the wall next to the locked room. There are three sun symbols and three moon symbols. Light the candles with the sun symbols to open the gate to the next room.
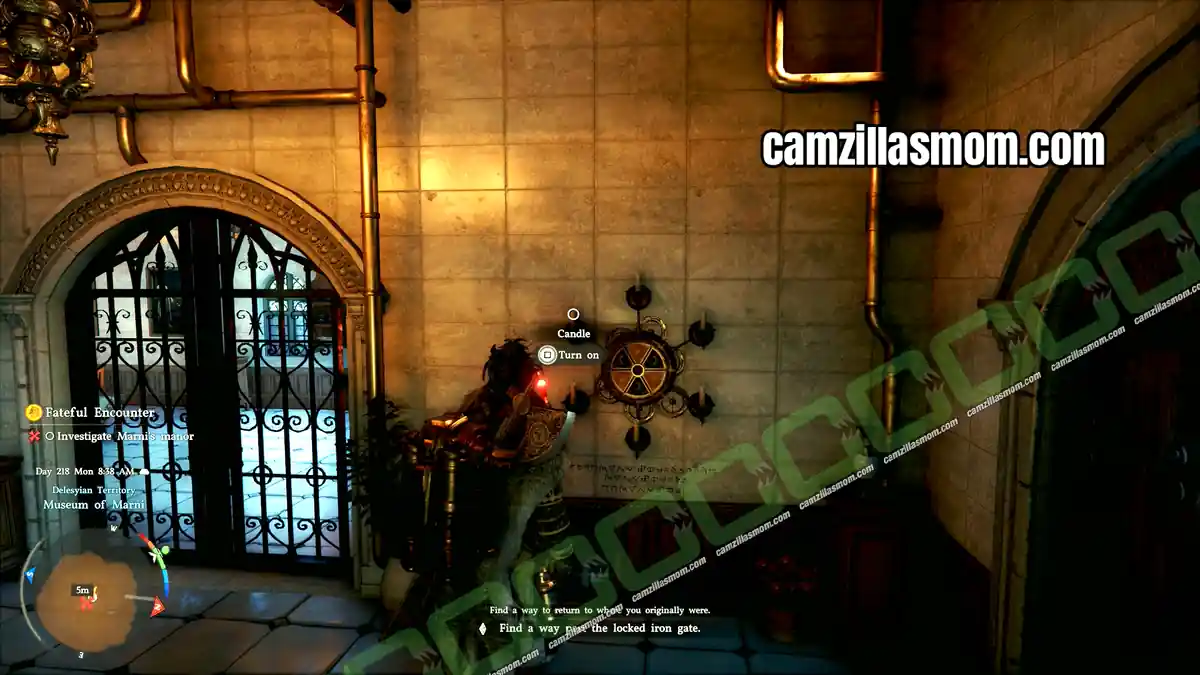
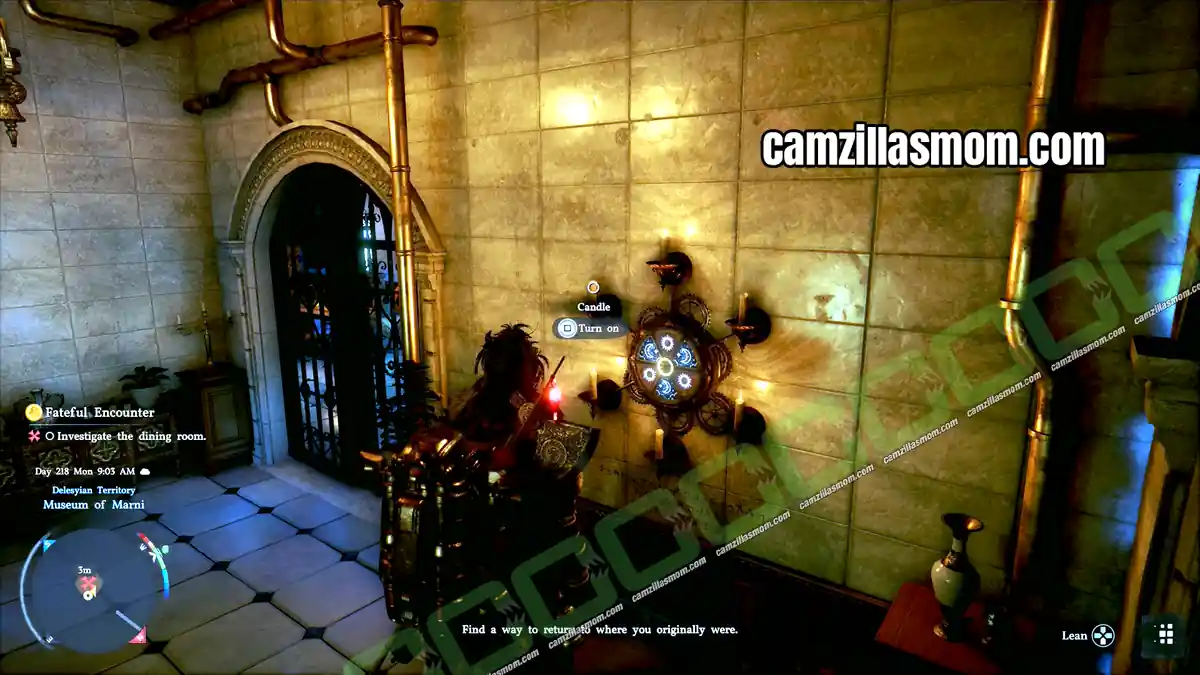
Investigate the Dining Room
Enter the Dining Room. In the cutscene, Oongka raises his lantern and sees a memory Marni left behind. Marni can’t actually see him, but he expected someone to tamper with his Visione, and anyone who causes a malfunction gets pulled into his manor. To get back, Oongka has to find the Homecoming Device hidden somewhere in the mansion and attach it to the Visione. Leaving the mansion is pointless, as Marni has placed restraints to keep visitors from other dimensions inside.
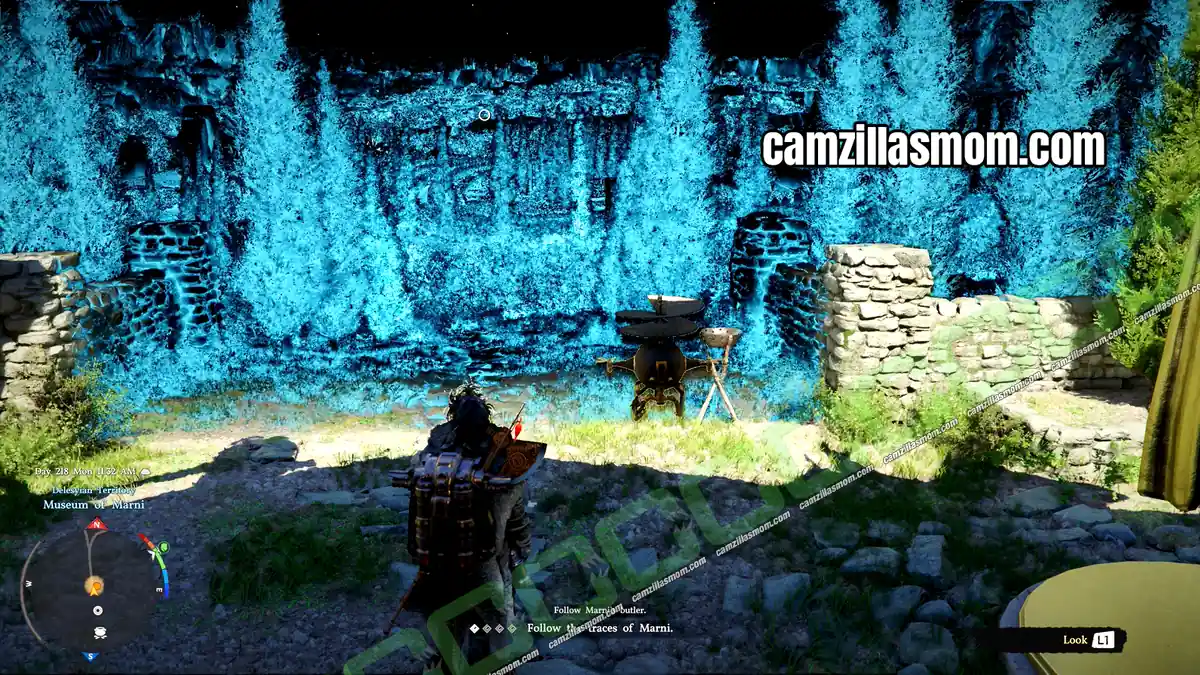
The butler knows where the device is but isn’t allowed to say. However, Marni never told him to stop strangers from rummaging through his things, so Oongka is free to search. After the cutscene, follow the butler outside to look at the glowing dimension beyond Marni’s Manor.
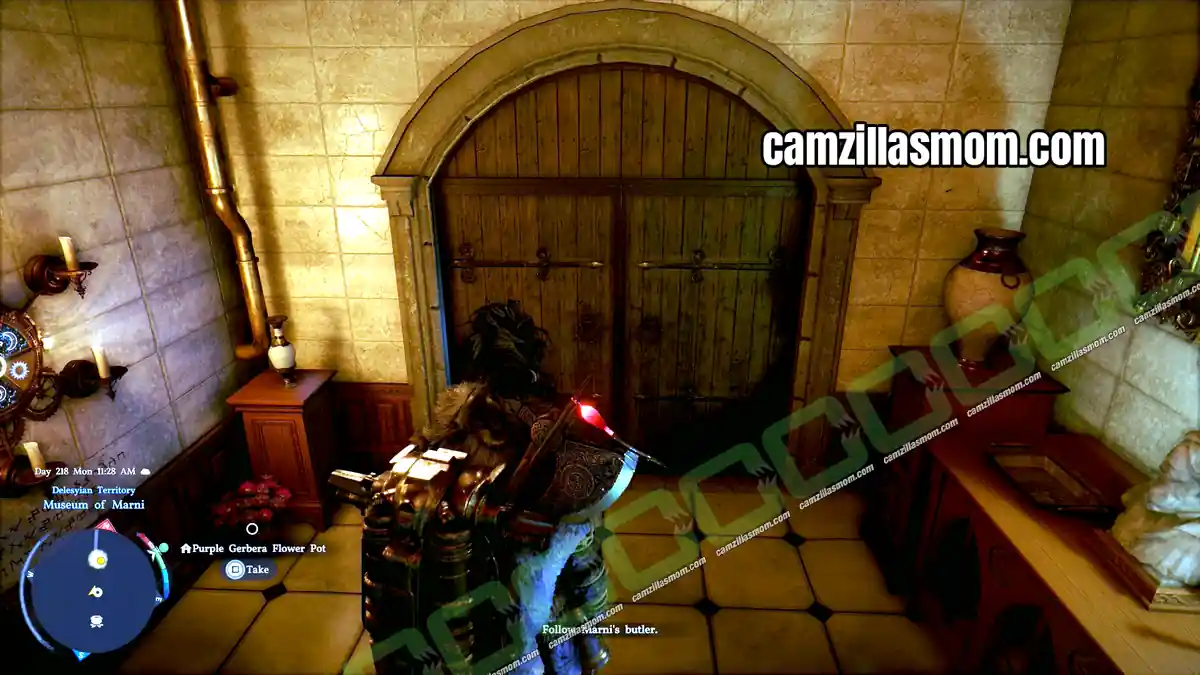
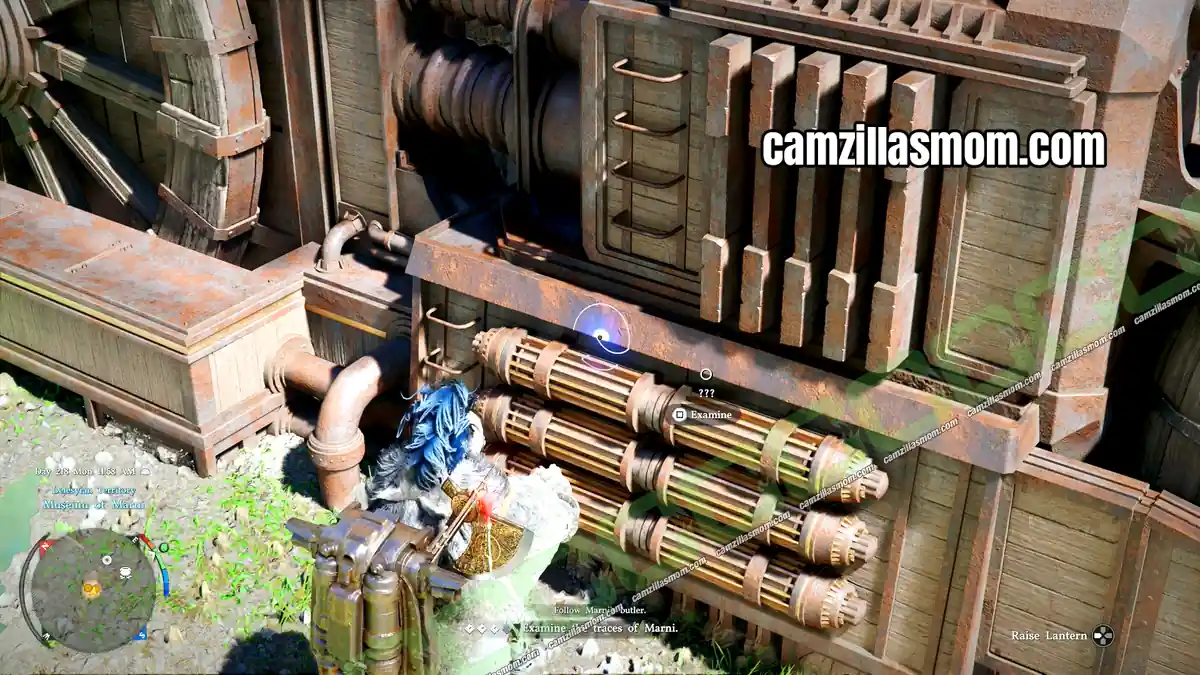
Keep following the butler. He stops at the back near a tank. Raise your lantern and examine it to receive the Marni’s Manor Fuel Tank knowledge entry. He then stops at another machine. Raise your lantern again and examine it to receive the Marni’s Manor Machinery knowledge entry.
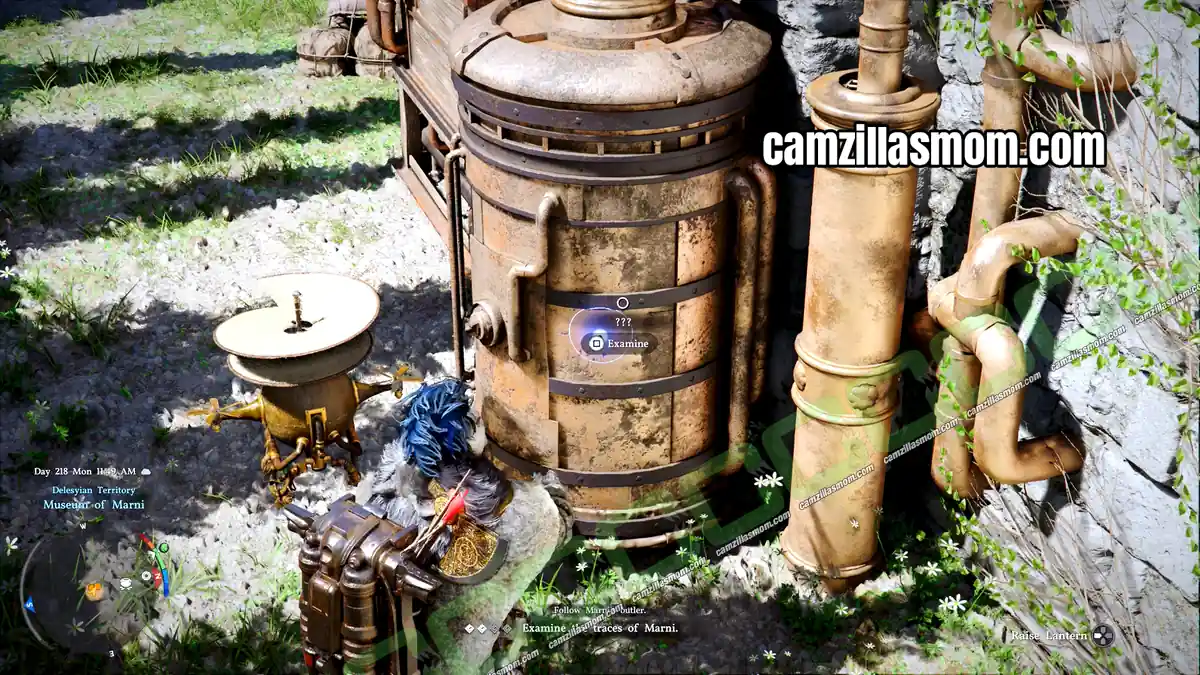
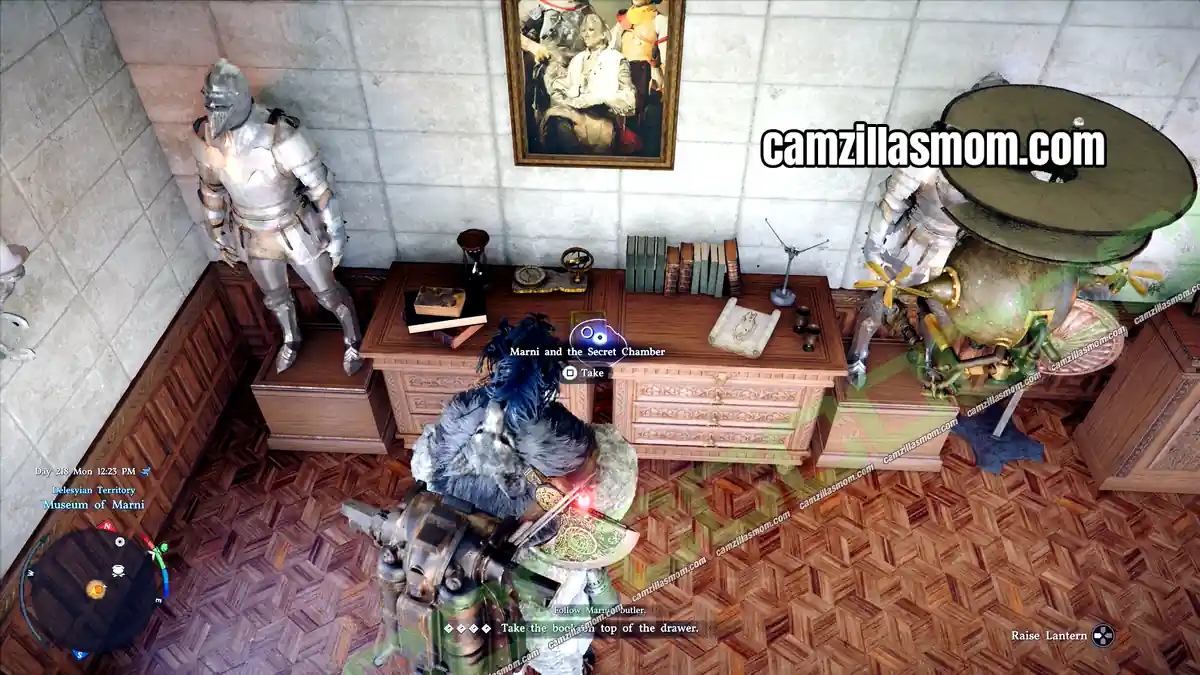
The butler then heads back into the house and upstairs, where you can pick up the book Marni and the Secret Chamber from the top of the chest of drawers. Then follow the butler to Marni’s bedroom, where he disappears. If you examine the book in your inventory, it hints that it’s more useful standing among other books than held in your hands.
Find the Secret Room
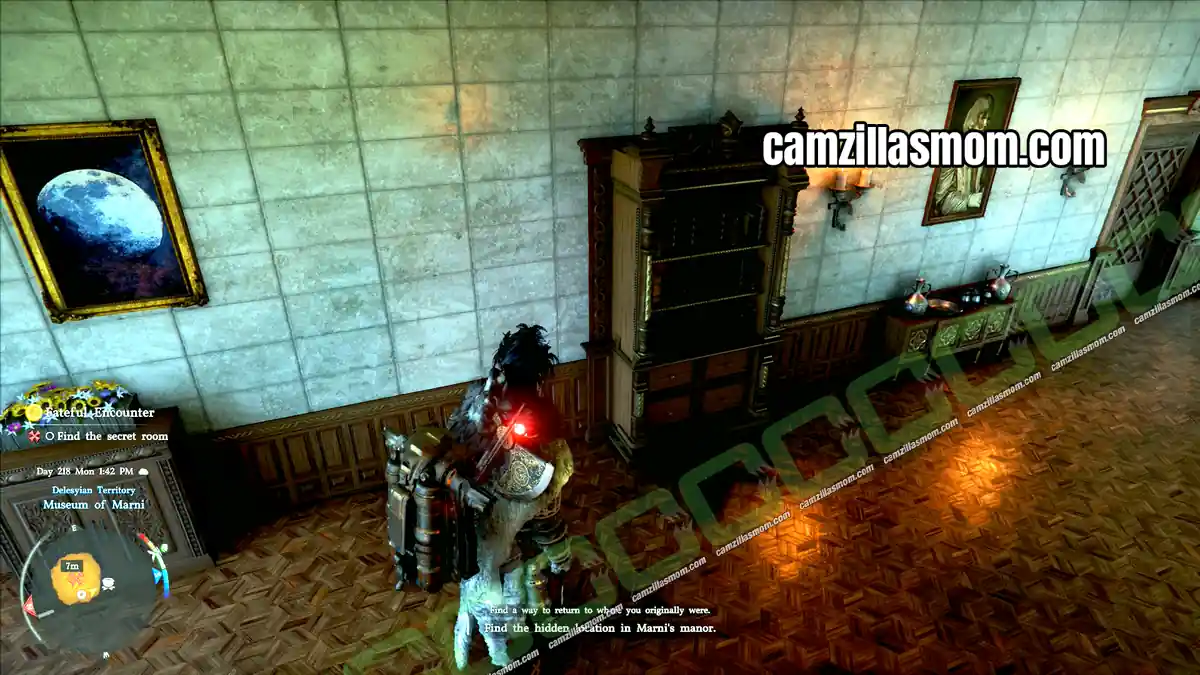
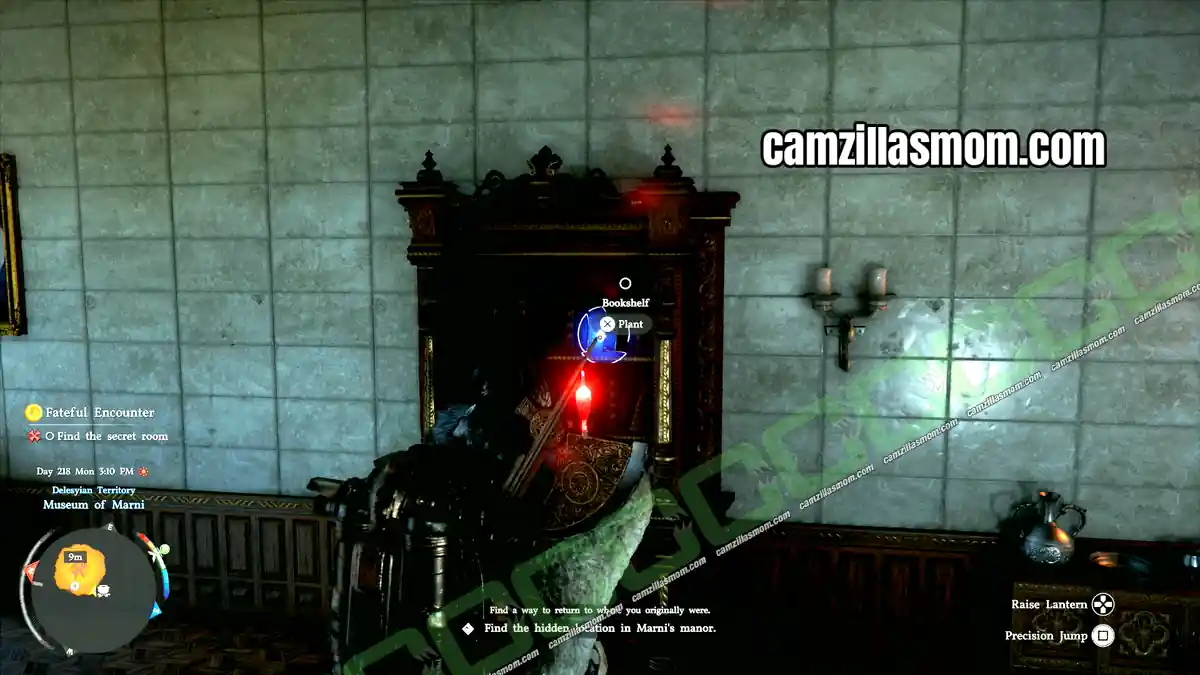
Leave the bedroom and look for the bookshelf that left odd tracks on the floor. It stands in front of a door, blocking the entrance. Raise your lantern and investigate its upper shelf. A Place prompt appears, where you can put the book Marni and the Secret Chamber. The bookshelf cracks open in the center. Open it and enter the secret room, Marni’s study.
A cutscene starts when you approach the desk, which completes the objective Search for Research Materials in the Study. Oongka finds a blueprint he could use to reinforce his hand cannon, and the butler points out that Marni invented the technology behind hand cannons. He also gives an unprompted tip: don’t touch the crooked picture frame.
Find a Crooked Picture Frame
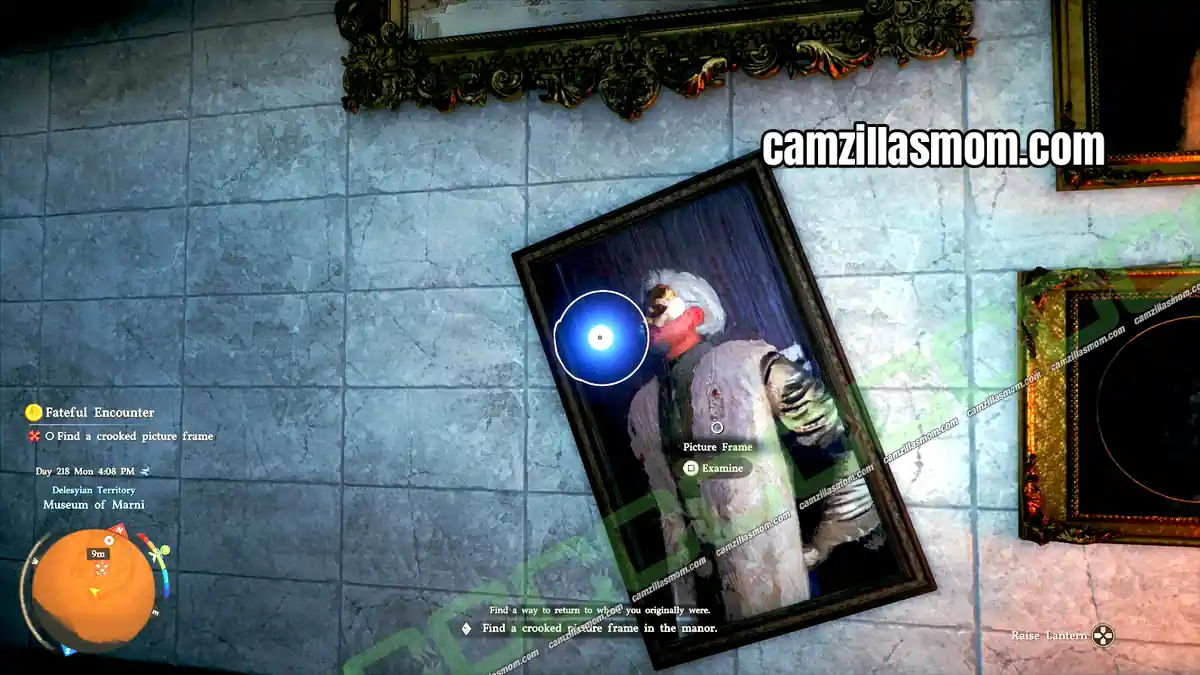
Head downstairs. At the bottom of the stairs, look at the wall right next to the staircase for a picture that isn’t hanging straight. Examine it to open the door next to it.
Find the Hidden Room, Examine the Hidden Space
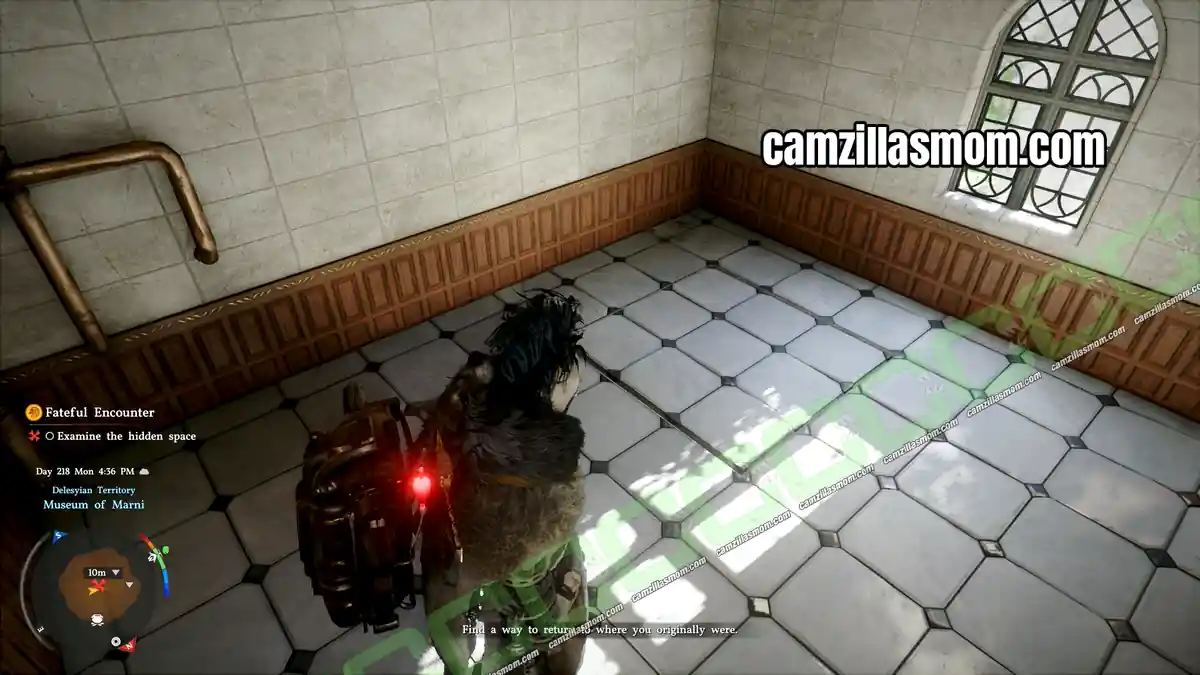
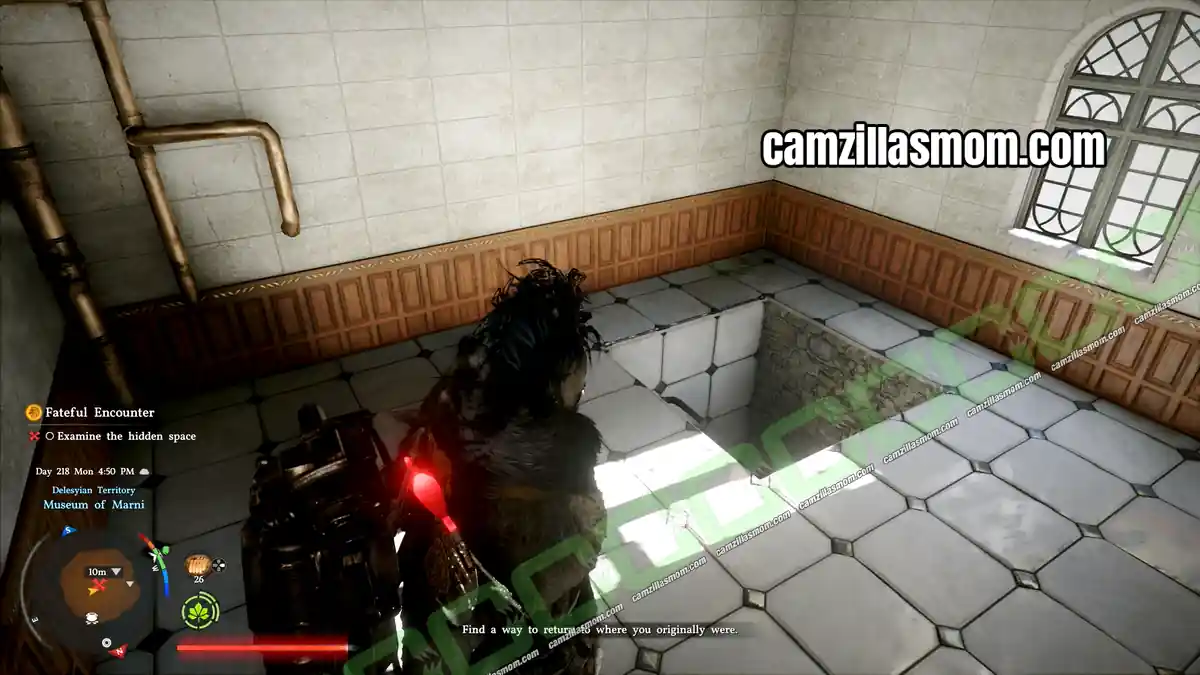
Enter this room to complete Find the Hidden Room. There is a trap door in the floor. Stand on it for a moment to fall through. A cutscene plays as you land in the basement. The butler is outraged that Oongka touched the picture frame, but admits this is Marni’s private workshop for his early prototypes. It has every tool Oongka needs, and the quest completes.
7 – The Scattered Pieces
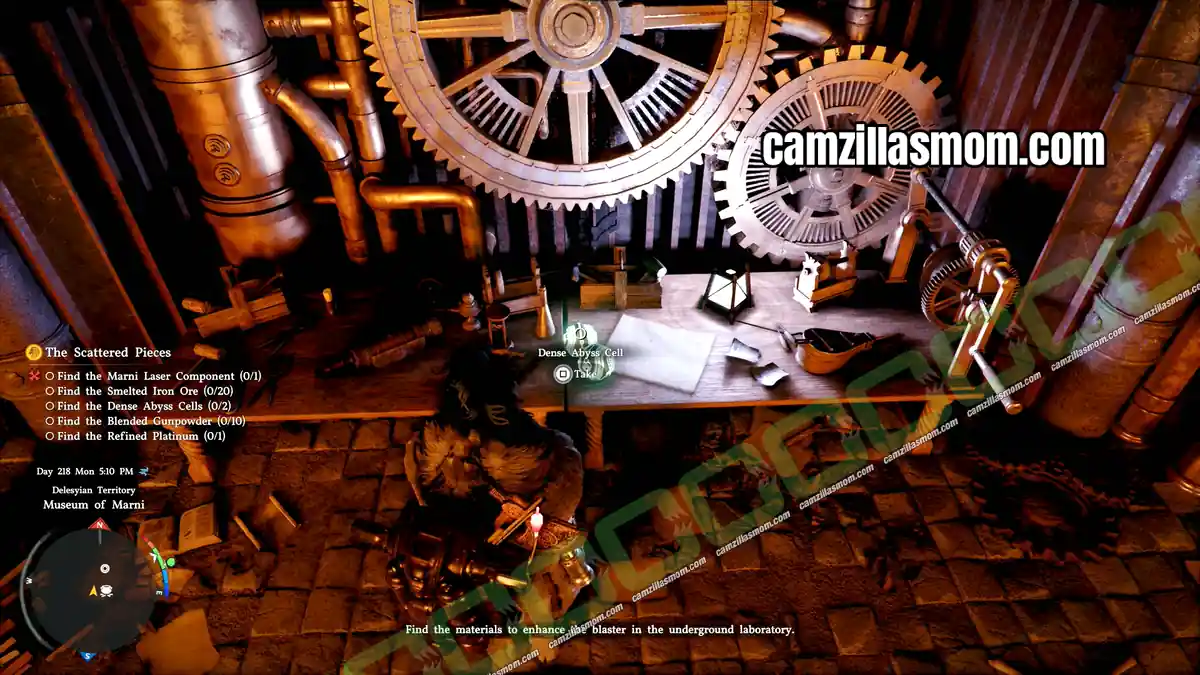
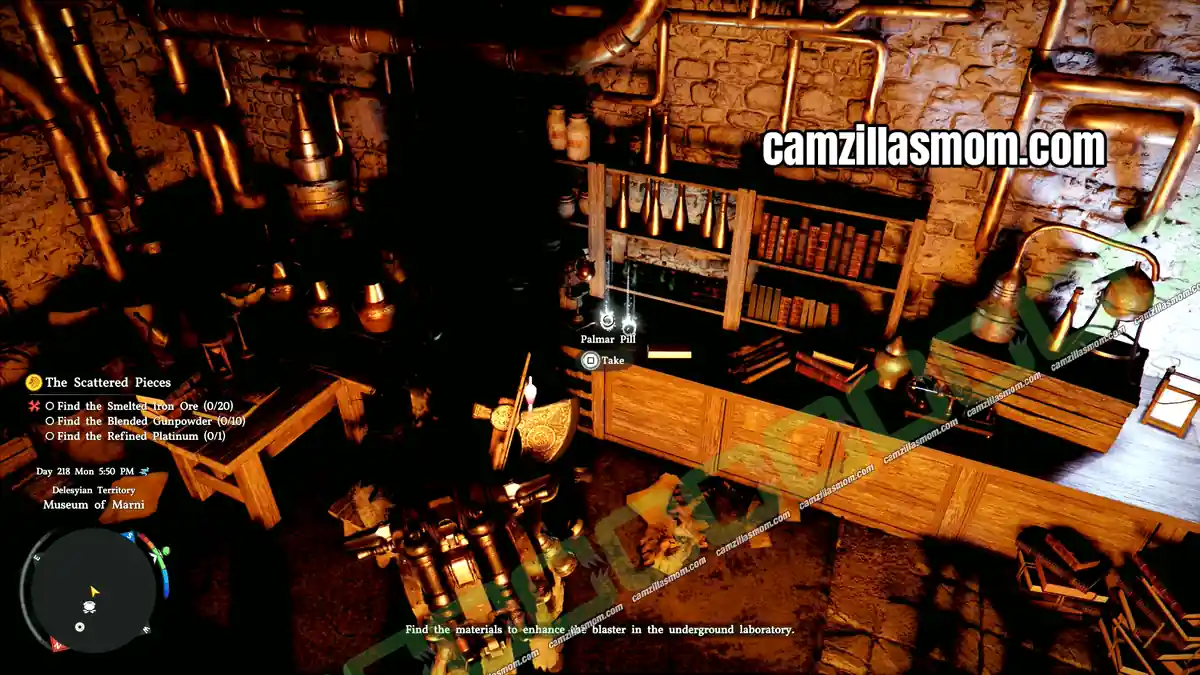
Search the basement workshop for materials to maximize the blaster’s output. All five materials are in this room.
Find the Marni Laser Component (1)
It’s on the table below the turning cogwheels, next to the Dense Abyss Cells. The item is called Upgraded Marni Laser Component.
Find the Dense Abyss Cells (2)
Both are on the table below the turning cogwheels.
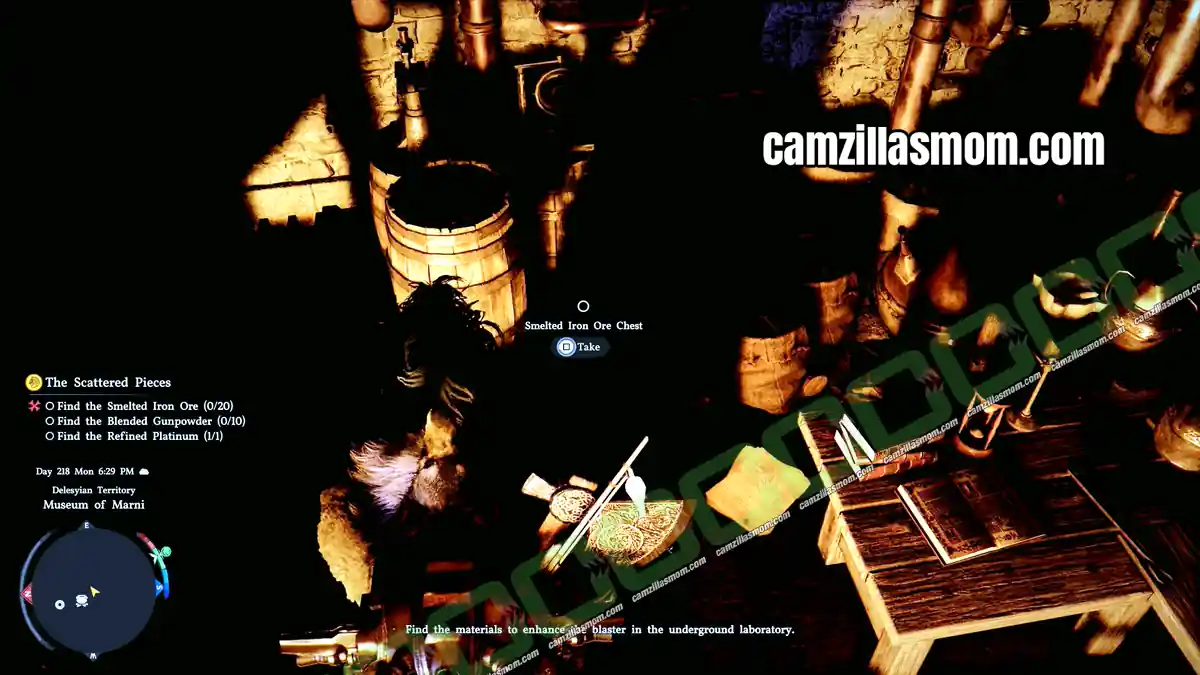
Find the Smelted Iron Ore (20)
There are two Smelted Iron Ore chests in the dark corner of the room. Each chest holds 10 pieces.
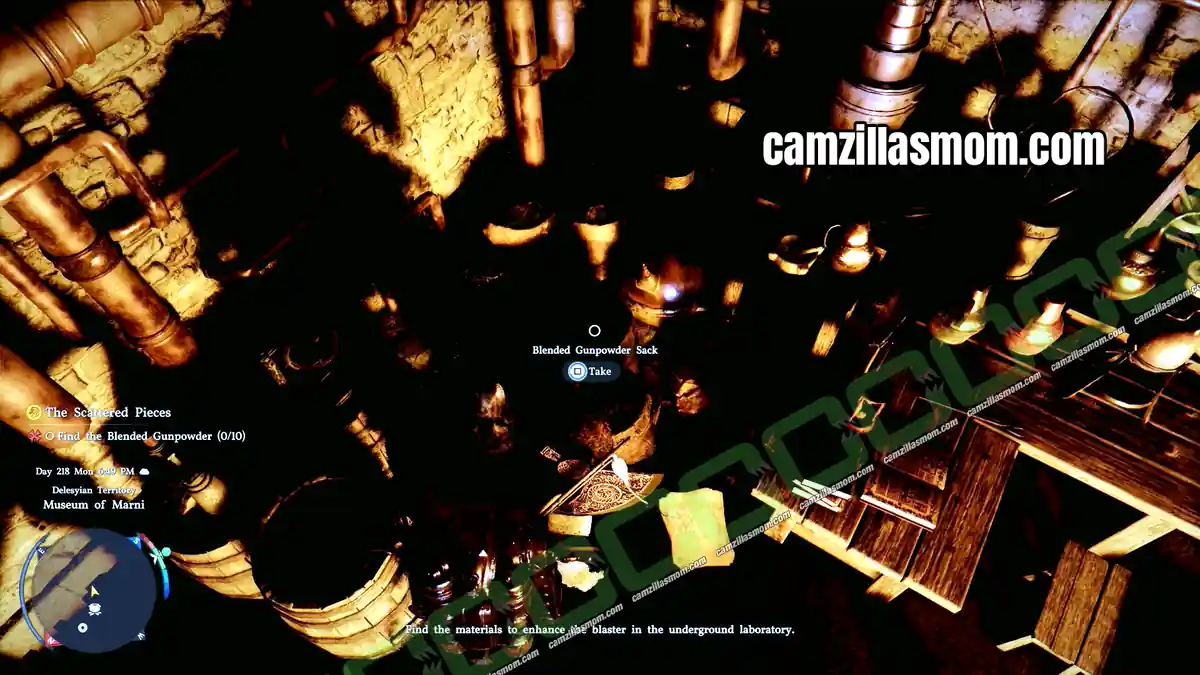
Find the Blended Gunpowder (10)
The Blended Gunpowder sacks are right next to the Smelted Iron Ore. There are two sacks with 5 pieces each.
Find the Refined Platinum
The Refined Platinum bar is on the other side of the room.
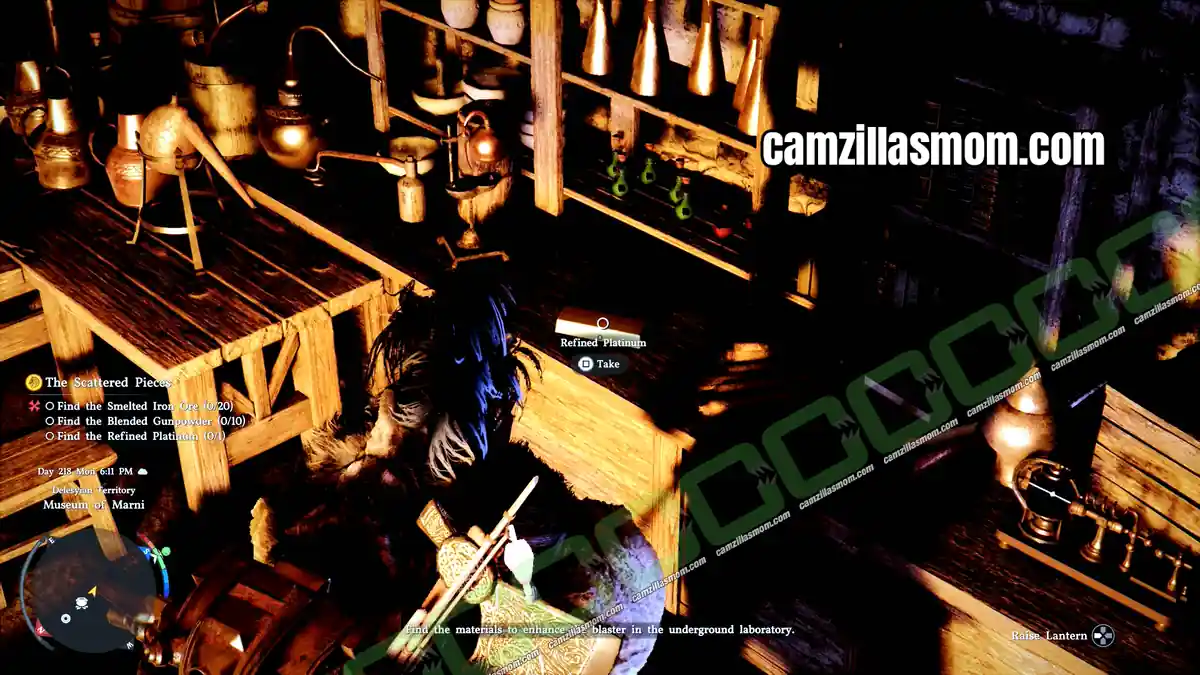
There are also two Palmar Pills next to it.
Craft a Reinforced Blaster
Return to the table near the turning cogwheels to craft the Reinforced Blaster in a silent cutscene. Oongka wants to field-test it before using it, and the butler plays a pre-recorded message from Marni. Marni claims he can see past and future as one and planted the memory knowing someone would come looking for him. Oongka realizes Marni could have stopped the Visione from breaking in the first place, and the malfunction was just a game to him. Before Oongka leaves, the butler introduces himself as H.A.L.L.
Oongka is then pulled into a distorted reality bathed in a blue glow, where everything is turned upside down. T’rukan, the tiger-masked enemy Kliff defeated in the Six Statues and the Beast questline, leads the monks. The Reed Devil from Seed of Unease and Dance with the Devil is on the good side, and the Greymanes are dead. A voice calls out from the shadows, and the quest completes. Reward: Enhanced Fatum Blaster.
8 – Twisted Fate
Approach the Mysterious Man
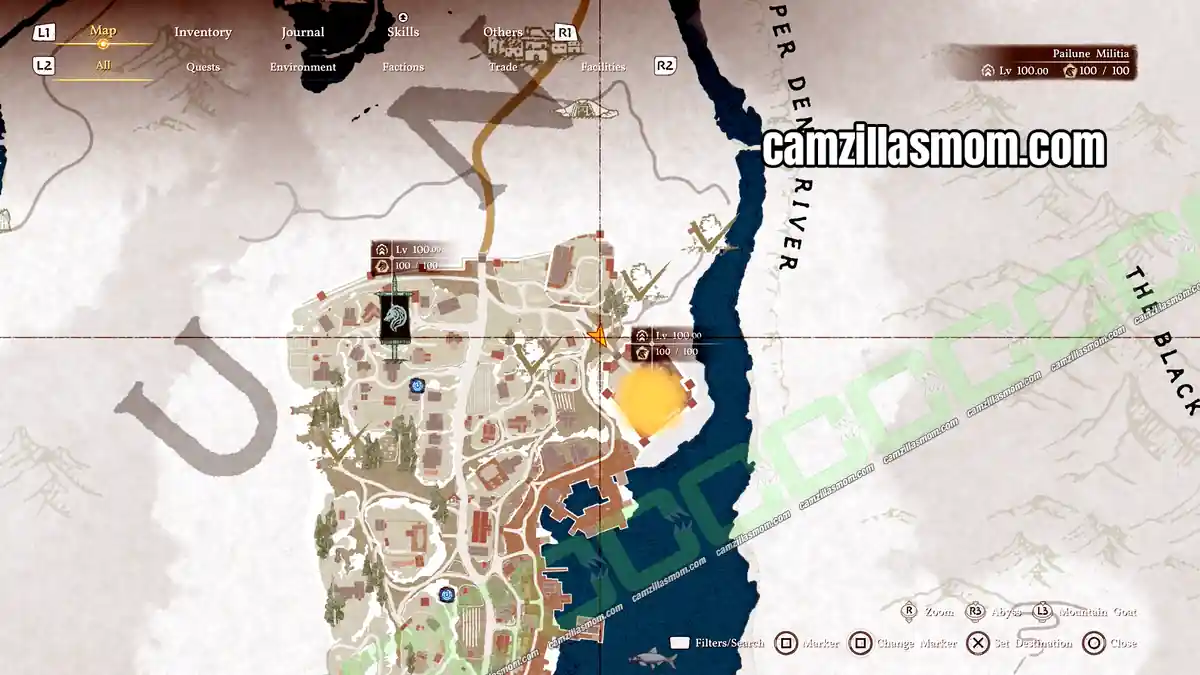
Oongka is back in Pailune City, but the Greymanes are dead and someone is waiting for him at the Town Hall. The mysterious man turns out to be Kliff, who calls himself Goyen here. Defeat him in a boss fight. Goyen has to be beaten twice, and afterwards he somehow sends Oongka back to Vargus. Reward: Storm’s Echo.
9 – Path of the Engineer
Return to Vargus
This quest plays as a single cutscene. Oongka arrives back in Vargus’ laboratory with his upgraded blaster, built with the help of Marni’s old notes. Vargus celebrates the trial as a success, while Oongka warns him that toying with dimensions will get them all killed. Dean Grundir arrives and wants an explanation, then thanks Oongka: twice the Institute failed, and twice a Greymane saved it. There will be no more reckless experiments. Oongka leaves Scholastone knowing that creation can also be a form of protection.
10 – Unidentified Attack
Return to Your Comrades
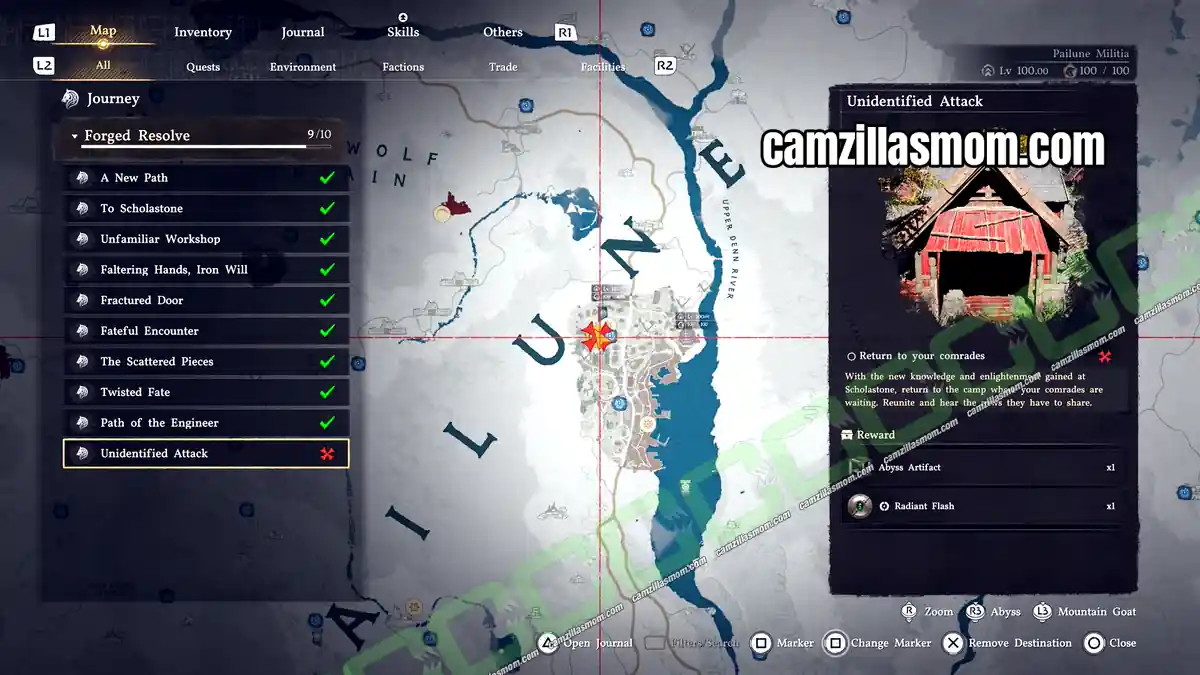
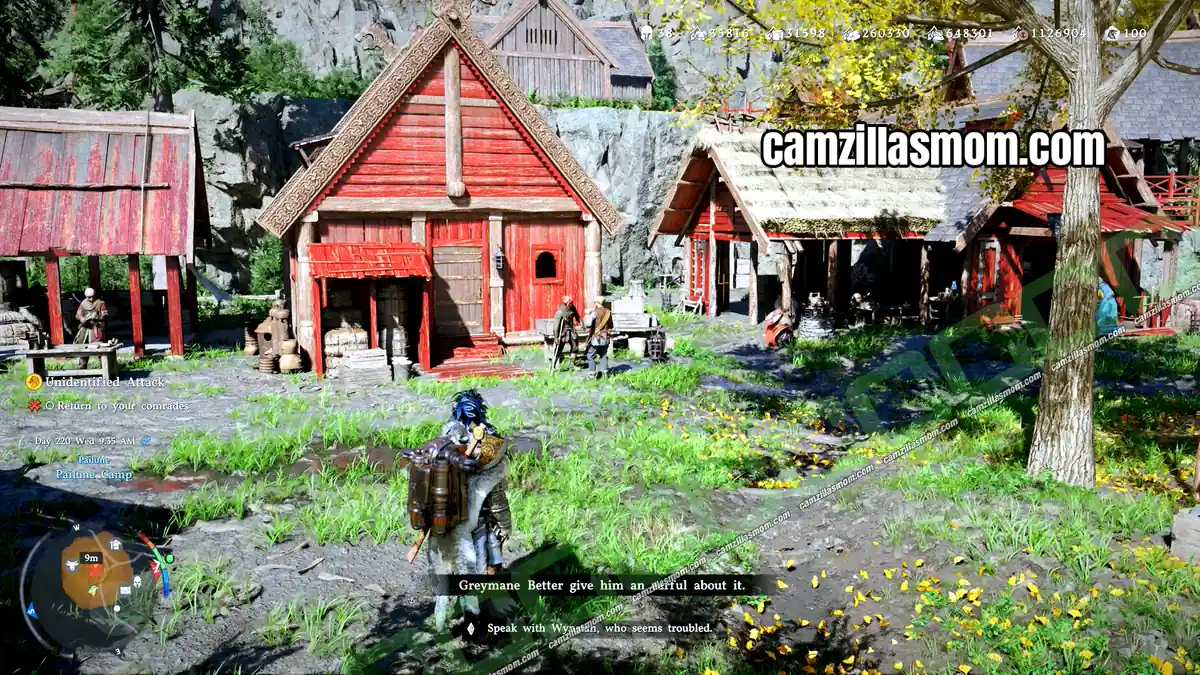
Return to Wynstan in Pailune City to start a cutscene with Wynstan, Marius, Yann and Naira. Yann’s trade wagon was attacked near the Crimson Desert. Nobody was hurt, but Yann swears it was a huge monster with a gleaming metal shell, not bandits. Oongka suspects a machine, possibly built by the Helms, who strip down stolen goods and rebuild them. He sets out to test his new equipment and recover the wagon.
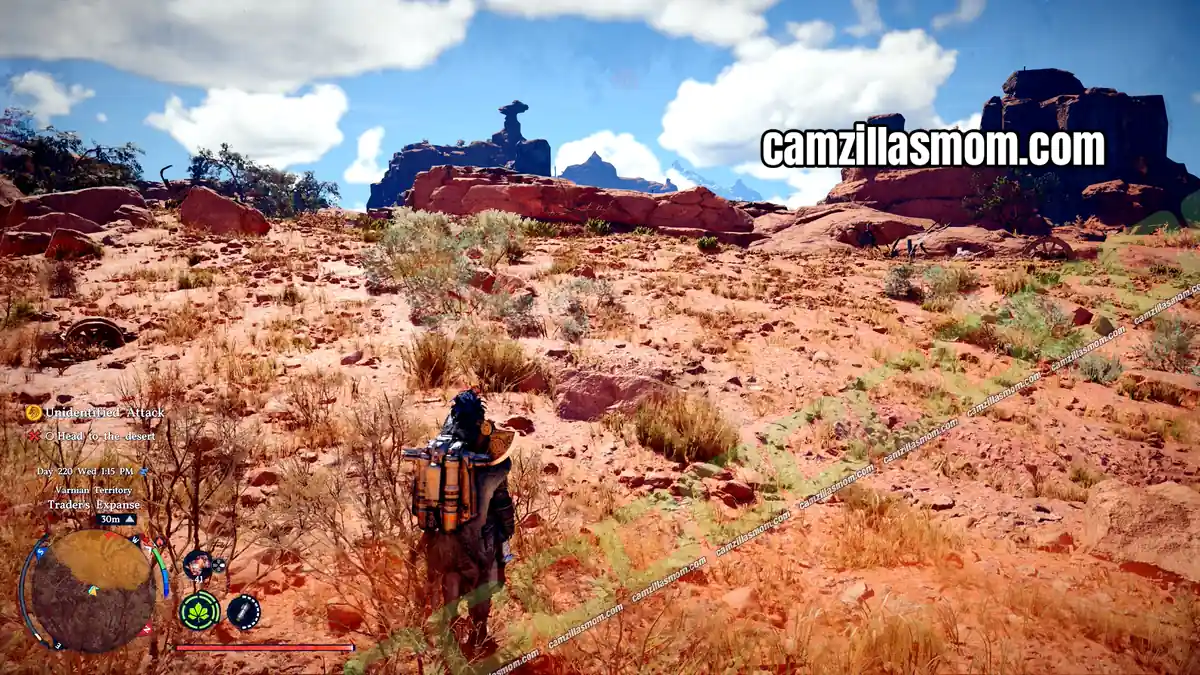
Head to the Desert
Yann’s wagon was attacked on the road between Urdavah and Varnia.
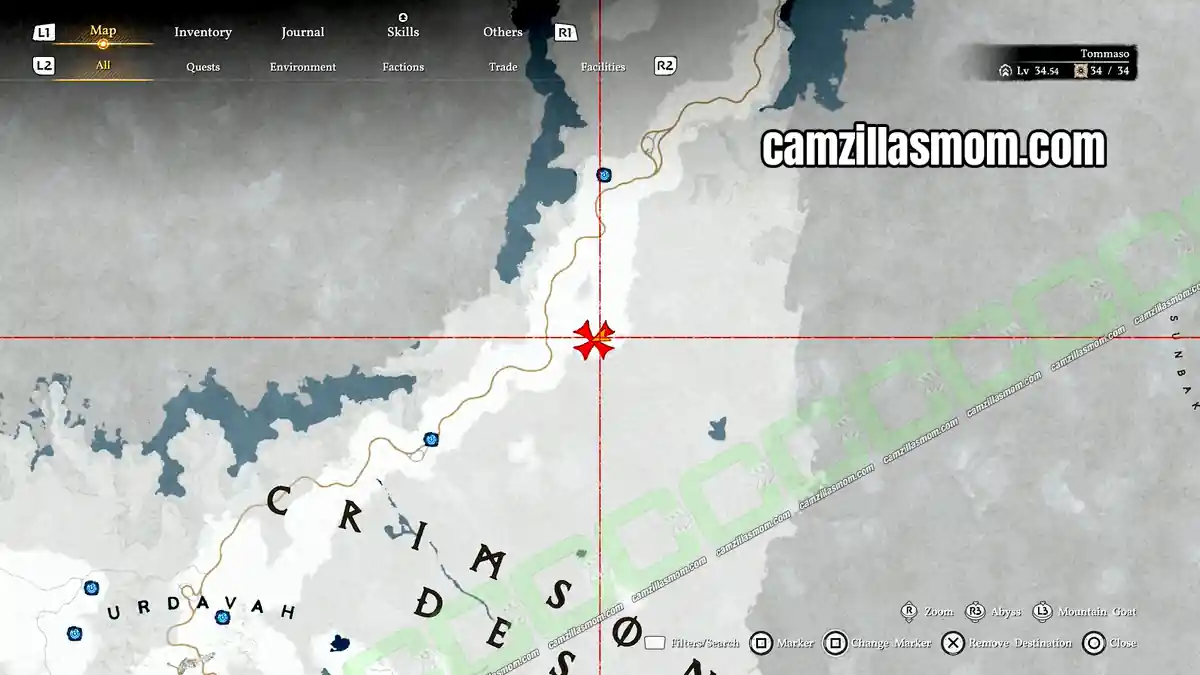
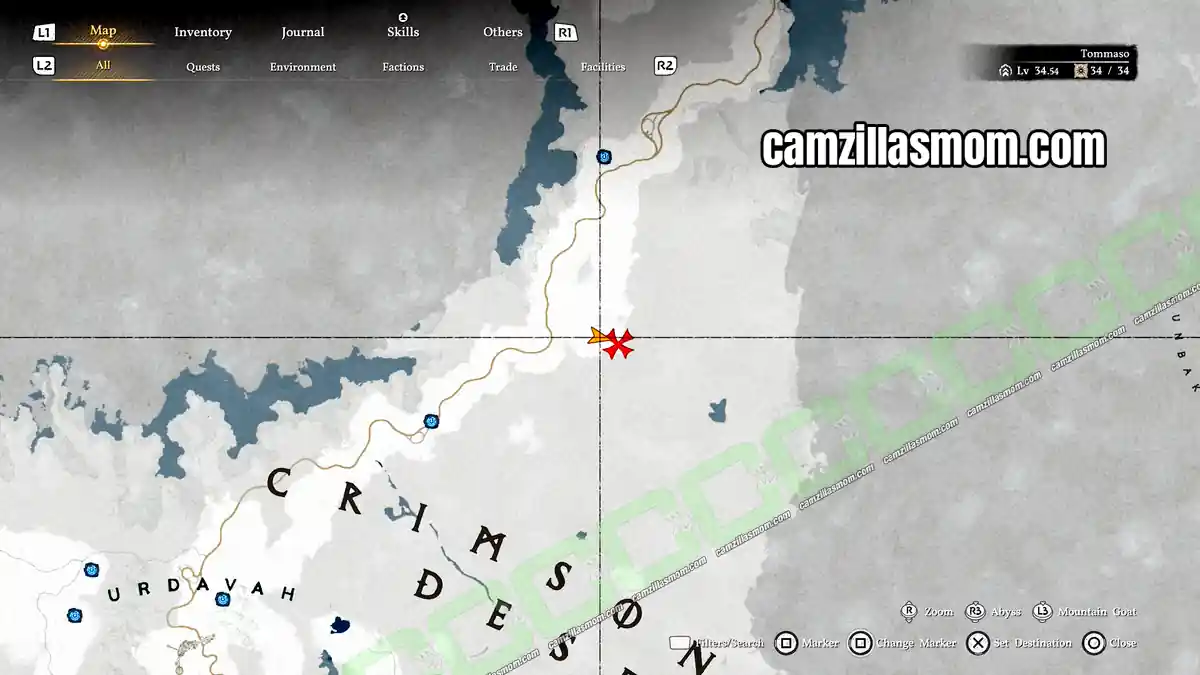
Search for the Monster’s Traces
As soon as you enter the marked area, you get another map marker. It leads to Tashkalp on the Dustwind Plateau, an area full of scrap metal. Enter the house and look through the documents. Harkan’s Journal reveals who lives here. Harkan was driven out by the Helms, his face was torn open by a Queen Stoneback Crab, and he has built a mechanical Queen Stoneback Crab from scrap to take his revenge. The Dancing Machine Siege Weapon Design on the wall is optional reading about another siege weapon.
The broken wagon is in the center of this area, sending up a big plume of black smoke. Approaching it starts a cutscene where the Scrapmetal Queen Stoneback Crab attacks.
To defeat the Scrapmetal Queen, equip two swords to dual-wield before you start the fight. There are three weak points at the top of her back. Smash the panels covering them, then look for the Cling prompt. Cling on near the red orb and stab it when prompted. Destroy all three orbs to bring the Scrapmetal Queen down.
The easiest time to do this is while the Scrapmetal Queen is incapacitated. To incapacitate her, fill the yellow bar under her health bar by shooting her with the cannon.
Her pilot, Iron Tyrant Harkan, then falls out of the wreckage and attacks. Defeat Iron Tyrant Harkan to complete the quest and the Forged Resolve questline.
Rewards: Abyss Artifact and Radiant Flash.
With his newly upgraded equipment, Oongka defeats the giant machine threatening the desert. The man who had used his skills only for revenge has learned the path of protection rather than destruction.
More Crimson Desert Guides

Crimson Desert: Carl’s Request Quest Walkthrough
Crimson Desert Carl’s Request walkthrough: deliver 5 Thick Hides to the tannery and report back to C…

Crimson Desert: Cheers Echoing From The Edge Quest Walkthrough
Crimson Desert Cheers Echoing From the Edge walkthrough: find Hornsplitter, trigger the boss fight, …

Crimson Desert: Children of the Woods – Full Walkthrough
Find all four Shai children across Mystic Falls, Beautiful Desert, Wyvern's Cradle, and Desert's Edg…

Crimson Desert: Connor’s Request Quest Walkthrough
Step-by-step walkthrough for Connor's Request in Crimson Desert. Help the camp Lapidarist gather Gol…

Crimson Desert: Conrad’s Request Quest Walkthrough
Complete Conrad's Request in Crimson Desert by talking to Conrad at his furniture shop in Howling Hi…

Crimson Desert: Dahlia’s Request Quest Walkthrough
Crimson Desert Dahlia’s Request walkthrough: find the debtor at the northern stables, collect the ta…


About Crimson Desert
Release: March 19, 2026
Developer: Pearl Abyss
Publisher: Pearl Abyss
Official Website: https://crimsondesert.pearlabyss.com/en-US/Main