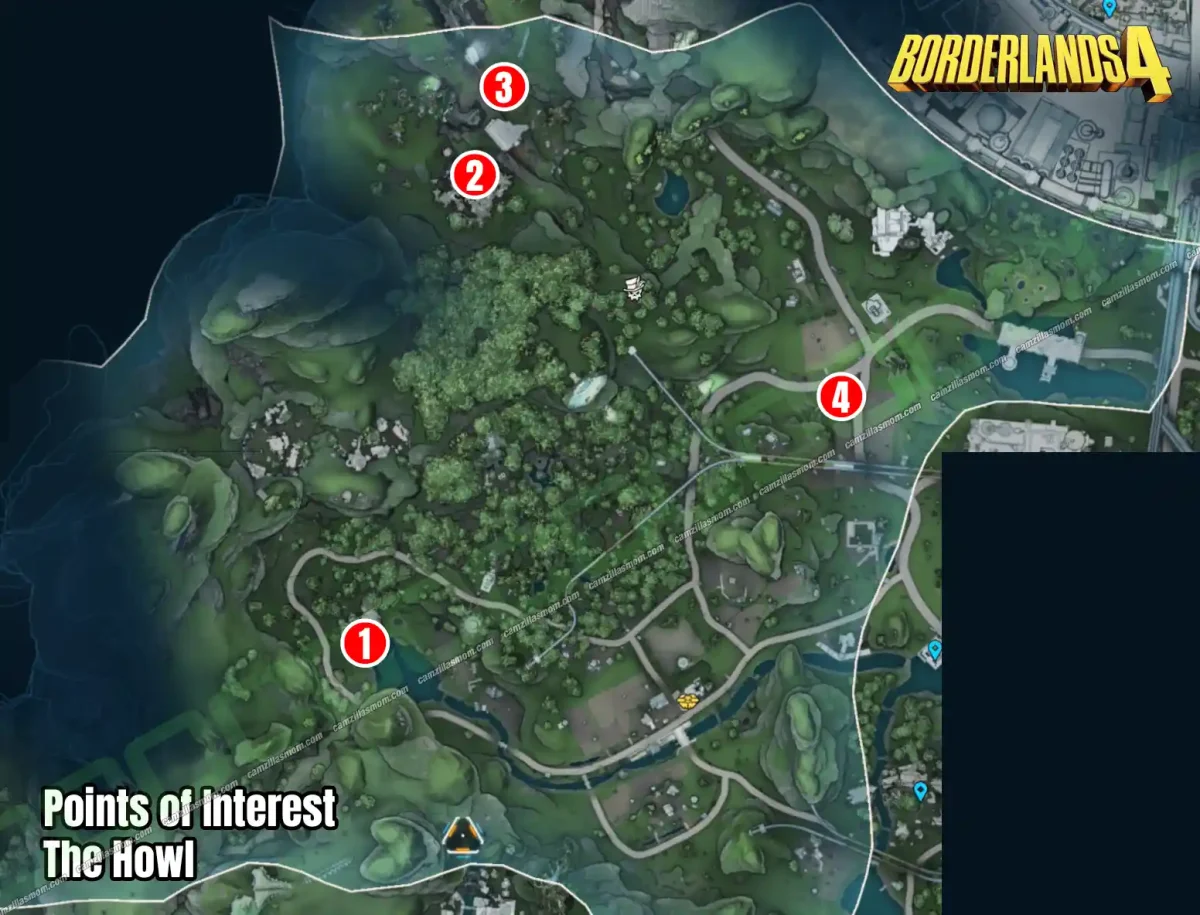
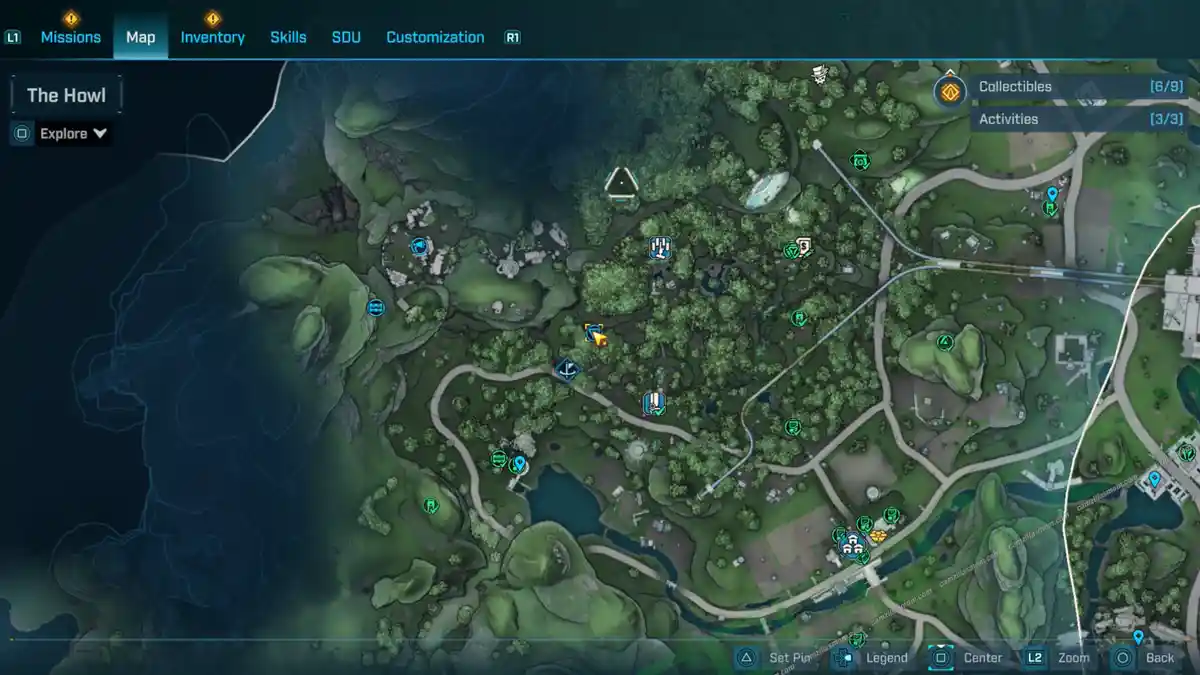
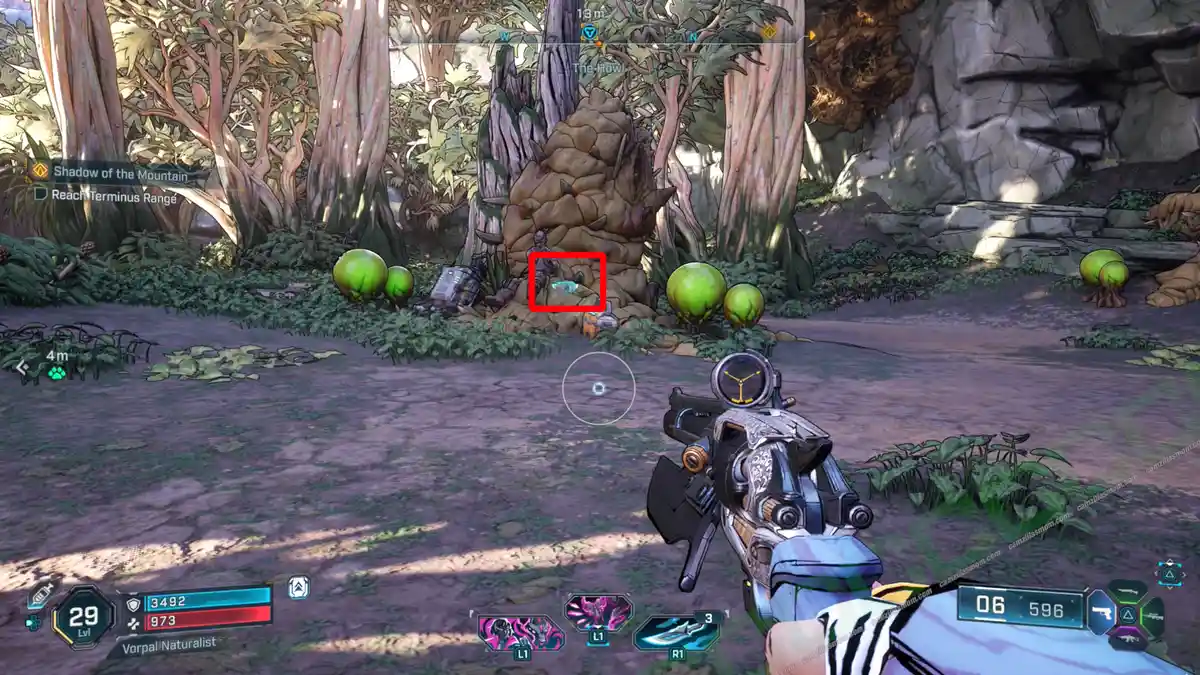
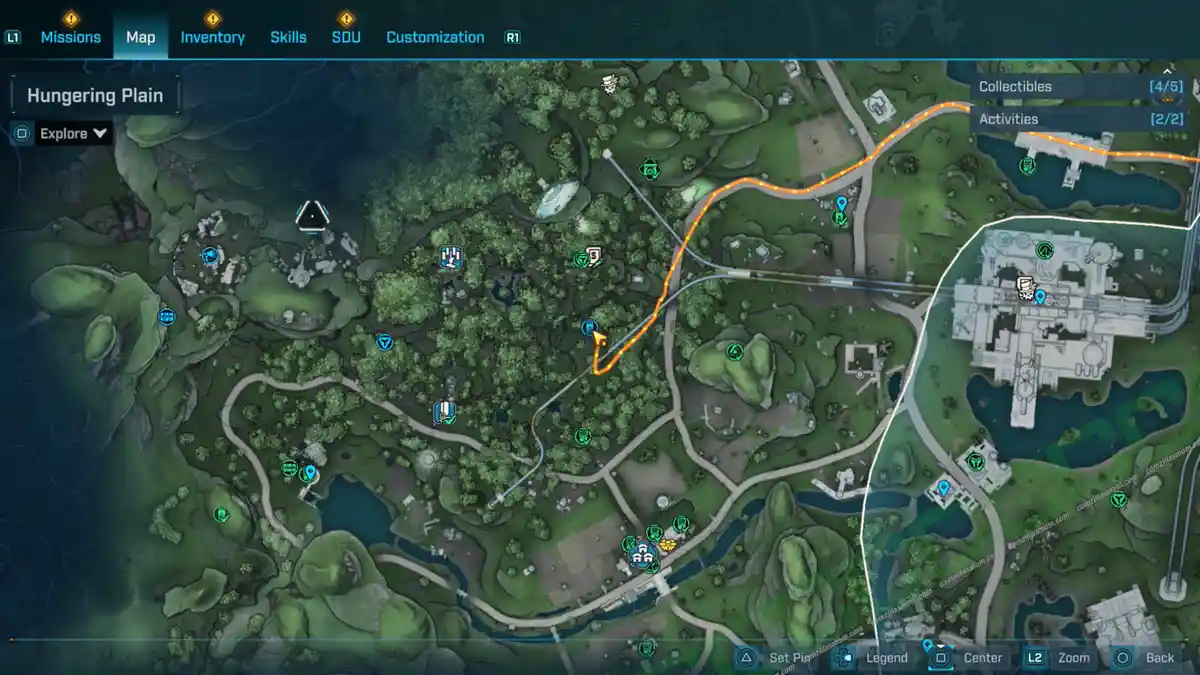
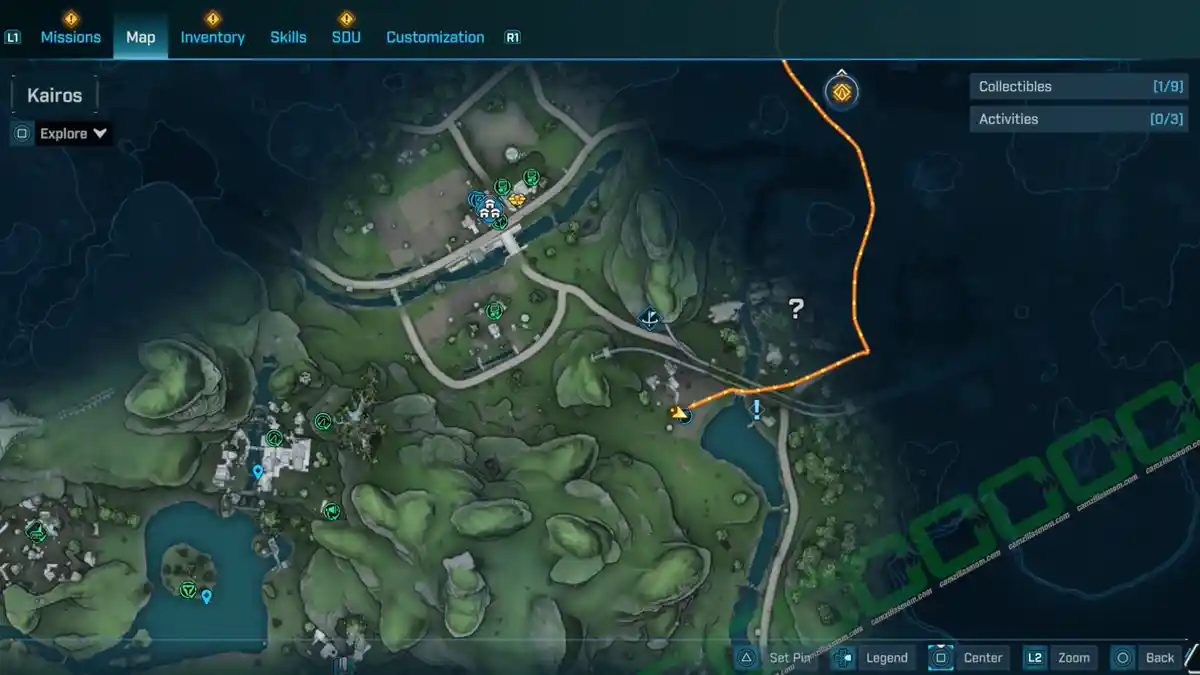
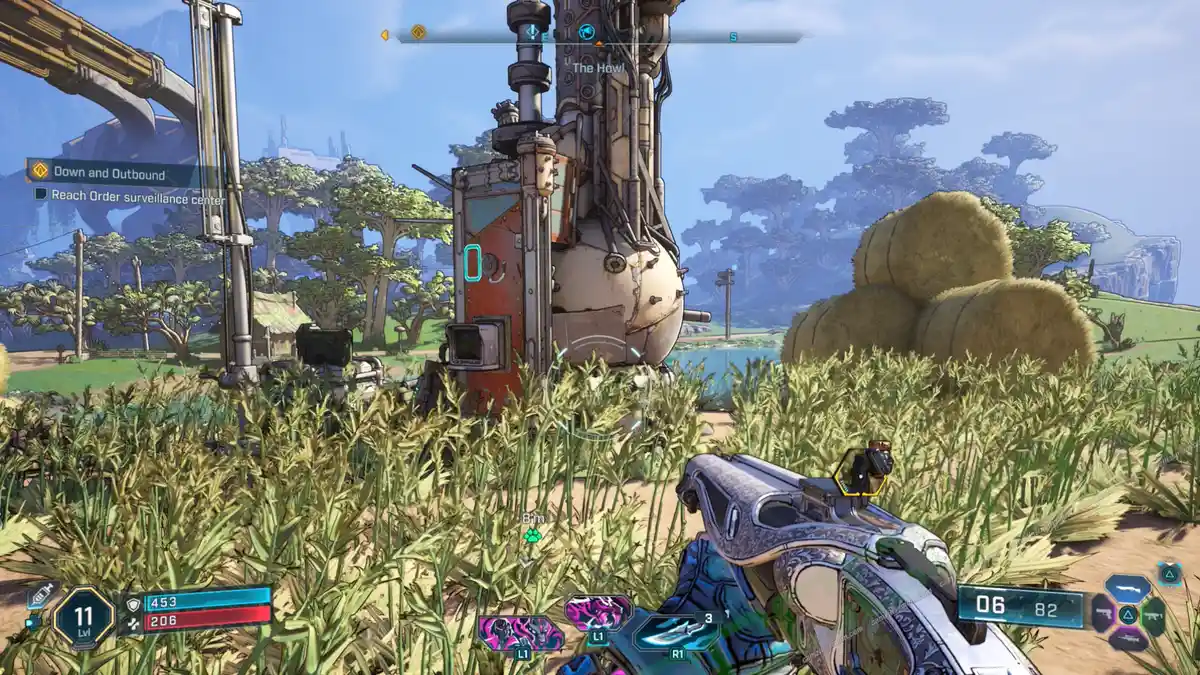
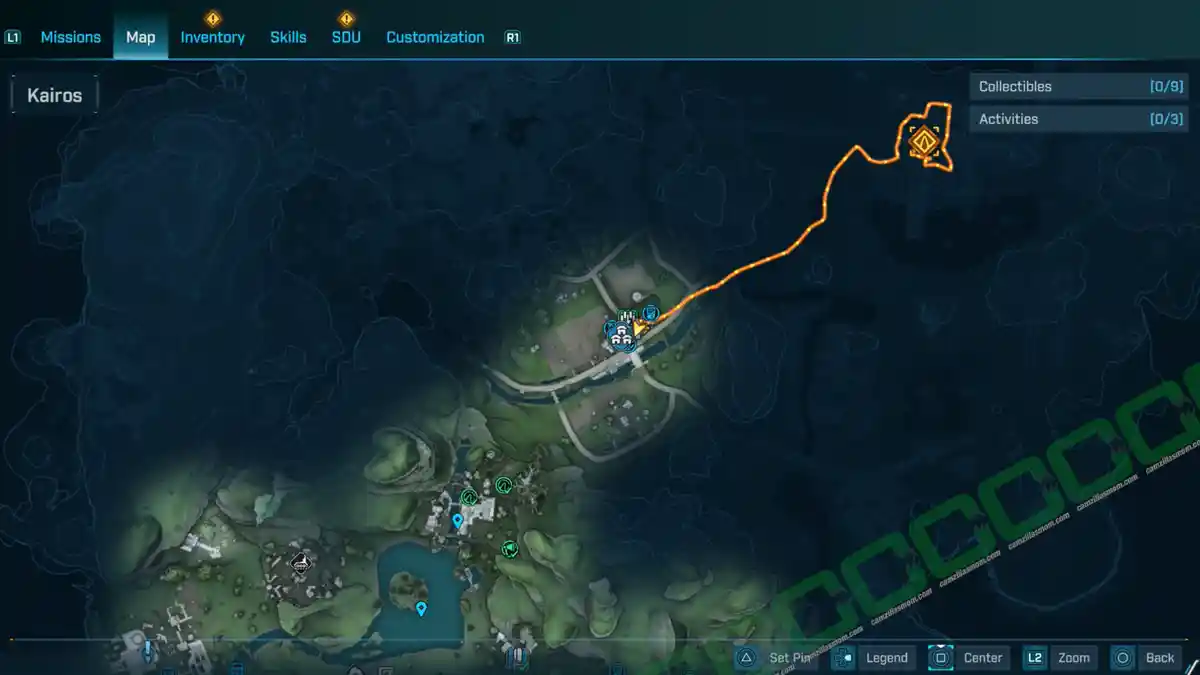
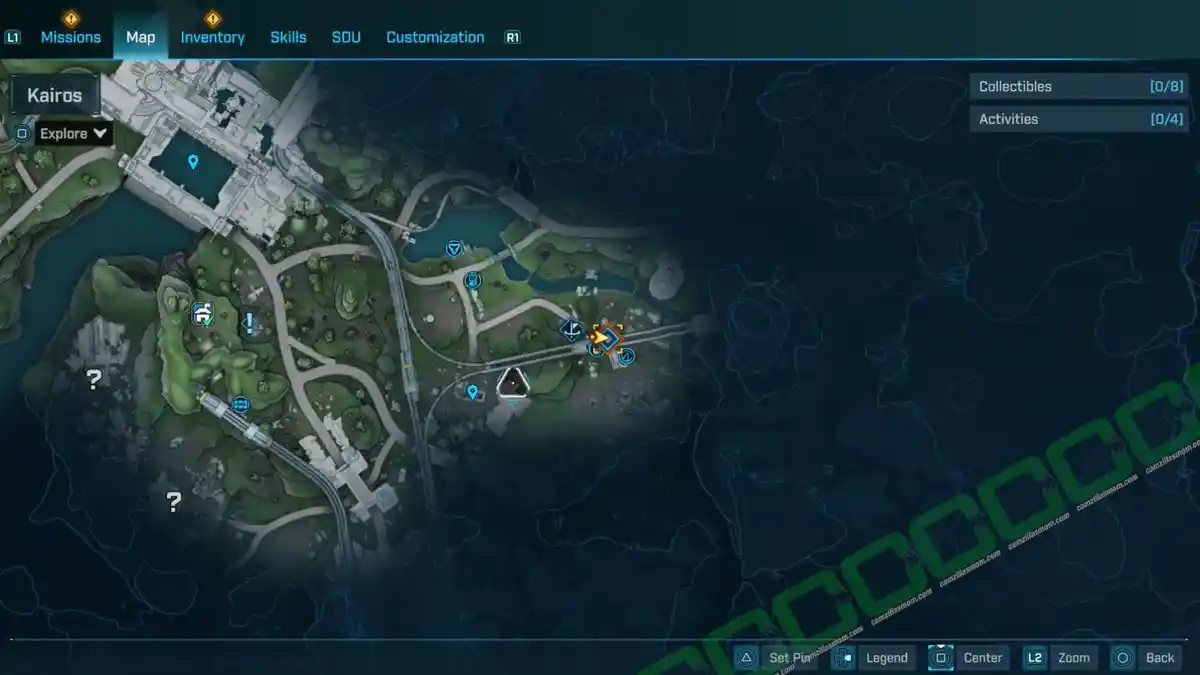
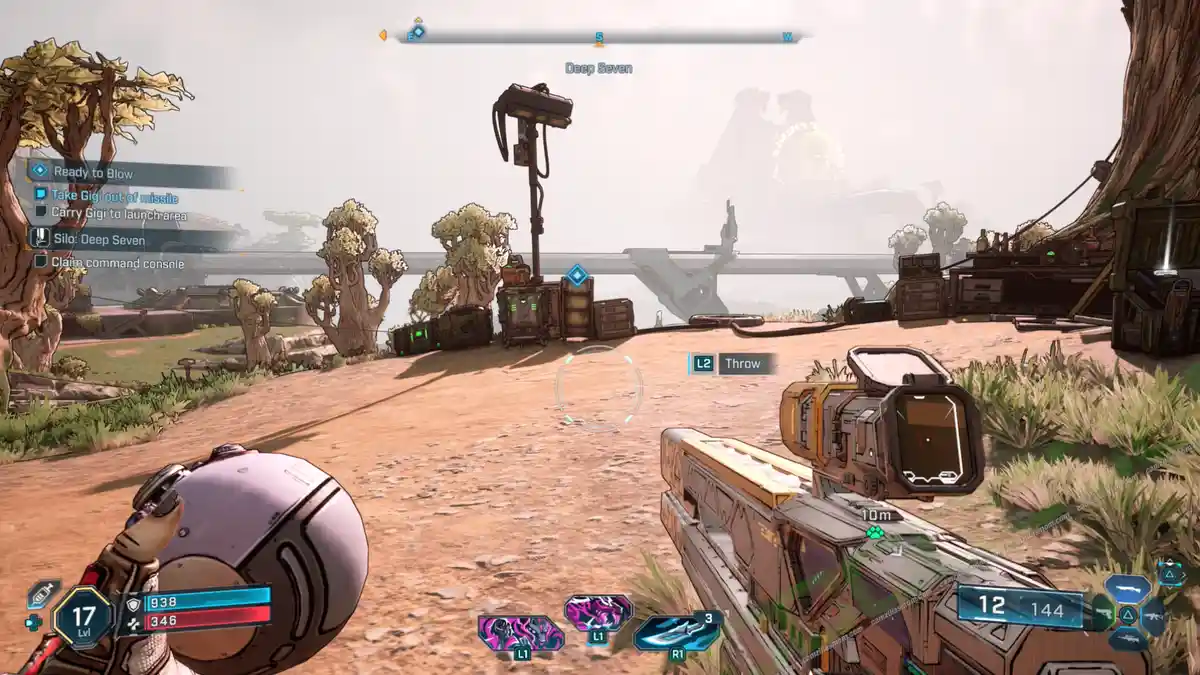
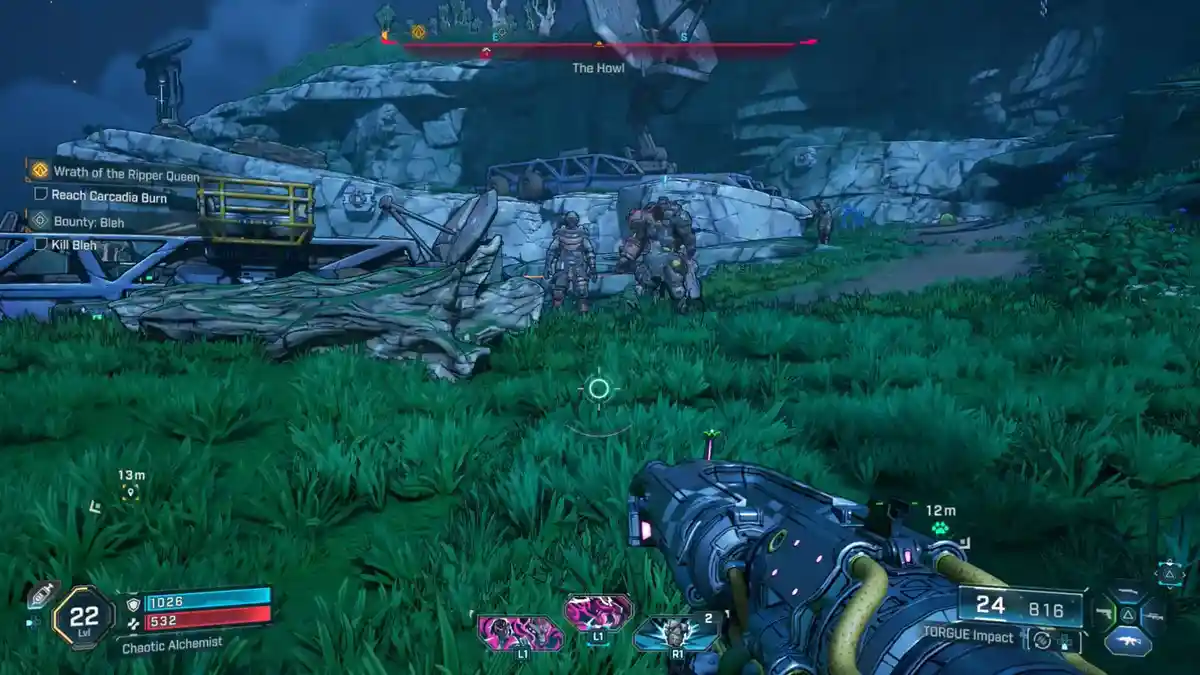
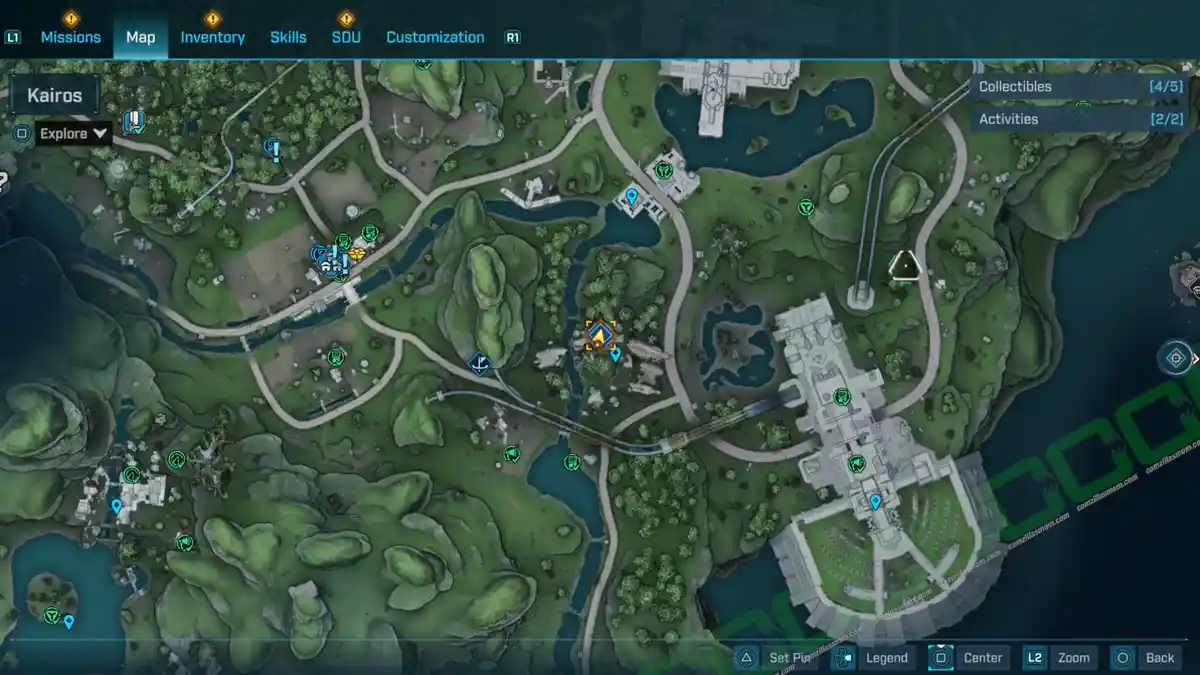
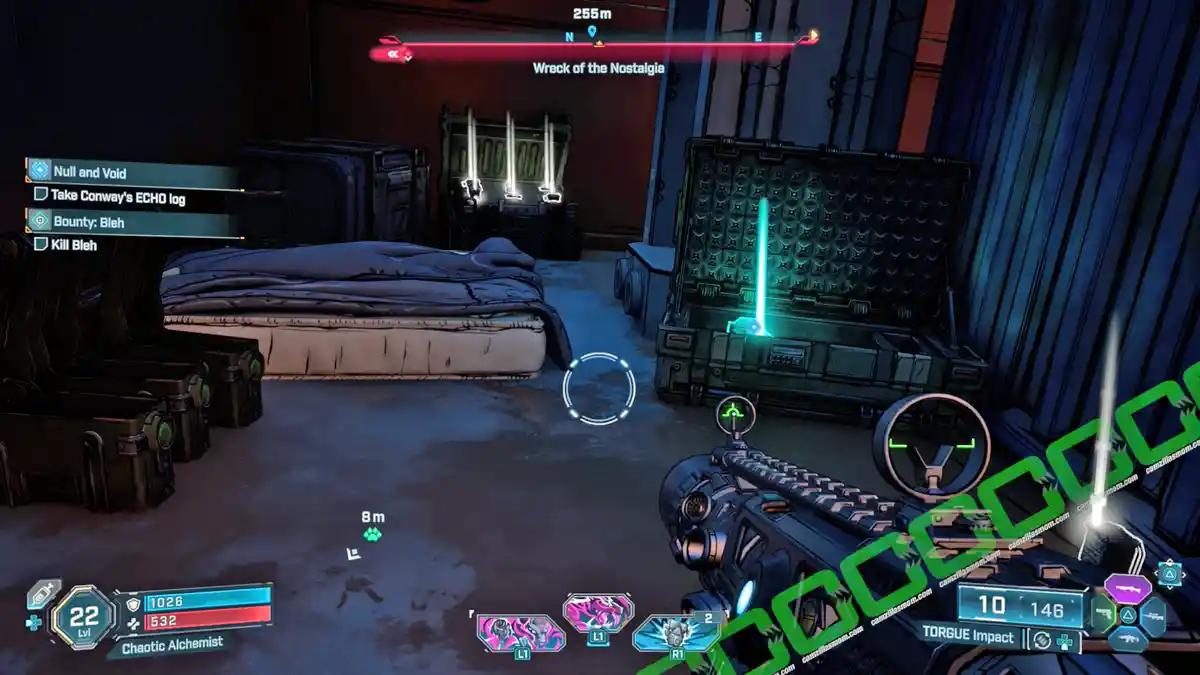
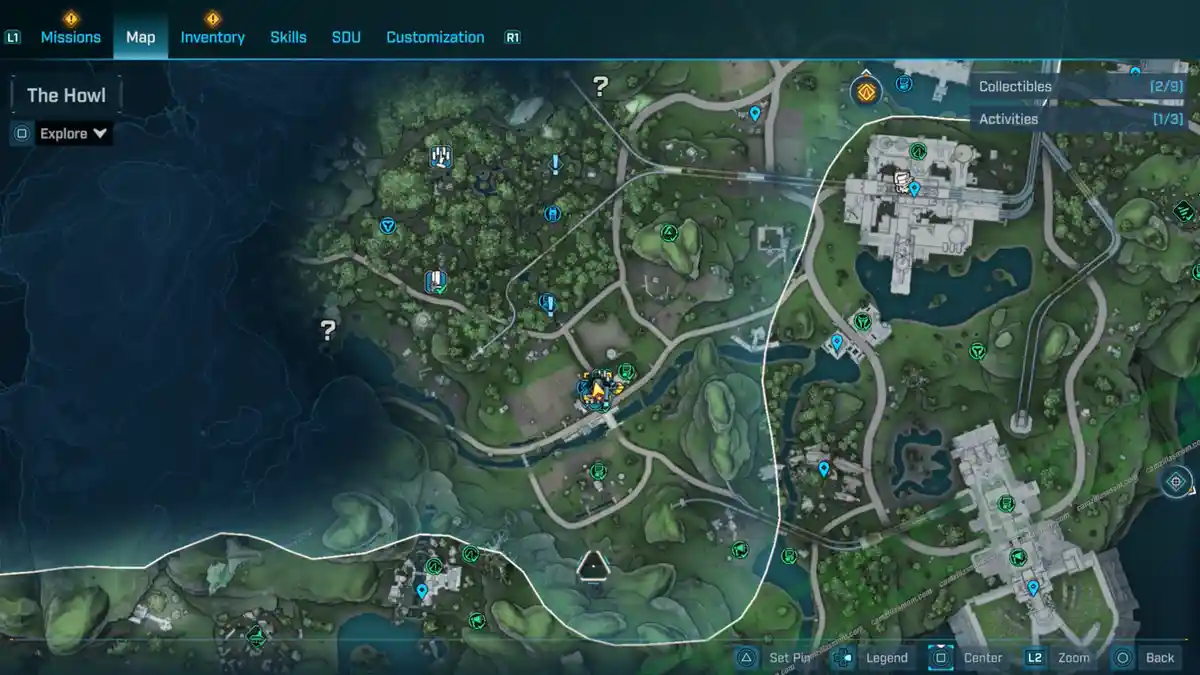
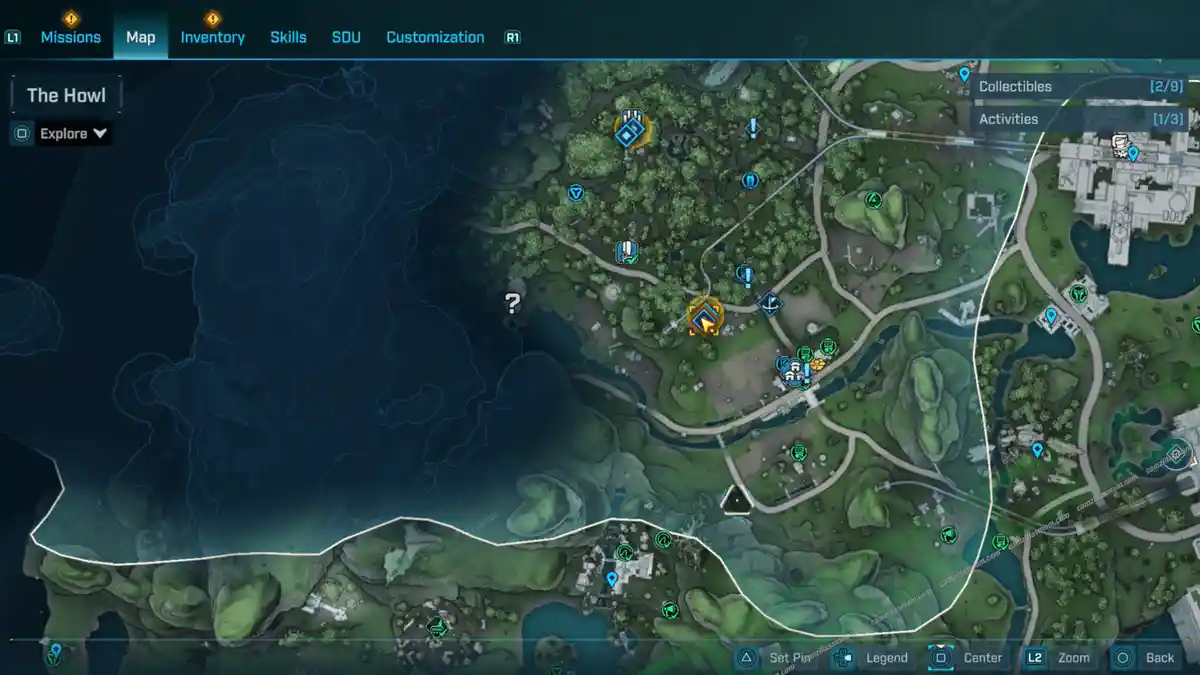
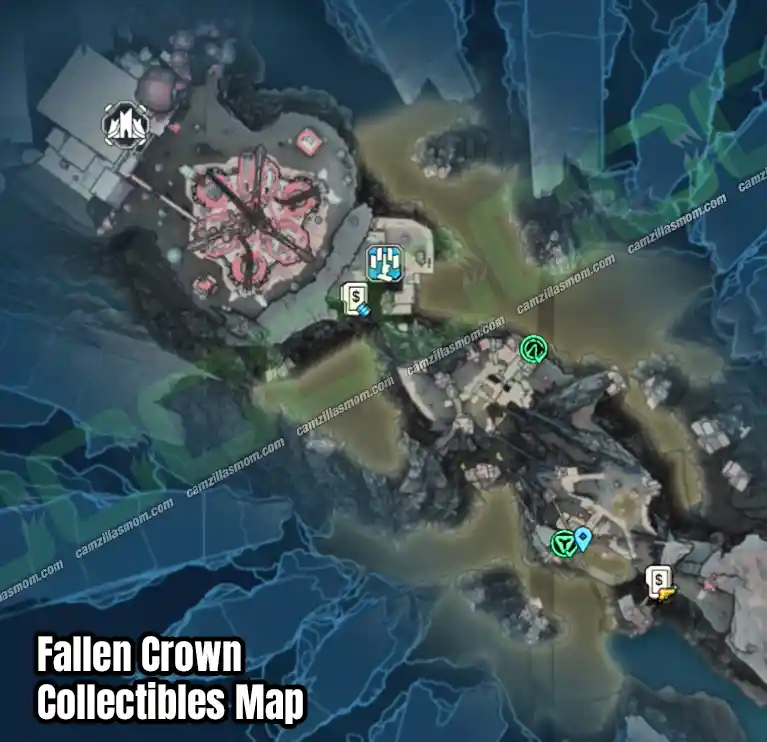
Explore every corner of “The Howl” in Borderlands 4 with this detailed guide. Uncover ECHO Logs, Vault Symbols, and other collectibles, while tackling side missions and activities. With clear maps and step-by-step instructions, this guide is your ultimate companion to mastering “The Howl.”
MORE THE FADEFIELDS GUIDES
Coastal Bonescape
Dissected Plateau
Fortress Indomita
Hungering Plain
Idolator’s Noose
-> More Borderlands 4 Guides at the Hub
Collectibles
Vault Hunter’s Guide to Kairos – 1
In the center of The Howl and north of Faction Town: The Launchpad is a settlement high up on a hill. The Vault Hunter’s Guide to Kairos: The Fadefields is hanging on a shelter.
-> Also available: Guided Tour – All 12 Vault Hunter’s Guides
ECHO Logs – 8
-> Also available: Kairos Speaks – All ECHO Logs
1 – Rafa’s Rebirth
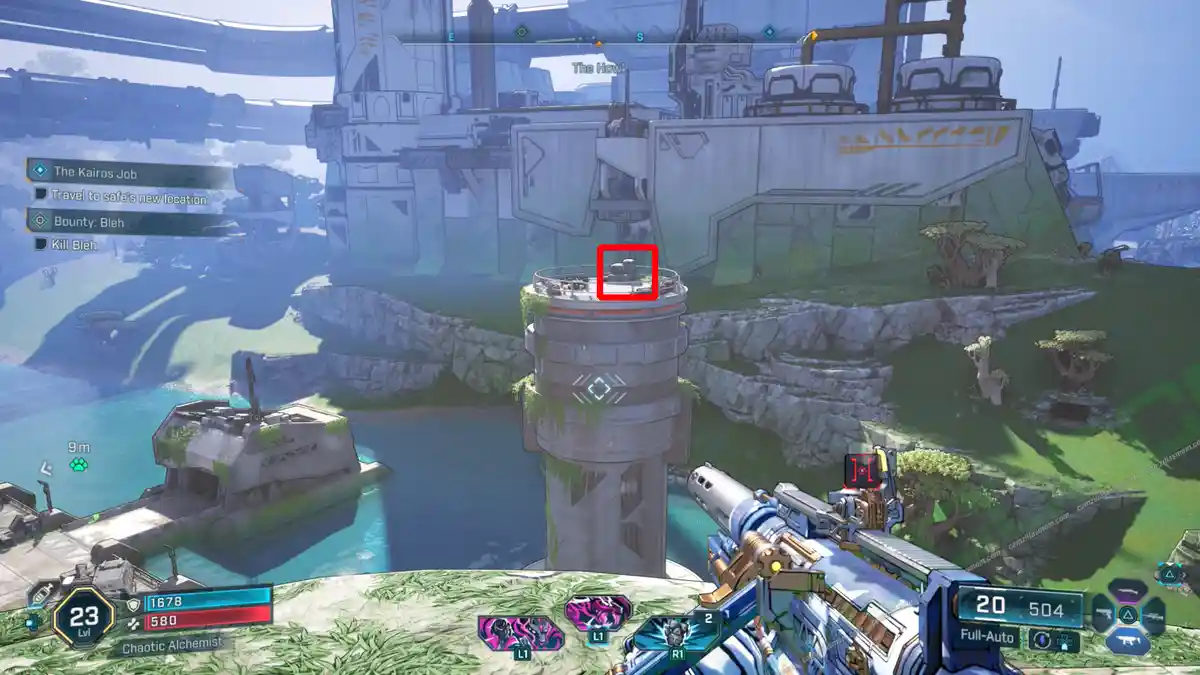
There is an ECHO Log on top of the tall silo just north of Horace’s Oversight and southeast of the Shut-Eye Keep Safehouse. To reach it, you have to reach the top of the mountain north of the ECHO Log. There are a couple of grapple points to get up there. From the top, double-jump and glide to the top of the silo to pick up the ECHO Log.
Description:
“Rafa begins his new life.”
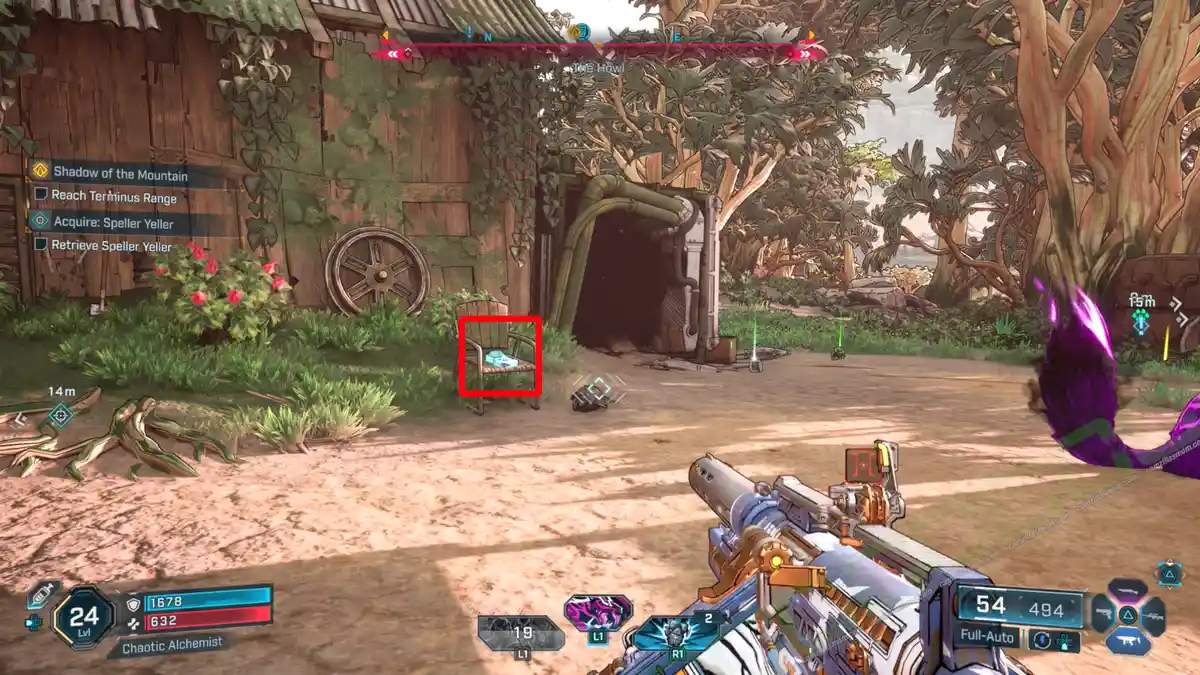
2 – Safe Cracker
The Safe Cracker ECHO Log is on a chair in front of a small house just north of the Faction Town: The Launchpad.
Description:
“Vex has her own way of getting into safes.”
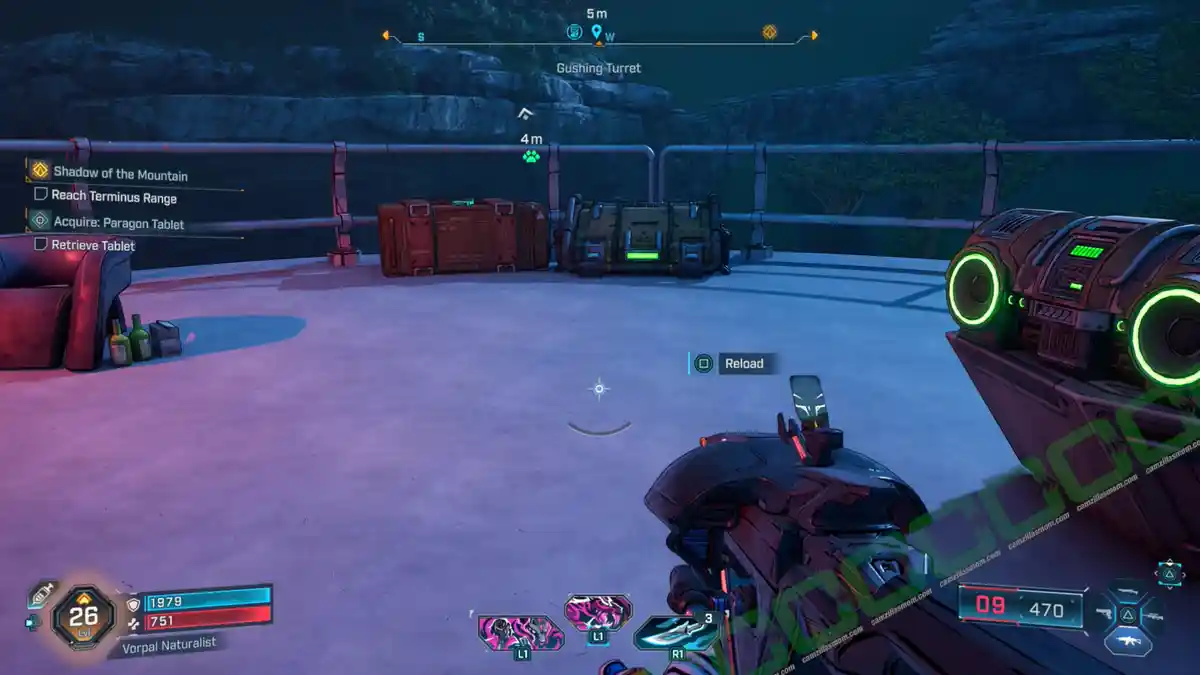
3 – Hello, World
There is an ECHO Log on top of the tower at Gushing Turret, west of Faction Town: The Launchpad. The best way to get there is to use the Order Silo balloon to glide over to the tower. As soon as you’re above the tower, double jump to initiate gliding and glide on top.
Description:
“Zadra meets a very talkative bot.”
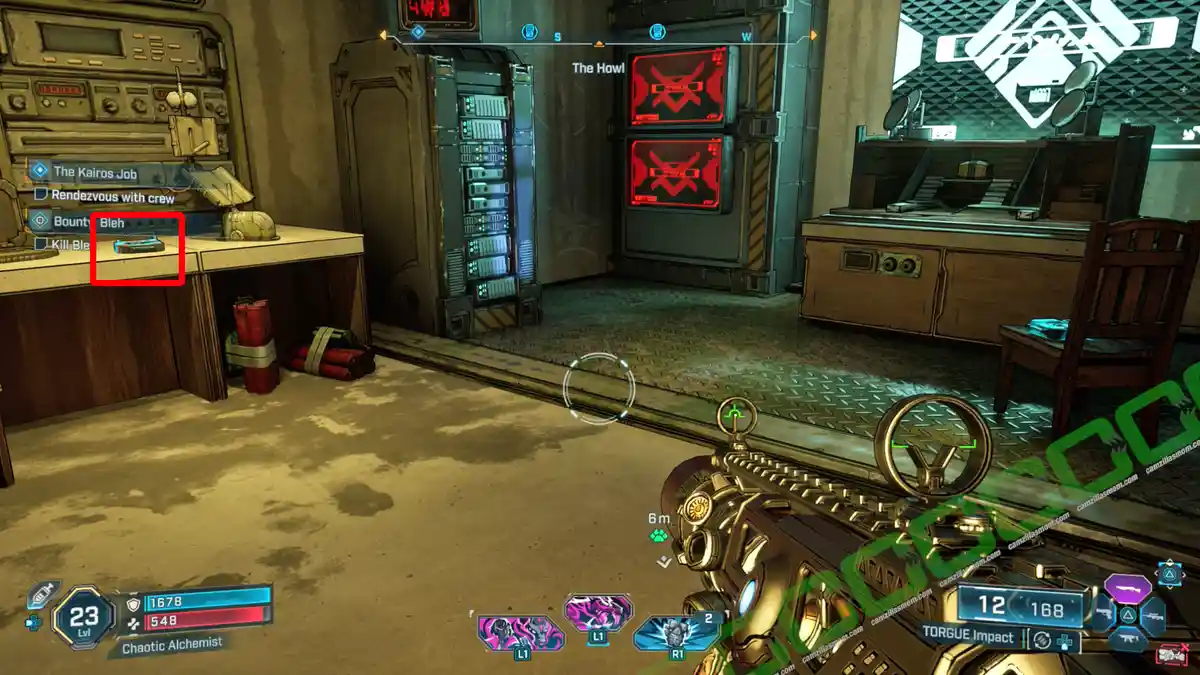
4 – How to Hack
At Faction Town: The Launchpad, there is a locked room with two ECHO Logs inside. Play the story until you can take the Side Mission “The Kairos Job” from Shim at Faction Town: The Launchpad. After recruiting two more members, he will open up this room, and you can collect the logs.
Description:
“Shim asks Glitch how to hack things.”
5 – Kilo’s Instructions
This is the second ECHO Log inside the same room as the previous one.
Description:
“Kilo tries to talk to the muscle through disarming a bomb.”
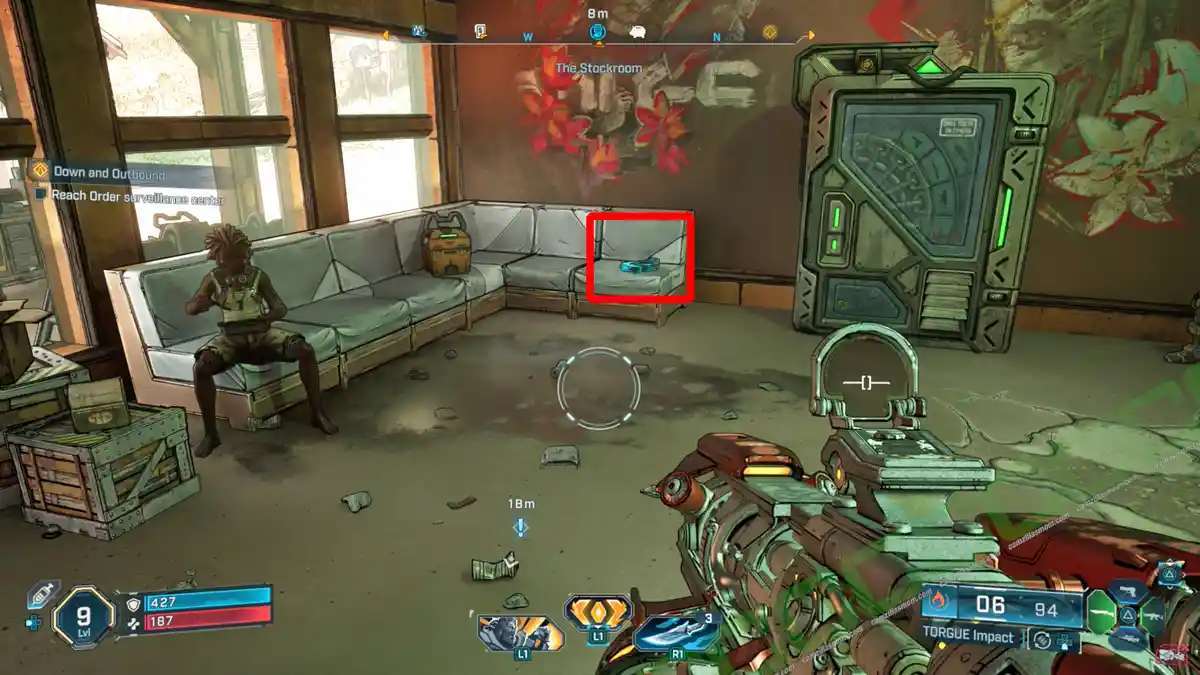
6 – When in Need
In the Faction Town: The Launchpad, enter the building near the vending machines to find the ECHO Log on the couch.
Description:
“Rush is impressed by Vault Hunters.”
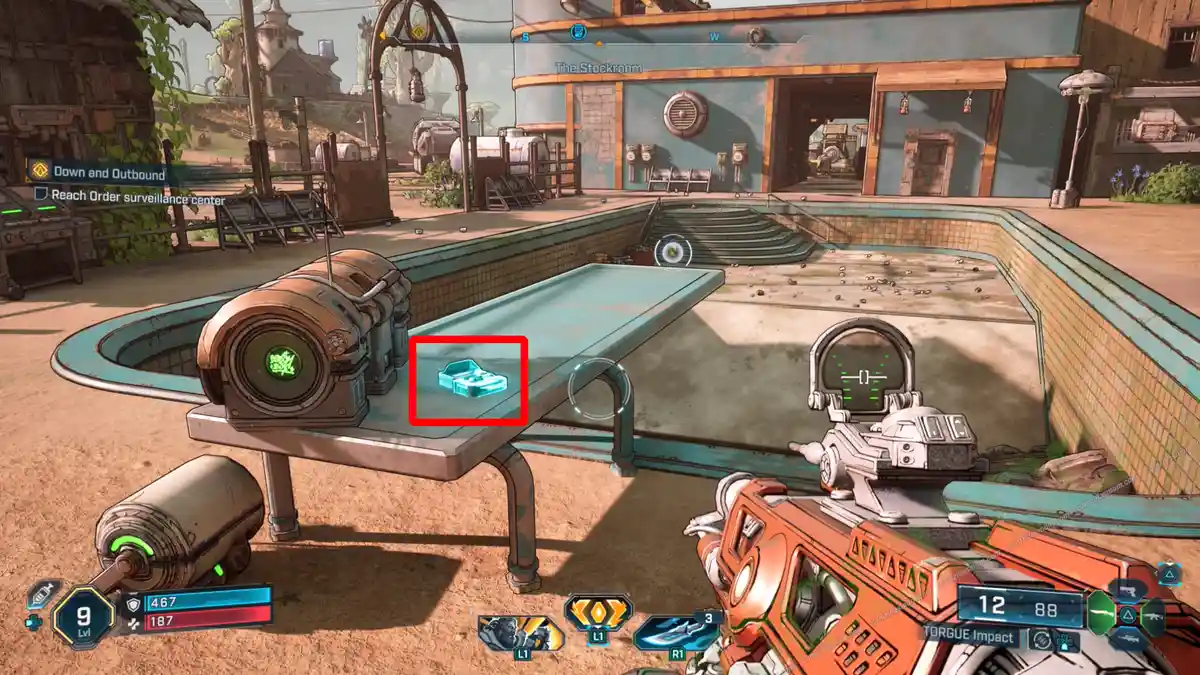
7 – Get Pranked
In the Faction Town: The Launchpad, find the swimming pool in the east of the settlement
Description:
“Rush and Conway mess with Rhodes.”
8 – Fit to Lead
There is a small farm just south of the Faction Town: The Launchpad. This ECHO Log is on top of one of the straw bales.
Description:
“Rush reluctantly accepts Conway’s proposal.”
Dead Bolts – 2
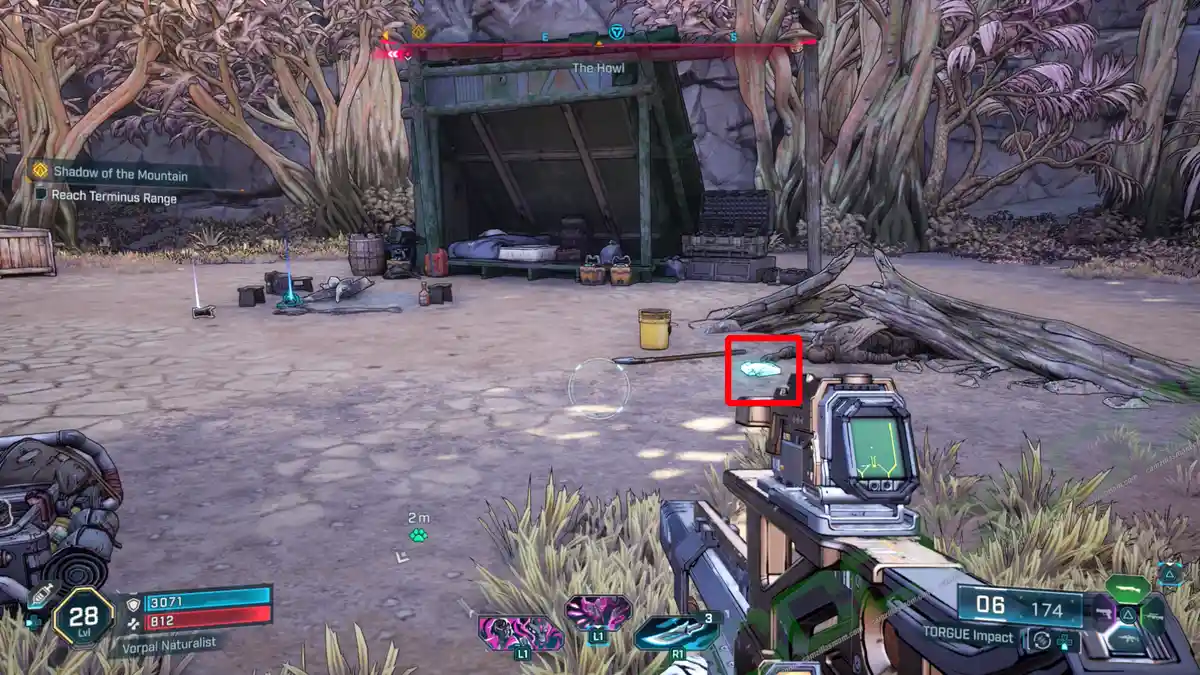
1 – Into the Mild
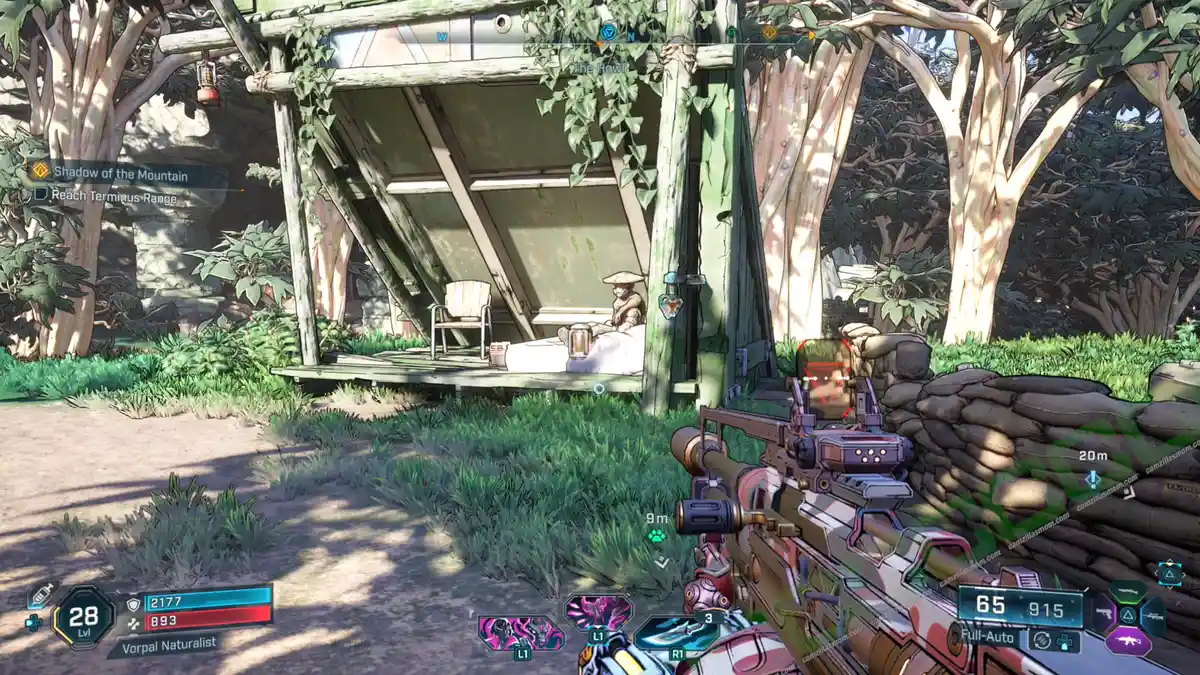
In the north of The Howl is a hut in the wilderness where you can find this Dead Bolt. The title “Into the Mild” is a reference to the book “Into the Wild”, where an American, Christopher McCandless, decided to live in the wilderness of Alaska and tragically died.
Description:
“Tracen Holt. Junpai-7. 9,636 hours. Offline.”
2 – Snatch Me If You Can
Search the Kratch nest in the northwest of the Order Silo: The Kit Hole for this Dead Bolt.
Description:
“Melvina P. Lunt. Stribog. 141,912 hours. Offline.”
Lost Capsules – 3
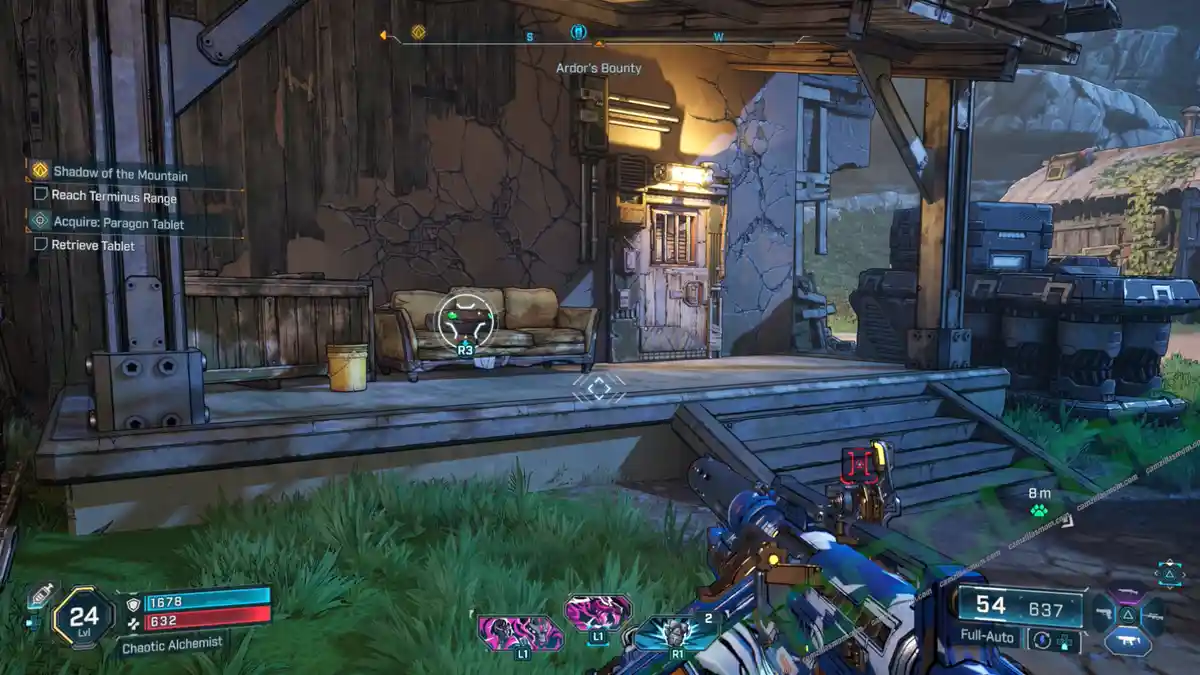
1 – Ardor’s Bounty
The Lost Capsule is lying on the couch in front of the main building at ground level. Carry it to the Safehouse: Shut-Eye Keep and use the ground floor elevator to reach the top.
2 – Center Forest
In the forest in the center of The Howl, just north of Faction Town: The Launchpad is a house with the Lost Capsule inside. Carry it to Faction Town: The Launchpad.
3 – Gushing Turret
A group of Rippers is hiding out in a cave west of Gushing Turret. In the cave is the Lost Capsule. Carry it to Faction Town: The Launchpad.
Propaganda Speakers – 2
1 – Western Parts of The Howl
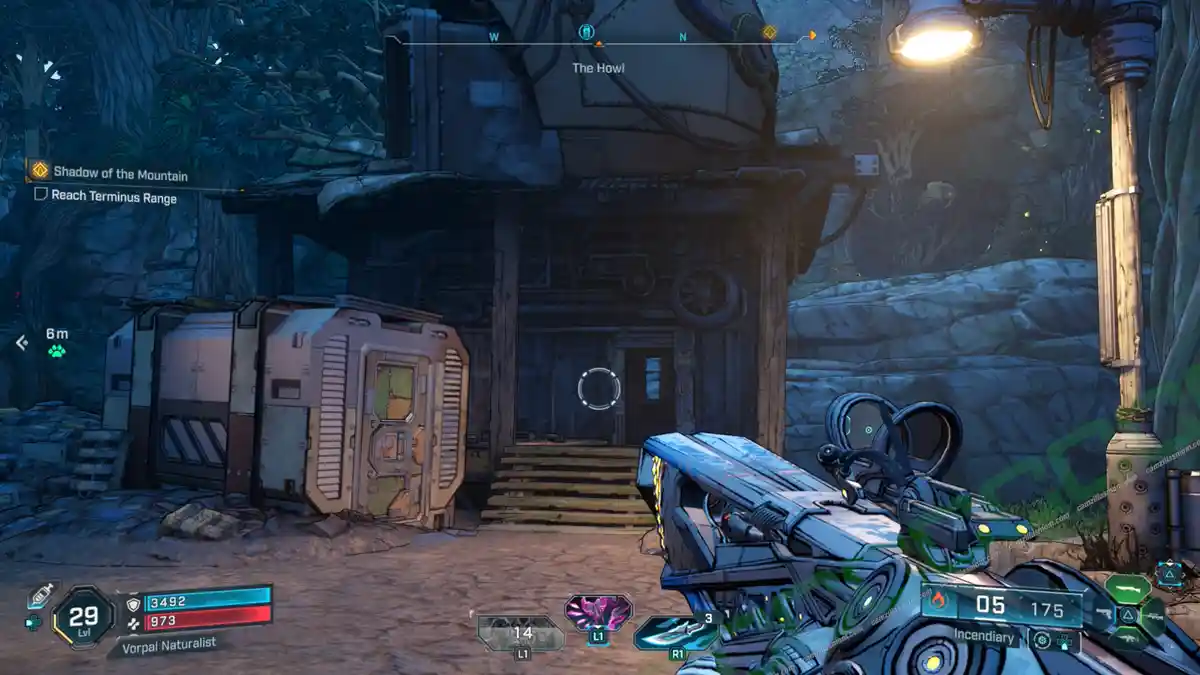
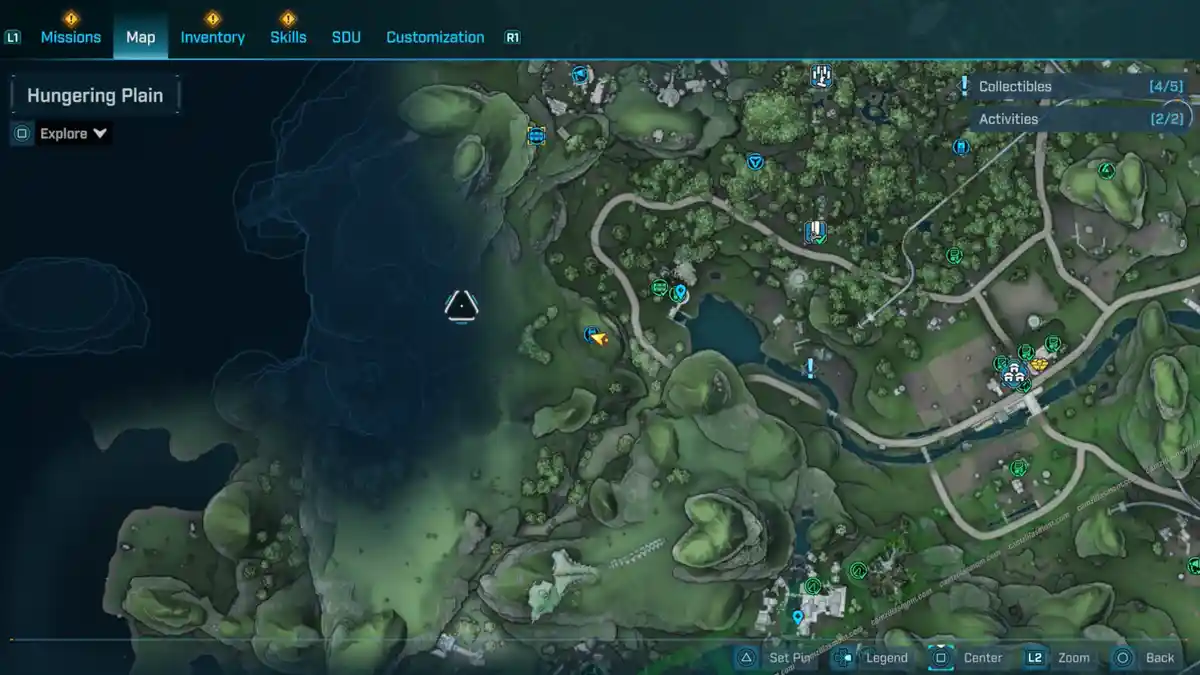
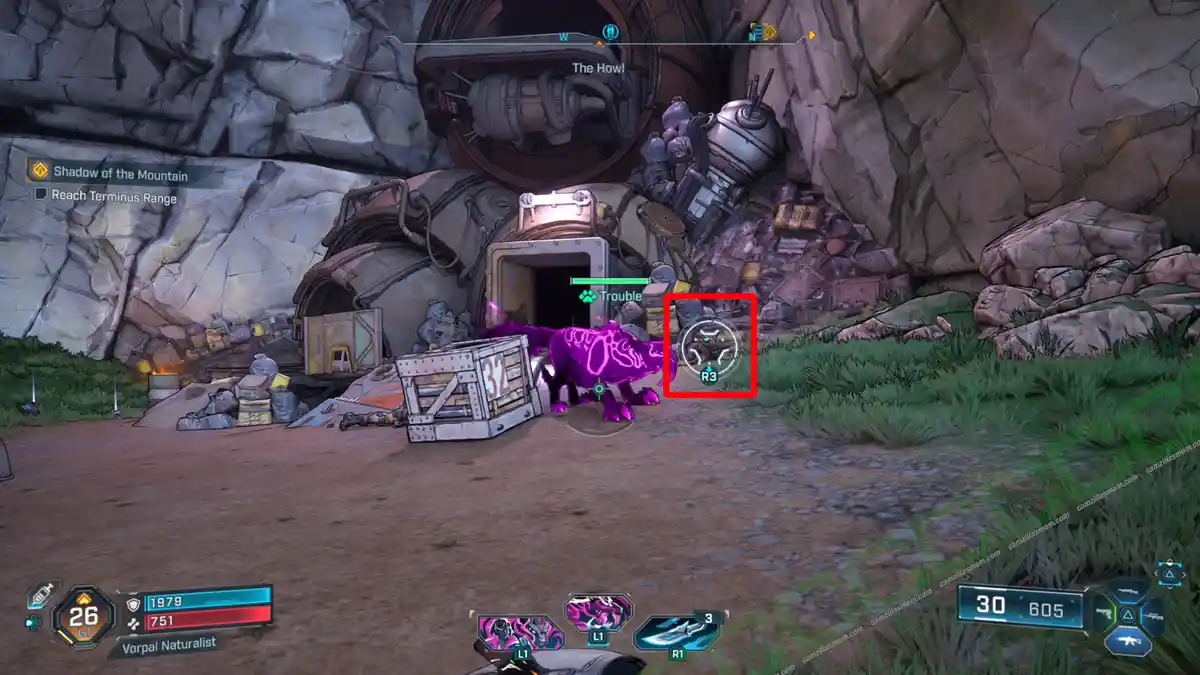
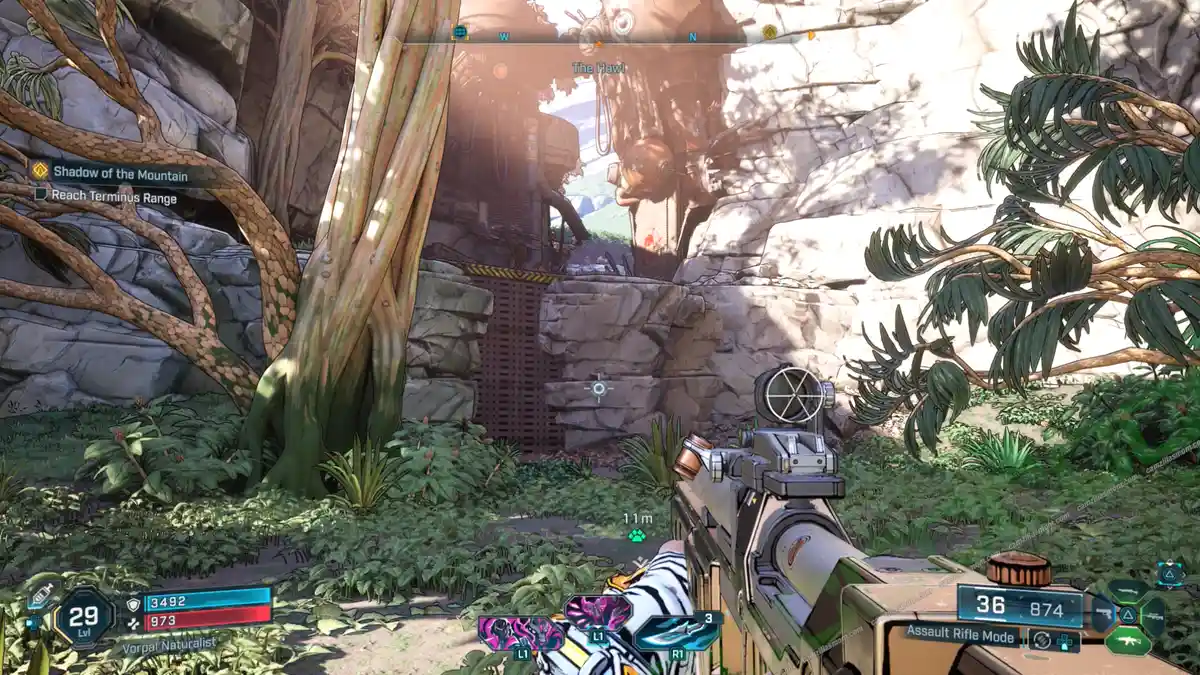
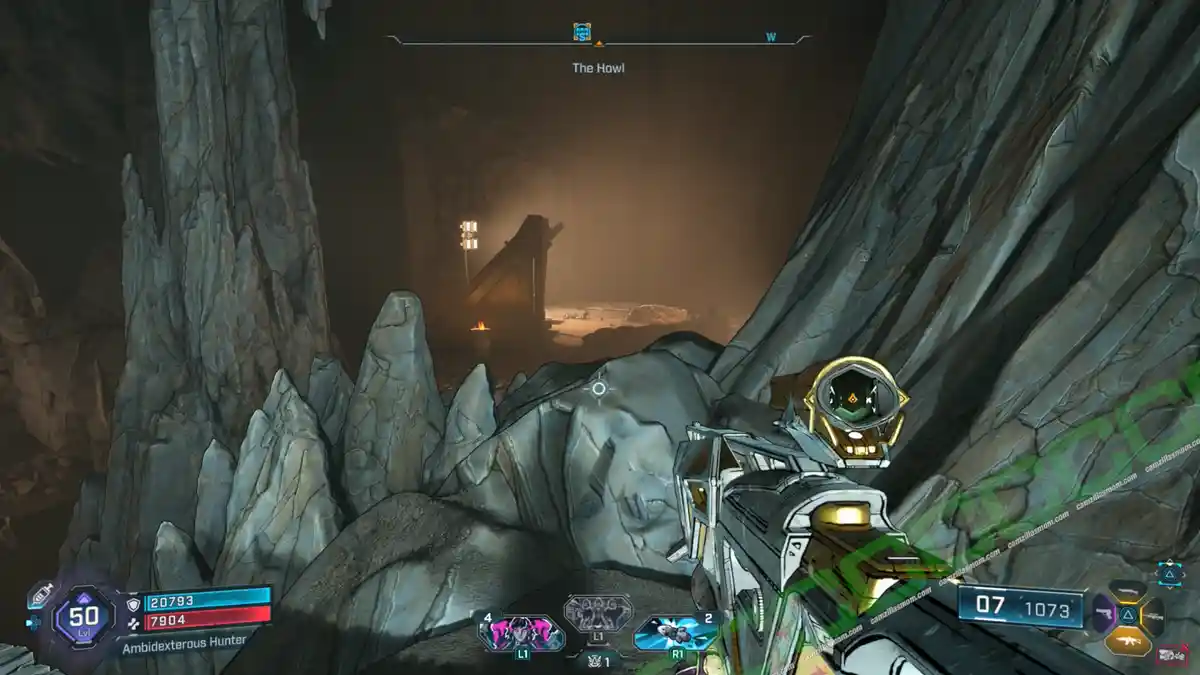
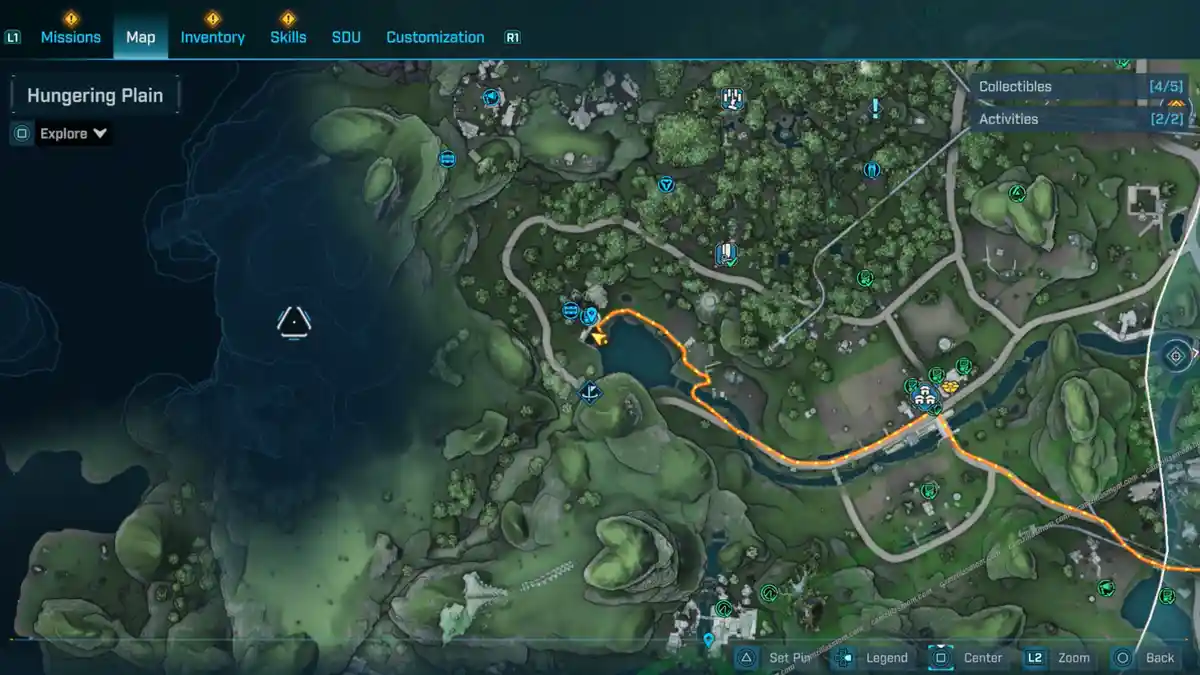
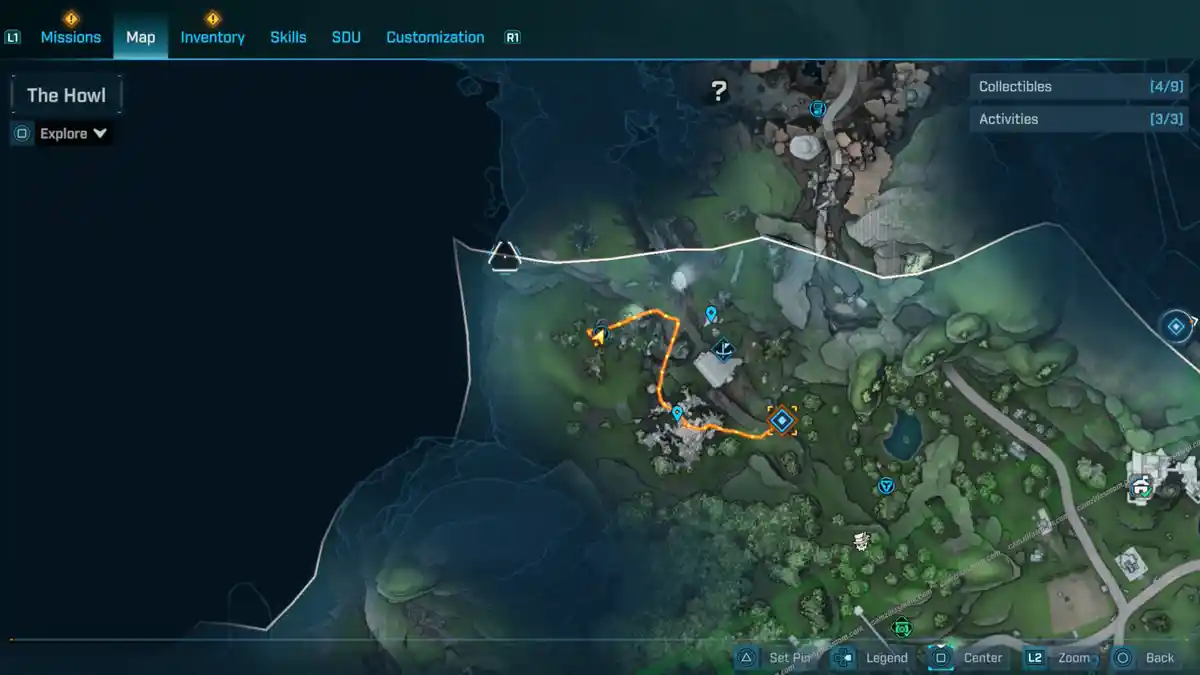
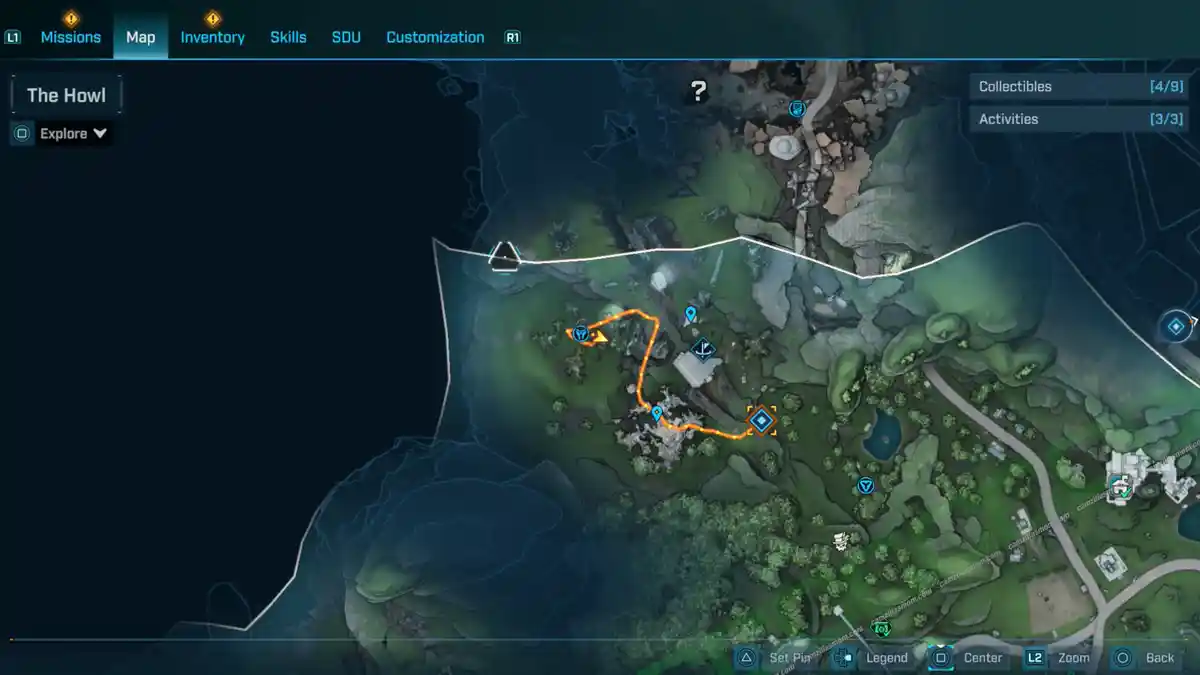
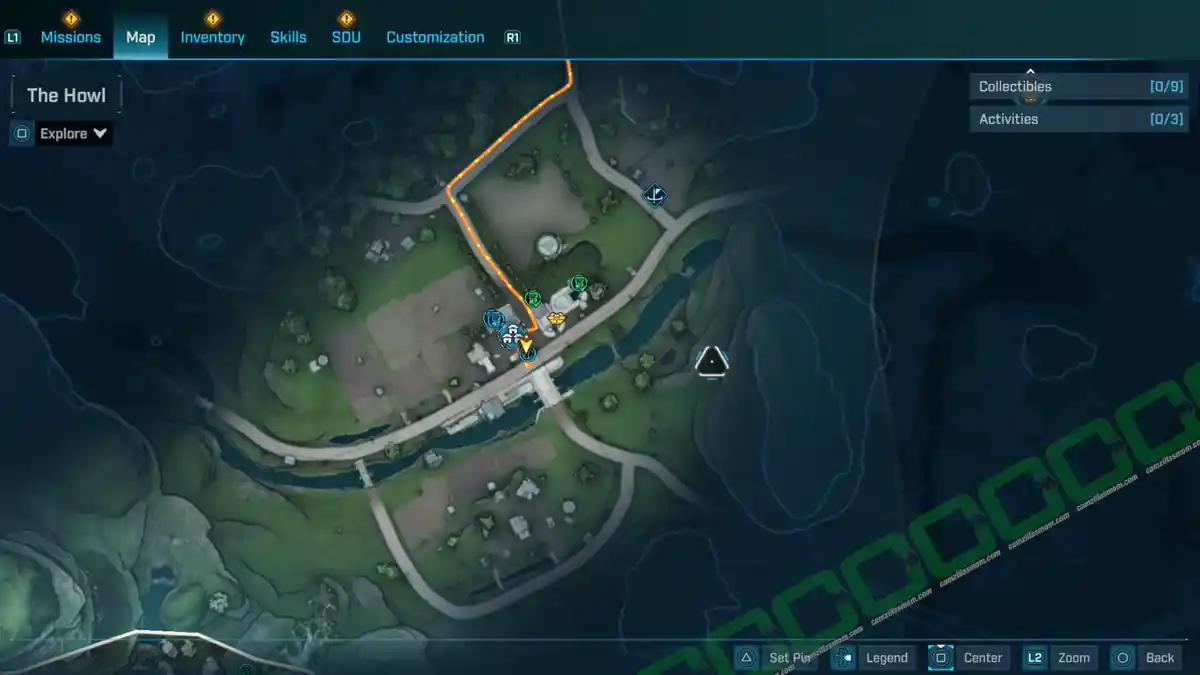
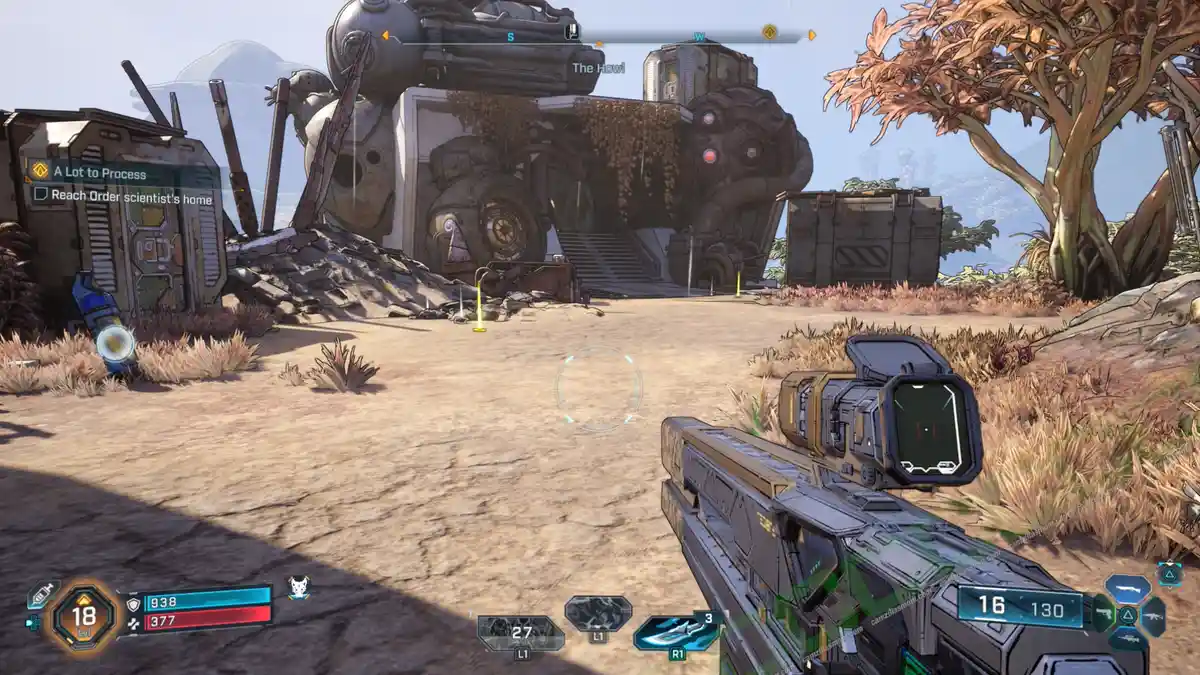
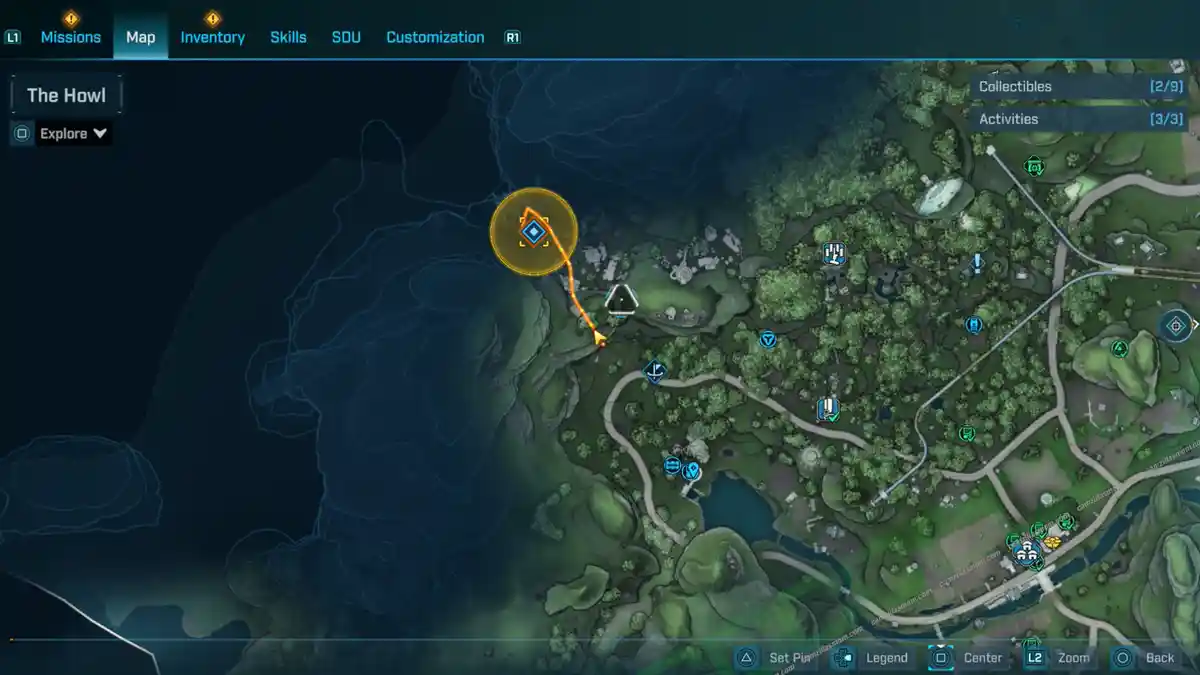
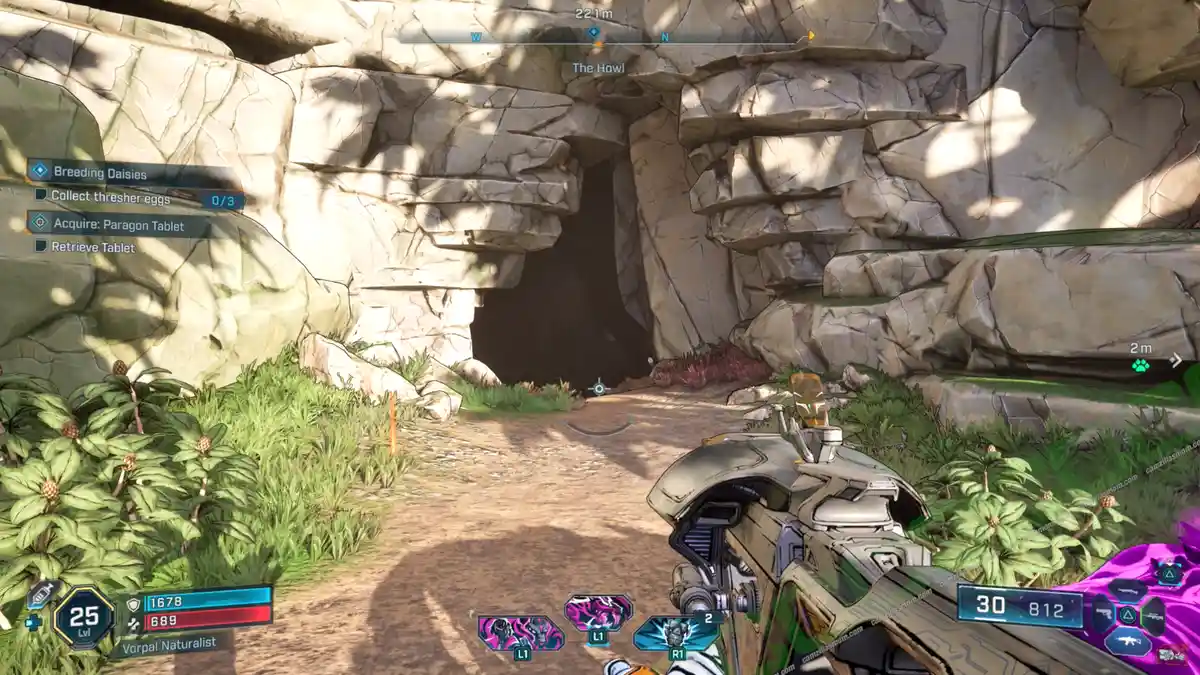
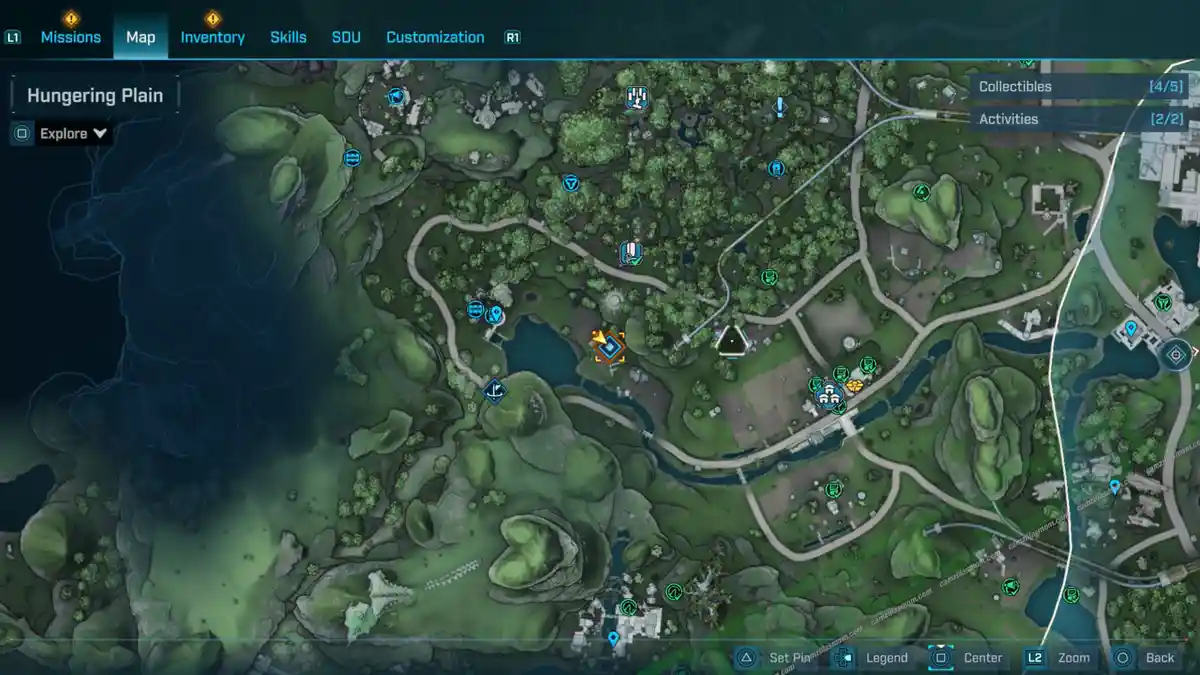
There is a Ripper settlement in the western parts of The Howl. There is a specific access point at the location shown in the screenshots below.
Work yourself through the settlement to find the Propaganda Speaker at the top.
2 – Faction Town: The Launchpad
Head southwest from the Faction Town: The Launchpad. There is a farm by the border that hosts a Propaganda Speaker.
Survivalist Caches – 3
1 – Western Thresher Cave
Head northwest from the previous location to find a Thresher cave, which is also part of the “Breeding Daisies” Side Mission. Work your way around it, where the wooden platform is. From there, you can glide over to a camp, where you can open the cache.
2 – Gushing Turret
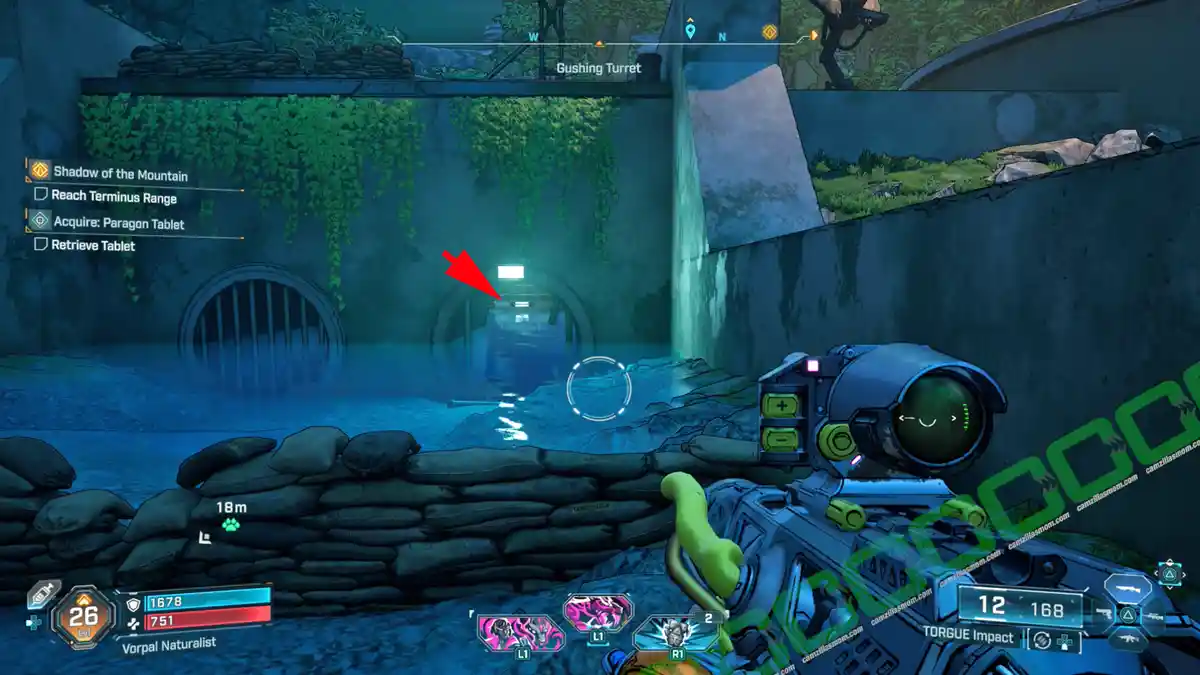
Gushing Turret is a POI west of Faction Town: The Launchpad, by the lake. Look for a cracked pipe at the lake. Swim inside to find a group of survivors hiding out there with a Survivalist Cache.
3 – Rootdown Estates
In the center of The Howl, northeast of the Rootdown Estates, is a locked door right next to a cave. Climb up the nearby metal wall and enter the cave, where you can slide into an arena to defeat a group of rippers. After the fight, you have access to the Survival Cache.
-> Also Available: Cache to Spend: Survivalist Caches in Borderlands 4
Evocarium – 1
1 – Eridian: Survival
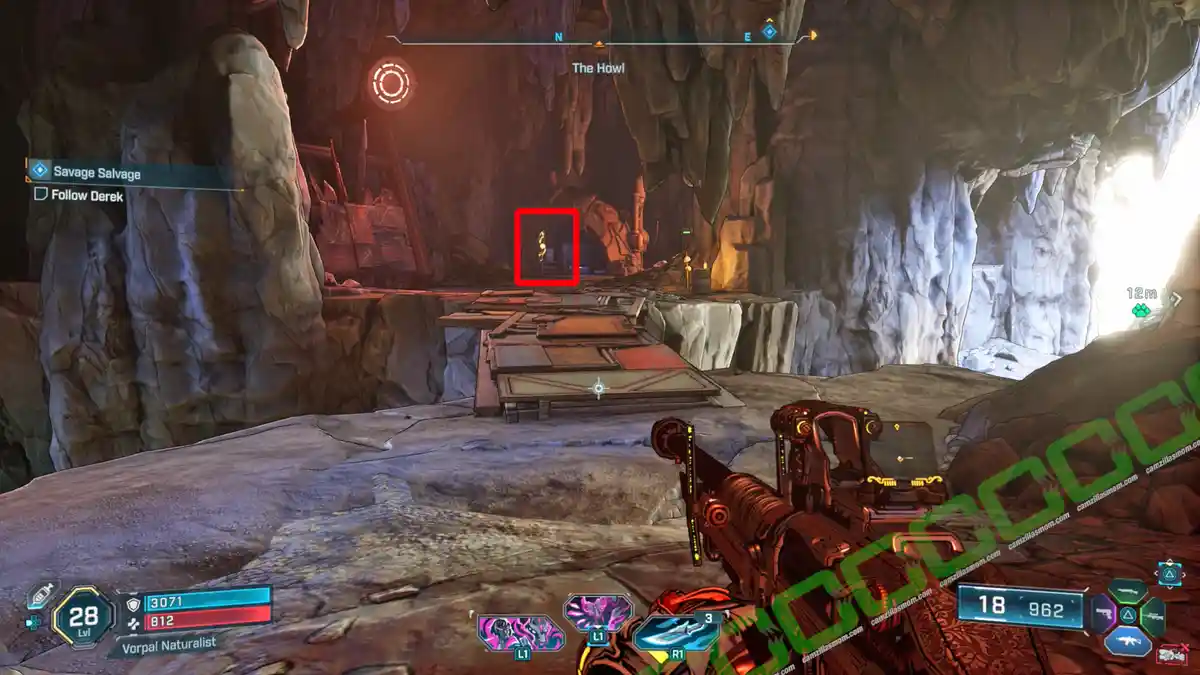
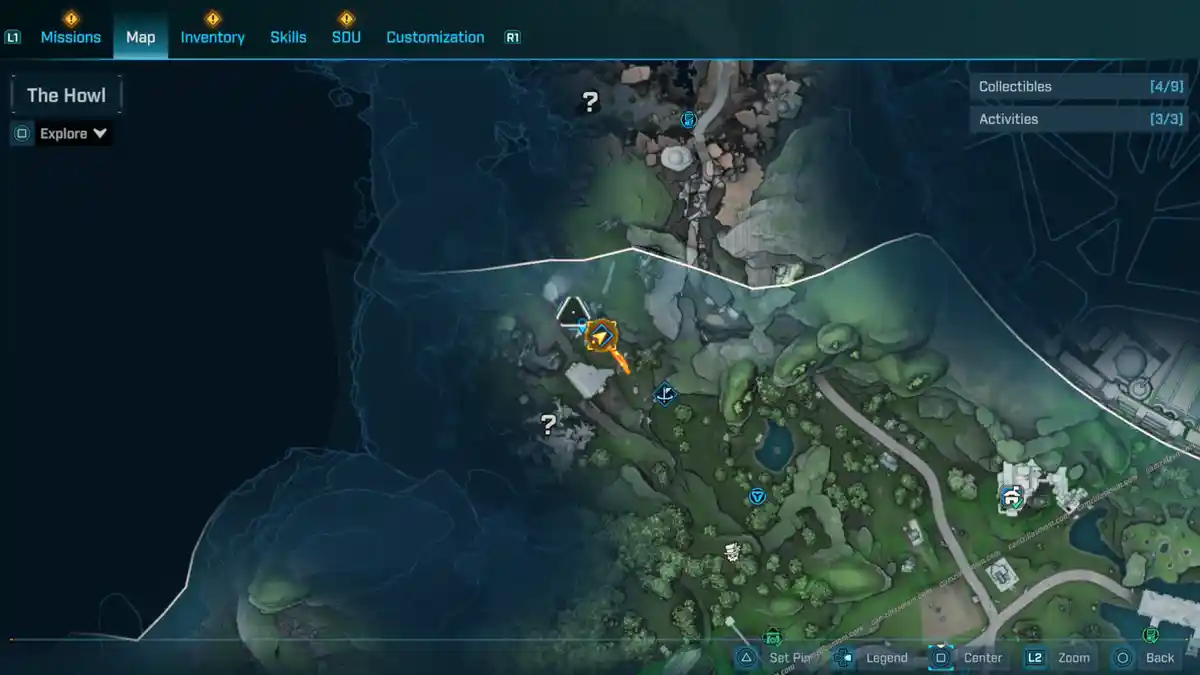
The only Evocarium in The Howl can only be reached by following the “Savage Salvage” Side Mission into a cave full of Rippers, where a person is trapped inside an orb hanging from the ceiling. The Evocarium is in this cave. Interact with it to reveal the location of the three glowing orbs.
One beam goes southeast, while the other two go towards the east.
For the first Orb, stay on the same level as the torch and cross over towards the east, then cross the bridge to find the orb in front of a hut. You can see the bridge that you have to cross in the center right of the above screenshot.
Return to the other side by crossing the bridge. The second orb is hiding in the hut ahead.
The third Orb is in the open cave section of the cave. From the previous hut, turn right towards the open cave, where you can see the orb on the platform below. Return to the Eridian device, and interact with it to receive the ECHO Log Eridian – Survival
Vault Fragment – 1
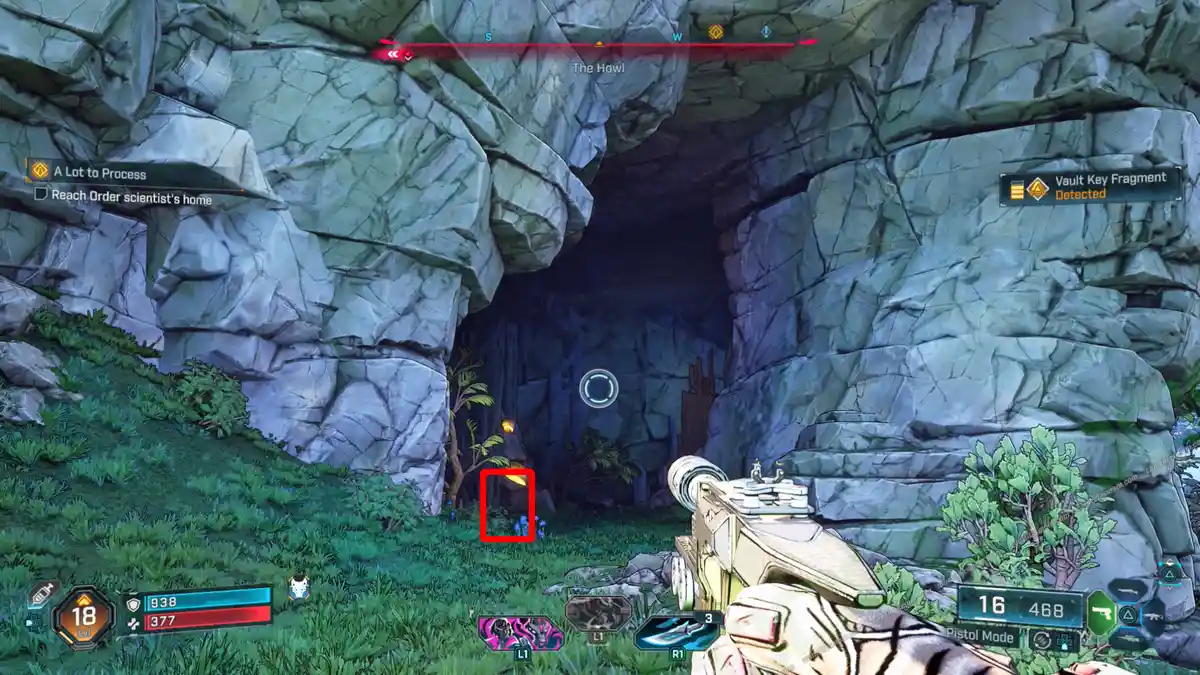
The only Vault Fragment in The Howl region of Borderlands 4 can be found in the mountain northeast of the Faction Town: The Launchpad. There is a cave accessible from the north. Enter it and find the Vault Fragment at its back.
-> Also available: Every Vault Fragment & Vault Location in Borderlands 4
Vault Symbol – 1
When you first arrive in the Faction Town: The Launchpad, you have to find the bunker door near the bridge and go through it. Head down the small staircase into the first room. Look to your right, just opposite the wall-mounted loot box, to find a ladder leading down. Take this ladder to find the Vault Symbol etched to the wall.
Activities
Order Bunker: Blacklime Bunker
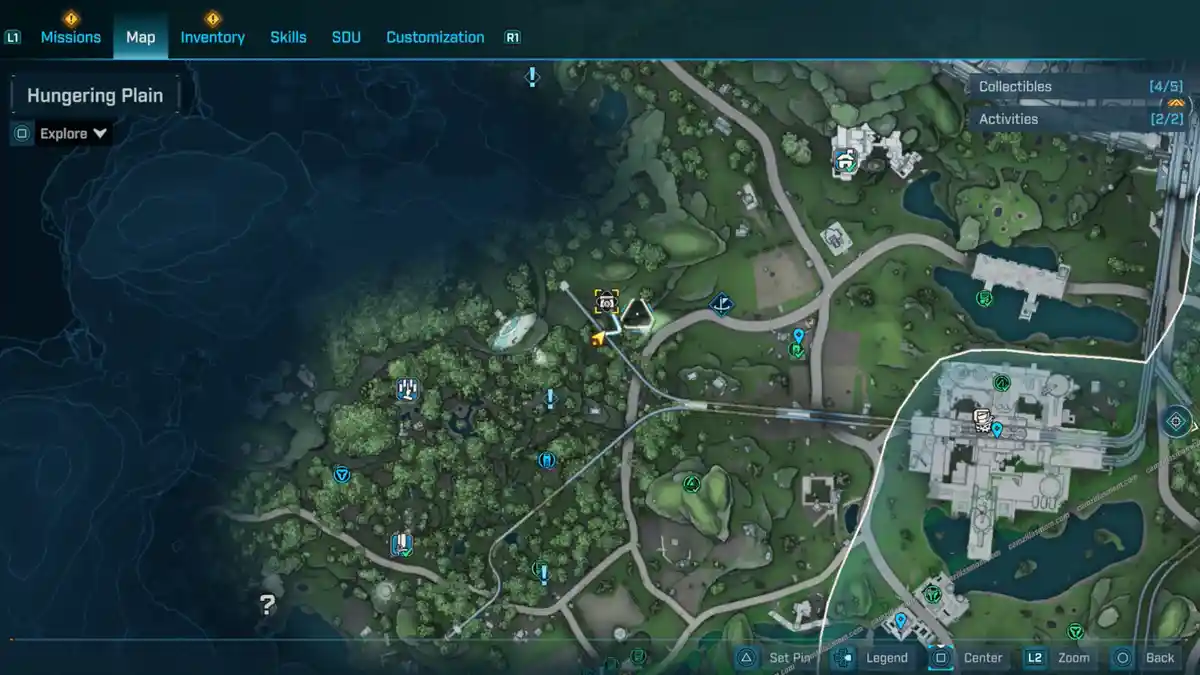
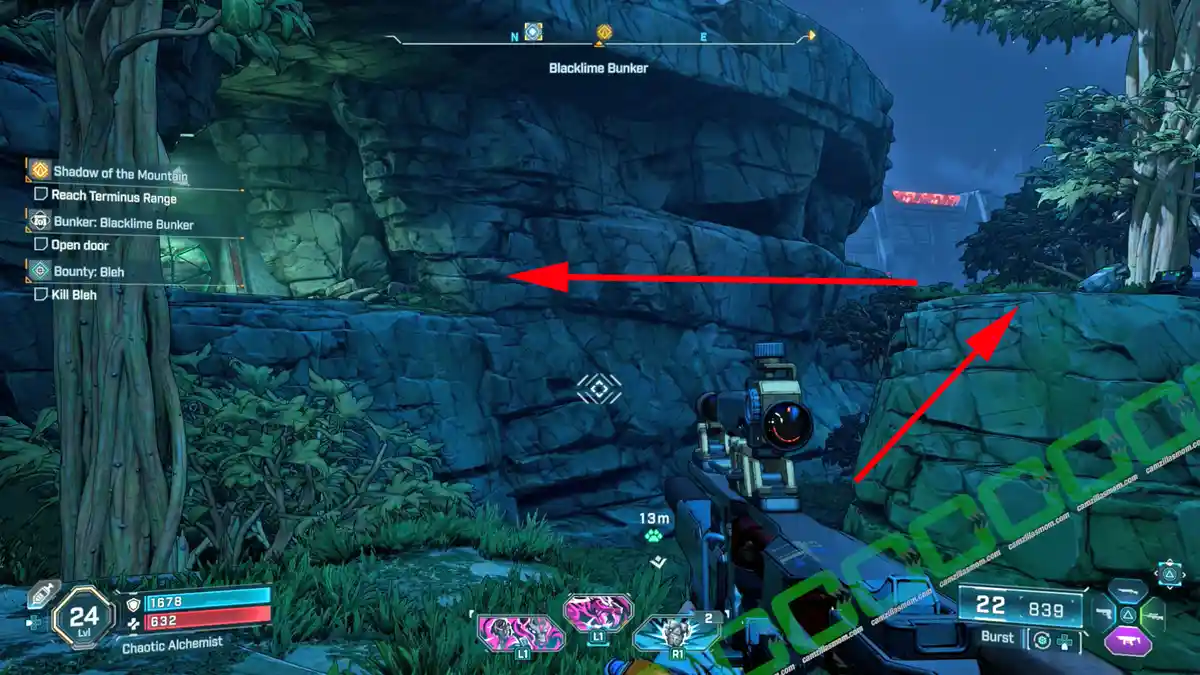
Keep playing the story missions until you are able to enter Order Bunkers. They are protected by a special shield that can only be destroyed by a Locust Capsule. The Blacklime Bunker is north of the Faction Town: The Launchpad.
To reach it, look for a handy rock platform to use to get to the entrance. On this platform, you will also find the Locust dispenser. Take a capsule, jump over to the bunker door, and throw it onto the Bunker Door. It will then open.
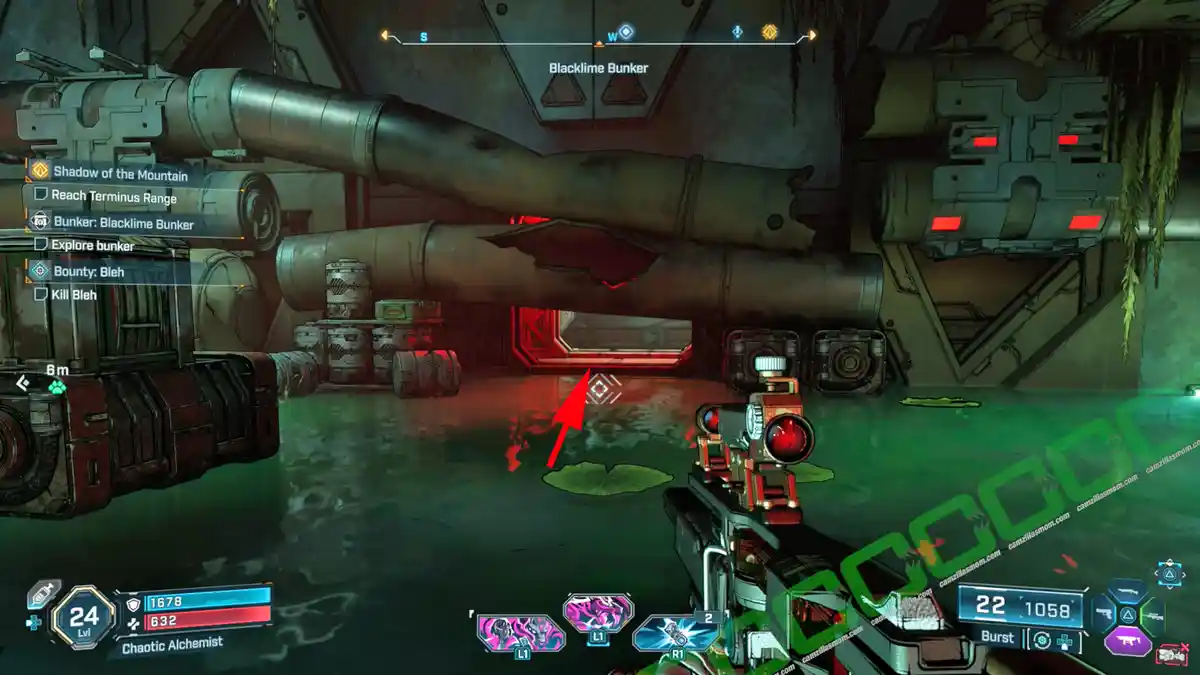
Defeat the Order Forces in the bunker, and continue to follow the path inside until you see a flooded room. From here, you can crouch underneath the pipes, blocking a passage to reach a room filled with water.
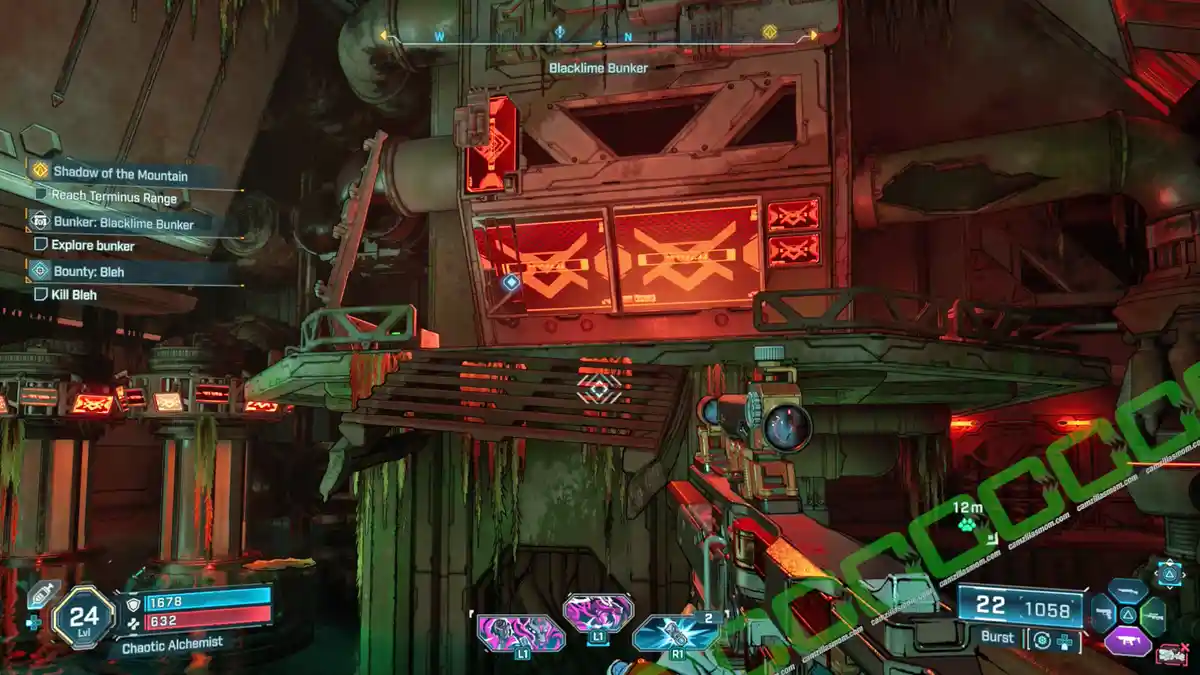
In the water-filled room is a switch. Pull it to open the next passage below. Swim through the water-filled corridor until you reach the other side. Here are some vending machines, to prepare for the bunker boss: The Core Observer.
Order Silo: The Kit Hole
The Silo: The Kit Hole is in the center-south, just northwest of the Faction Town: The Launchpad. Reach the top from the north to capture the place.
Safehouse: Shut-Eye Keep
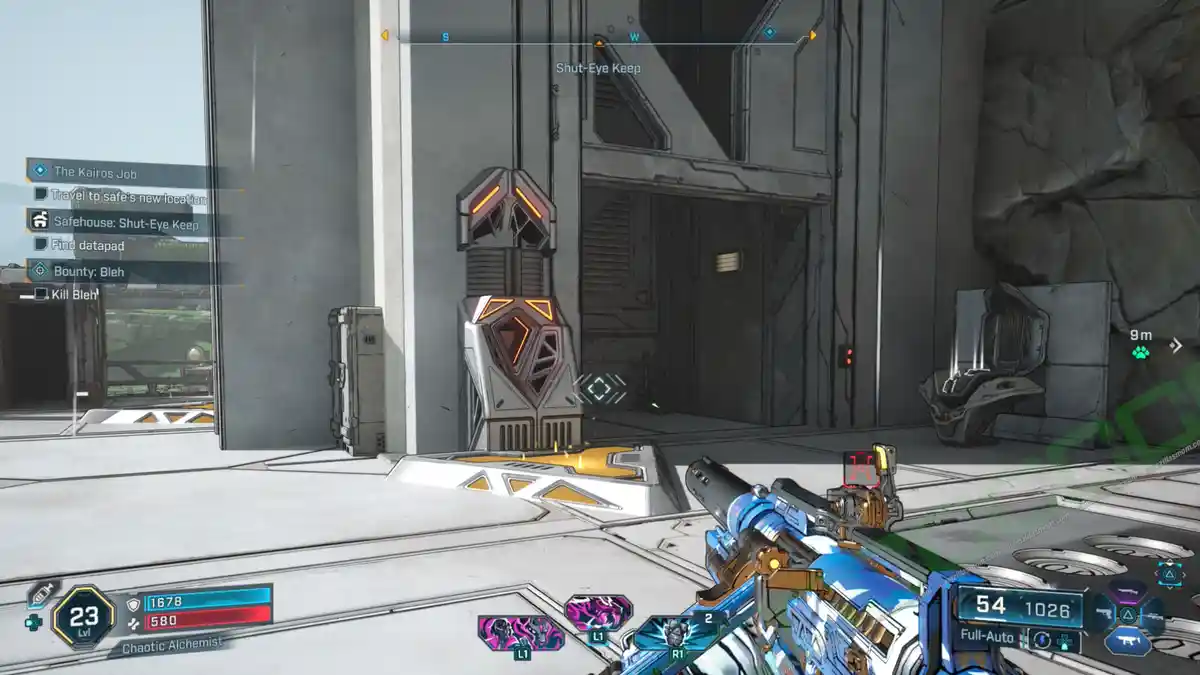
The Safe House: Shut-Eye Keep is in the northeast of The Howl. To reach it, take the elevator up and defeat the Order forces at the top.
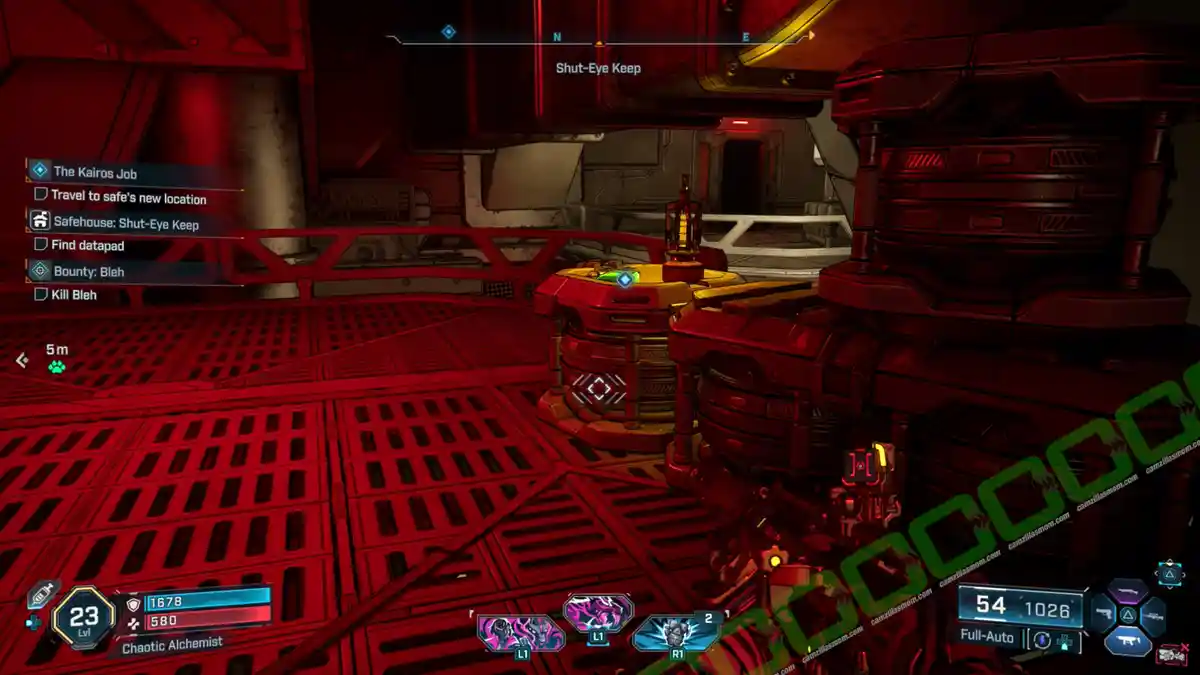
For the Datapad, grapple up in the Safe House room and you’ll find the datapad there in the red lit area.
Bobbleheads
Faction Town: The Launchpad
On the same level as the bunker entrance by the bridge at the Faction Town: The Launchpad, there is a little workshop room. Just head south from the bunker entrance to find it.
Faction Town: The Launchpad – Southwestern Cave
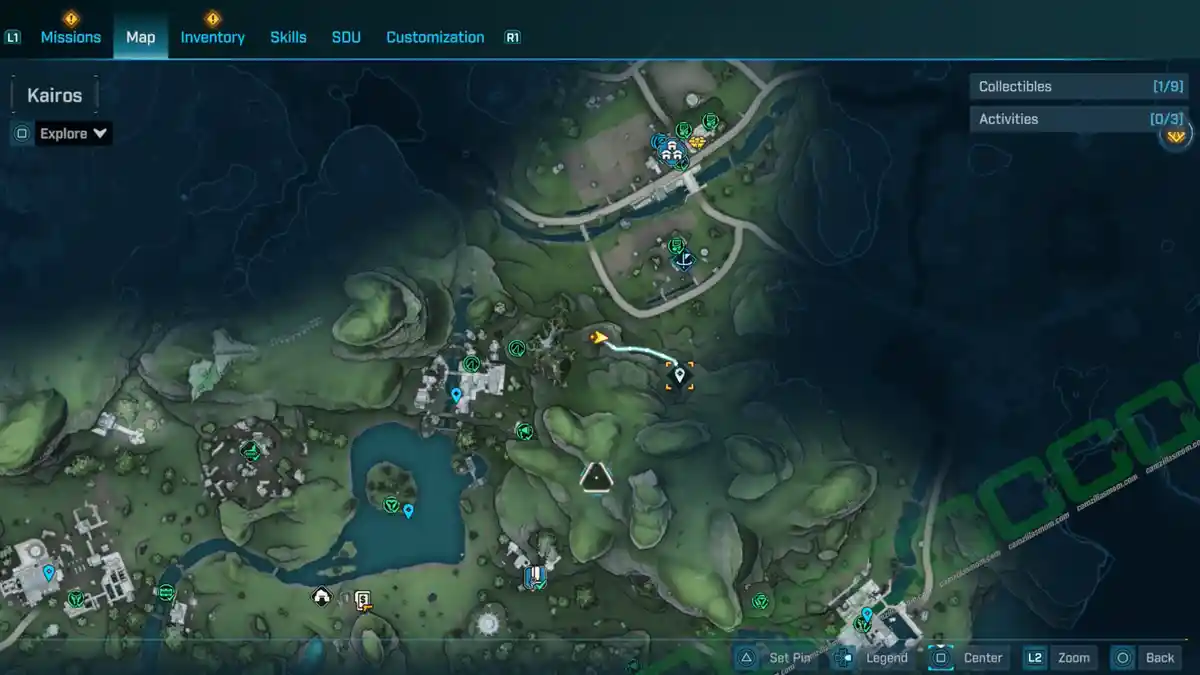
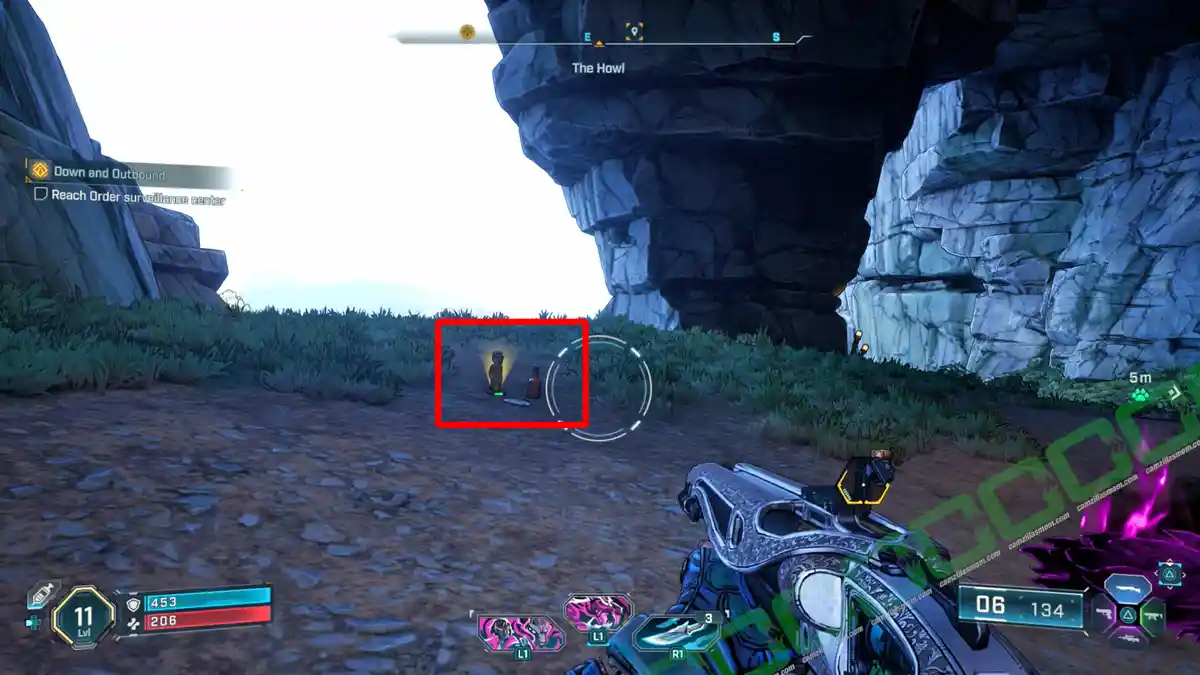
Southwest of Faction Town: The Launchpad is a cave with this bobblehead hidden in it.
Faction Town: The Launchpad – Southern Meadow
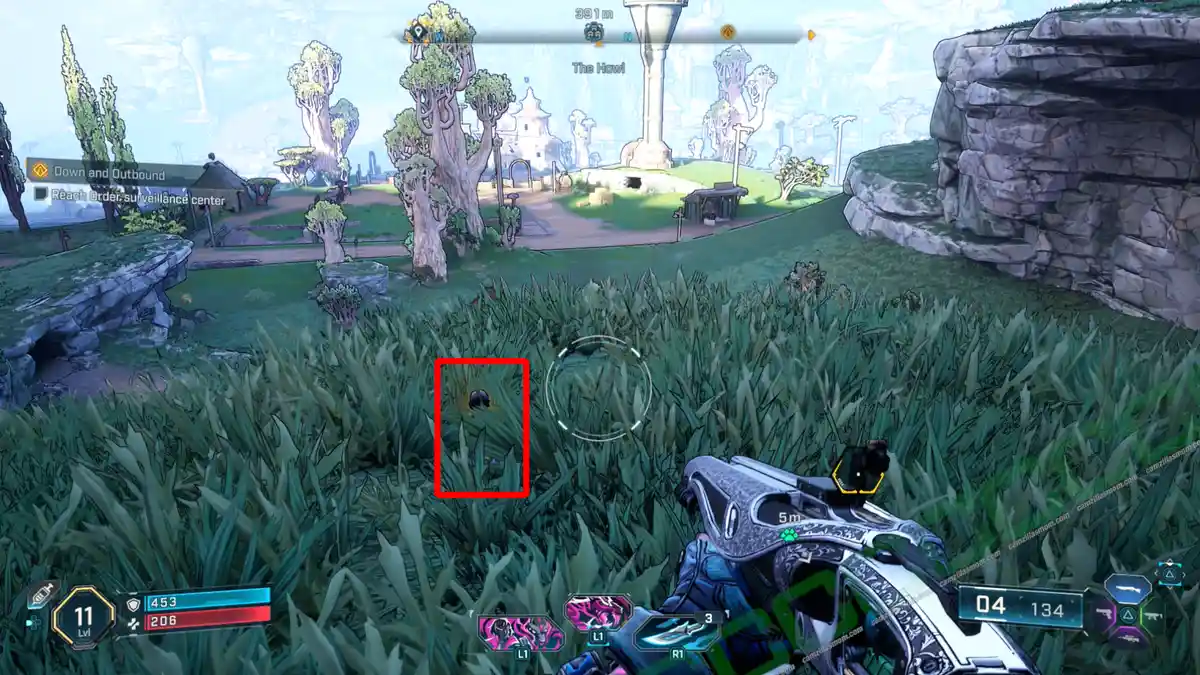
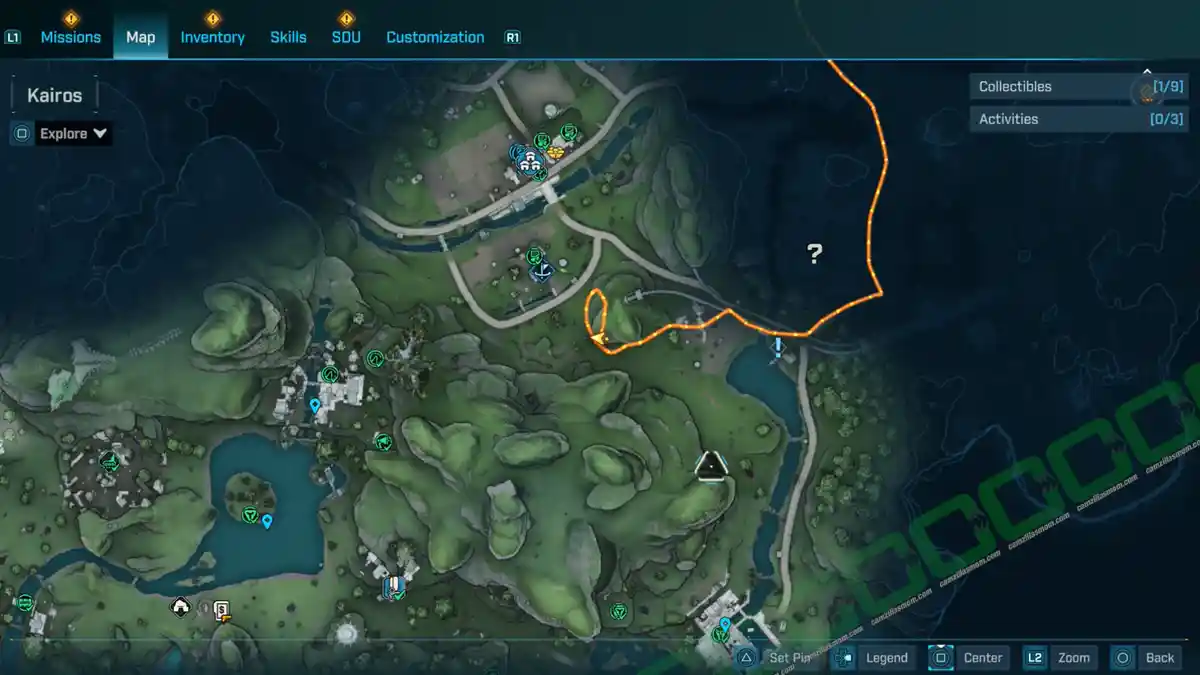
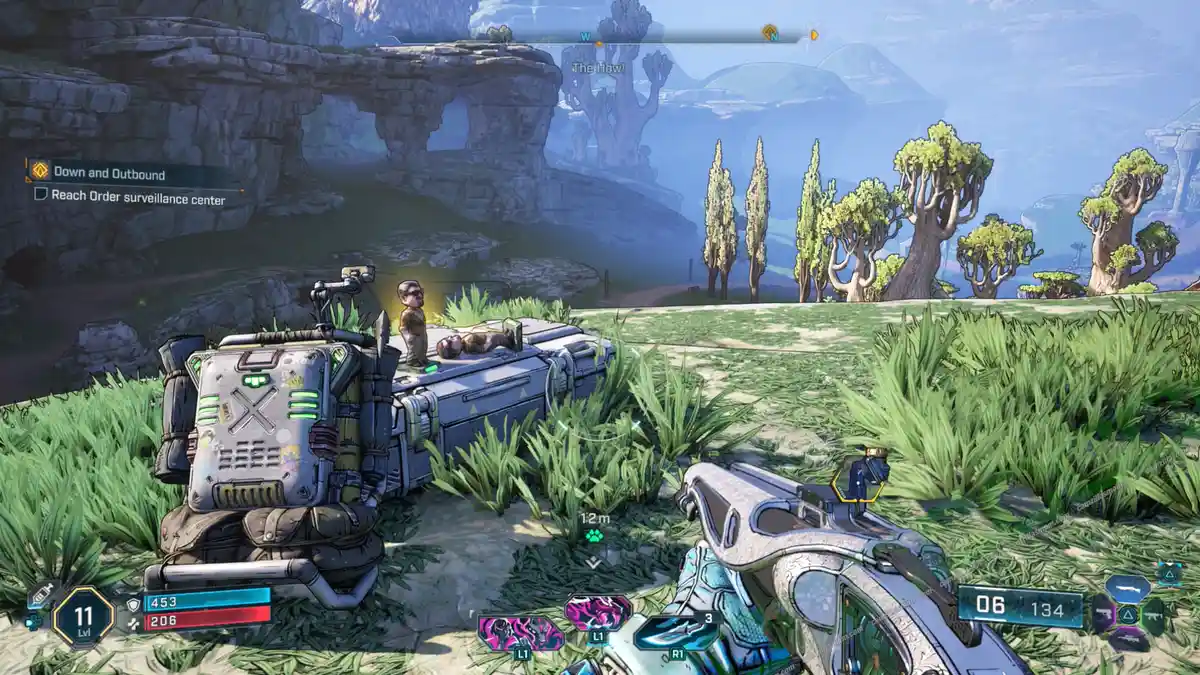
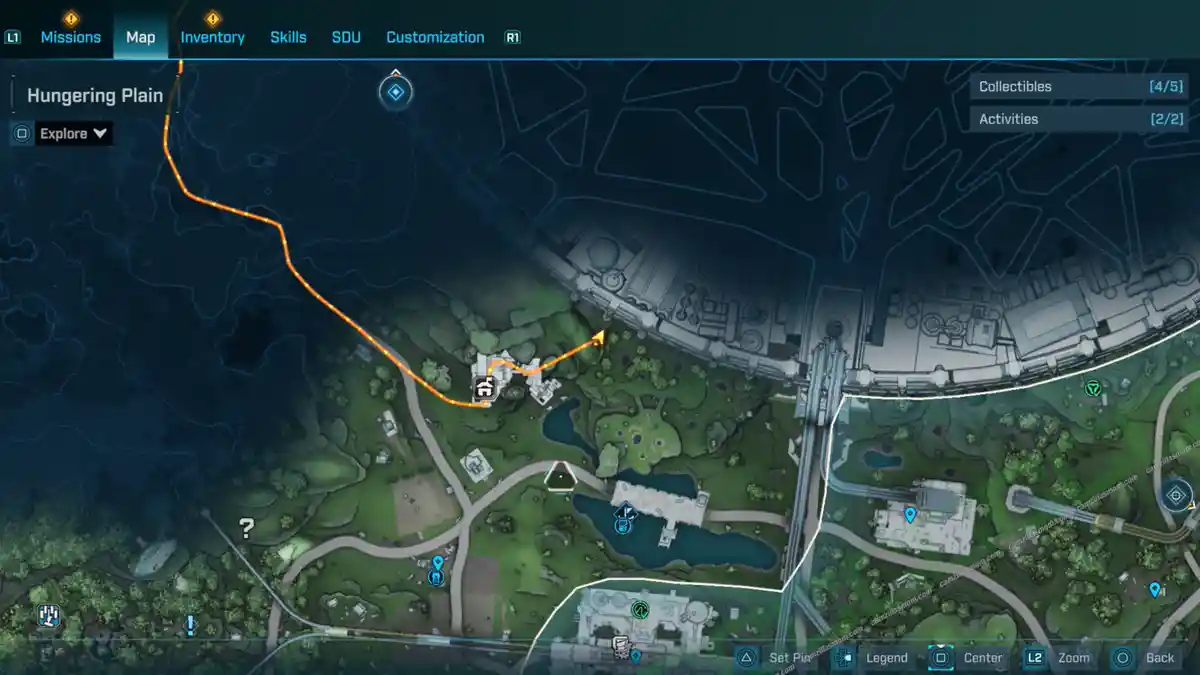
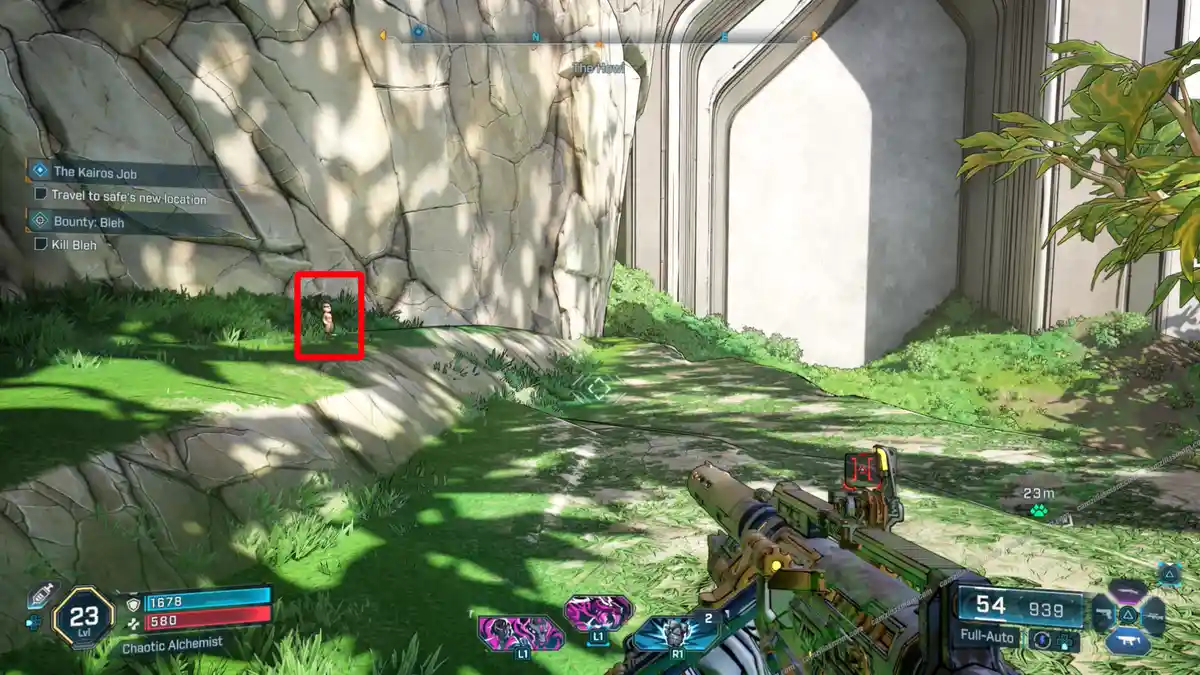
South of Faction Town: The Launchpad, behind the farm, is a meadow with the bobblehead hidden in the high grass.
Faction Town: The Launchpad – Southeastern Hill
Southeast of Faction Town: The Launchpad, behind the farm, is a hill that seems to have one of those overhead train tracks attached to the hill. Up on this hill, on the western side, is a bobblehead.
Faction Town: The Launchpad – Northwestern House
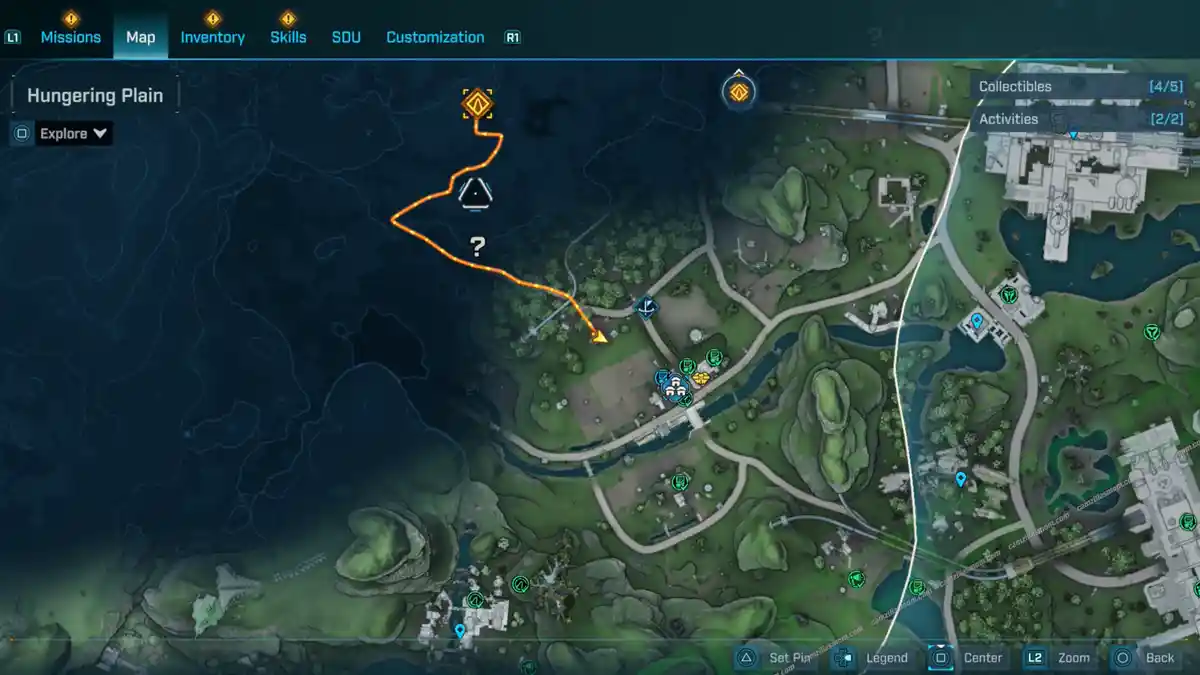
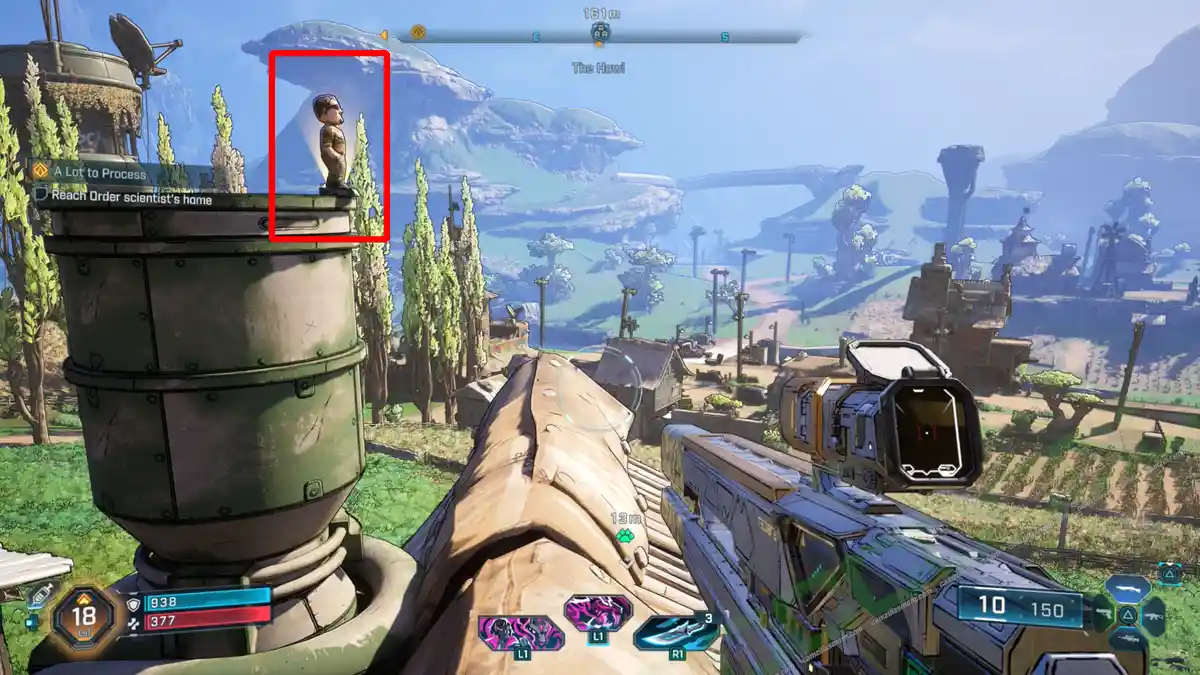
Northwest of Faction Town: The Launchpad is a house. The bobblehead is on the roof’s chimney.
Safehouse: Shut-Eye Keep 1
At the base of the mountain, just east of the Safe House: Shut-Eye Keep, stands a bobblehead waiting to be flicked.
Safehouse: Shut-Eye Keep 2
Northwest of Shut-Eye Keep, up in the mountain, is a bobblehead relaxing with a book and a pillow.
Overhead Tracks
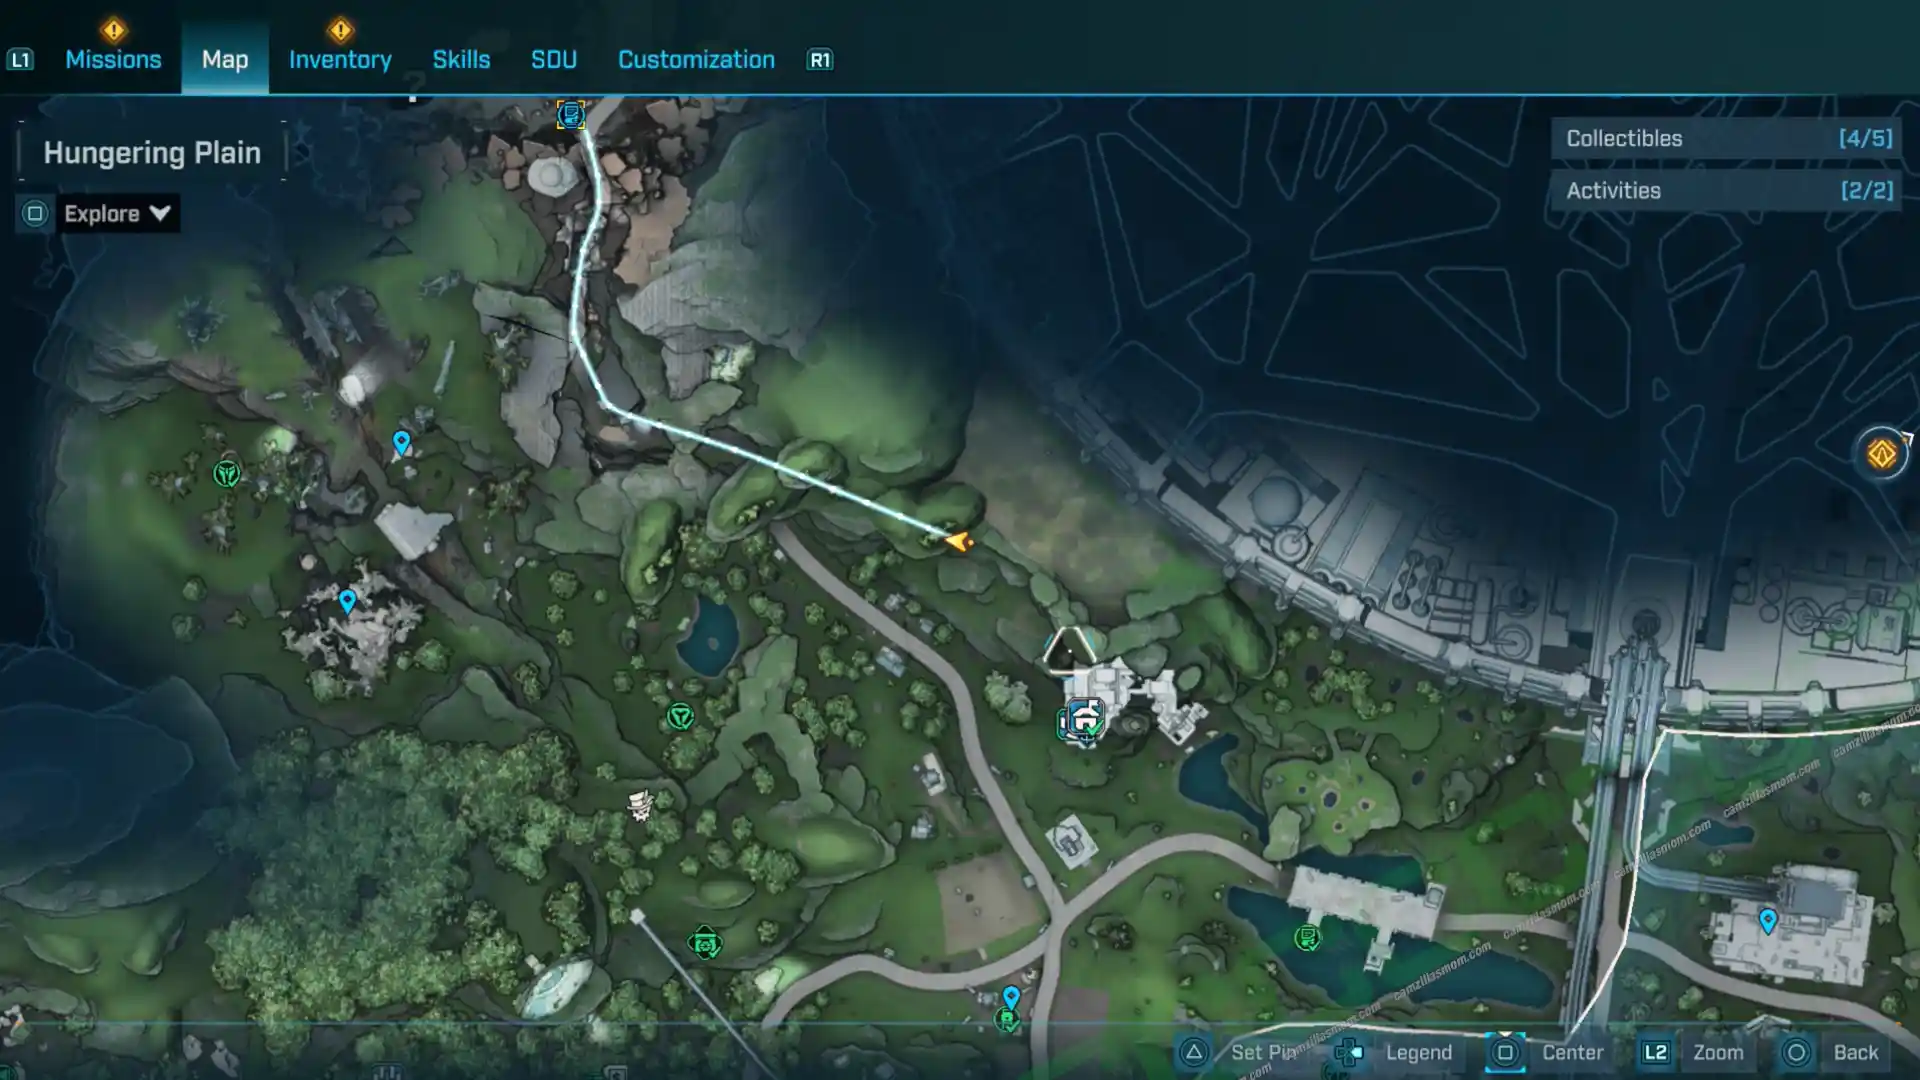
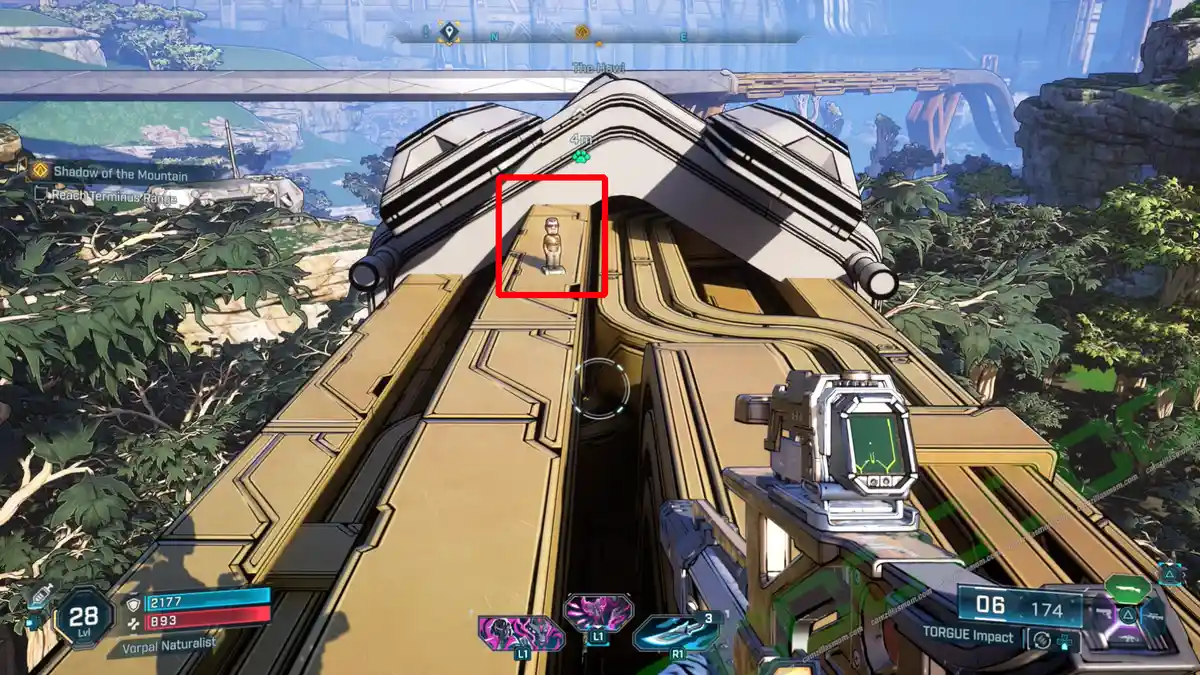
Use the balloon zipline at the Order Silo: The Kit Hole and glide to the northeast. Land on the overhead tracks and find the bobblehead there.
Side Missions
-> Also Available: All Side Missions in Borderlands 4
Ready to Blow
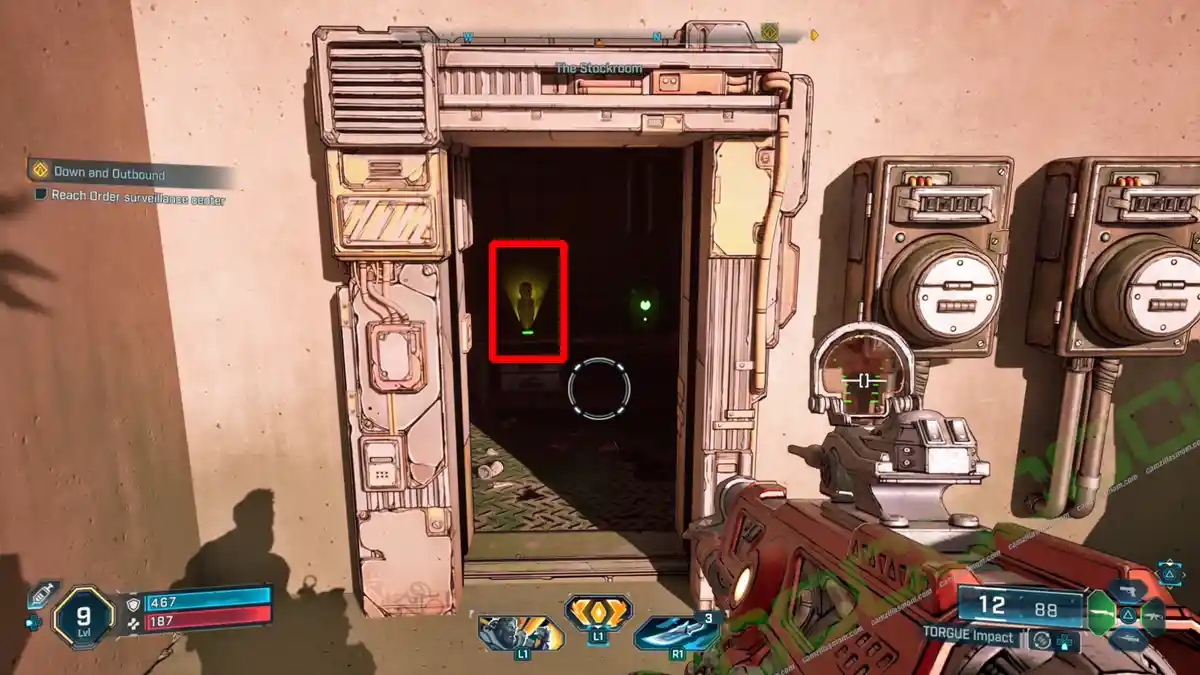
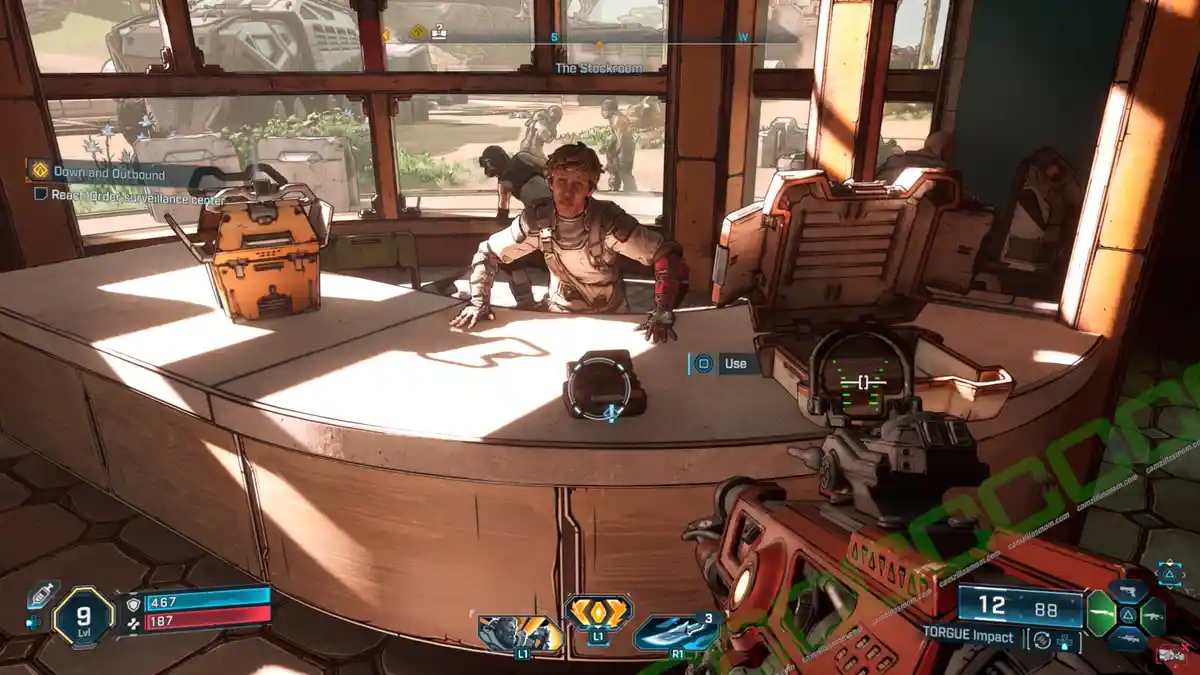
Interact with the log on the counter of the Stockroom at the Faction Town: The Launchpad to accept this Side Quest.
1 – Find Missile
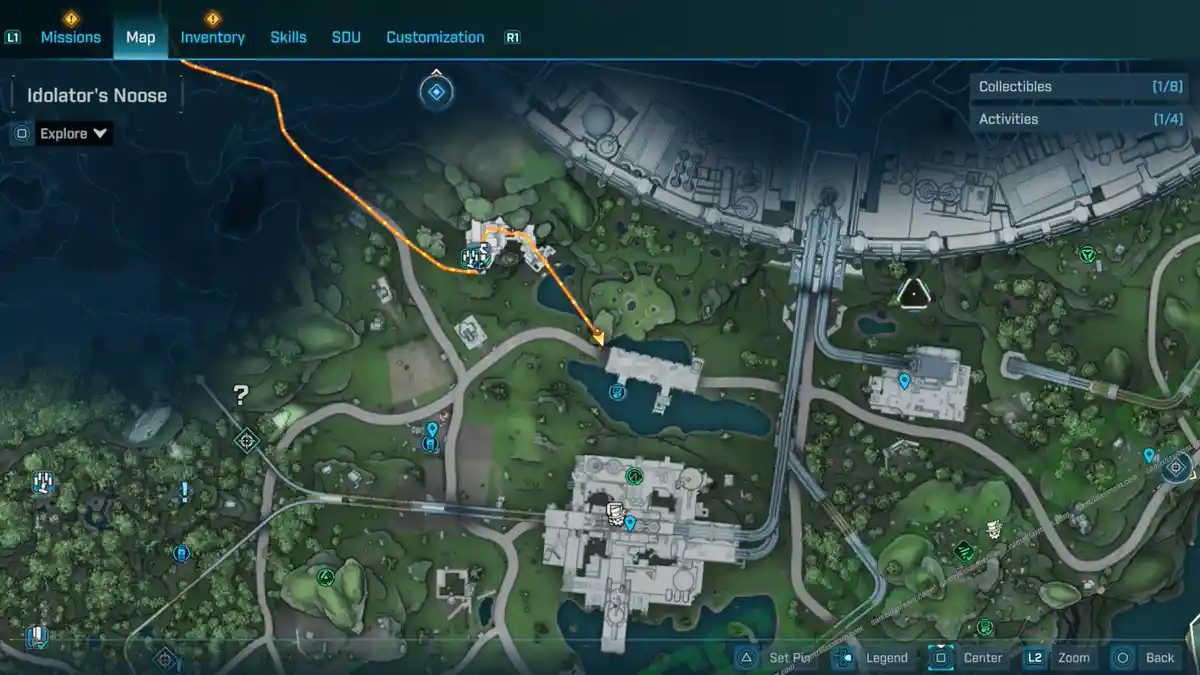
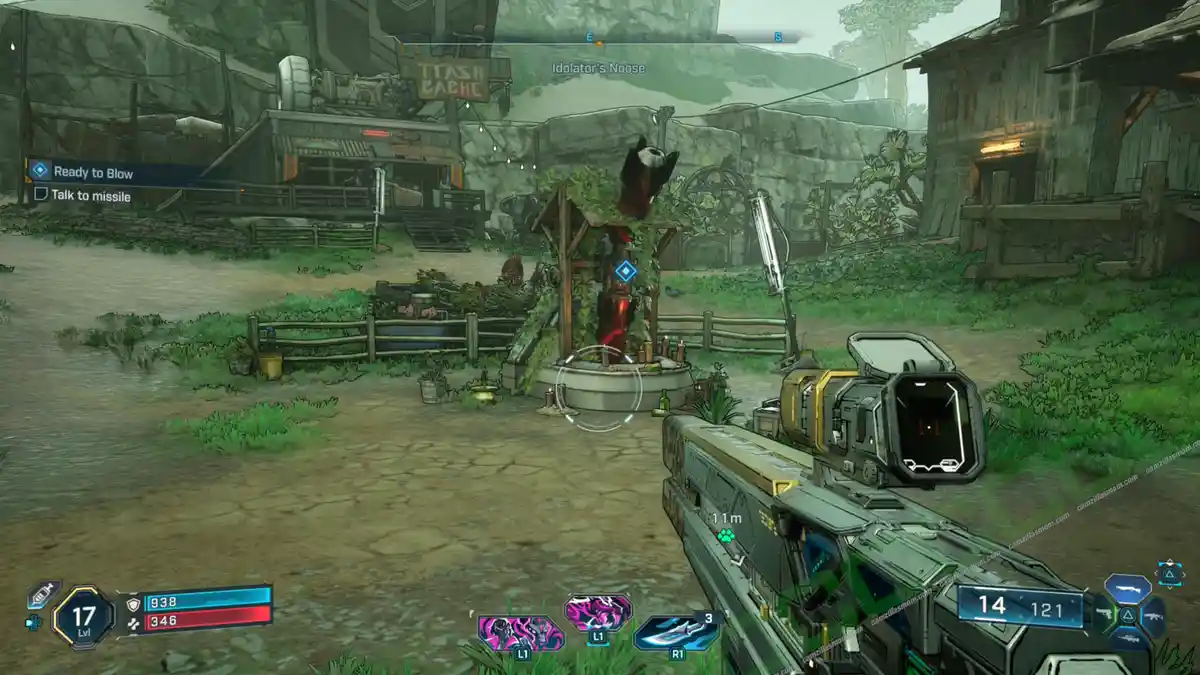
The Missile’s playing hard to get, but we know its secret hideout: a cool 2700-meter trek to the Idolator’s Noose, just a stone’s throw west of Rosemary’s Reserve. Look for the suspiciously friendly farm – rumour has it, our missing missile took an unexpected dive into the well right in the middle of it. Talk to the missile to figure out what to do. Then, talk to the local scrapper to ask for a missile launch system.
2 – Collect Missile Components
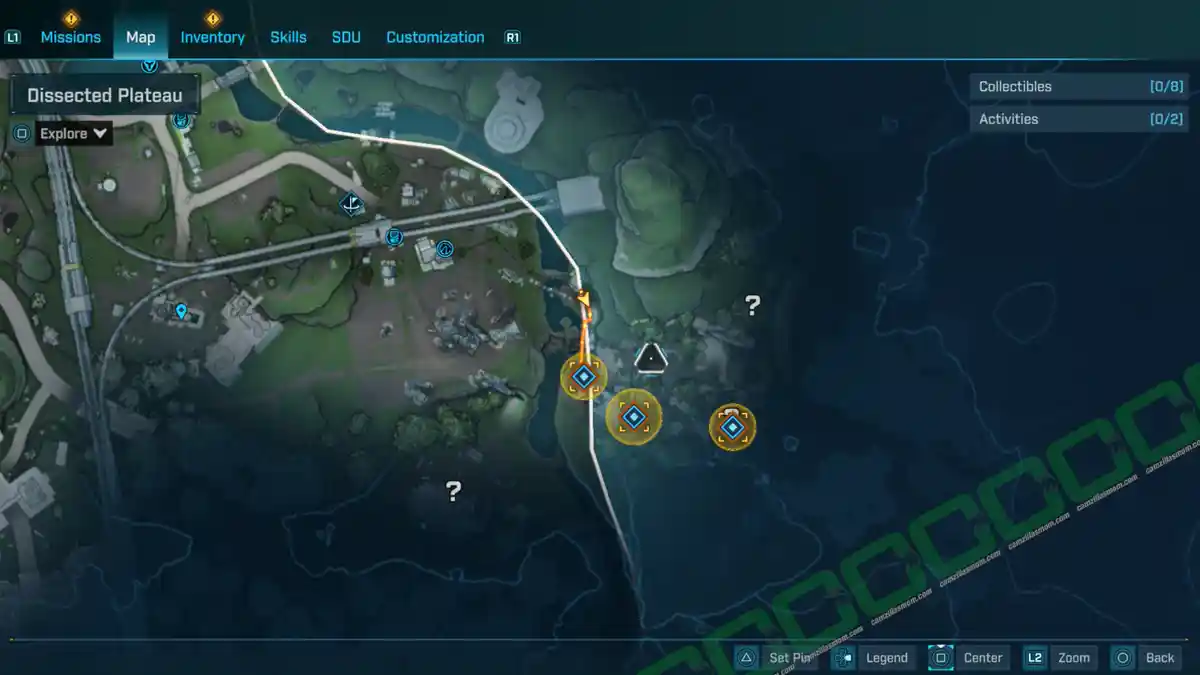
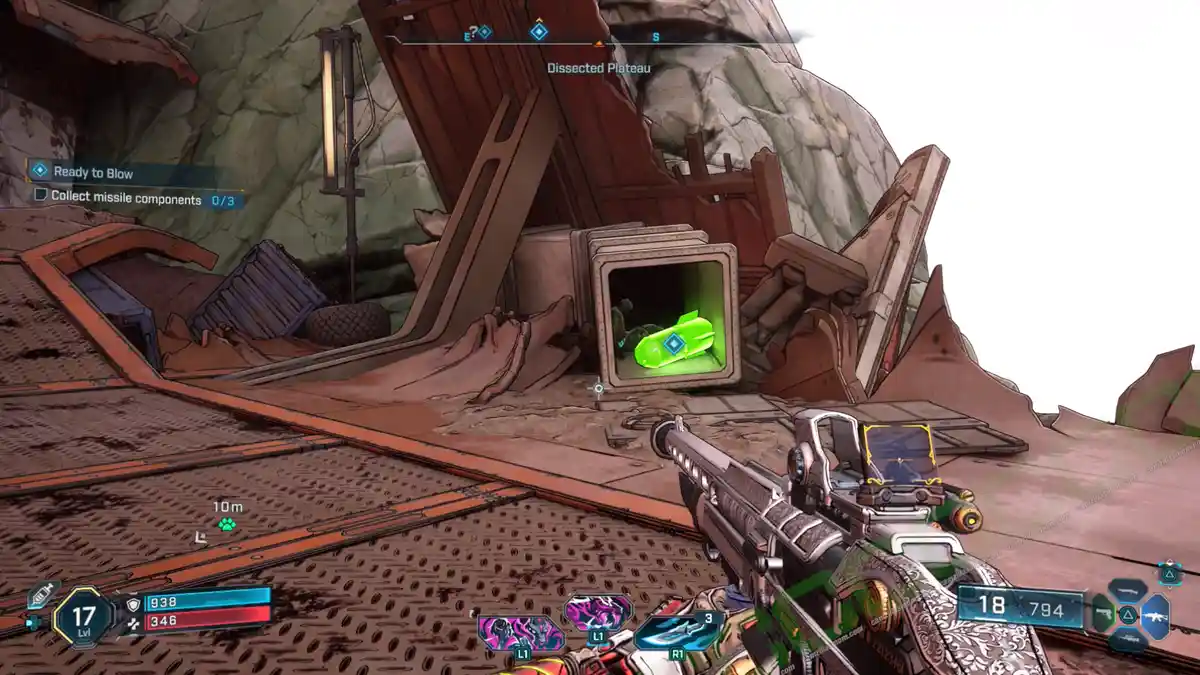
Head to the east and cross over to the Dissected Plateau region. There are three parts to be found. There is a parkour with jumps and grapples that takes you up to the mountain where the parts are. Some of them are hidden in boxes. Look for panels that you can pull off.
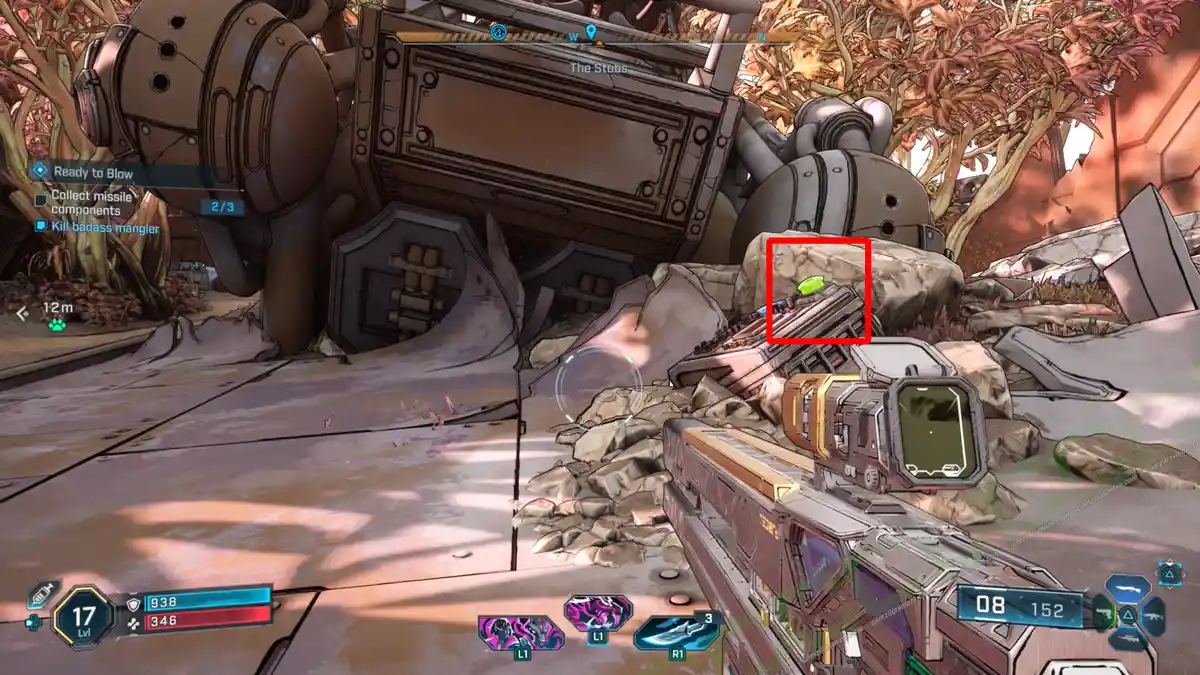
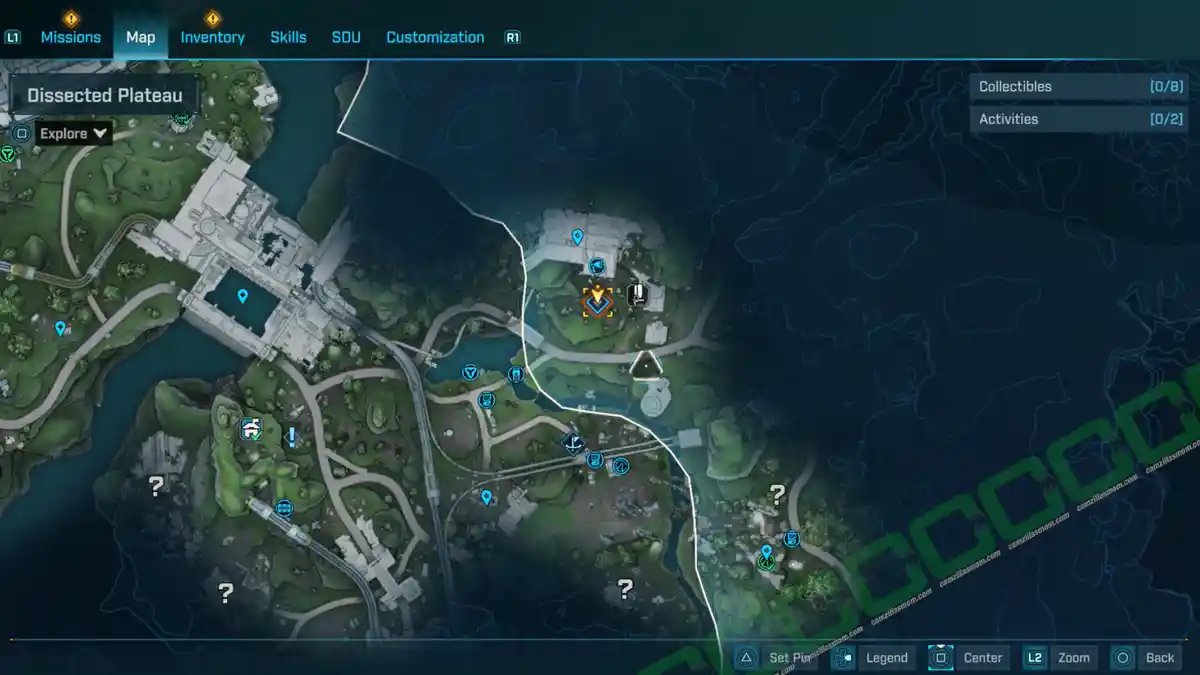
Keep following the path up to find the other two parts in the POI called “The Stubs”. One part has been eaten by a Mangler, and for the last part, you have to press a button on a broken console.
3 – Carry Gigi to the Launch Area
Return to the missile and take the round ball out of the missile. Take her to the launch area in the north, just west of the Order Silo: Deep Seven at the Dissected Plateau. You have to walk it there.
Place her on the dedicated spot and build the missile. Then place the command console and put her into the missile. Start the launch sequence and defend her. Push the button again to complete the quest.
Null and Void
After defeating Sol in the story, Rush has a side mission in the south of Faction Town: The Launchpad, near the crashed Order ship.
1 – Check Conway’s Last Location
Conway is not picking up the radio. The last location was at the Wreck of the Nostalgia POI at the Hungering Plain. The mission marker will lead you to a sleeping area, where you can pick up Conway’s ECHO Log.
2 – Next Scavenging Location: The Prospects, Hungering Plain
The side mission is now sending you to the next scavenging location to look for Conway: The Prospects at the Hungering Plain. At the location right after the wooden bridge, near the checkpoint, you’ll find an observation post with another ECHO Log next to the chair.
3 – Next Crash Site: Horizon’s Mar
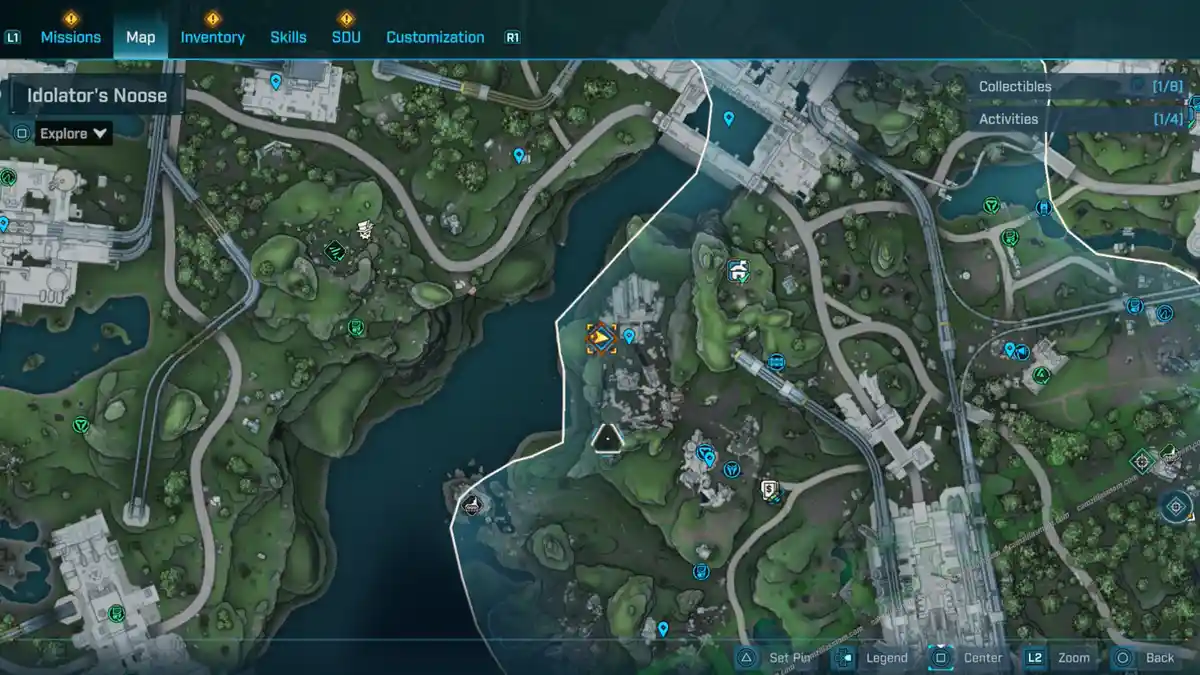
The next waypoint leads to Horizon’s Mar, in the west of Idolator’s Noose, where you can interact with the panel at the door.
4 – Find Hangry Ripper’s Order
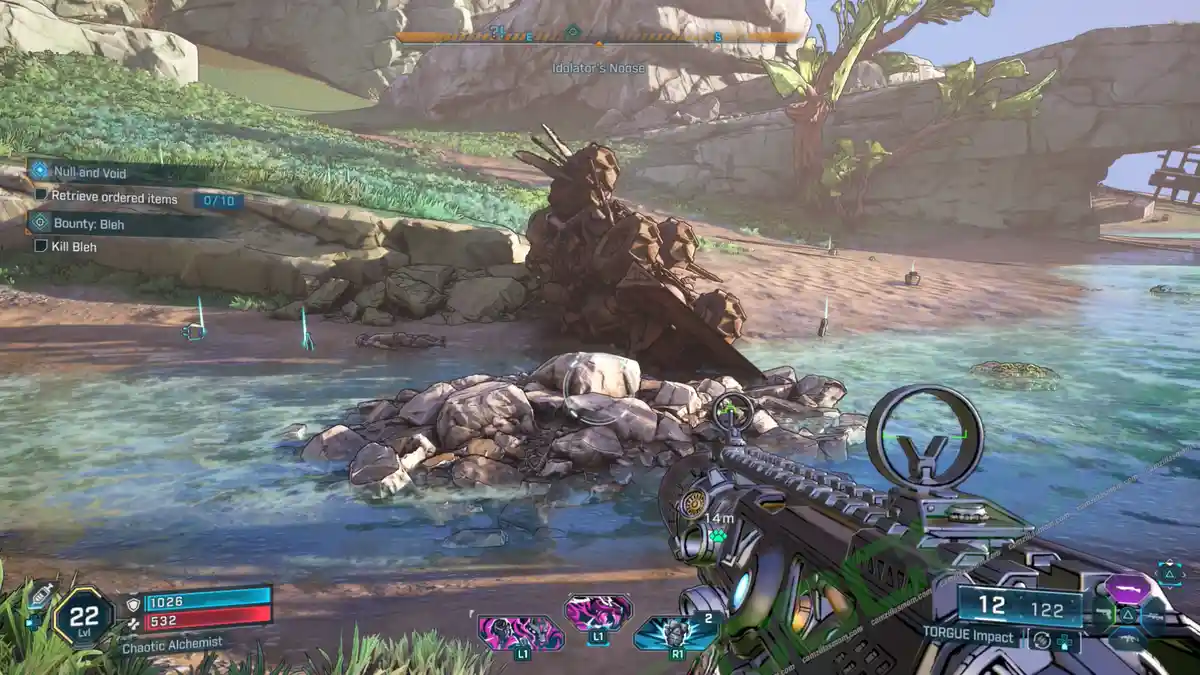
The Rippers at the oder side are missing their food order. The waypoint leads to the south of Rattlehead Crest. The delivery driver has crashed in a swampy area. Pick up all 10 pieces of the order. They are scattered around the car. Then return to Horizon’s Mar.
5 – Back at Horizon’s Mar
Defeat the Rippers and talk to Conway in the cage. Follow the cage to the crane, where you have to find the crane controls. Climb the crane to rescue Conway and interact with the controls.
6 – Energize the Engines
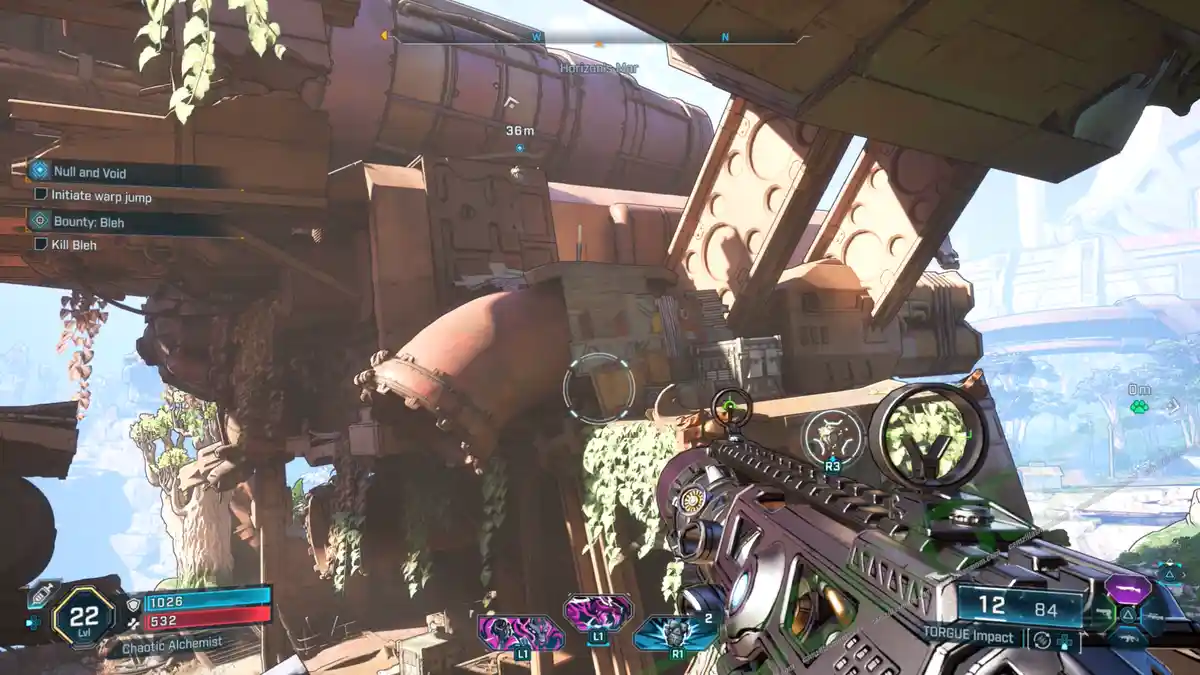
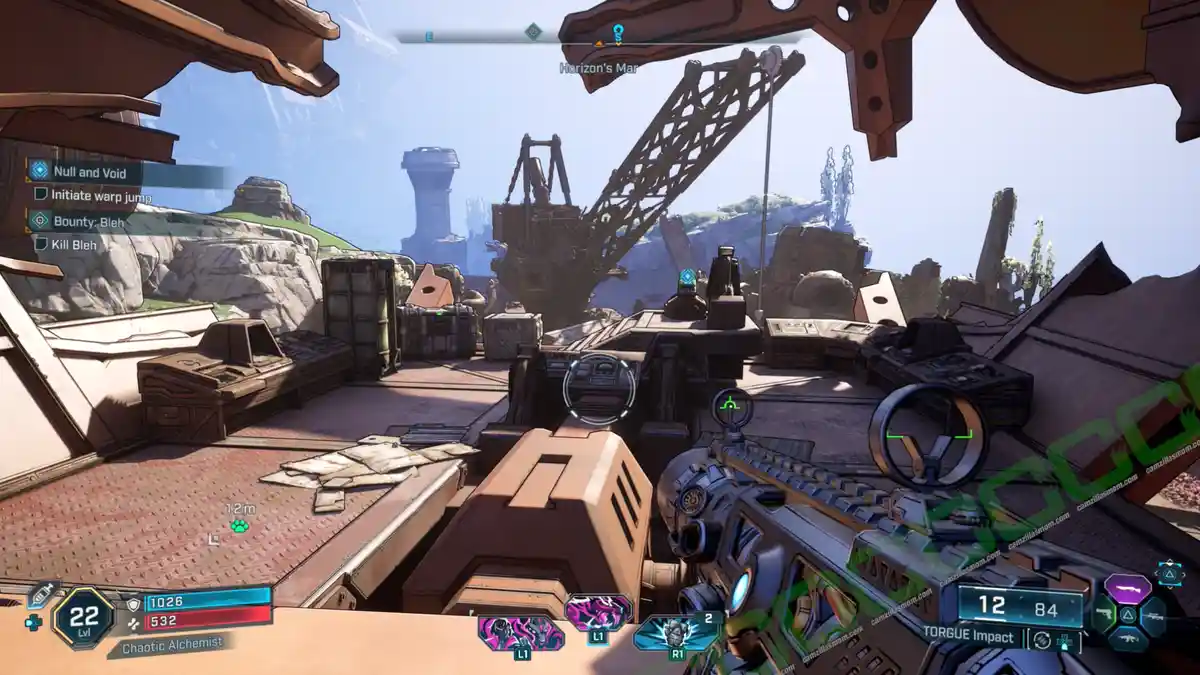
The crane controls are busted. Next, you need to energize the Starboard Engines. Interact with the crank there. Then, move north, through a gate to energize the port engine, a similar-looking crank high on a platform.
Next, you have to parkour to get to the warp drive to initiate it. All that’s left is to free Conway from the cage. Shoot the cage down and defeat Chugs. Rush will arrive just in time to greet you.
The Kairos Job
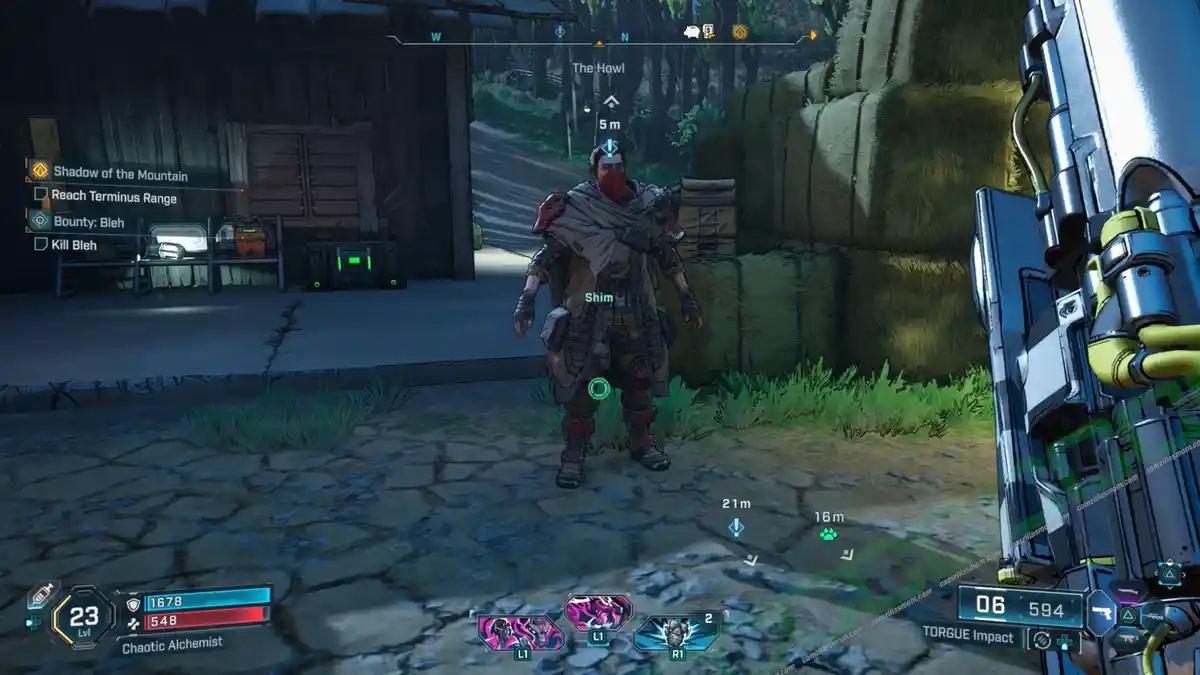
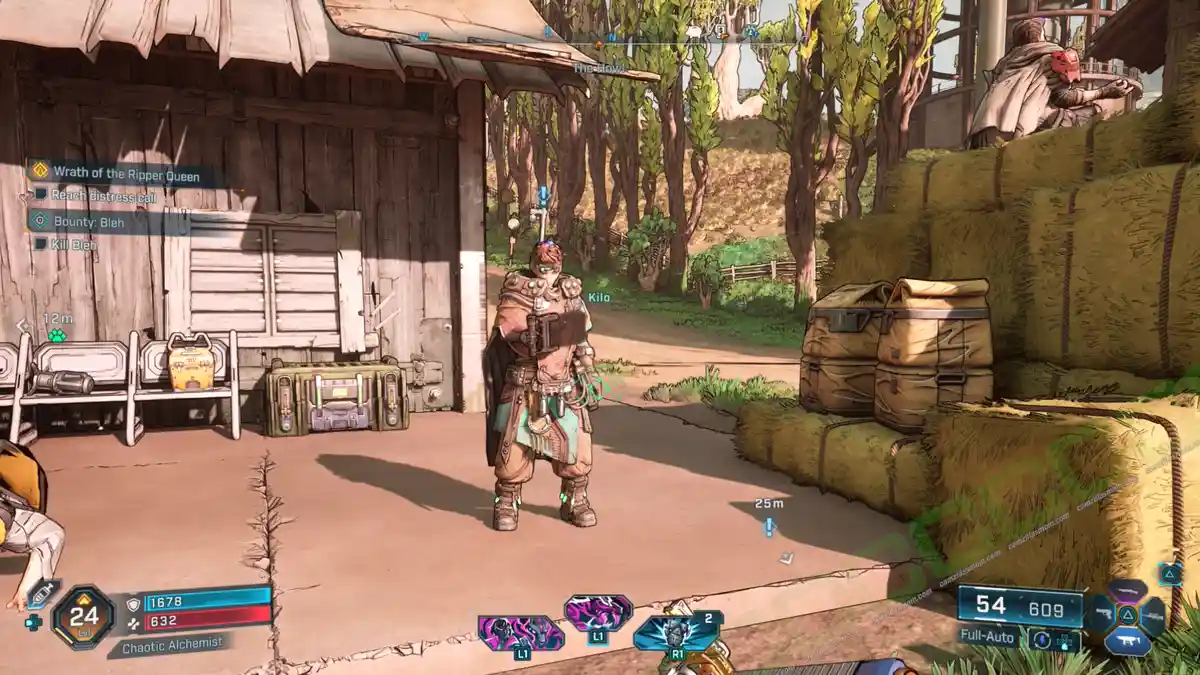
Talk to Shim, standing in the center yard of the Faction Town: The Launchpad. Follow him to a quieter place behind the house and talk to him. About recruiting Kilo and Glitch. This will lead to two Sub-Missions:
-> Scoundrel Roundup: Kilo
-> Scoundrel Roundup: Glitch
Return to Shim when you recruited Kilo & Glitch.
1 – Scoundrel Roundup Kilo
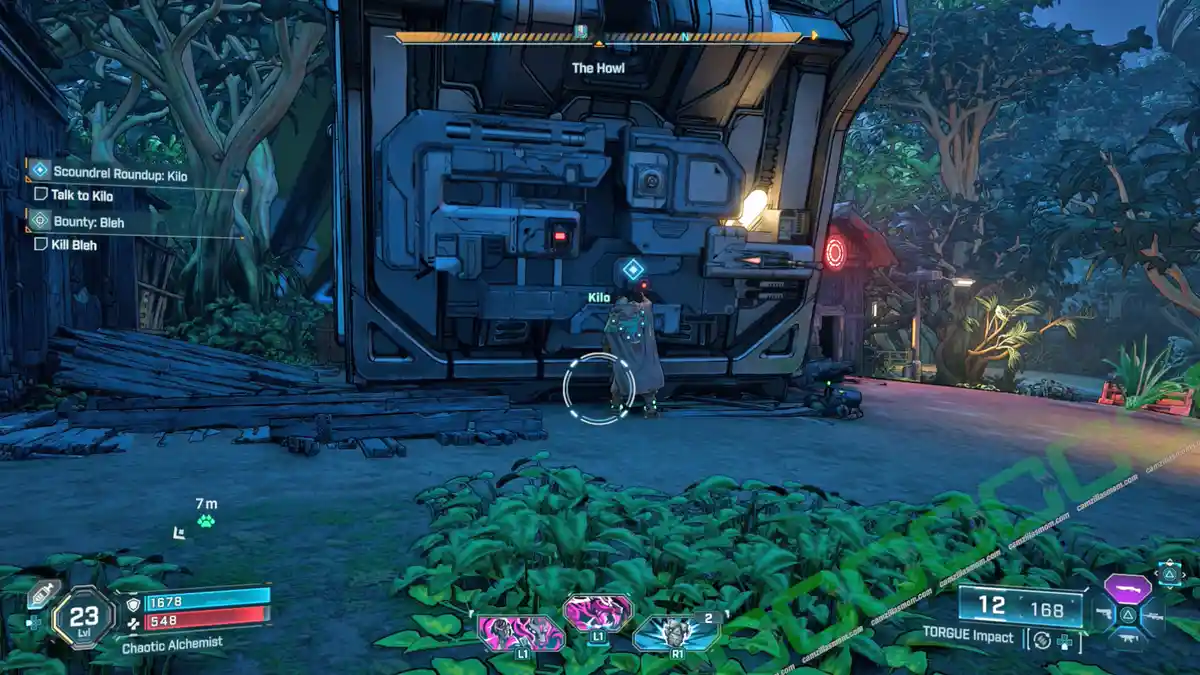
Kilo is not far from Shim’s location at a house in the northwest, working on one of the order containers with various switches that can be found all across Kairos. Kilo will show you how to open this container.
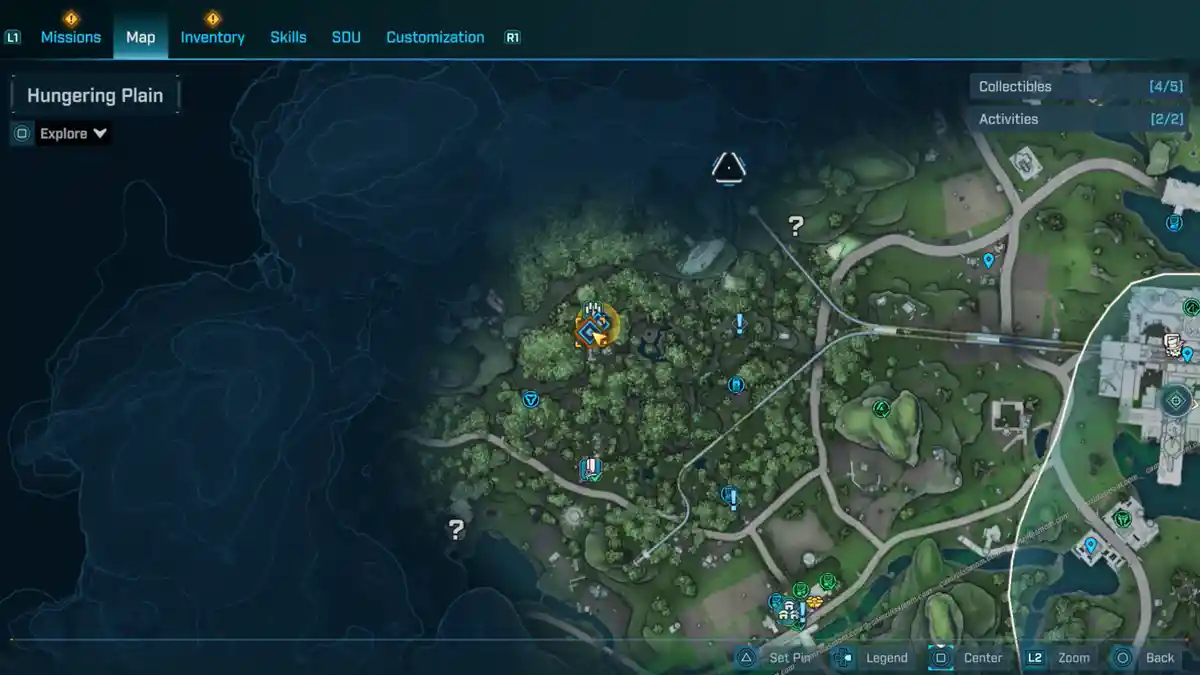
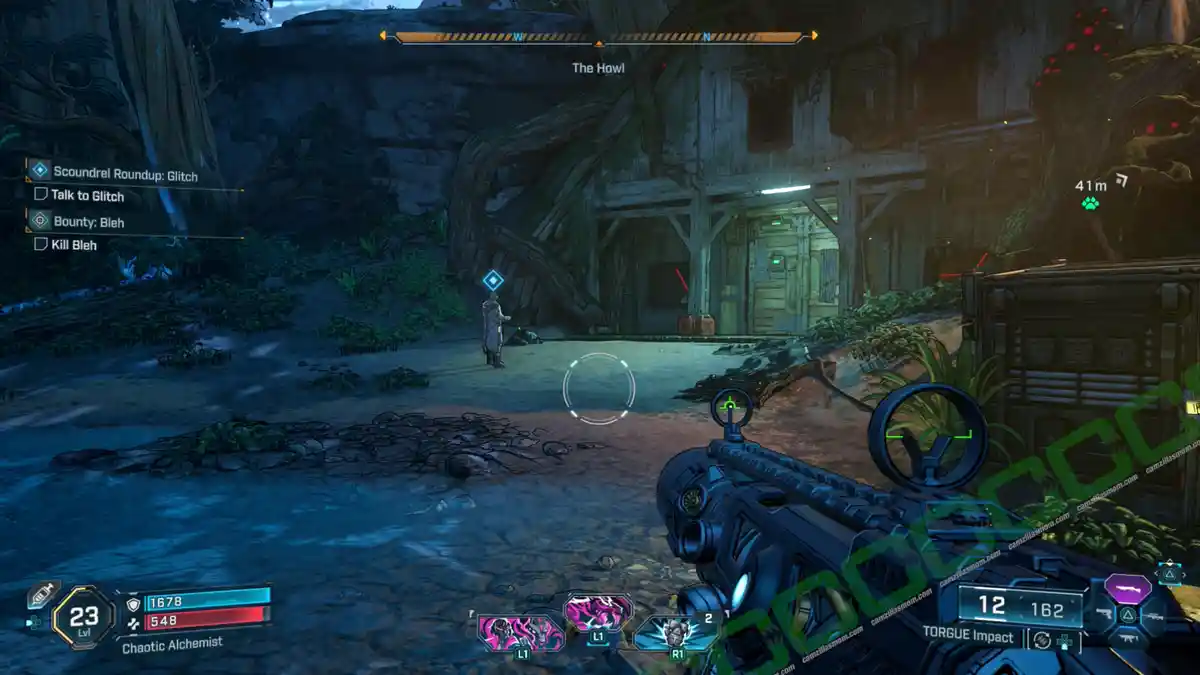
2 – Scoundrel Roundup Glitch
Glitch can be found at the Rootdown Estates, where you have to find Zadra in the story. Cross the room without triggering the alarm, avoiding the lasers. Just slowly crouch and jump through the house, pulling the three levers.
3 – Go Over the Plan
Shim will open up the nearby room that has two collectible ECHO Logs inside.
4 – Rendezvous with the Crew
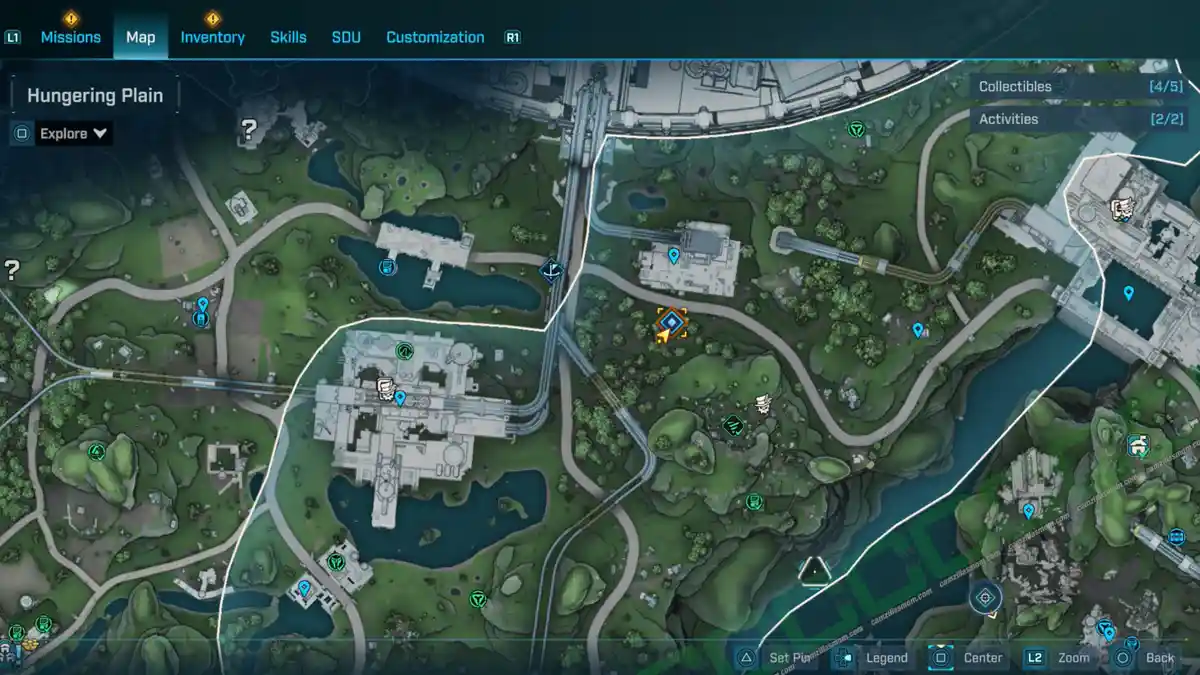
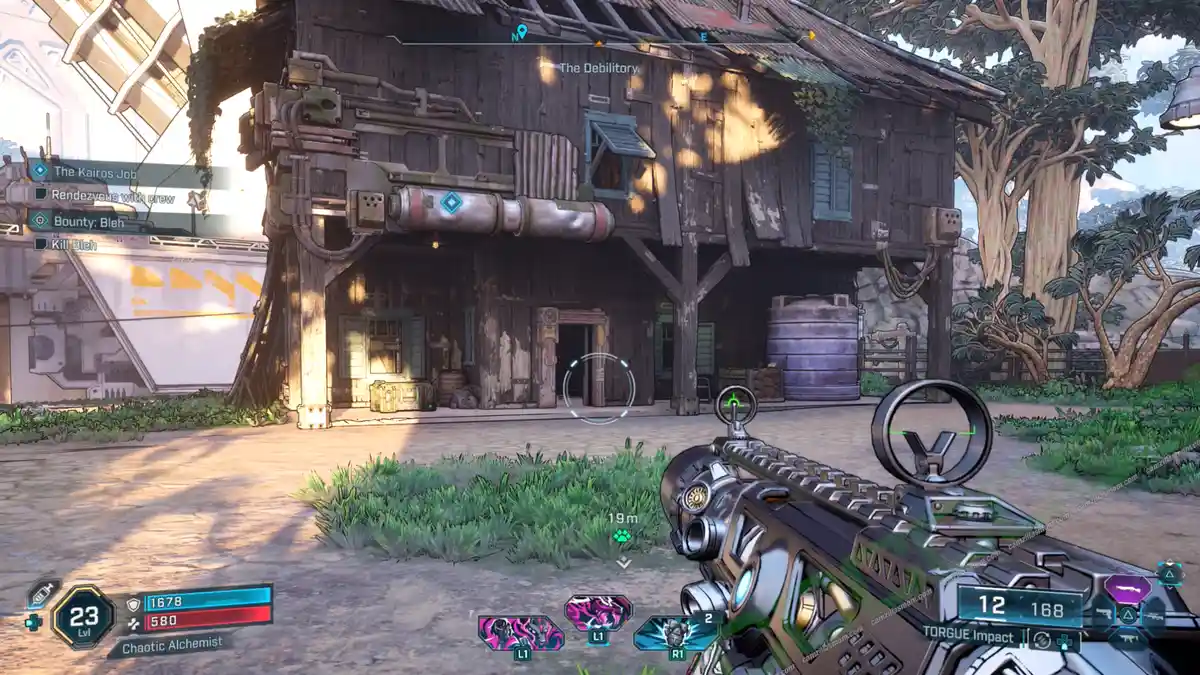
Head to the Debilitory at the Hungering Plain. The crew is waiting inside the house on the other side. Glitch will hand you some electro charges.
5 – Get on the Warehouse Roof and Set Charges
The ramp set up on the hill to the east of the Debilitory will take you to the roof. They go on the four antennas with the four wings.
6 – Open the Door
The door controls are at the east of the Debilitory. Open the door by listening to Kilo’s instructions. Once the door is open, take care of the incoming Order hostiles, then talk to Shim and shoot the explosive on the floor to drop down into the Debilitory’s ground floor.
7 – Turn off Power Relays, Find the Right Spot to Cut
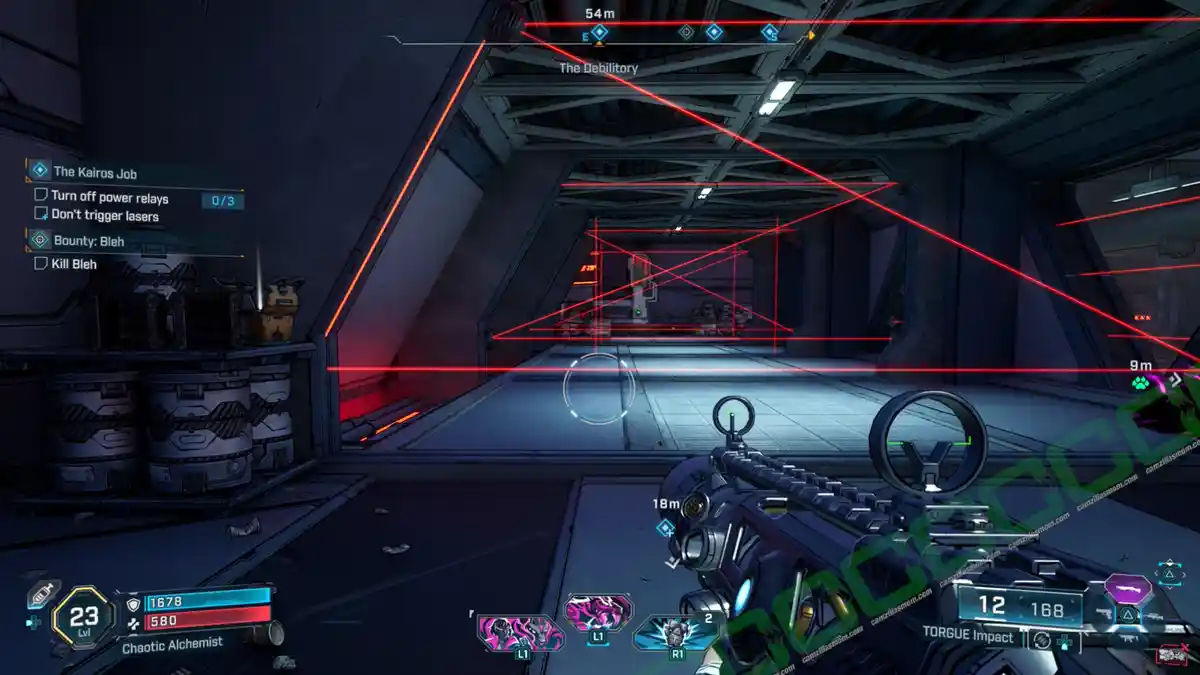
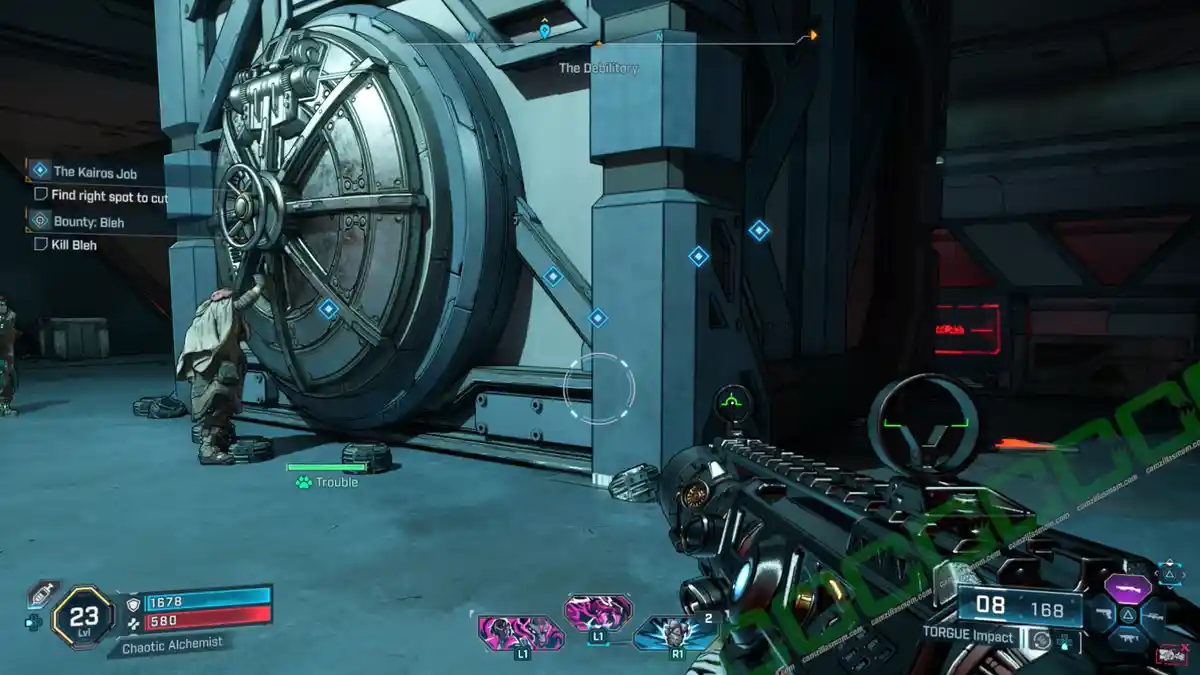
On the Debilitory’s ground floor, you have to turn off three power relays without triggering the lasers. They are set too close and the alarm will most likely trigger. No harm done, just defeat the incoming Order hostiles and then head over to the safe, where you have to melee hit certain points to find a weak spot.
8 – Destroy Drones, Attach Rockets to Safe
In the next section, you have to destroy the big drones that are attacking you. One of them has an Invulnerability Orb, which you have to shoot first. Then, pick up their rockets and attach them to the safe. Talk to Glitch to blast it off.
9 – Travel to the Safe’s New Location
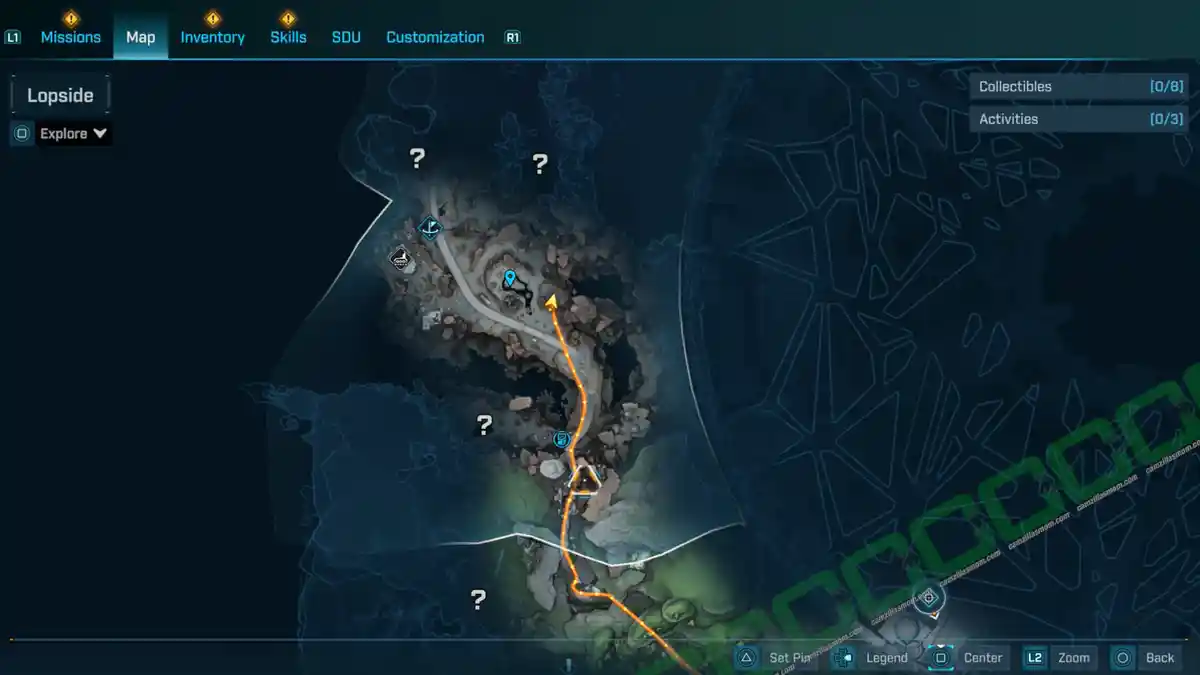
The safe landed in the south of the Lopside region, just northwest of The Howl. Open the safe after defeating the Order forces to complete this Side Mission.
Free for the TASKing
After “The Kairos Job”, meet Kilo back at the Faction Town: The Launchpad. Kilo will send you to a container with the special locks from before to open it.
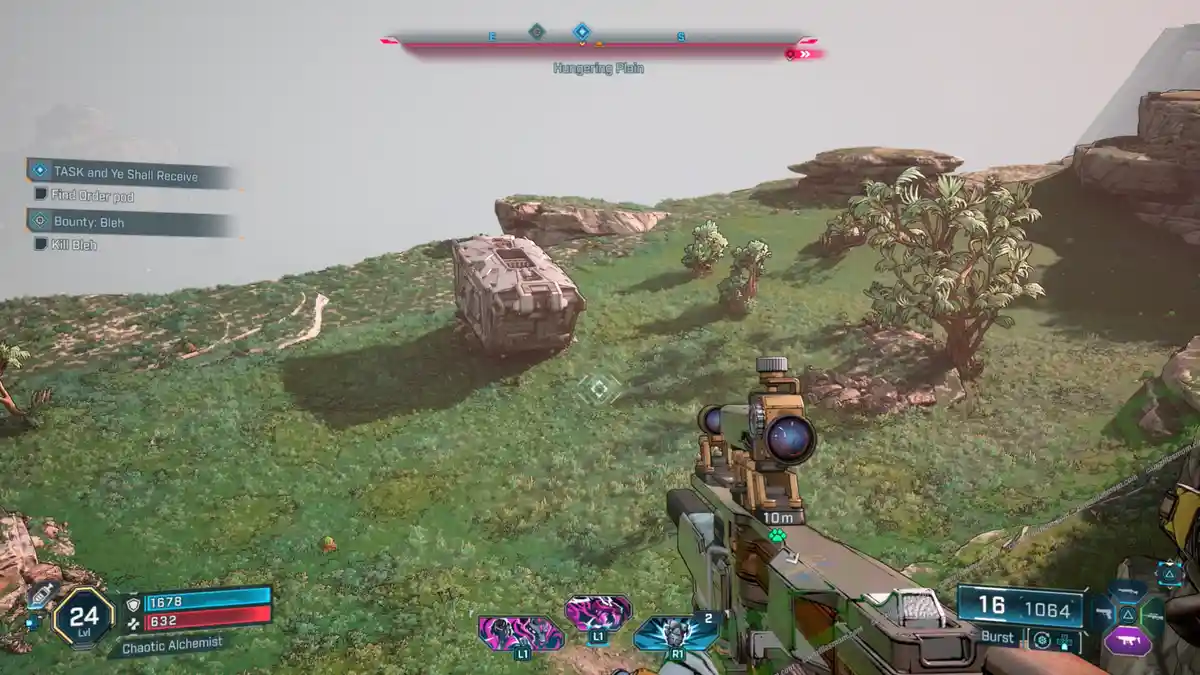
The Order Pod is just northeast of the faction town.
TASK and Ye Shall Receive
Return to Kilo to receive another Order Pod job.
This time, the container is a bit further away, at the Hungering Plain northeast of The Flarewell.
TASK Master
Return to Kilo to receive the last Order Pod job.
This time, the pod is in the Idolator’s Noose region, just below Wyclef’s Reprieve Safehouse. In fact, if you fast-travel to the safehouse, you can just jump off the balcony there to reach Kilo’s Order Pod.
This time there is also a power core action. On the top left of the panel, there is a power core that you can pull out, if the order is: “Replace the power core“, pull the power core from the top left and throw it into the slot to the top right. If the order is “Remove the Power Core,” just pull the power core out of the socket in the top right and throw it away.
Power Drop
The Power Drop Side Mission starts in the underground area of the Faction Town: The Launchpad. All you need to do here is gamble. Purchase a Power Core, throw it into the slot and hope to win something. Funny enough, I won the thing on the first try. There were just the usual junk weapons in the box for me.
Working for Tips
There is a ECHO Log on the well just north of Faction Town: The Launchpad. Take the ECHO Log. The food rations you need to collect are not far from the well. The food rations need to be delivered to three farms southeast and northeast of the faction town.
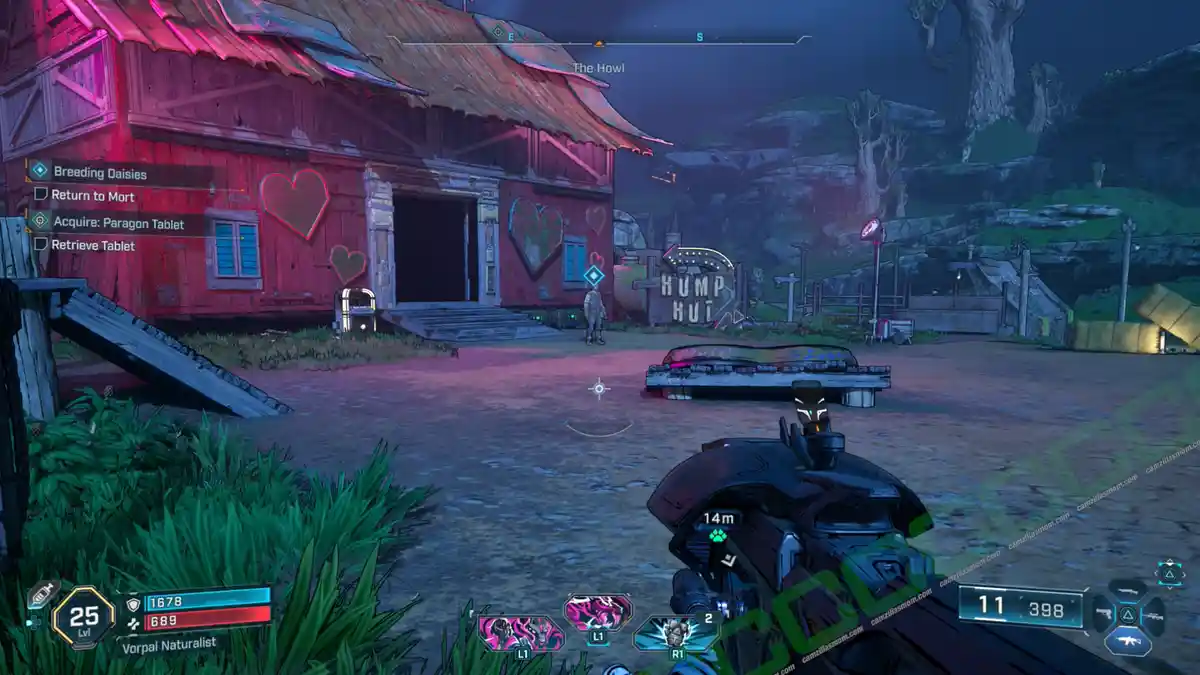
Breeding Daisies
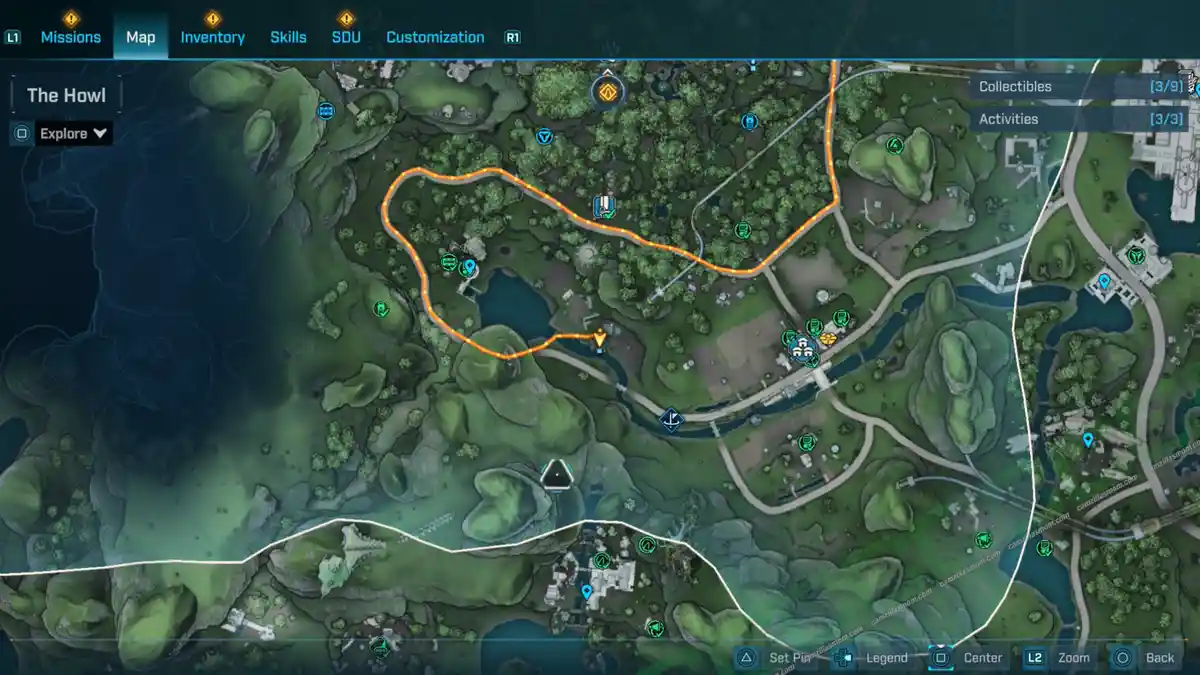
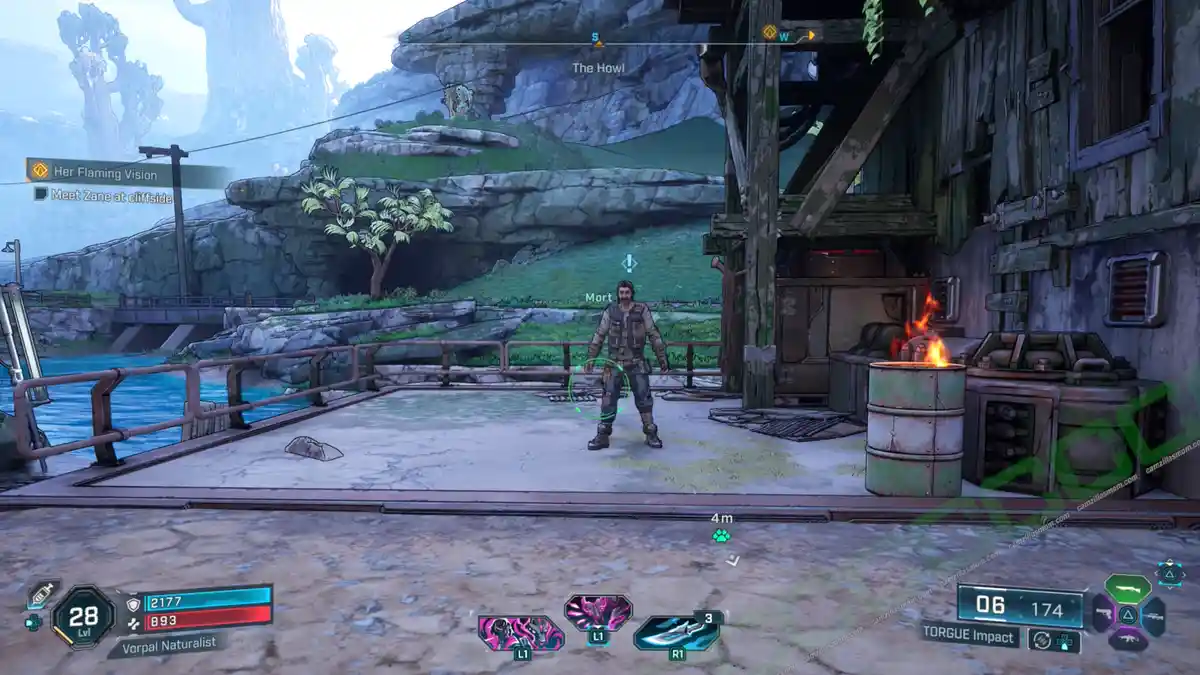
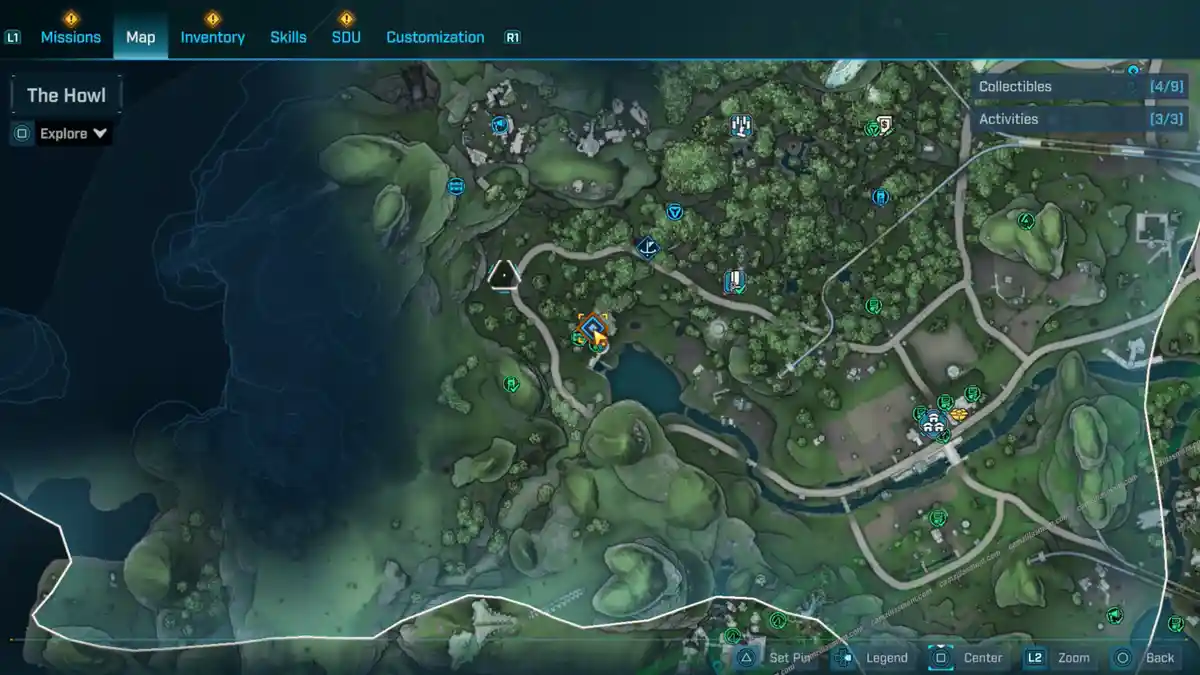
Someone needs to be saved from Threshers at the Gushing Turret POI in the south of The Howl. After saving him, he will offer the Breeding Daisies Side Mission.
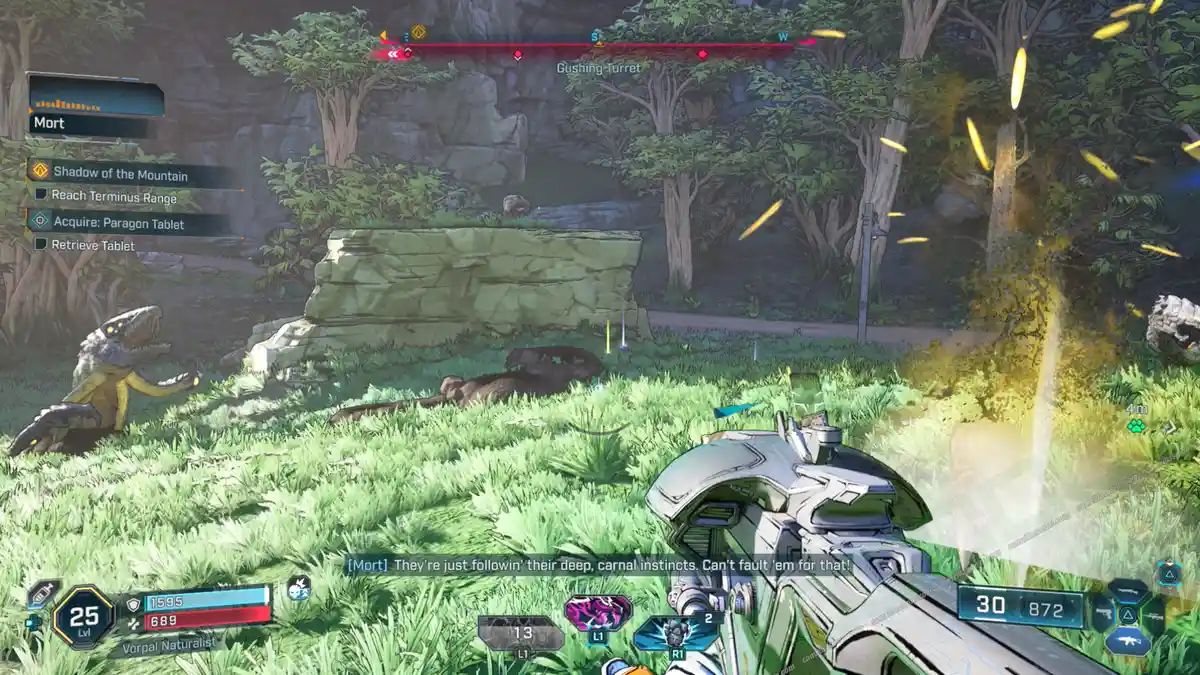
Mort wants to tame a wild thresher and needs you to find some eggs in a thresher nest just north of his location. Follow the path into the cave and fight the threshers to collect three eggs.
Return the eggs to Mort’s house at the other side of the lake. Next, collect Mangler meat in the highlighted area on the map. Then return to the farm and place the Mangler meat in the food bowl. Daisy will then attack. Just fight her until she gives up.
Then use the nearby speaker to call a companion for Daisy. Keep trying until you nail it. When Ivan appears, fight him until he gives up. When they disappear, turn on the jukebox.
Whack-A-Thresher
Mort, just west of Faction Town: The Launchpad needs help again. It’s time to discipline his threshers a little. All you need to do is slam at the marked locations (double jump followed by crouch ).
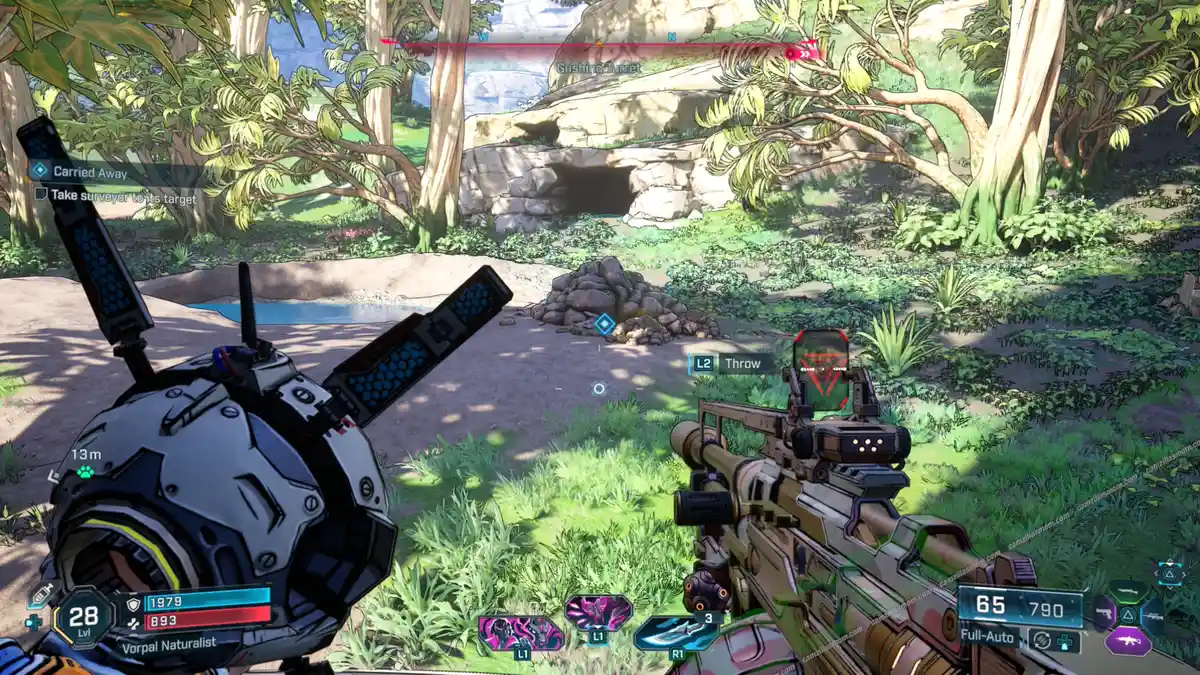
Carried Away
In the center of The Howl and north of Faction Town: The Launchpad is a settlement high up on a hill, where a Porta-Potty needs help. Hid the toilet’s lock.
Pick up the surveyor and carry it to its target, which is at the Gushing Turret in the southwest.
Savage Salvage
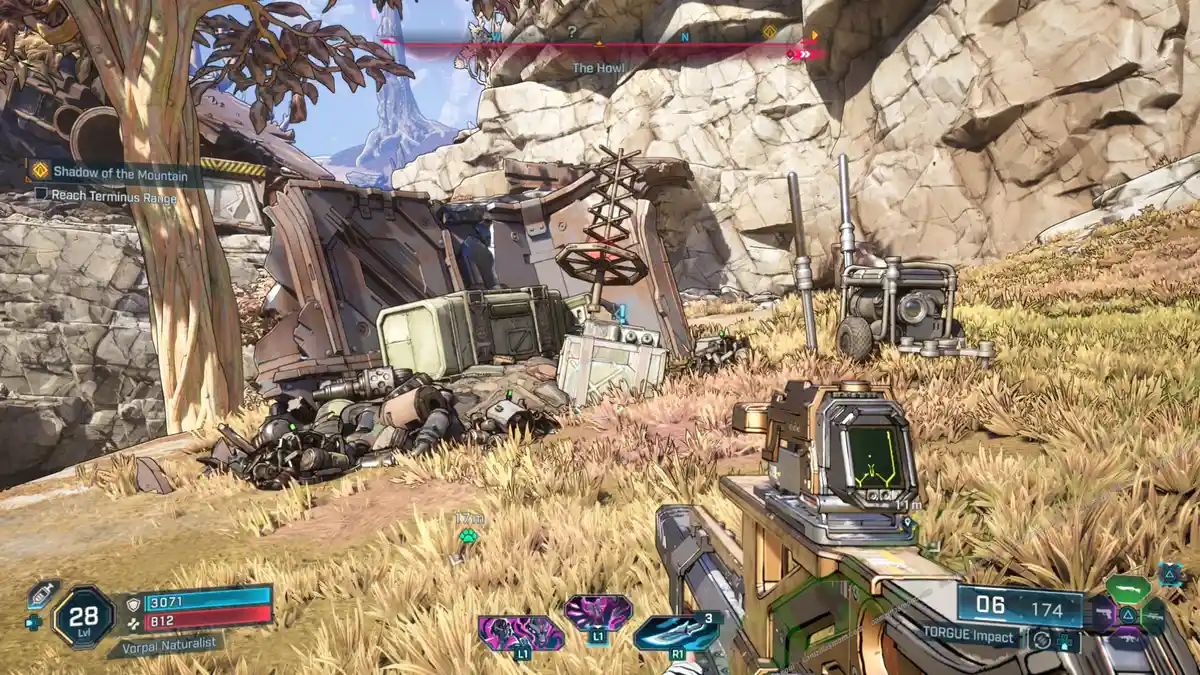
West of the Shut-Eye Keep Safehouse, you’ll find an antenna and a radio, with someone calling for help.
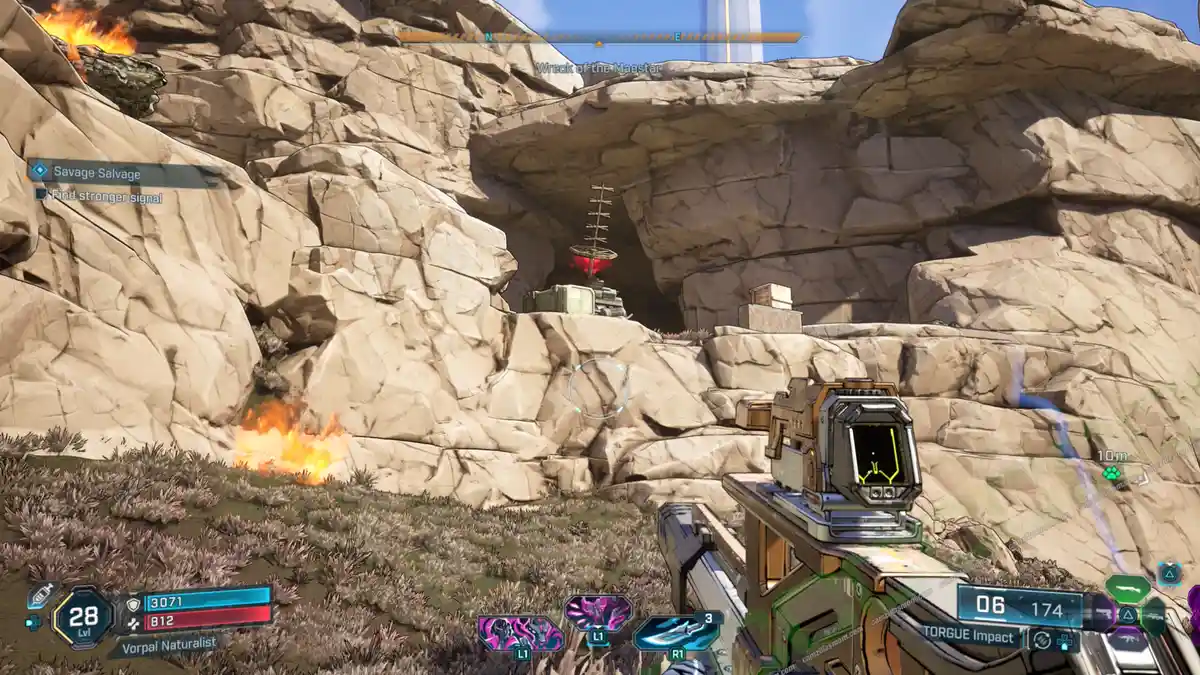
Head to the northwest, closer to the signal. There is a grapple point you can use to get up there, to the Wreck of the Maestar. Once there, look for another antenna, high up on a ledge. Interact with the antenna and fight the Rippers. Return to the antenna after their defeat.
A tunnel has opened up down below of the antenna and you can enter it. Inside, follow the tunnel deeper inside to a ripper hideout and to a hanging orb, which is the prison where the Mission Giver is held. Release him and follow him to the treasure, where you have to use a crank that is high up on the structure. After yet another fight, flip the last switch and the drill will open up a passage out.
Heads up before you leave: The Eridian collectible is in this Ripper location. So make sure to collect it before leaving, otherwise you have to return.
Bound for Launch
Side Mission Start:
In the Hills south of Faction Town: The Launchpad (after finishing the story)
What it is about:
Help the Outbounders to launch.
Side Mission Steps:
-> Follow Rush
-> Find Conway: At the farm (barn) just north of the starting location.
-> Take Rhodes’ tools.
-> Return to ship and defend it.
-> Give tools to Rhodes: In the cave near the ship.
-> Defend ship.
-> Find Conway and flight crew: At the same farm as before.
-> Get flight crew to ship: Escort them.
-> Say goodbye to Conway.
-> Defeat 3 Launcher Meatheads, defend ship: Outside the cave.
-> Talk to Rush: At the road near the farm.
-> Walk with Rush: To the farm’s barn.
-> Initiate launch sequence: At the barn’s console.
Browse All Borderlands 4 Guides
All 224 ECHO Logs in Borderlands 4 Revealed
Discover every ECHO Log in Borderlands 4! This guide covers all 224 logs, including mission, general…
Any Last Words? All 39 Dead Bolts in Borderlands 4
Find all 39 Dead Bolts in Borderlands 4 and complete the "Any Last Words?" challenge with this compr…
Borderlands 4 Kairos Speaks Challenge – All ECHO Logs Revealed
Discover every ECHO Log for the Kairos Speaks Challenge in Borderlands 4. Follow this guide for exac…
Borderlands 4: All 10 Auger Shrine Locations Revealed
Discover all 10 Auger Shrines in Borderlands 4. Follow this guide to complete the challenge and clai…
Borderlands 4: All Fallen Crown Collectibles
Snag the Dead Bolt and Vault Symbol in Fallen Crown, Borderlands 4. A quick guide to help you comple…
Borderlands 4: All Upper Dominion Collectibles
Complete Borderlands 4's Upper Dominion with this guide. Locate all ECHO Logs and Vault Symbols effo…
Borderlands 4
Release: September 12, 2025
Developer: Gearbox Software
Publisher: 2K Games
Official Website: https://borderlands.2k.com/borderlands-4/

