
Explore every corner of the Dissected Plateau in Borderlands 4 with this detailed guide. Uncover ECHO Logs, Vault Symbols, and other collectibles, while tackling side missions and activities. With clear maps and step-by-step instructions, this guide is your ultimate companion to mastering this region.
MORE THE FADEFIELDS GUIDES
Coastal Bonescape
Fortress Indomita
Hungering Plain
Idolator’s Noose
The Howl
-> More Borderlands 4 Guides at the Hub
Dissected Plateau Overview Map
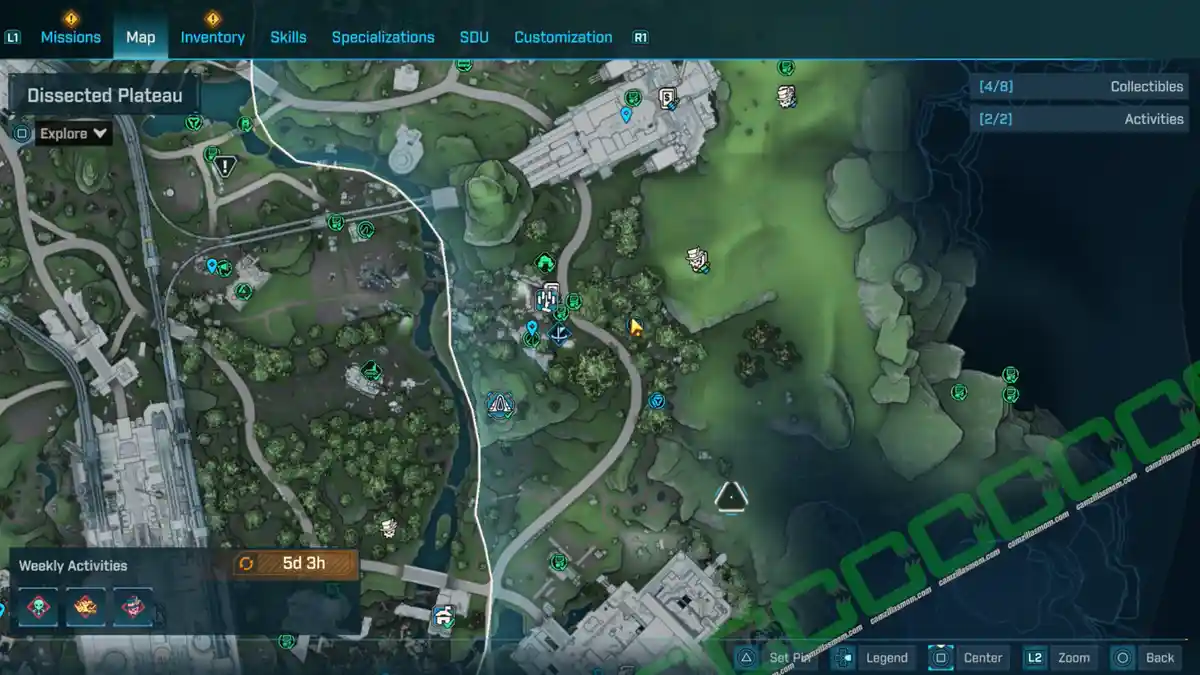
Below is the Dissected Plateau Overview Map, which includes all collectibles and activities.

Dissected Plateau POI’s
The Dissected Plateau has five POIs – Points of Interest – on the map, marked with a blue pin. Below you will find all the POIs highlighted on the map.
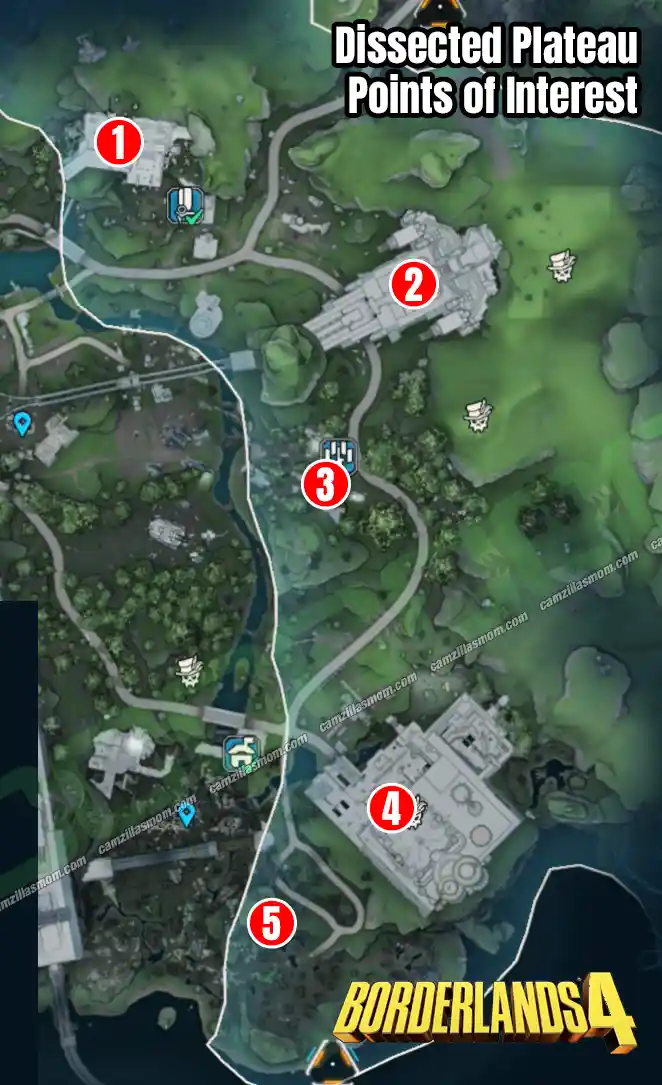
1 – Motherbird Node
2 – Synthetic Nave
3 – The Stubs
4 – The Killing Floors
5 – Boglight Vigilance
Collectibles
Vault Hunter’s Guide to Kairos – 1
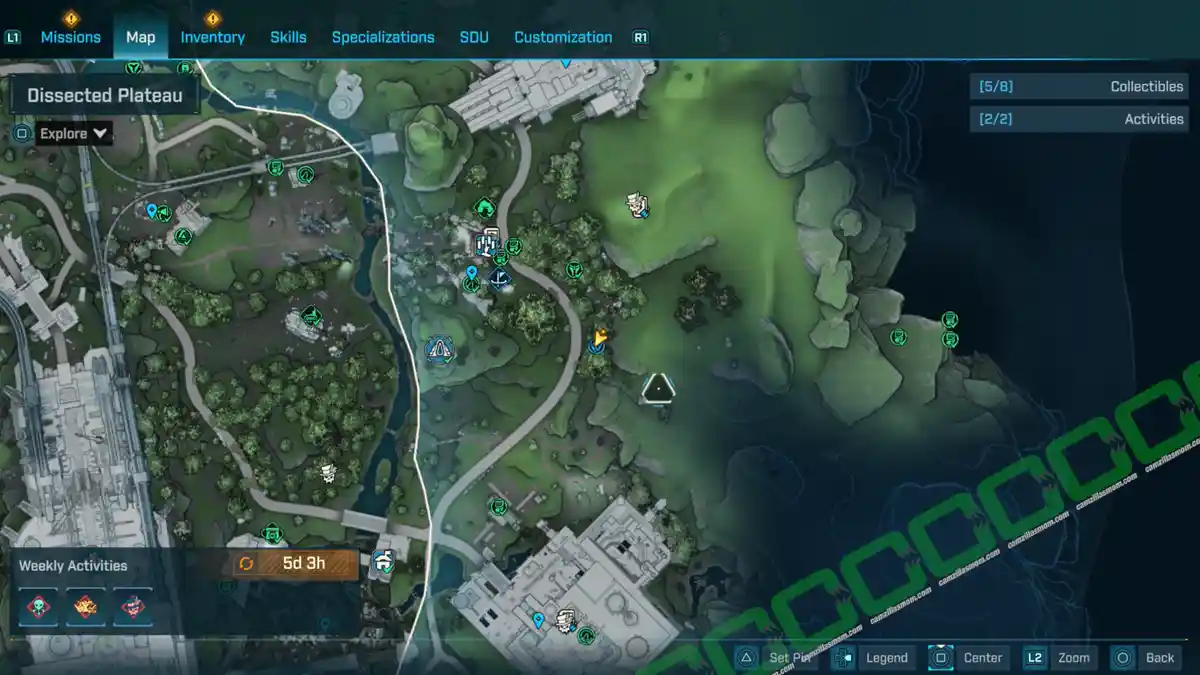
The Vault Hunter’s Guide: The Fields are Alive is attached to a pole in a small settlement by the main road between Synthetic Nave and The Killing Floors.

Description:
“Arjay’s predator warnings for the Fadefields.”
-> Also available: Guided Tour – All 12 Vault Hunter’s Guides
ECHO Logs – 11

-> Also available: Kairos Speaks – All ECHO Logs
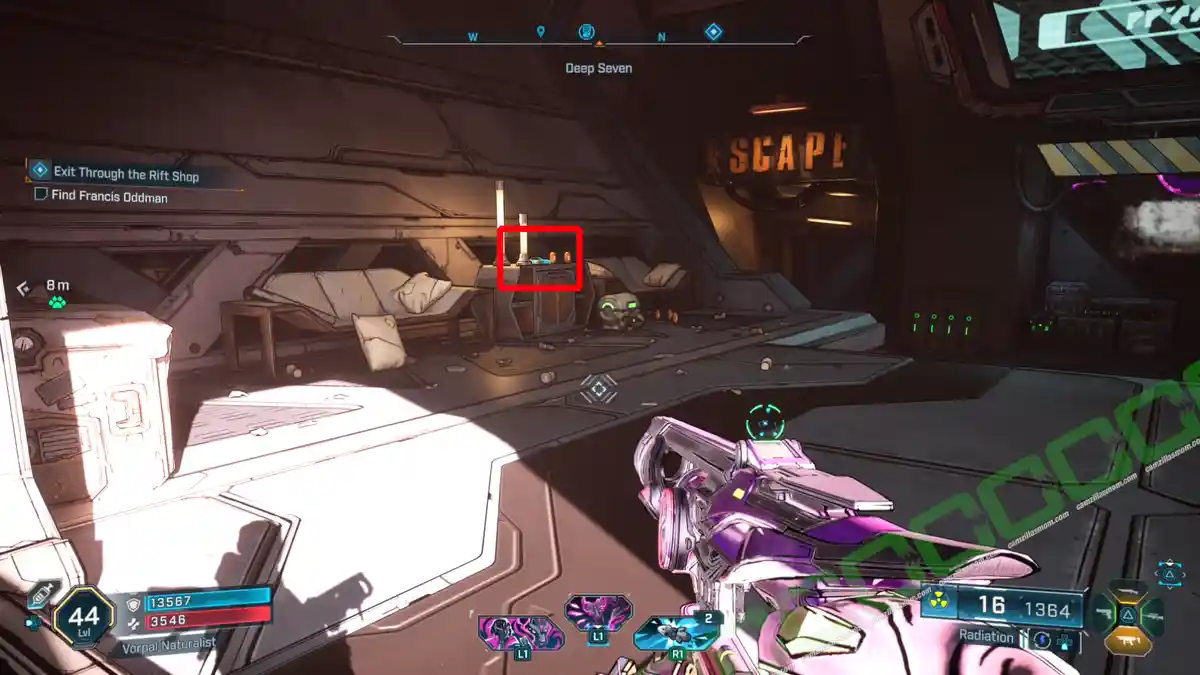
1 – The Exo-rift Works!
Look for the Side Mission “Exit Through the Rift Shop”. It has various starting points on the map. This will open the locked door below the Order Silo, and you can enter to pick up the ECHO Log.

Description:
“I finished the exo-rift and can now send people off world.”
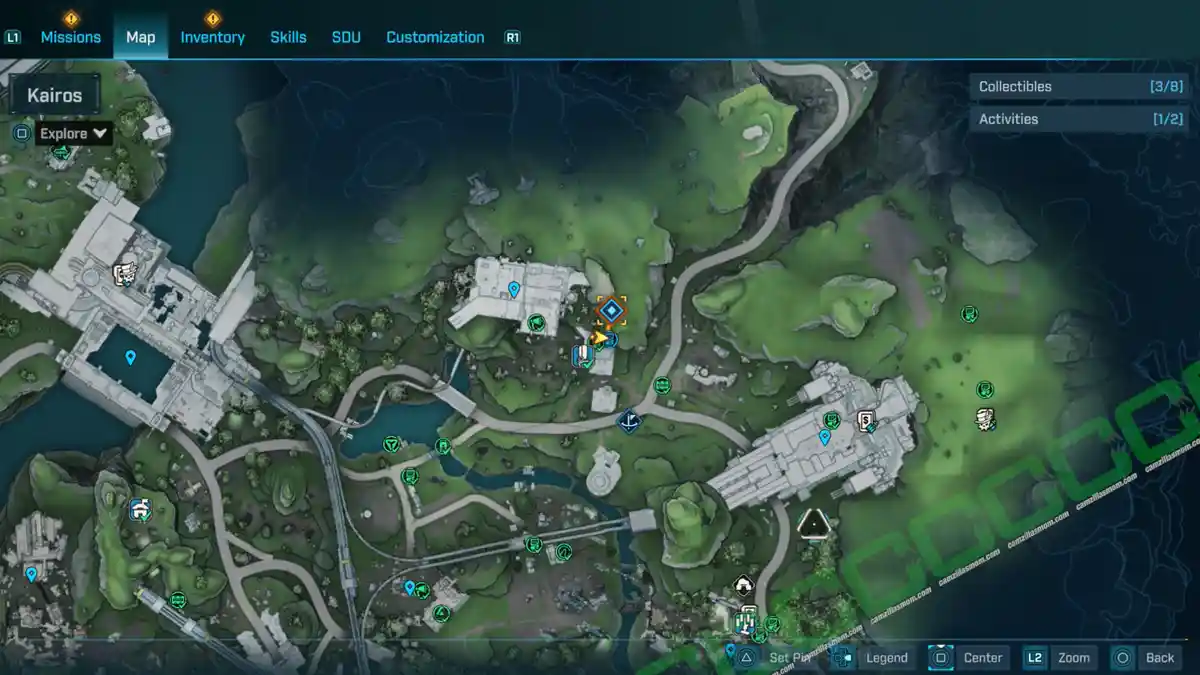
2 – Lunch is mine!
In the same Side Mission “Exit Through the Rift Shop” area as the previous ECHO Log.

Description:
“After my achievement, no one will steal my lunch again!”
3 – A Day in the Order: Weapons Training
This ECHO Log is at the Synthetic Nave POI near the big entrance gate. You’ll get here during the “One Fell Swoop” Main Mission.
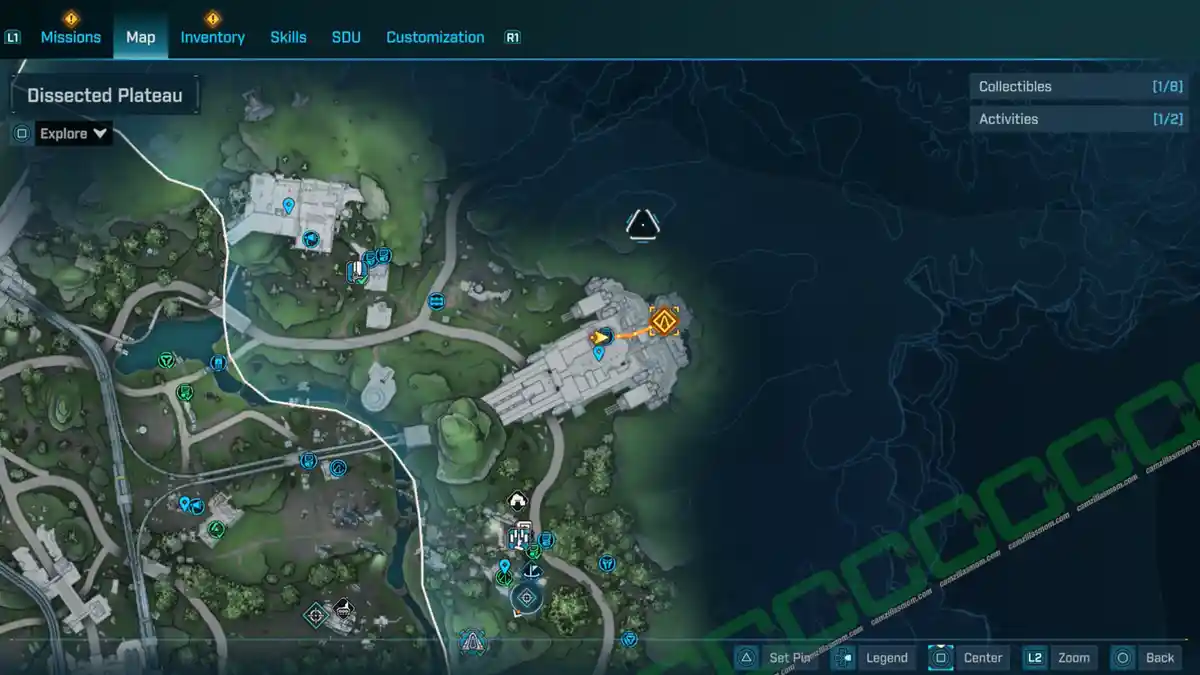
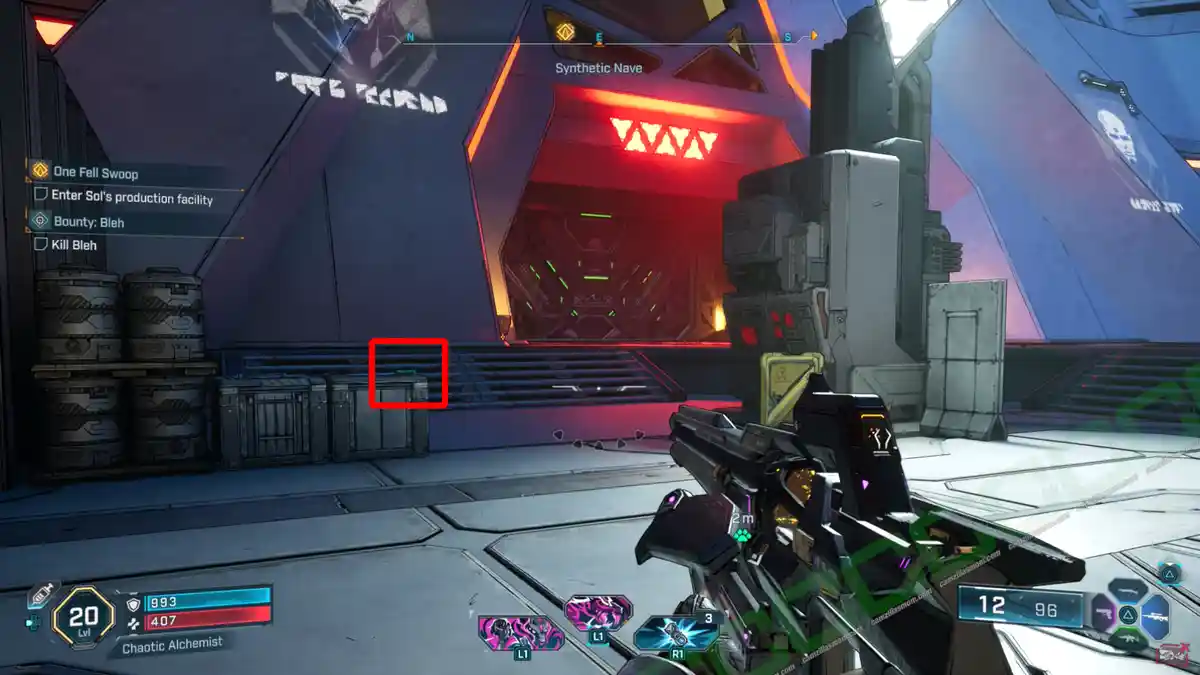
Description:
“An Order lesson in proper weapon usage.”
4 – A Day in the Order: Approved Terminology
In the main mission “One Fell Swoop”, you will discover that Bulkheads are modified in the Synthetic Nave facility, and Zadra gives you the task to Sabotage Sol’s production line. Inside the room where the Bulkhead gets modified in front of your eyes, the story wants you to go through the door right next to the modification console. Take your time, stay in this big hall, and go through the door at the other end instead. There is a staircase leading up to a small control room with this ECHO Log. There is also a bobblehead collectible on top of the lockers.
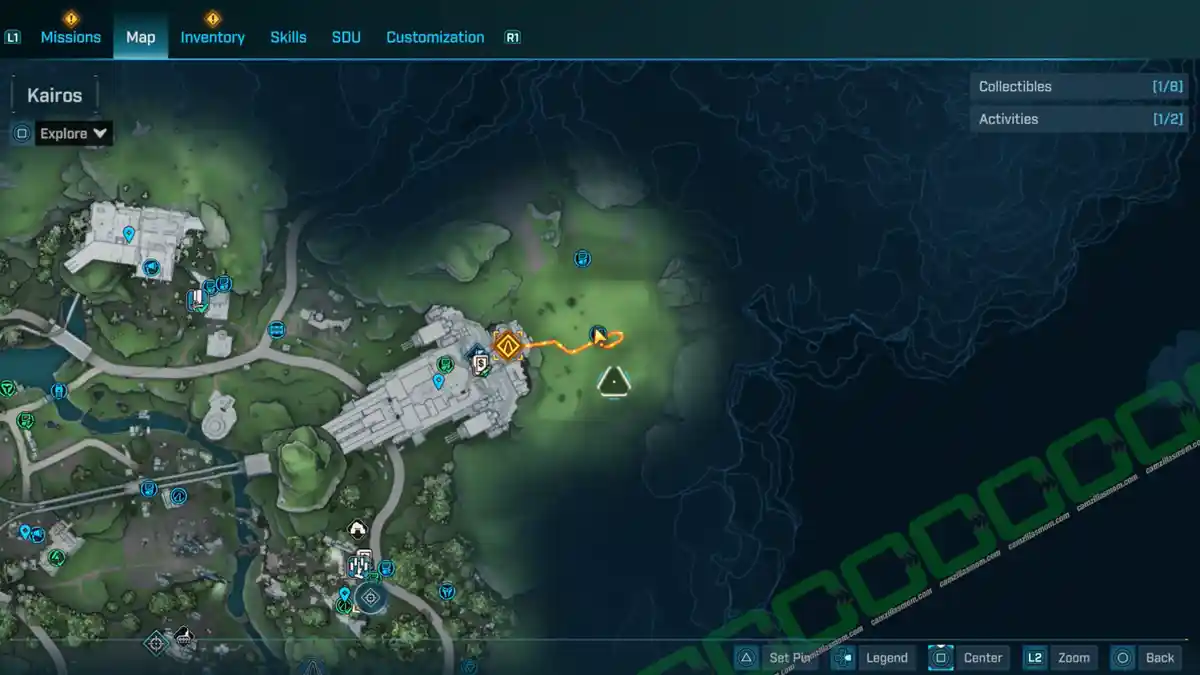
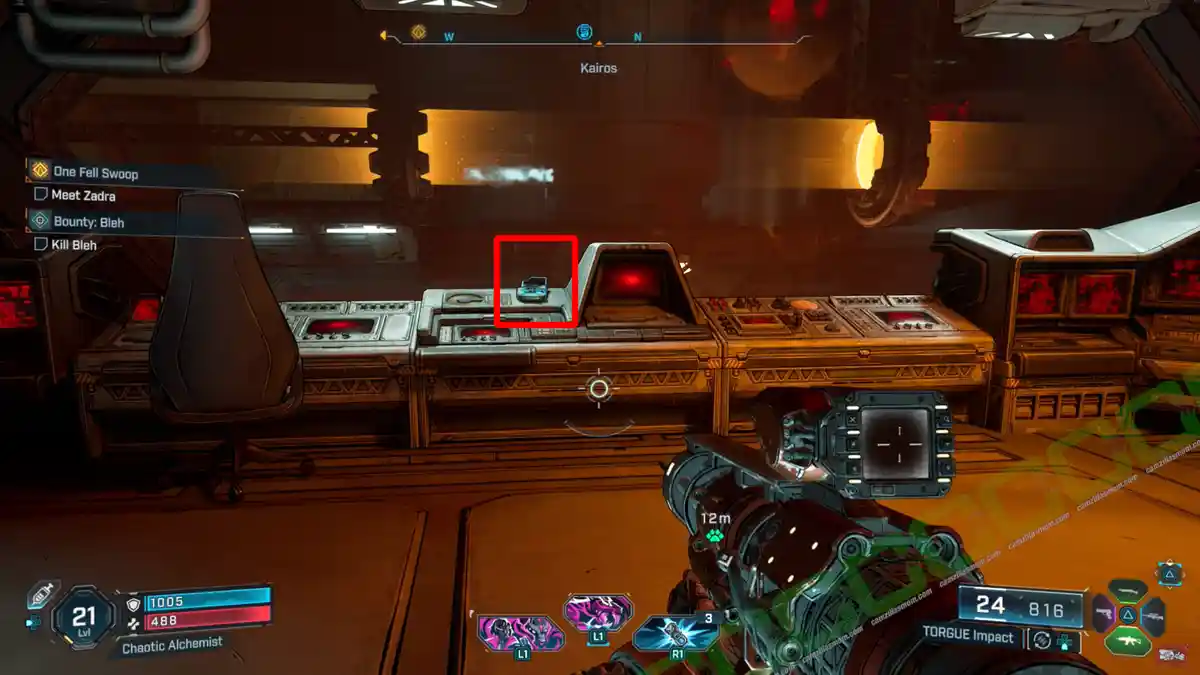
Description:
“An Order reminder to use pre-approved words only.”
5 – A Day in the Order: Safety Precautions
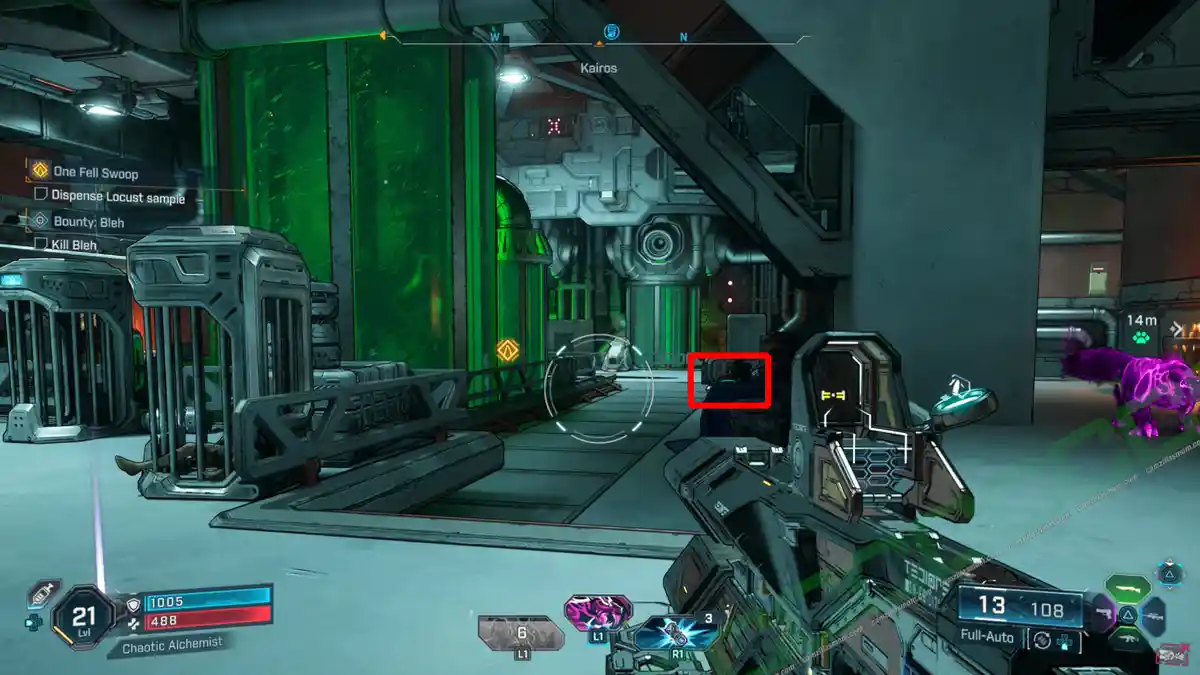
In the main mission, you meet Zadra after having sabotaged Sol’s production line. You then take an elevator up to a room with an Armored Door. Crouch through the vents as instructed to end up in a room that has big tubes with a green liquid in them – Locust. Here you can find the ECHO Log.

Description:
“An Order warning to follow safety regulations.”
6 – Regifting
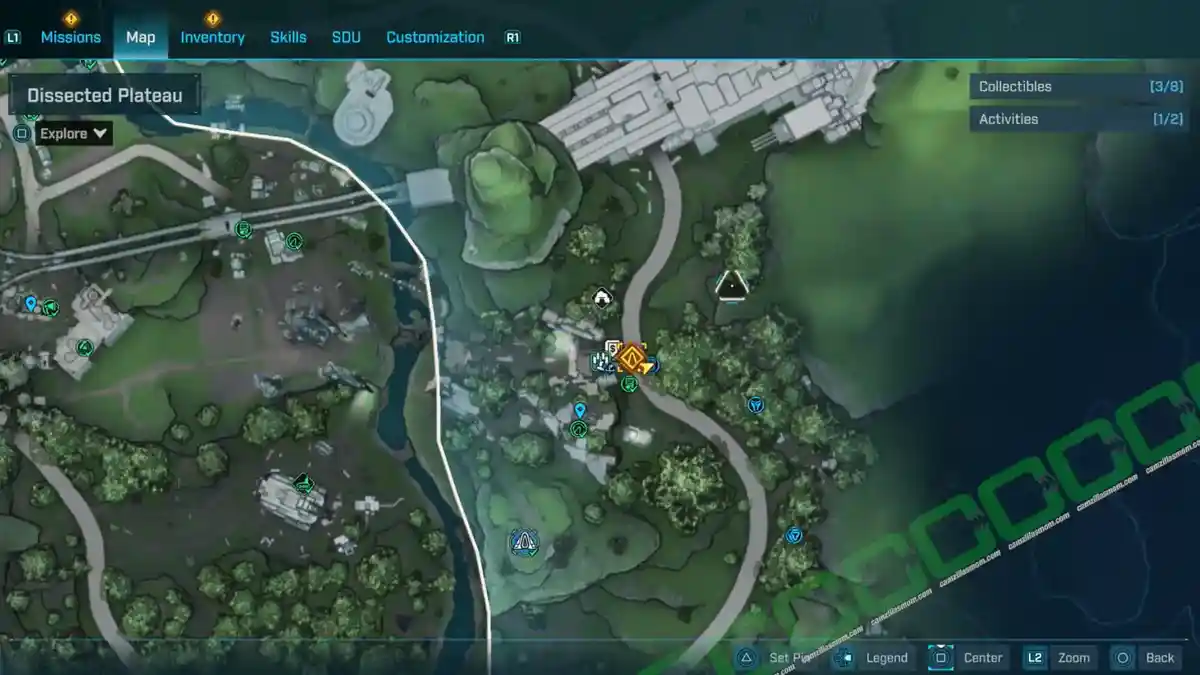
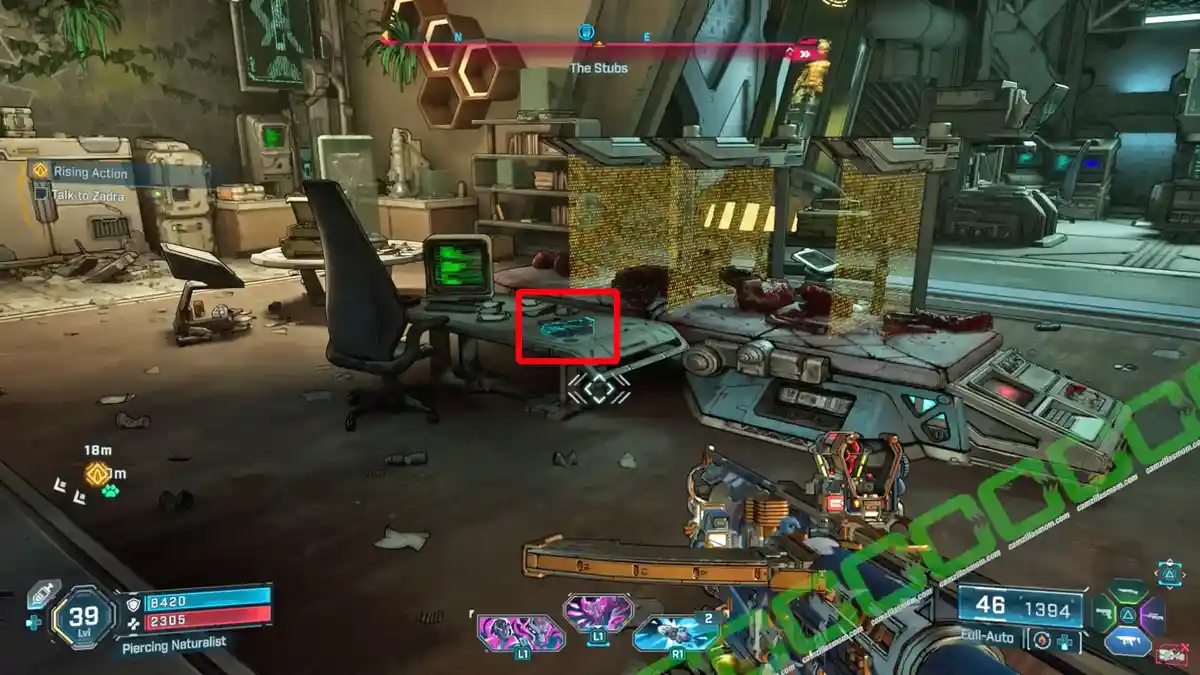
Play the story until you can enter Zadra’s Backup Plan Fast Travel Location – Zadra’s Hideout. Here, in the office is this ECHO Log.
Description:
“Zadra learns her gift from the Timekeeper can not be freely given.”
7 – A Laughable Goal
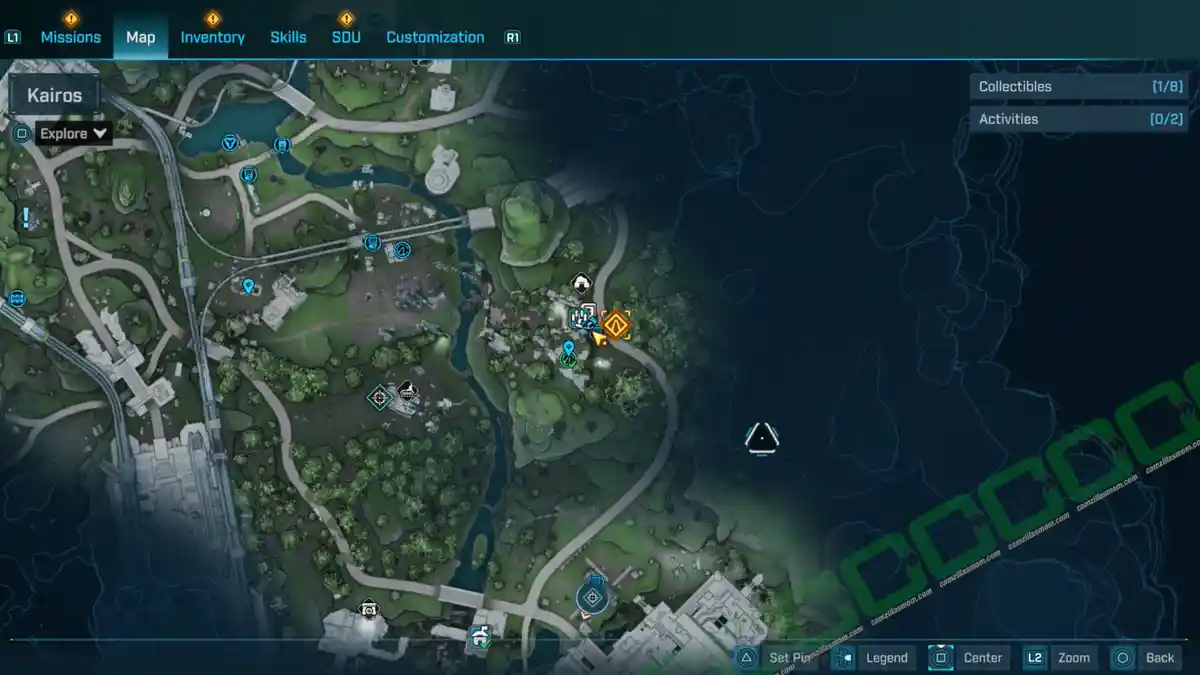
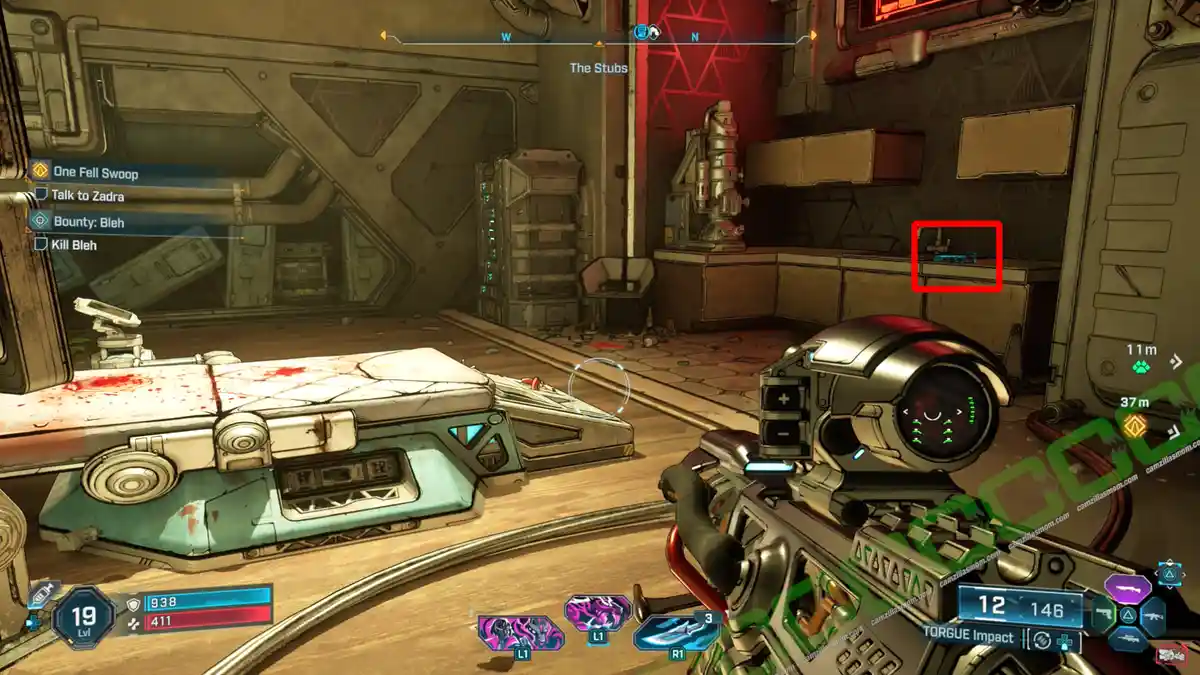
At the other side, in the lab with the operating table, is another log.
Description:
“Zadra reflects on the Outbounder’s existence.”
8 – Subject Number 1418
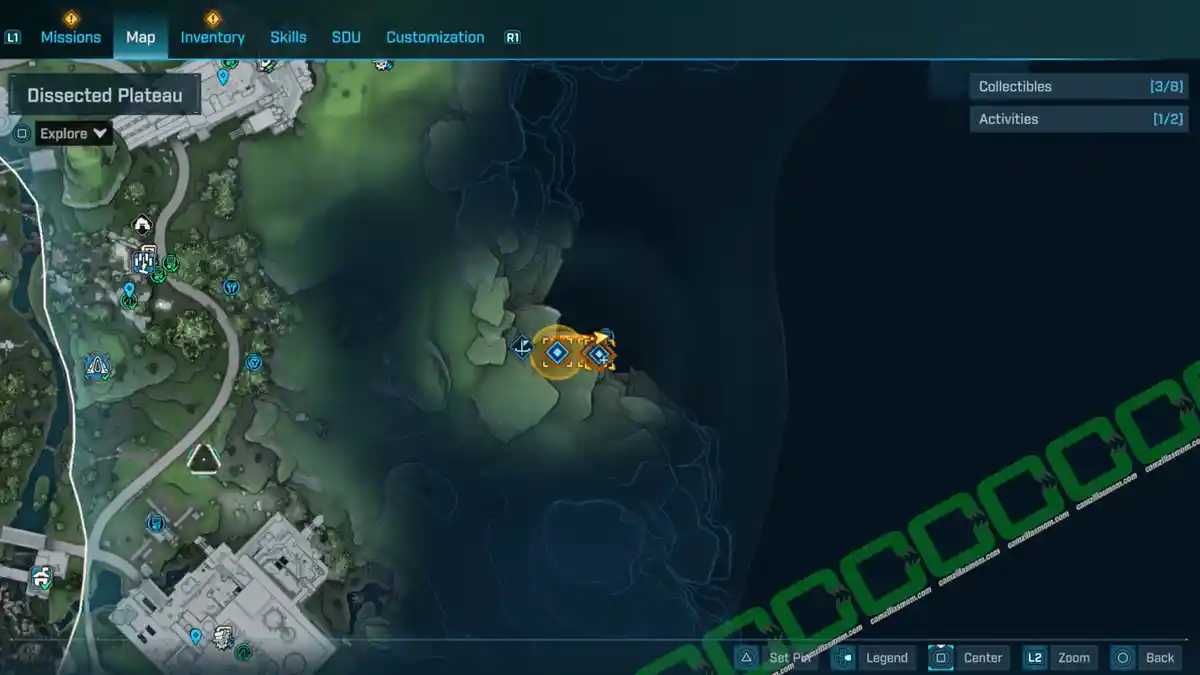
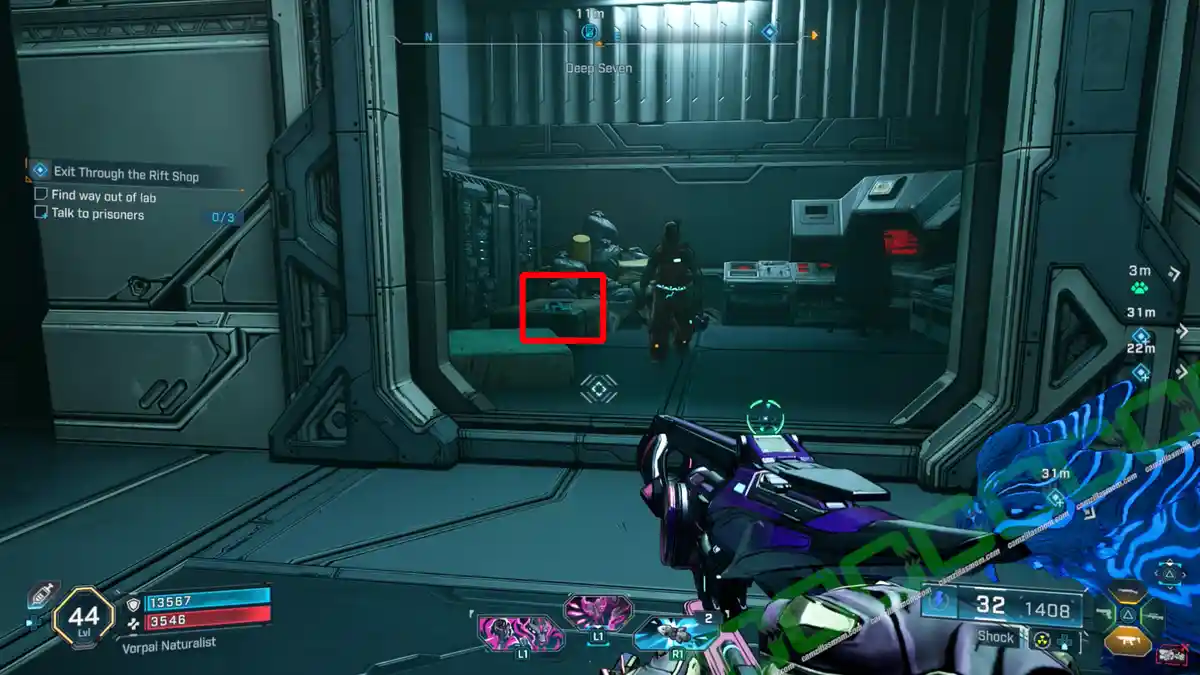
Keep following the Side Mission “Exit Through the Rift Shop” until you enter the rift to free prisoners. Here in the prison cell is this ECHO Log.
Description:
“Notes on subject number 1418’s trips through the rift.“
9 – Subject Number 1015
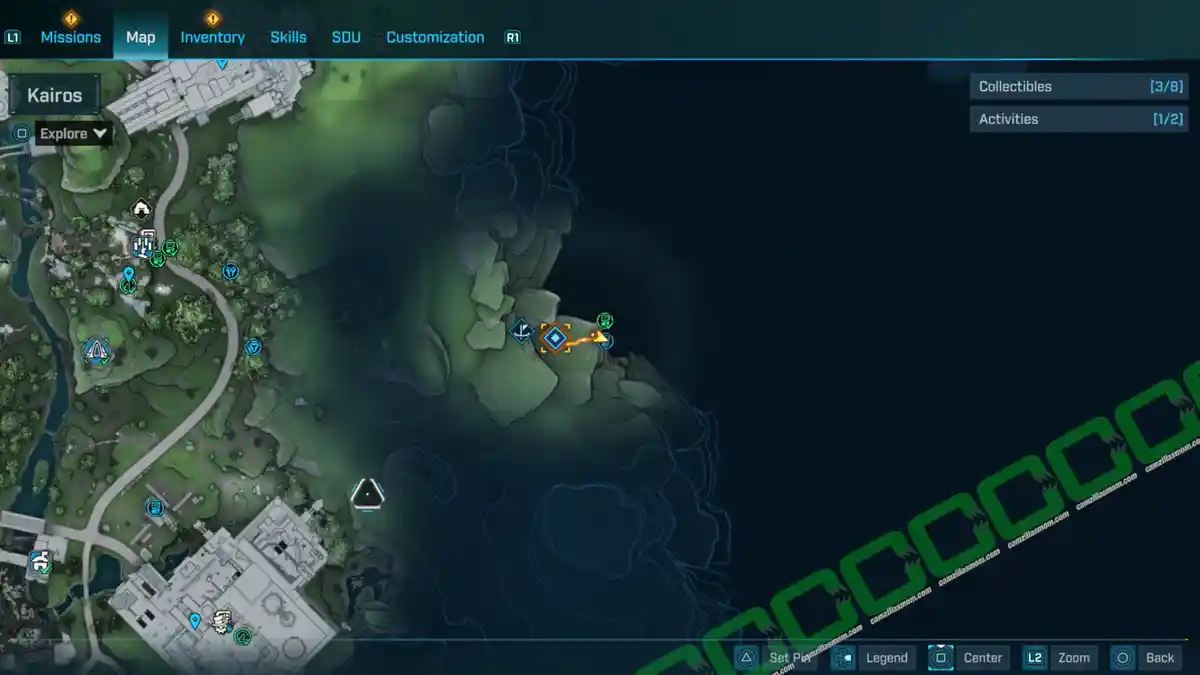
Another ECHO Log is in the third prison cell of the same area as the previous location.
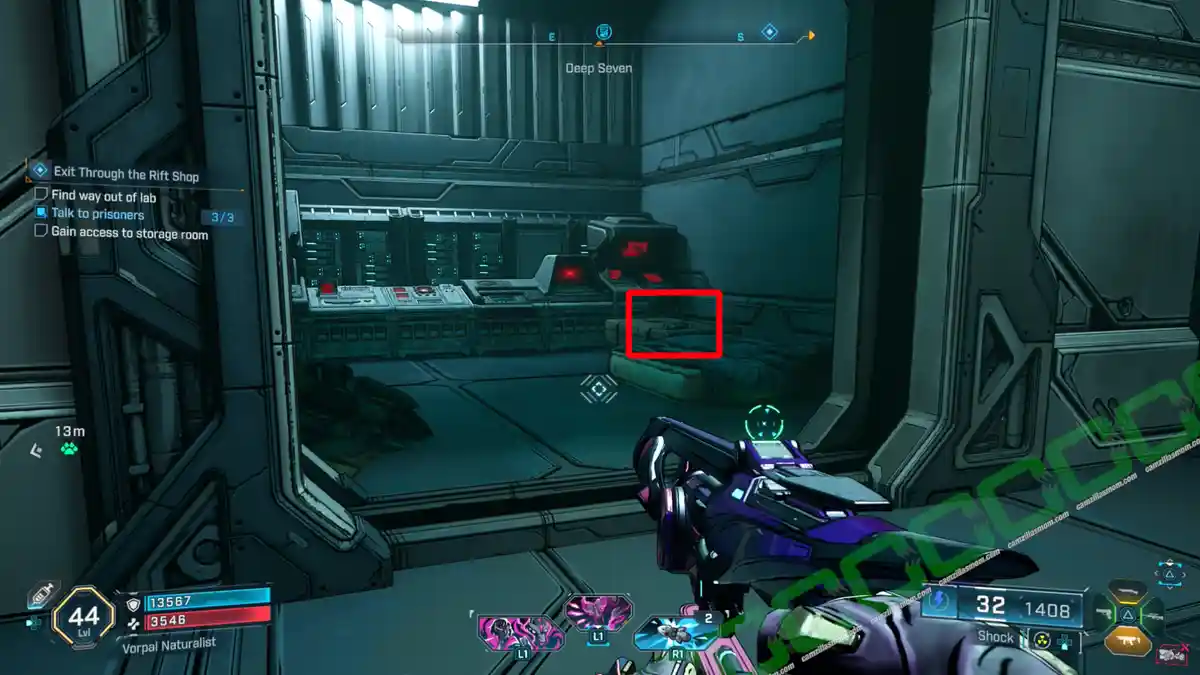
Description:
“Notes on subject number 1015’s trips through the rift.”
10 – Eridium Warning
The third ECHO Log is in the storage room. From the prison cell level, look for a vent cover you can grapple. Then, go through the vent to access the storage room.
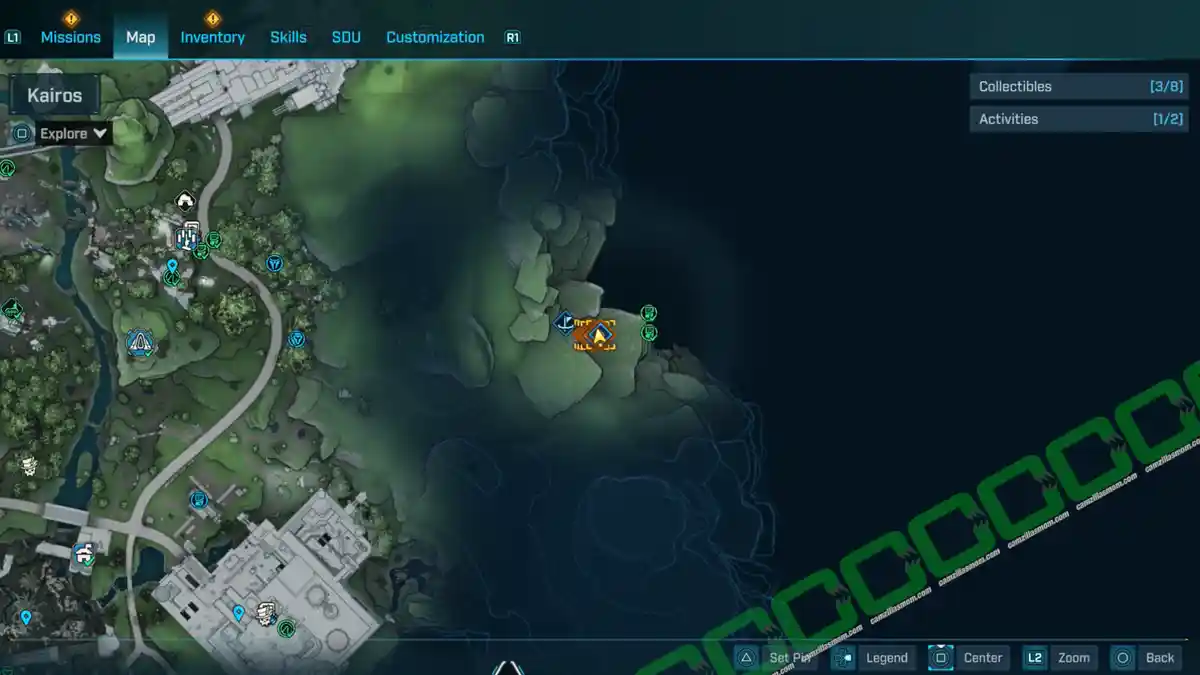
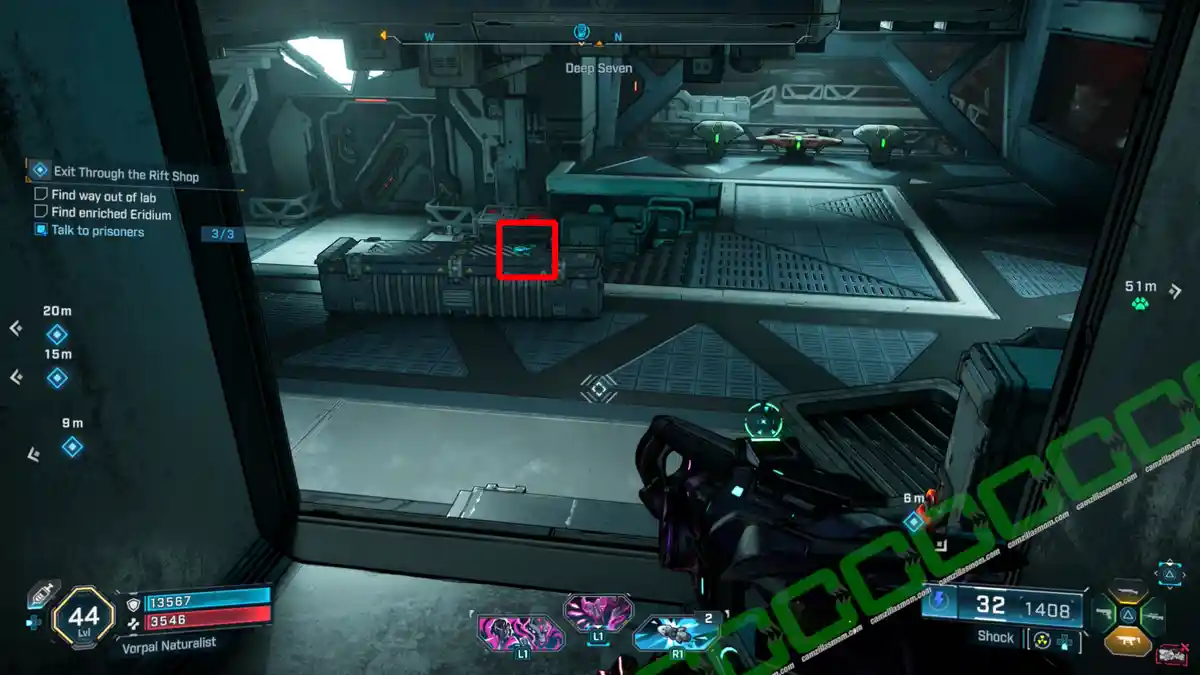
Description:
“A warning to not get eridium near a rift.”
11 – Ground Beef
Just north of the Killing Floors is a farm with this ECHO Log on one of the hay bales.
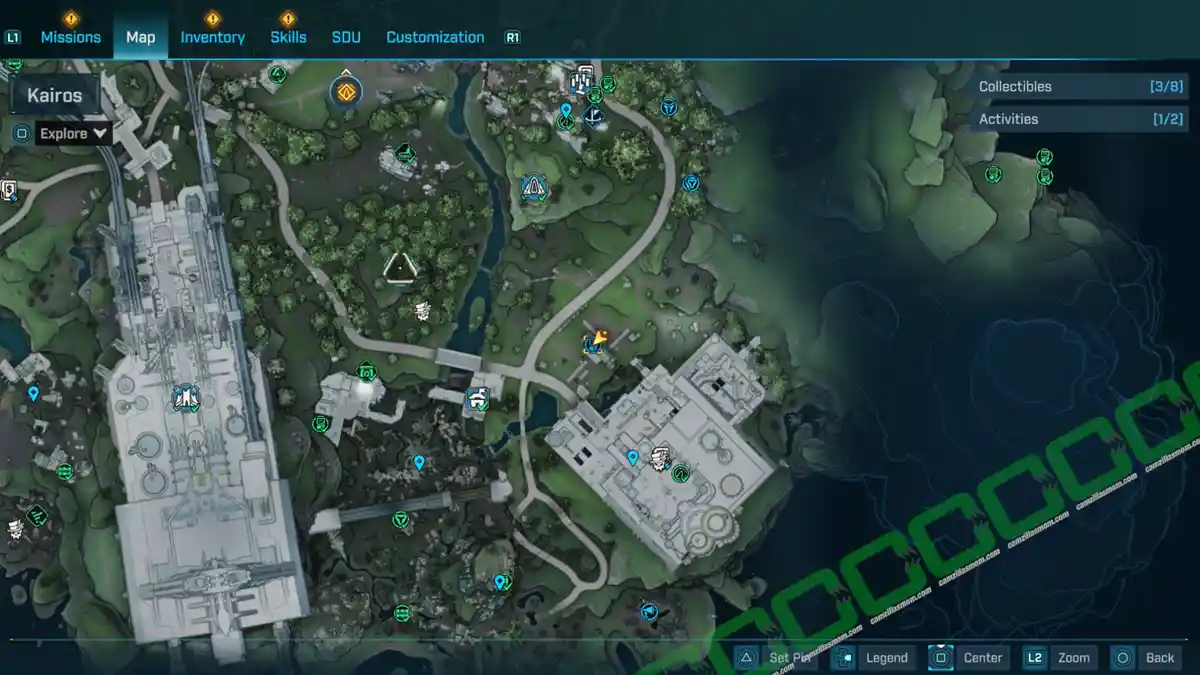
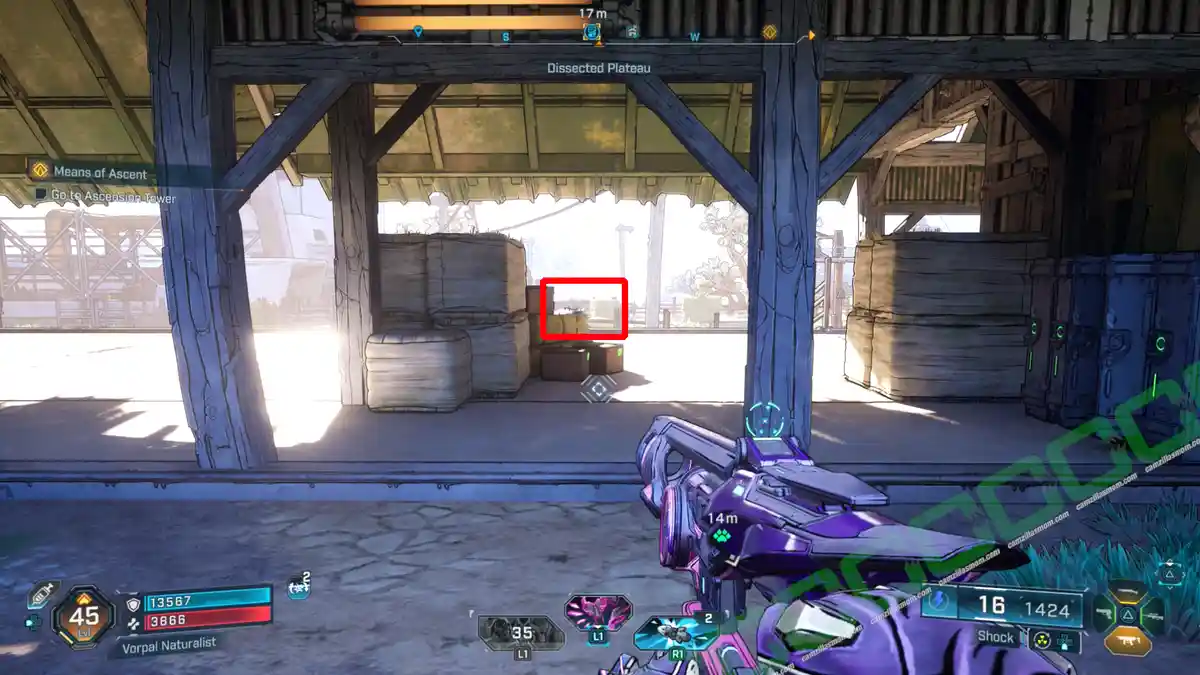
Description:
“Horace receives a report from the food processing plant.”
Dead Bolt – 1
1 – Safety Tips
There is a beautiful garden with a pond east, at the back of the Killing Floors. The Dead Bolt is on the small island next to the red chest.
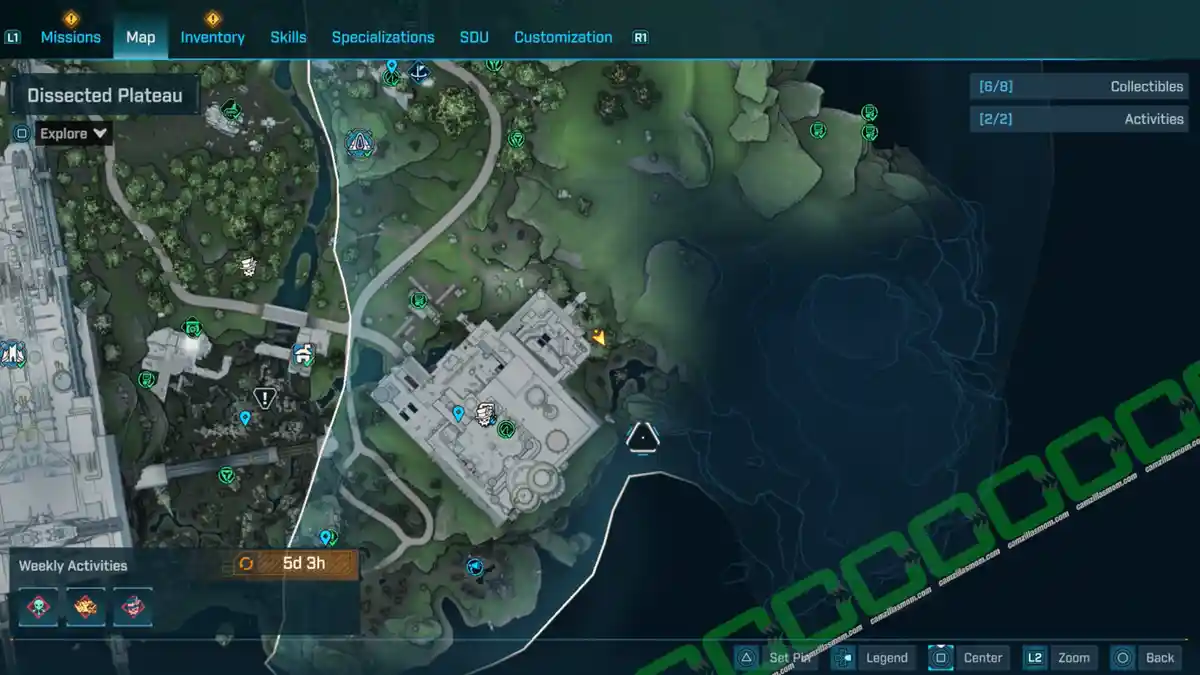
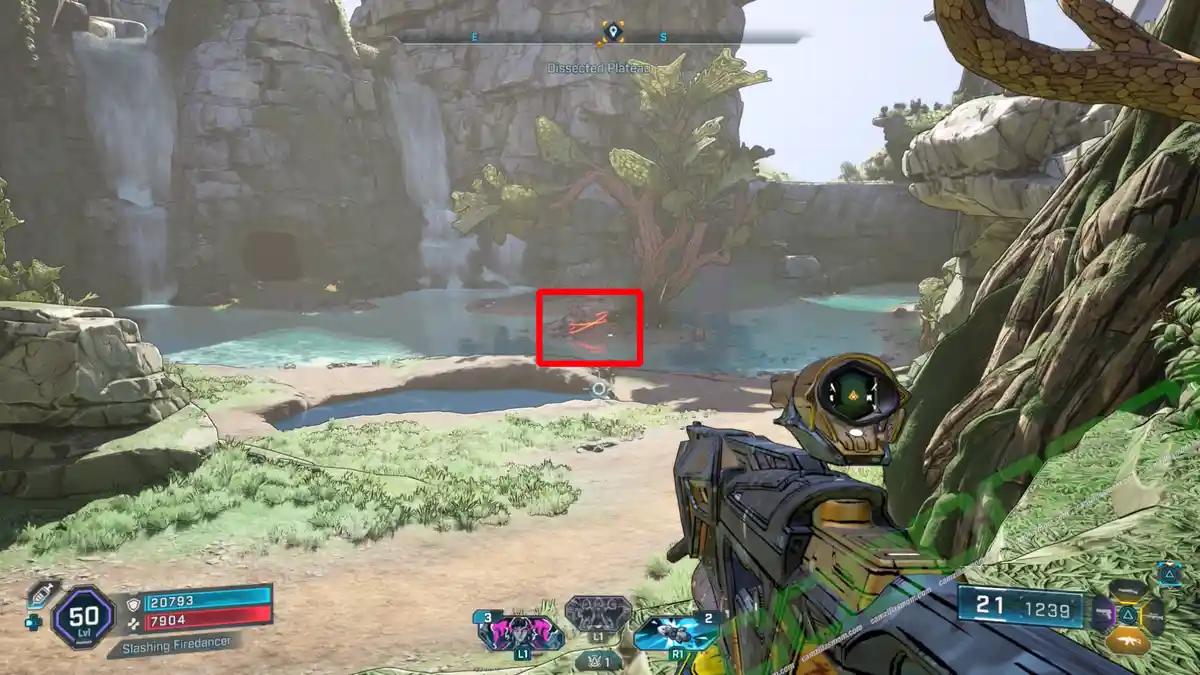
Description:
“Ged Kier. Eden-6. 51,136 hours. Offline.”
-> Also available: Any Last Words? All 39 Dead Bolts
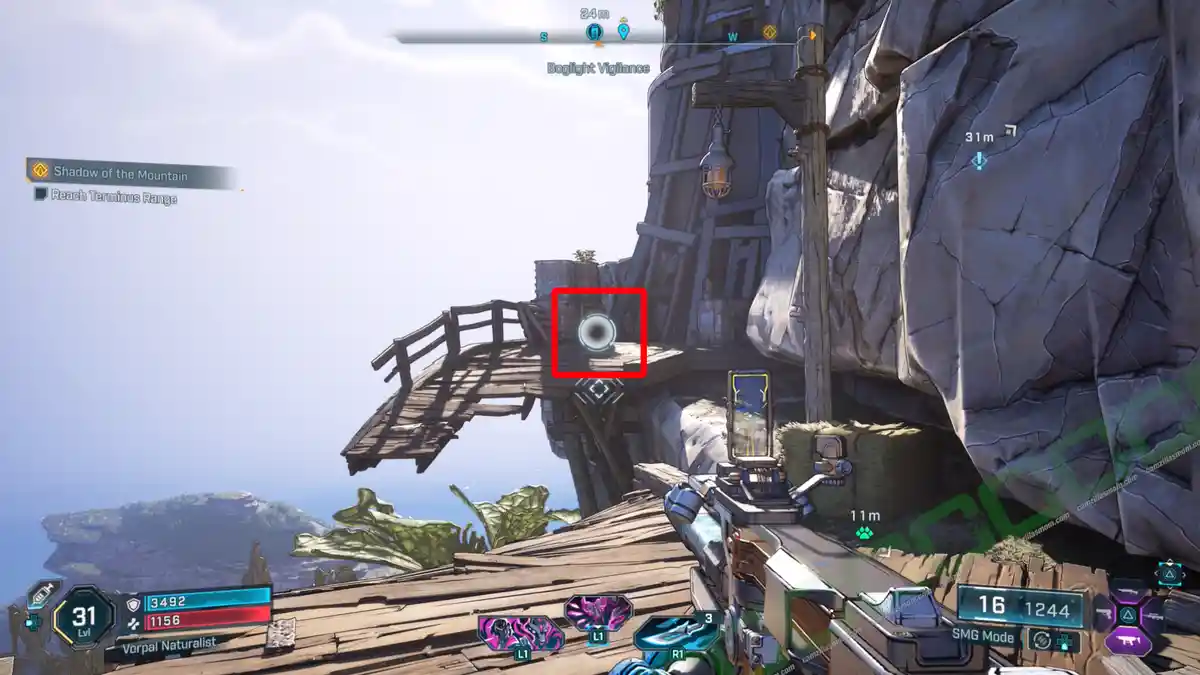
Lost Capsule – 1
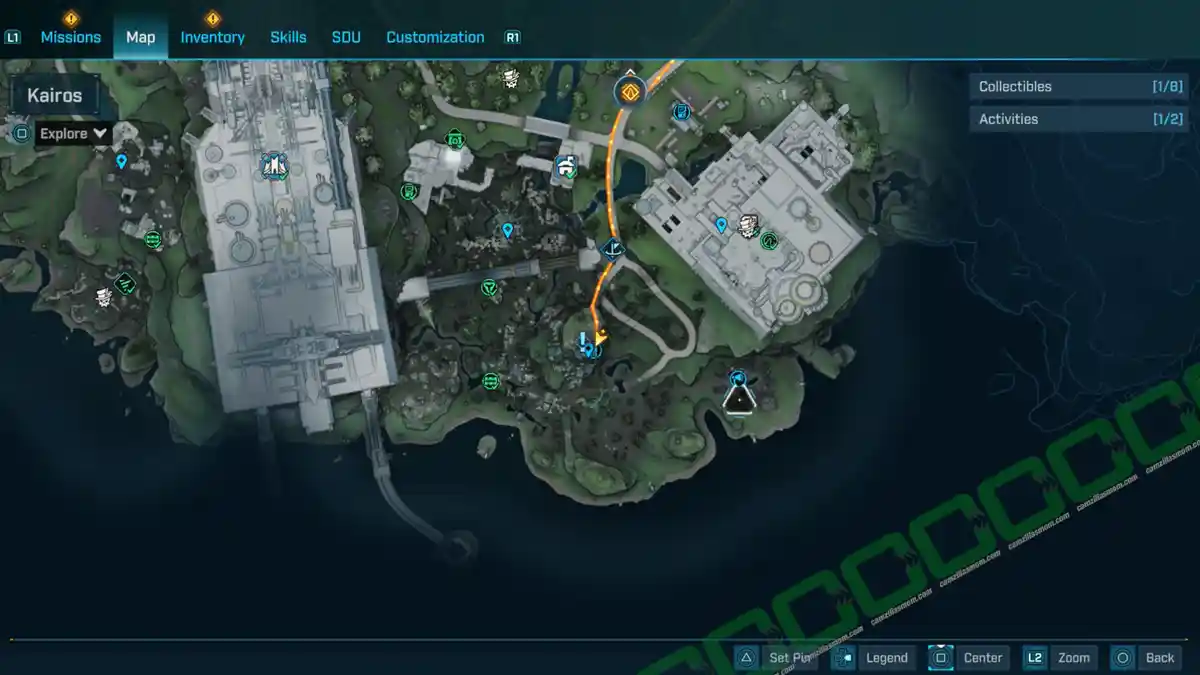
Location:
Boglight Vigilance is in the southwest of Dissected Plateau.
How to Find:
The Lost Capsule is at the base of the house, across a broken wooden platform.
Target:
Carry it to Wyclef’s Reprieve Safehouse and use the Decrypter.
Propaganda Speakers – 2
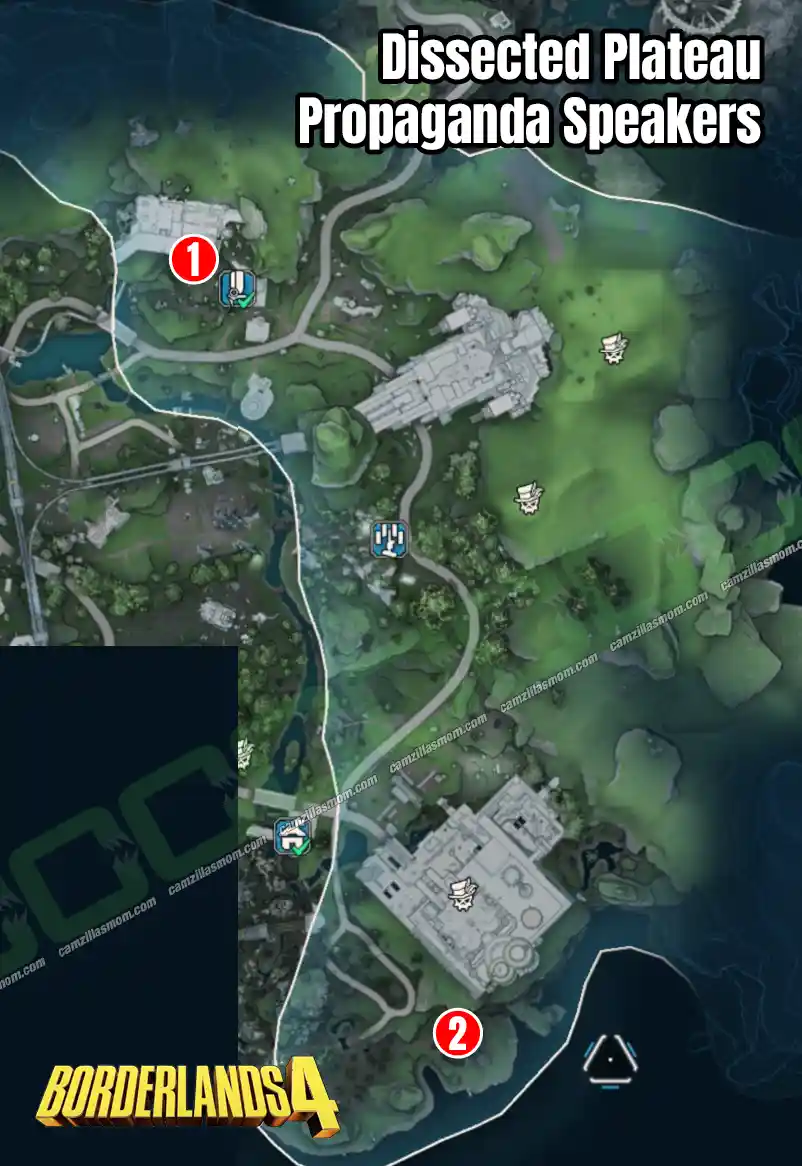
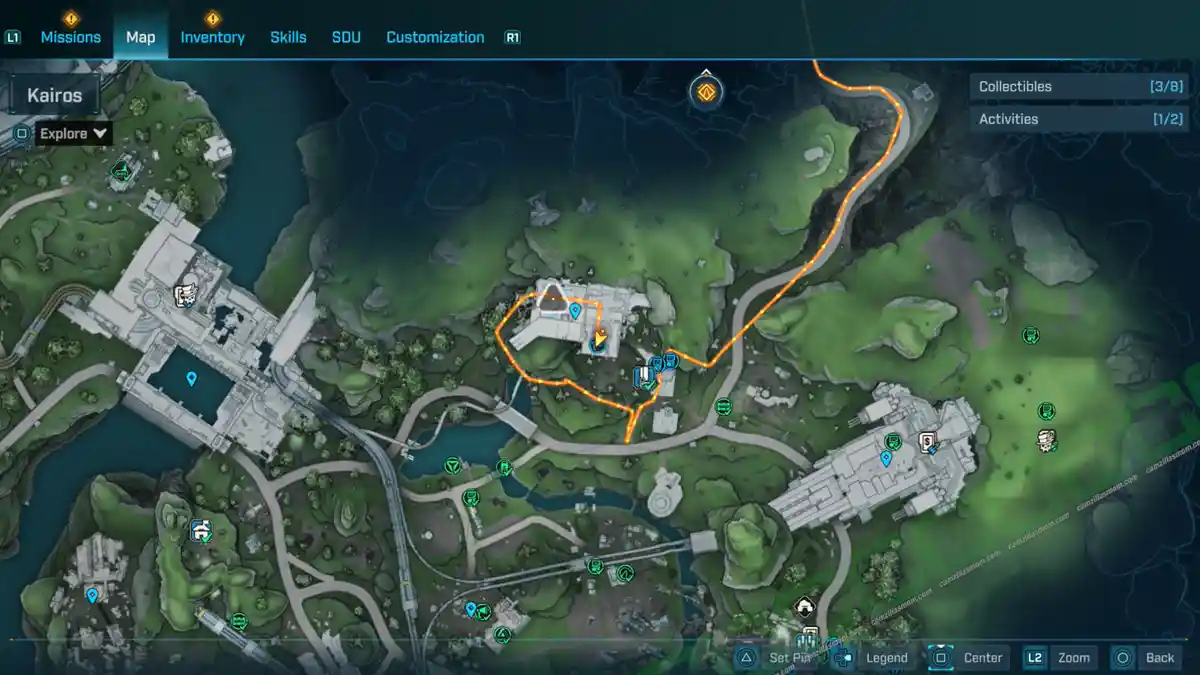
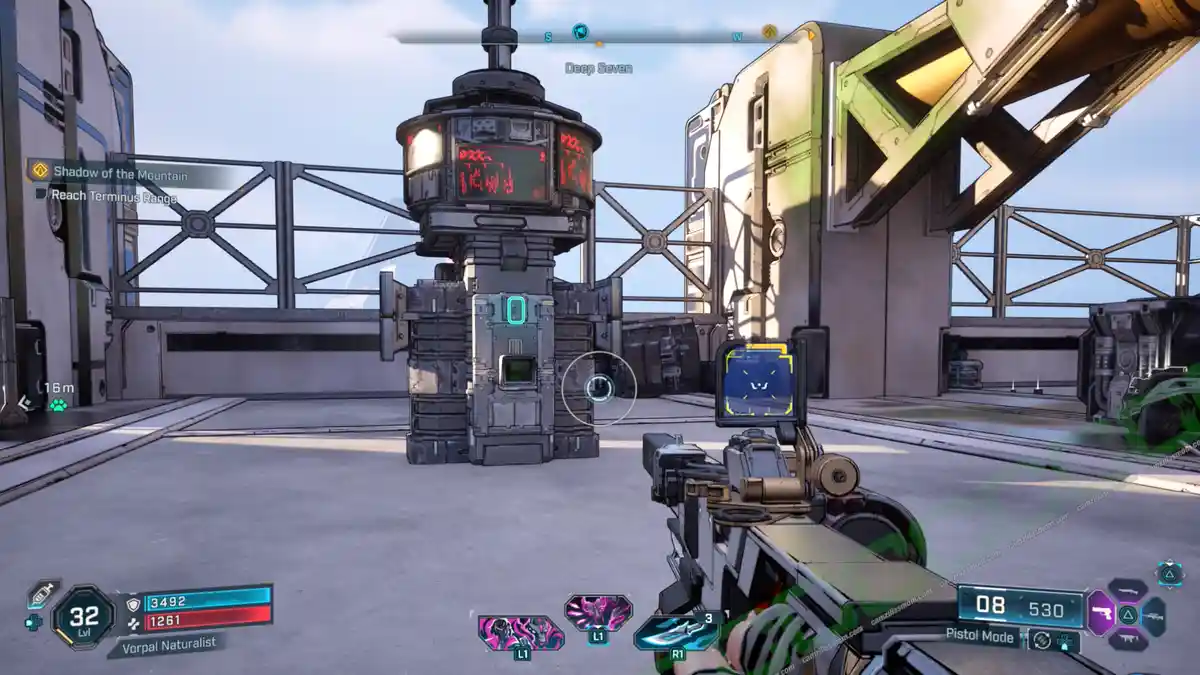
1 – Motherbird Node
The Propaganda Speaker is on the top floor of the Motherbird Node in the north of the Dissected Plateau.
2 – Southern Swamp
The second Propaganda Speaker is in the southern swamp.
Survivalist Cache – 1
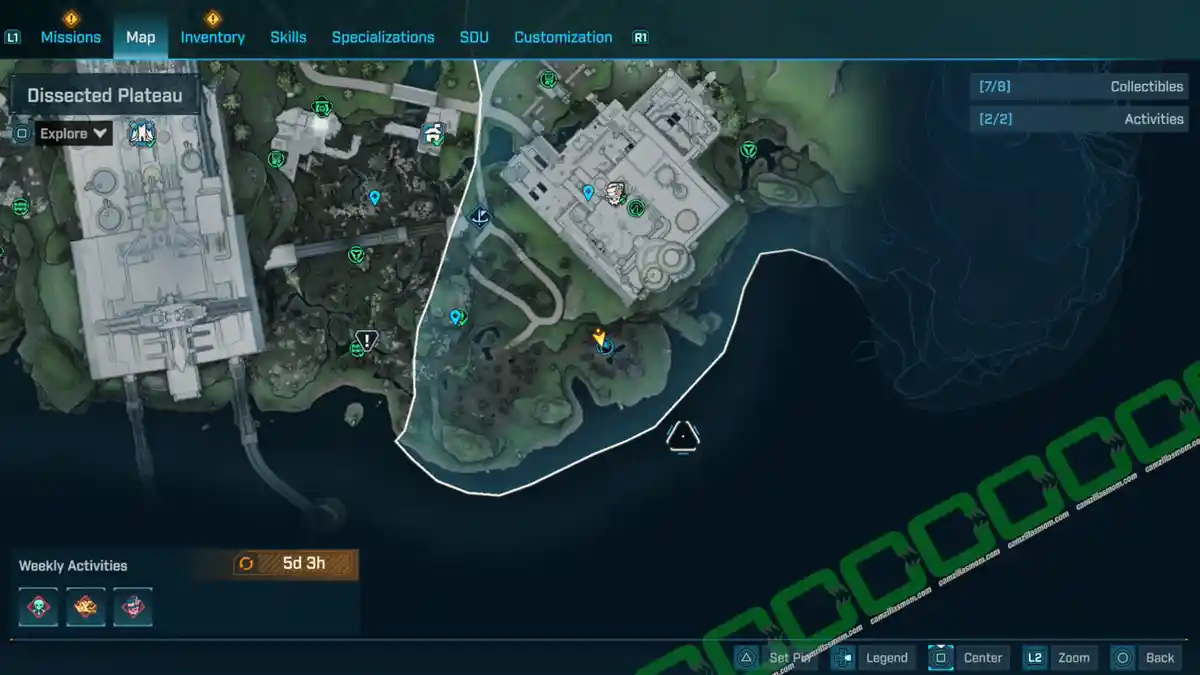
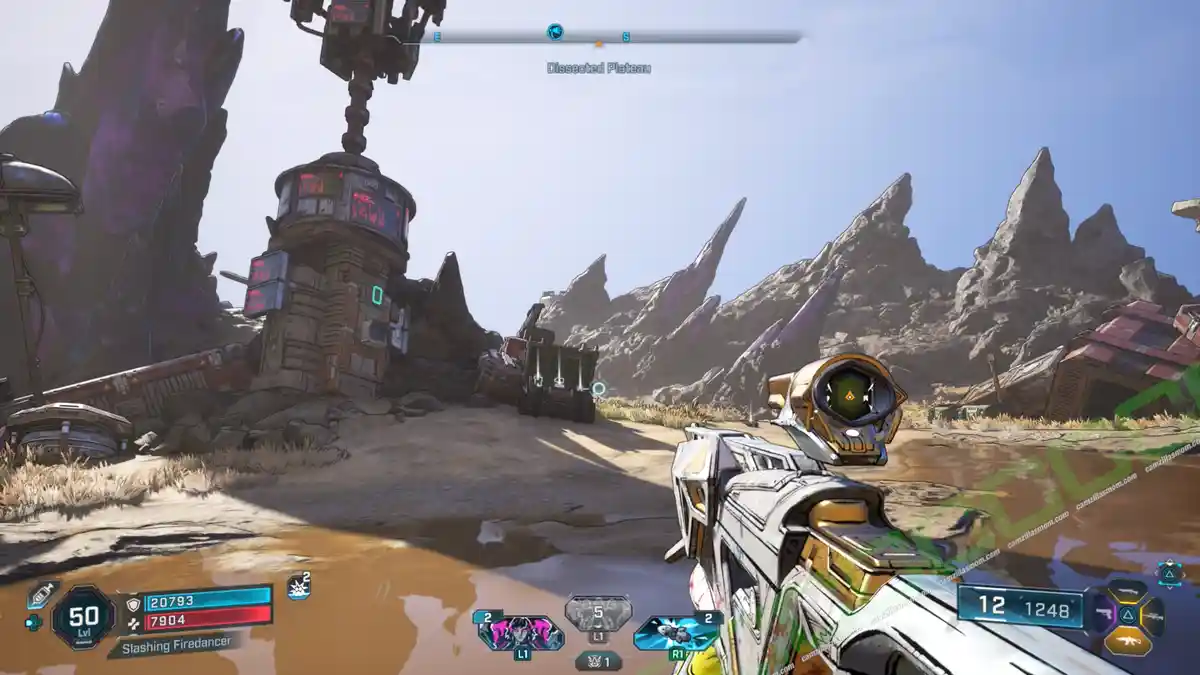
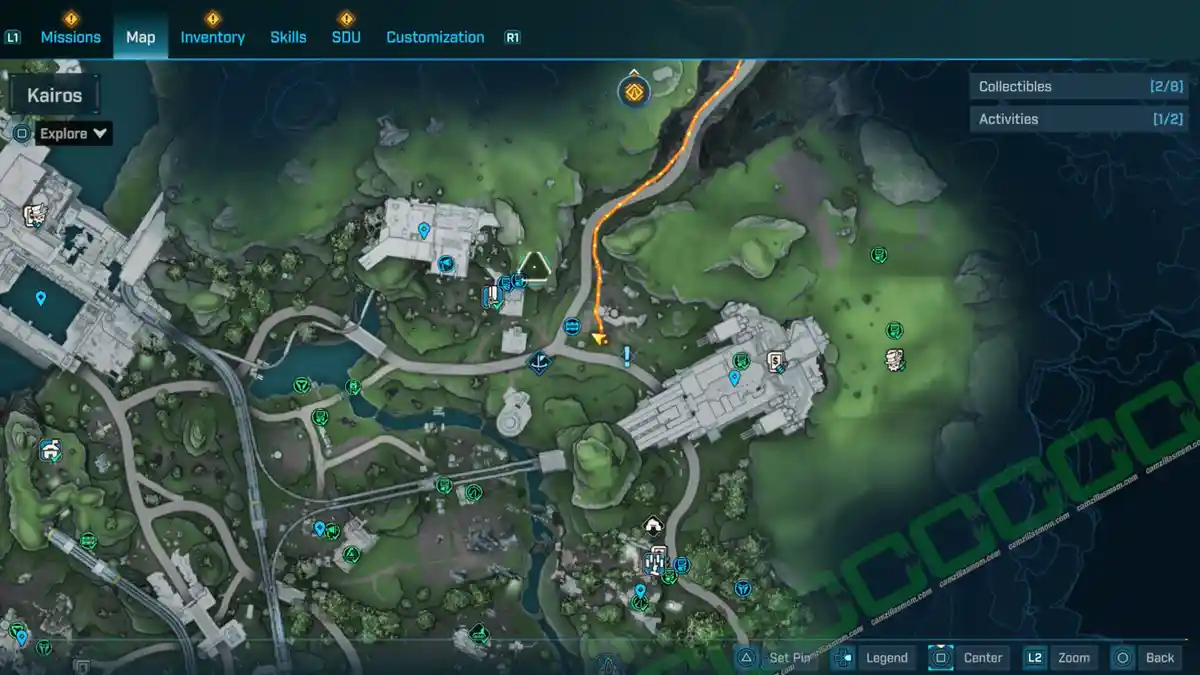
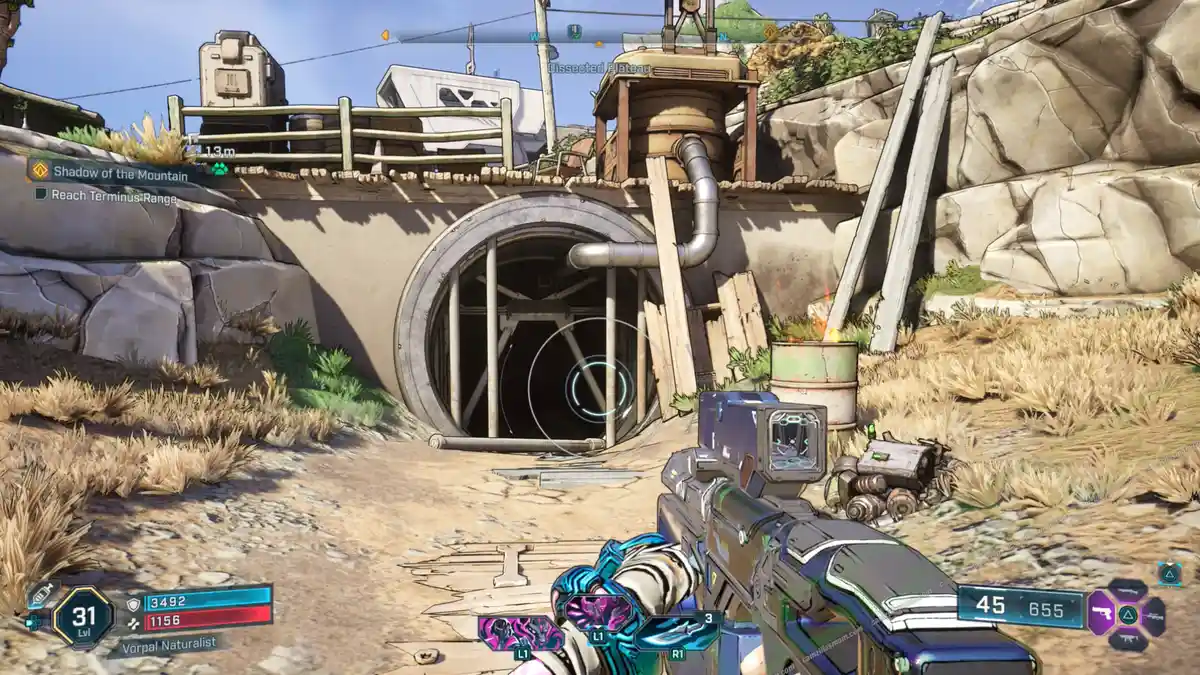
Northwest of the Synthetic Nave Point of Interest is a friendly hideout. Approach it from the east and you will see a pipe heading inside a cave, where the Survivalist Cache is.
-> Also Available: Cache to Spend: Survivalist Caches in Borderlands 4
Evocarium – 1
1 – Eridian: Veil
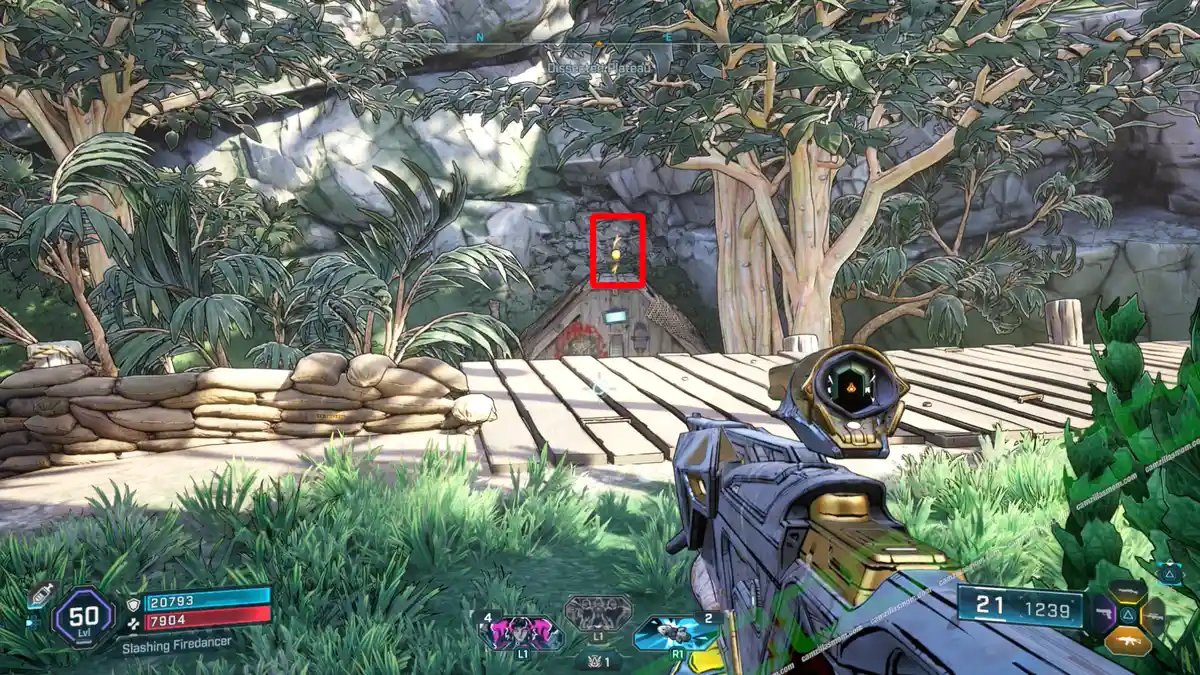
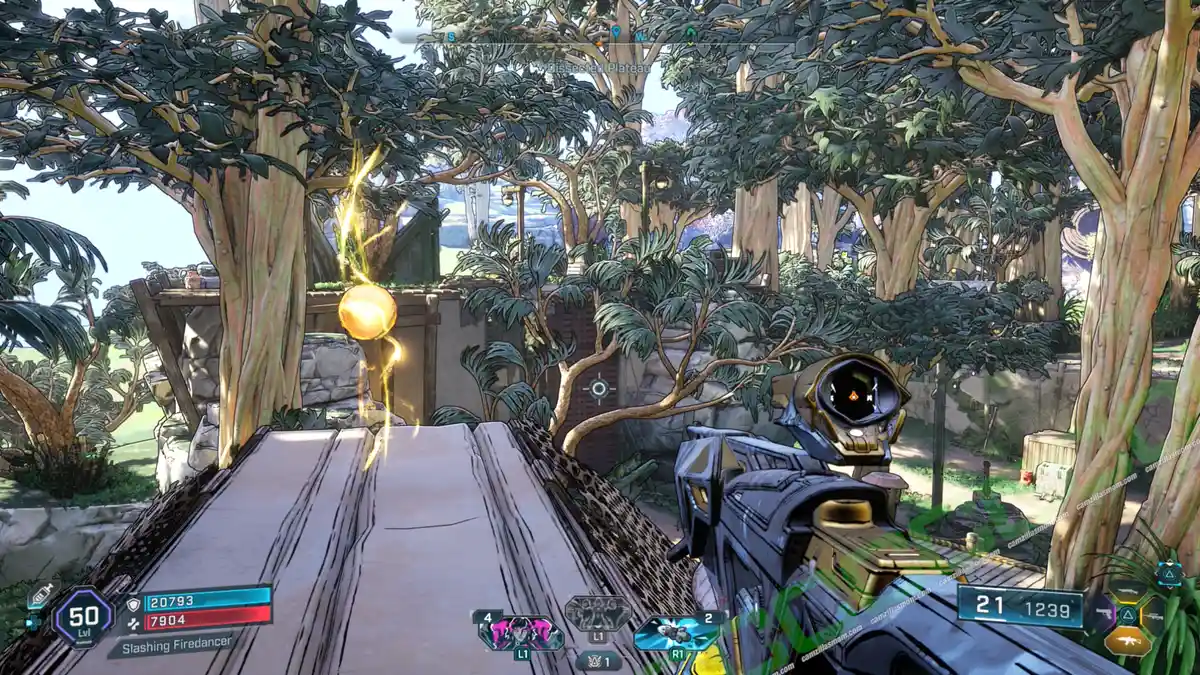
The Evocarium is at the top level of a ripper settlement just Zadra’s Backup Plan hideout.
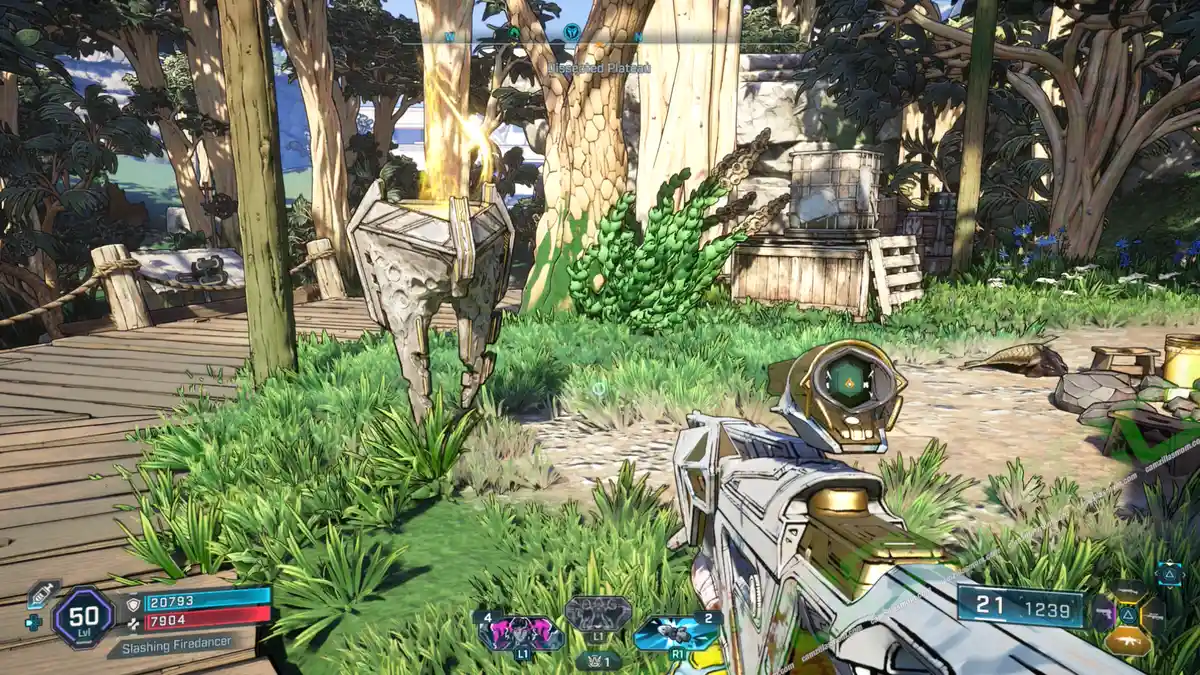
One of the orbs is on top of a hut in the southeast.
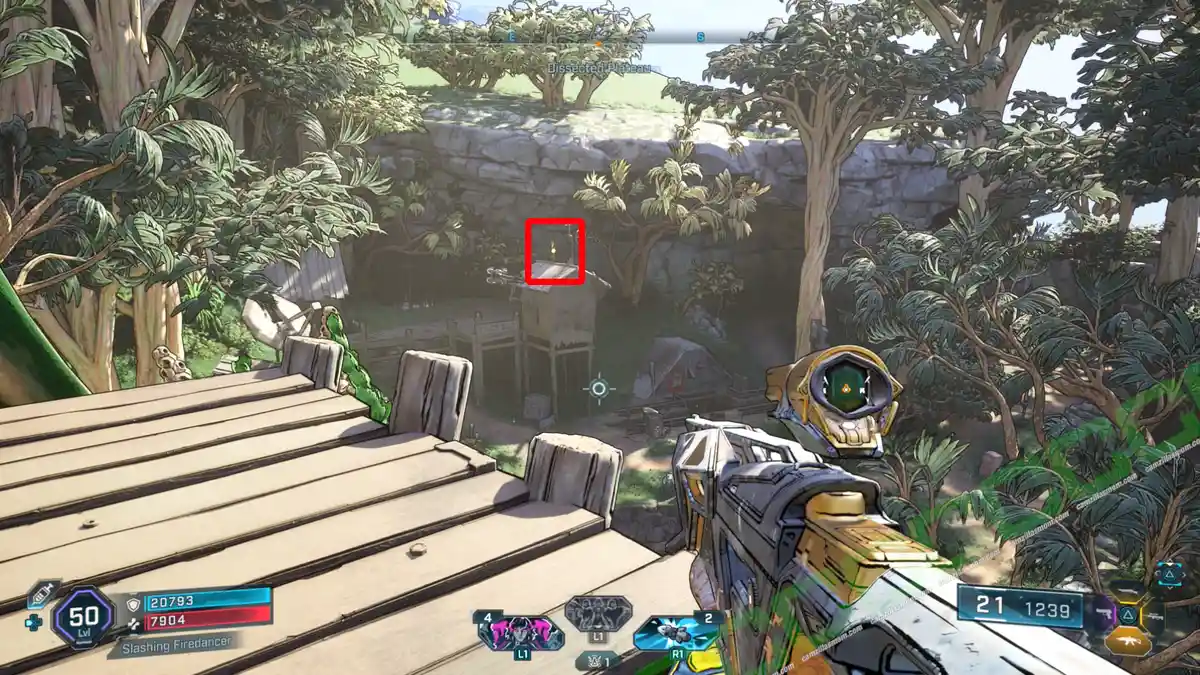
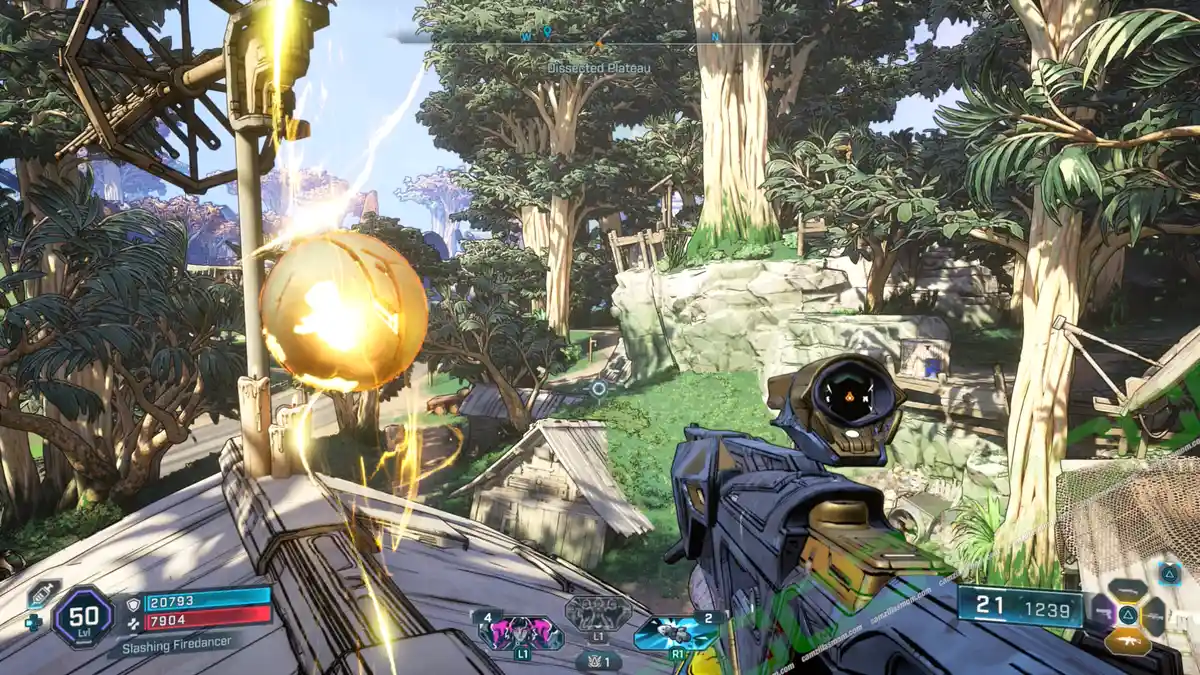
From the Evocarium, look to the northwest, and you will see another orb on the roof of a hut.
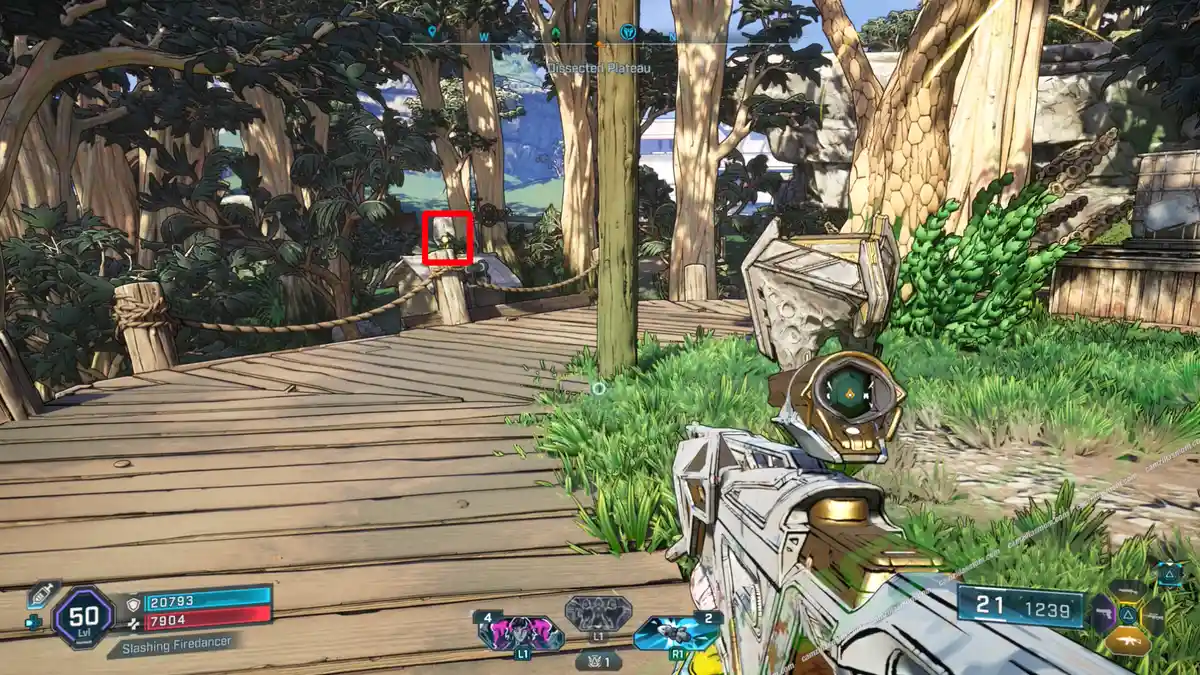
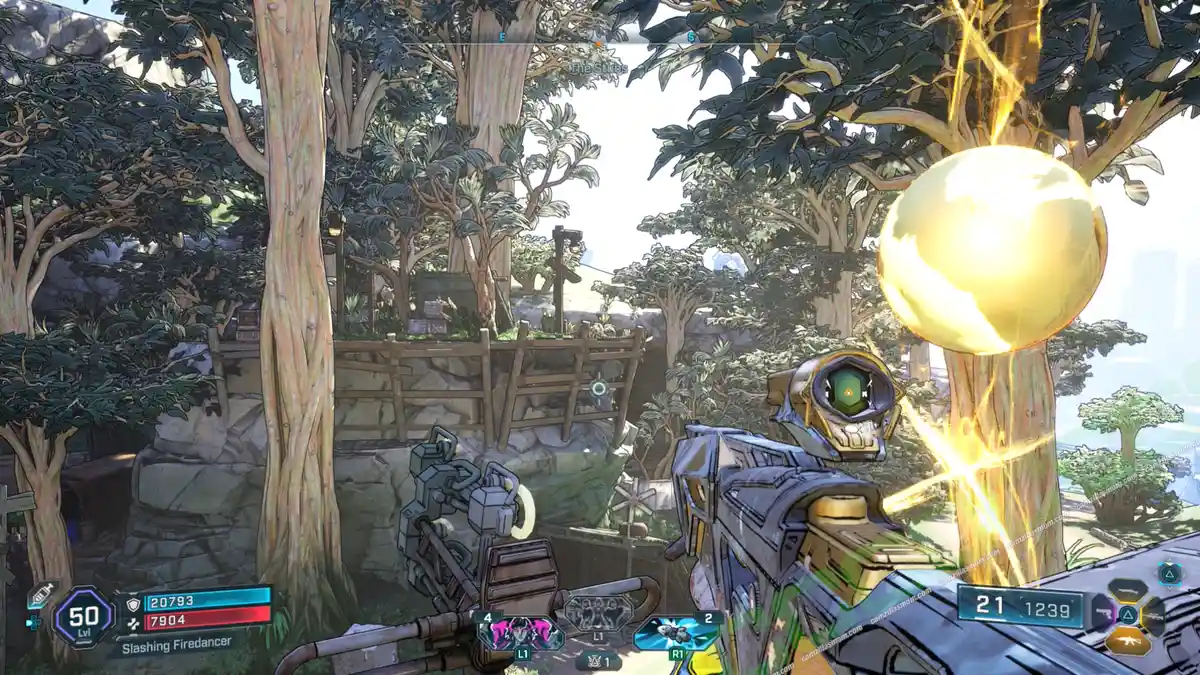
The third orb is in the northeast with the Evocarium behind you. Return to the torch to receive the ECHO Log Eridian: Veil.
-> Also available: Stranded Sister – All 18 Evocariums Revealed
Vault Symbols – 2
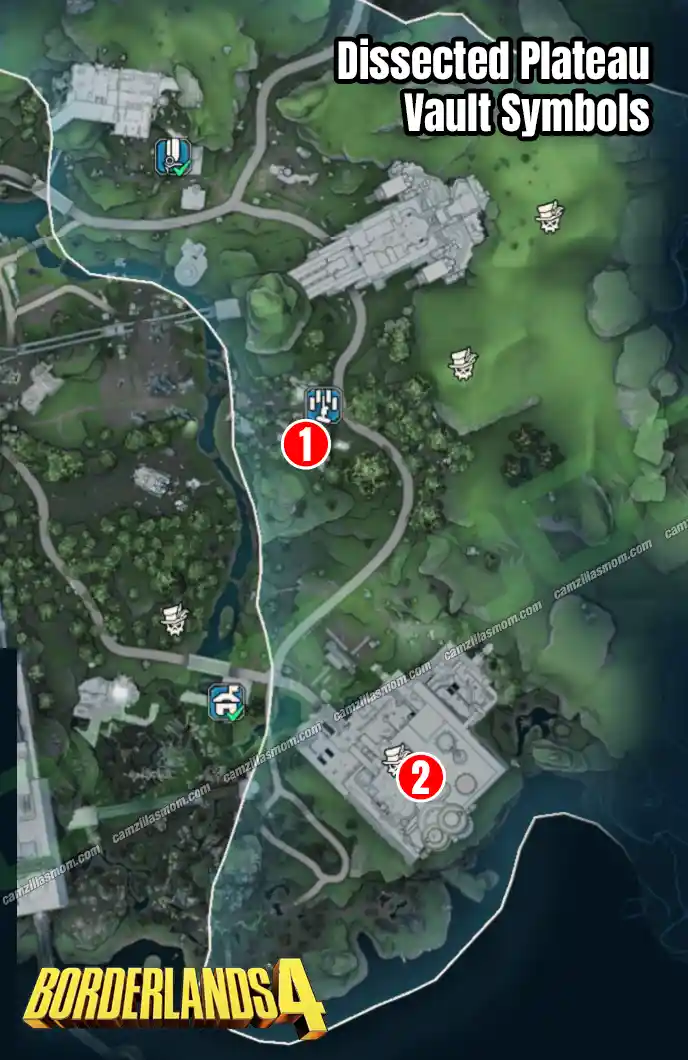
1 – The Stubs
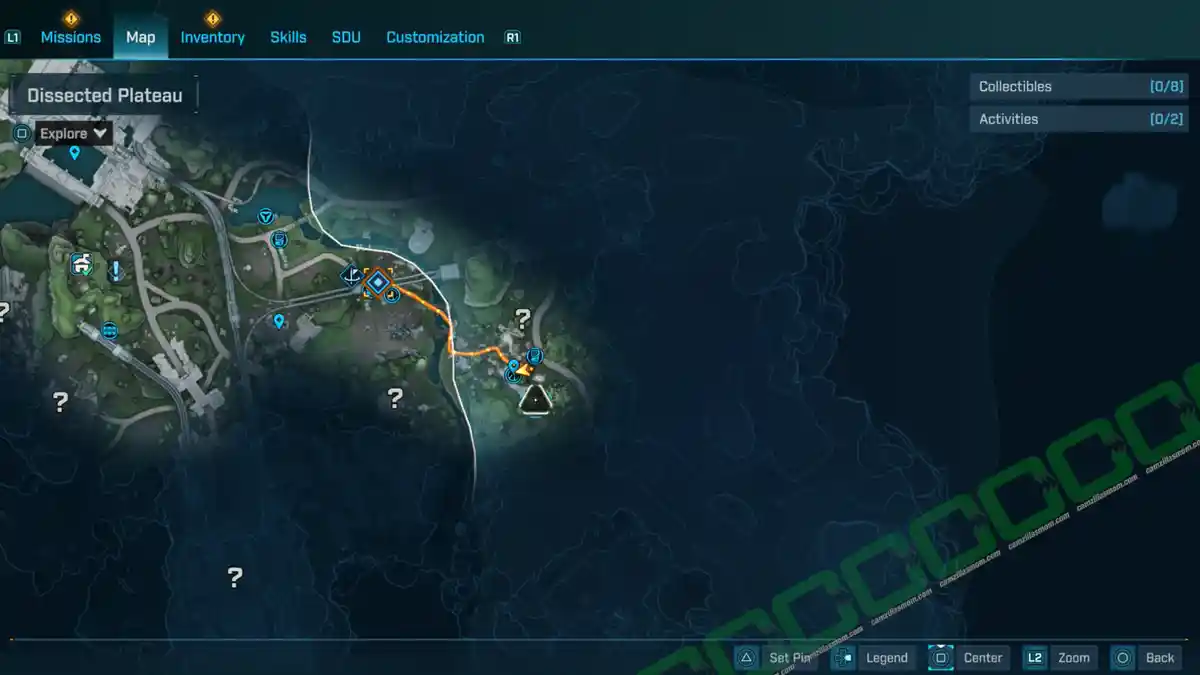
Travel to the Stubs in the center east of the Dissected Plateau to find a Vault Symbol etched to a piece of scrap. The Howl Side Quest: Ready to blow will take you here to find three missile parts.
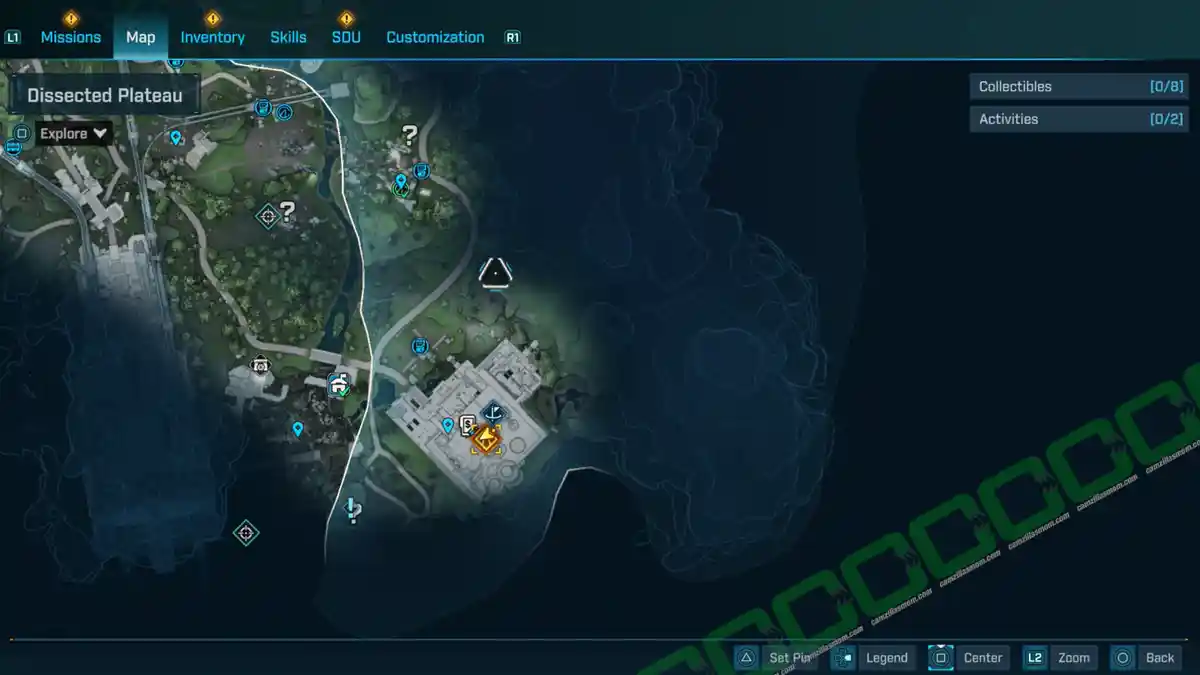
2 – The Killing Floors
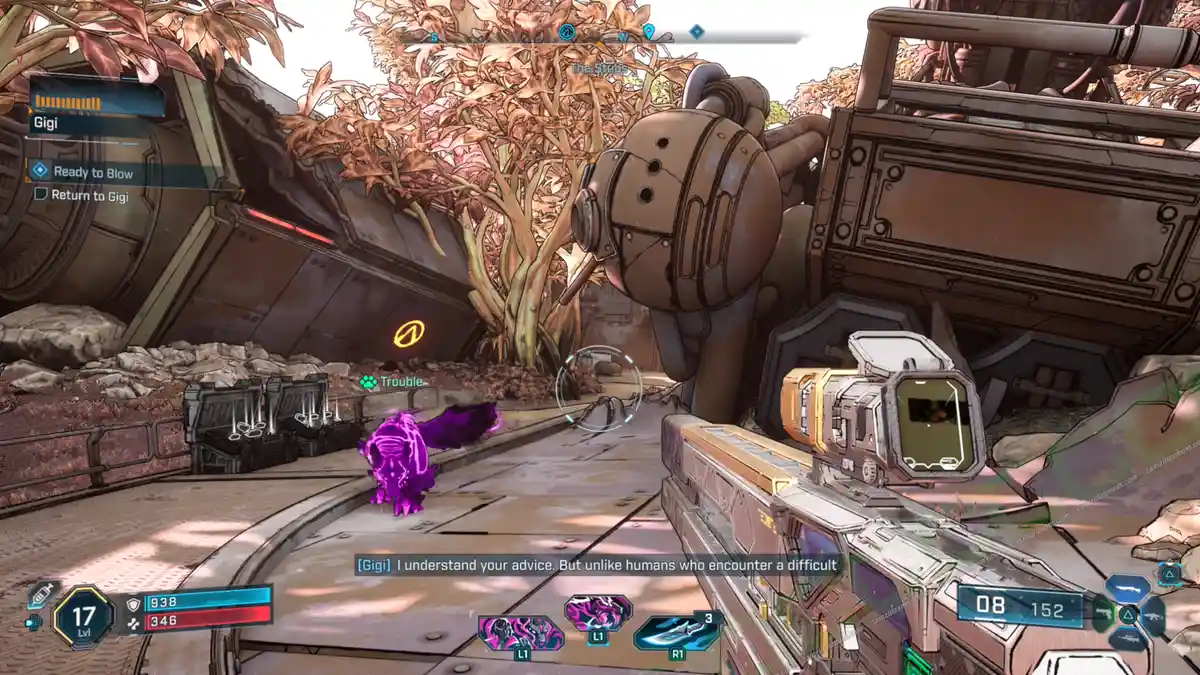
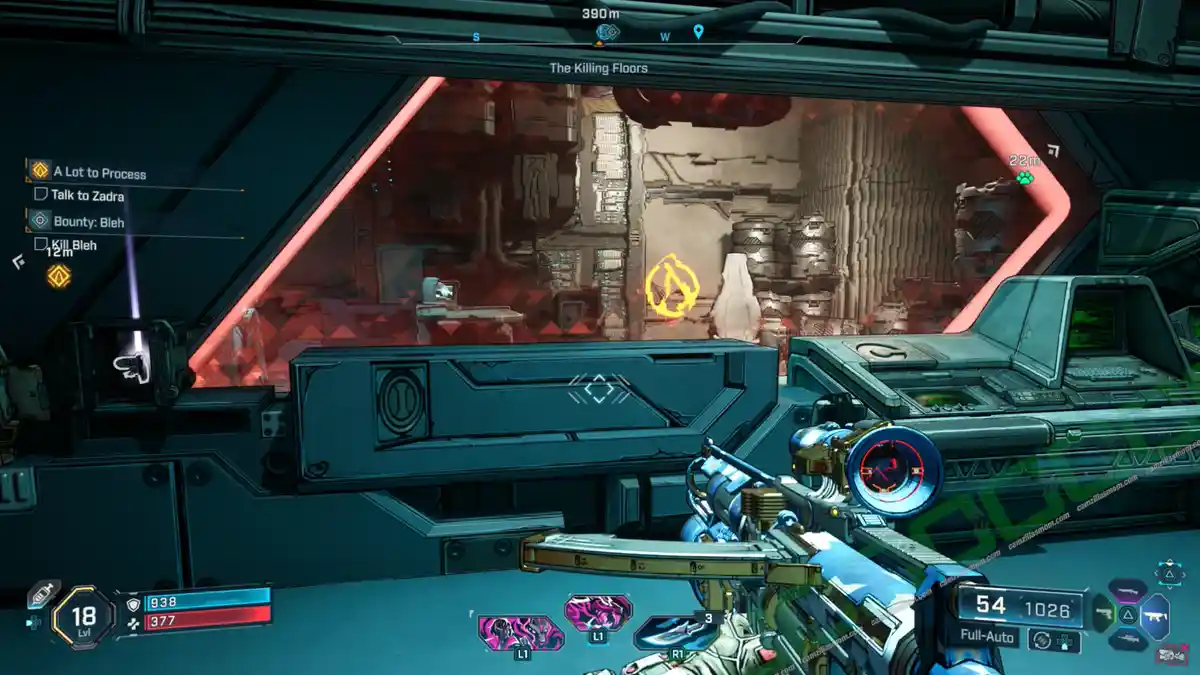
In the Main Quest “A Lot to Process”, you get to enter the meat factory called “The Killing Floors”. You follow a Wildhorn to an area with meatgrinders and then crouch through a ventilation shaft to reach a control room. You can see the Vault Symbol already through the control room window. Before talking to Zadra, you better grab it.
Activities
Abandoned Auger Mine: The Claim
The Auger Mine is located in the same cave as Zadra’s hideout, “Zadra’s Backup Plan,” at the Dissected Plateau. You’ll find it during the story, and a fast travel point will unlock once you do.
Exit Zadra’s hideout into the cave and turn right past the Kratch nests. The entrance is right around the bend.

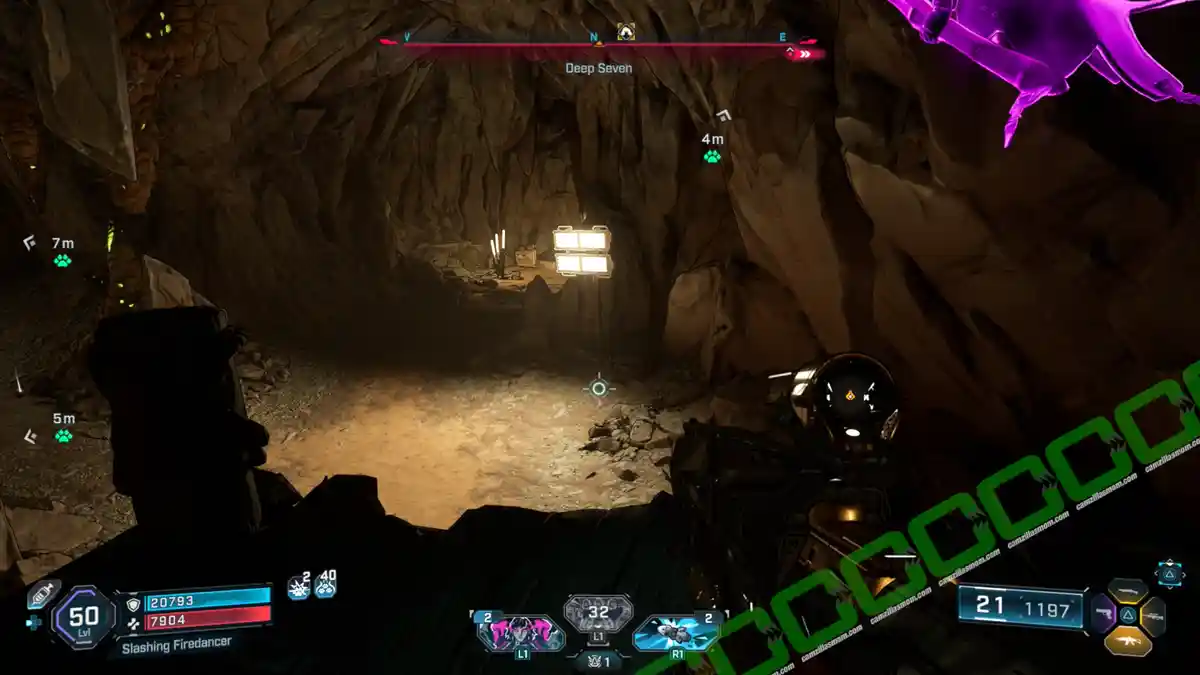
Inside, drop down the cave and follow the corridor into the next room to fight some more Kratch. Cross this room and continue on at the other side.
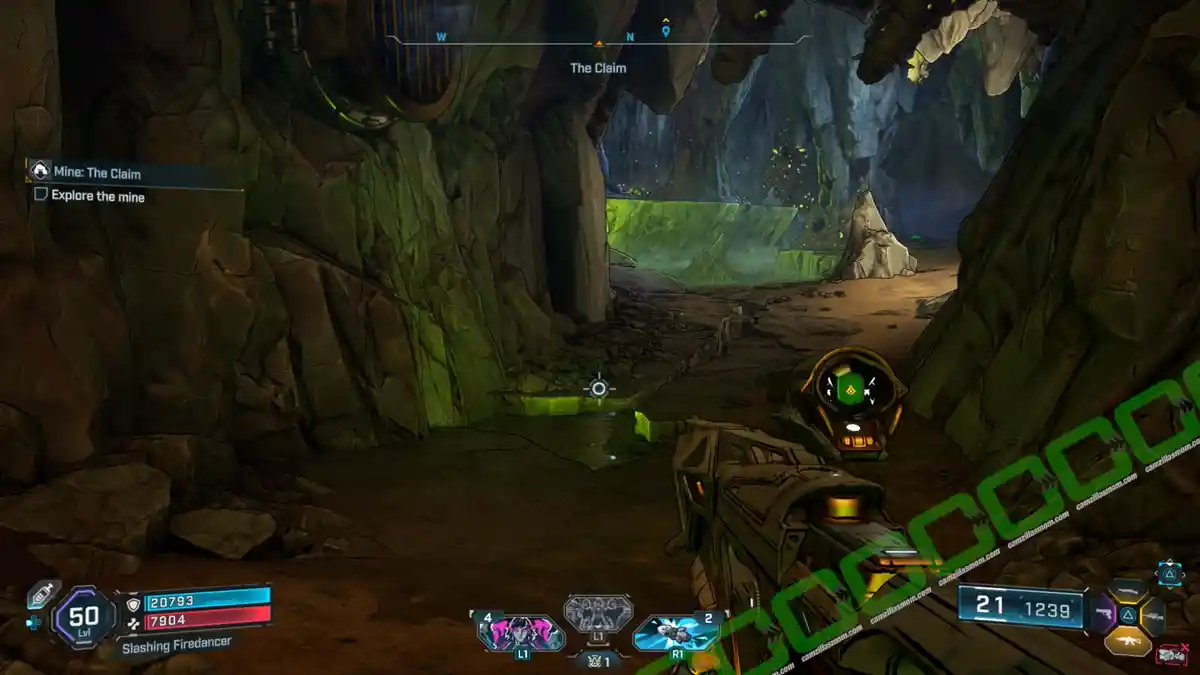

Here, you have to cross over to a metal wall to be able to reach the corridor up top.
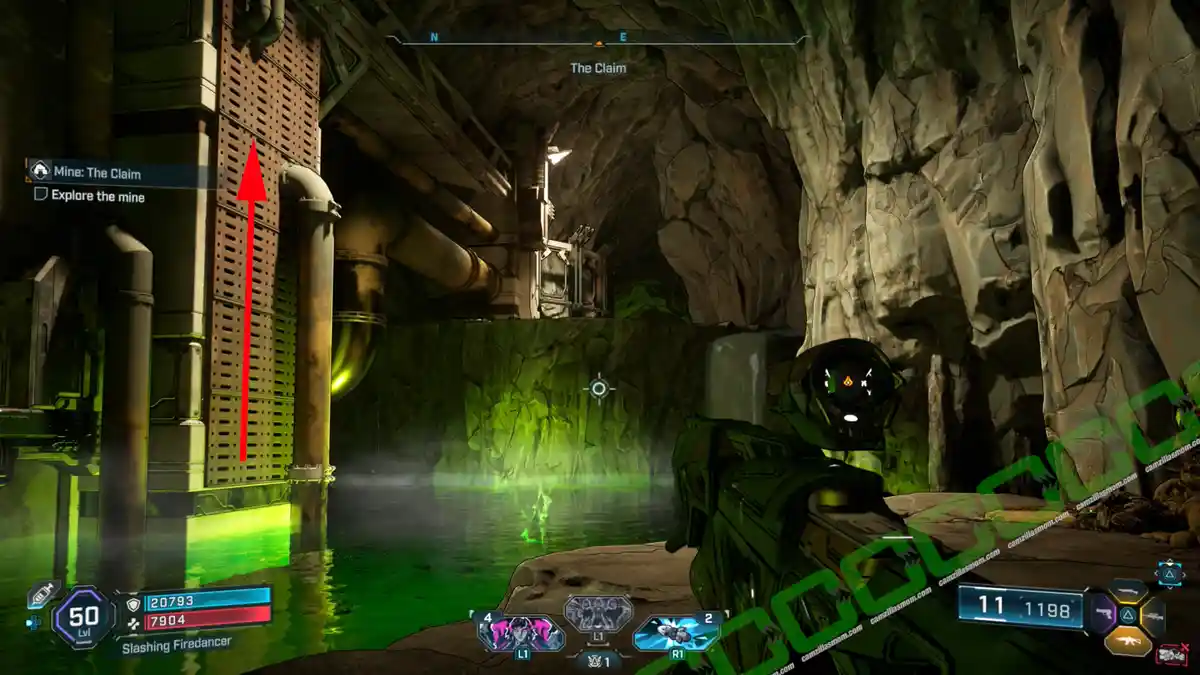
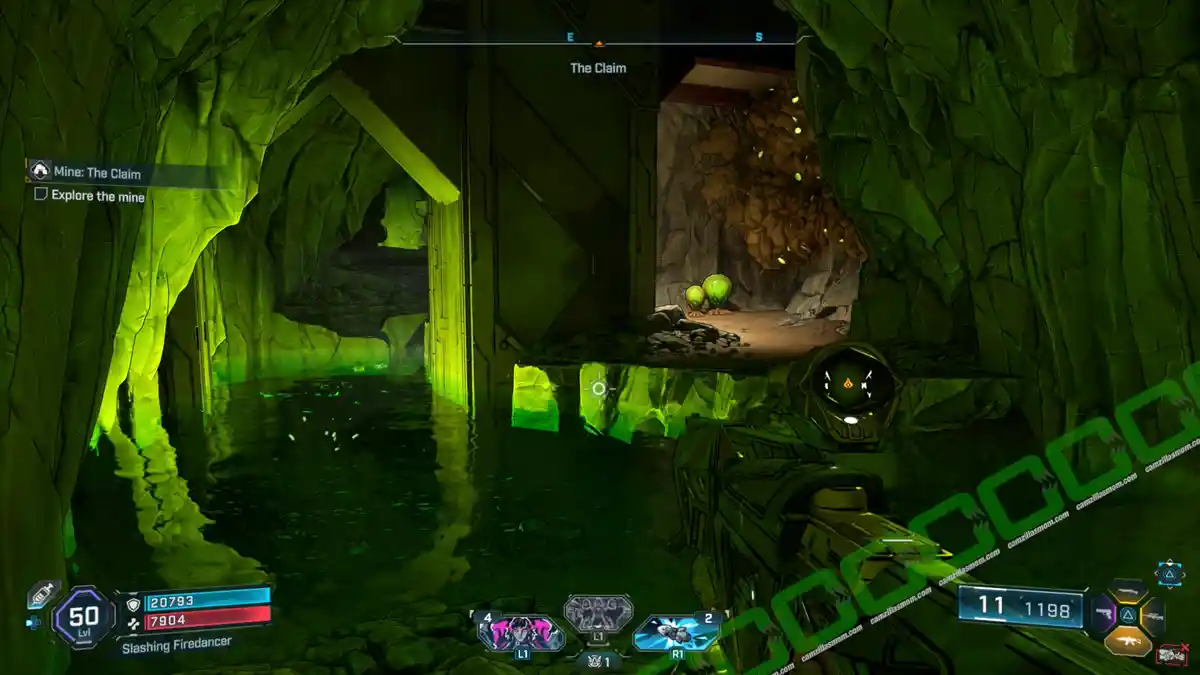
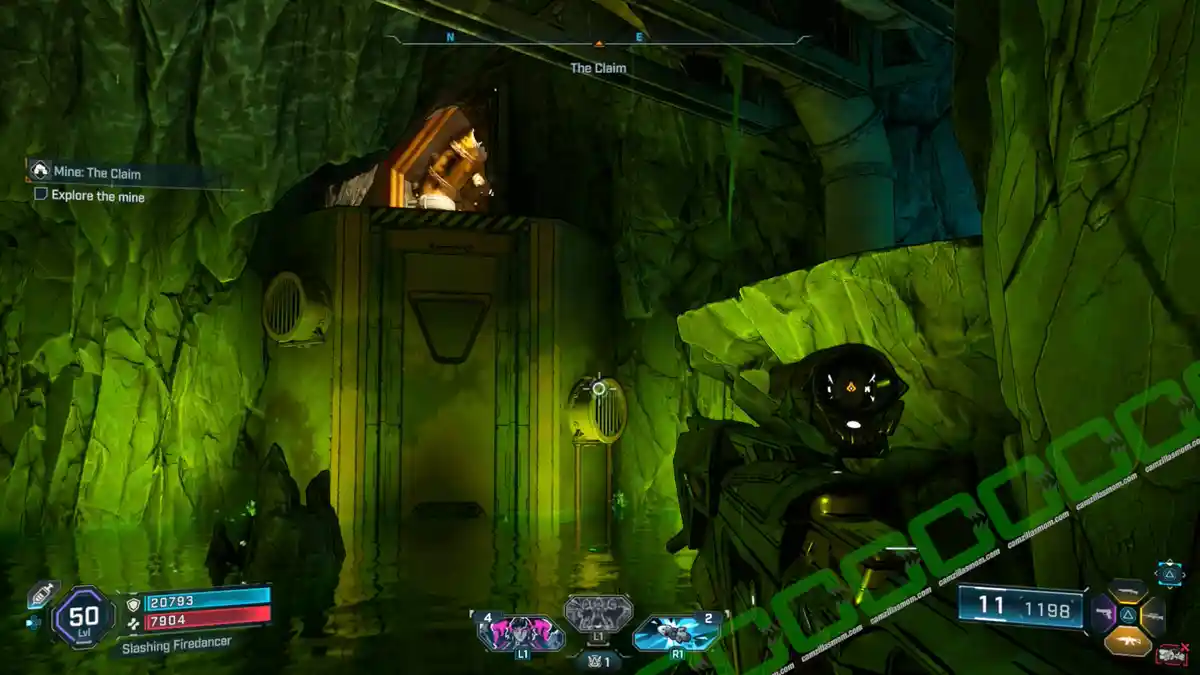
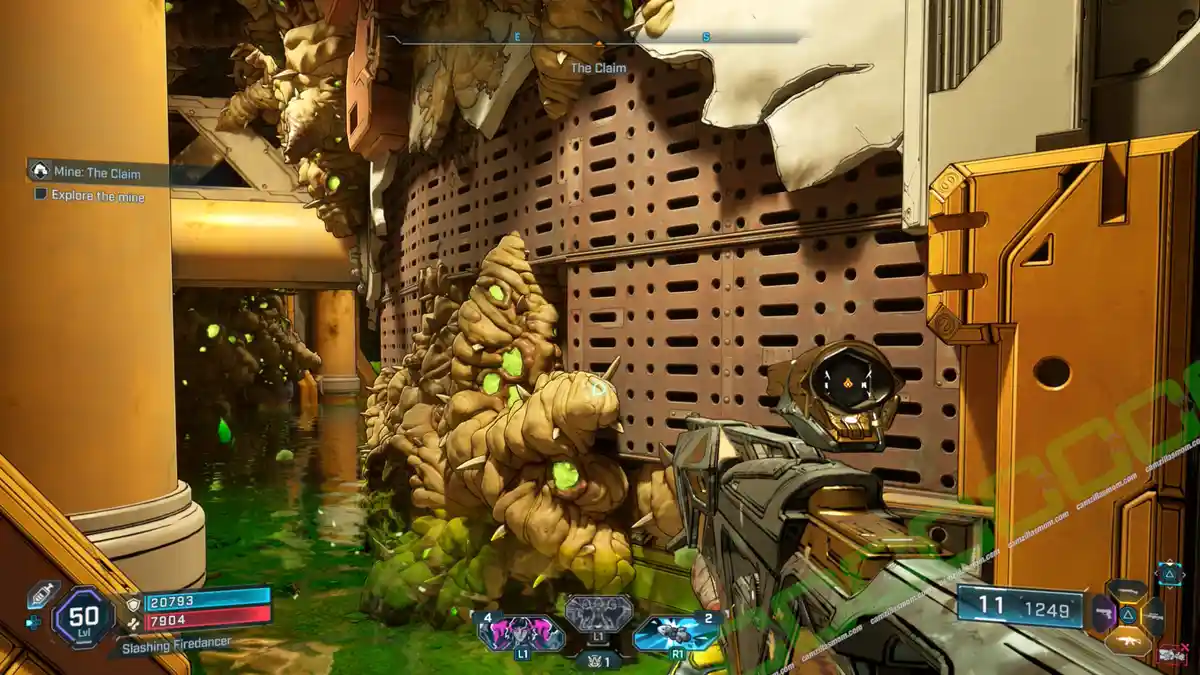
At the other end, reach the top by jumping on the ledges. Then, use the metal wall to climb across the toxic goo-filled corridor. Cross the next room by using an overhead grapple point to reach the vending machines to fight The Backhive.
Order Silo: Deep Seven
“Reactivate the Order communications balloon to locate a Vault Fragment.”
How to reach it:
The Order Silo: Deep Seven is in the north of the Dissected Plateau.
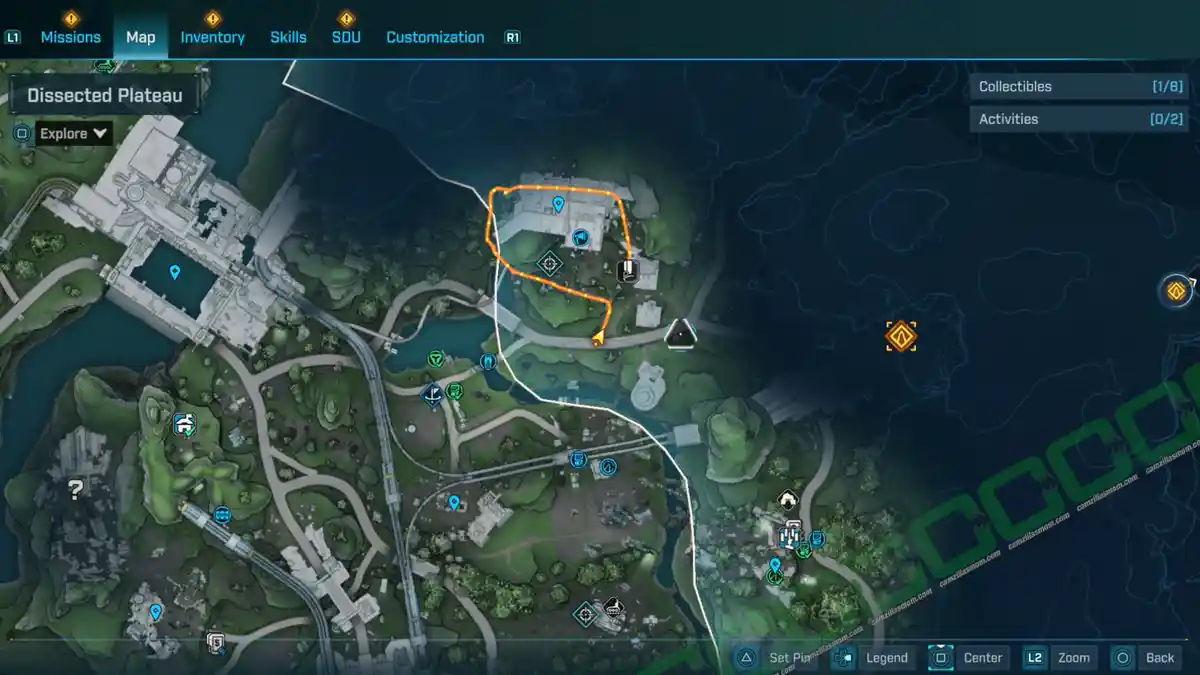
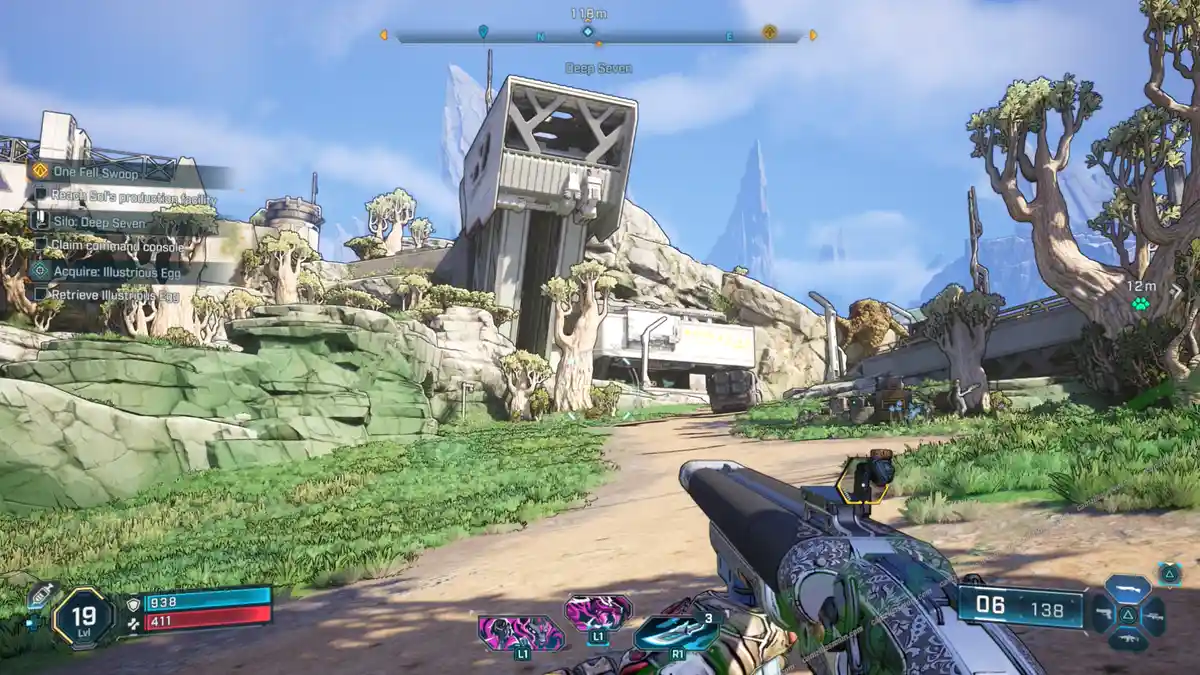
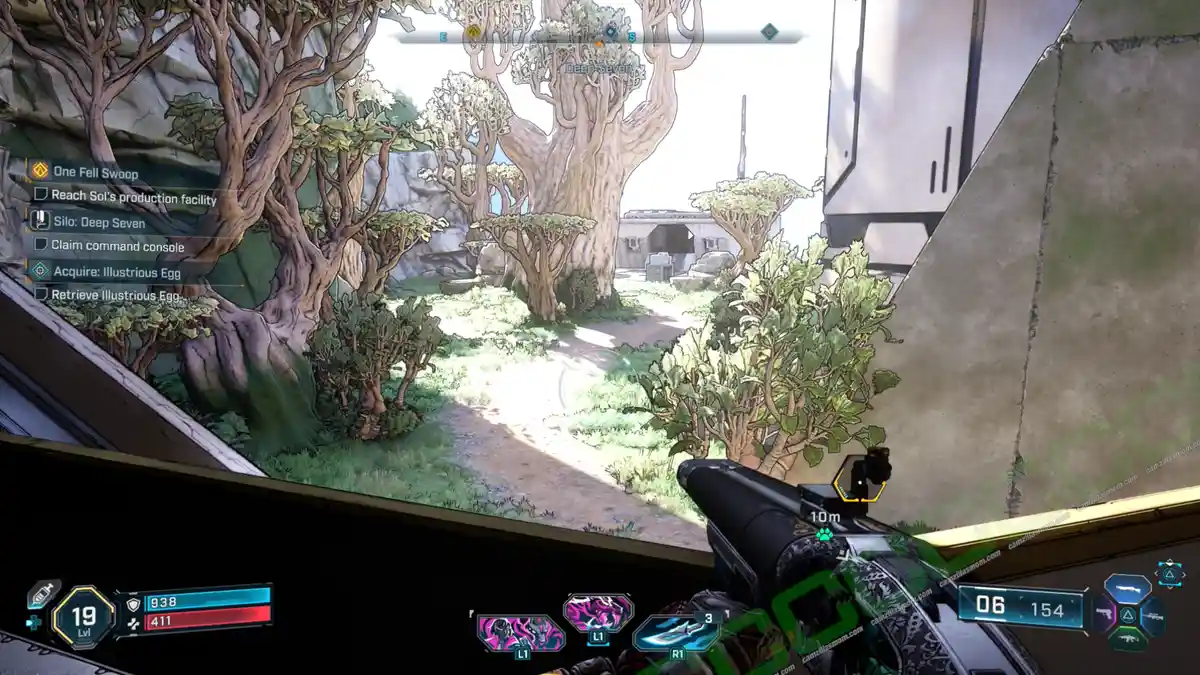
There is no ground-floor access to the Order Silo: Deep Seven. The only way to reach is to go through “The Motherbird Node” next door. A good access point is the western side, where you can find a climbable wall.
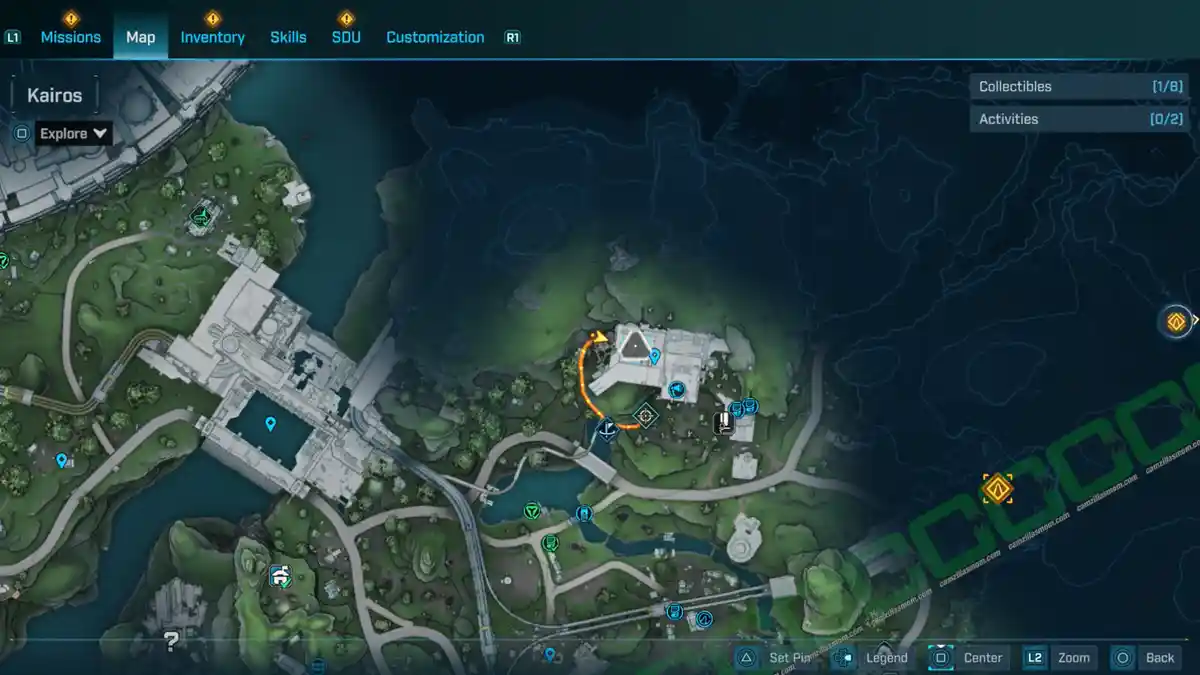
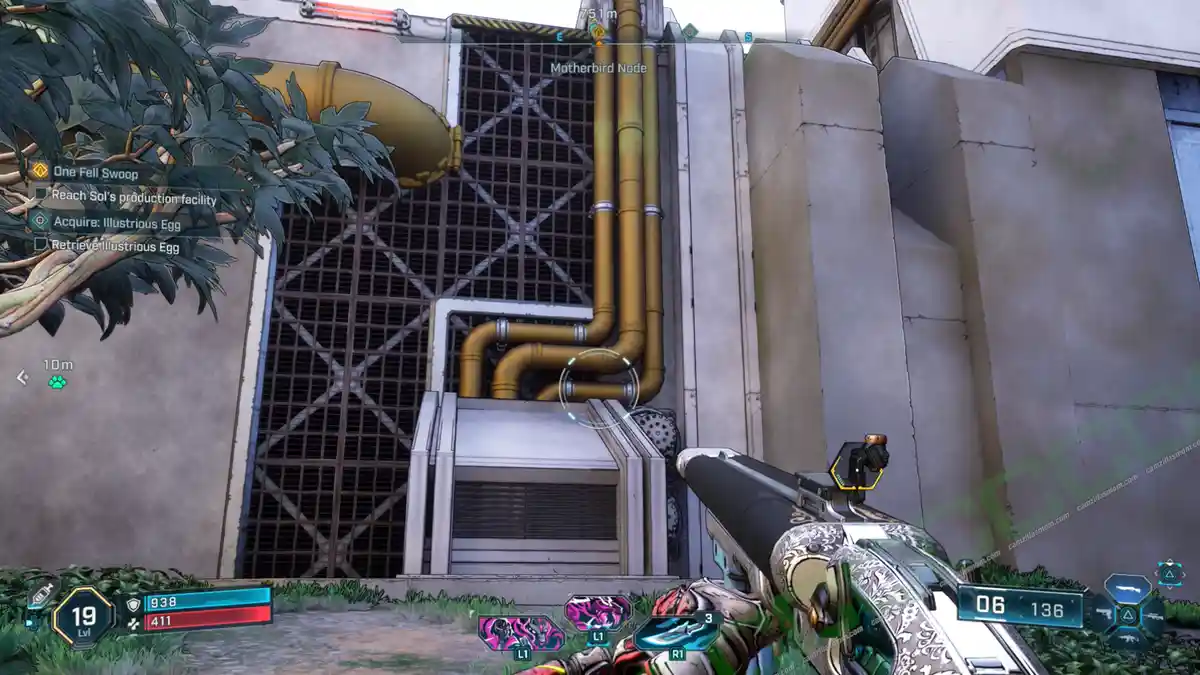
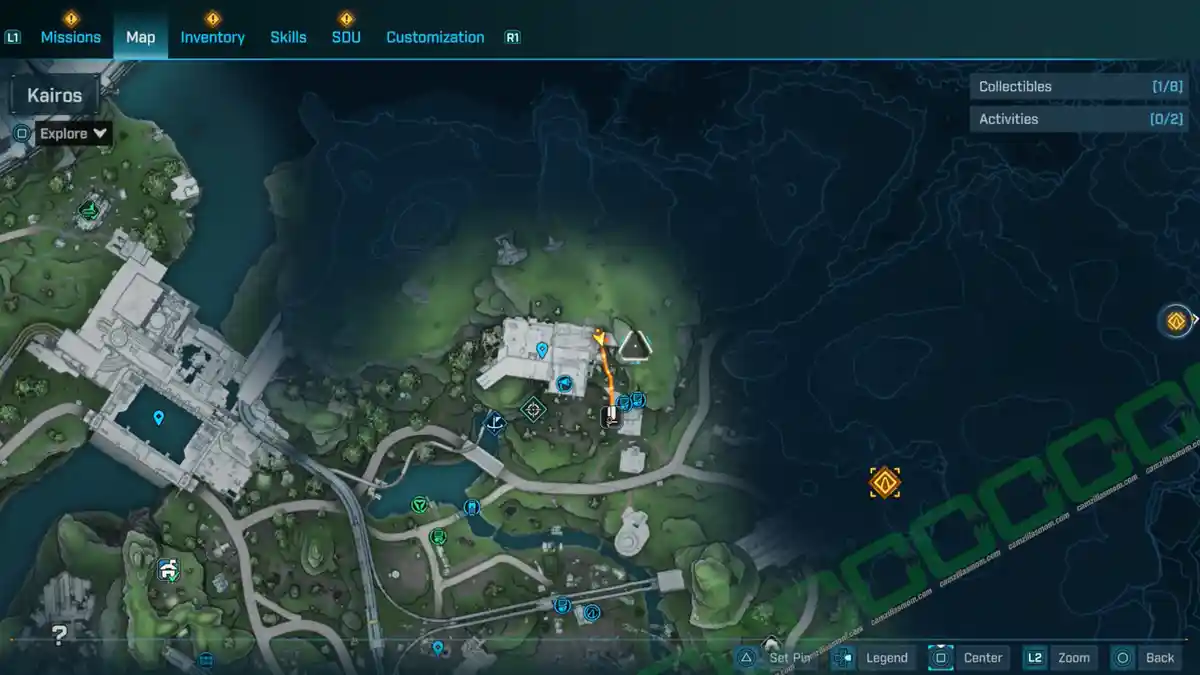
Cross the building and head to the eastern side, where you can already see the Order Silo: Deep Seven entrance. All that’s left is to defeat the incoming Order hostiles and capture the location.
Bobbleheads
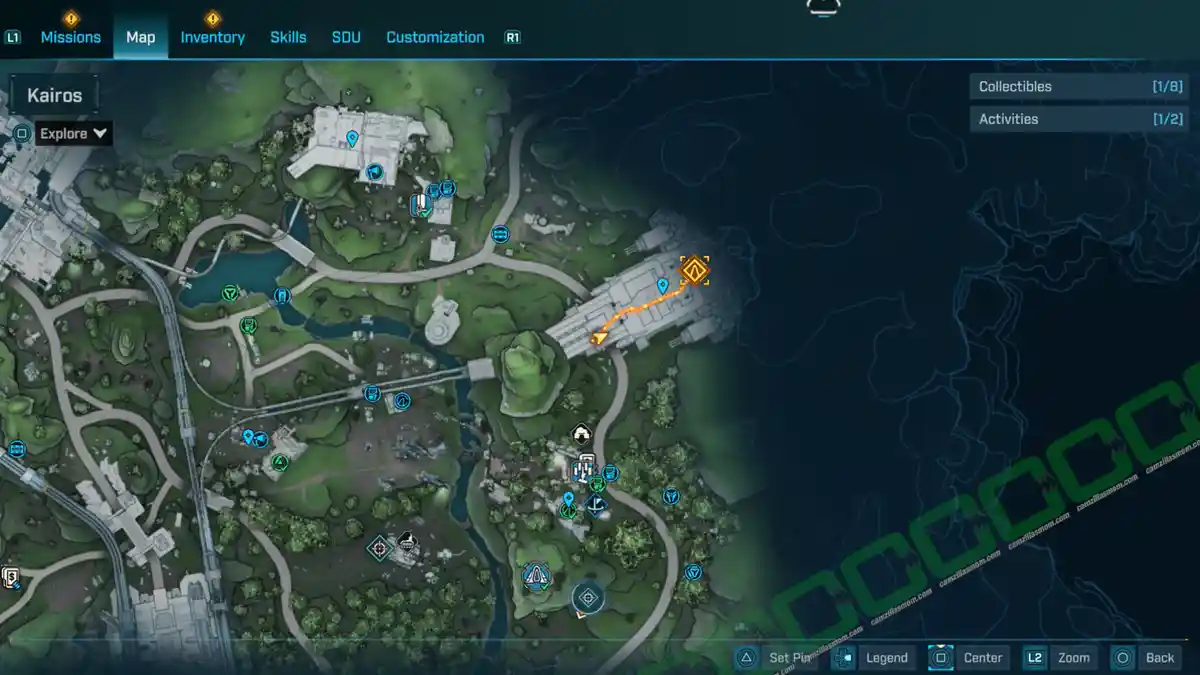
Synthetic Nave: Entrance Hall
At the entrance hall of the Synthetic Nave in the center of the Dissected Plateau, head to the top level, the one that is above the road. Here in the corner is a bobblehead hiding.
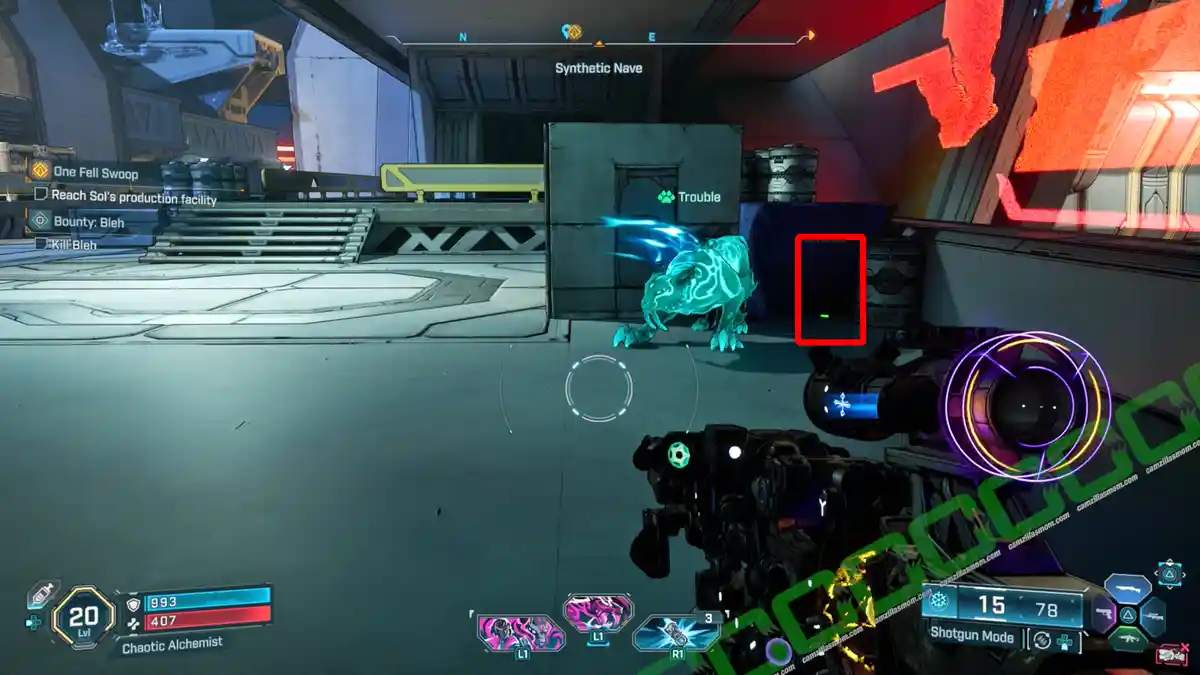
Synthetic Nave: Bulkhead Production
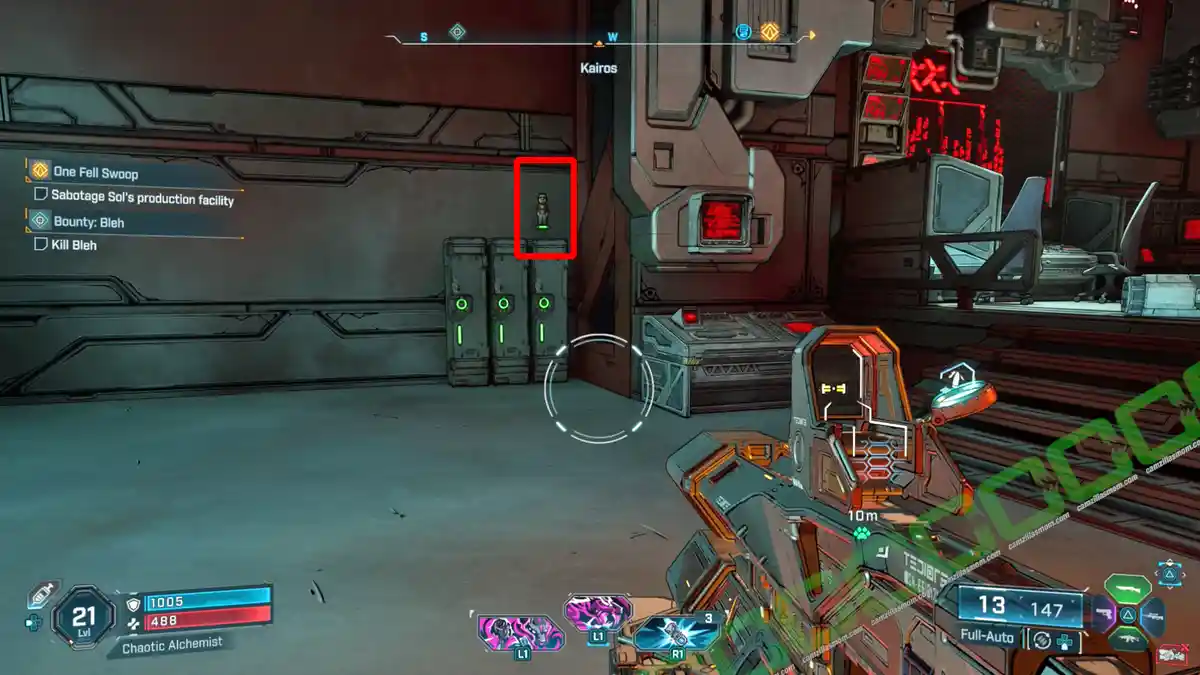
In the main mission “One Fell Swoop”, you will discover that Bulkheads are modified in the Synthetic Nave facility, and Zadra gives you the task to Sabotage Sol’s production line. Inside the room where the Bulkhead gets modified in front of your eyes, the story wants you to go through the door right next to the modification console. Take your time, stay in this big hall and go through the door at the other end instead. There is a staircase leading up to a small control room with this bobblehead on top of the lockers. The ECHO Log “A Day in the Order: Approved Terminology” is also in this control room.

Side Missions
-> Also Available: All Side Missions in Borderlands 4
Drone Ranger
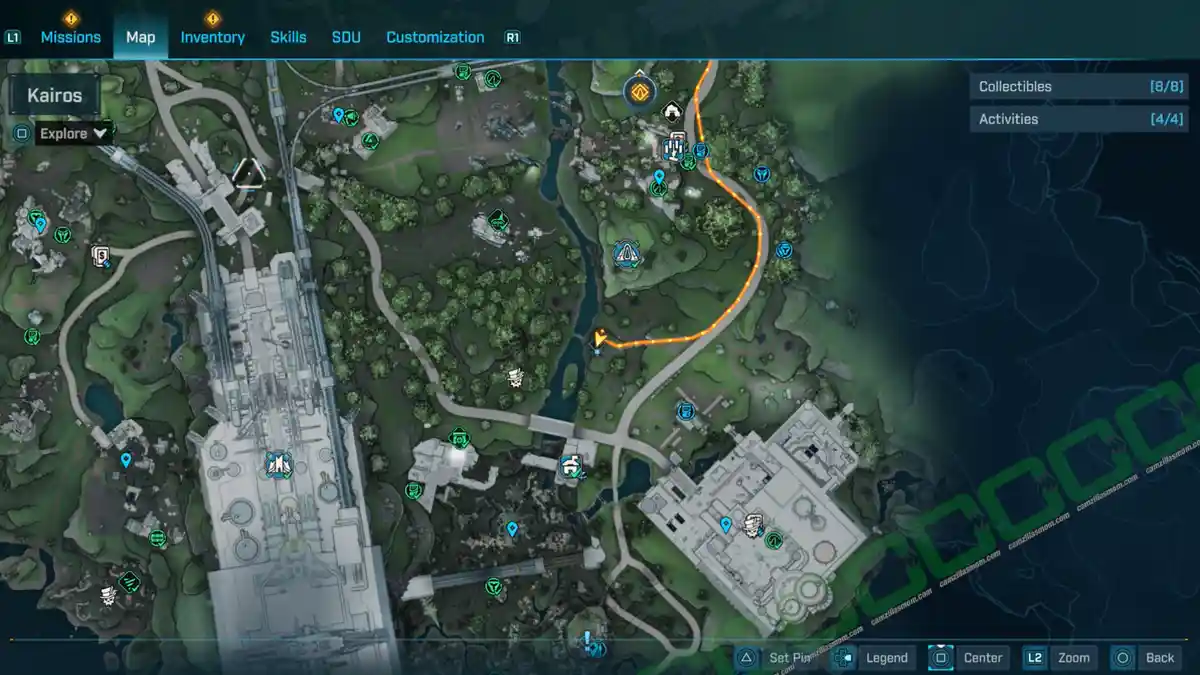
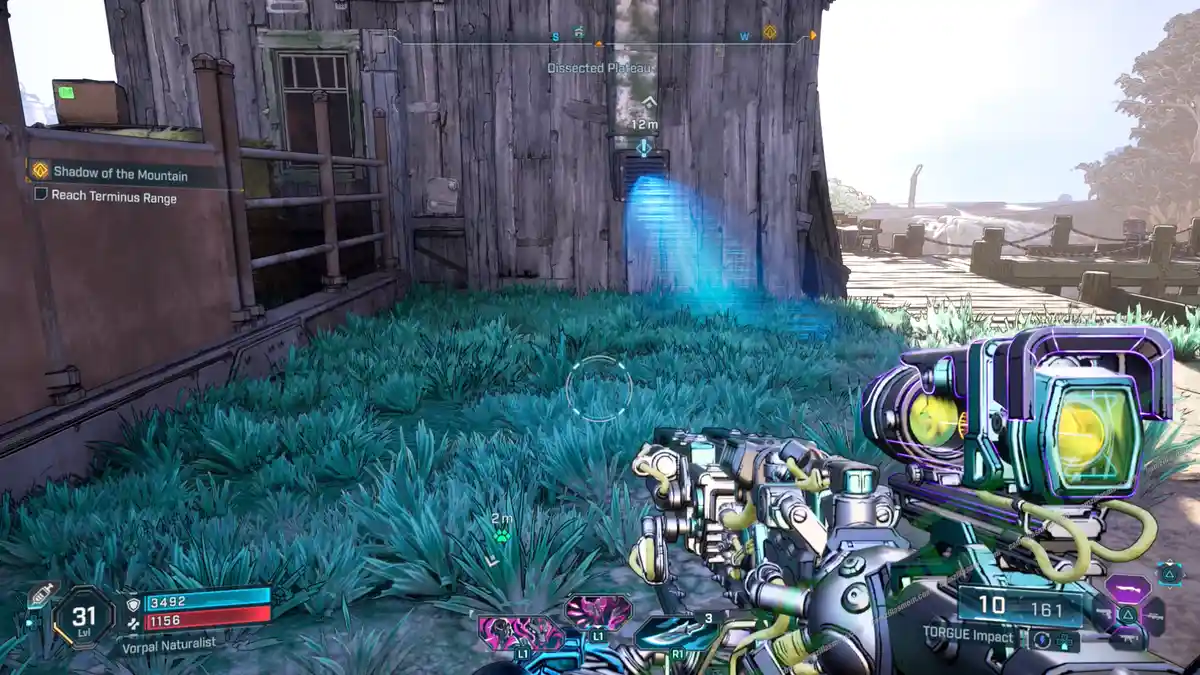
The Drone Ranger Side Mission starts north of Wyclef’s Reprieve Safehouse in the east of the Dissected Plateau. It’s a fenced-in house, connected to the outer world just by a wooden bridge. At the location, you will find a surveyor drone trapped in a ventilation shaft.
1 – Take the Surveyor to its Target
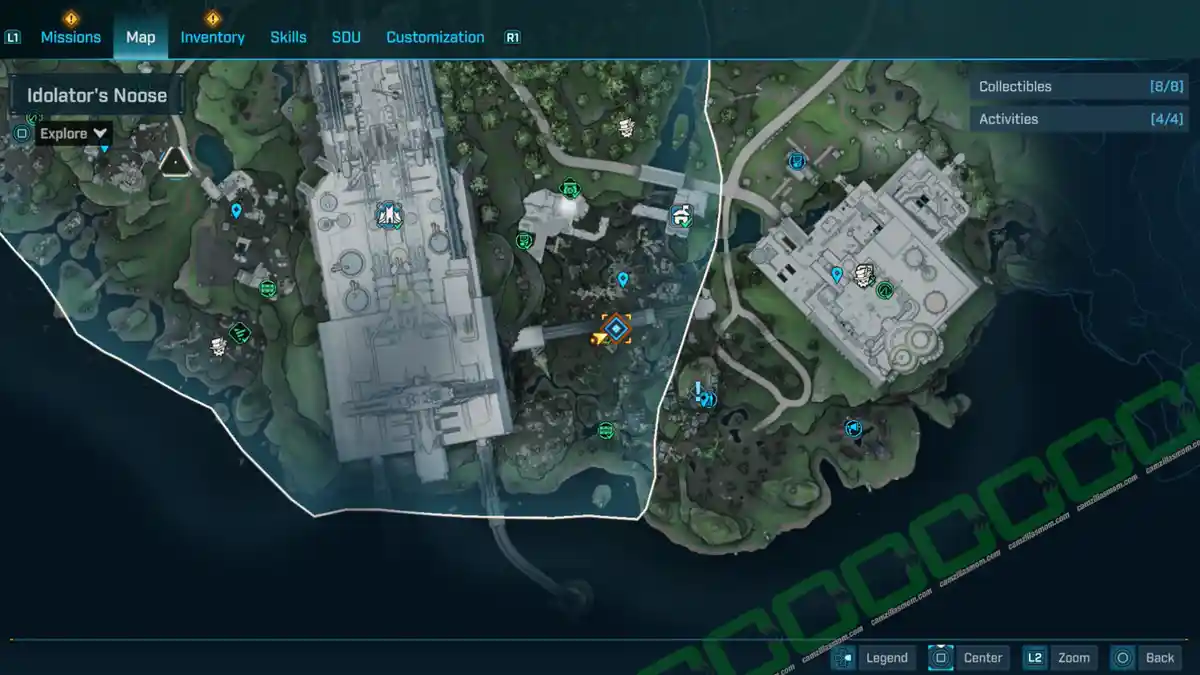
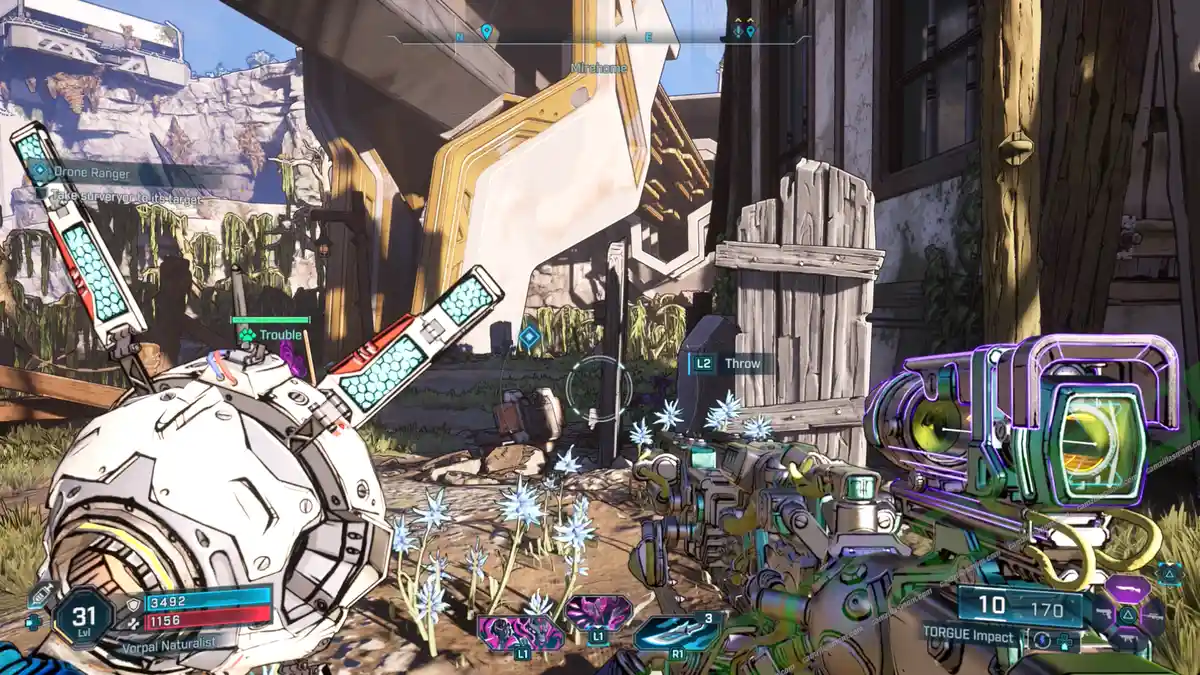
Smash the ventilation shaft panel to free the surveyor drone. Then, pick it up and walk it to its target in the Mireholme – the church, close to one of the Dead Bolt Collectibles in Idolator’s Noose. Don’t travel over water. You will drop the drone into the river, and you can’t retrieve it.
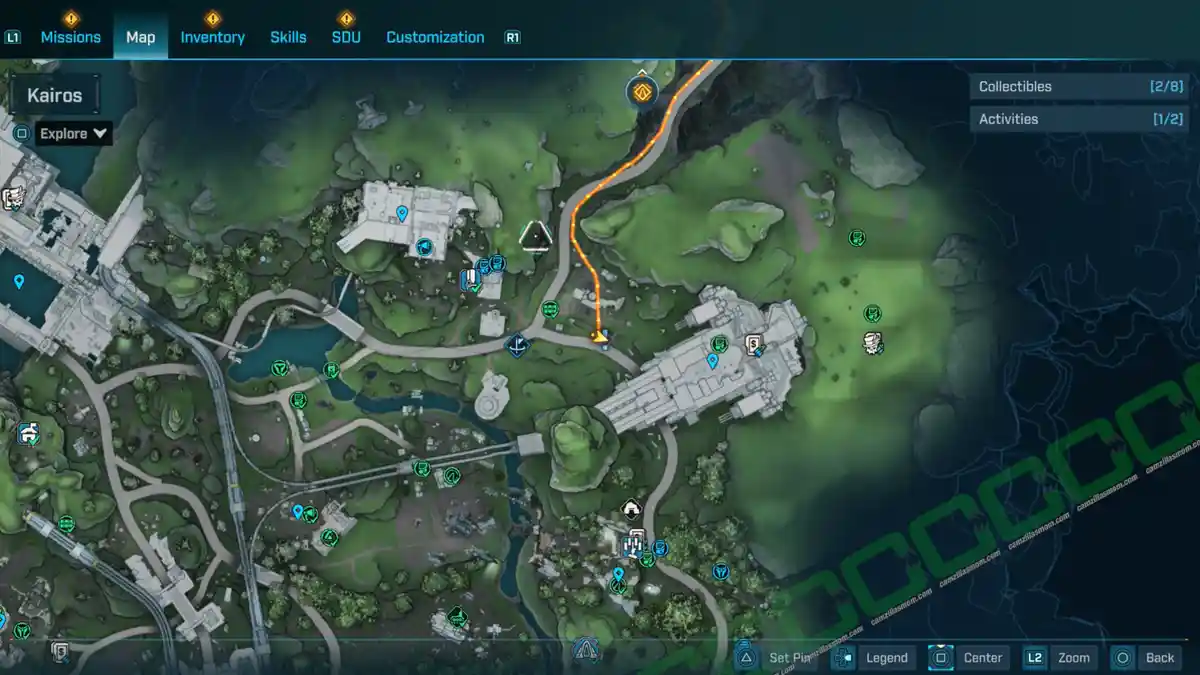
Gone Are My Leggies
Side Mission Start:
Boglight Vigilance, southwest of Dissected Plateau.
What it is about:
A Ripper’s legs have run off, and you need to retrieve them.
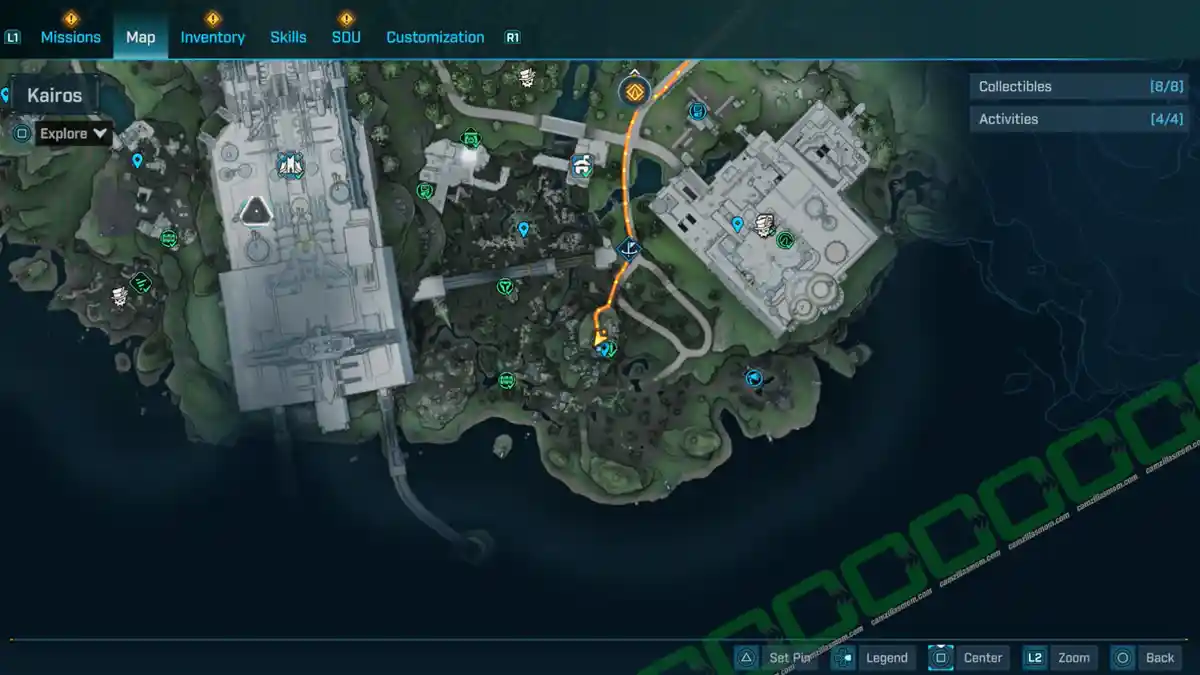
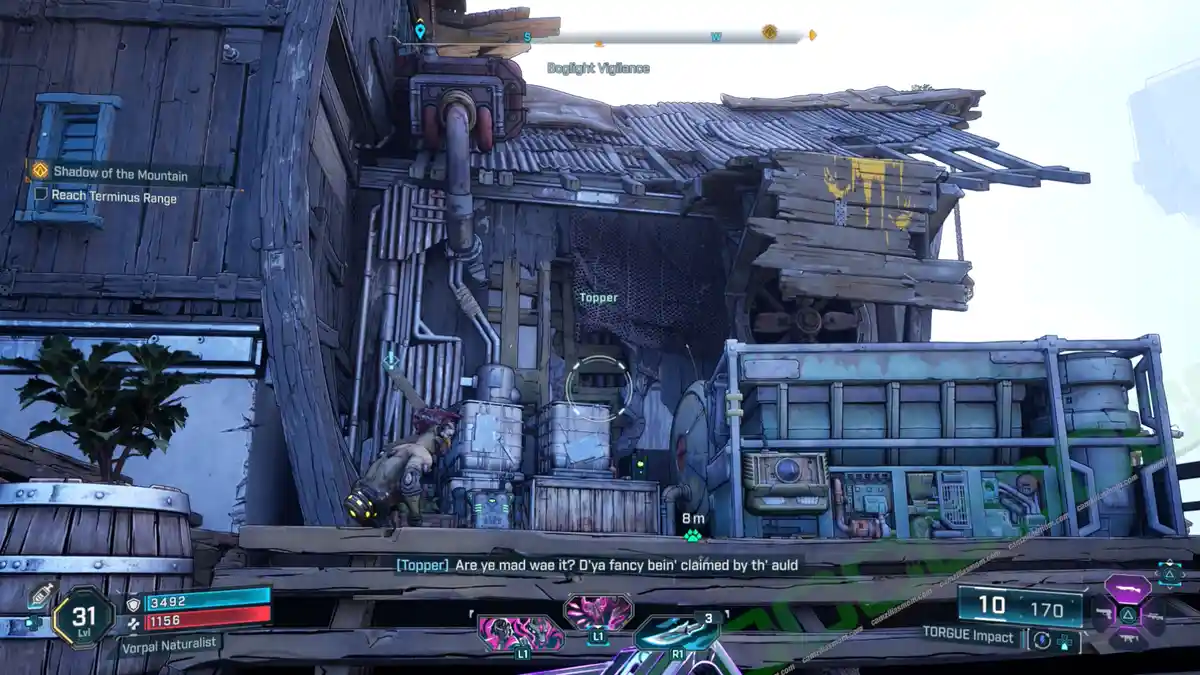
Side Mission Steps:
-> Climb the Lighthouse: The path is marked with yellow paint.
-> Follow the Beastie: The final landing spot will be in Southwestern Mireholme, Idolator’s Noose.
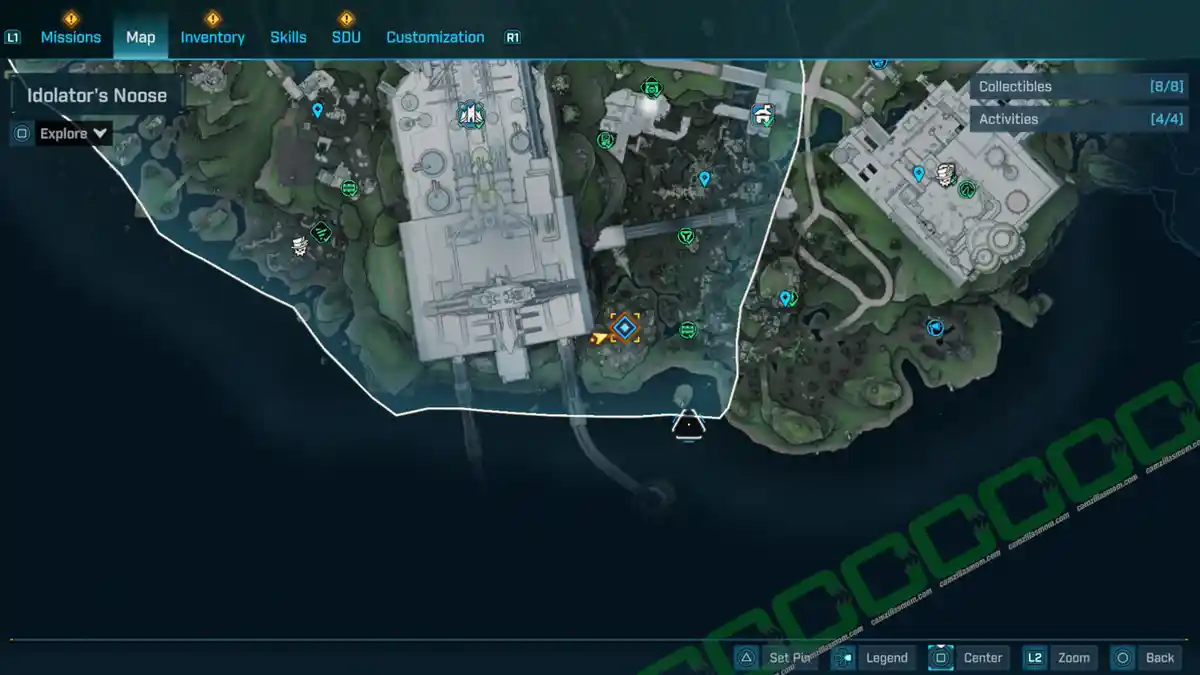
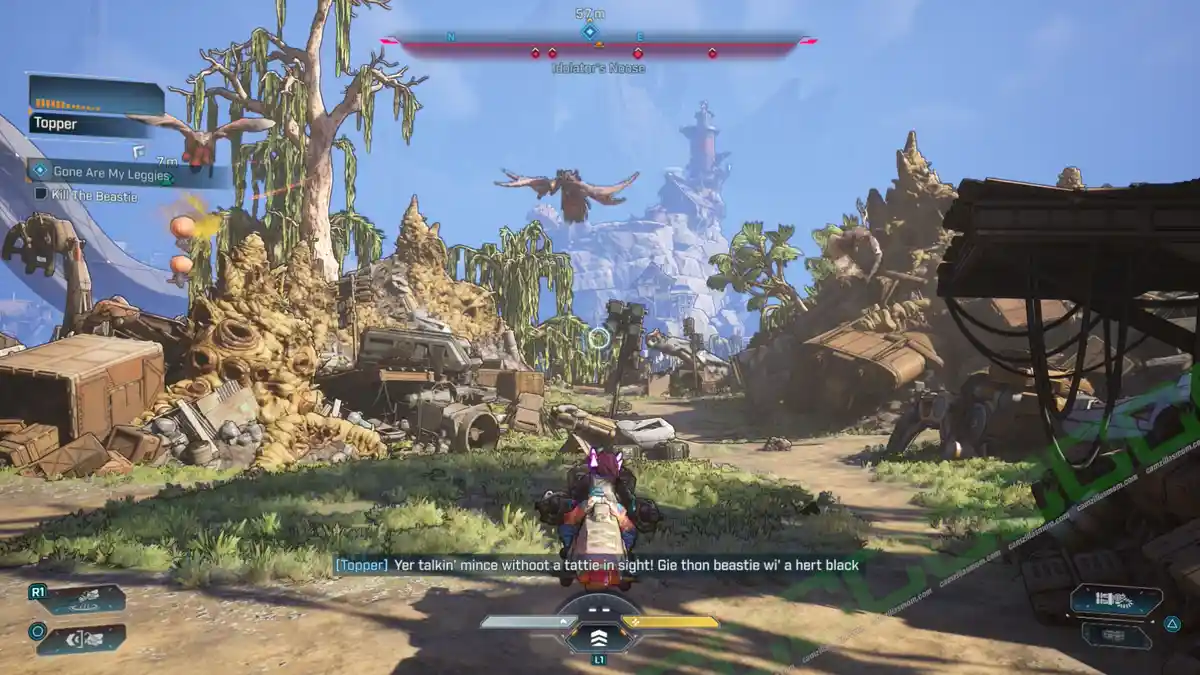
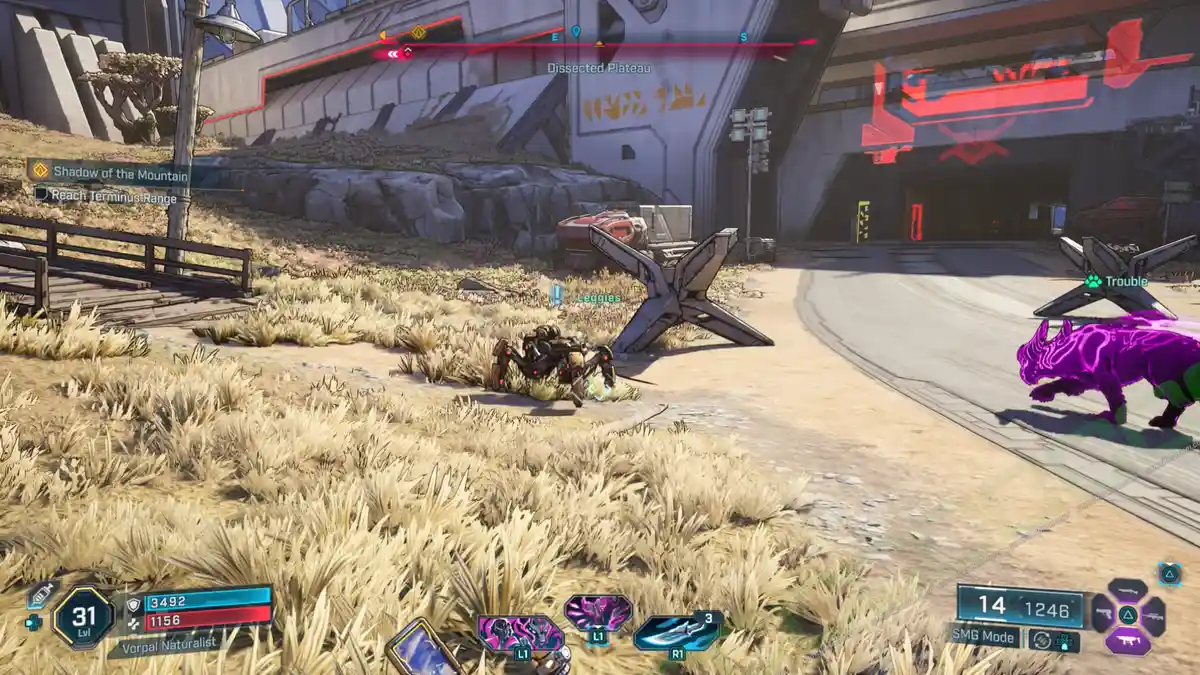
-> Check on Leggies: The Legs have fallen down to the floor.
-> Return Leggies to Topper: Follow Leggies back and fight everything in your way.
To the Limb It
Side Mission Start:
West of Synthetic Nave
Pre-requisite:
Gone Are My Leggies – Side Mission
What it is about:
Leggies is missing Topper this time.
Side Mission Steps:
-> Follow Leggies: Topper is locked up at a nearby farm.
-> Open Barn: Push the button.
-> Kill the Beasts: Fight what’s coming out of the barn.
Browse All Borderlands 4 Guides
Borderlands 4: The Howl Collectibles & Activities
Discover every collectible and activity in Borderlands 4's The Howl. Follow this guide to complete s…
Borderlands 4: The Low Leys Collectibles & Activities
Master Borderlands 4's Low Leys region with this guide. Find every collectible, complete activities,…
Borderlands 4: Tonnage Peel Collectibles & Activities
Master Tonnage Peel in Borderlands 4. This guide covers all collectibles, activities, and tips for 1…
Borderlands 4: Umbral Foundry Collectibles Locations
If you’re diving into Borderlands 4 and aiming to snag every collectible in the Umbral Foundry…
Borderlands 4: Windspear Collectibles & Activities
Master Windspear in Borderlands 4 with this guide. Discover every collectible, tackle activities, an…
Cache To Spend: All Survivalist Caches in Borderlands 4
Locate all Survivalist Caches in Borderlands 4's Fadefields region with detailed maps and tips to co…


Borderlands 4
Release: September 12, 2025
Developer: Gearbox Software
Publisher: 2K Games
Official Website: https://borderlands.2k.com/borderlands-4/


