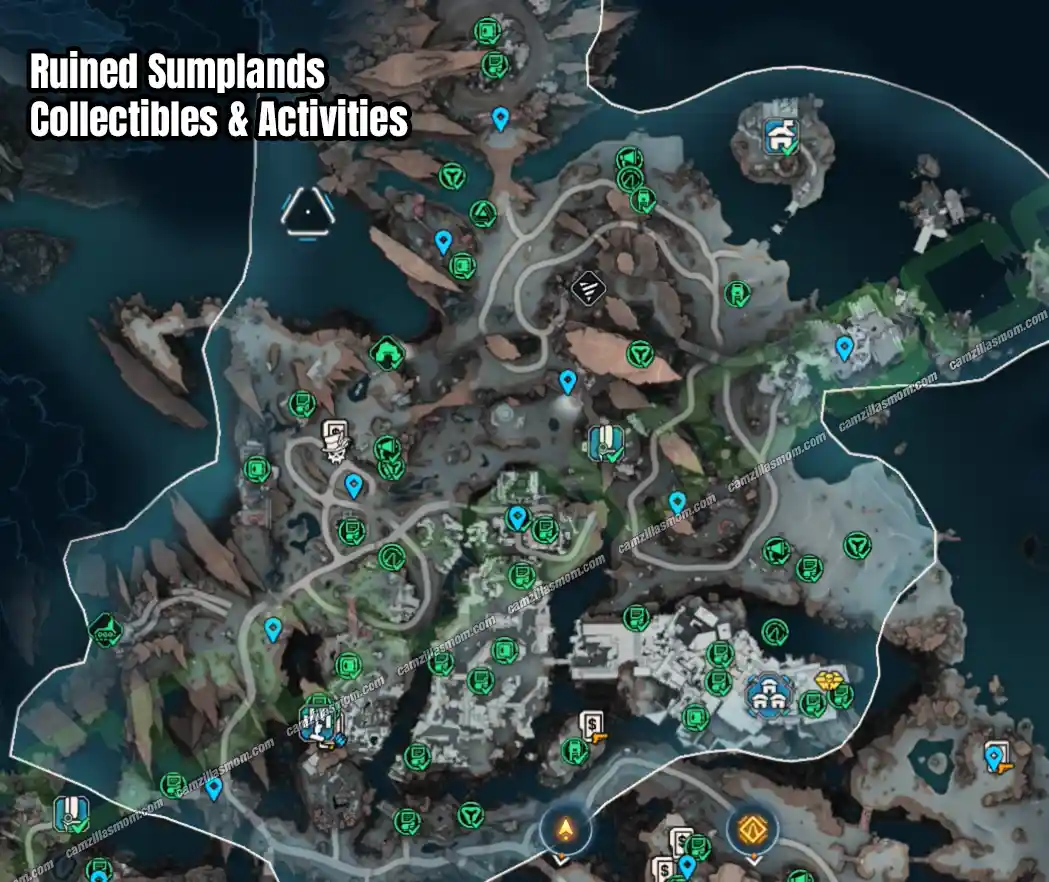
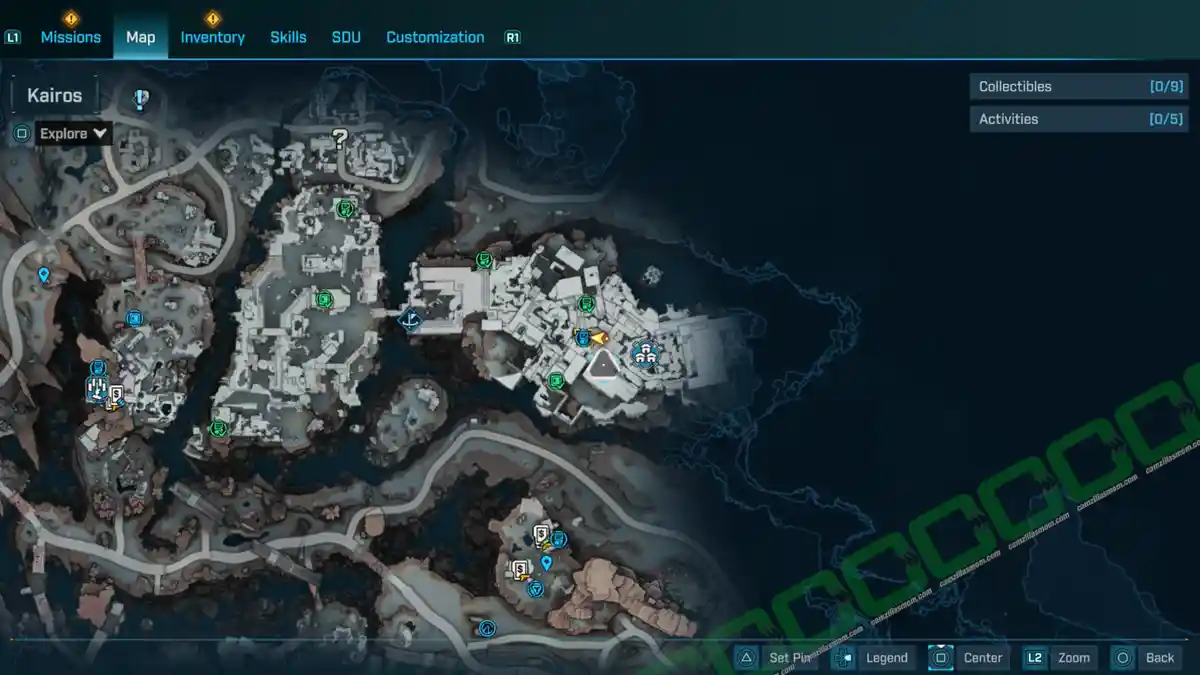
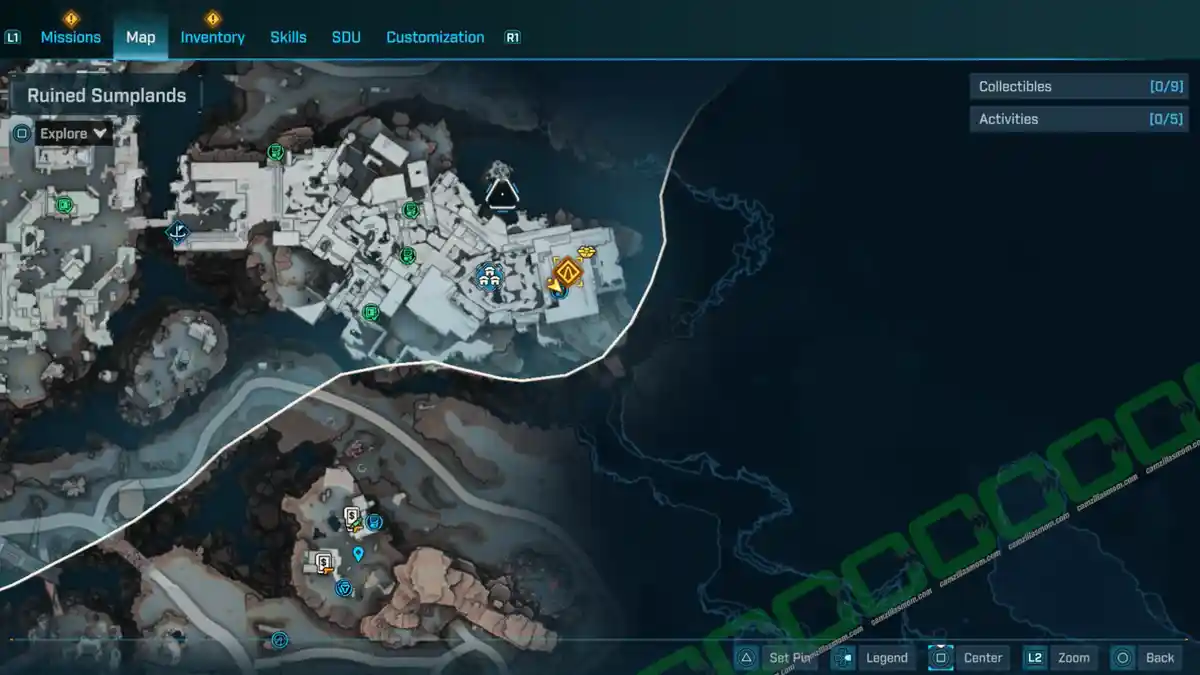
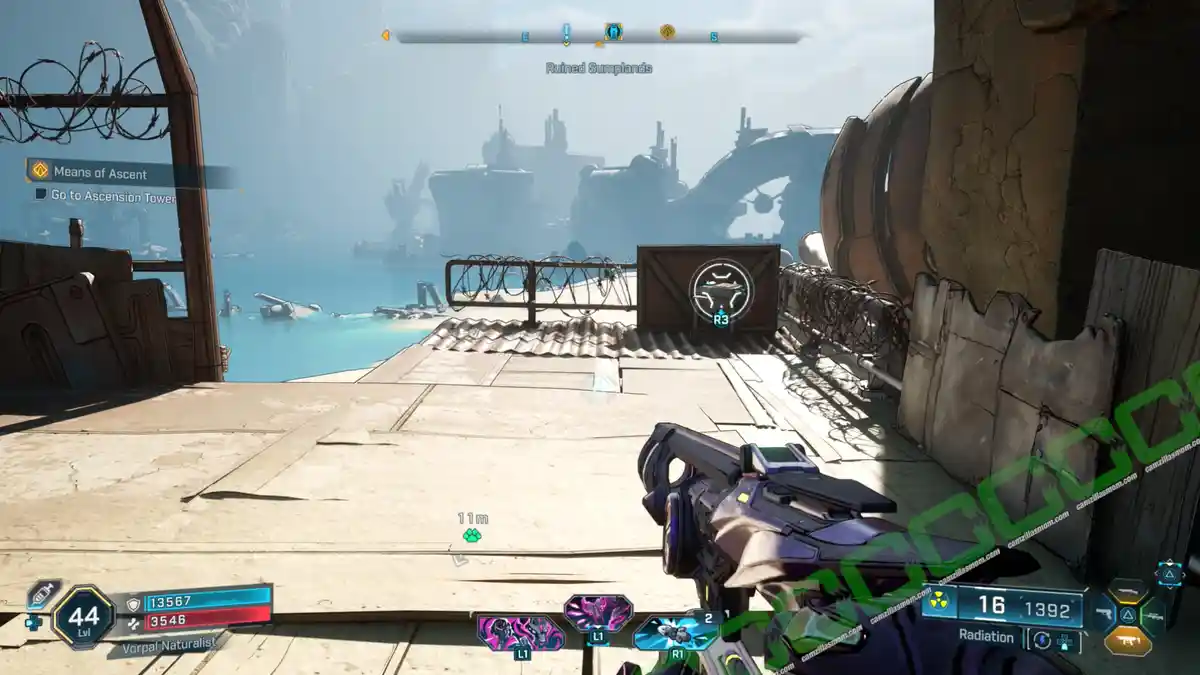
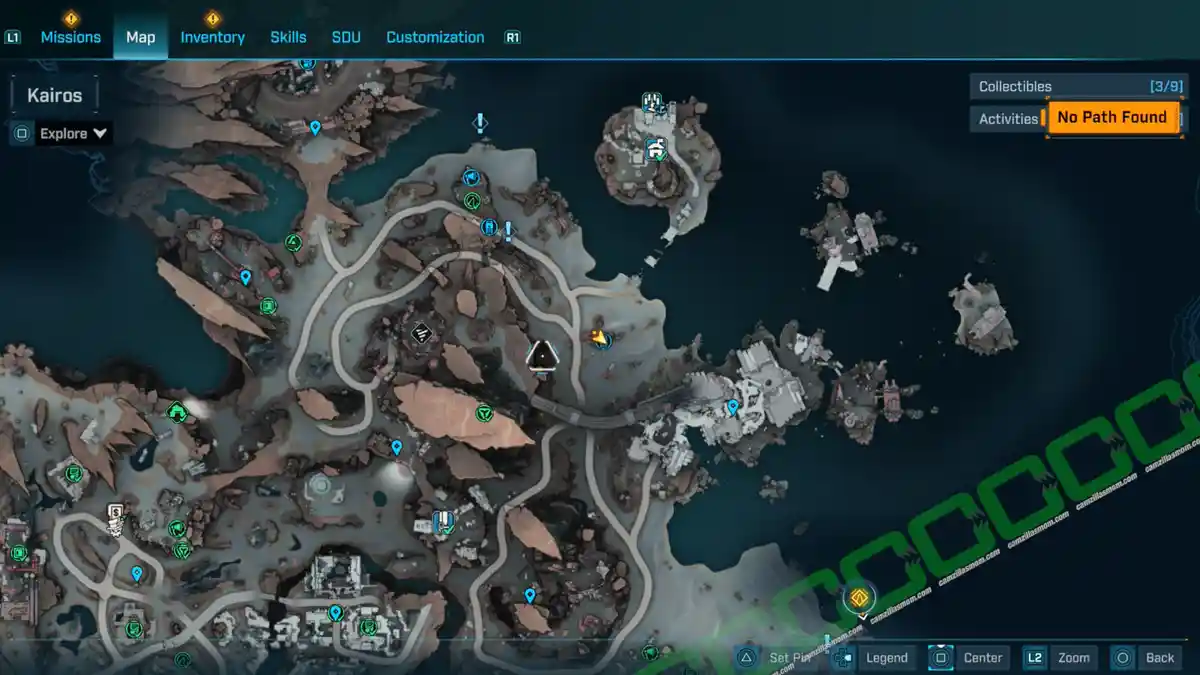
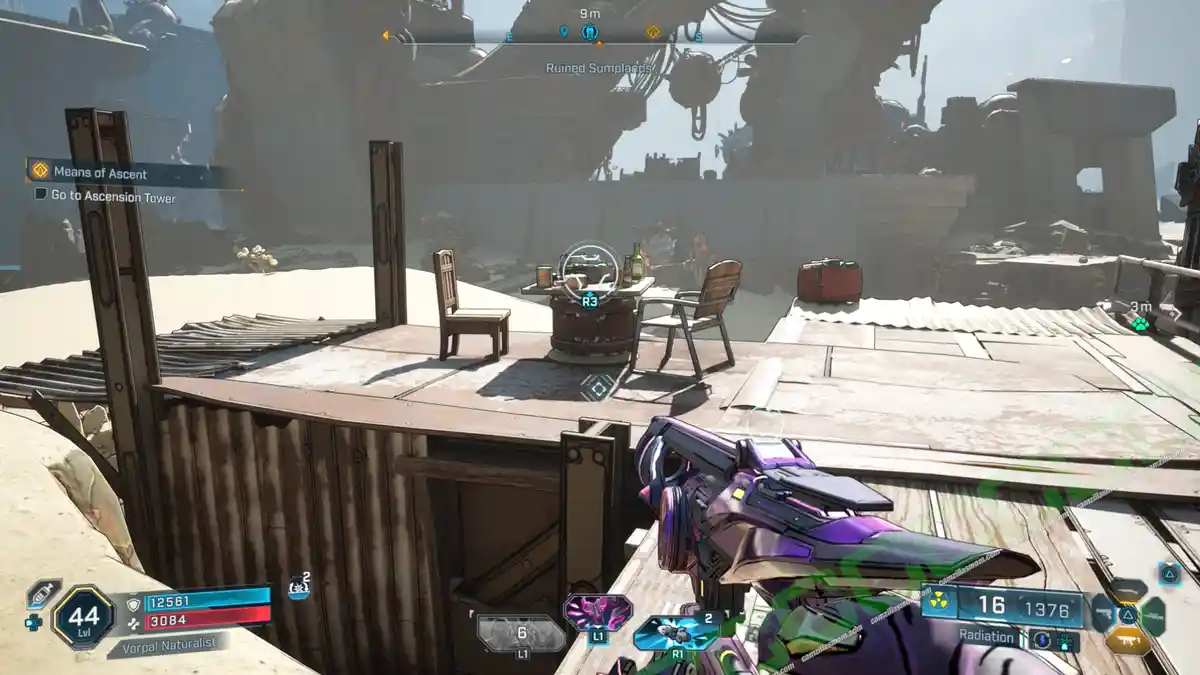
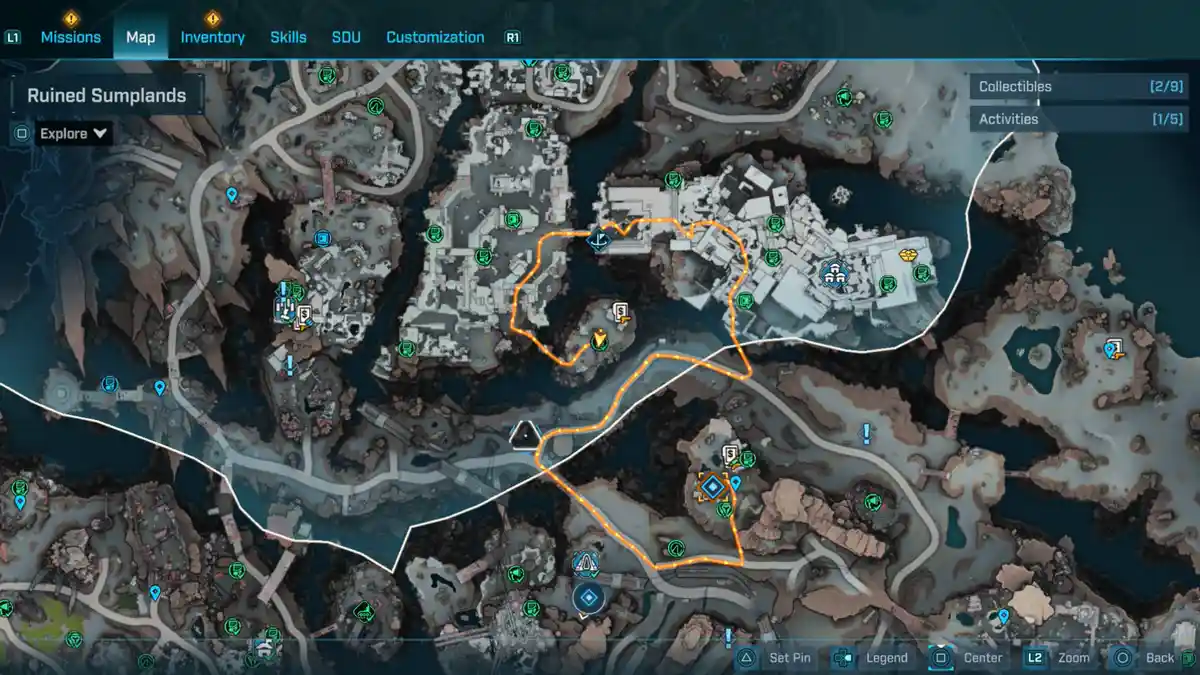
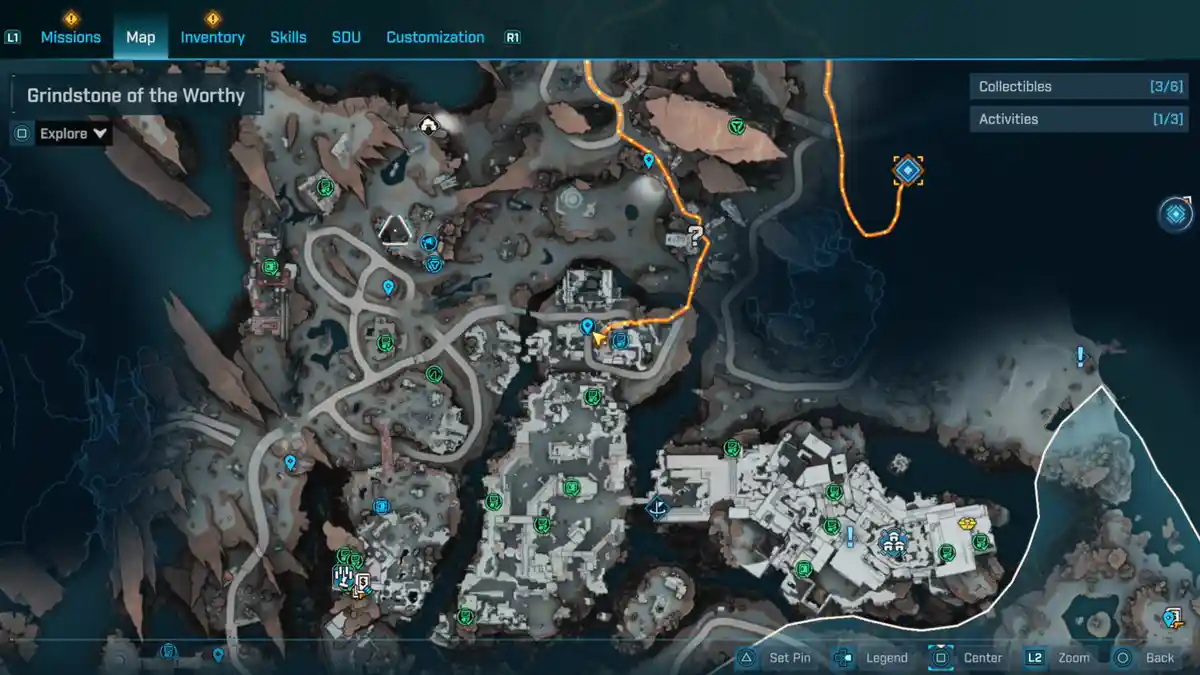
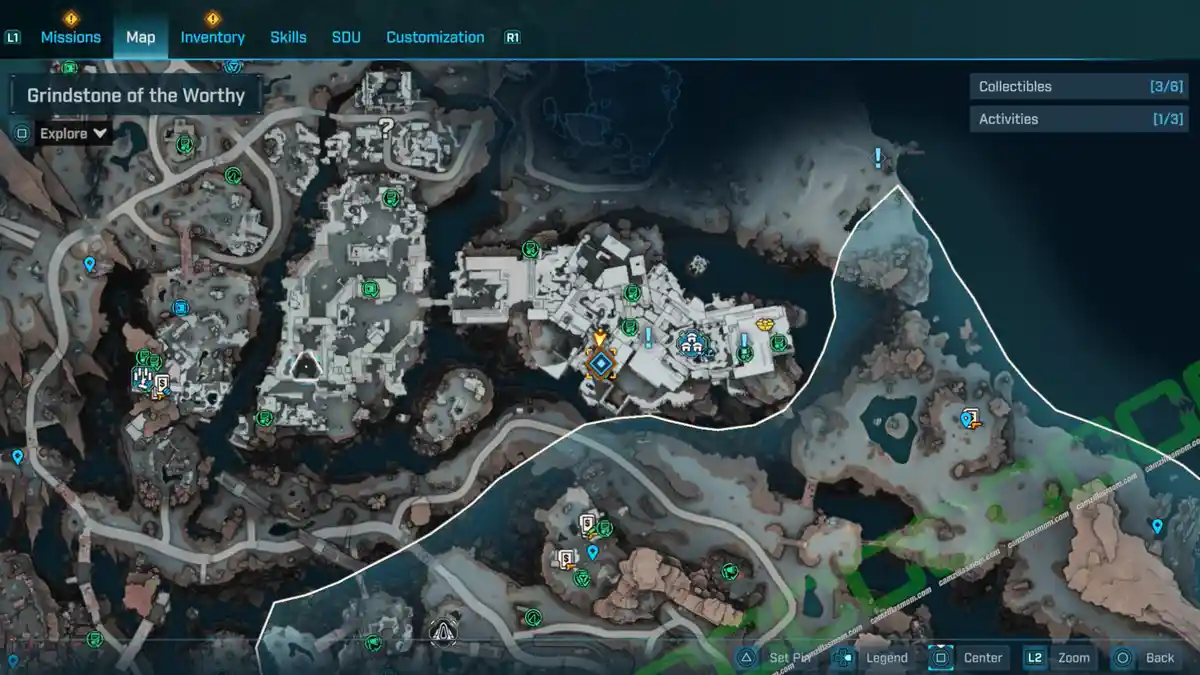
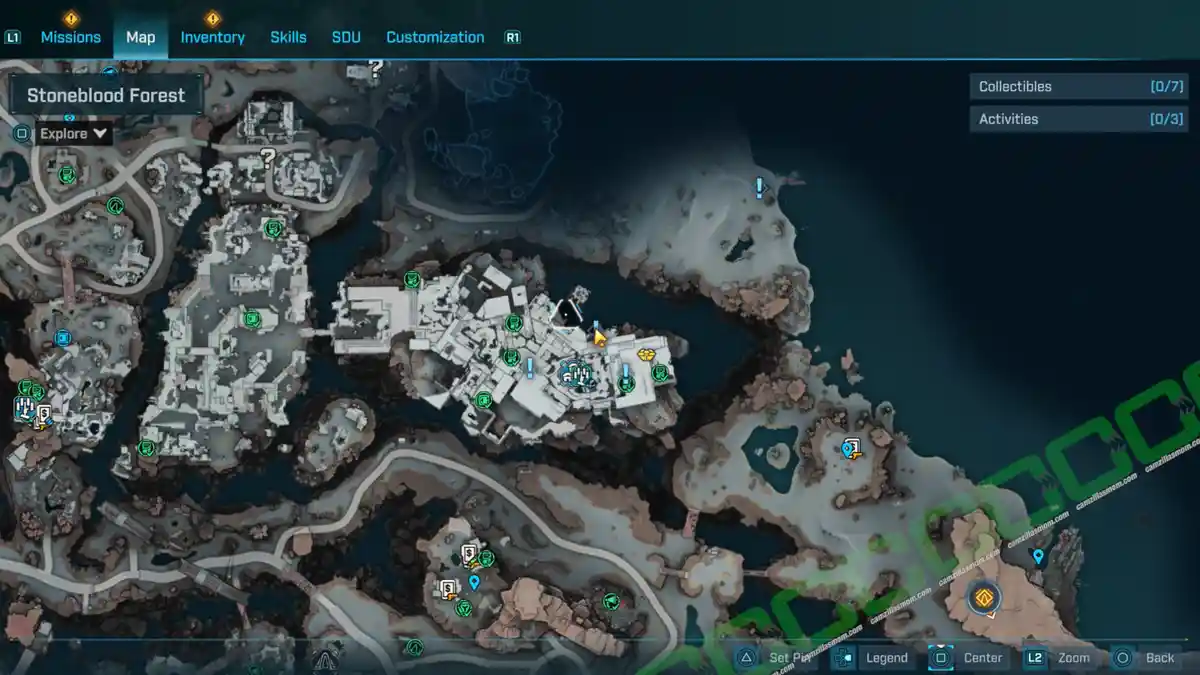
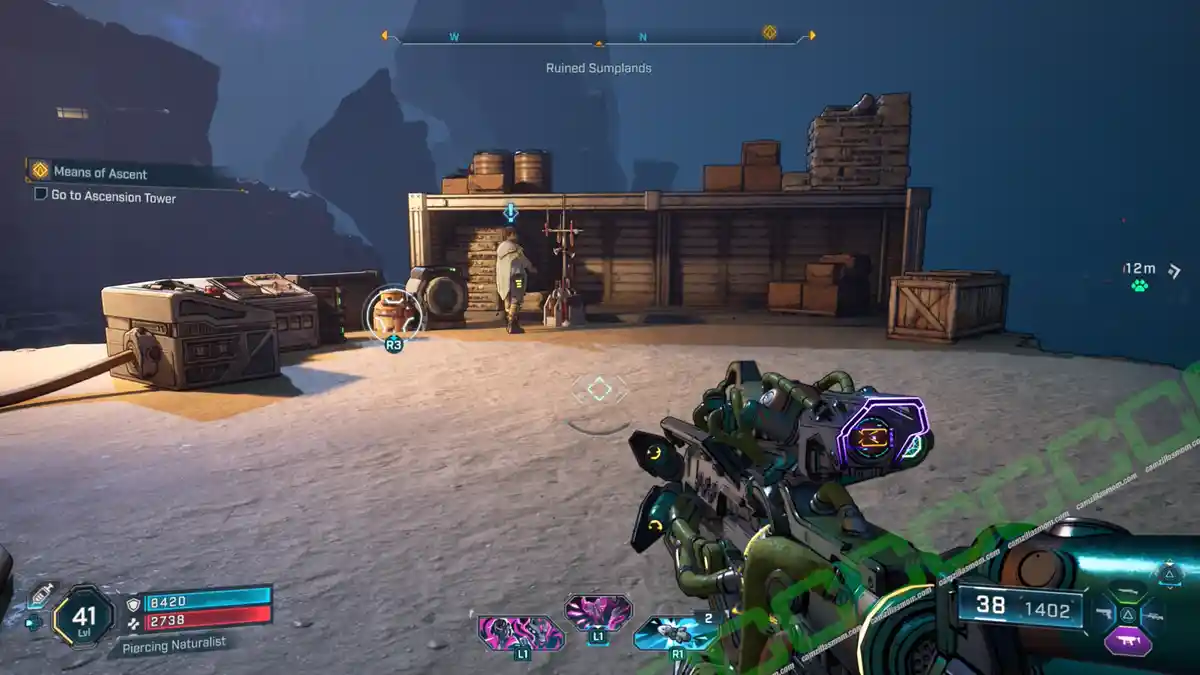
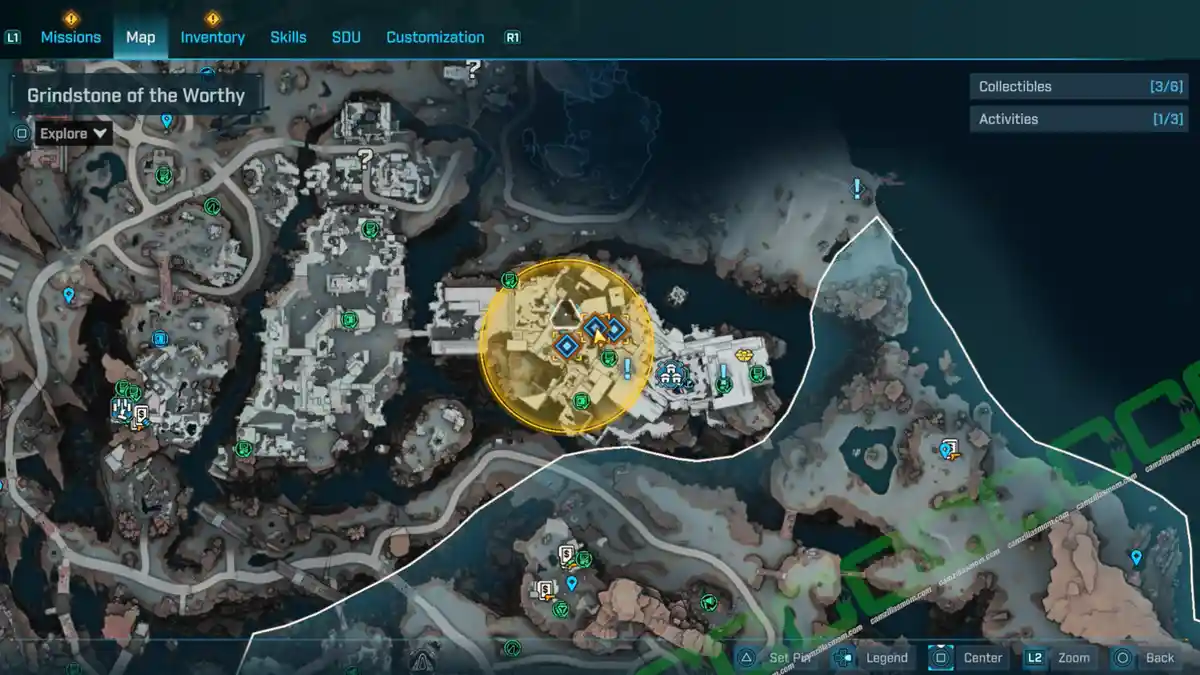
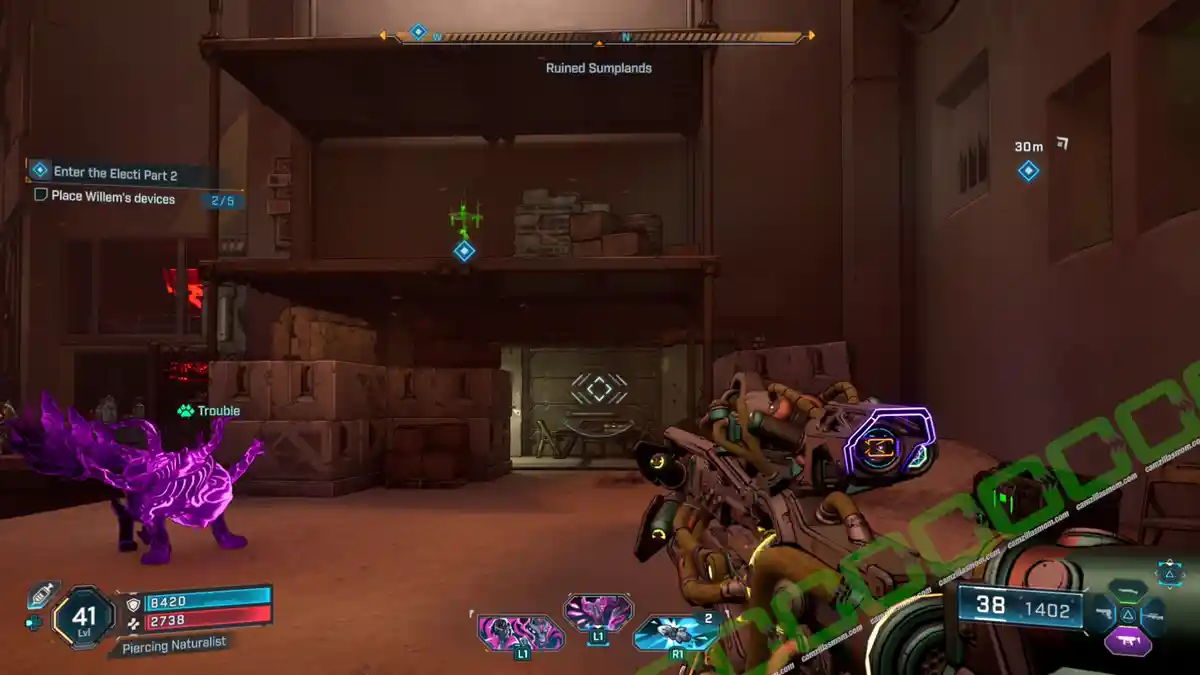
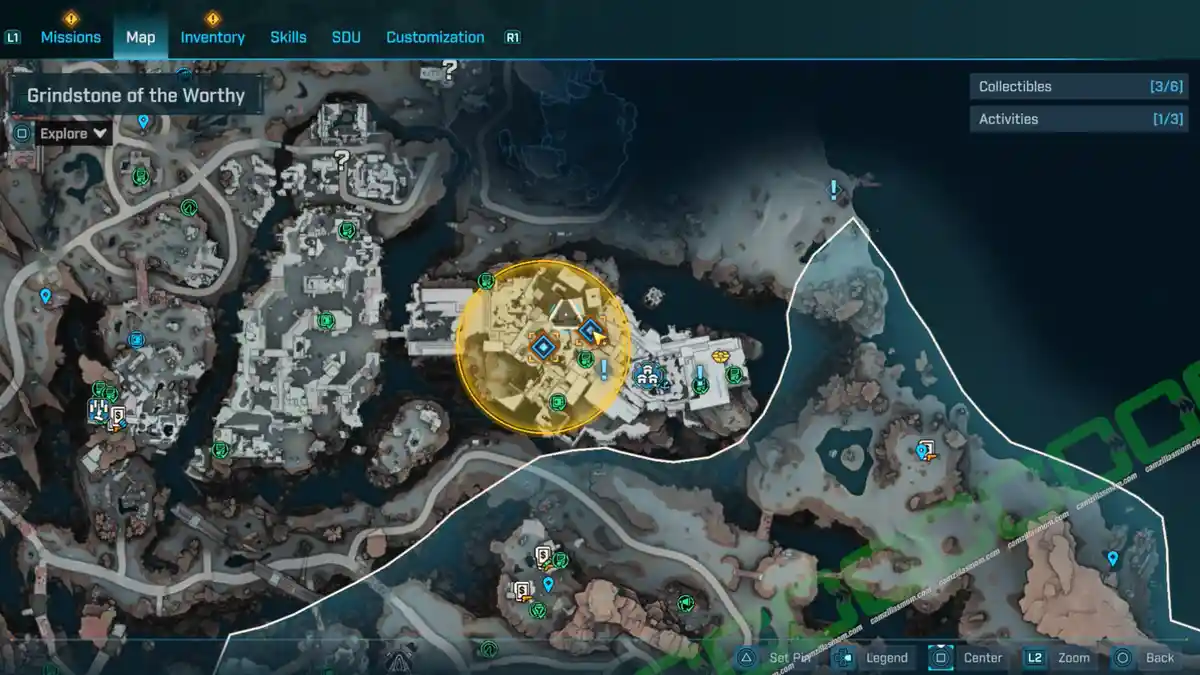
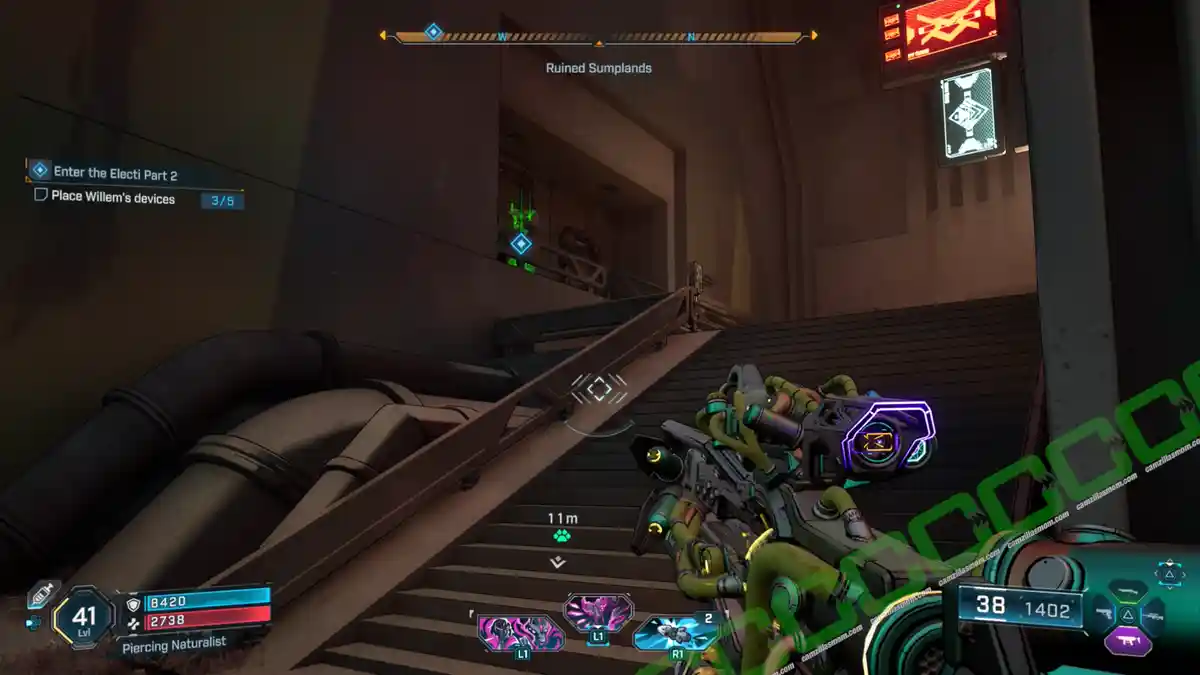
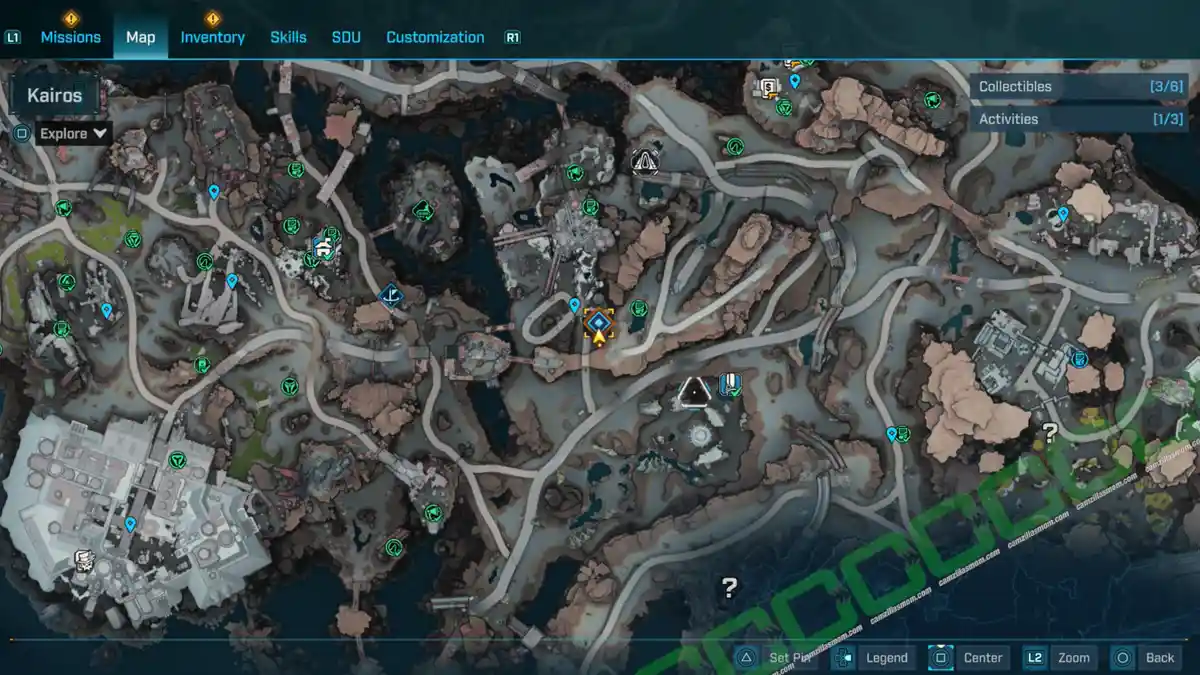
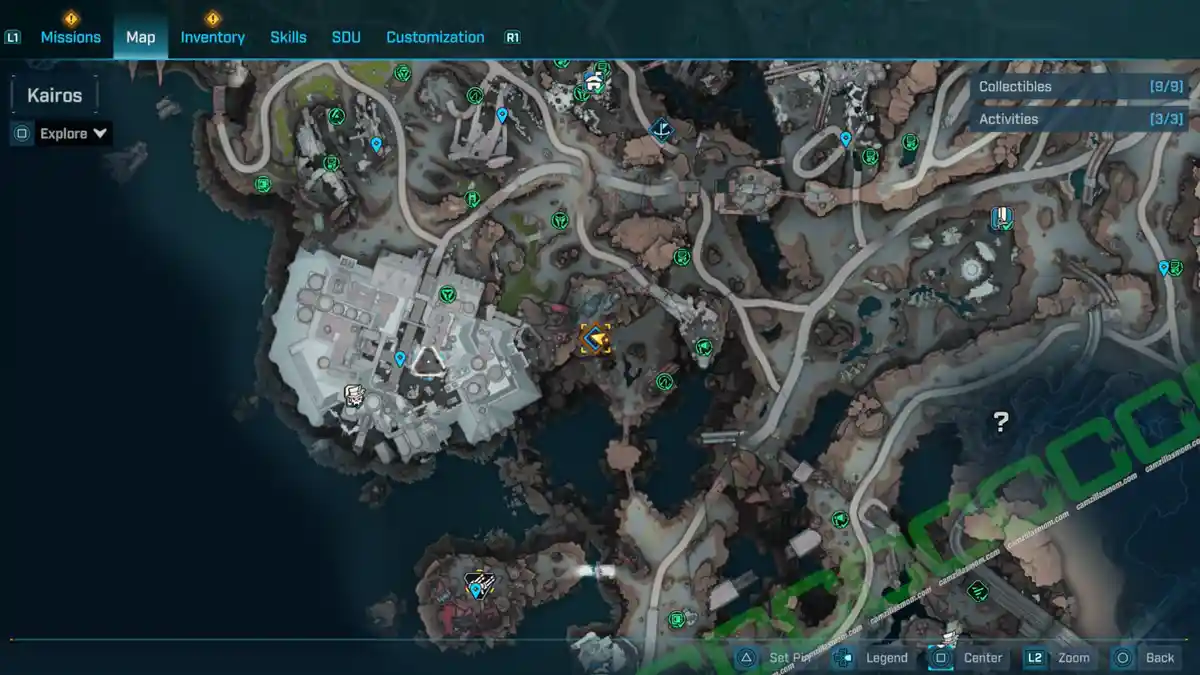
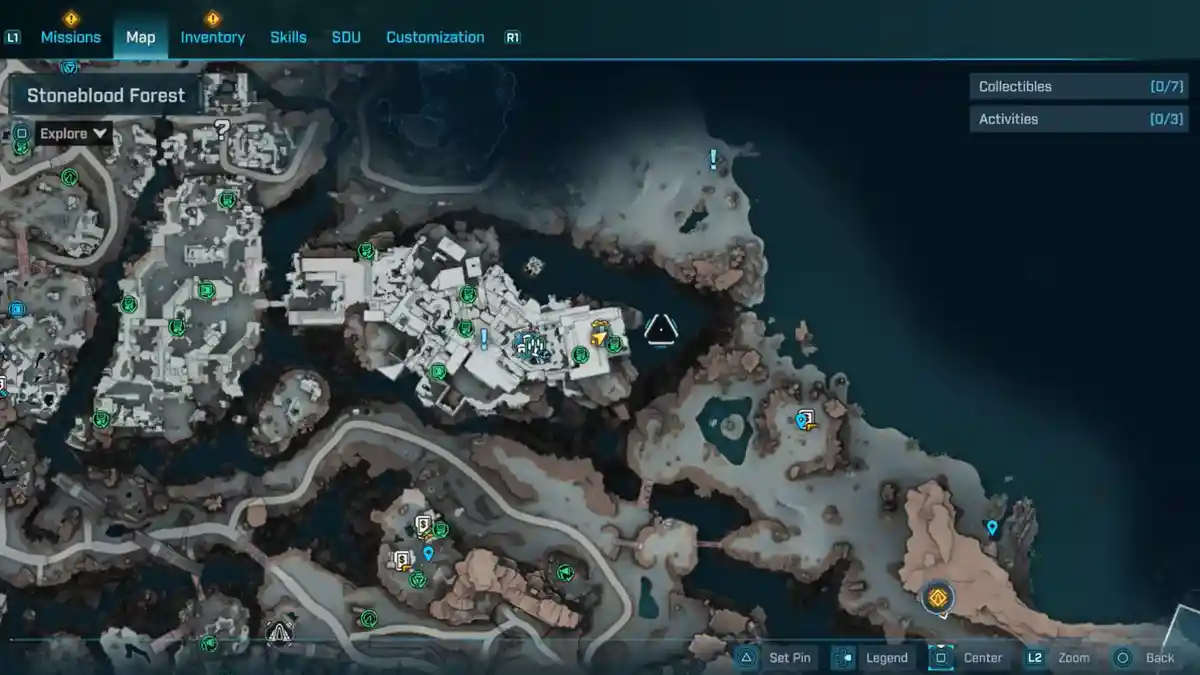
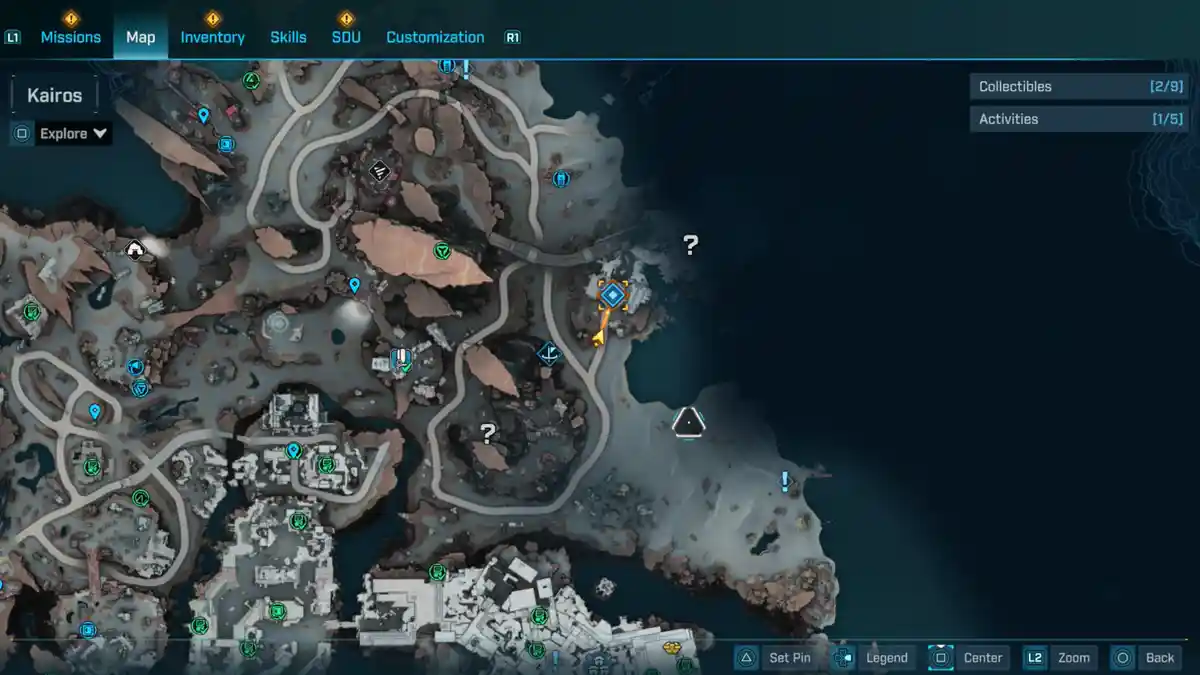
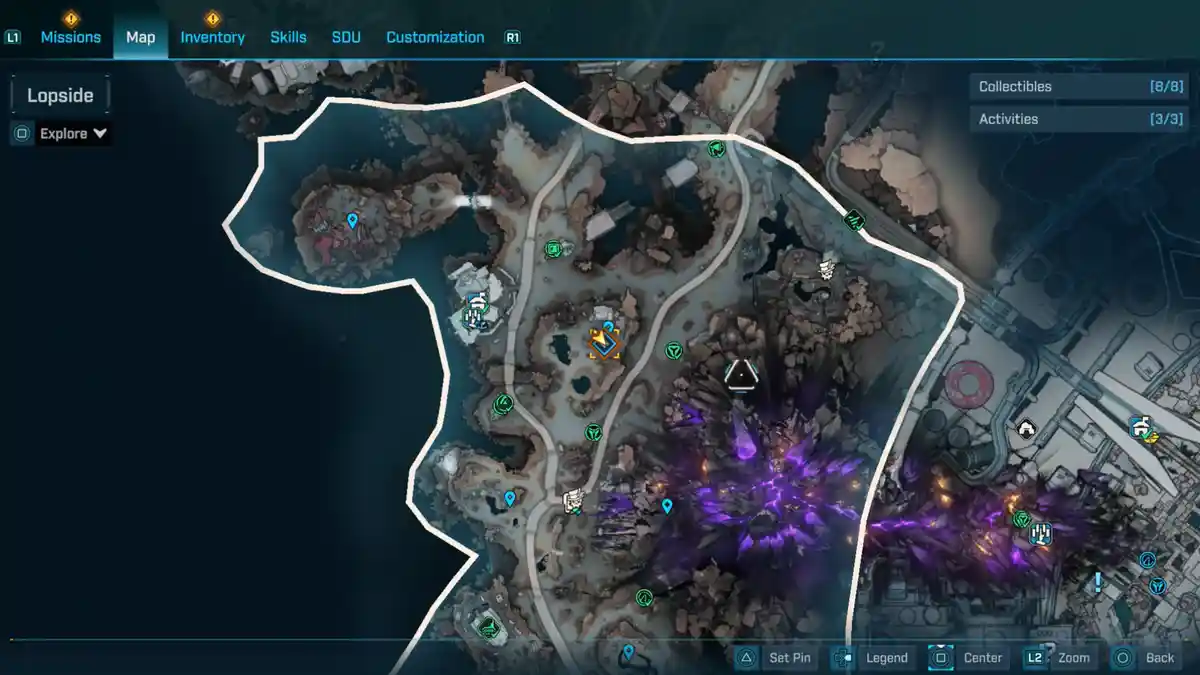
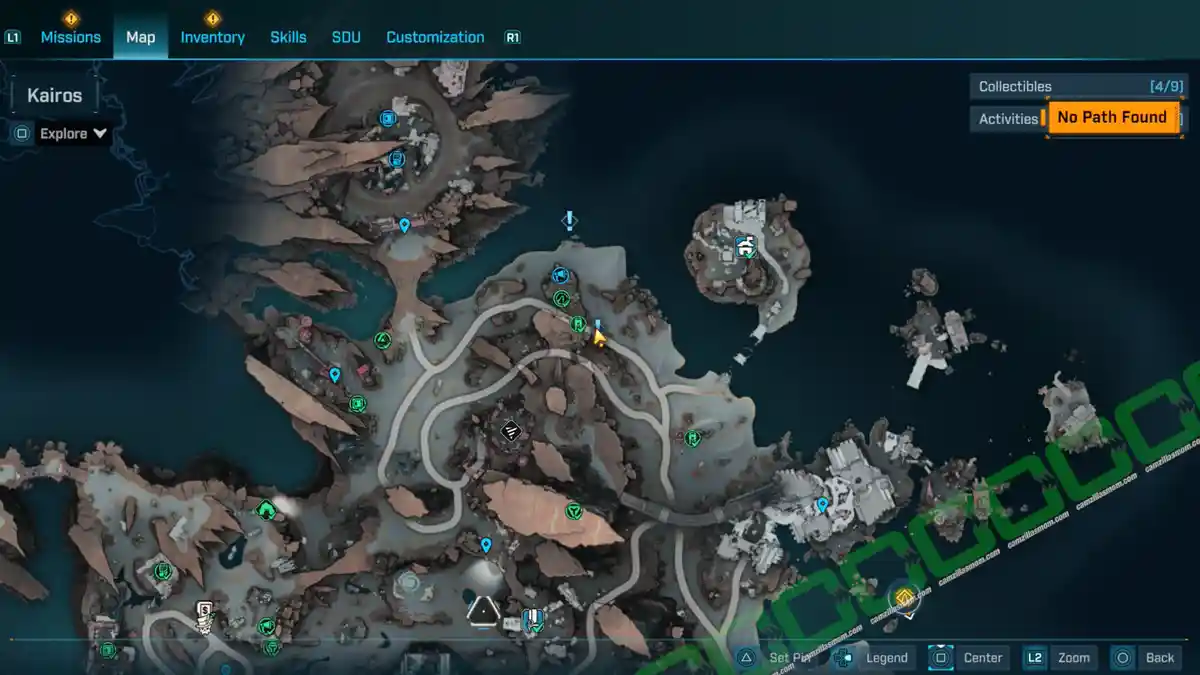
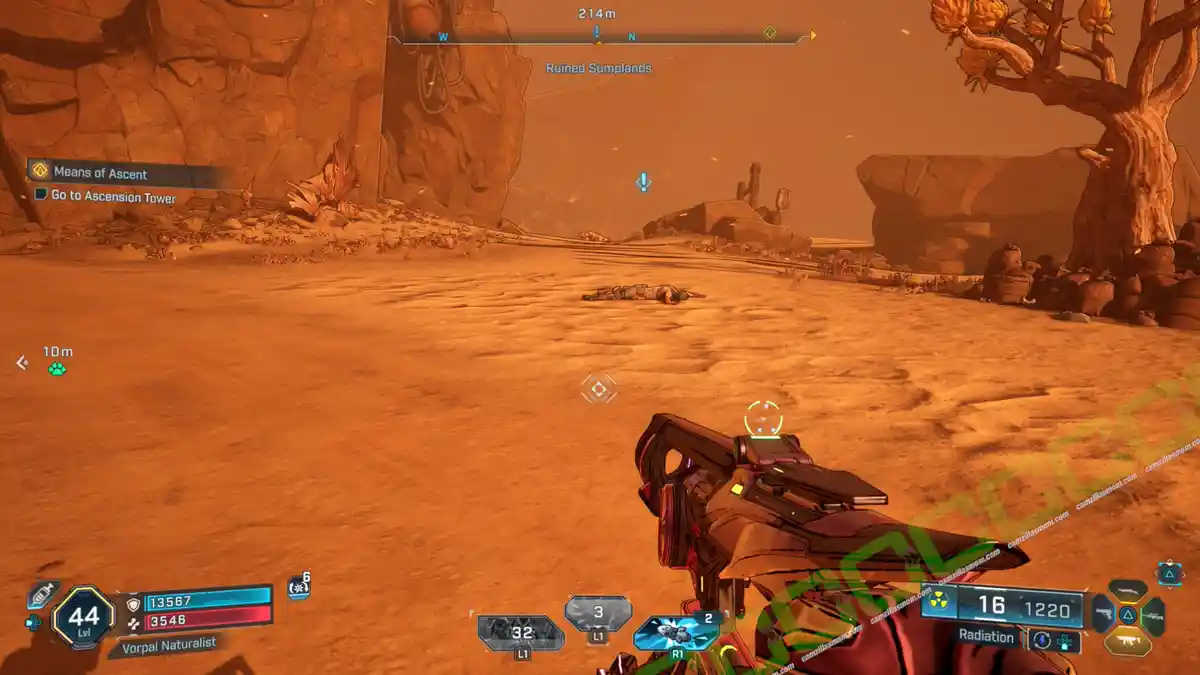
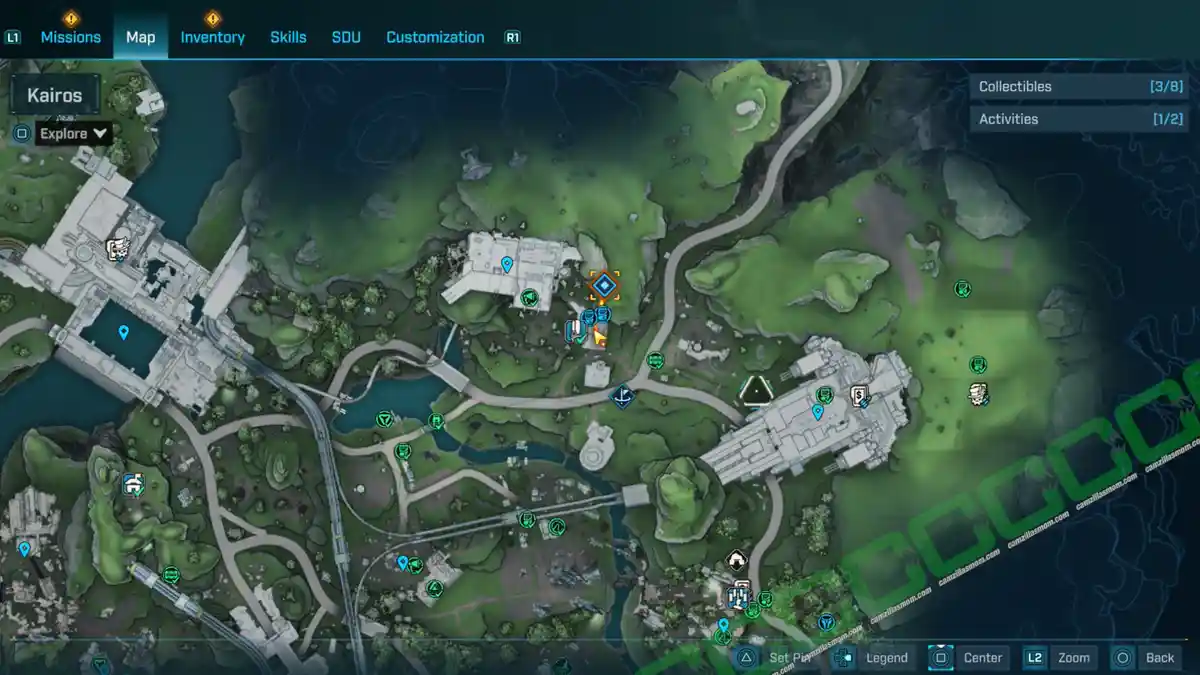
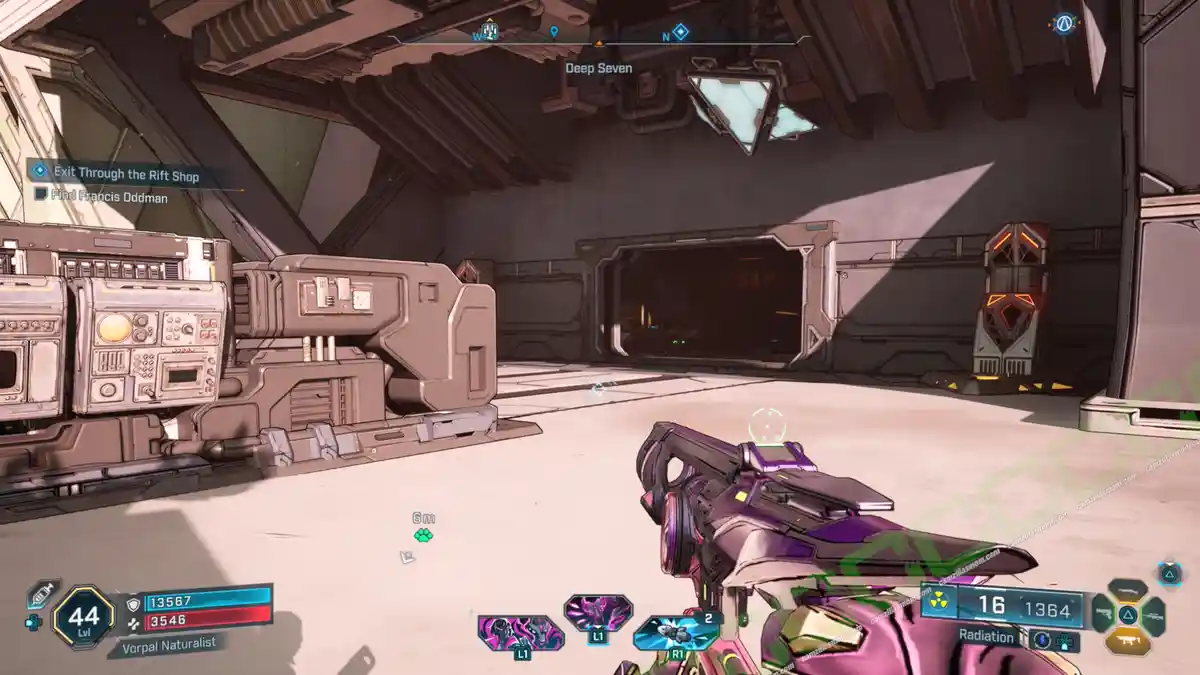
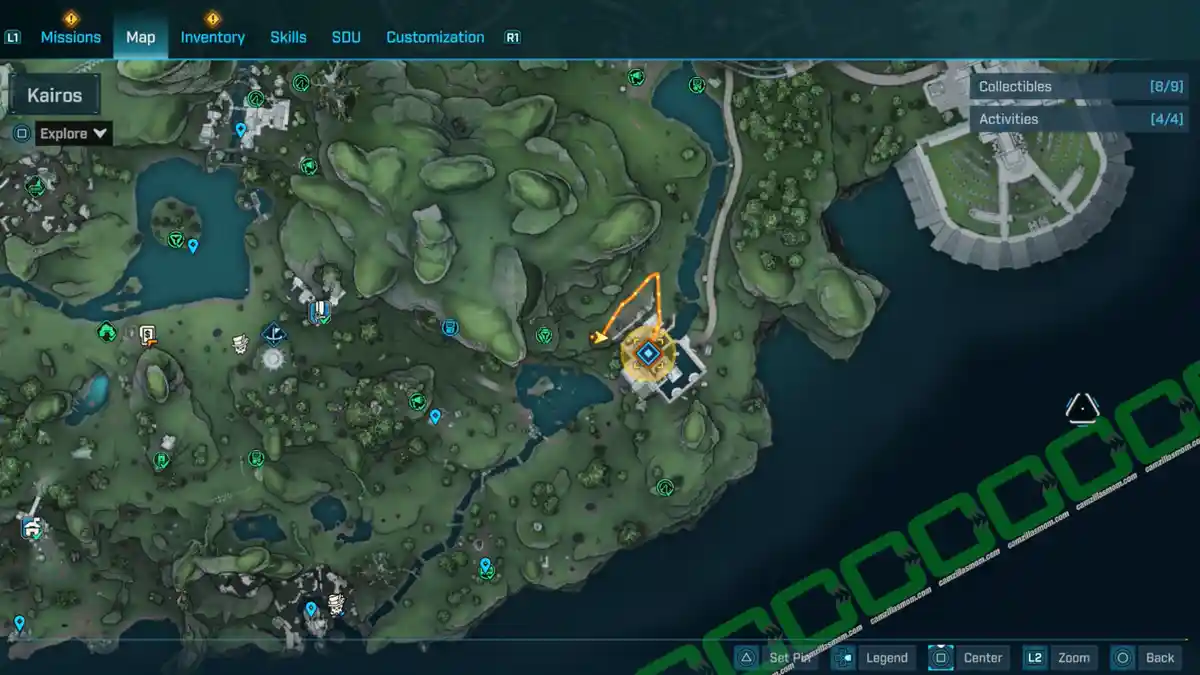
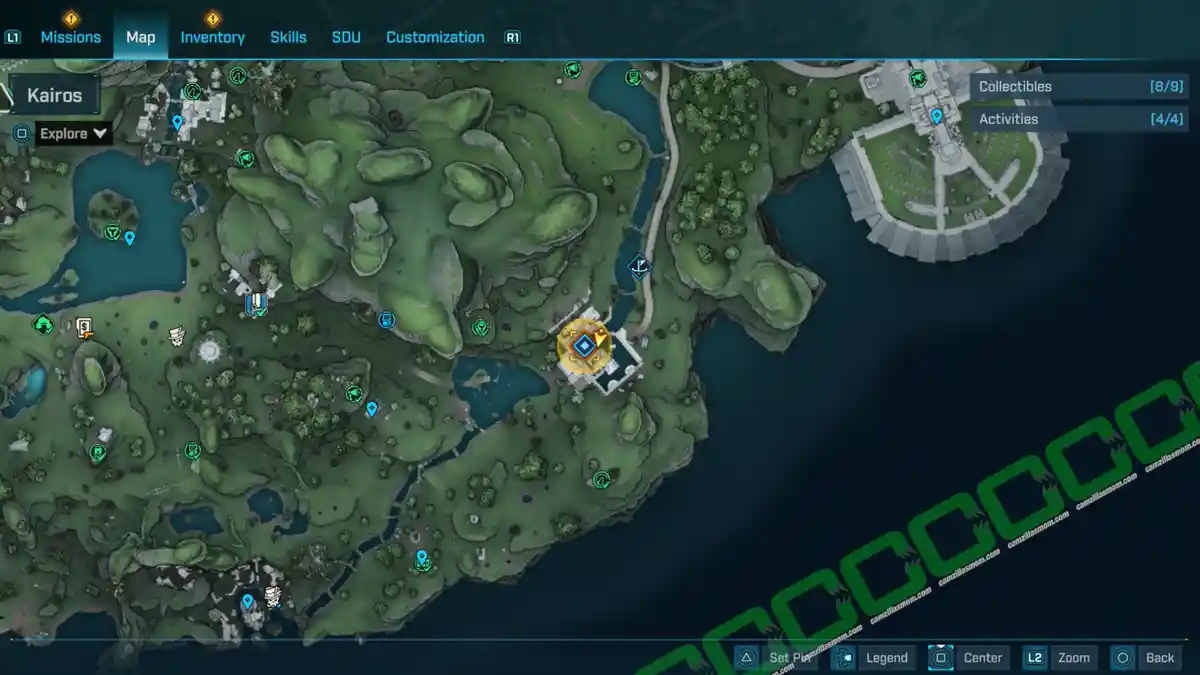
Dive into the Ruined Sumplands of Borderlands 4 with this comprehensive guide! Whether you’re hunting for ECHO Logs, Vault Symbols, or tackling side missions, I’ve got every collectible and activity mapped out for you.
MORE CARCADIA BURN GUIDES
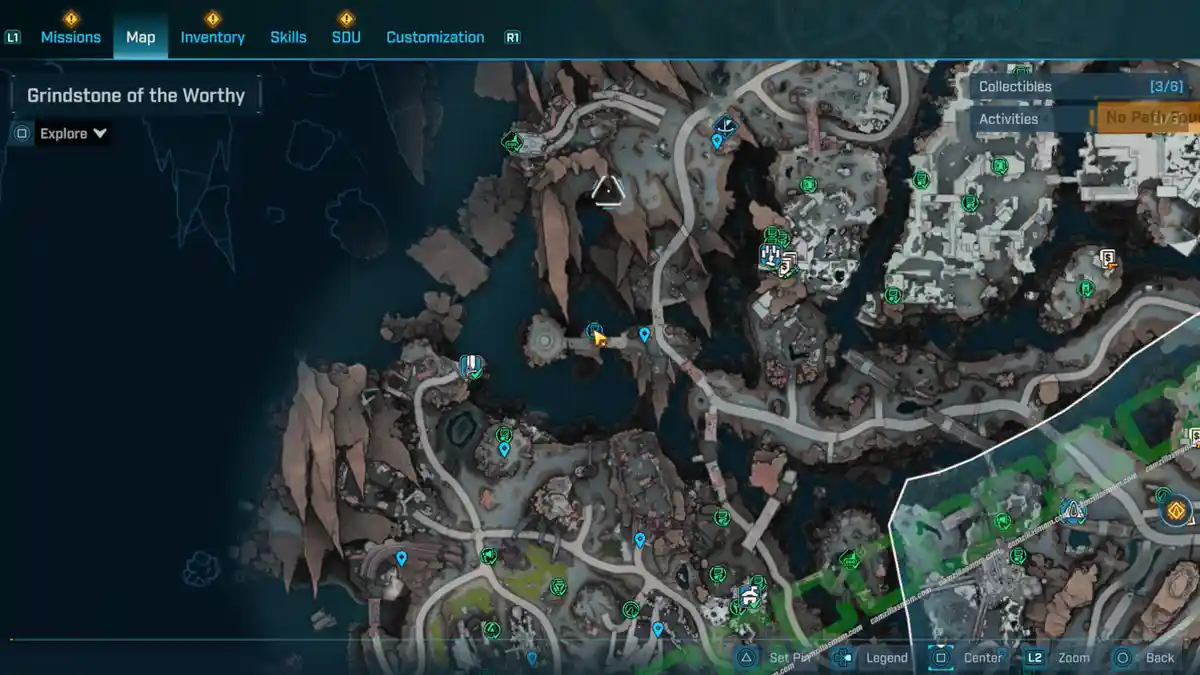
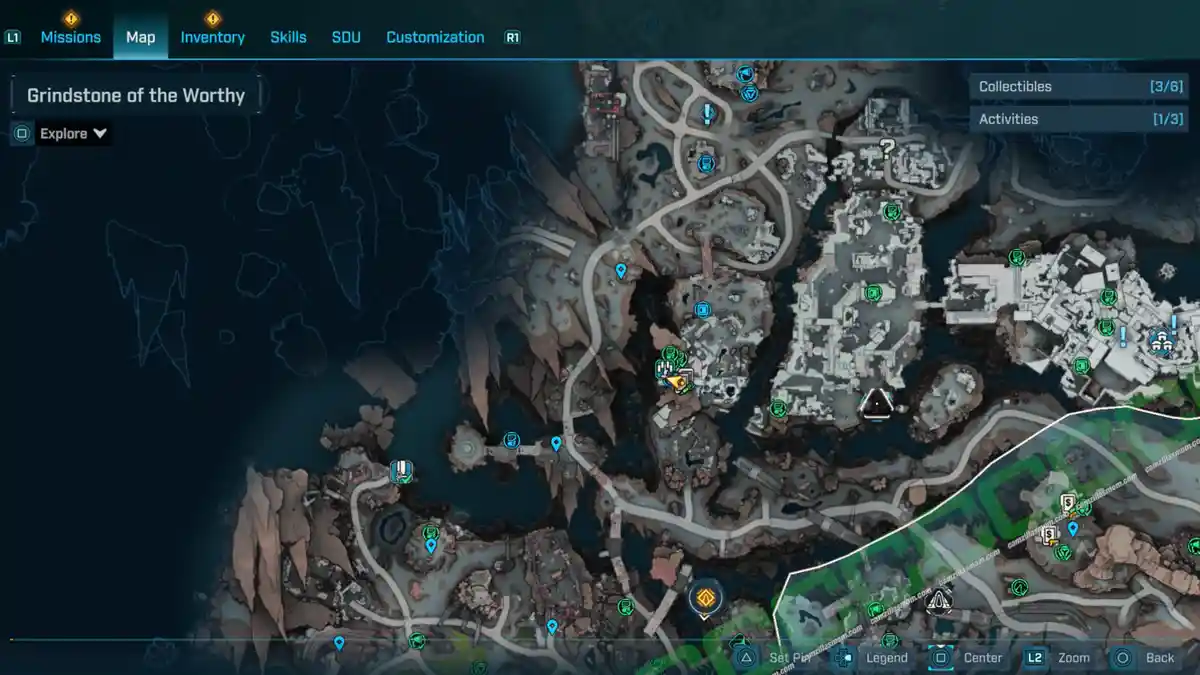
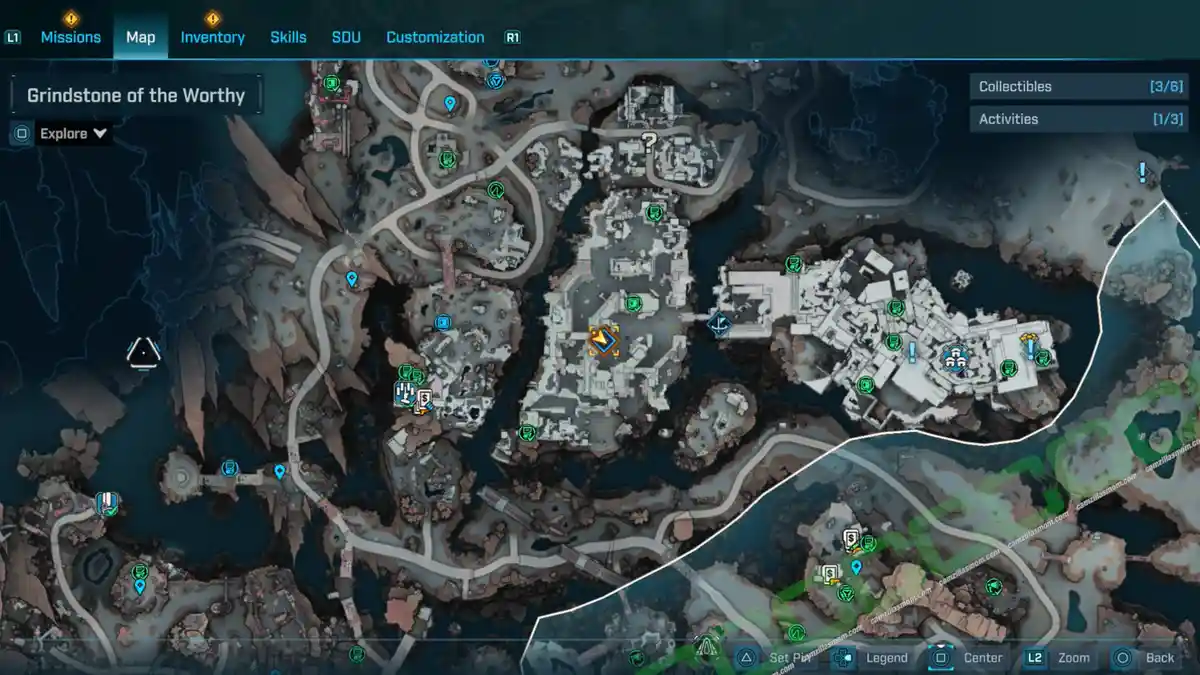
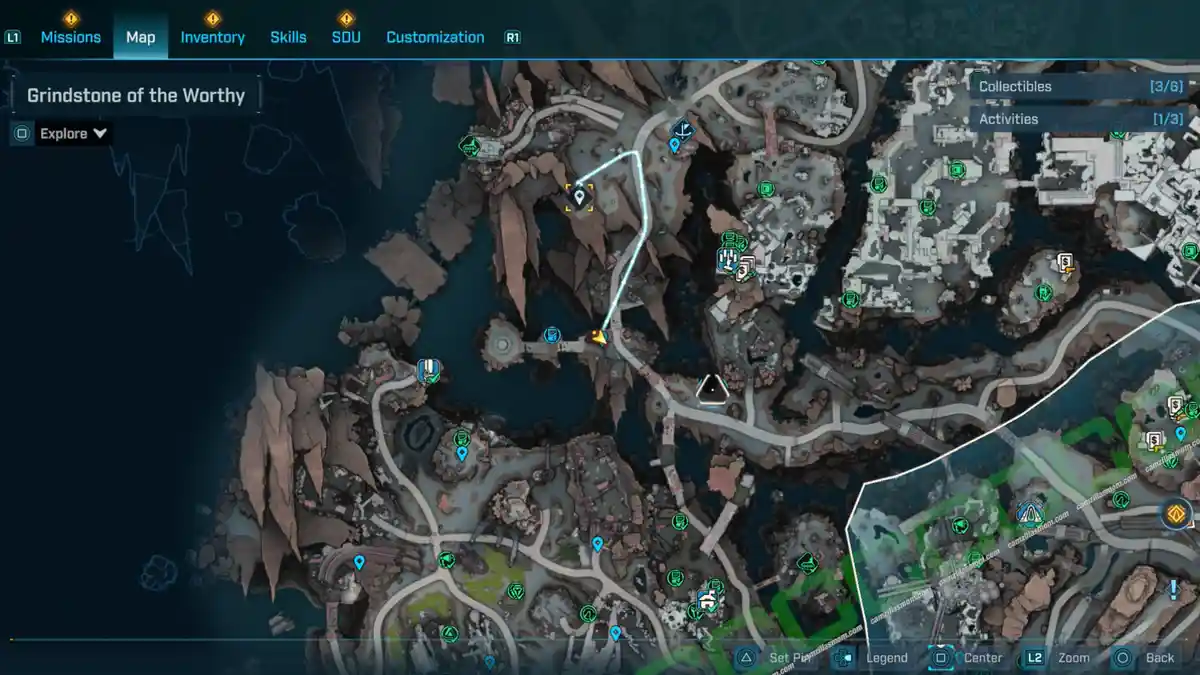
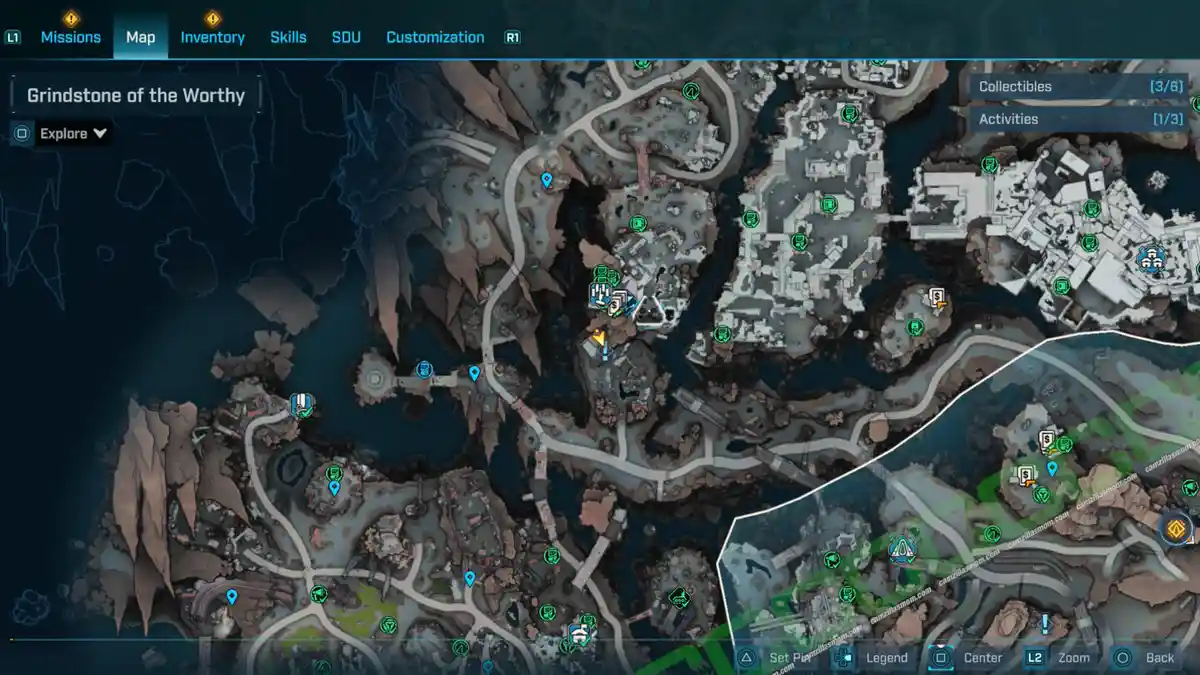
Grindstone of the Worthy
Lopside
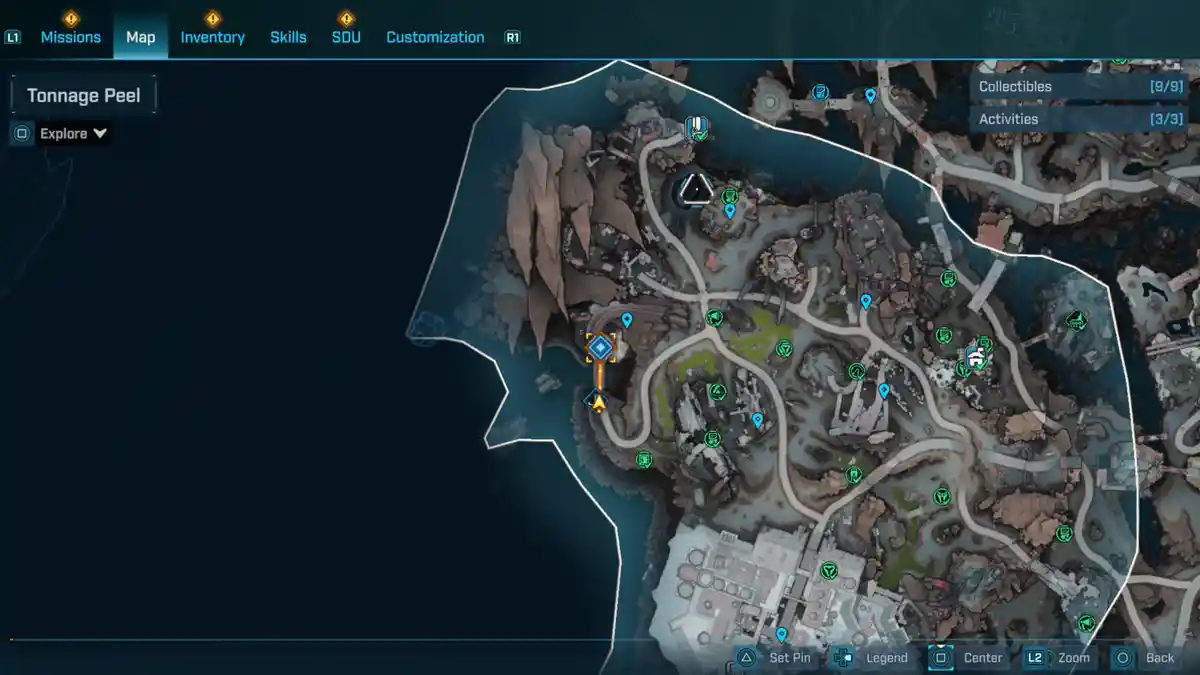
Tonnage Peel
-> More Borderlands 4 Guides at the Hub
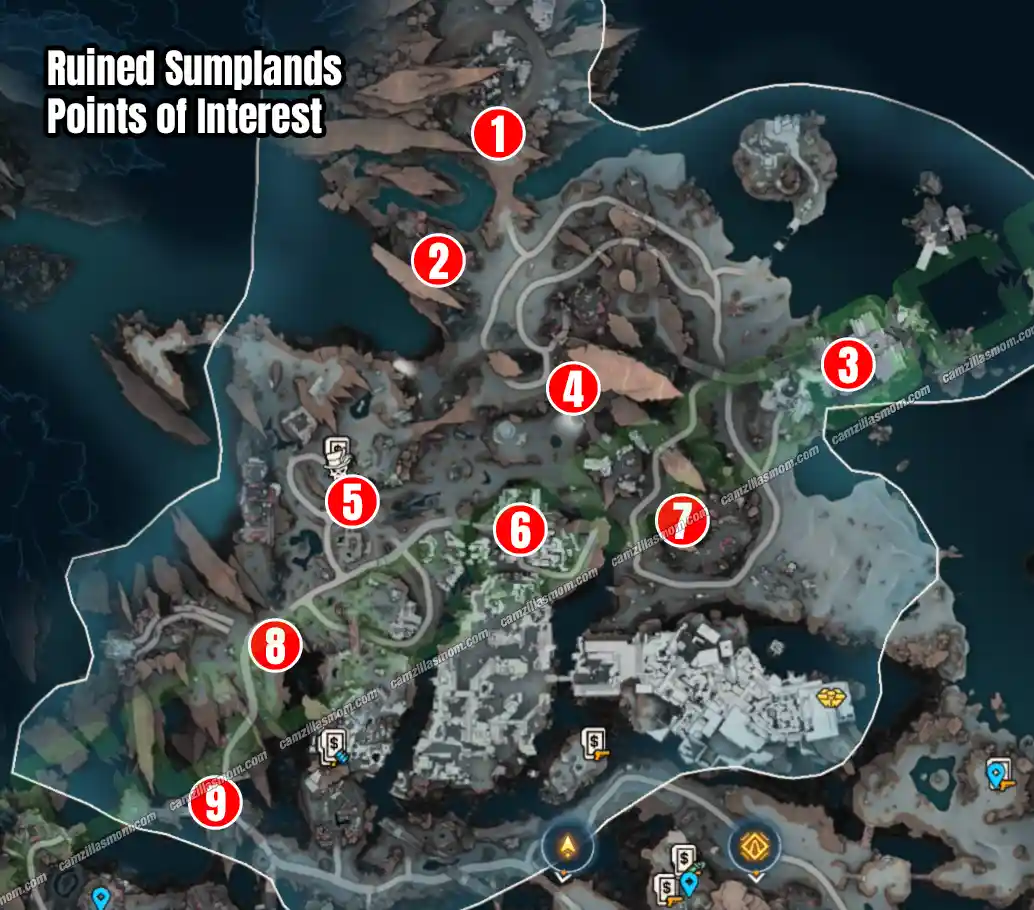
Ruined Sumplands POI’s
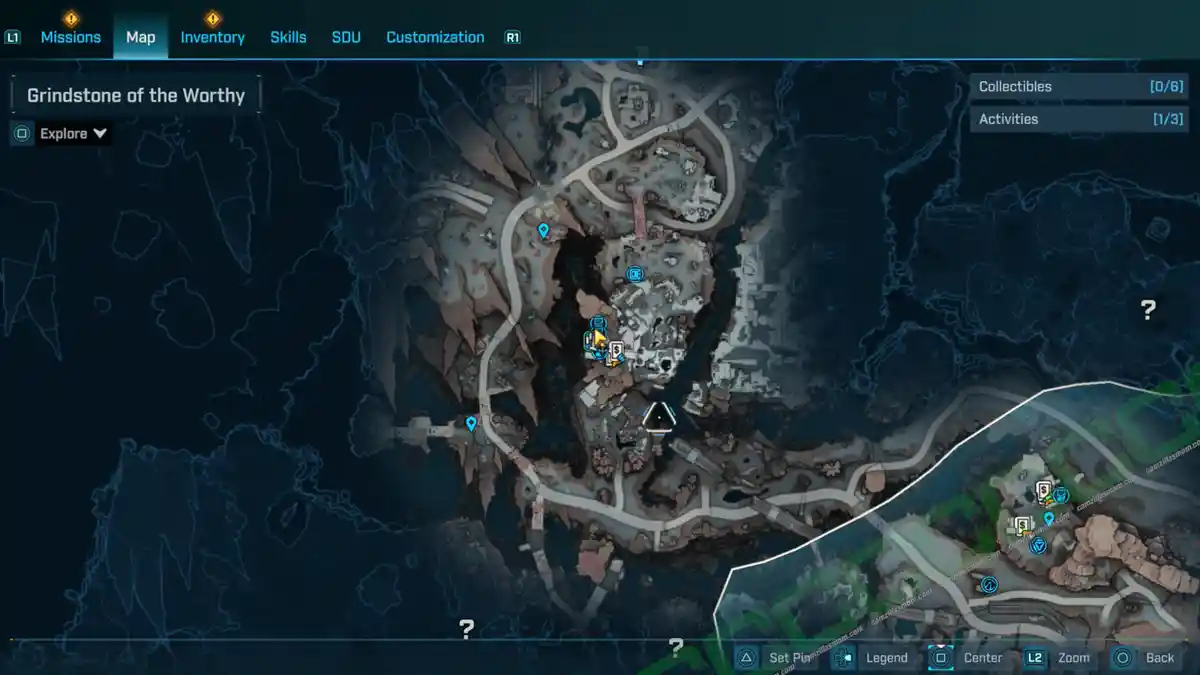
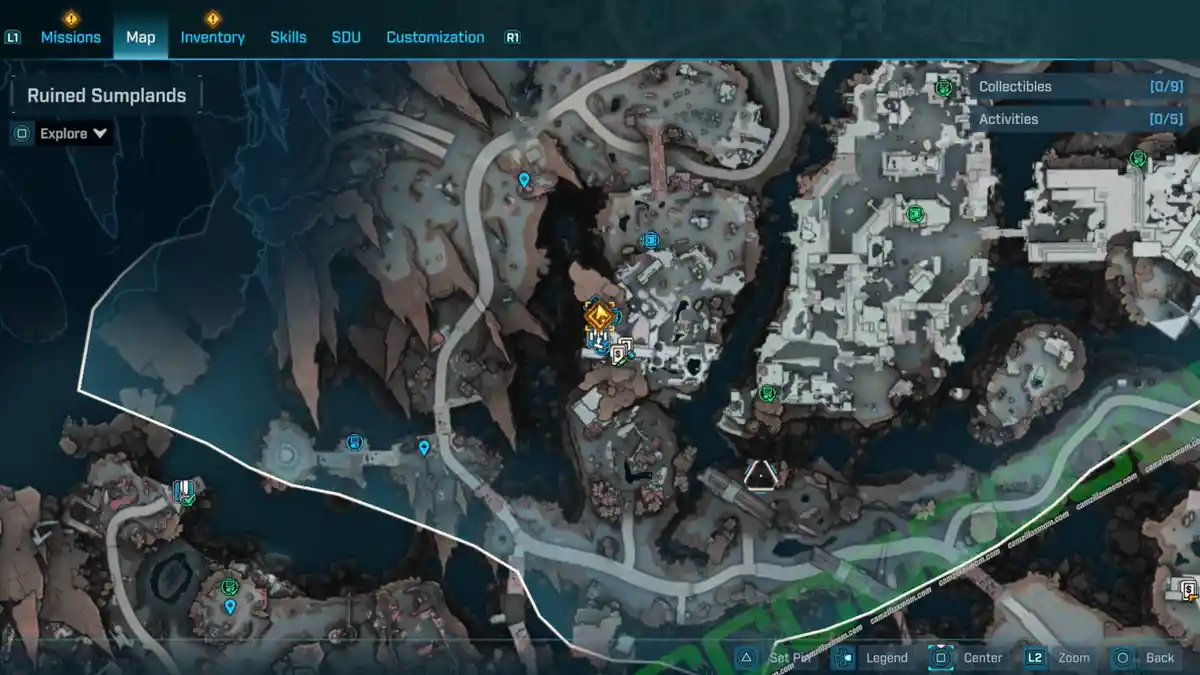
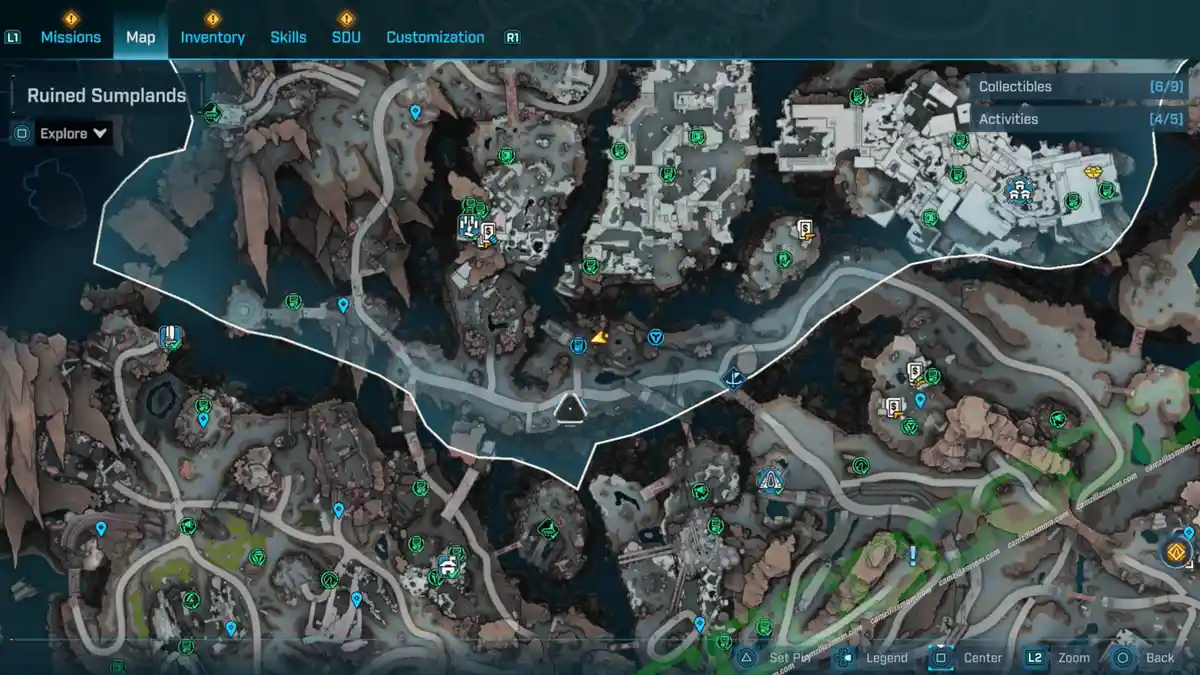
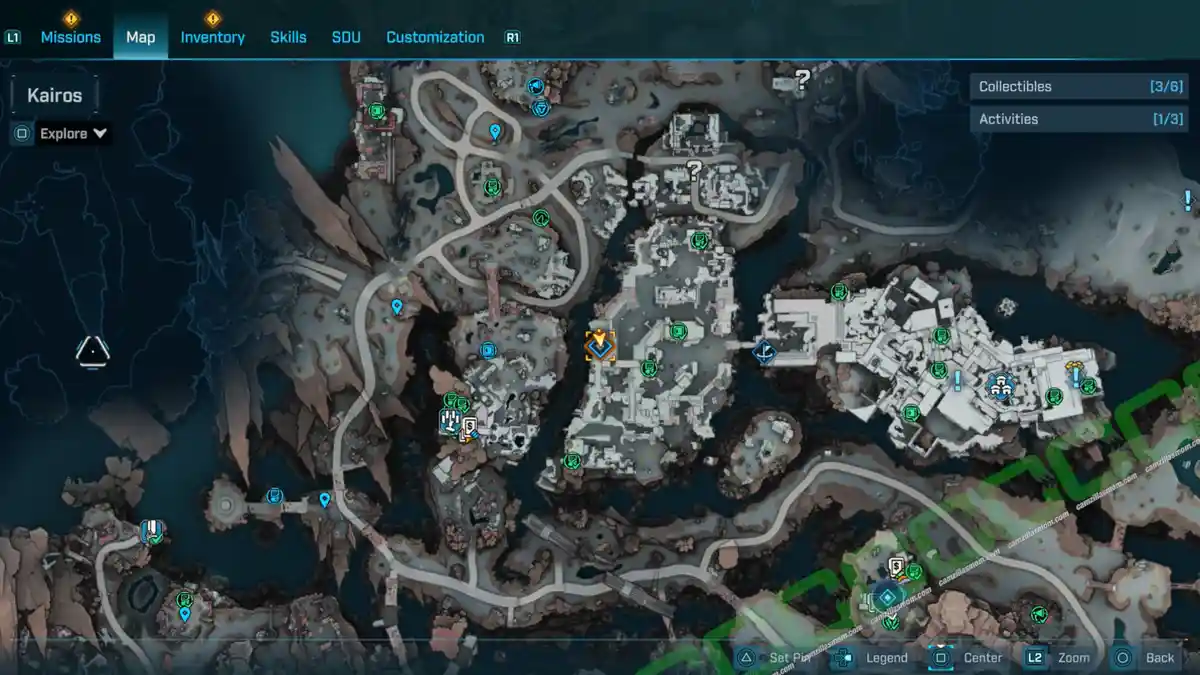
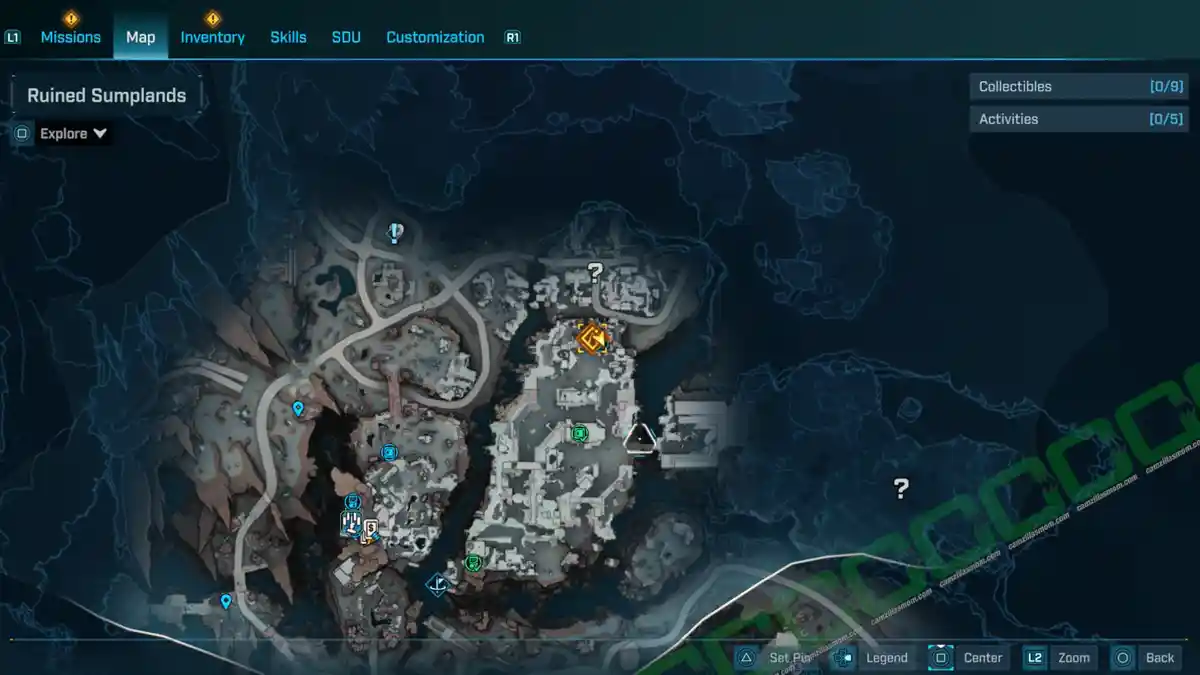
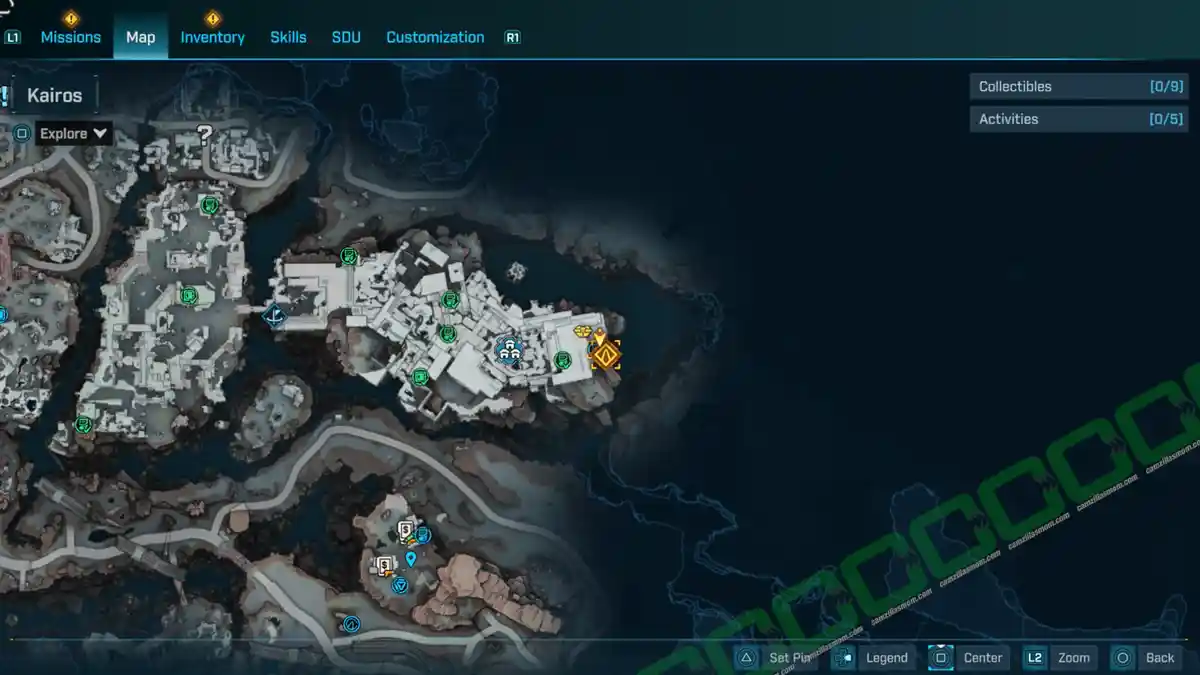
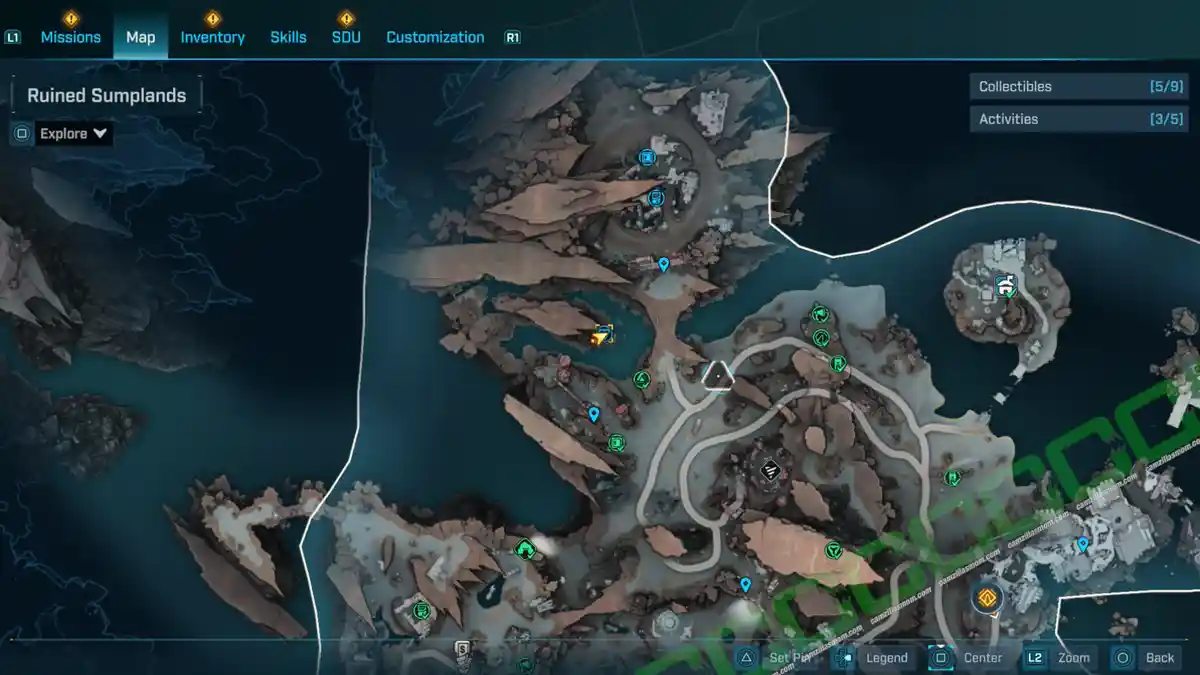
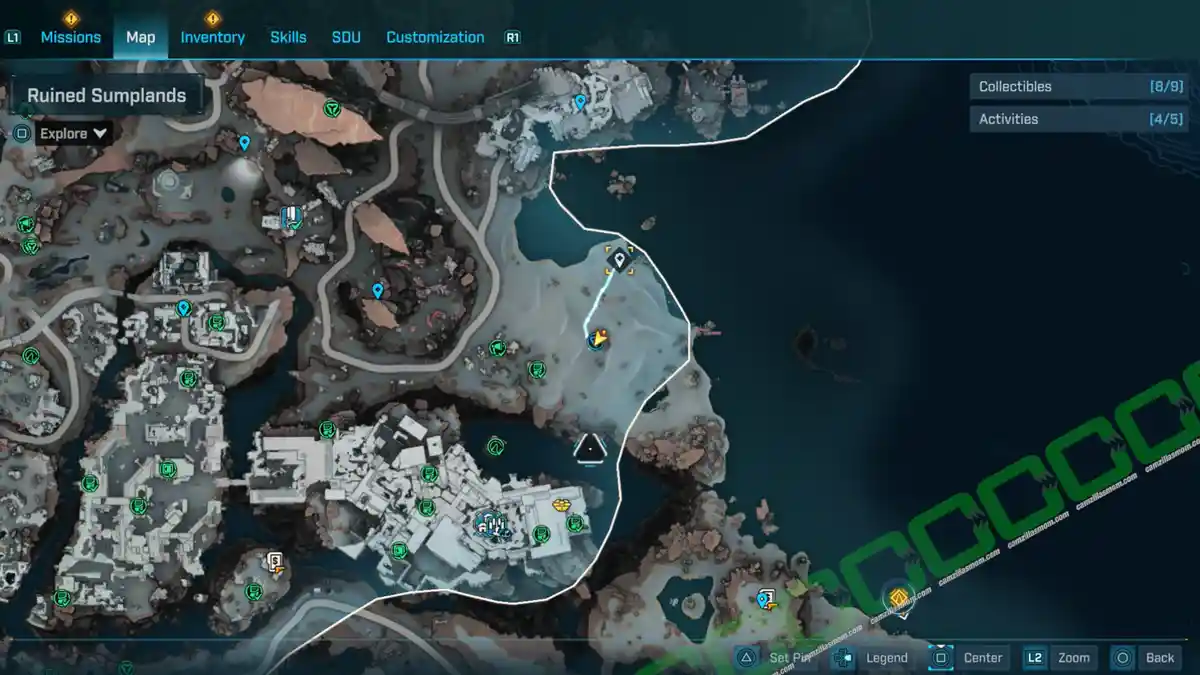
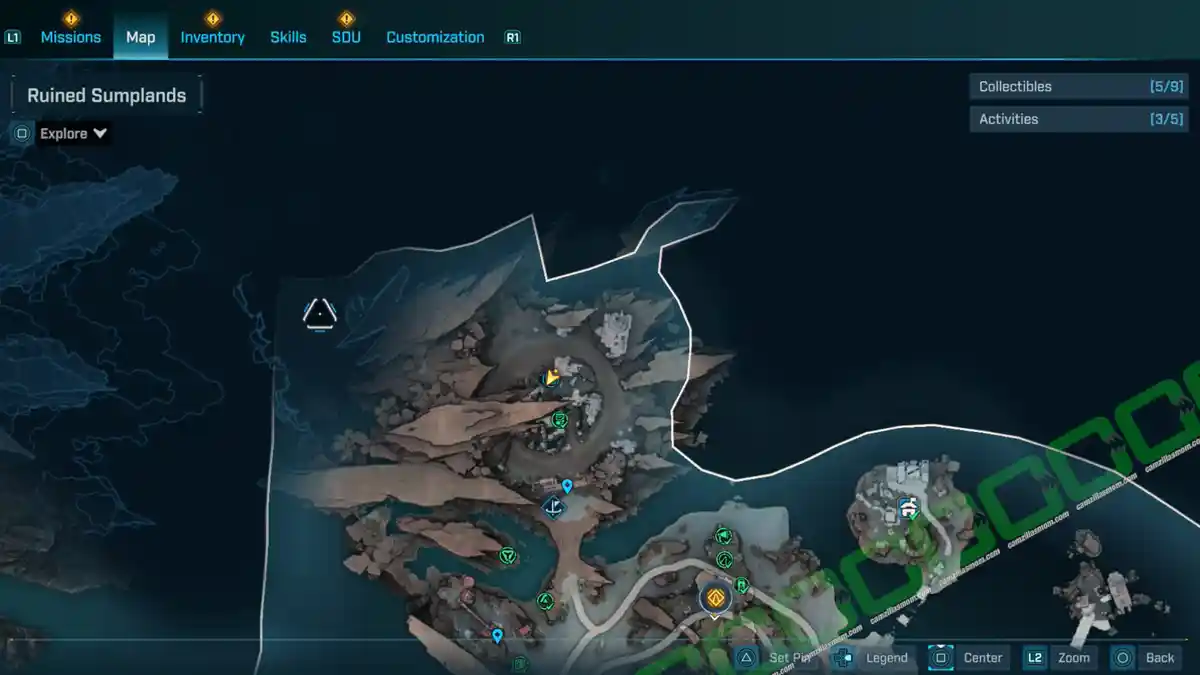
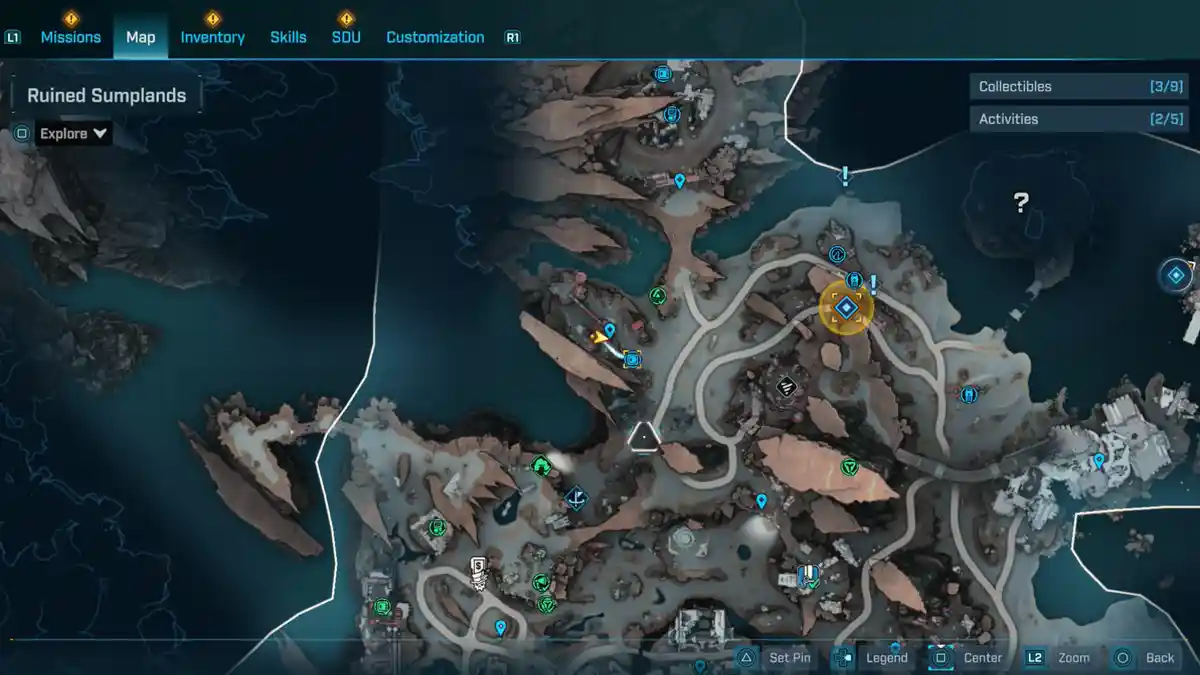
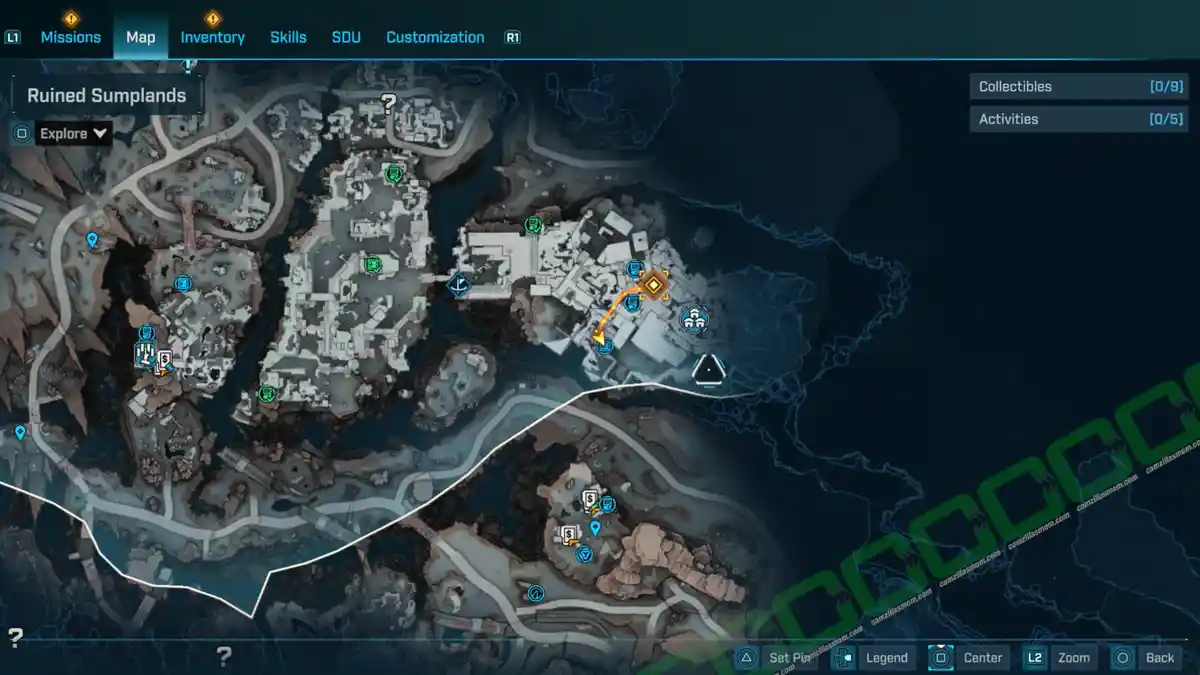
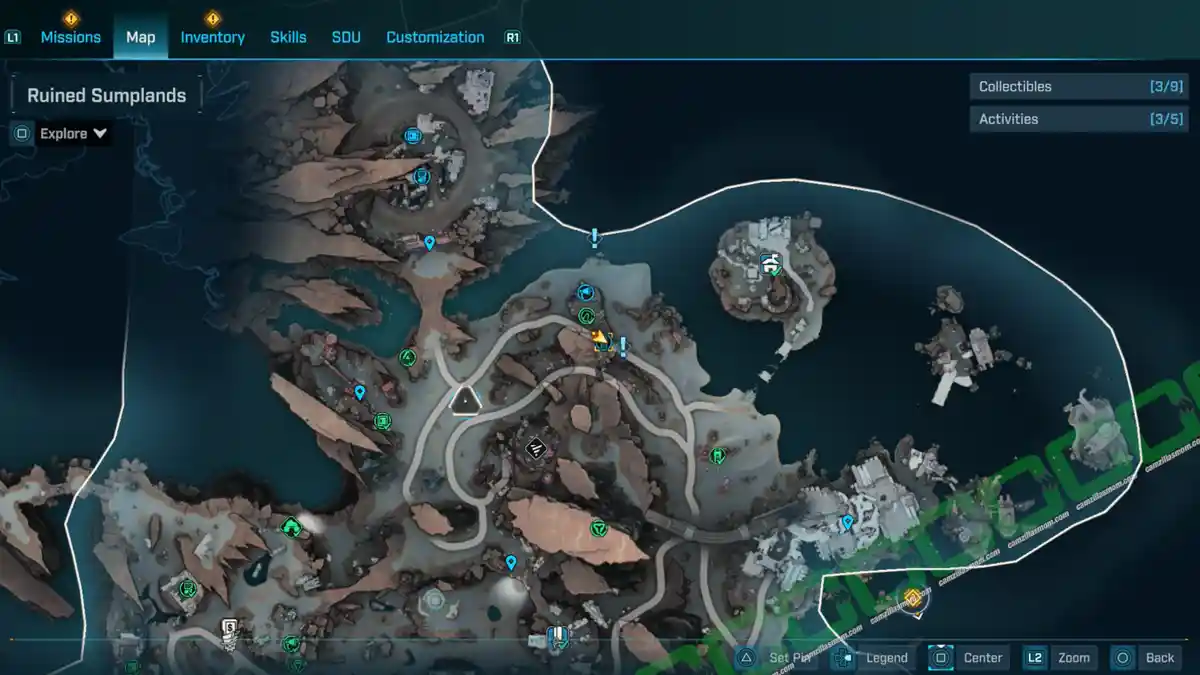
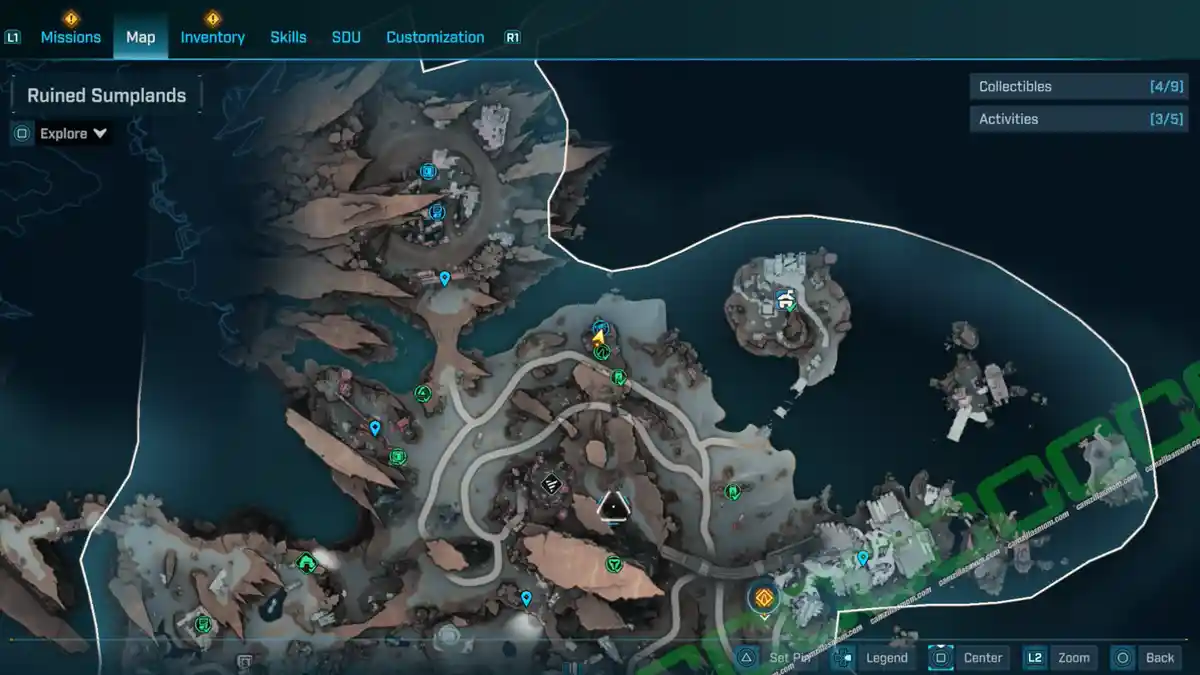
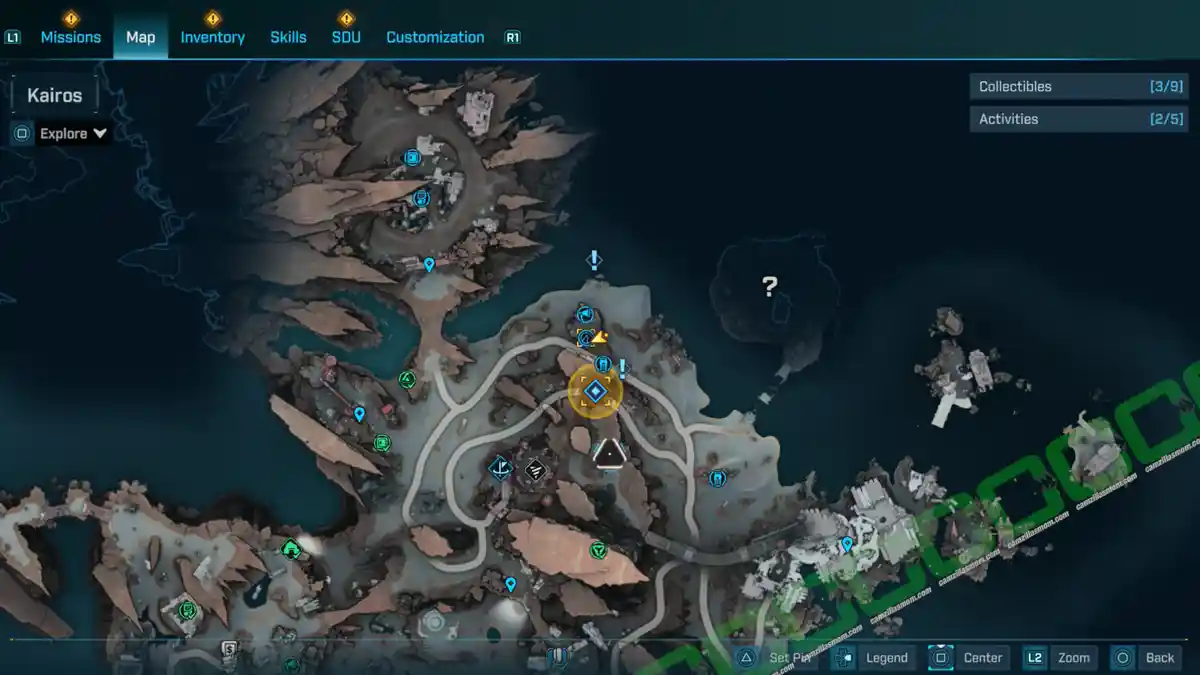
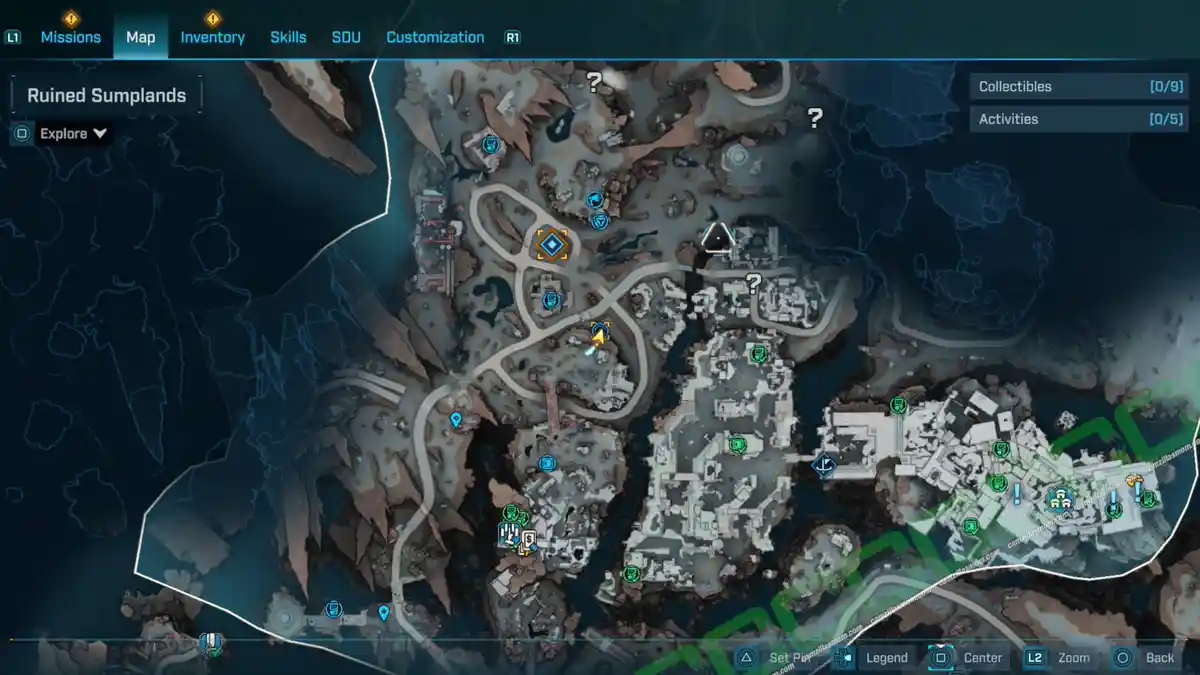
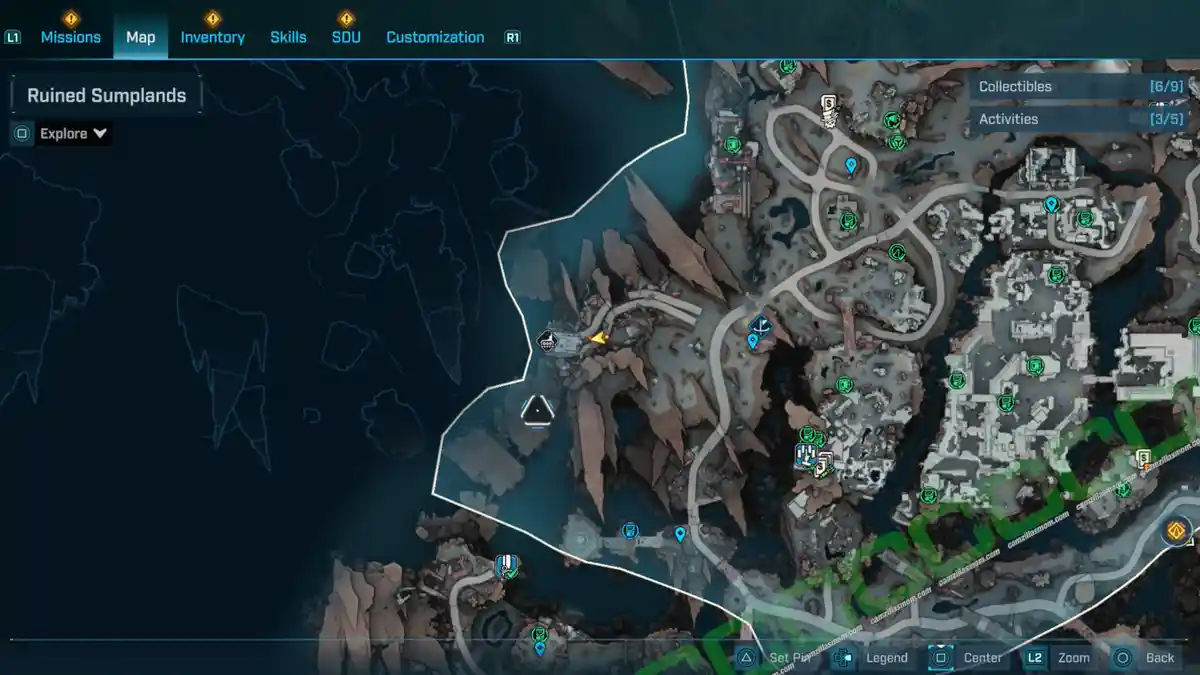
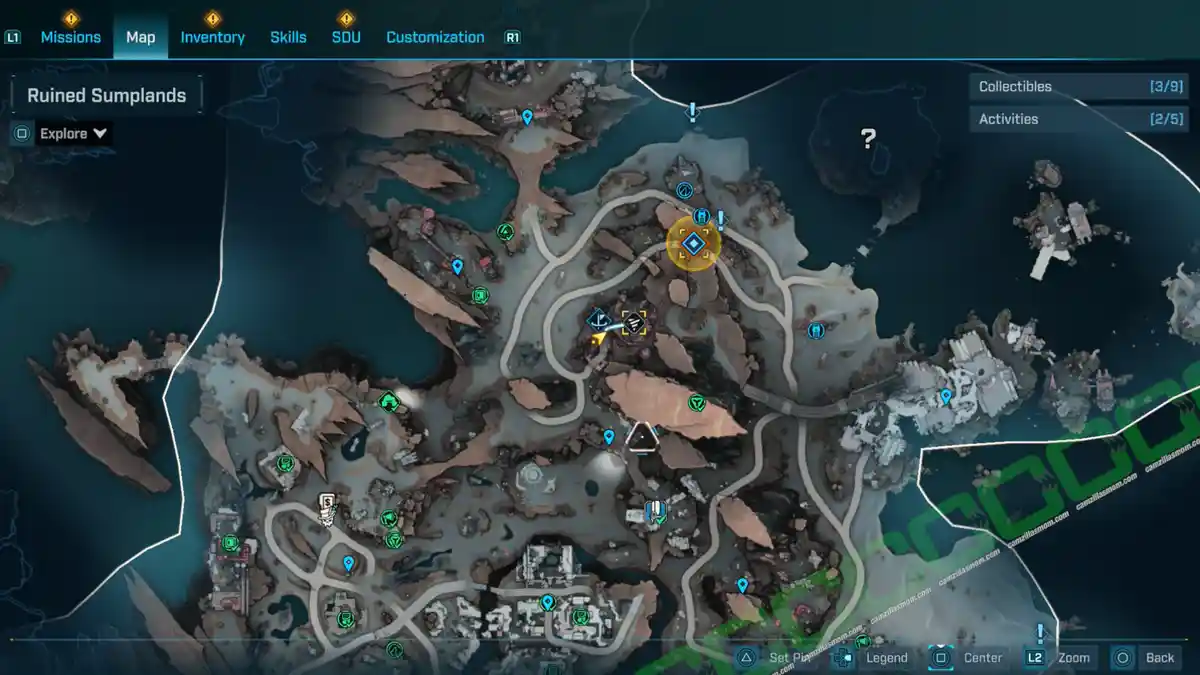
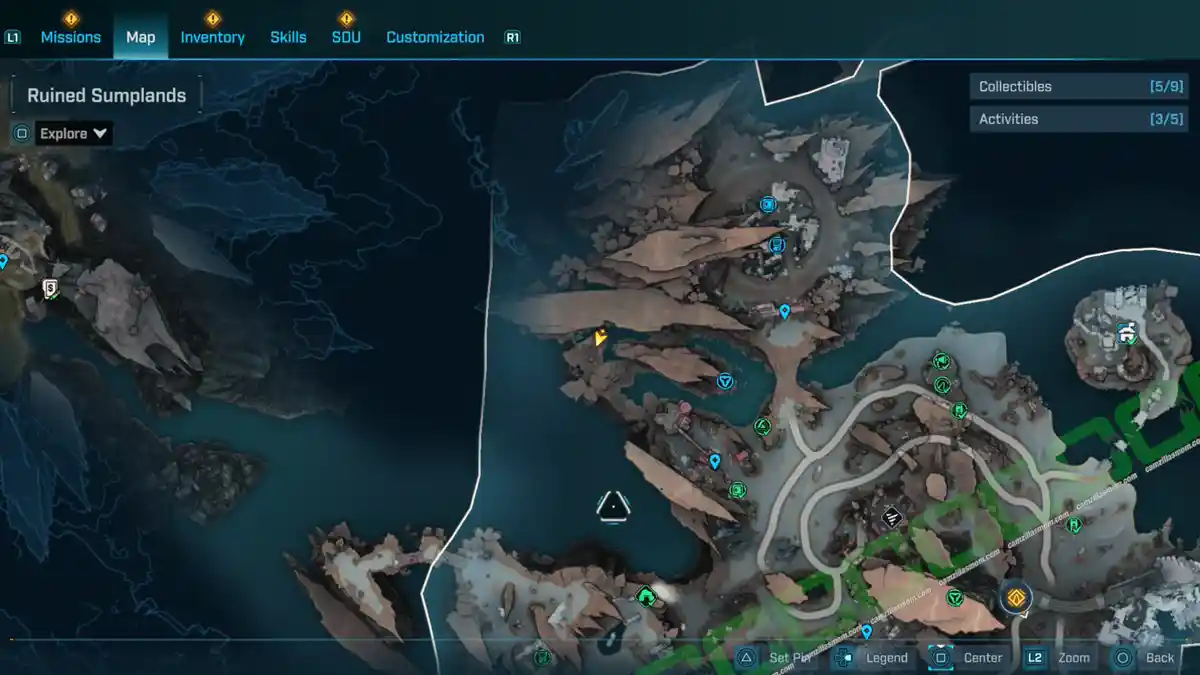
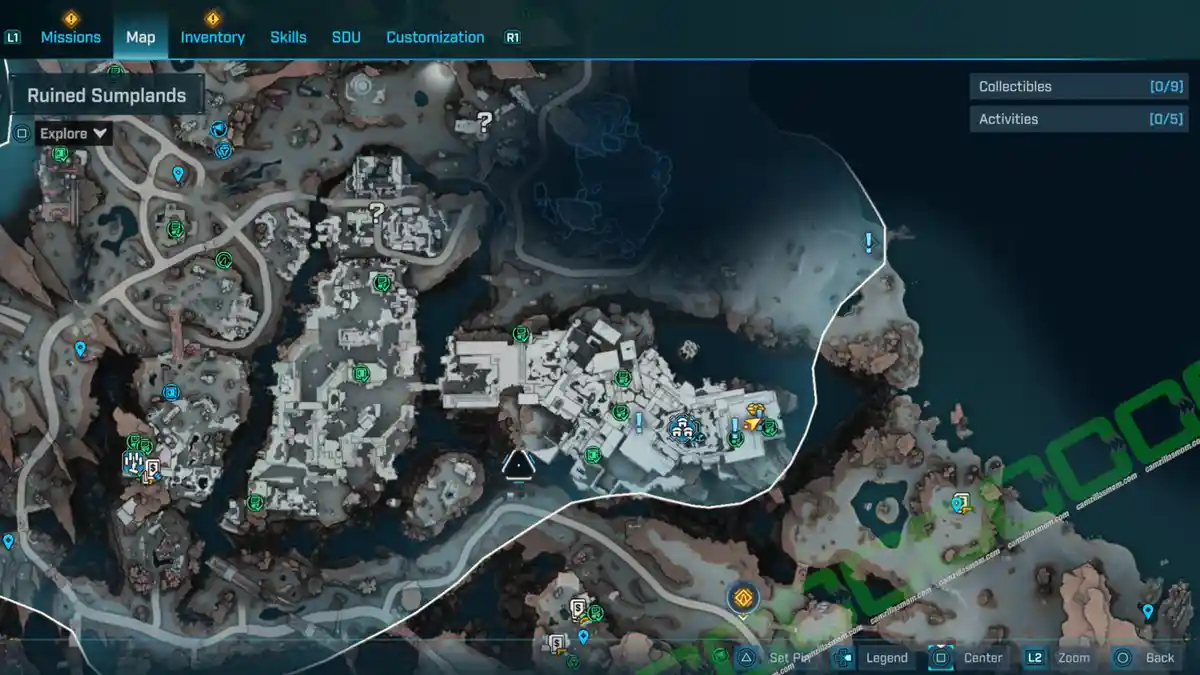
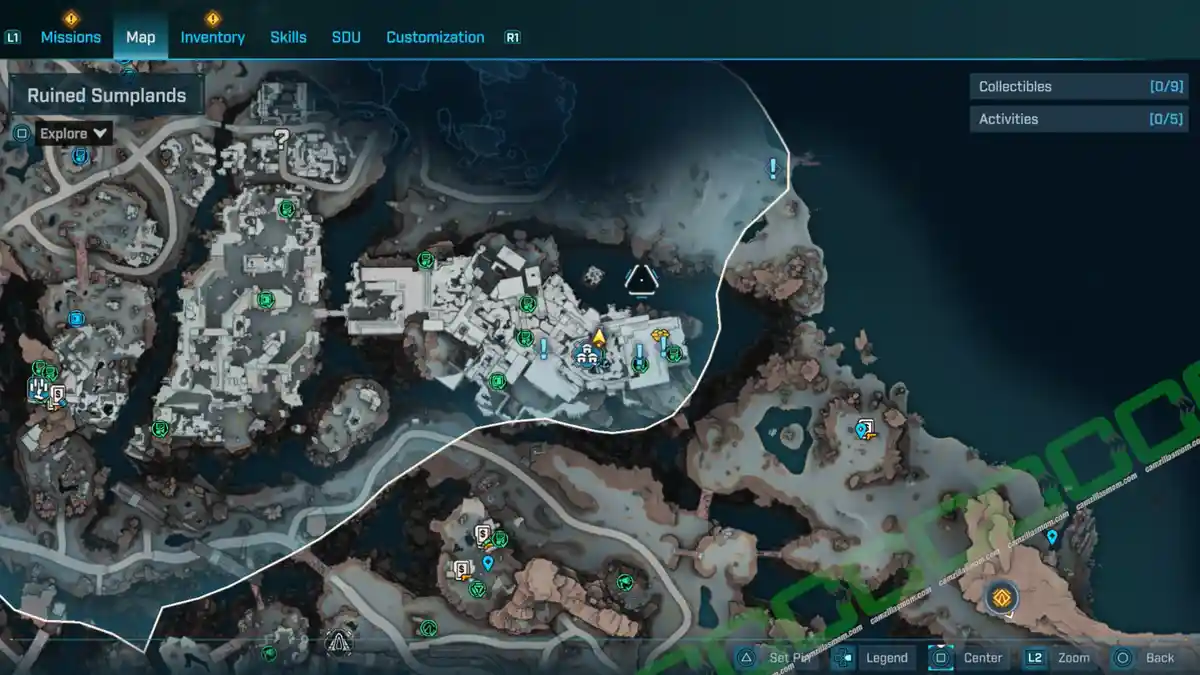
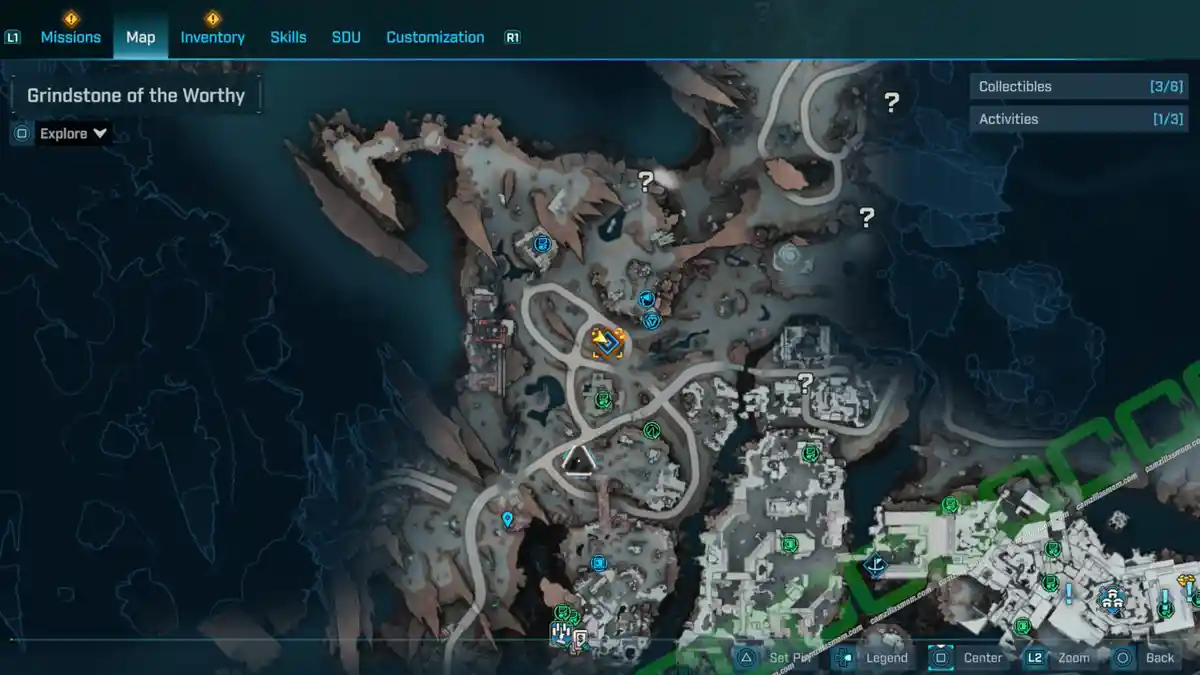
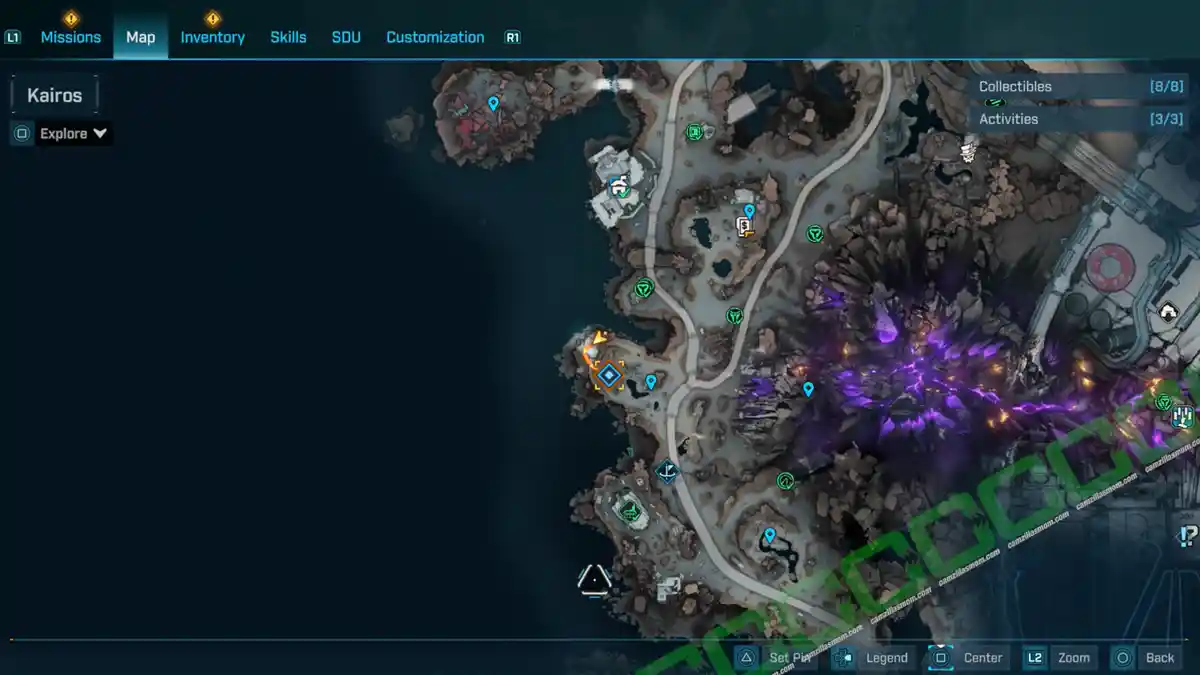
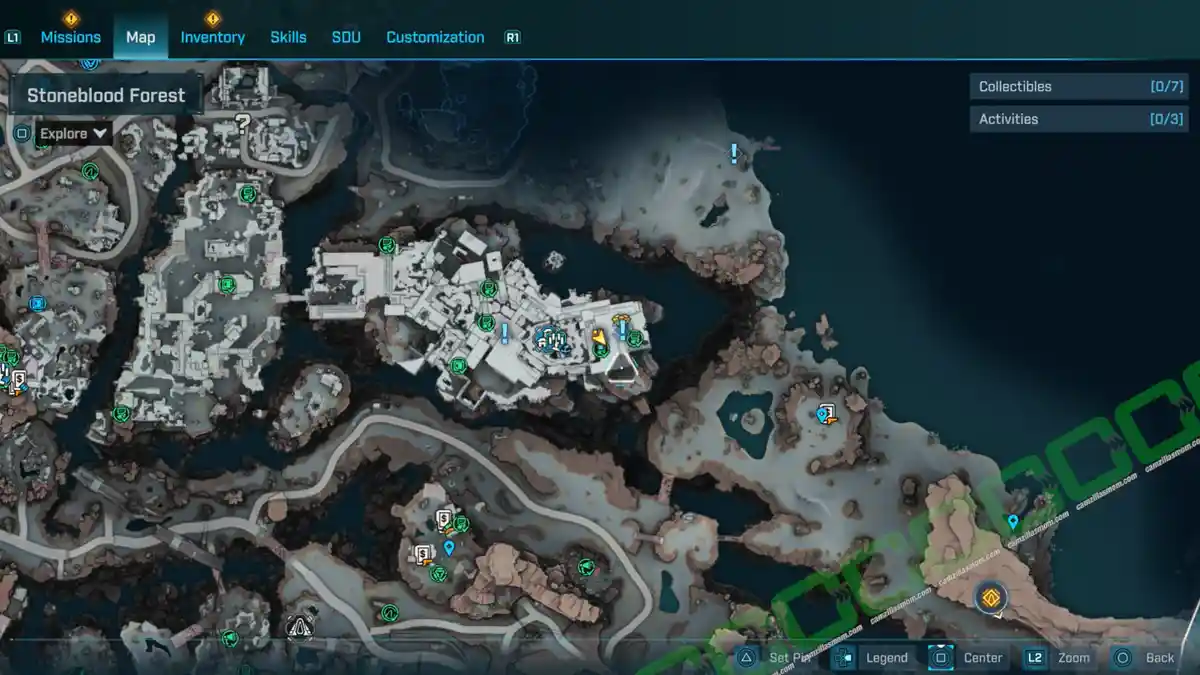
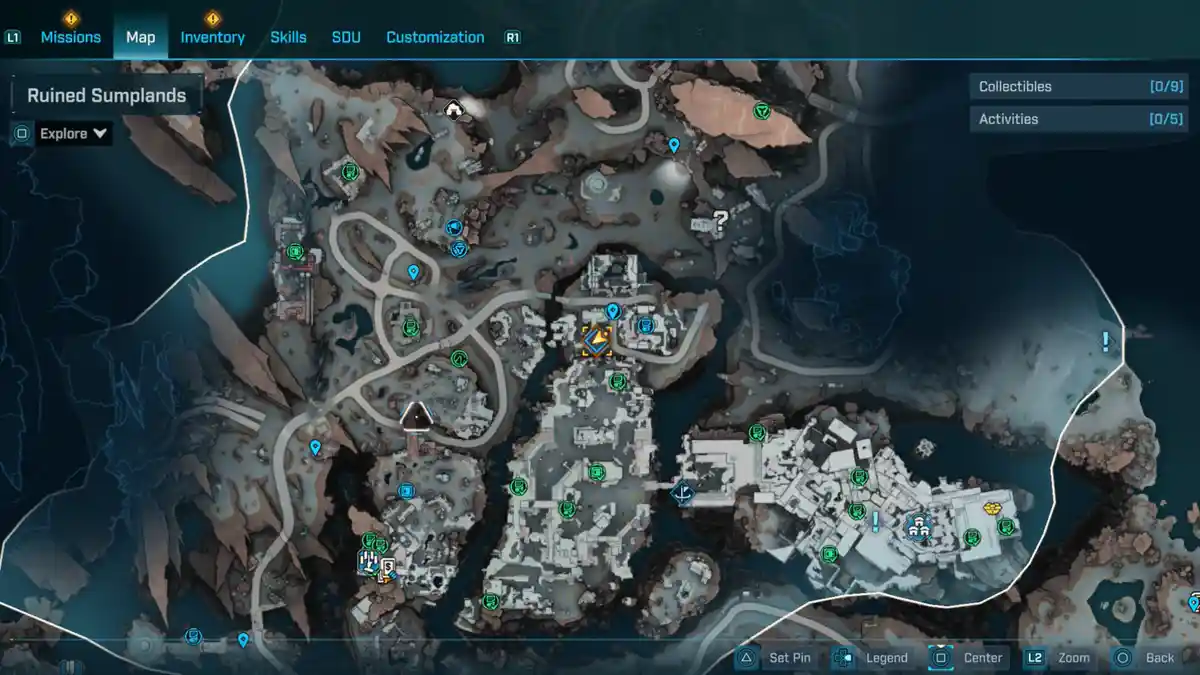
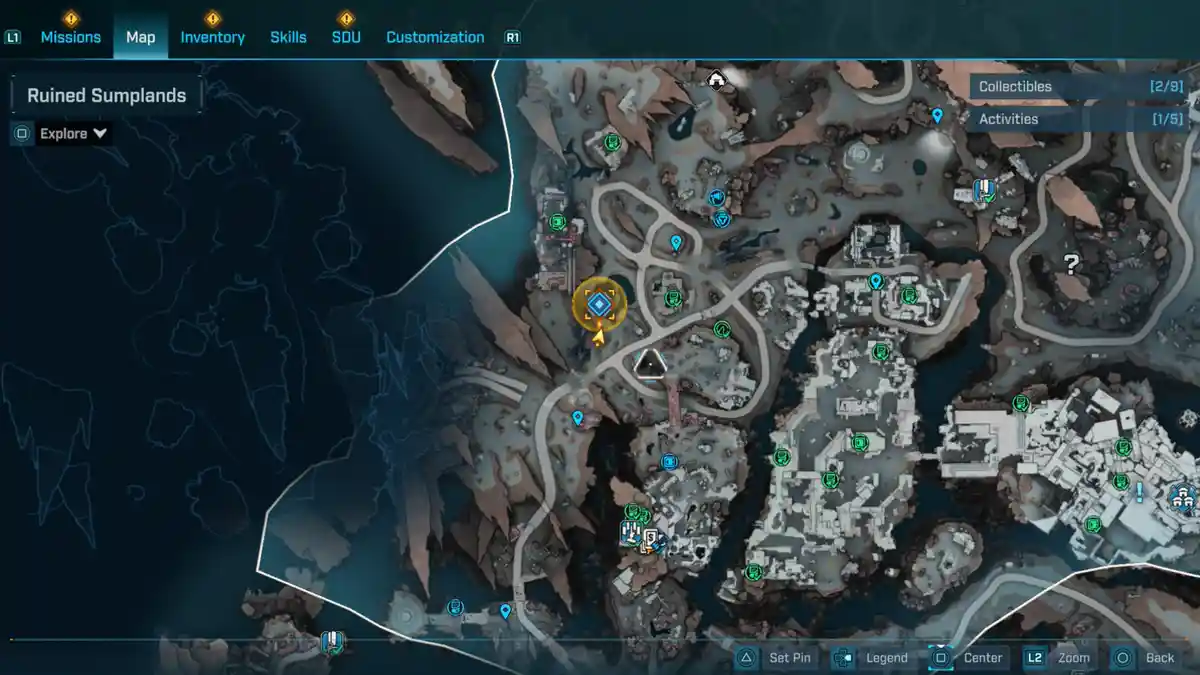
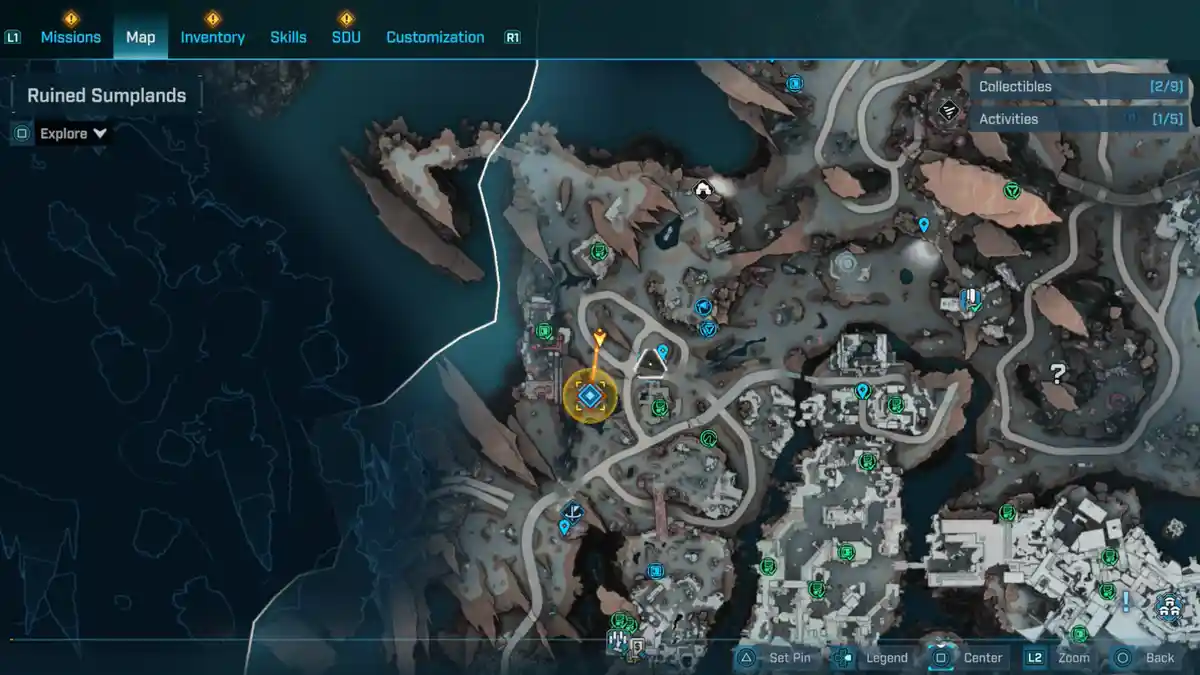
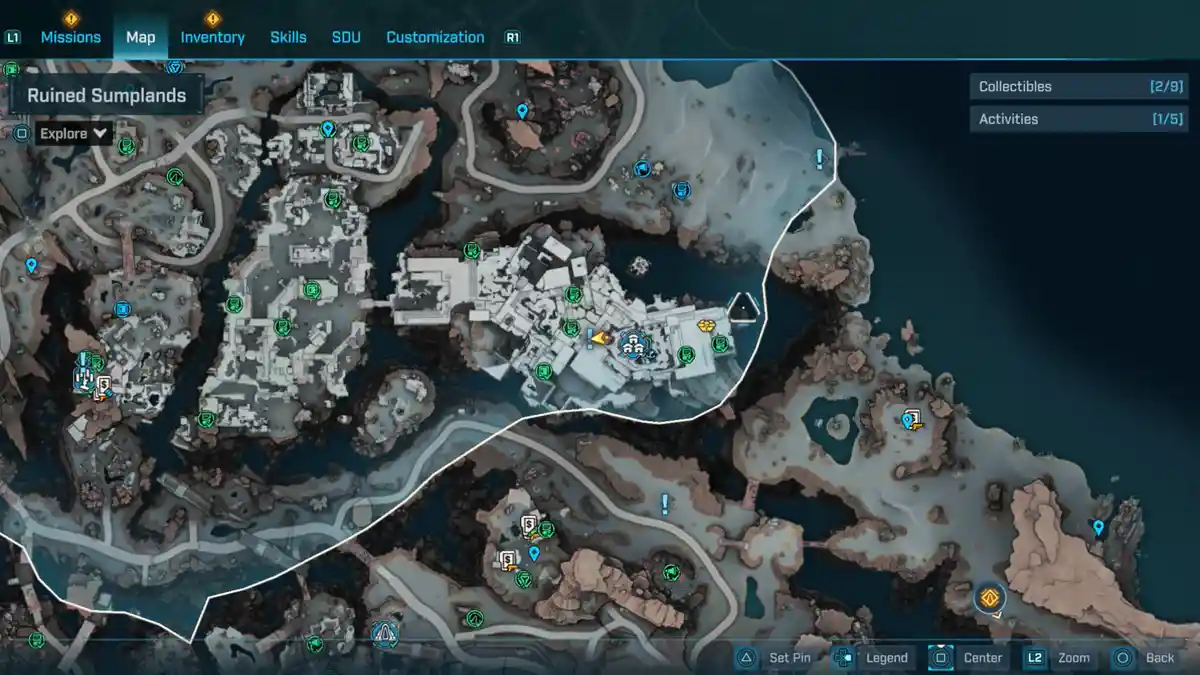
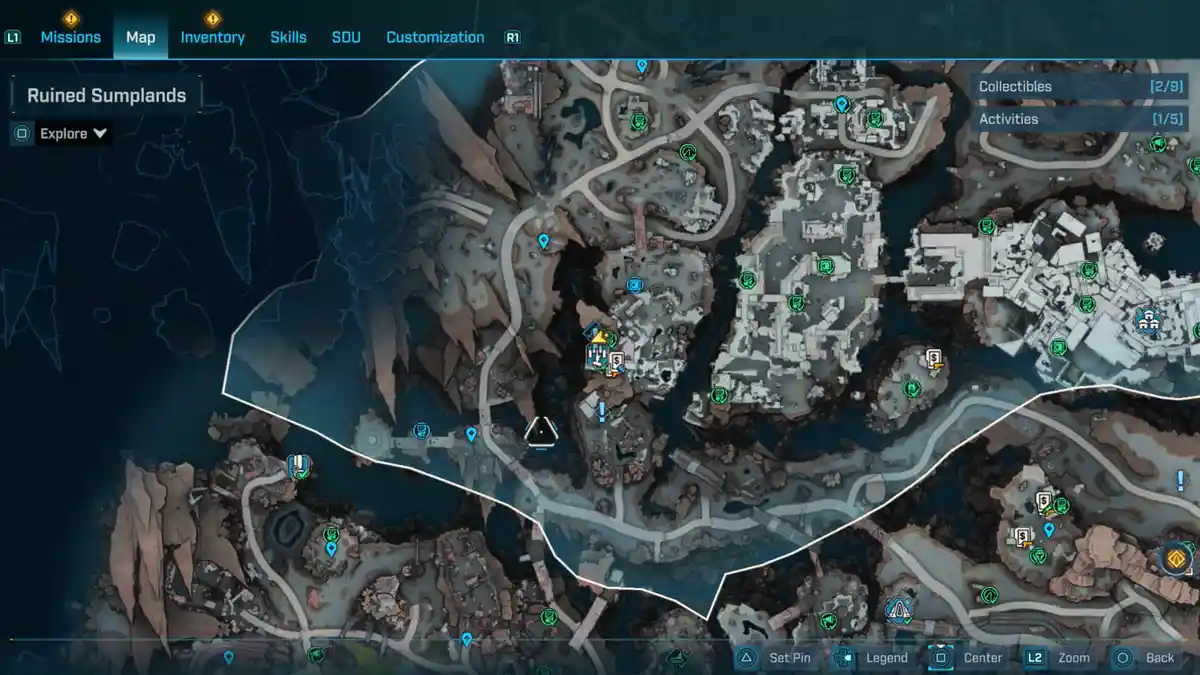
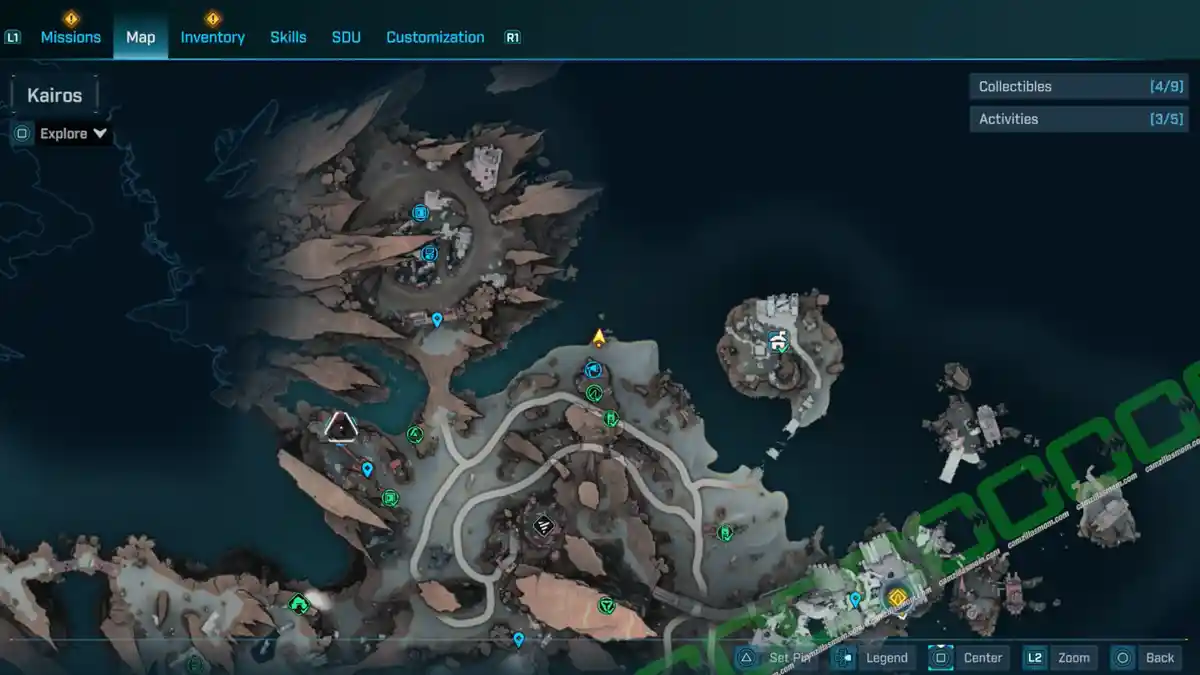
Ruined Sumplands has nine POIs – Points of Interest – on the map, marked with a blue pin. Below you will find all the POIs highlighted on the map.
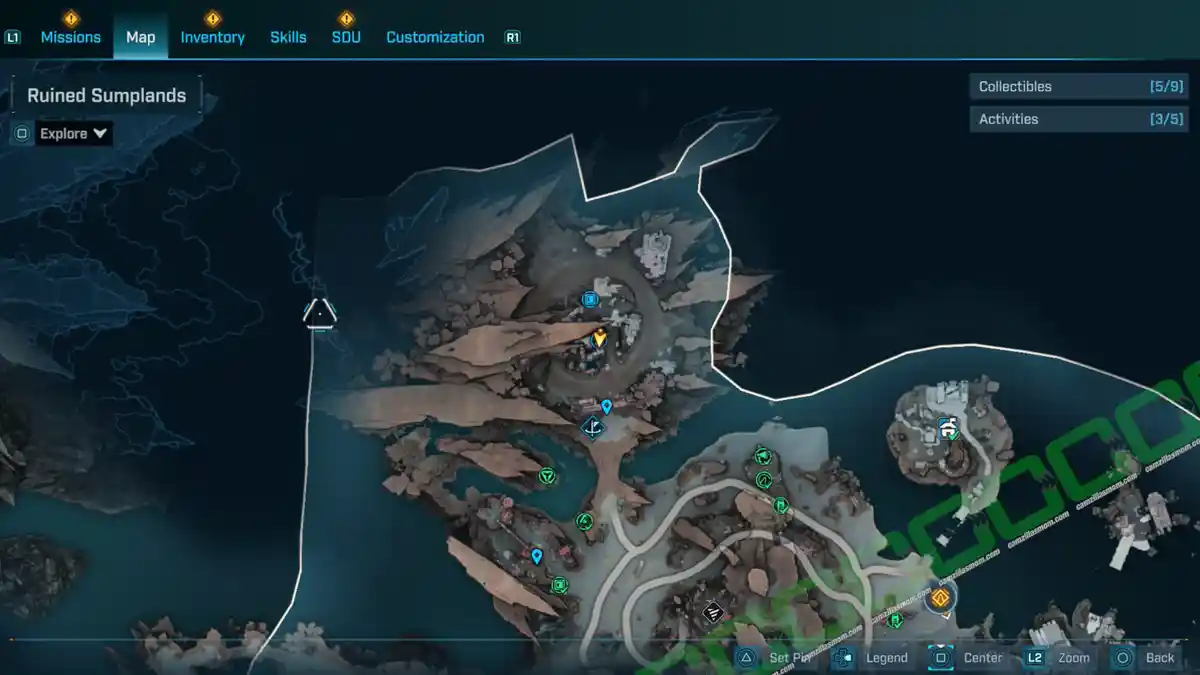
1 – The Gunkworks
2 – Hull’s Handbasket
3 – Tariffton Harbors
4 – The Rumbling Cleft
5 – Society for Amateur Seismology Enthusiasts
6 – Pain Street
7 – The Marrow Narrows
8 – Woncewas Townhouse
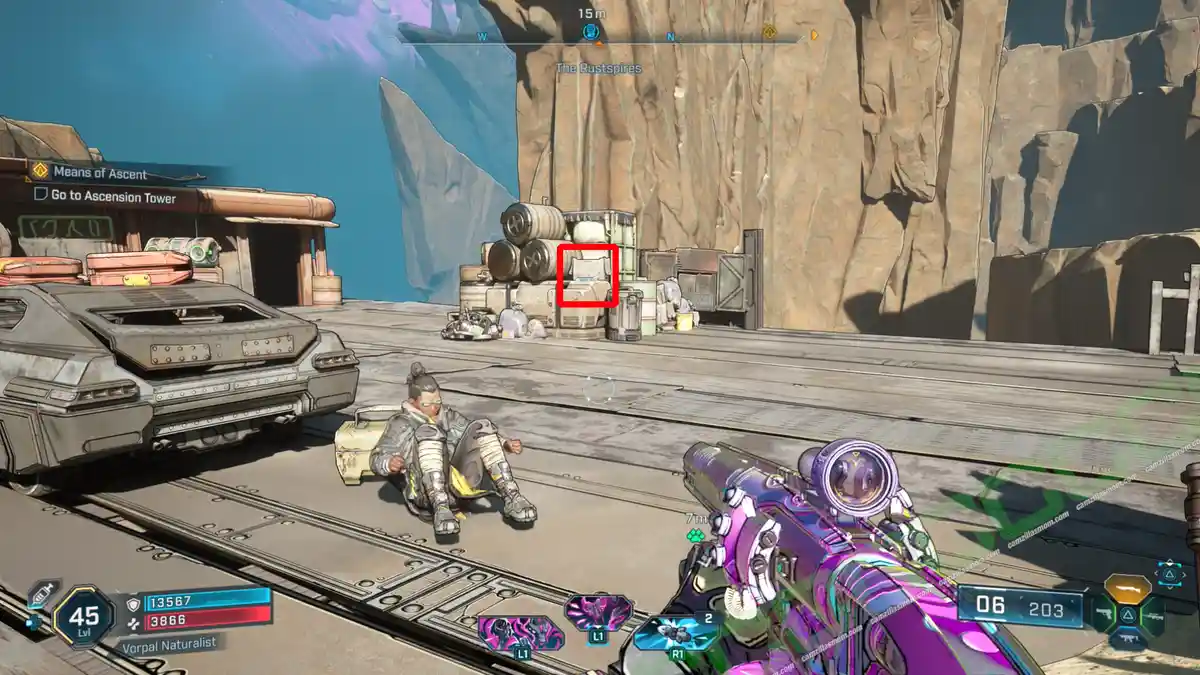
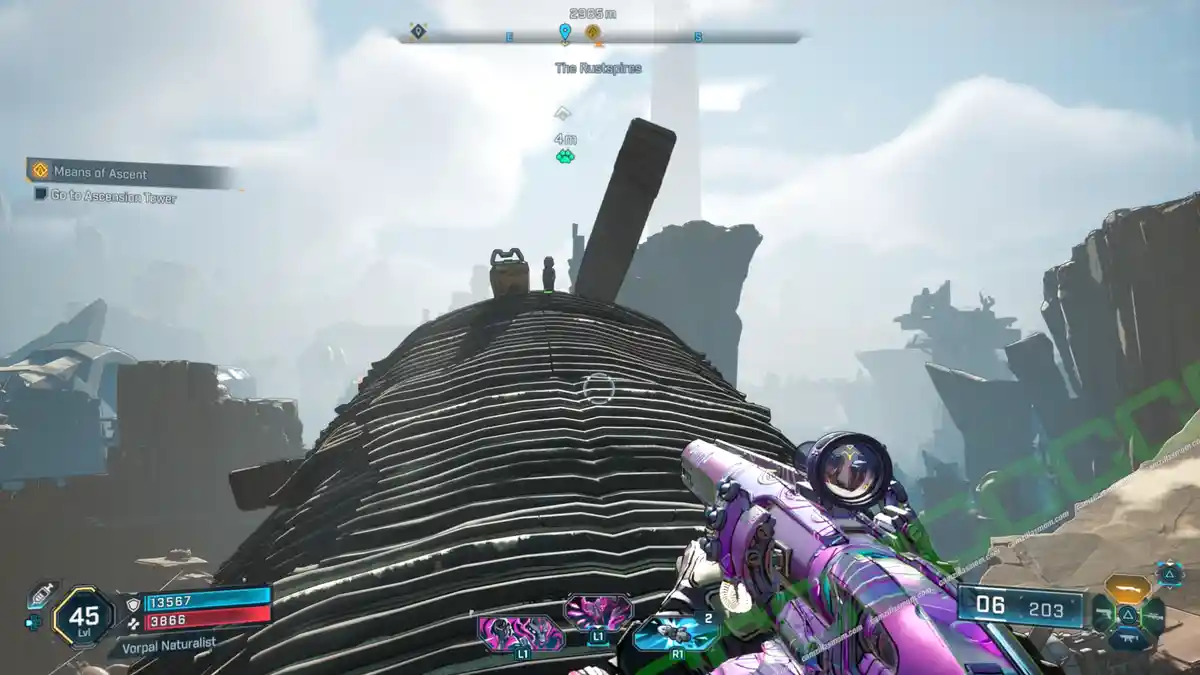
9 – The Rustspires
Ruined Sumplands Collectibles
ECHO Logs – 21
-> Also available: Kairos Speaks – All ECHO Logs
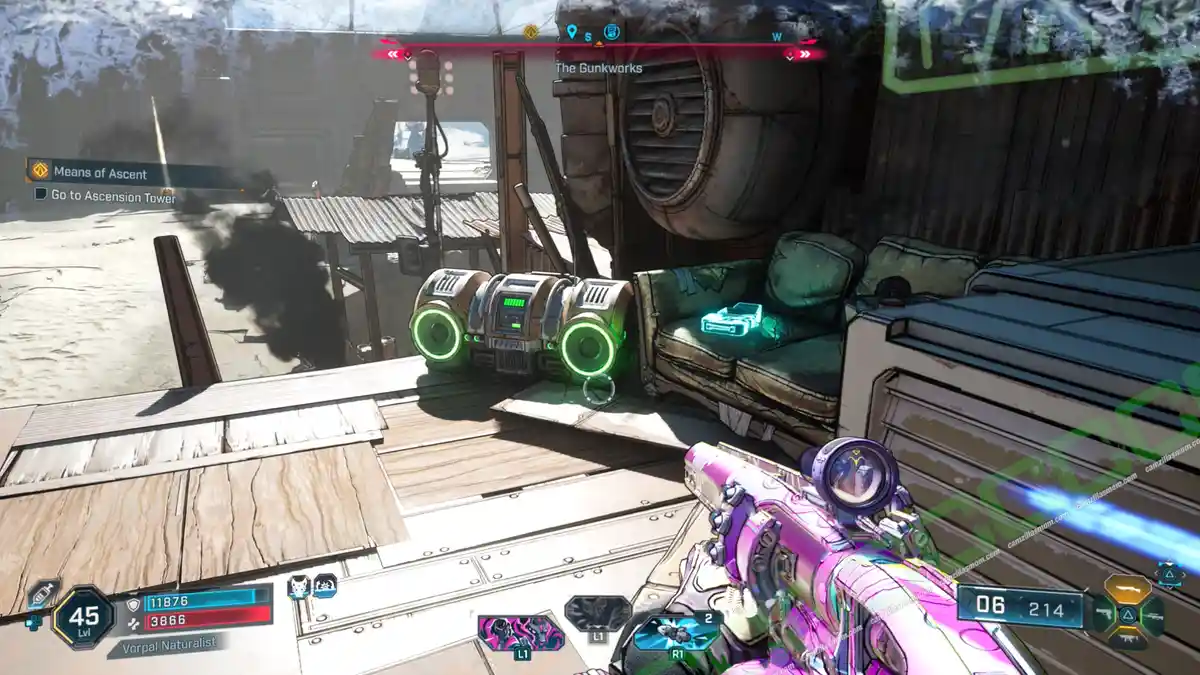
1 – A Warrior’s Due
You’ll find this ECHO Log at one of the buildings in the Gunkworks, up north in the Ruined Sumplands.
Description:
“Again, it’s like poetry… at least it rhymes.”
2 – Dream Log
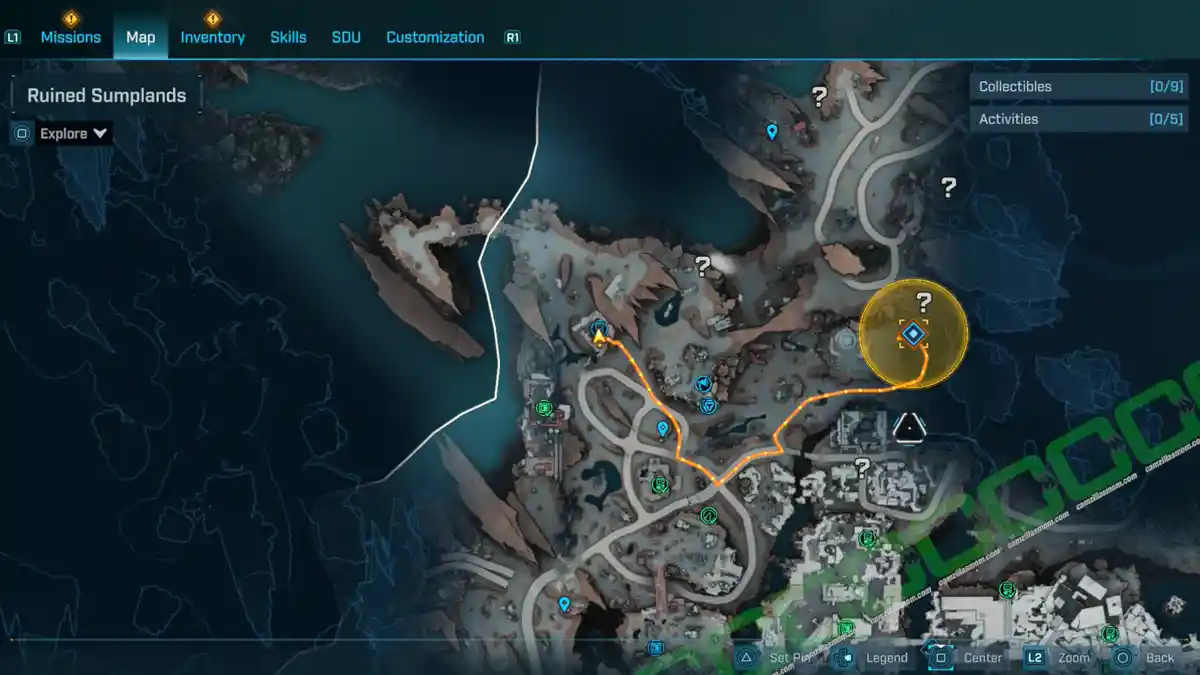
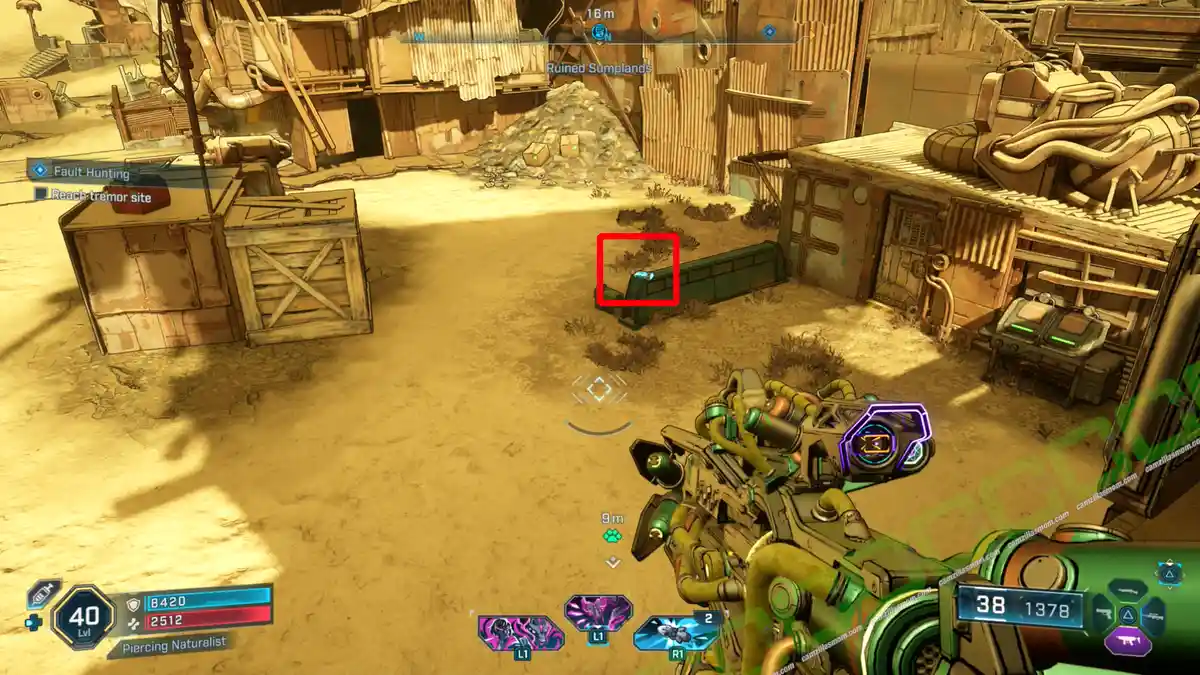
There’s another ripper camp northwest of the Society of Amateur Seismology Enthusiasts POI. It’s up on a green barrier wall.
Description:
“Premonitions after dark.”
3 – Who Watches the Timekeeper?
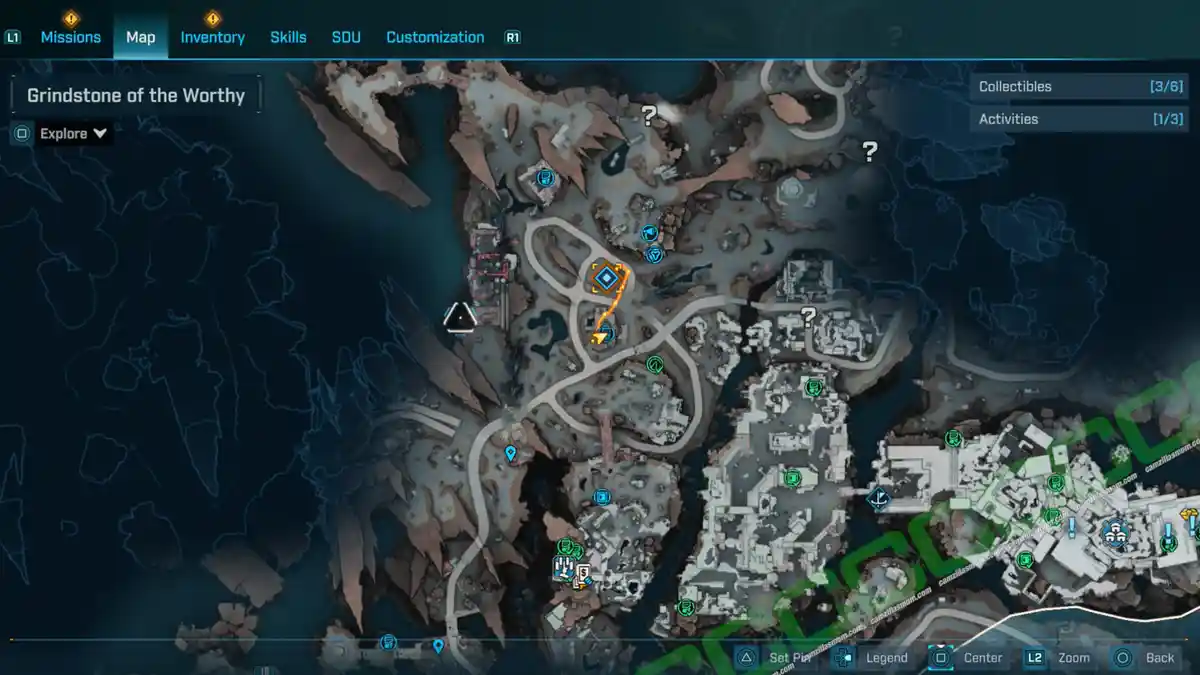
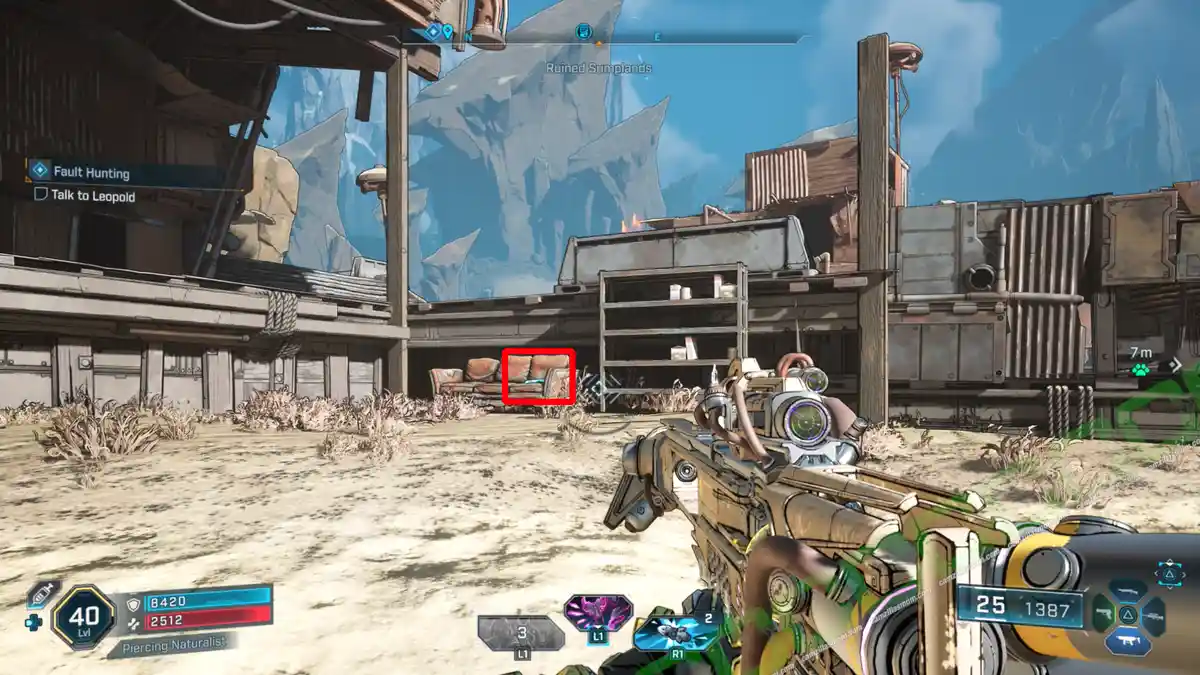
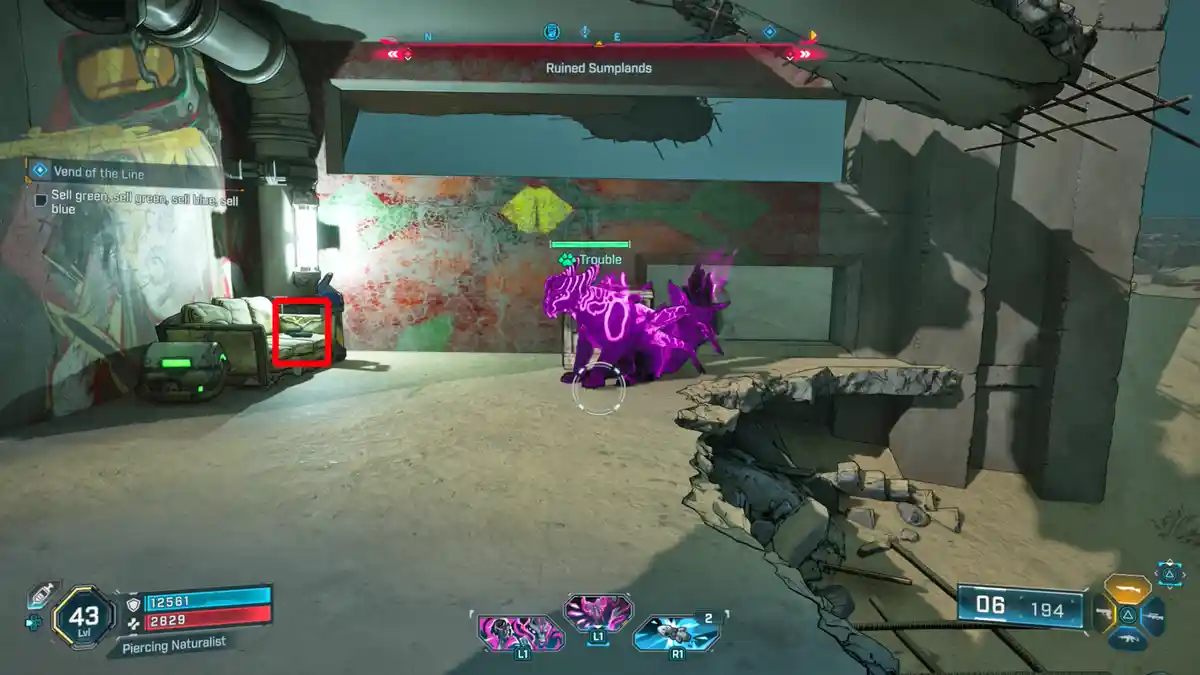
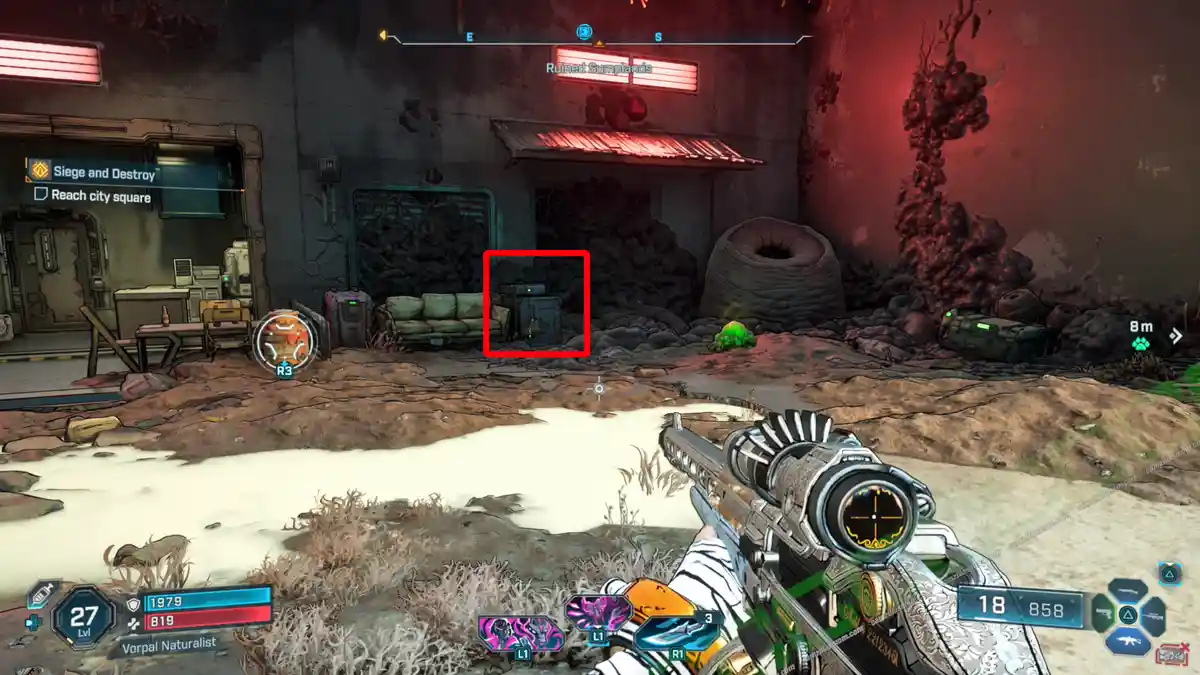
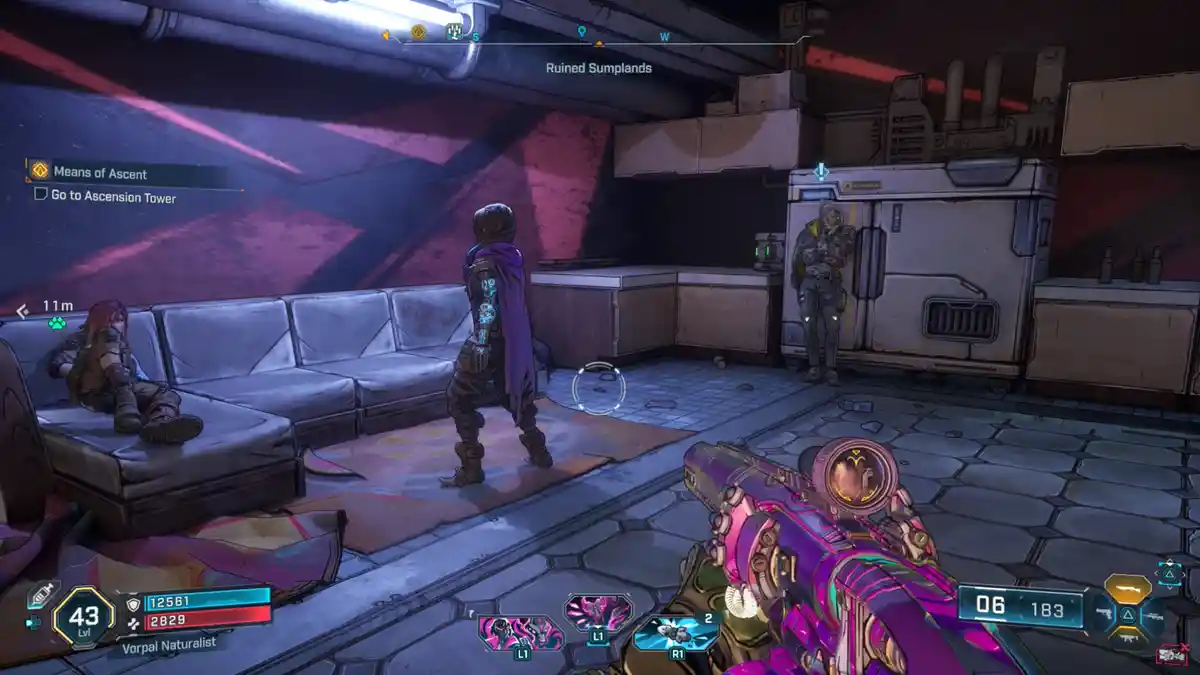
You can find this ECHO Log in a ripper camp northeast of Woncewas Townhouse and just south of the Society of Amateur Seismology Enthusiasts POI. Check the couch when you get there.
Description:
“The Ripper Queen incites Kairos to join her and resist the Timekeeper.”
4 – Hear My Call
You’ll find this ECHO Log down in the southwest of the region, right by the Site Unseen Order Silo zipline.
Description:
“The Ripper Queen issues a call to action.”
5 – Tiger Queen
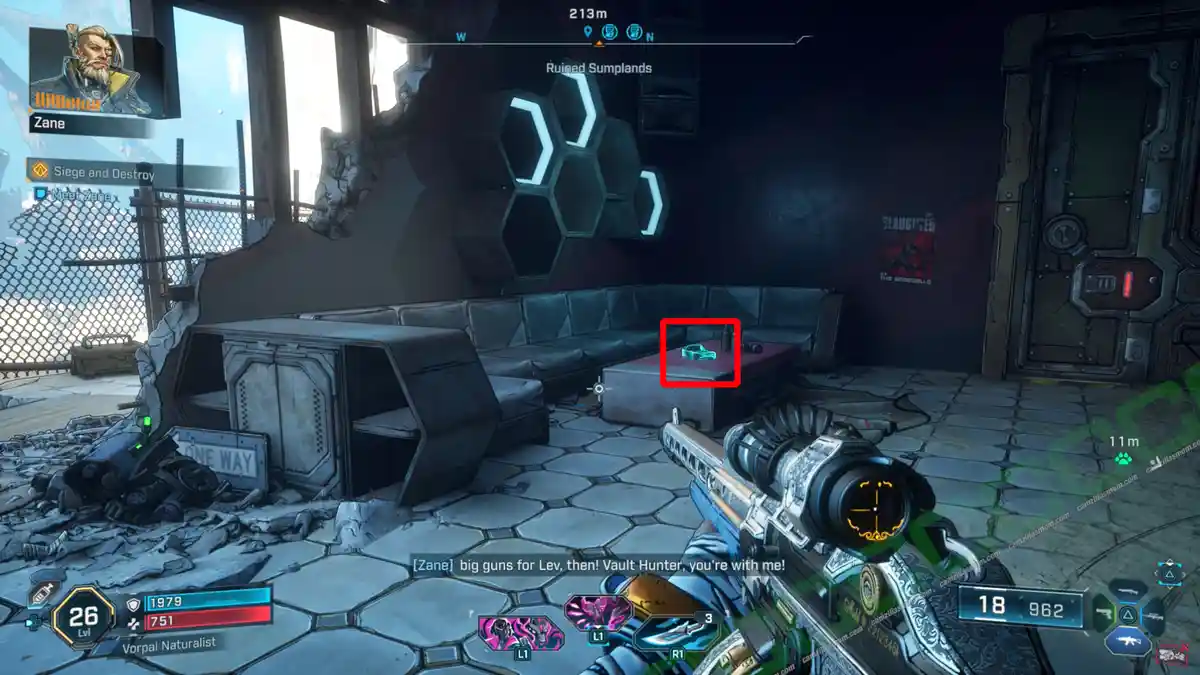
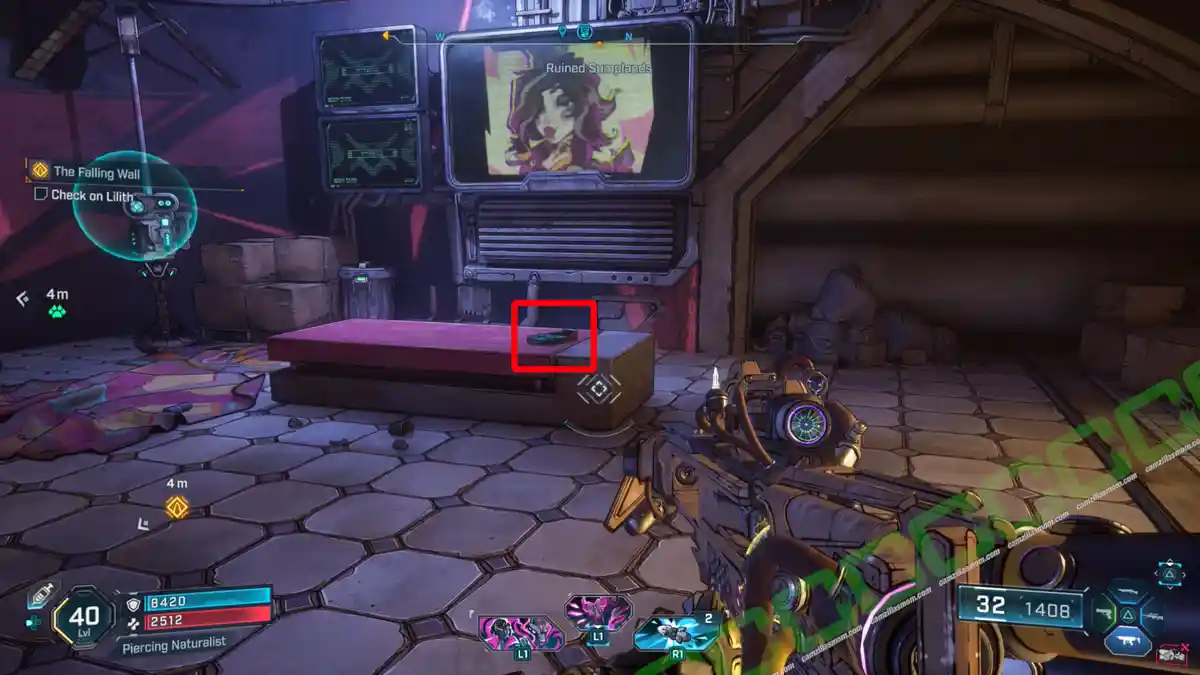
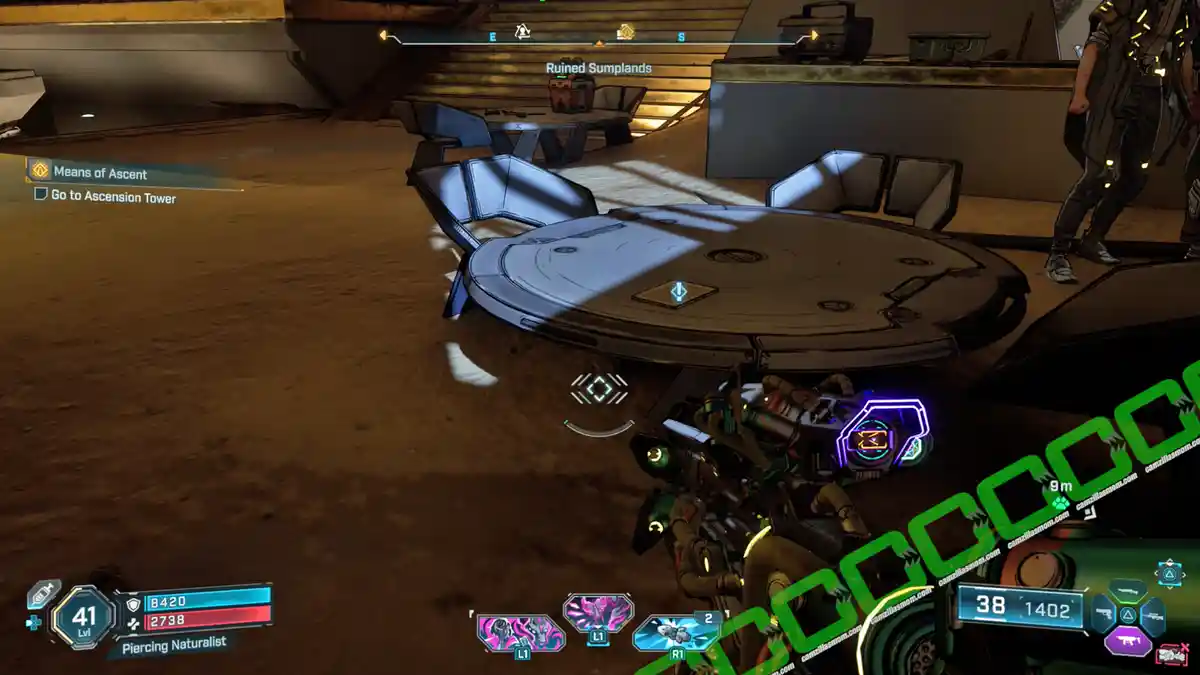
Head to Moxxie’s Bottoms Up and look for a pink coffee table surrounded by a U-shaped couch. The ECHO Log will be on top of the table.
Description:
“Moxxi remembers an old ally.”
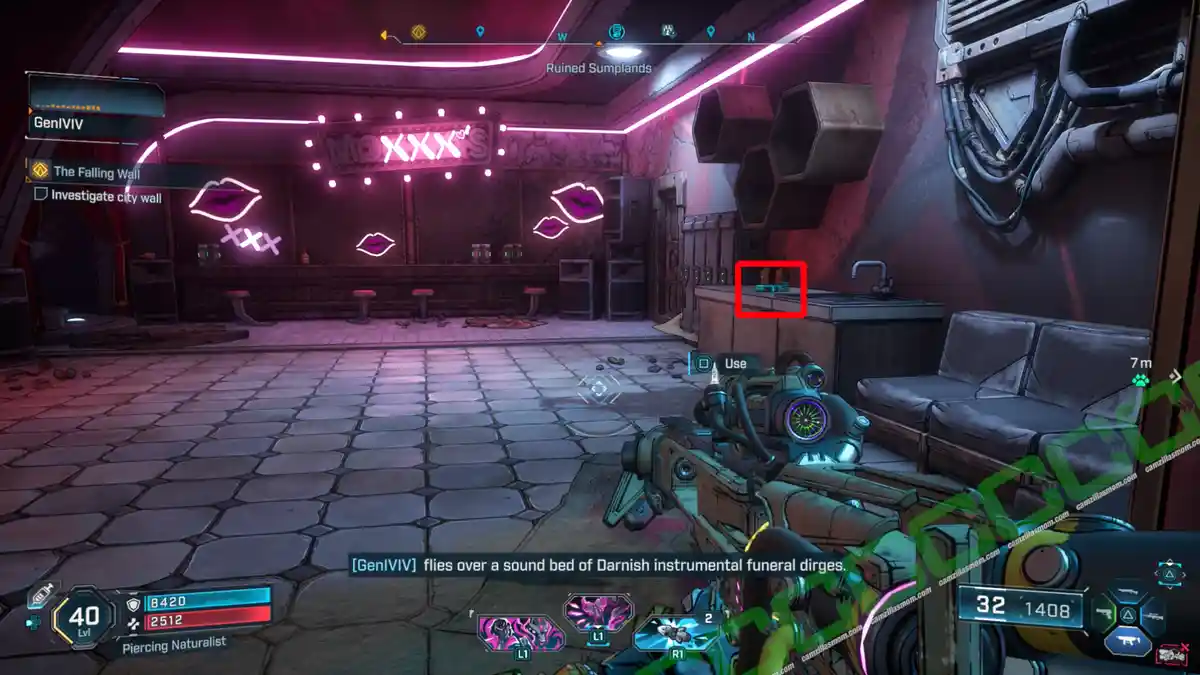
6 – GenIVIV vs. Zane
The ECHO’s chilling in the restroom over at Moxxi’s Bottoms Up.
Description:
“Everyone’s a music critic.”
7 – Pour One Out
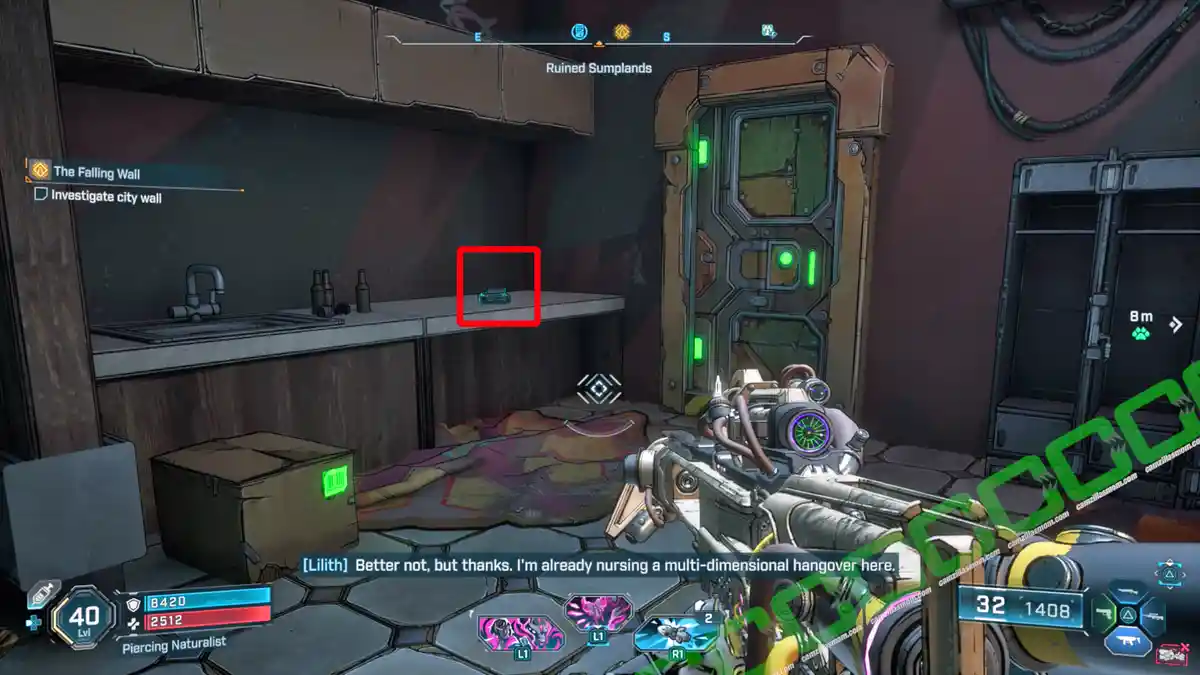
You can find this ECHO in a room at Moxxi’s Bottoms Up. It’s the same place you’ll go after finding Lilith.
Description:
“Founding a bar in Carcadia.”
8 – Local Celebrity
You’ll find the ECHO in one of Moxxi’s Bottoms Up’s side rooms.
Description:
“Moxxi discusses her fandom.”
9 – Leaky Starships
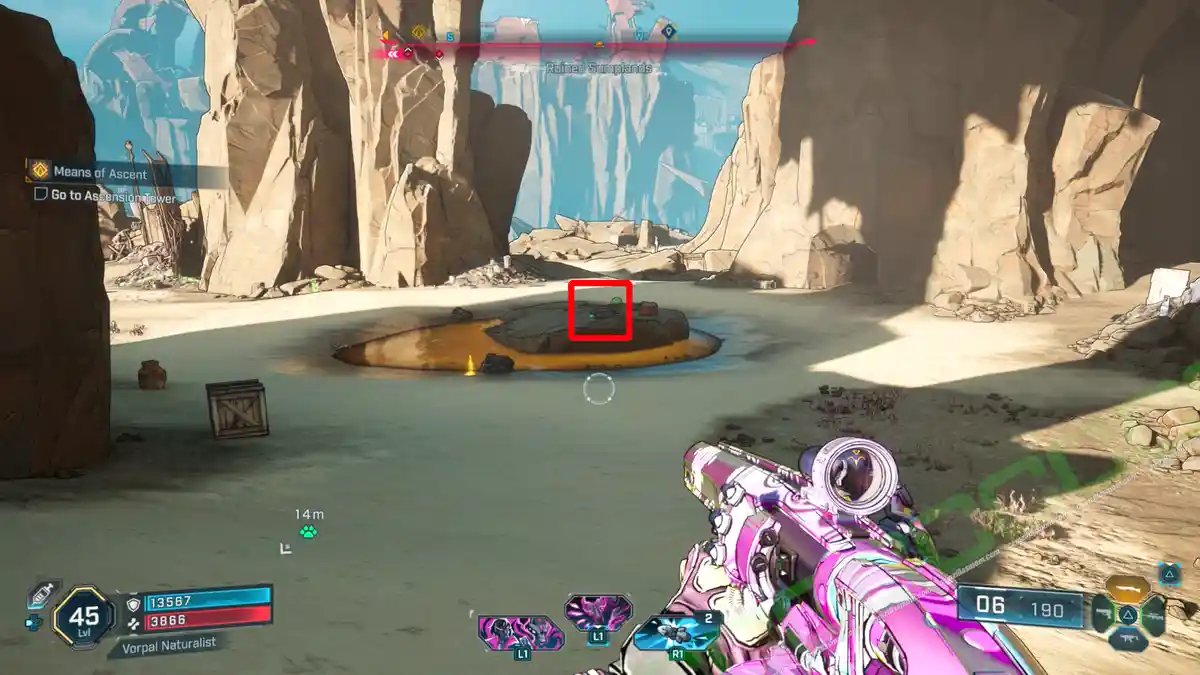
Down south, near the main road, you’ll find a yellow toxic pond with an ECHO Log on its island.
Description:
“As if the Electi didn’t have enough problems.”
10 – Captain Quent
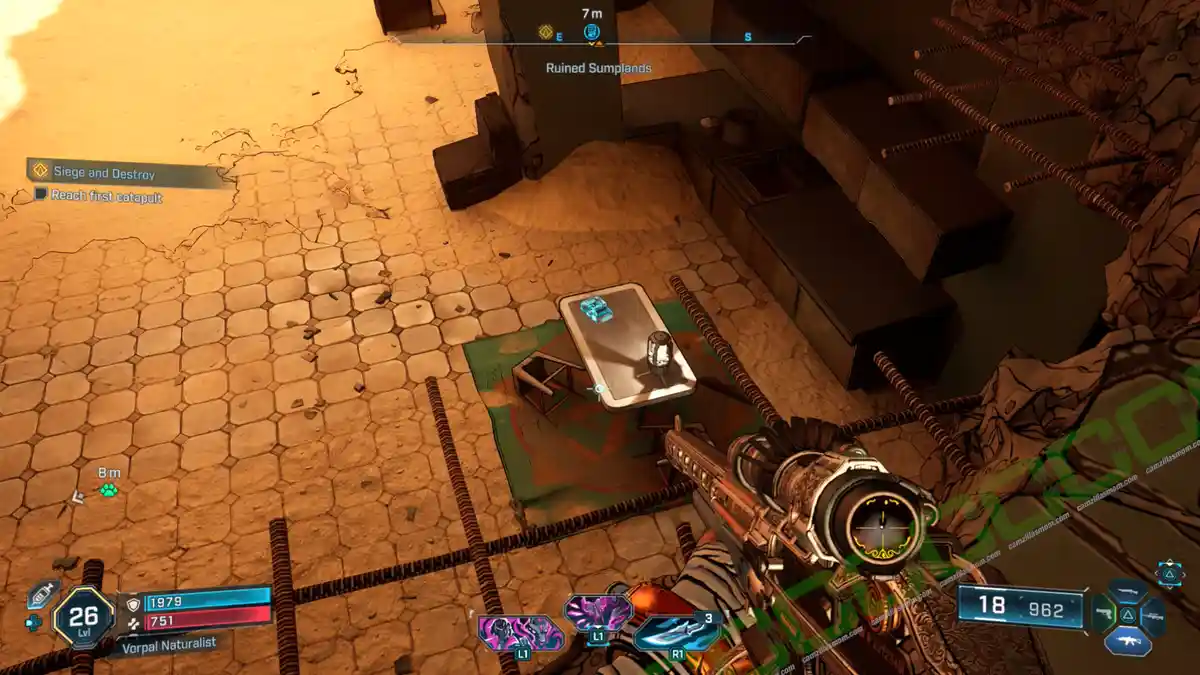
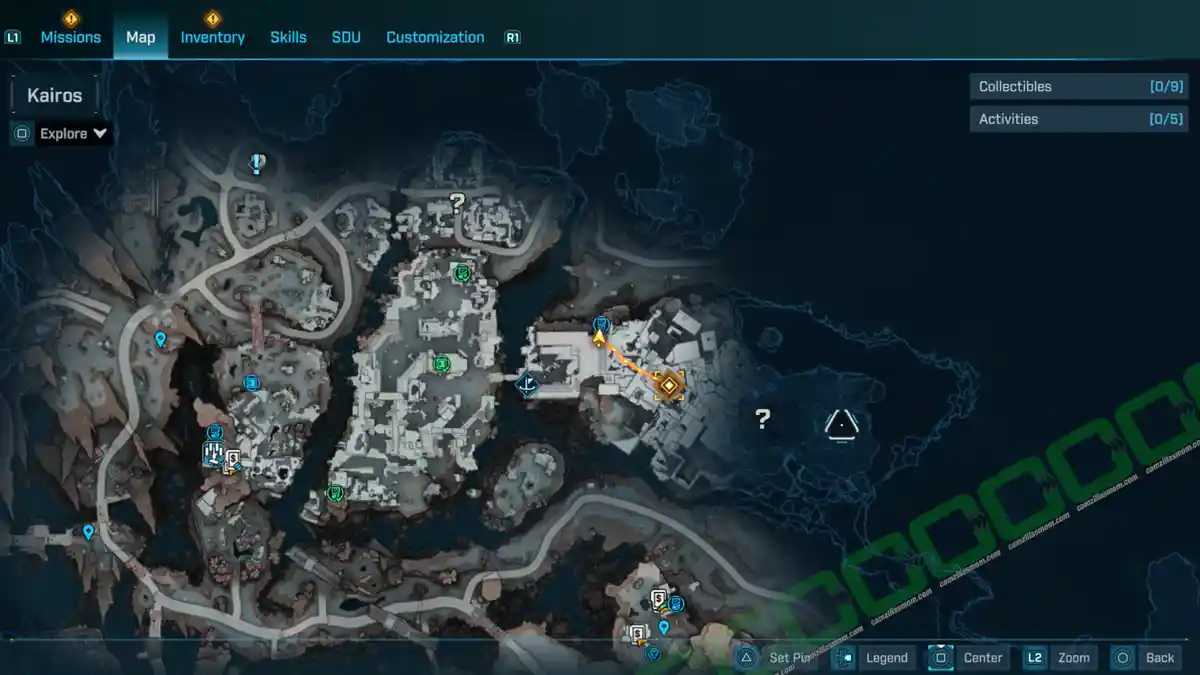
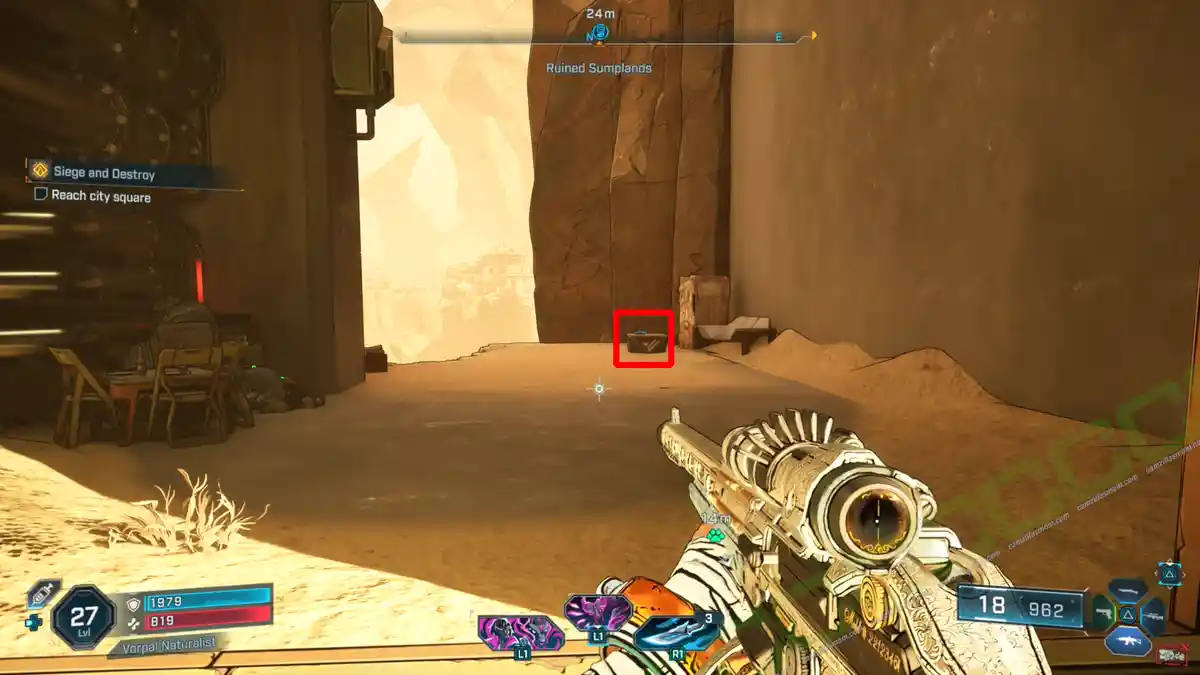
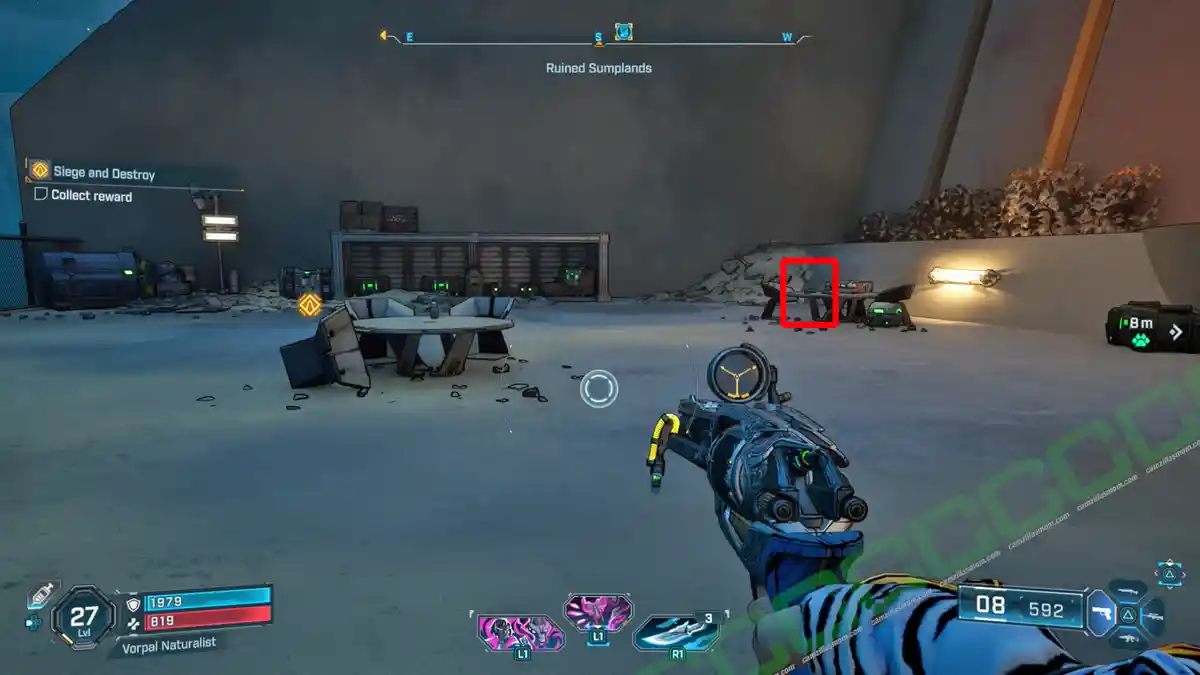
Once you meet Sofia in the pit below Moxxie’s Bottom’s Up during the Main Mission “Siege and Destroy,” you’ll leave the pit and climb a couple of metal walls to reach the first catapult. You can grab this ECHO Log off a table right near that first catapult.
Description:
“Quent lands a new title.”
11 – Her Confrontation
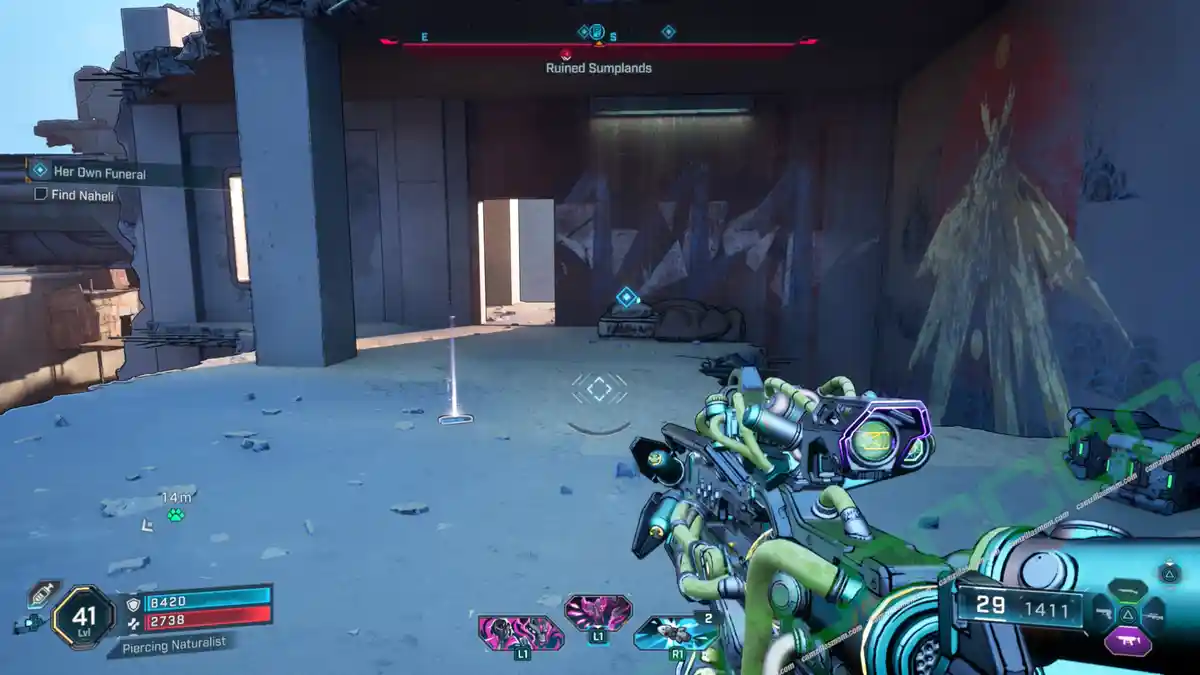
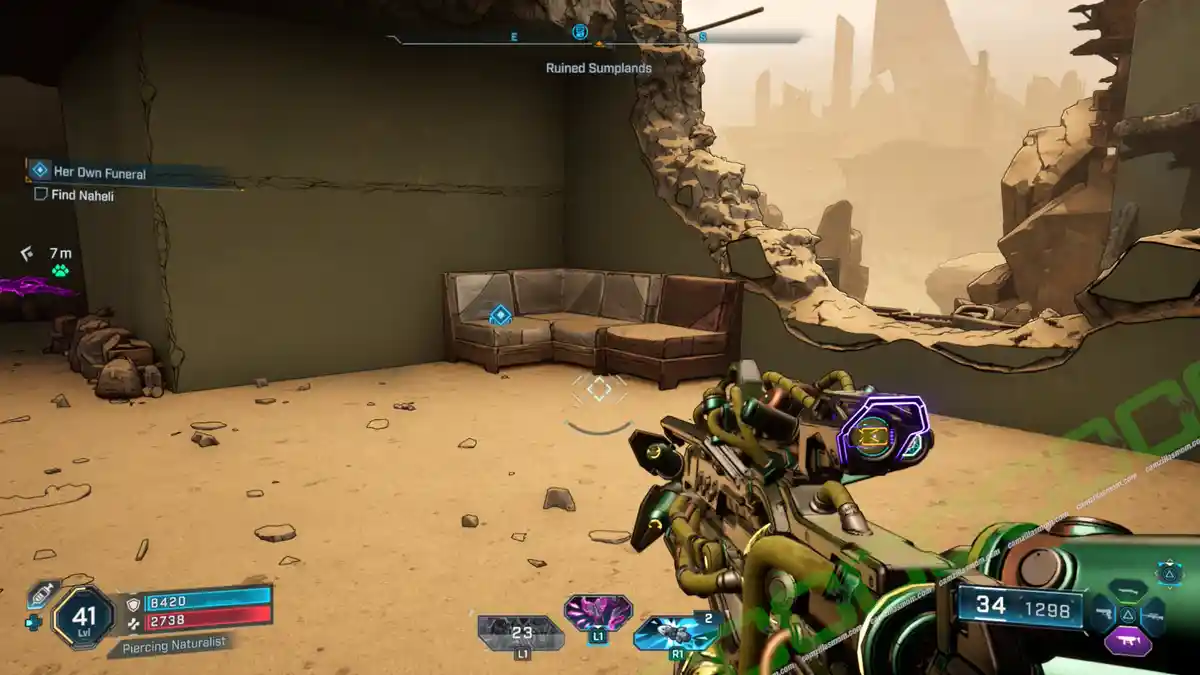
You’ll find this ECHO Log during the side mission “Her Own Funeral.” It’s in the second spot you need to search for Naheli.
Description:
“Lady Naheli confronts the one she believes betrayed her family.”
12 – Her Tragedy
You’ll find this ECHO Log during the ‘Her Own Funeral’ Side Mission. It’s at Naheli’s last known location.
13 – A New Order
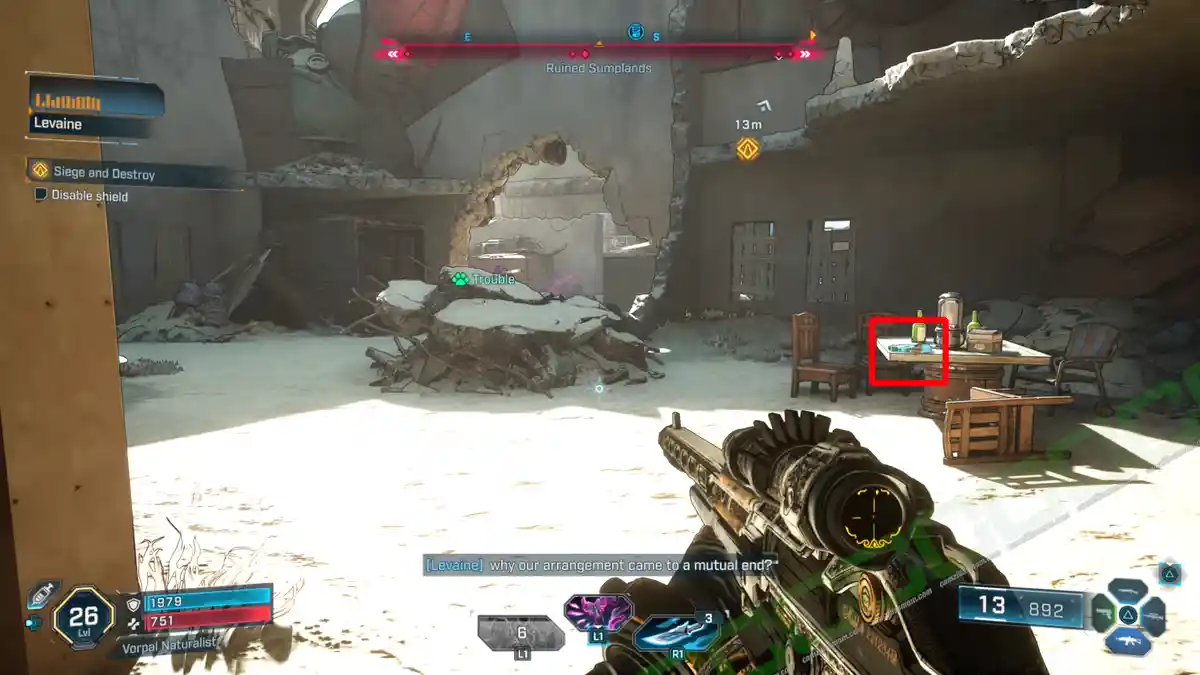
During the “Siege and Destroy” main mission, you’ll come to a third catapult. To proceed, you need to deactivate its shield. You can find this ECHO Log on the ground floor, right underneath the off switch.
Description:
“The Ripper Queen seeks new troops.”
14 – Fashionista
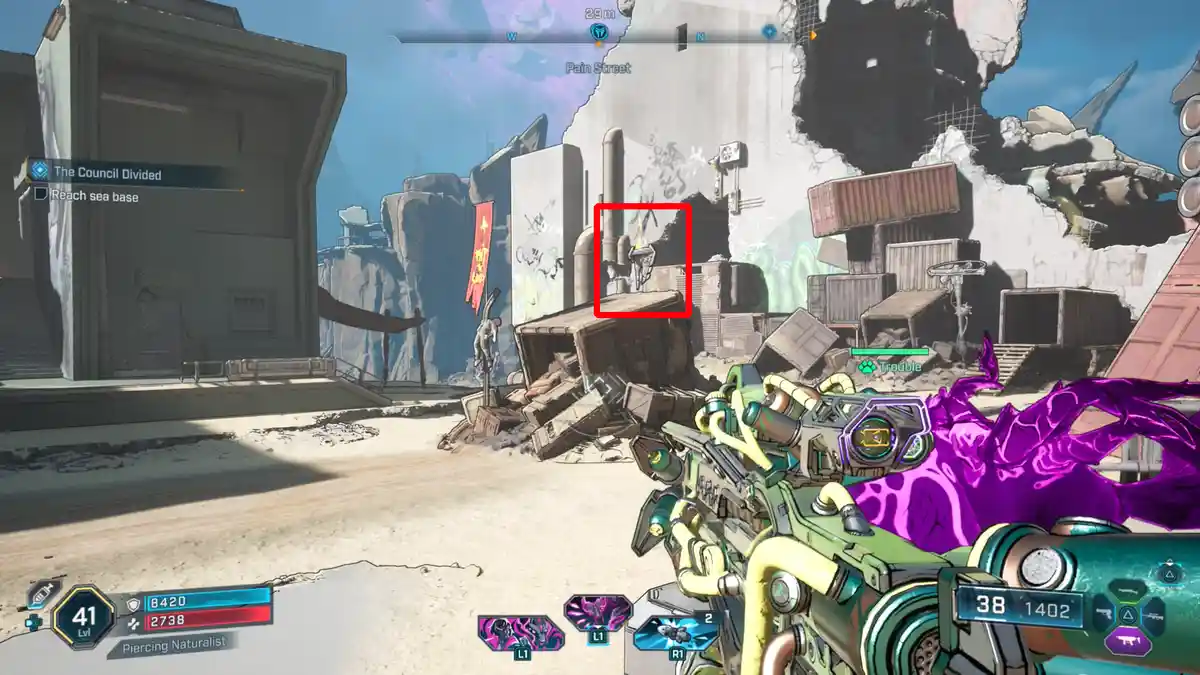
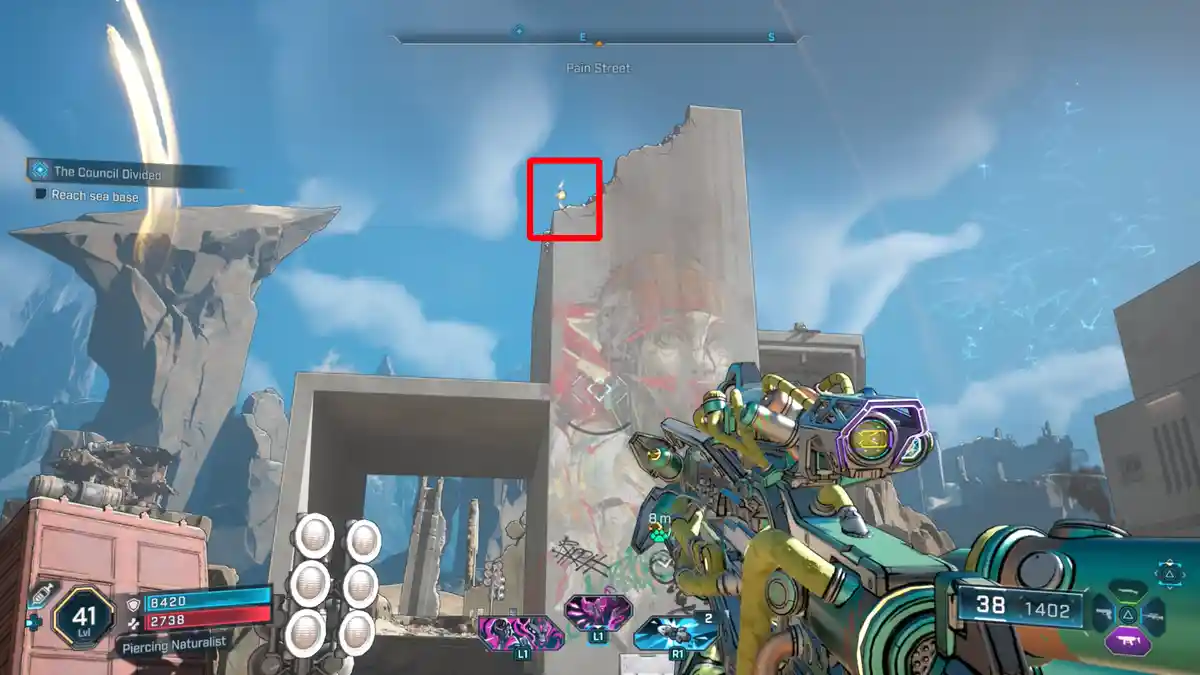
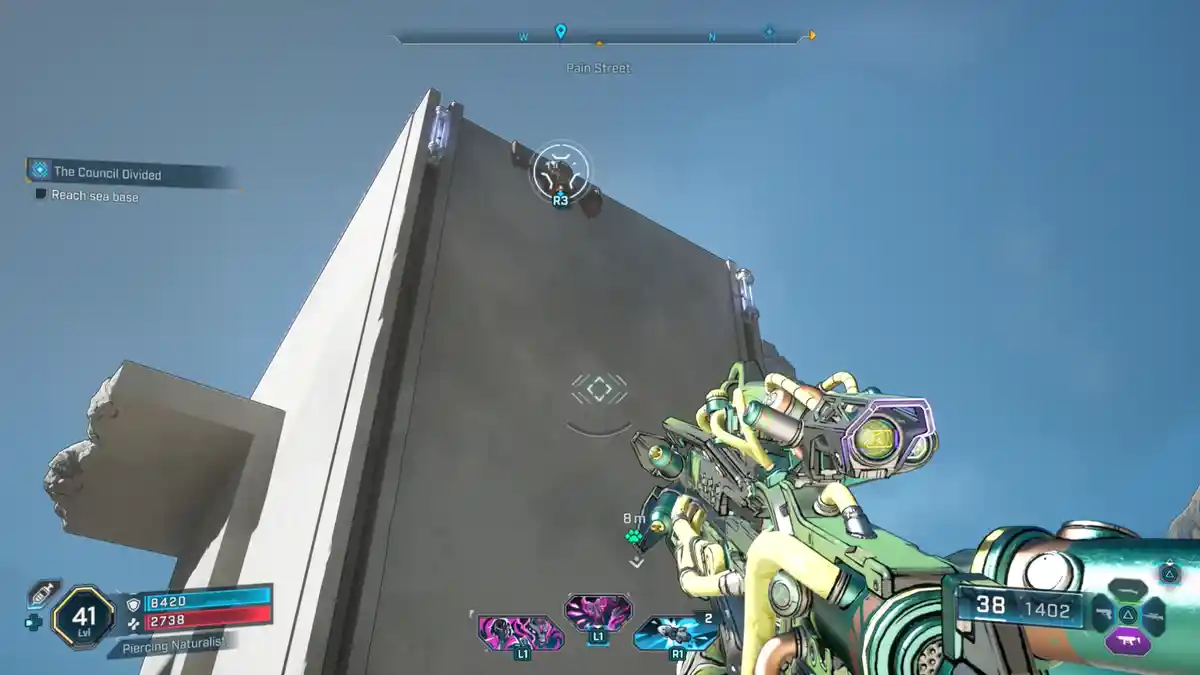
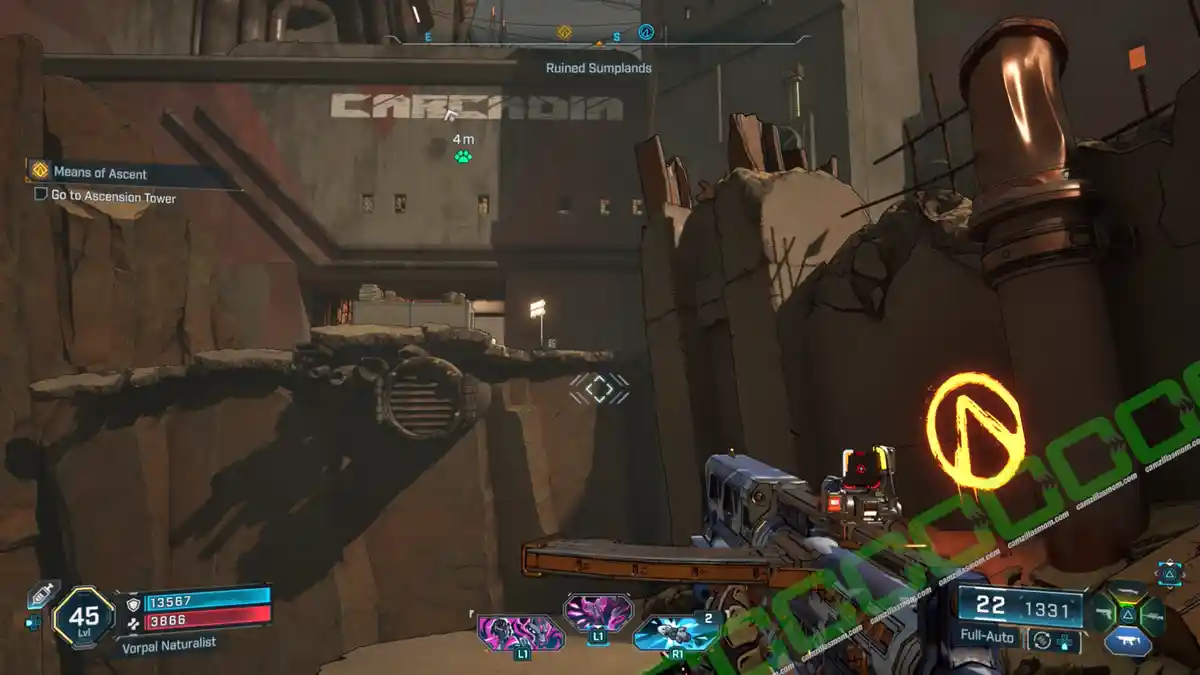
You’ll find the ECHO Log high up on the building just east of the Pain Street POI and northwest of Faction Town. Look for a grapple point on the eastern side of the building to get up there.
Description:
“Reviewing Kairos’ latest and greatest looks.”
15 – The Legend of Carcadia
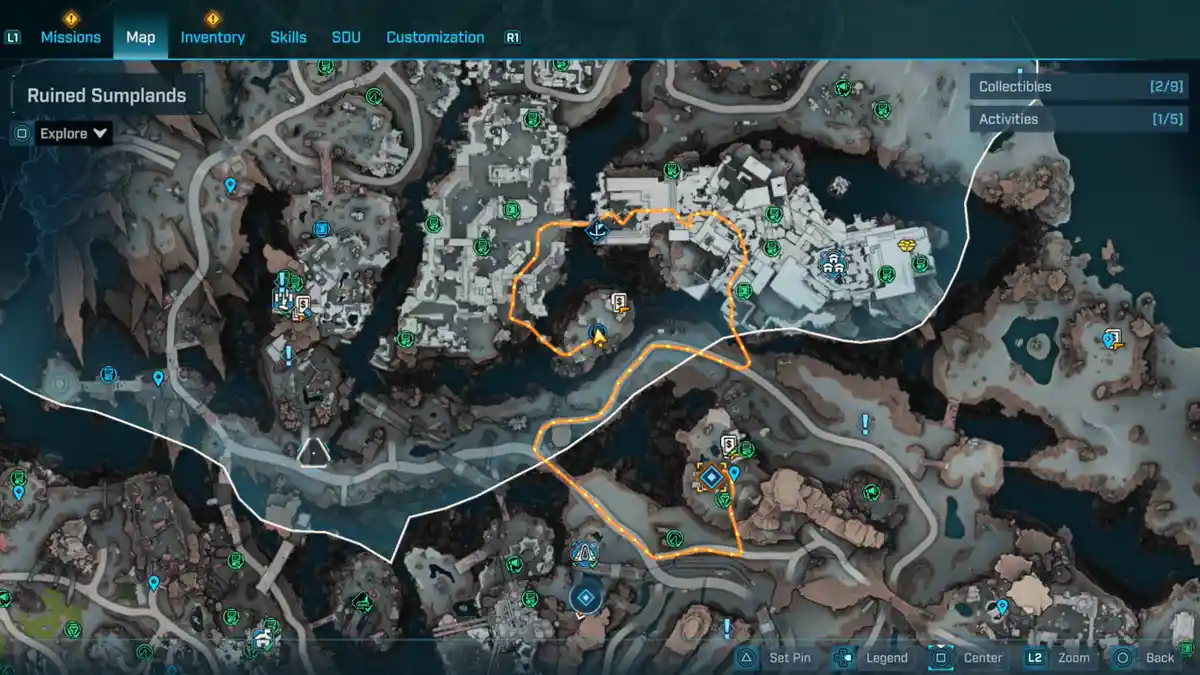
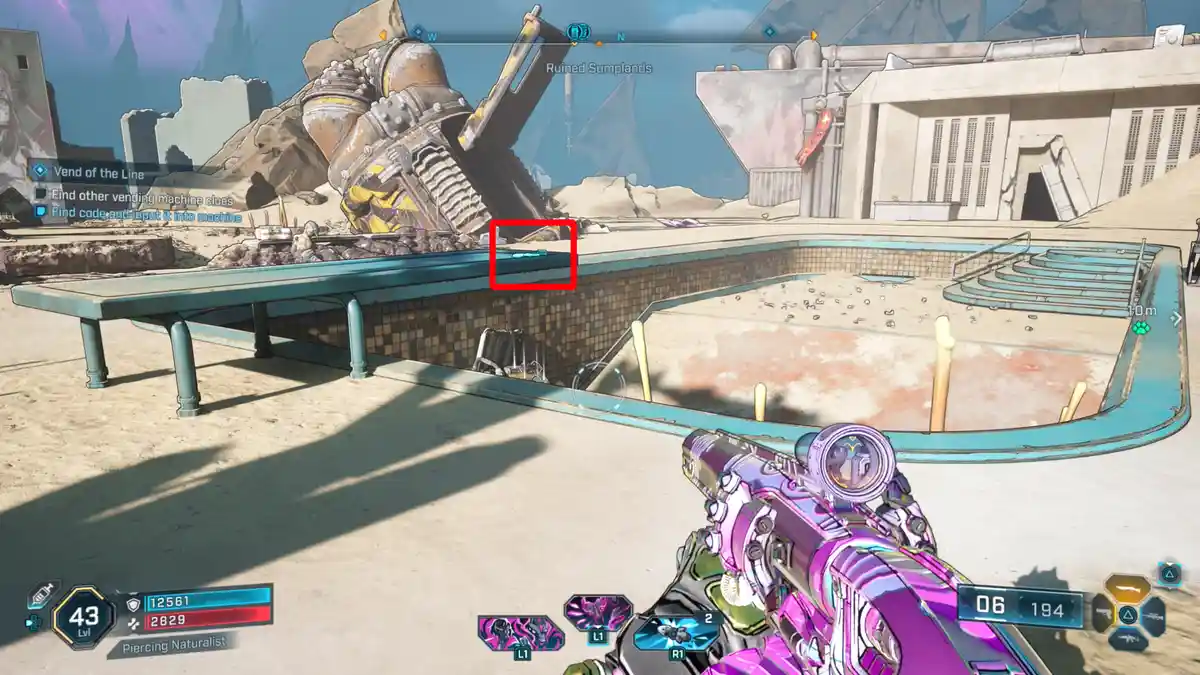
In the southeast part of the Ruined Sumplands, just southwest of the Faction Town, there’s an island near the border with a swimming pool that has a Lost Capsule inside. Take a look at the springboard – there’s an ECHO Log there too.
Description:
“Leader Willem and Levaine discuss the origins of Carcadia.”
16 – Uninvited Guest
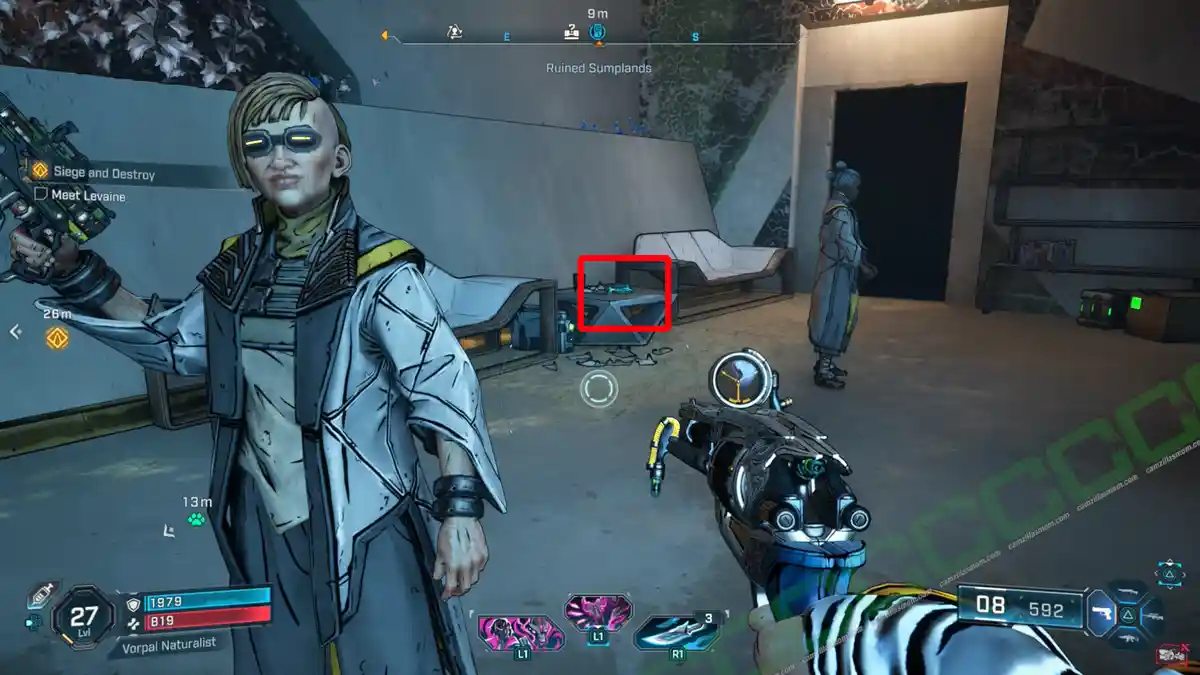
Proceed with the main mission, “Siege and Destroy,” to discover the next ECHO Log located near the city gates.
Description:
“Levaine’s dinner is interrupted.”
17 – Human Nature
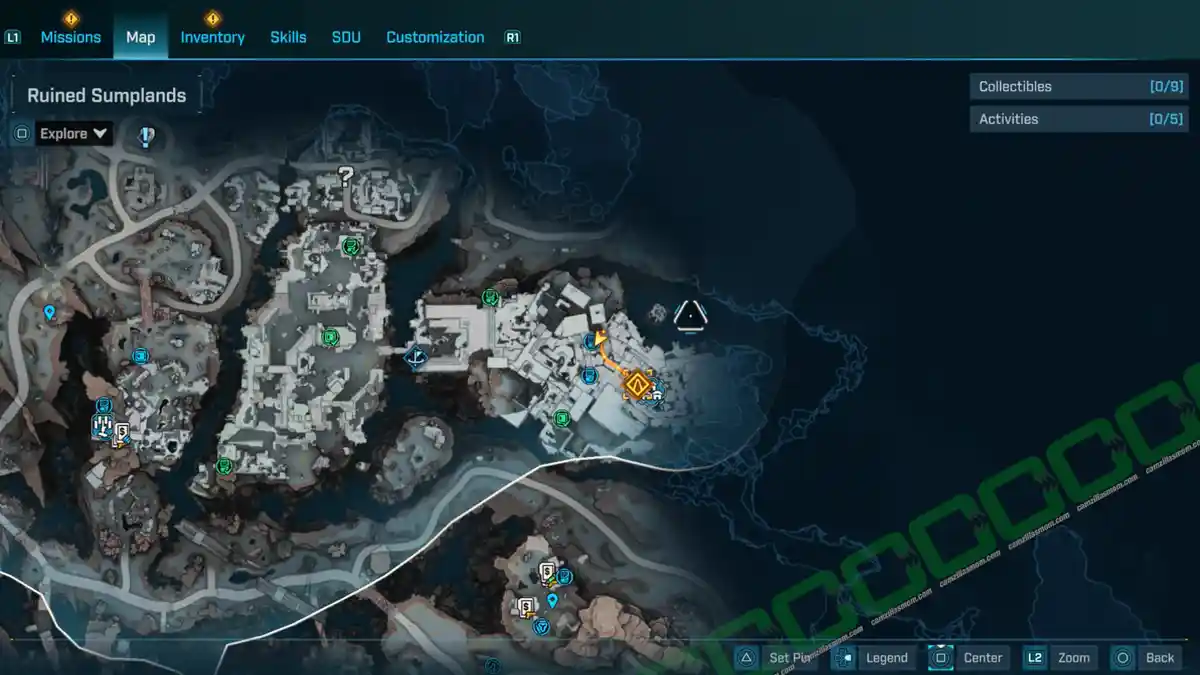
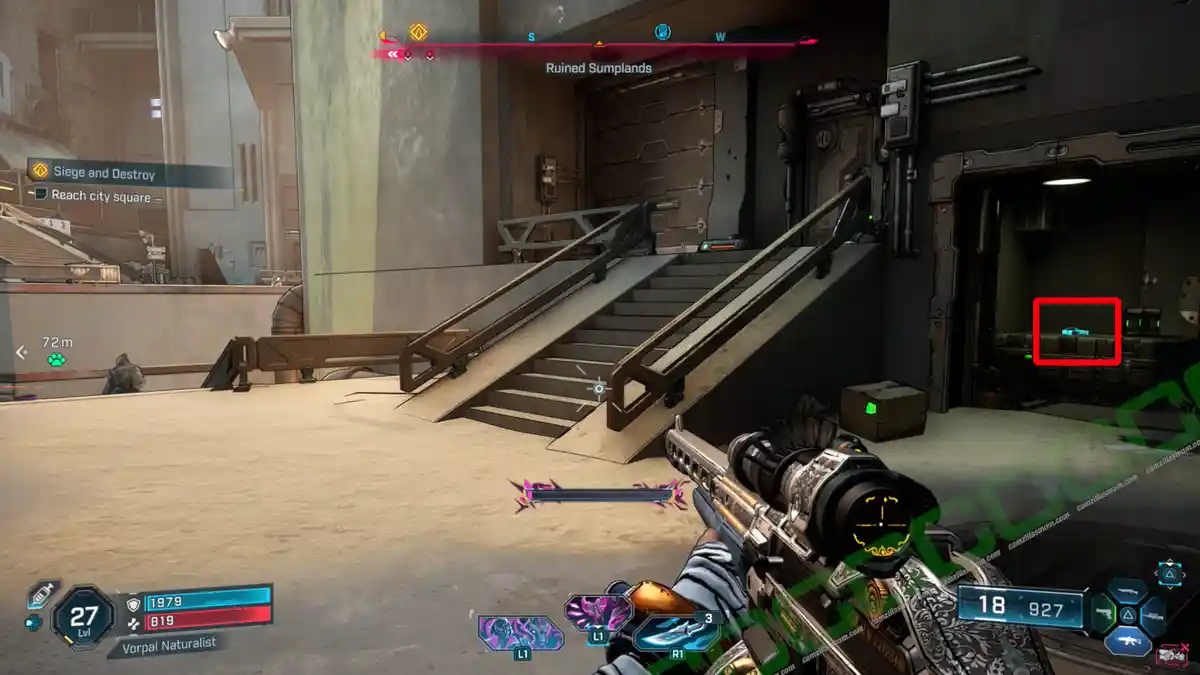
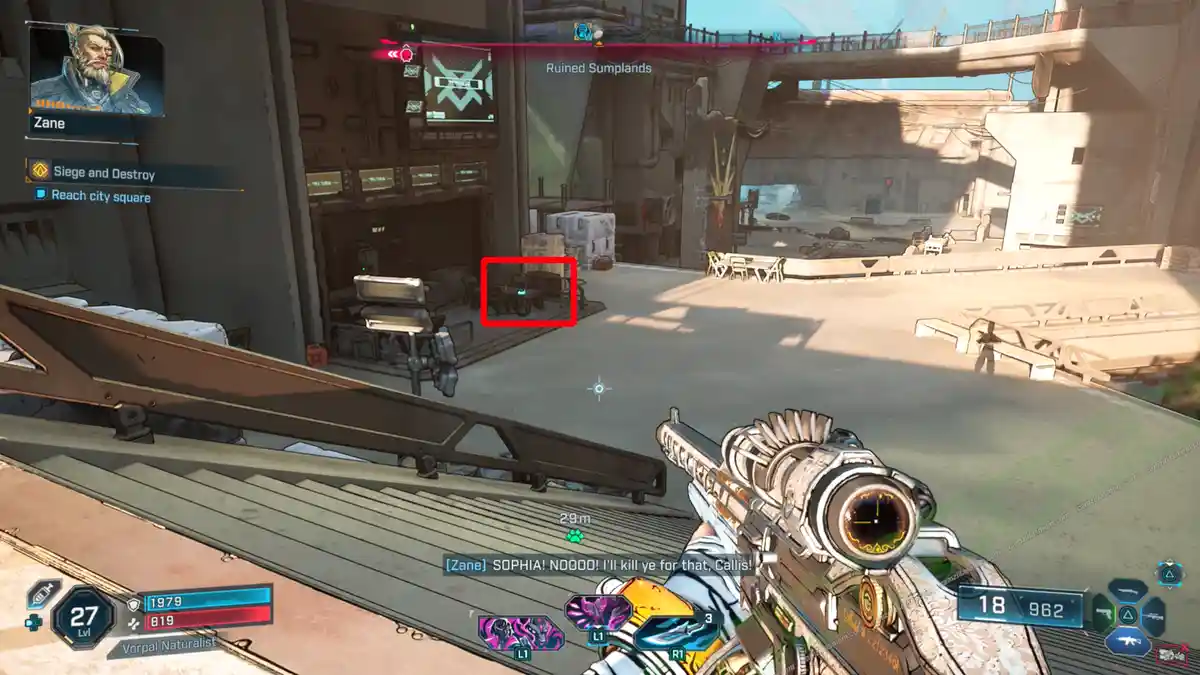
Keep going with the Main Mission “Siege and Destroy.” As you head closer to the city, don’t forget to grab the ECHO Log near the staircase leading up to the city.
Description:
“A critique.”
18 – Lev at First Sight
You’ll find this ECHO Log right near the last one, over in the Faction Town square.
Description:
“A new city, new foes, and a new lady.”
19 – Carcadia’s Birth
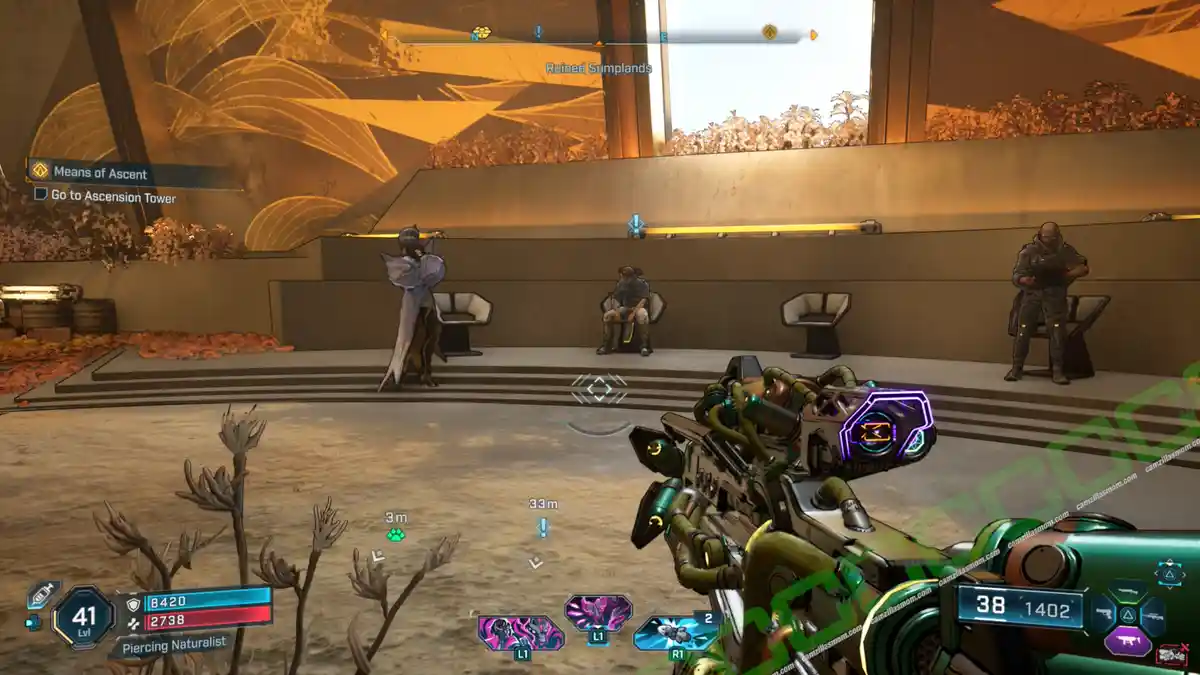
In Faction Town: Carcadia, the ECHO Log is just chilling on the coffee table in the main building.
Description:
“A city is formed.”
20 – Track and Field
After you free Faction Town: Carcadia, head to the back terrace to grab your reward. While you’re there, you’ll also find this ECHO Log.
Description:
“Zane is trying his latest gadget.”
21 – A Warrior’s Wage
You can find an ECHO Log just north of the Faction Town, close to the Propaganda Speaker.
Description:
“Poetry from the battlefield.”
Dead Bolts – 4
1 – The Three Hour Rule
2 – Loyal Customer
3 – Such Cheek!
4 – Duck and Cover
-> Also available: Any Last Words? All 39 Dead Bolts
1 – The Three Hour Rule
Head north to the Gunkworks. Then, hop off the bridge and go west to a small island where you’ll find this Dead Bolt.
Description:
“Carly Oglivie. Raize. 17,529 hours. Offline.”
2 – Loyal Customer
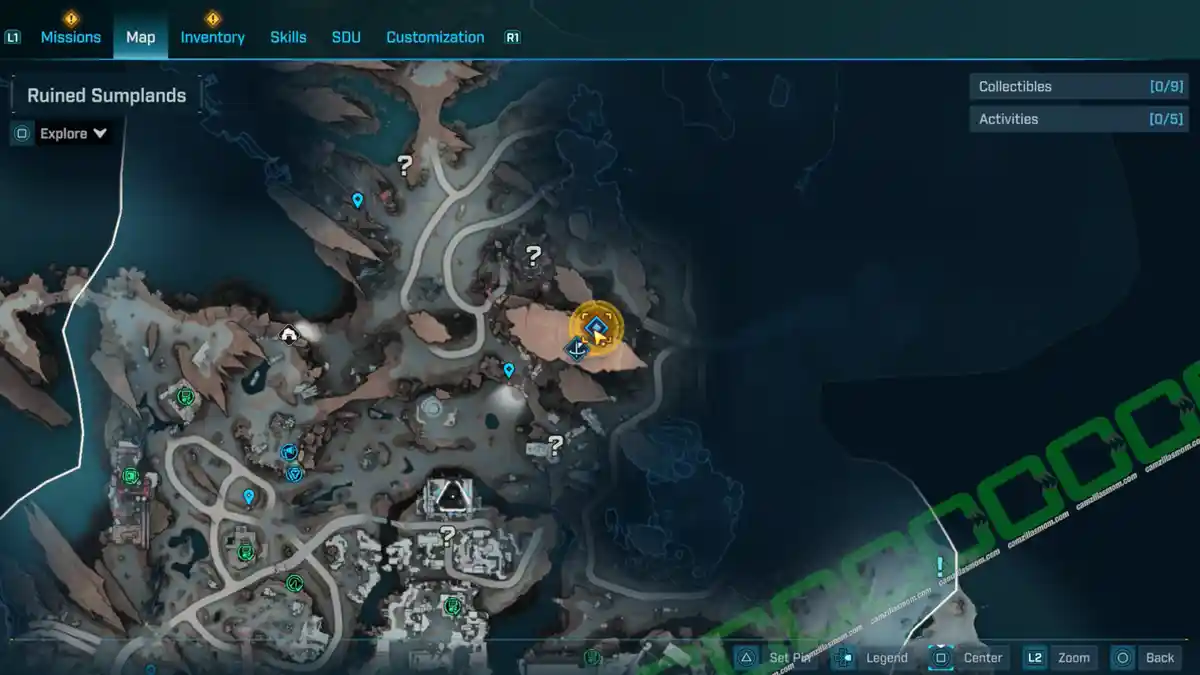
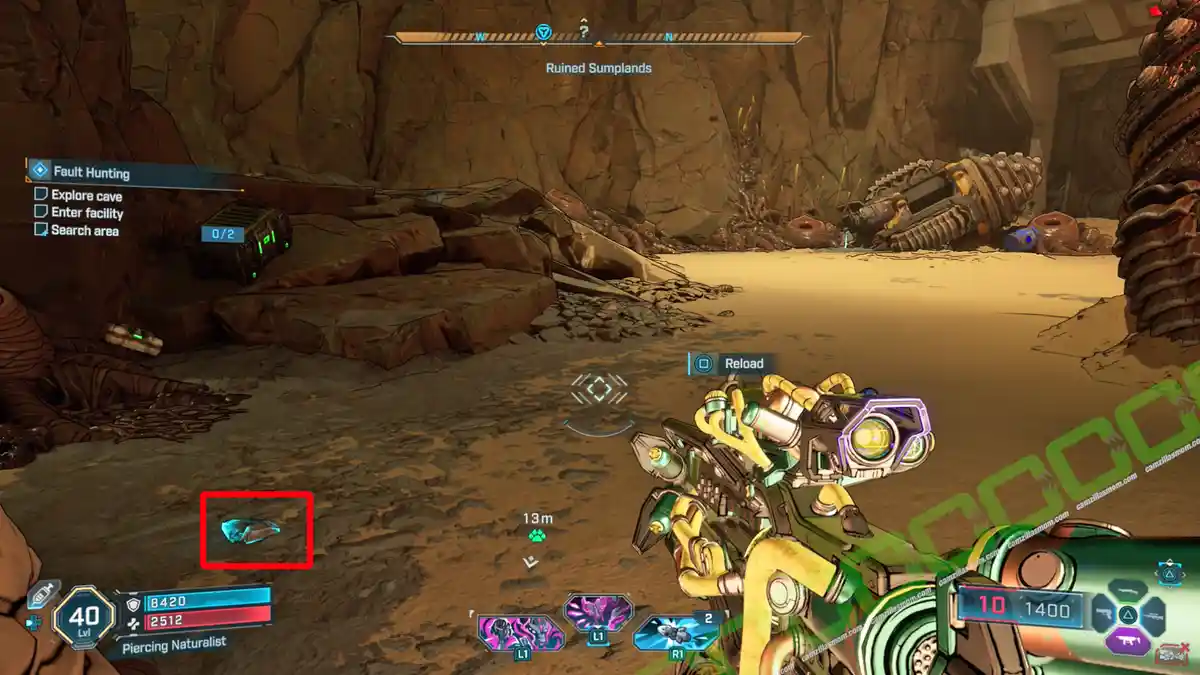
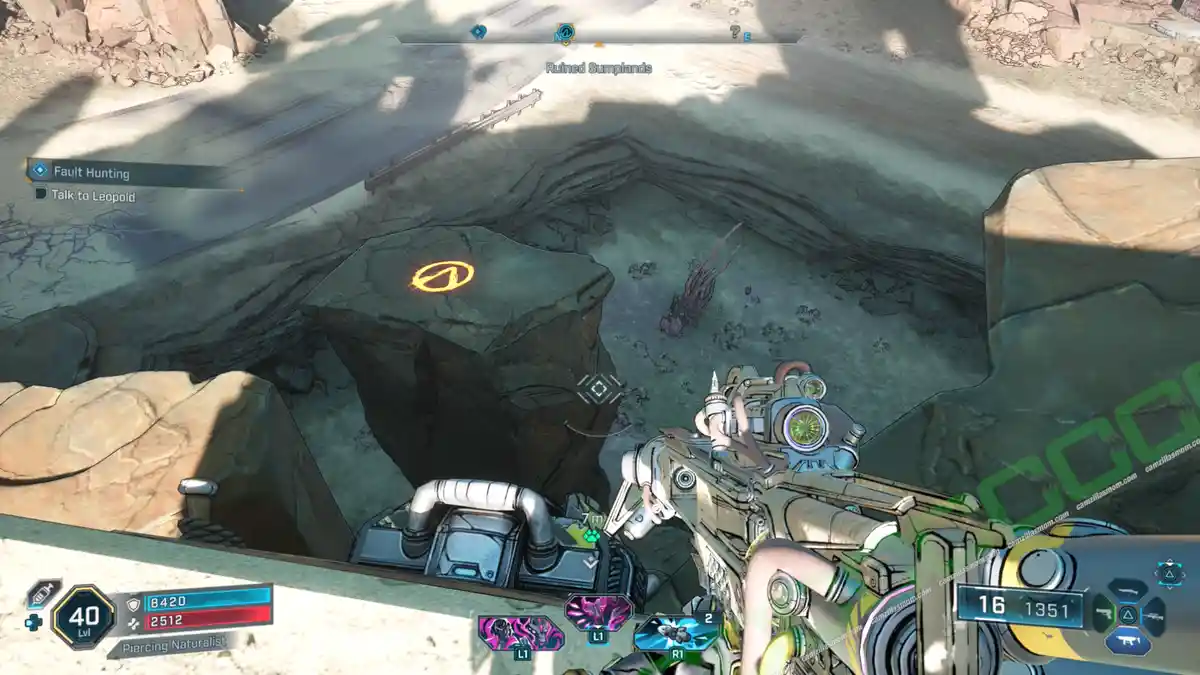
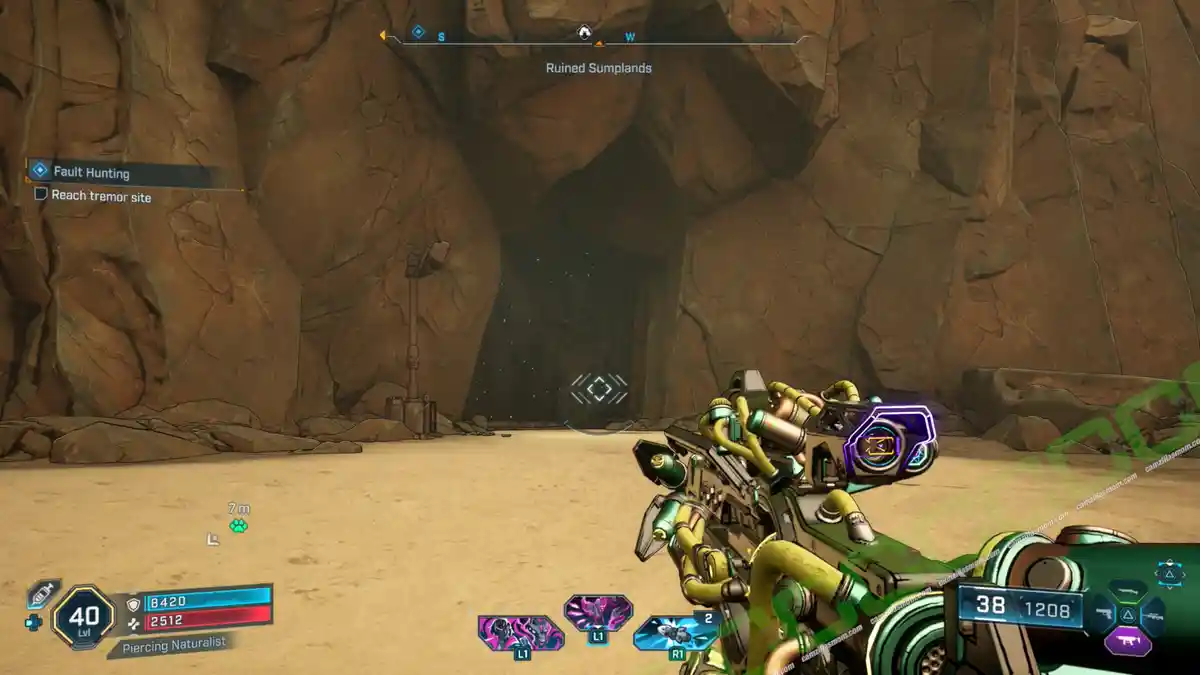
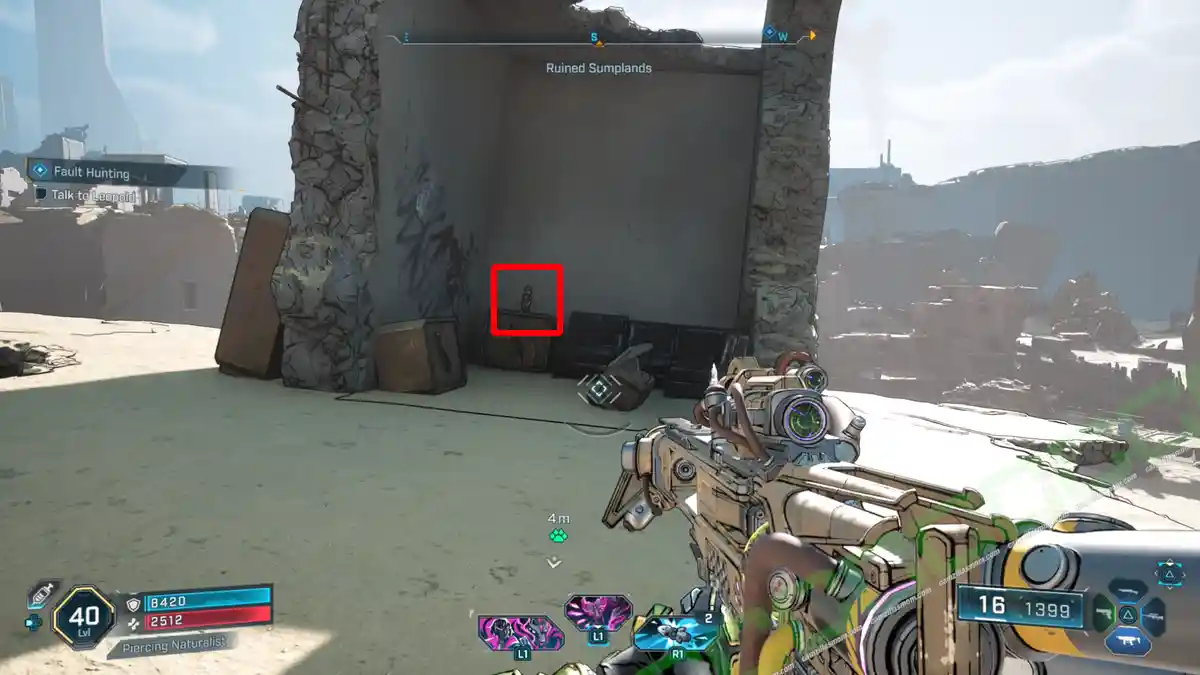
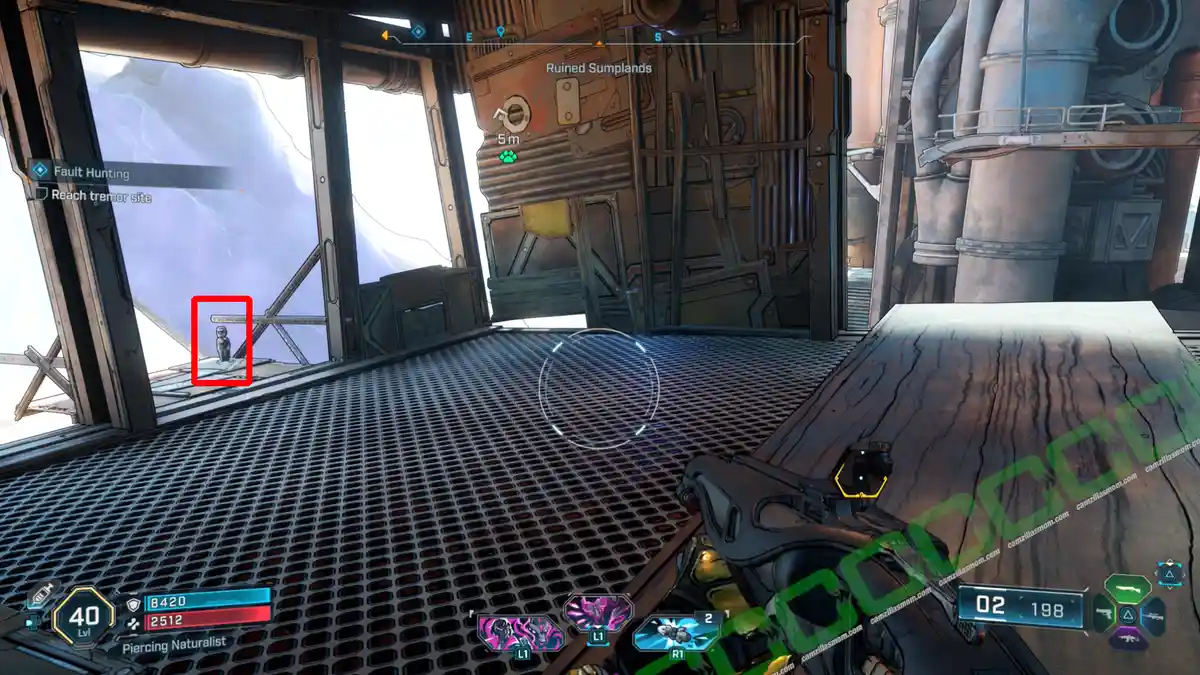
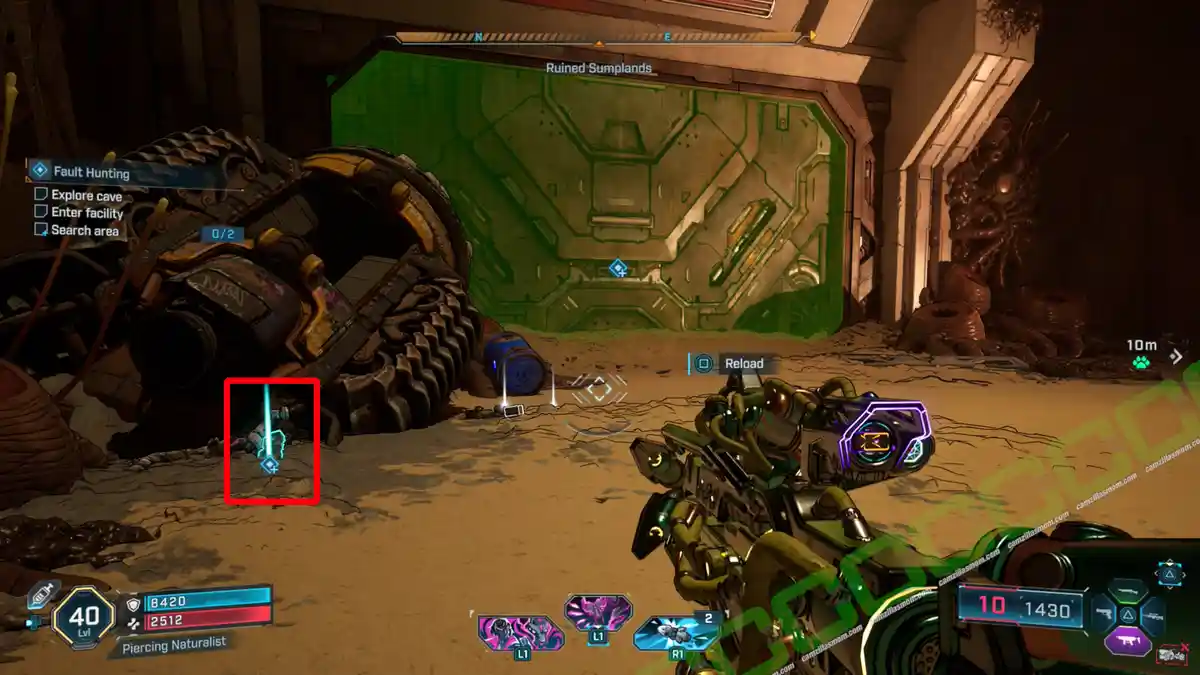
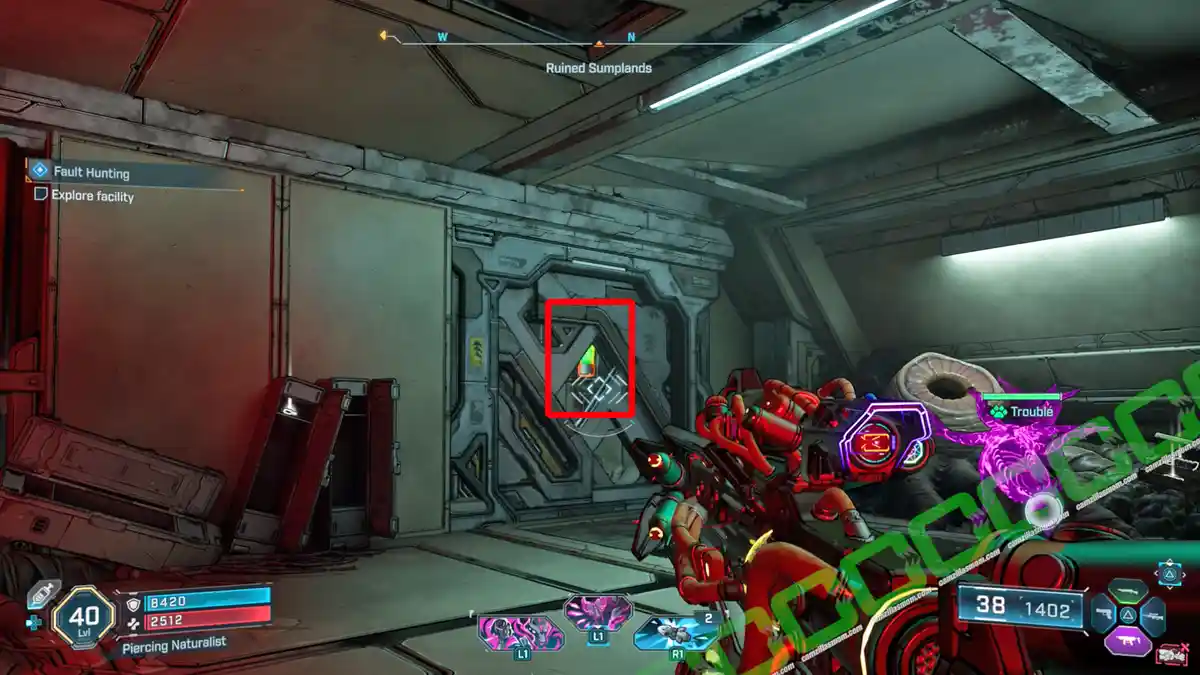
Just follow the “Fault Hunting” Side Mission until you reach a cave. Once inside, check near the big door, and you’ll find this Dead Bolt.
Description:
“Thurl Groge. Kairos. 122,519 hours. Offline.”
3 – Such Cheek!
Just north of Faction Town, there’s a small desert. You’ll find a couple of creepers hanging out in the middle, along with a Dead Bolt.
Description:
“Eugenia Cicero. Kairos. 317,519 hours. Offline.”
4 – Duck and Cover
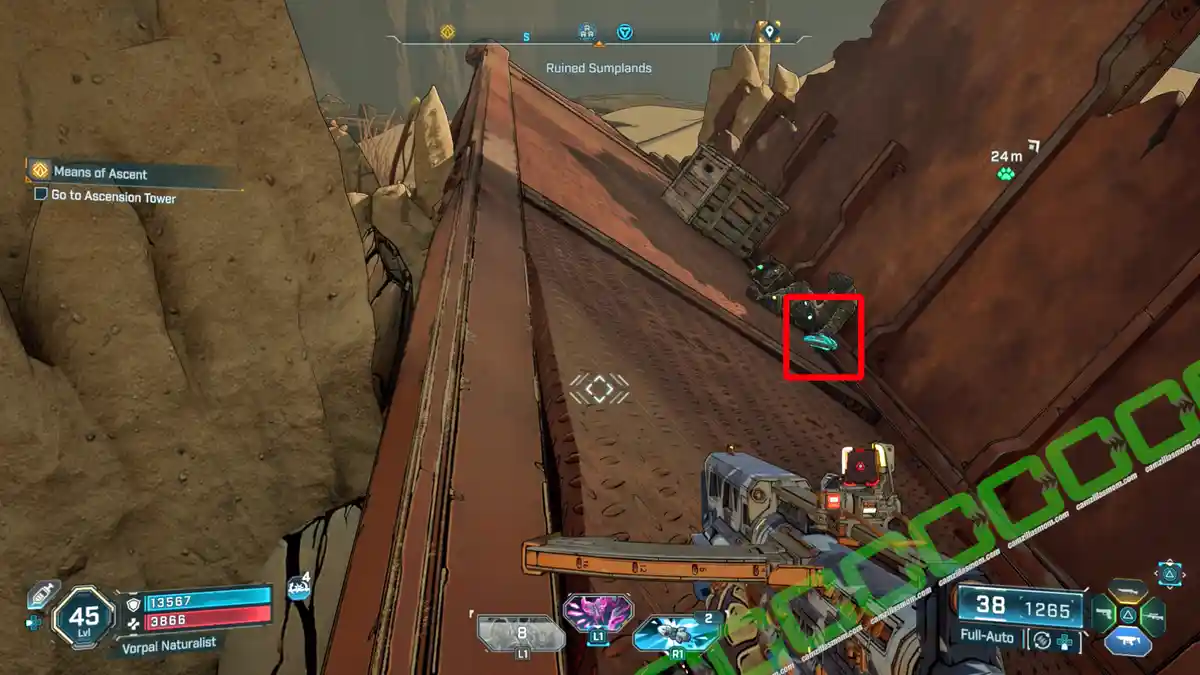
Head south, just off the main road, and you’ll spot a huge jump ramp that’ll shoot you right to this Dead Bolt.
Description:
“Tini Farro. Gobeen. 7 hours. Offline.”
Vault Hunter’s Guide to Kairos – 1
The Vaultl Hunter’s Guide to Kairos: Carcadia Burn is found in the northeast of the Society for Amateur Seismology. Up on a hill is a Propaganda Speaker. Nearby, on the cliff, is a ruined building, where you can find the ECHO Log on the ground floor.
Description:
“Arjay tours Carcadia Burn.”
-> Also available: Guided Tour – All 12 Vault Hunter’s Guides
Electi Safe – 6
1 – The Gunkworks
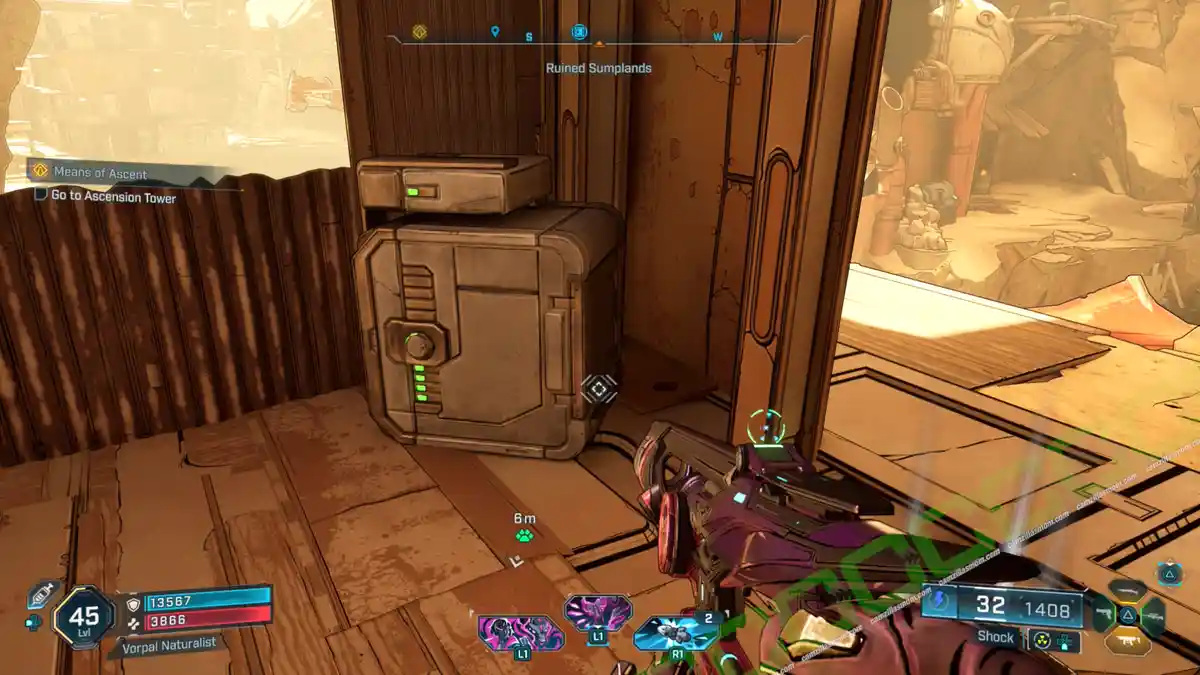
There’s an Electi Safe in one of the buildings at the Gunkworks. Just use your grapple to get up there!
2 – Hull’s Handbasket
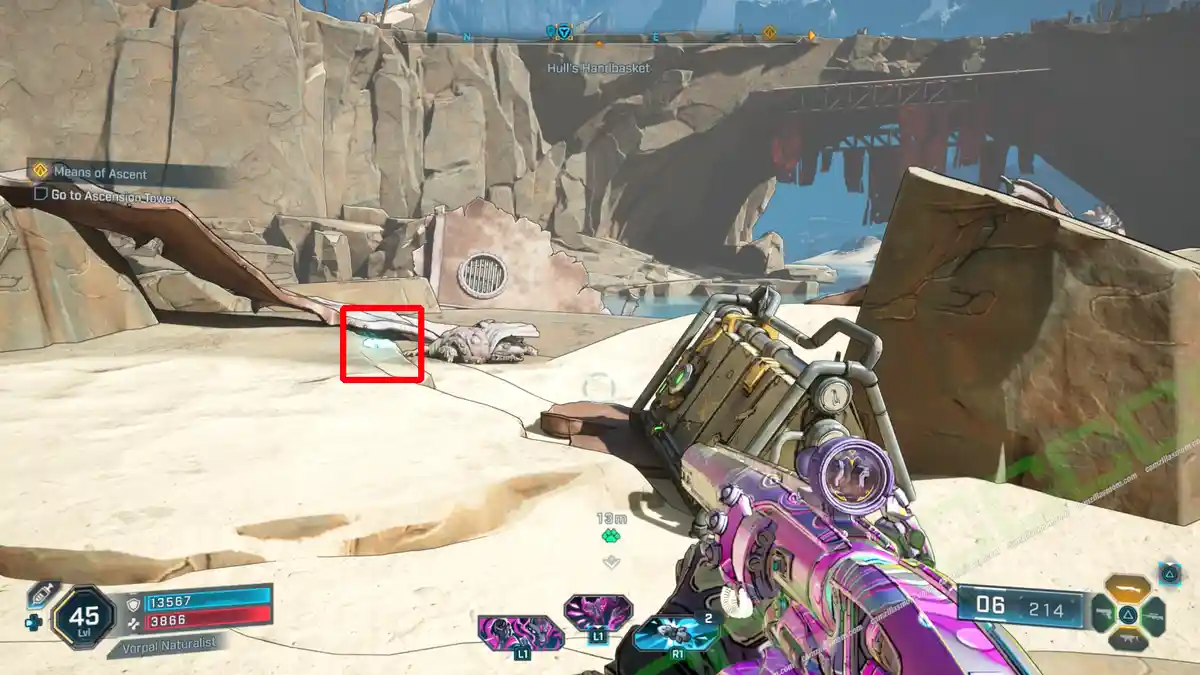
Make your way to the top level of Hull’s Handbasket. You’ll find a car wreck at the end of one of those overhanging rock spikes. The Electi Safe is there too.
3 – Western Cliff Factory
Just west of the Society for Amateur Seismology Enthusiasts POI, there’s a factory building perched high on the cliff. To get there, you’ll need to climb the staircase all the way to the top. Keep an eye out for a grapple point, and use the pipes to get past the missing sections of the staircase and reach the top.
4 – Moxxi’s Bottoms Up!
Just north of Moxxi’s, you’ll find a ruined settlement with the Electi Safe on the second floor of one of the buildings.
5 – Second Catapult
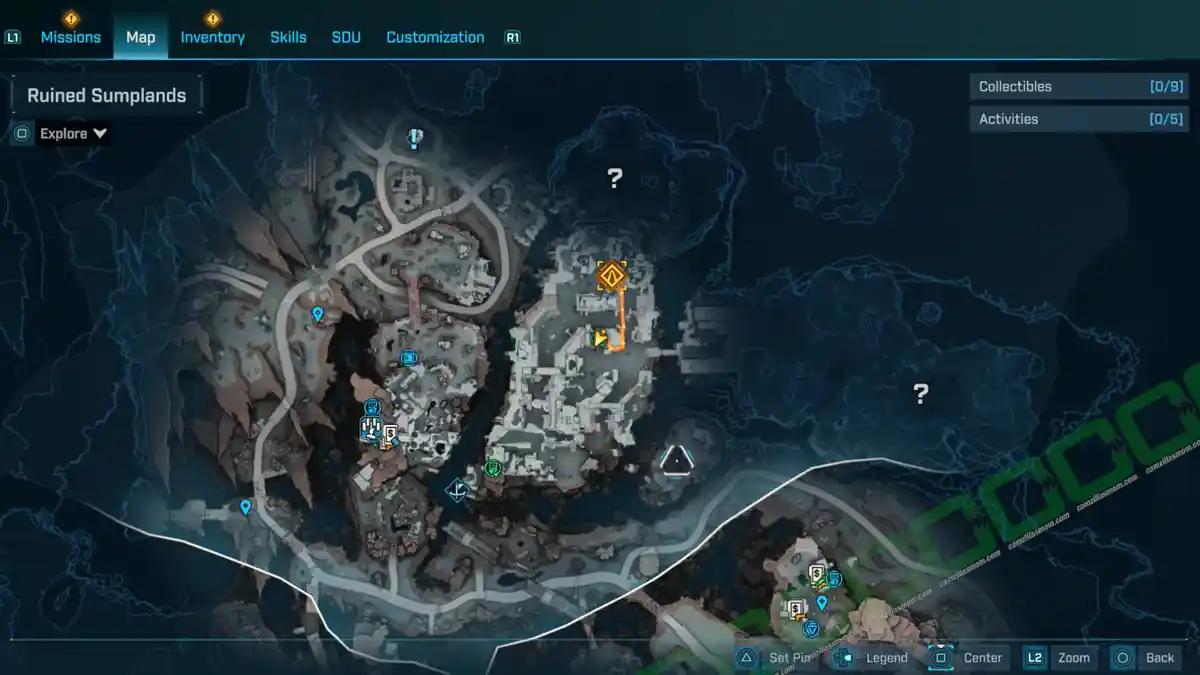
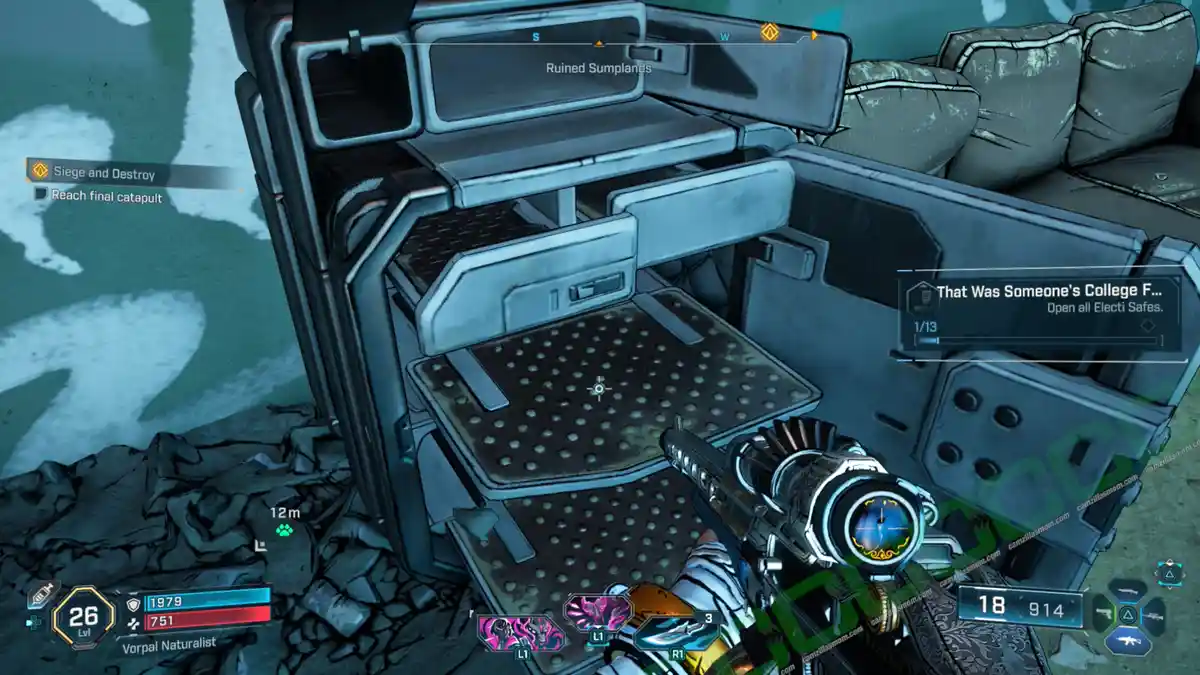
During the Main Mission “Siege and Destroy”, you’re using Sofia to destroy the catapults. At the location of the second catapult is this Electi Safe.
6 – Faction Town: Carcadia
You’ll find the second Electi Safe chilling in a Creeper nest, just west of Faction Town: Carcadia.
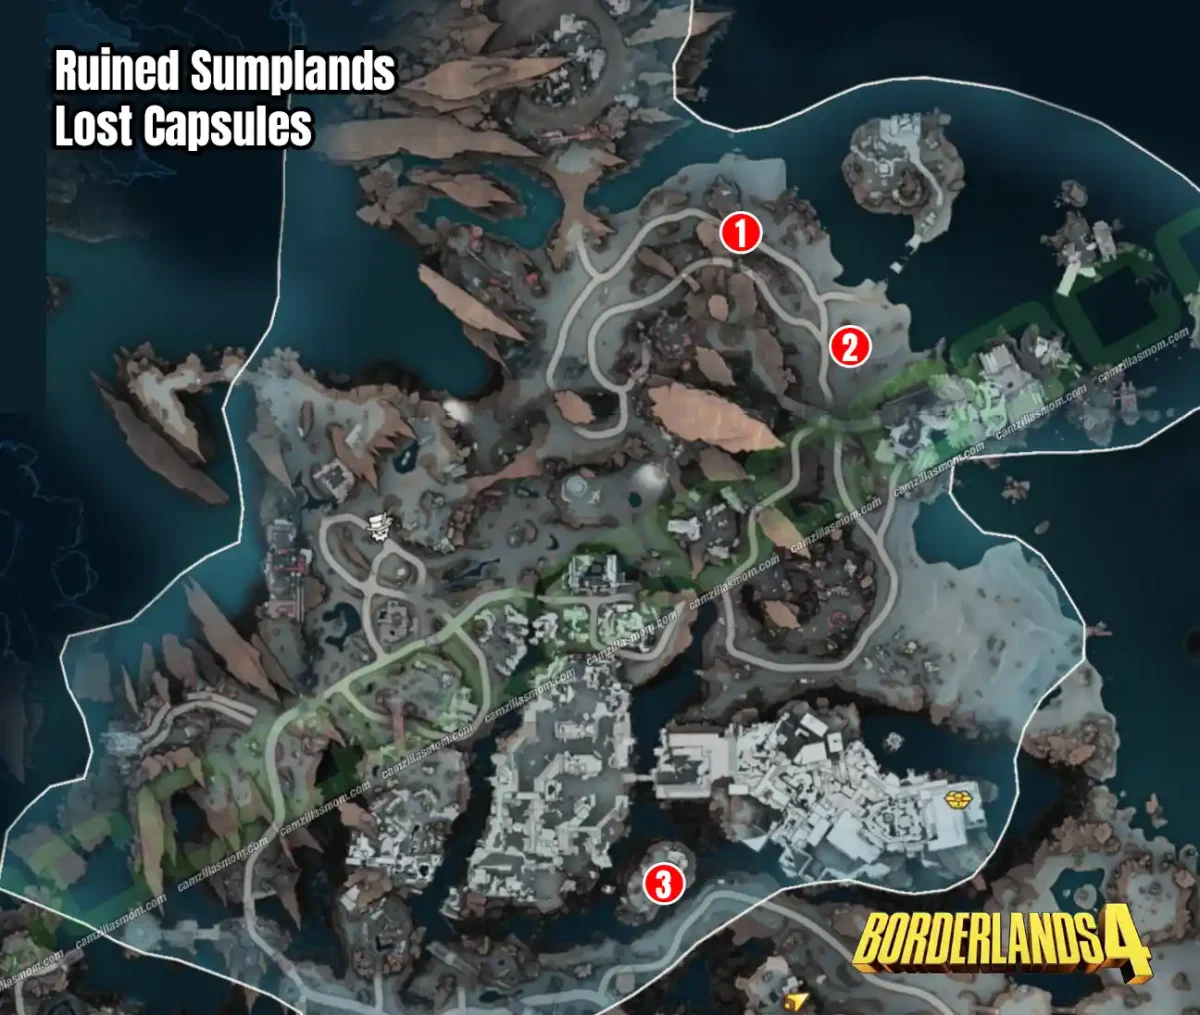
Lost Capsules – 3
1 – Safehouse Southwest
2 – Safehouse South
3 – Southeastern Border Island
1 – Safehouse Southwest
The last Lost Capsule? It’s just southwest of the Safehouse, right across the water. Head to the ripper camp and you’ll spot a platform just above the underpass. Grab it and bring it back to the decryptor at the Safehouse.
2 – Safehouse South
Head south across the broken Safehouse Bridge. You’ll find the Lost Capsule on a set table there. Grab it and bring it back to the decryptor at the Safehouse.
3 – Southeastern Border Island
In the southeast of the Ruined Sumplands, just southwest of the Faction Town, you’ll find an island near the border. There’s a swimming pool there with a Lost Capsule inside! Plus, an ECHO Log is waiting on the springboard. Heads up: you’ll need to take that ECHO Log to the Faction Town to get it decrypted.
Propaganda Speakers – 3
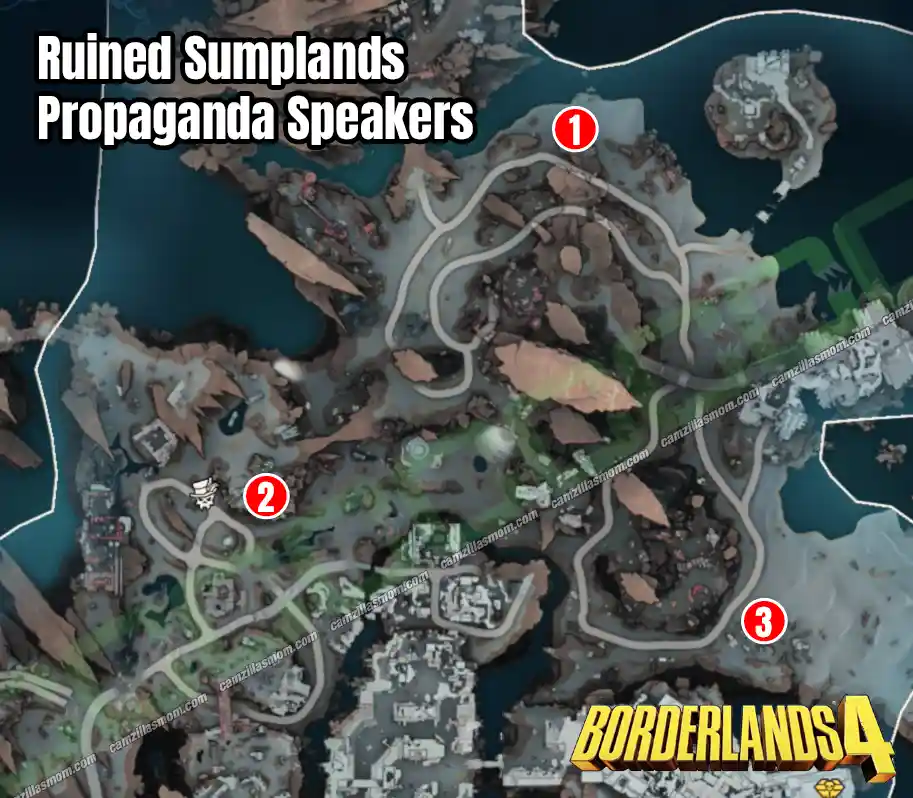
1 – Safehouse West
2 – Society for Amateur Seismology Enthusiasts
3 – The Marrow Narrows East
1 – Safehouse West
West of the Safehouse, up the hill, there’s a ripper camp. You’ll find the Propaganda Speaker at the back of that camp.
2 – Society for Amateur Seismology Enthusiasts
You’ll find a Propaganda Speaker up on the mountain just northeast of the Society for Amateur Seismology Enthusiasts.
3 – The Marrow Narrows East
Just east of the Marrow Narrows POI and a bit north of the Faction Town, you’ll find a Propaganda Speaker tucked away in some ruins.
Evocarium – 1
1 – Eridian: Metal – Pain Street
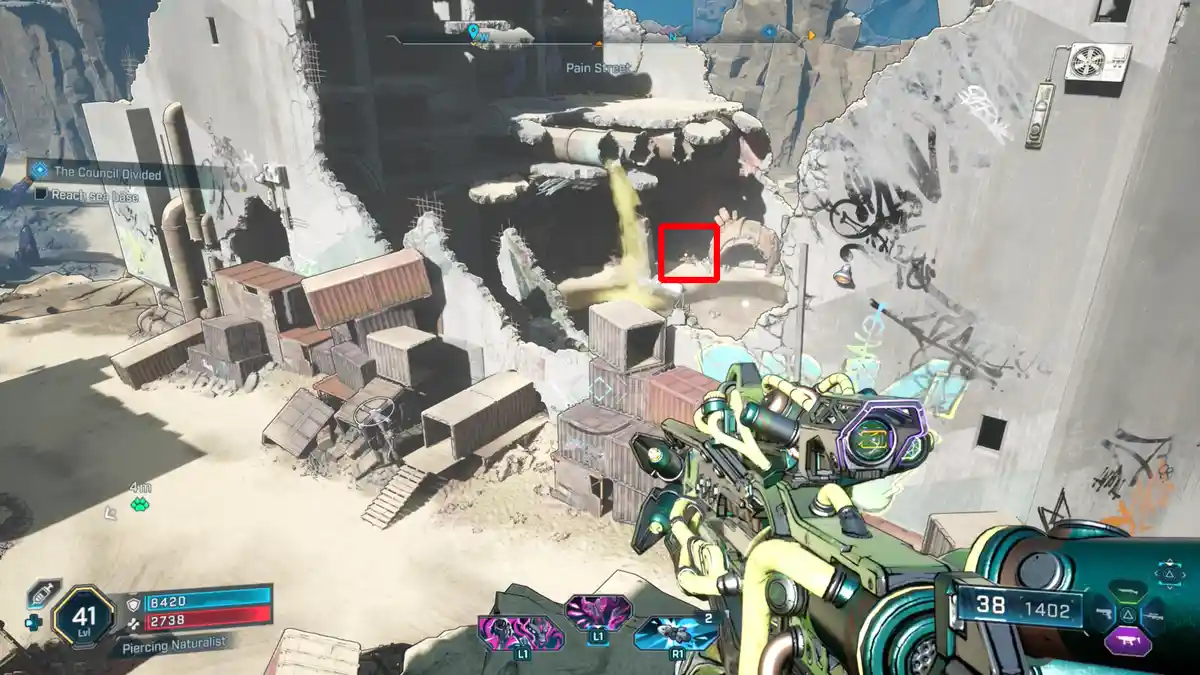
You can find an Evocarium torch at Ruined Sumplands. It’s located in the center courtyard of the Pain Street POI, just northwest of the Faction Town. Interact with it, and three target orbs will appear.
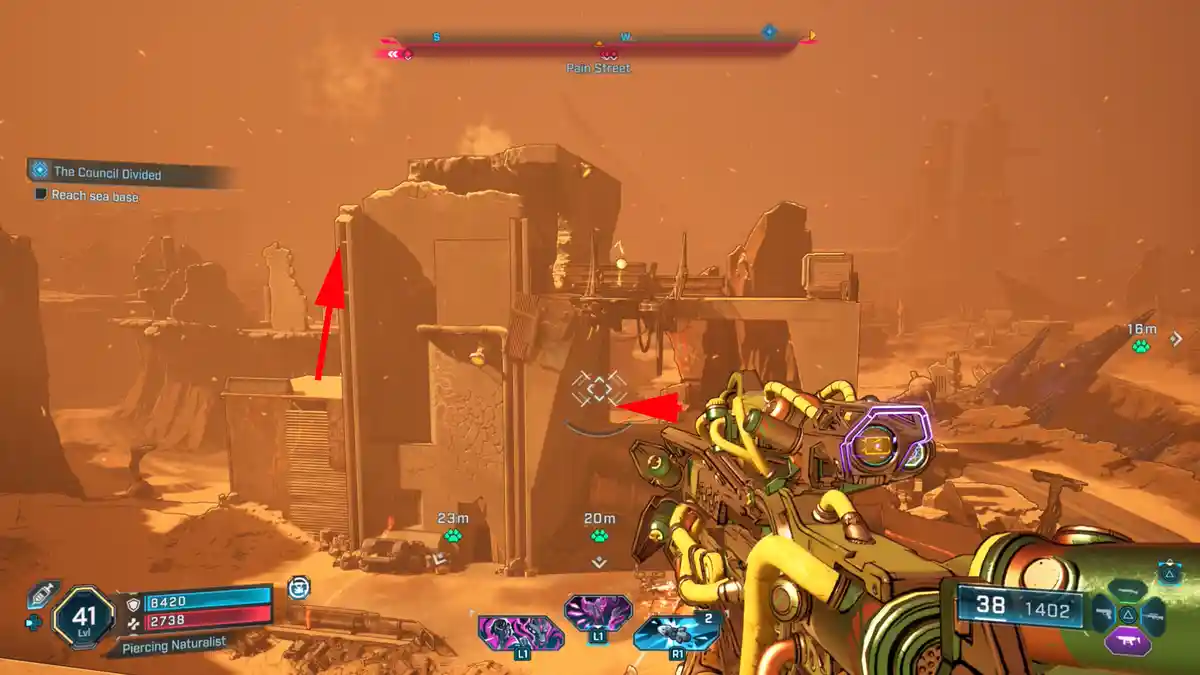
From the torch, you’ll only see one orb. It’s up on the building right next to you. To get to it, use the grapple point at the back of the building. Oh, and the ECHO Log Collectible: Fashionista is up there, too!
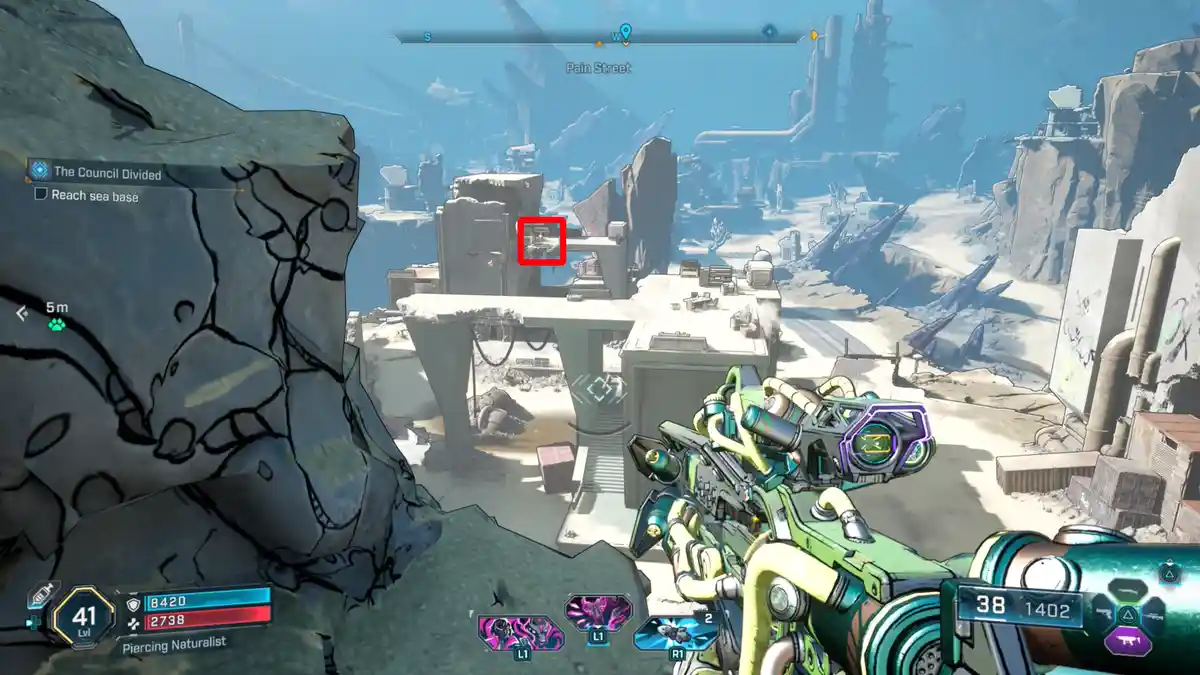
From the first Orb’s spot, you can actually see the second one. Just peek northwest, and you’ll catch it behind that toxic waterfall.
You can actually see the third Orb from where the first one was. Just look west, and you’ll spot it right on top of the building. To grab it, you’ll need to climb up from the other side. There’s a small ladder that’ll get you to the top. Once you’ve got all the orbs, head back to the torch to snag your Eridian ECHO Log: Metal.
-> Also available: Stranded Sister – All 18 Evocariums Revealed
Vault Fragment – 1
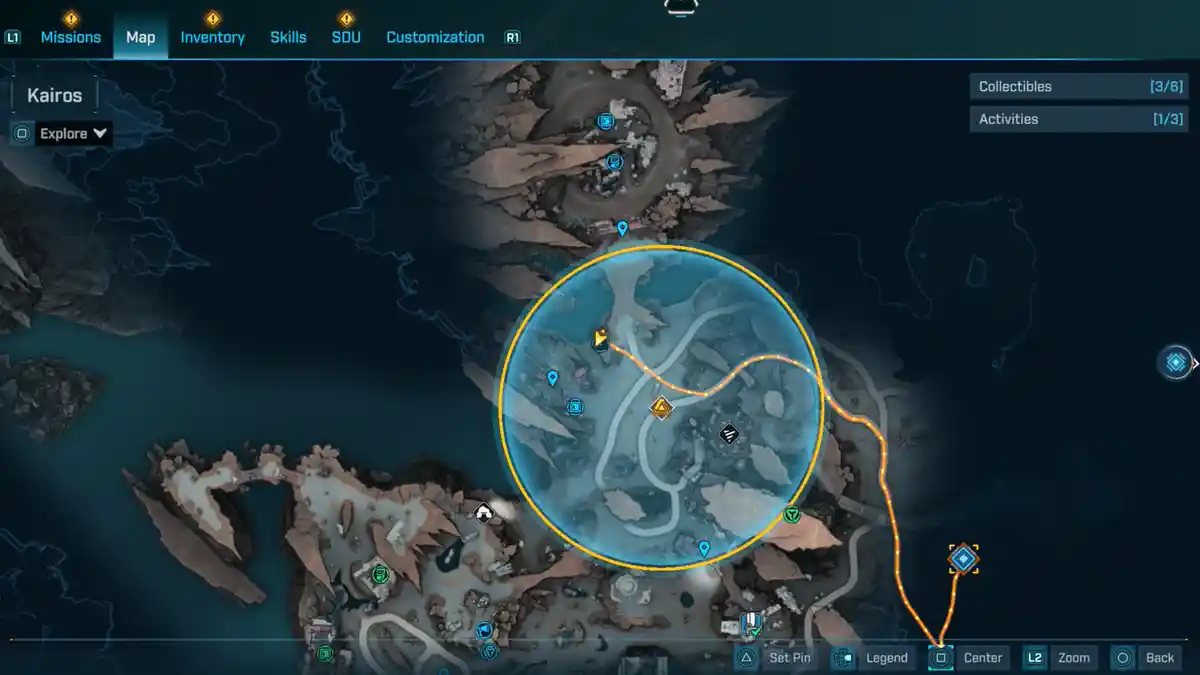
You’ll find the Vault Fragment in the northwest part of the marked circle after taking over the Order Silo. It’s by the waterfront, just northeast of the Hull’s Handbasket POI. It’s one of three to open the Arch of Radix Vault.
-> Also available: Every Vault Fragment & Vault Location in Borderlands 4
Vault Symbols – 3
1 – Ripper Camp Underpass
2 – Rock Pillar
3 – Island North of Faction Town
1 – Ripper Camp Underpass
Just northeast of the Ripper Drill Site, there’s a ripper camp. Head underneath it, and you’ll spot this Vault Symbol.
2 – Rock Pillar
You can find this Vault Symbol on top of a rock pillar. It’s located to the northeast of the Woncewas Townhouse and the Society of Amateur Seismology Enthusiasts POI.
3 – Island North of Faction Town
Just north of Faction Town, there’s a small island with some house ruins. You’ll also find a Vault Symbol there. Just glide over from Faction Town to grab it!
Activities
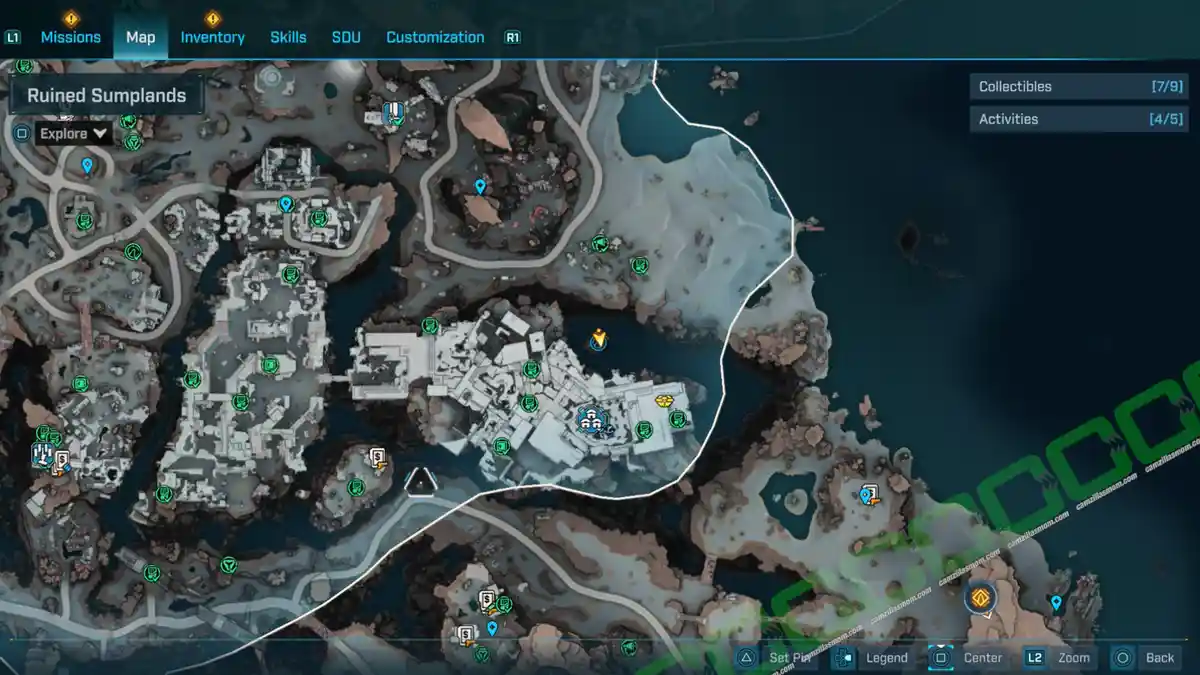
There are a total of five Activities at the Ruined Sumplands.
Abandoned Auger Mine: Trinket Crevass
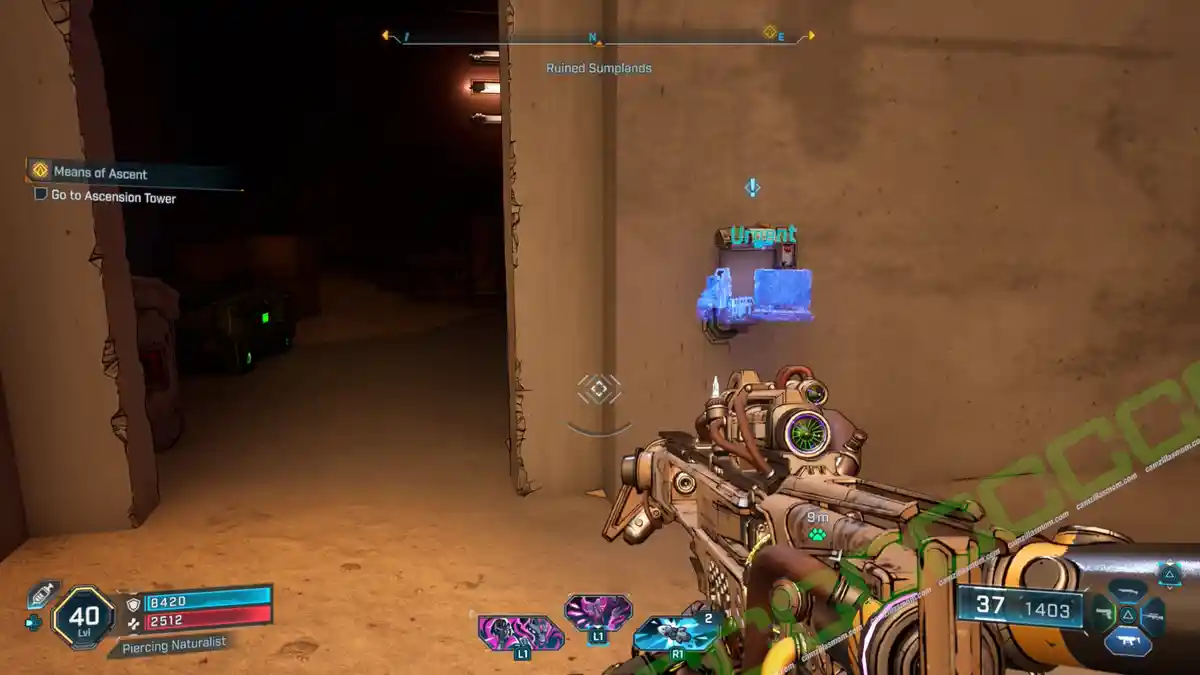
You’ll find the Abandoned Auger Mine just east of the story ramp to the Fallen Crown, and north of the Society for Amateur Seismology Enthusiasts POI. To get inside, you’ll need to keep playing through the Borderlands 4 Story Mission until you’re granted access to the Auger Mine. Once that happens, the glyph at the entrance will be blue instead of red, and you can just walk right through the wall.
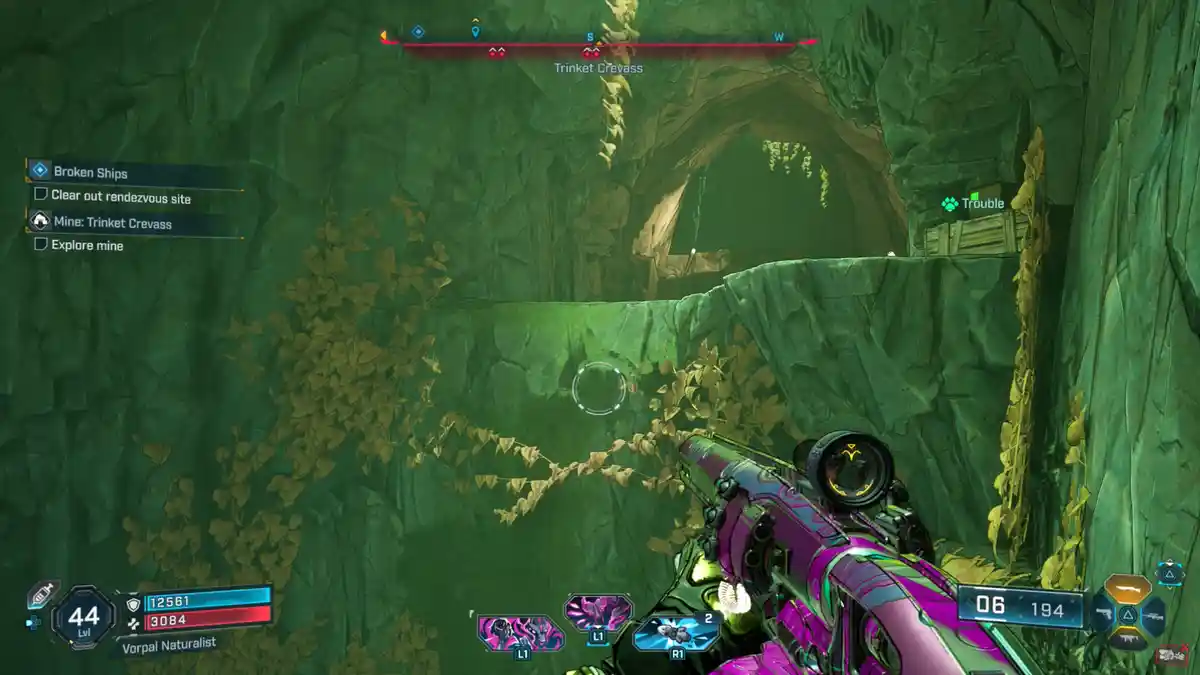
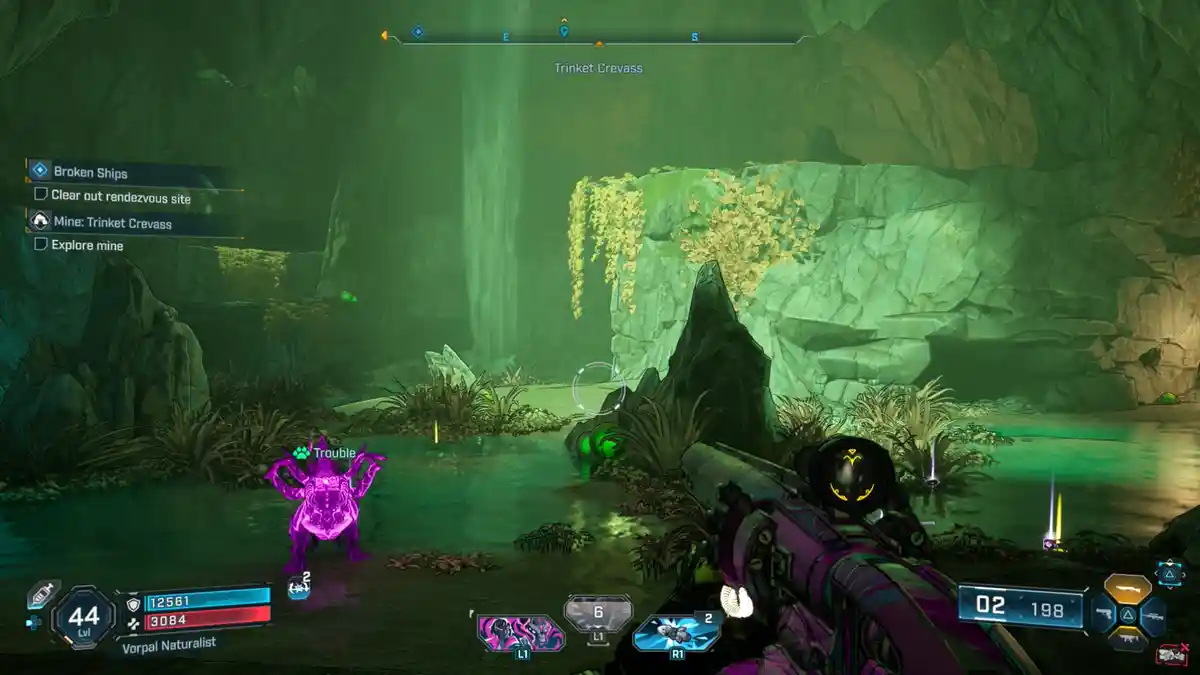
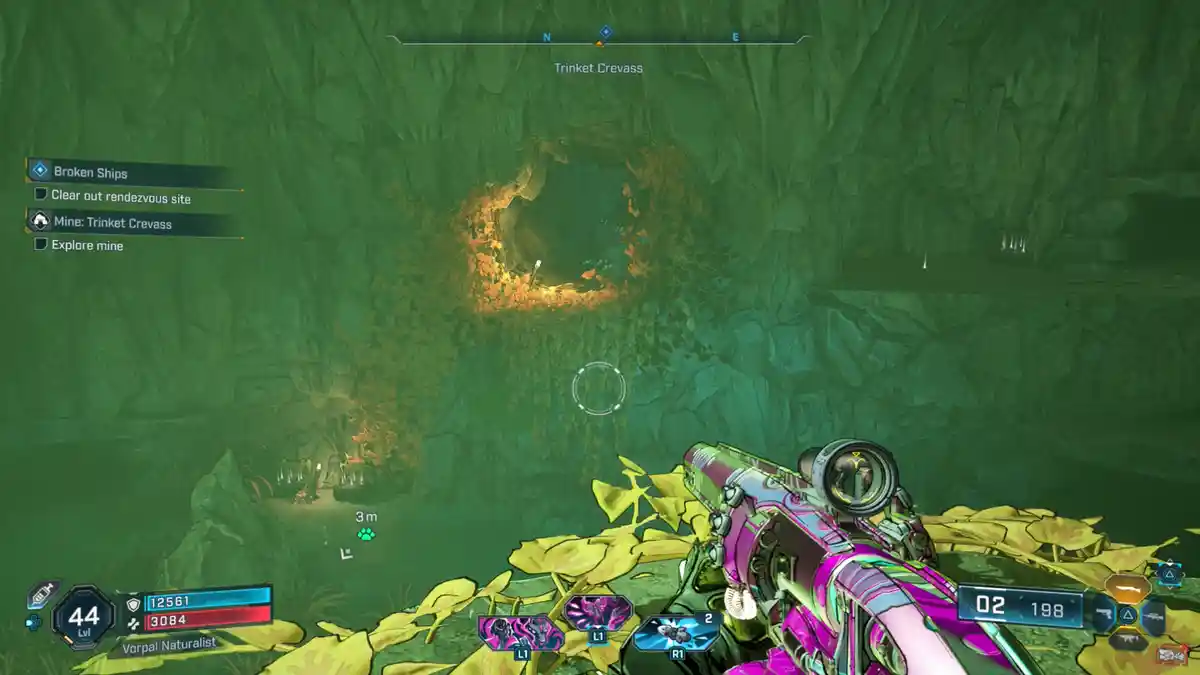
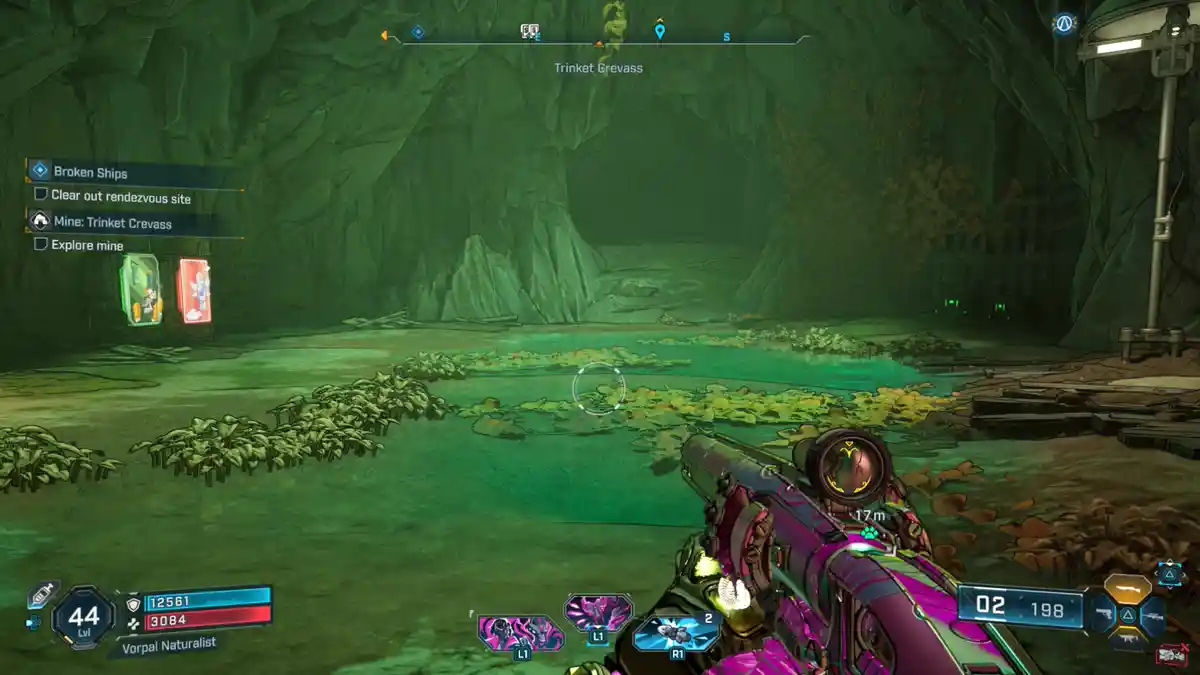
Just follow the mine path downwards. In the first cave room, you’ll find a bunch of pangolins. Get through that room and into a darker, unlit tunnel that leads to a cool pool. You’ll need to jump up to higher ground there to keep going into another pangolin cave with a waterfall.
Make your way up to the main platform. From there, jump and glide into another tunnel, and you’ll find yourself at the vending machines and the boss fight area: The Rocken Roller Pangolin. Beat it to claim your collectible activity!
Ancient Crawler: Wanton Tread
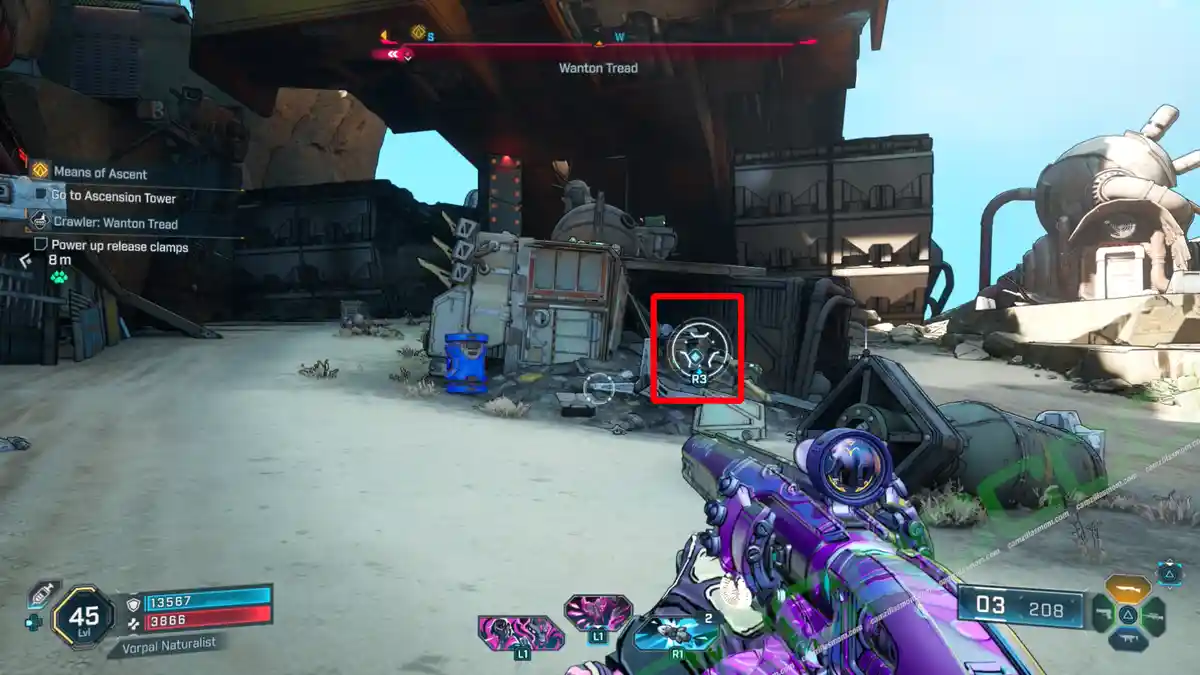
The Ancient Crawler is southwest of the Ruined Sumplands. The Power Core? It’s right in front of the crawler. Grab it and carry it up to the deposit point. You’ll need to toss it up one level. Finally, just climb to the top, grapple the panel, and snag the awesome Prison Buddy Vehicle Cosmetic.
Order Silo: Judgement’s Lapse
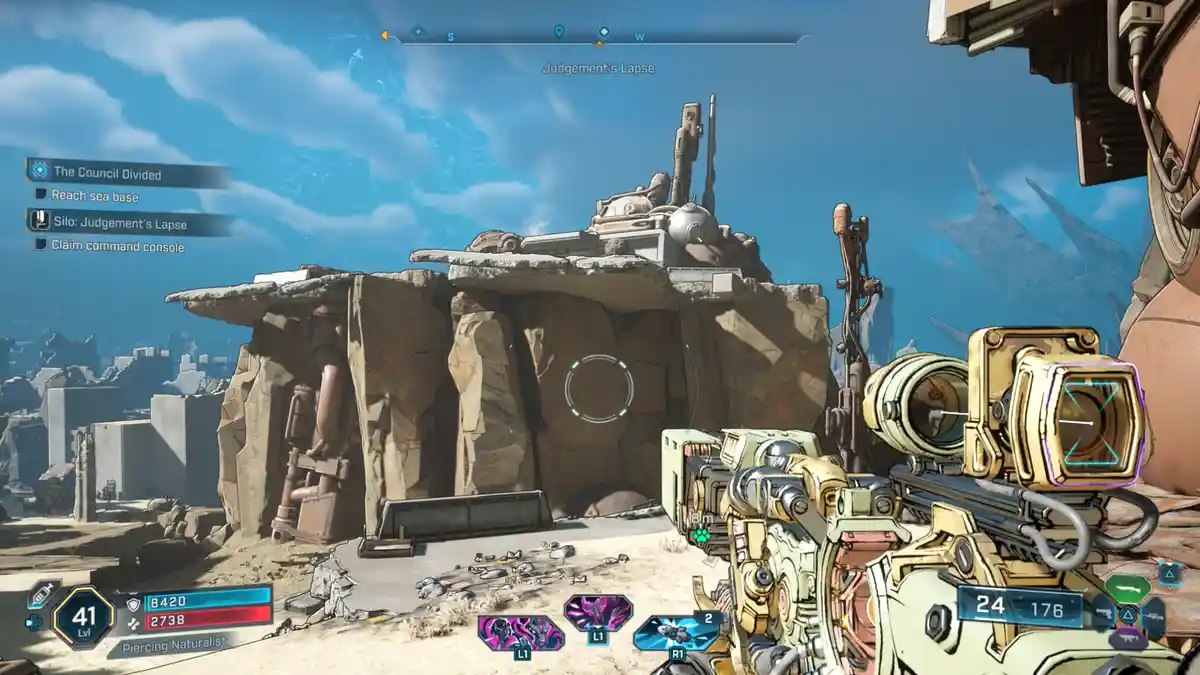
You can find the Order Silo in the center of the Ruined Sumplands, just north of the destroyed settlement and northeast of the Pain Street POI. It’s inside a Ripper camp, sitting on a platform above them. All you need to do is climb up, head inside, and capture it.
Ripper Drill Site: Saw’s Clench
The Ripper Drill Site is in the northern center of the Ruined Sumplands, north of the Rumbling Cleft POI. Drop down into the arena and defeat Gruntabulous Vork, Baby Grunt, and Lil’ Grunt.
-> Also Available: Disrupted Eruption: All Ripper Drill Sites in Borderlands 4
Safehouse: Wildhorn’s Beard
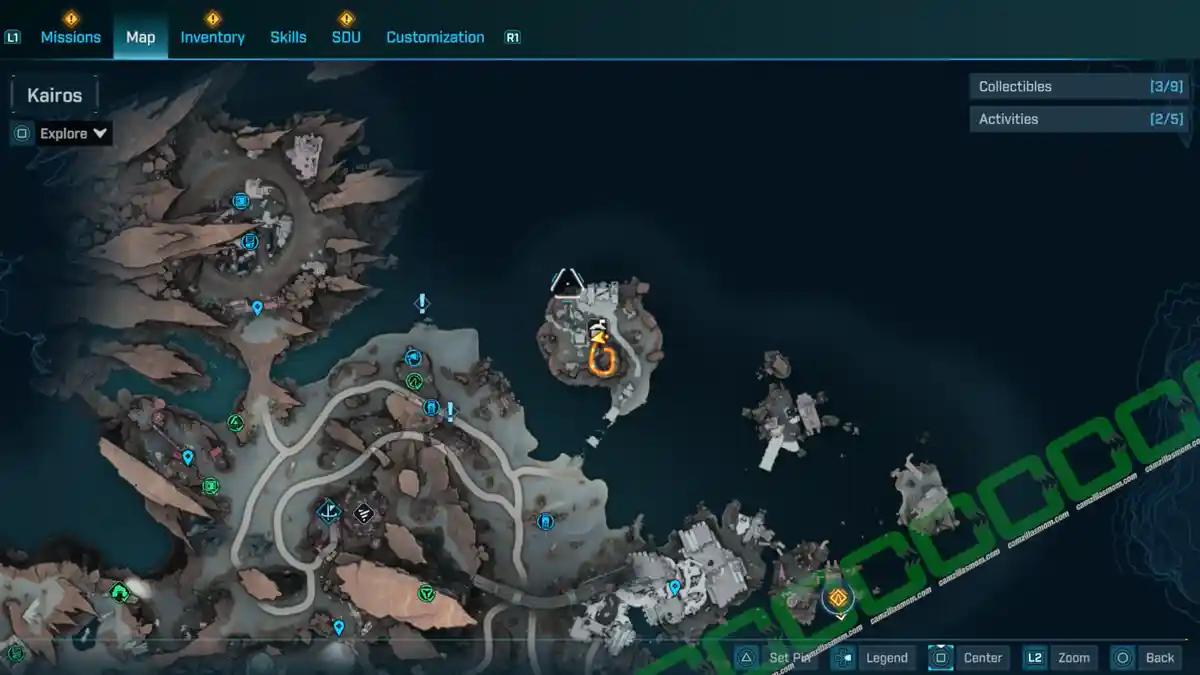
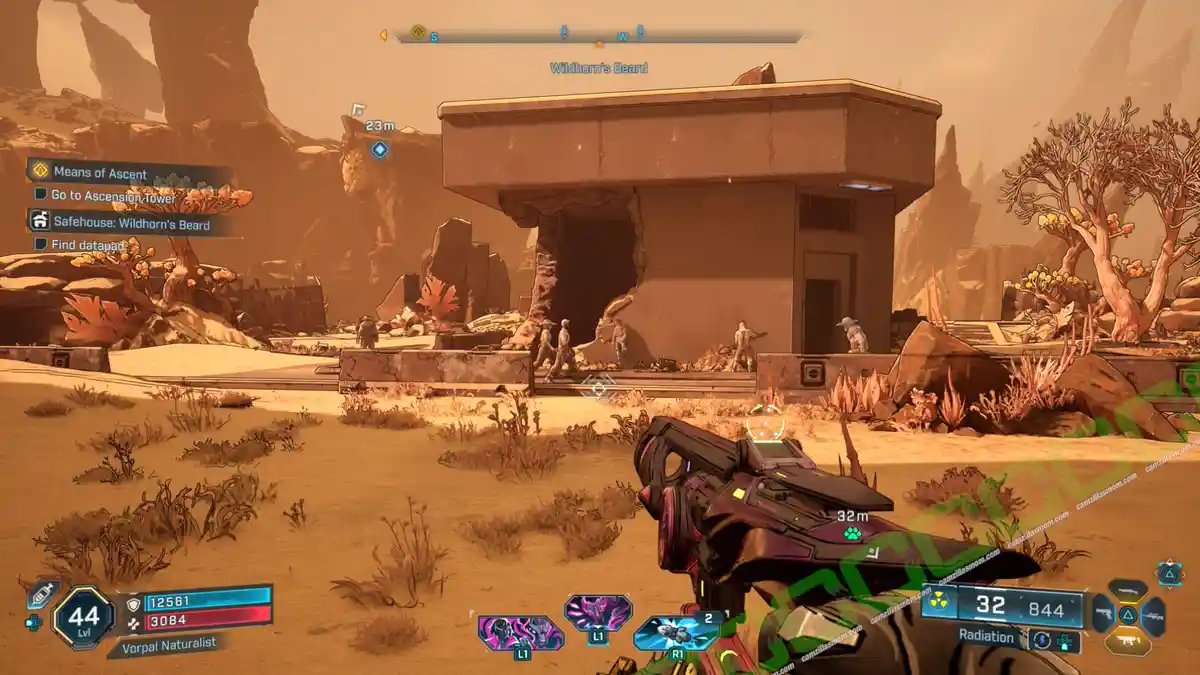
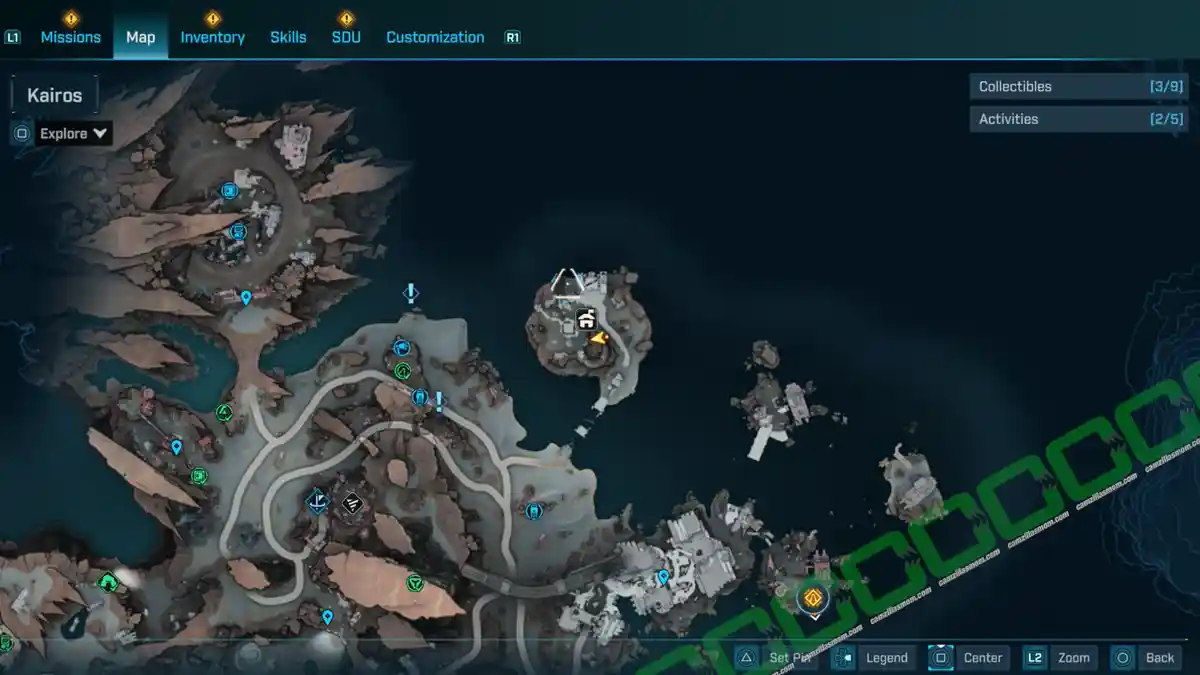
The Safehouse is on the island in the northeast of the Ruined Sumplands.
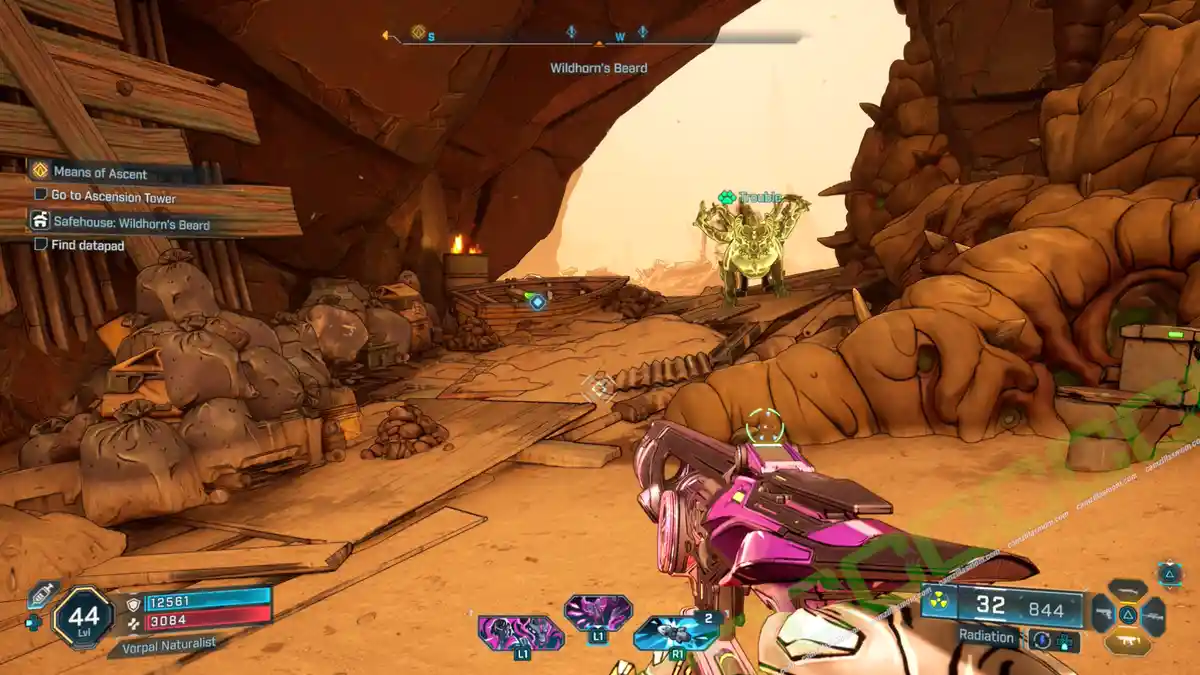
-> Datapad location: The datapad is high up in the center pillar of the area. Follow the circular path around the pillar upwards to find it inside a boat. The Capture Terminal is inside the biggest building in the area.
Bobbleheads
Flick the Bobbleheads to receive 100xp.
Near Seismology POI
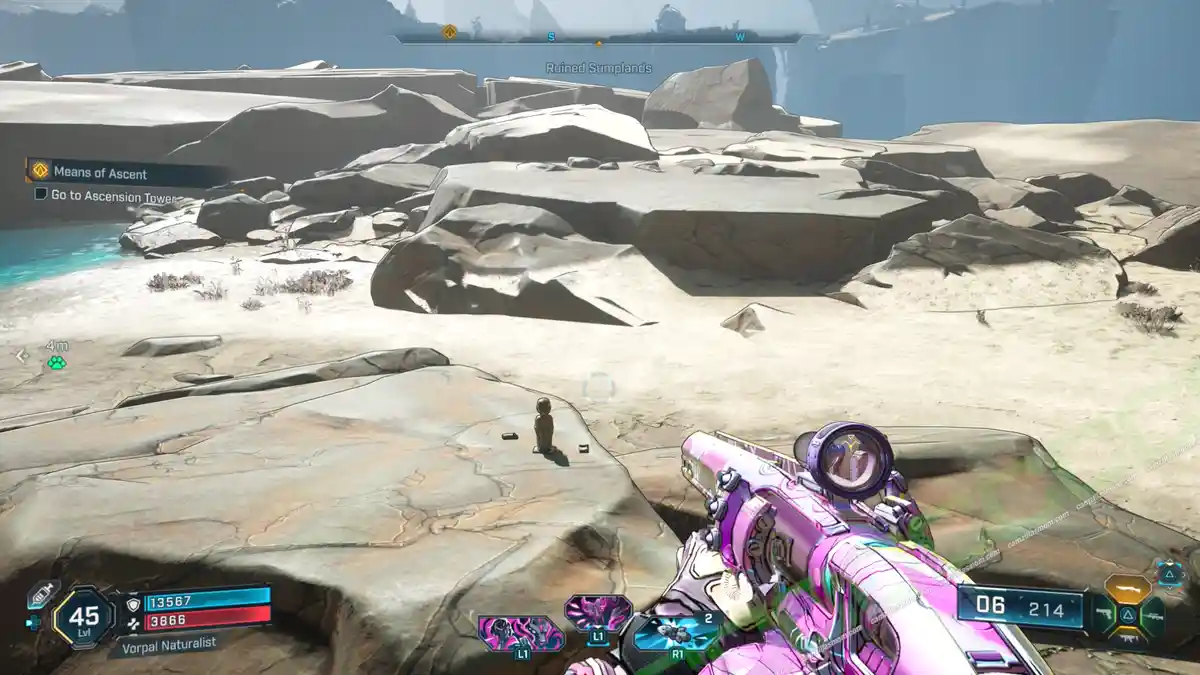
Head south from the Society of Amateur Seismology Enthusiasts, and you’ll hit POI. It’s a sweet settlement up on a plateau, connected by a bridge to another cool spot further south. Near the plateau, just north of that bridge, there’s a Vault Symbol perched on a rocky pillar. Climb the ruins right next to that Vault Symbol, and boom, you’ve found the bobblehead.
Ripper Cliff Settlement
Just west of the Society for Amateur Seismology Enthusiasts, you’ll find a factory-looking building right by the cliff. Besides an Electi Safe, there’s also a bobblehead stashed here. Head up the staircase and jump into the room at the very top of the building to the north – that’s where the bobblehead is hiding!
Crater Jump Point
In the Story, you’ll need to jump over to the crater to get to the Fallen Crown. Head east from that jump point, and you’ll spot a cool house up on a hill. From there, look southeast, and you should see the outline of a bobblehead at the end of one of those pointy rock formations.
Faction Town: Courtyard Fountain
The bobblehead is taking a bath in Faction Town’s courtyard fountain.
Hull’s Handbasket: Northwestern Platform
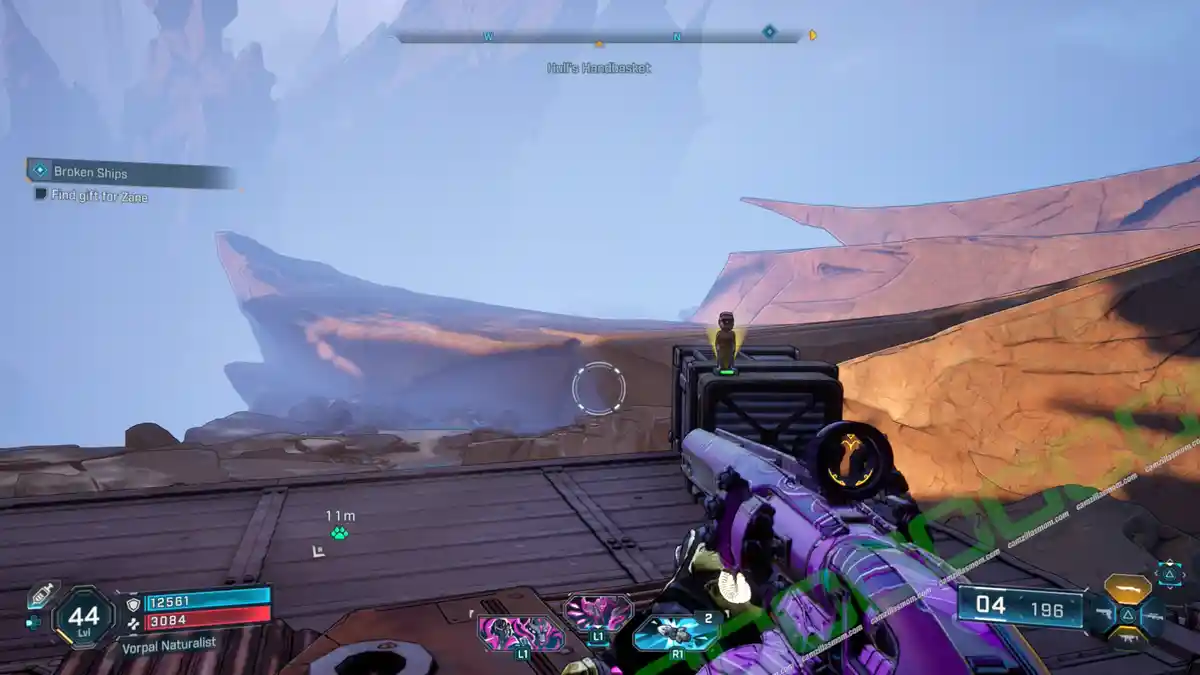
When you’re at Hull’s Handbasket, scope out the highest platform in the northwest. There’s a bobblehead waiting for you up there!
Western Gunkworks
Head far west of the Gunkworks in the northwestern Ruined Sumplands and make your way through the water pond area. You’ll find a bobblehead at the end of it.
The Rustspires: Windmill Roof
There’s a bobblehead on top of the house with the windmill. I got onto the roof by jumping from the spiky rock formation to the north and flicked it.
Side Missions
-> Also Available: All Side Missions in Borderlands 4
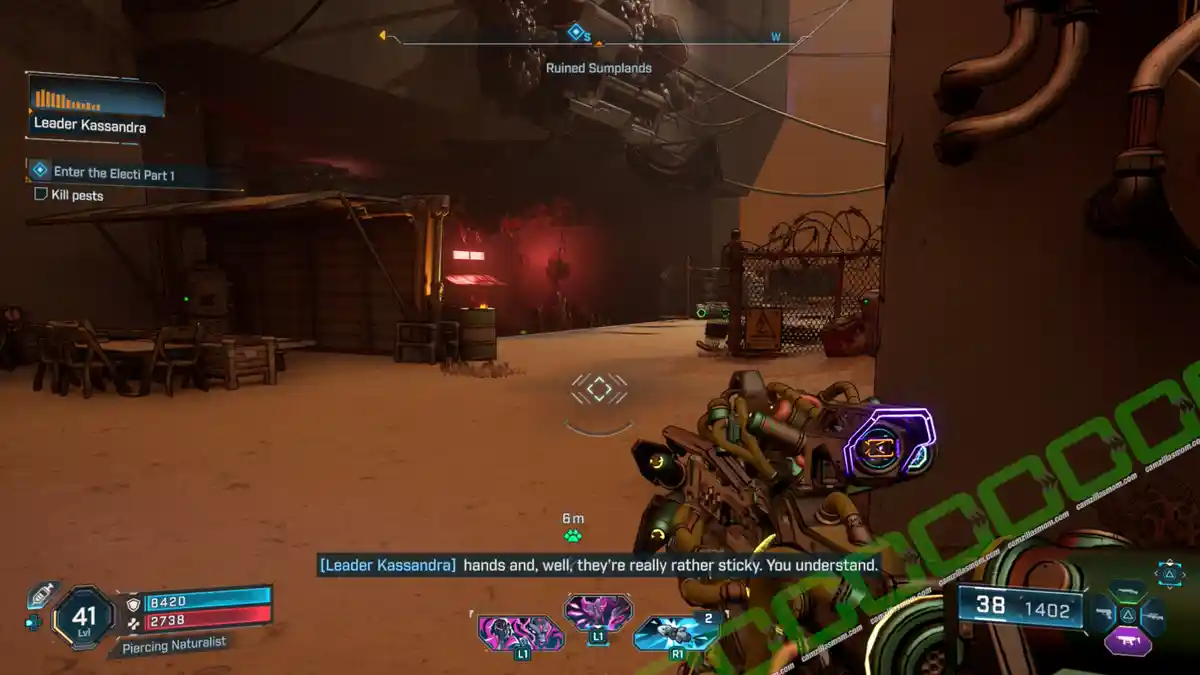
Enter the Electi Part 1
Side Mission Start:
In the main building at the Faction Town.
What it is about:
Kill creepers and retrieve cargo.
Side Mission Steps:
-> Kill pests & Rescue crates: The nest of creeper pests is in the southern part of the town structure. After defeating them, interact with the crates in the storage unit.
-> Relocate the crates: Return to the main building and deliver the crates to the highlighted area near the vending machines. This will conclude the mission.
Enter the Electi Part 2
Side Mission Start:
Leader Willem, north of the Faction Town main building.
What it is about:
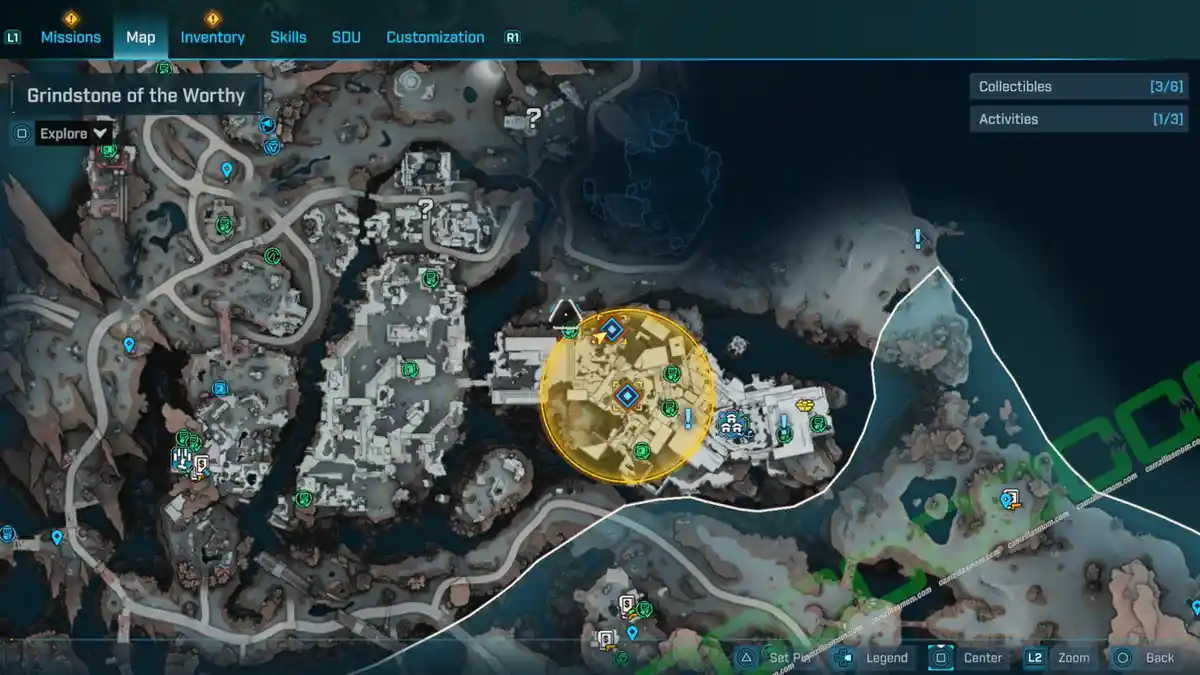
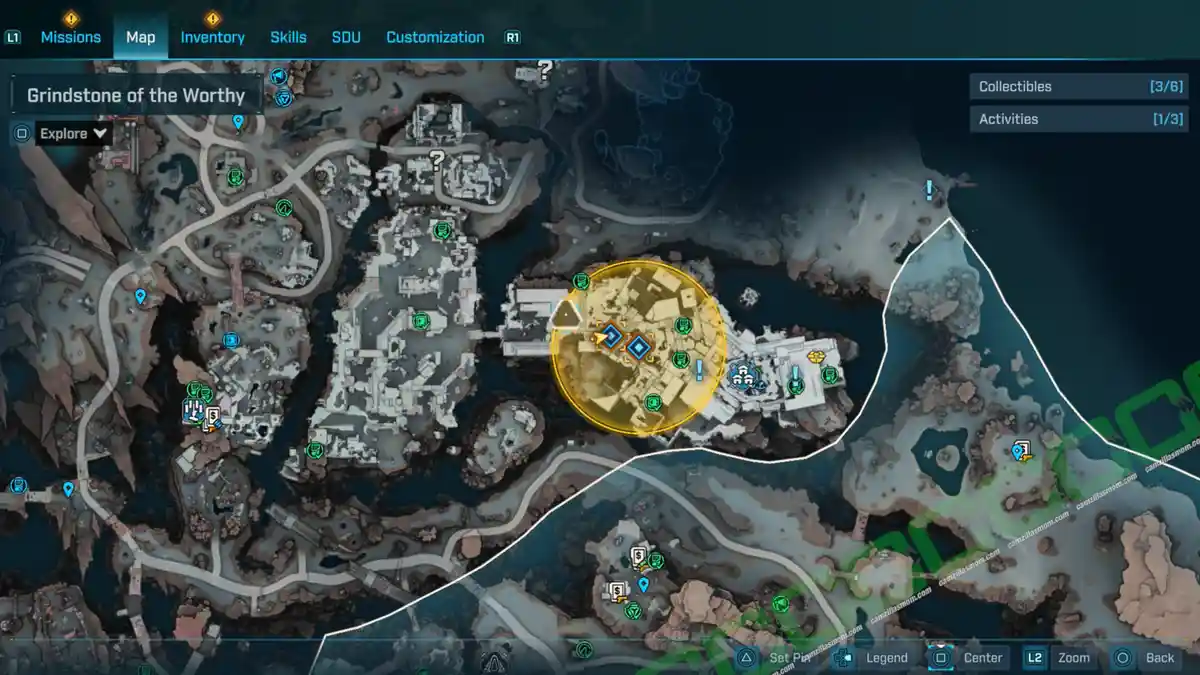
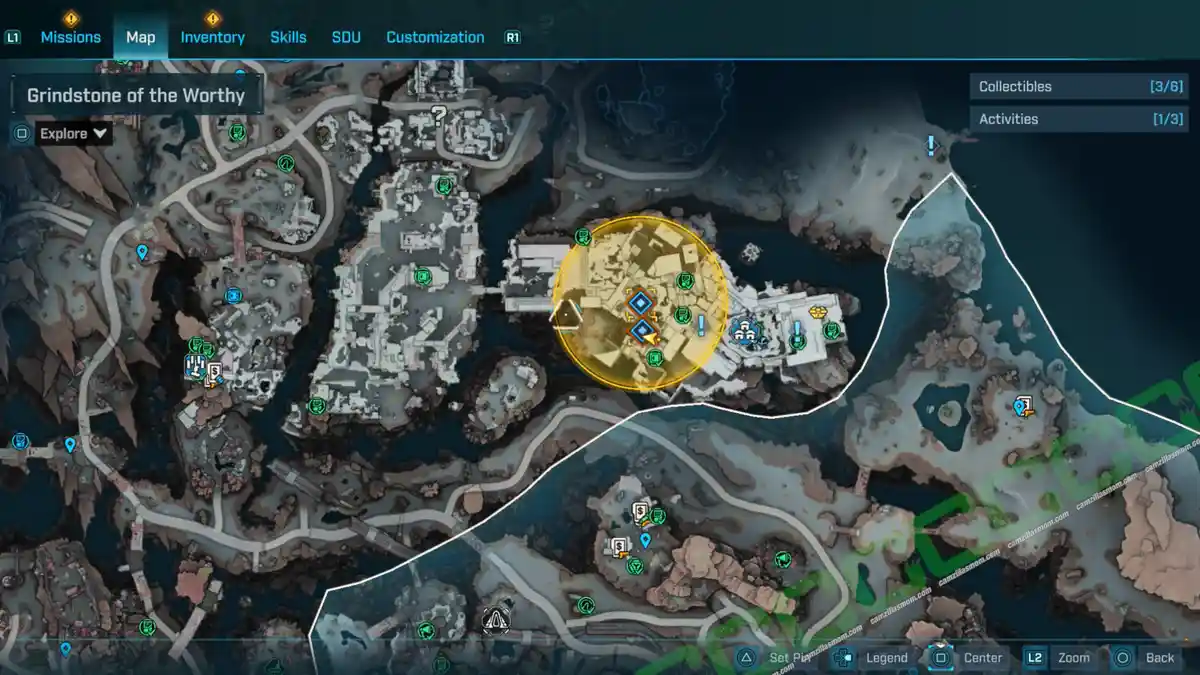
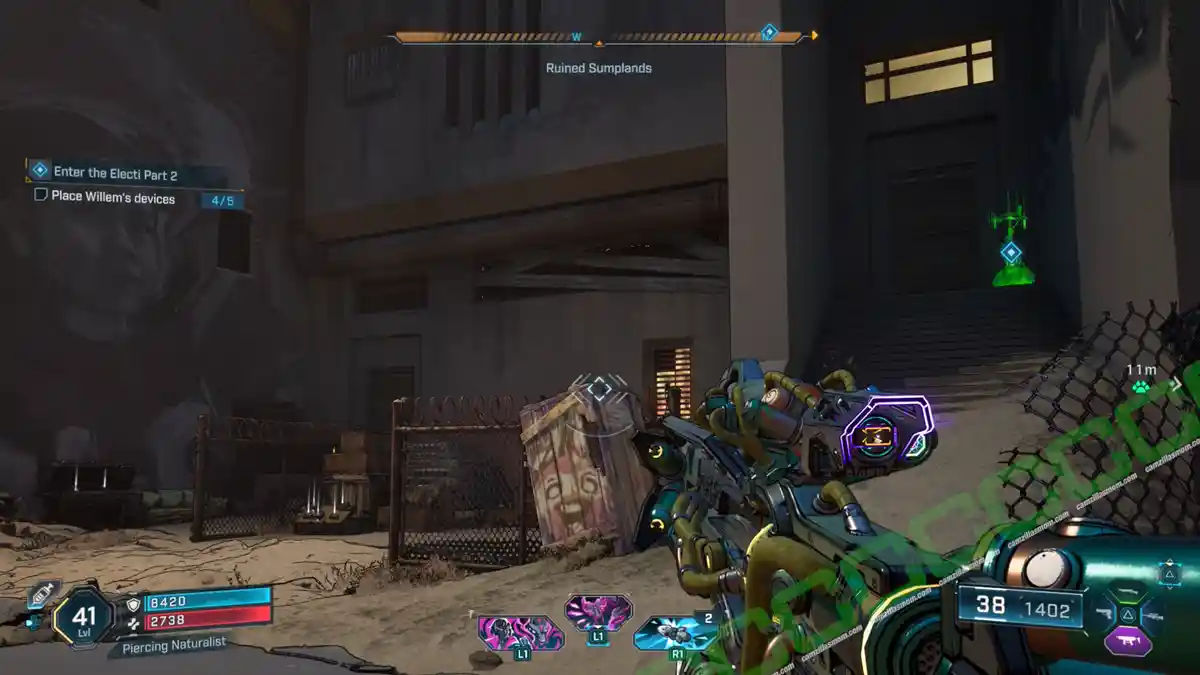
Help Leader Willem set up 5 antennas.
Side Mission Steps:
-> Pick up Willem’s device: The big antenna in front of him.
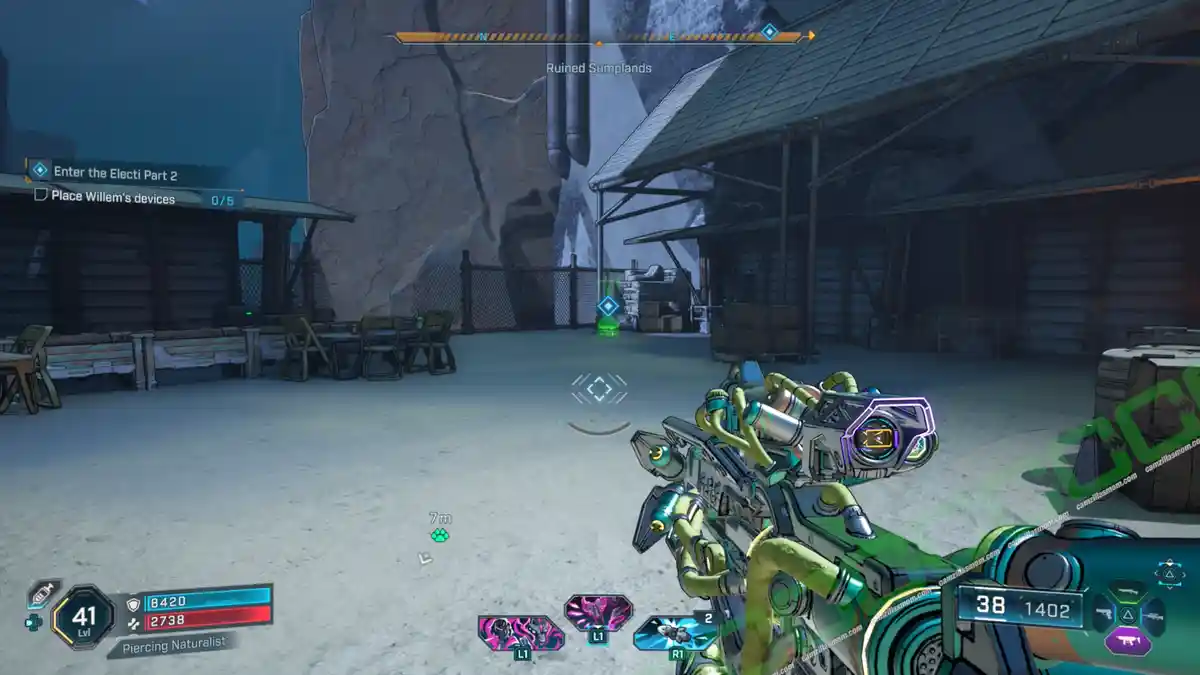
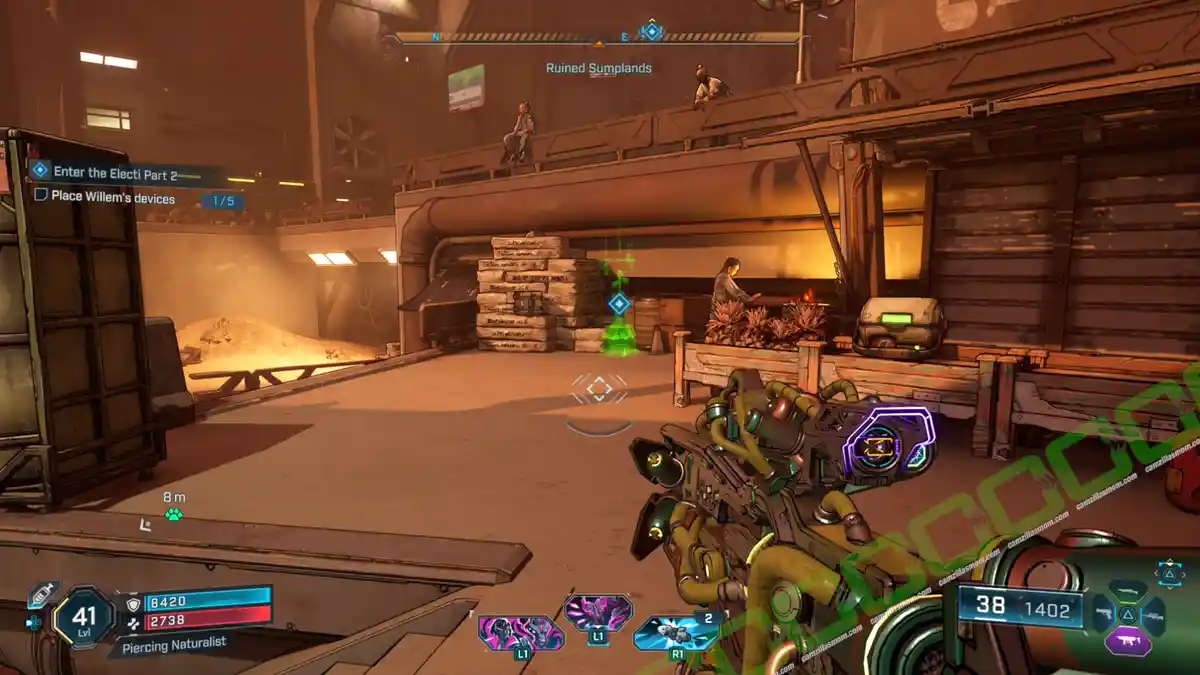
-> Place Willem’s devices: The devices have to be placed in five places inside the highlighted yellow area. They will be highlighted in the HUD and the map as soon as you get close.
-> Return to Leader Willem: Head back to Willem and push the button.
Fault Hunting
Side Mission Start:
A holo message north of the Faction Town.
What it is about:
Find the cause of Carcadia’s ground shaking.
Side Mission Steps:
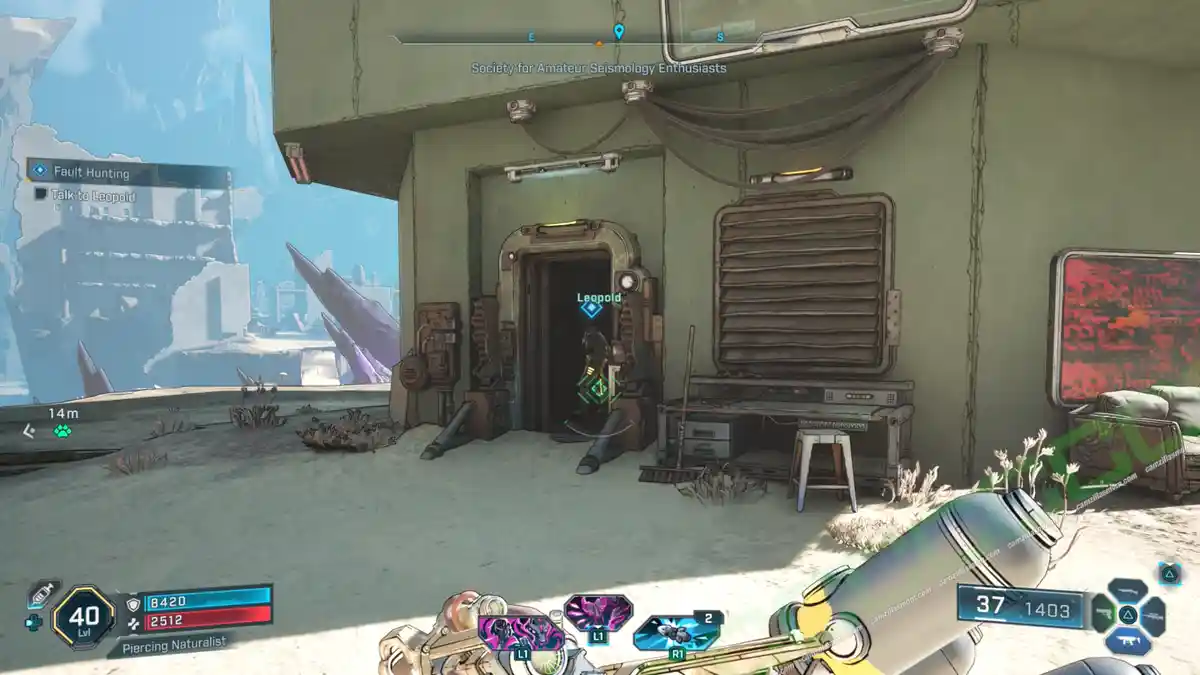
-> Talk to Leopold: He’s in the west of the Ruined Sumplands, at the Society of Amateur Seismology Enthusiasts POI.
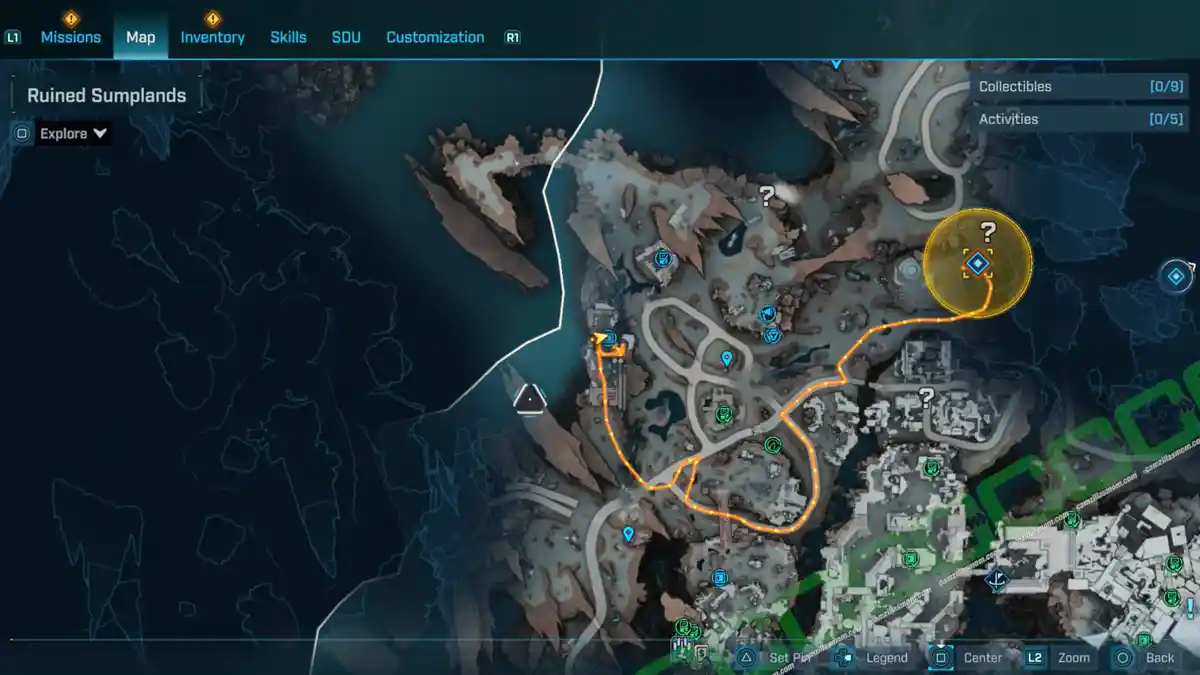
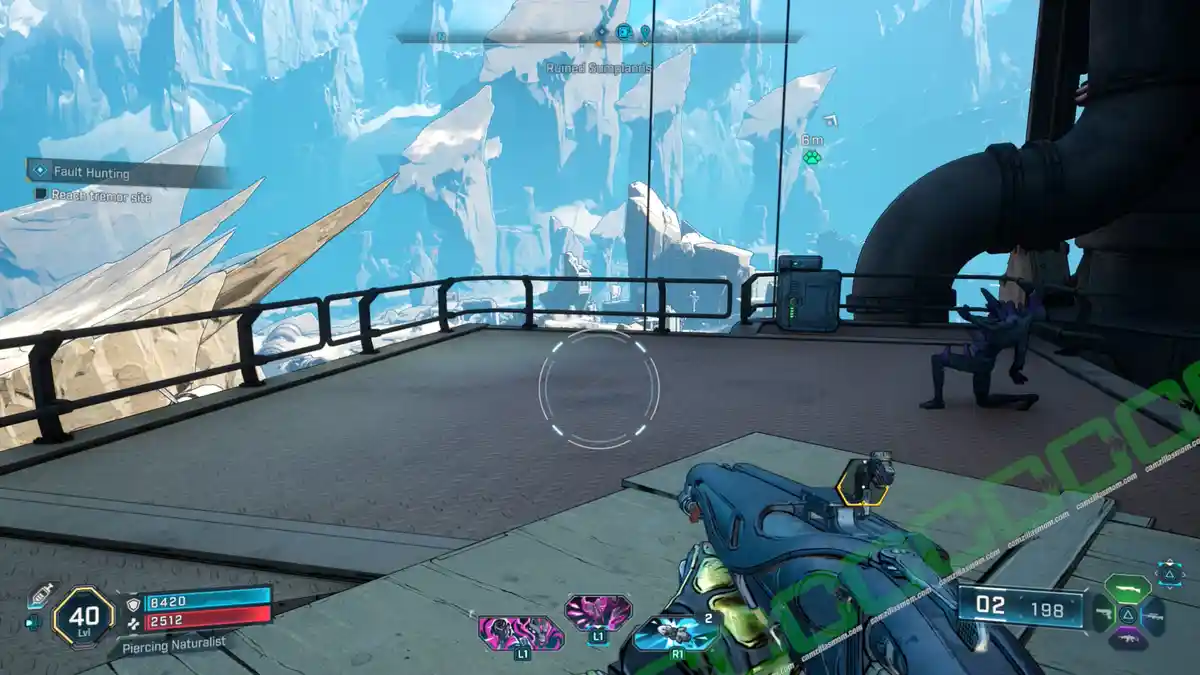
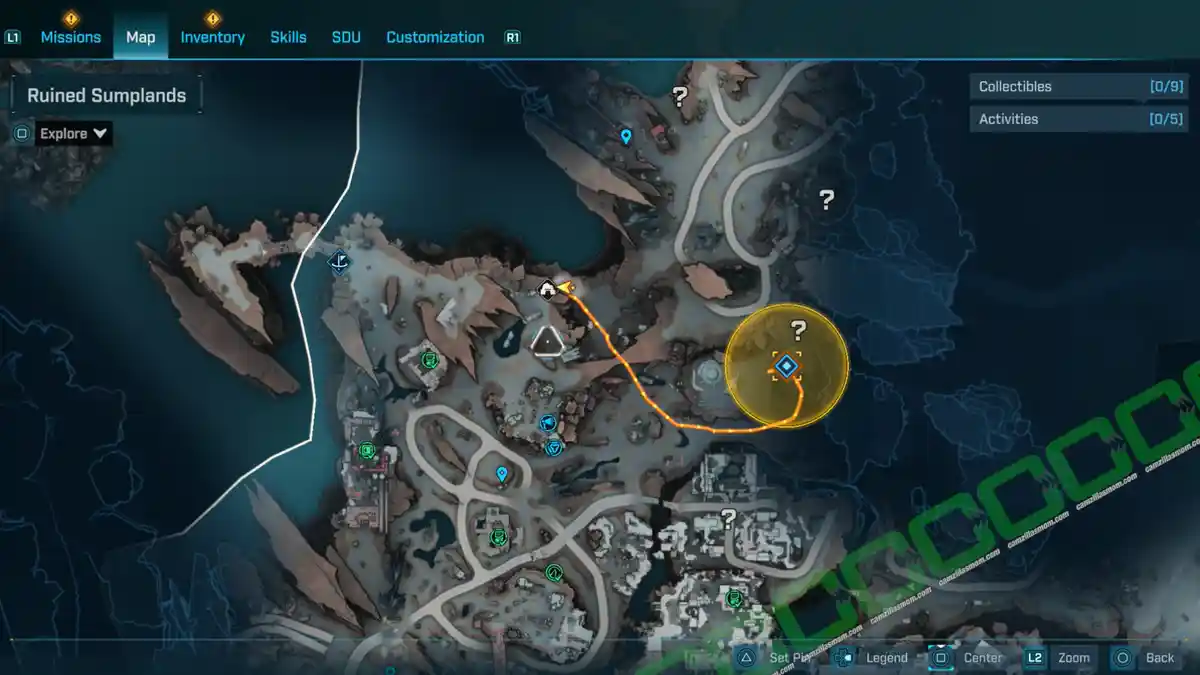
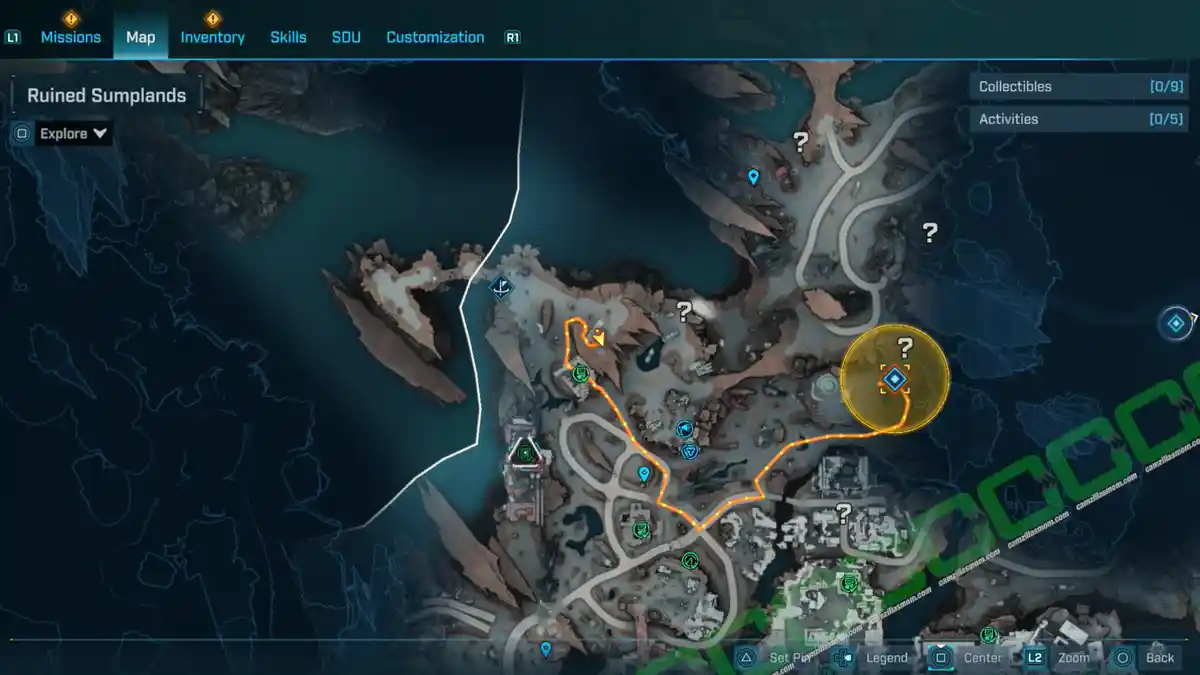
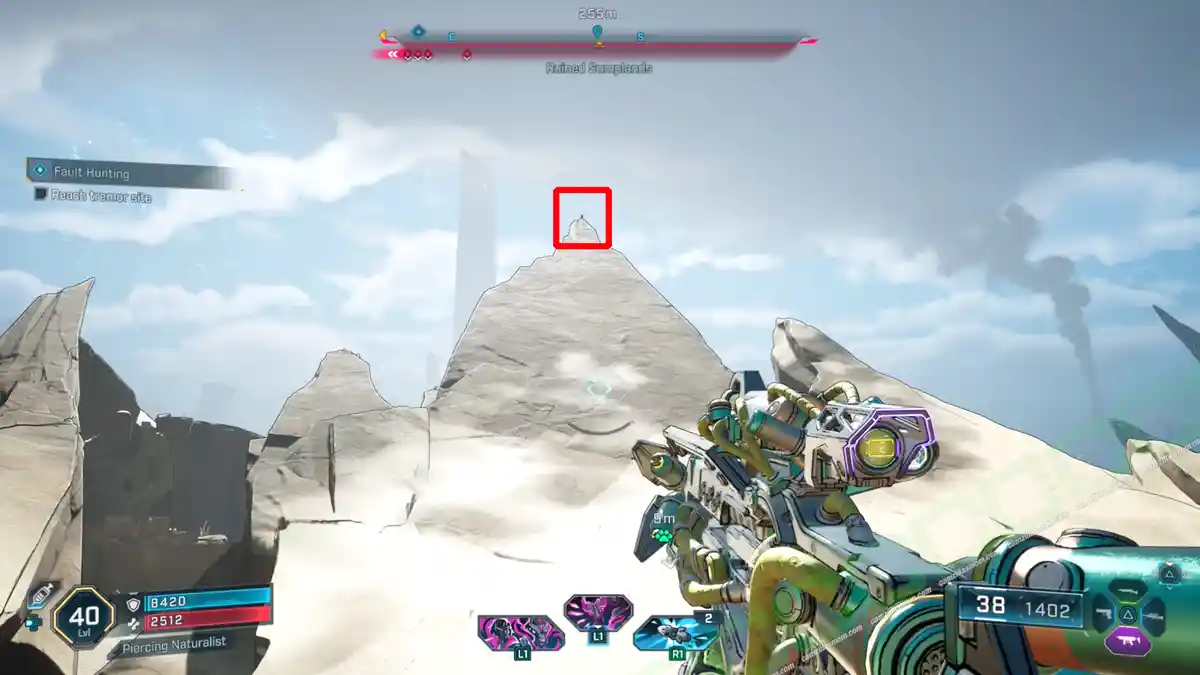
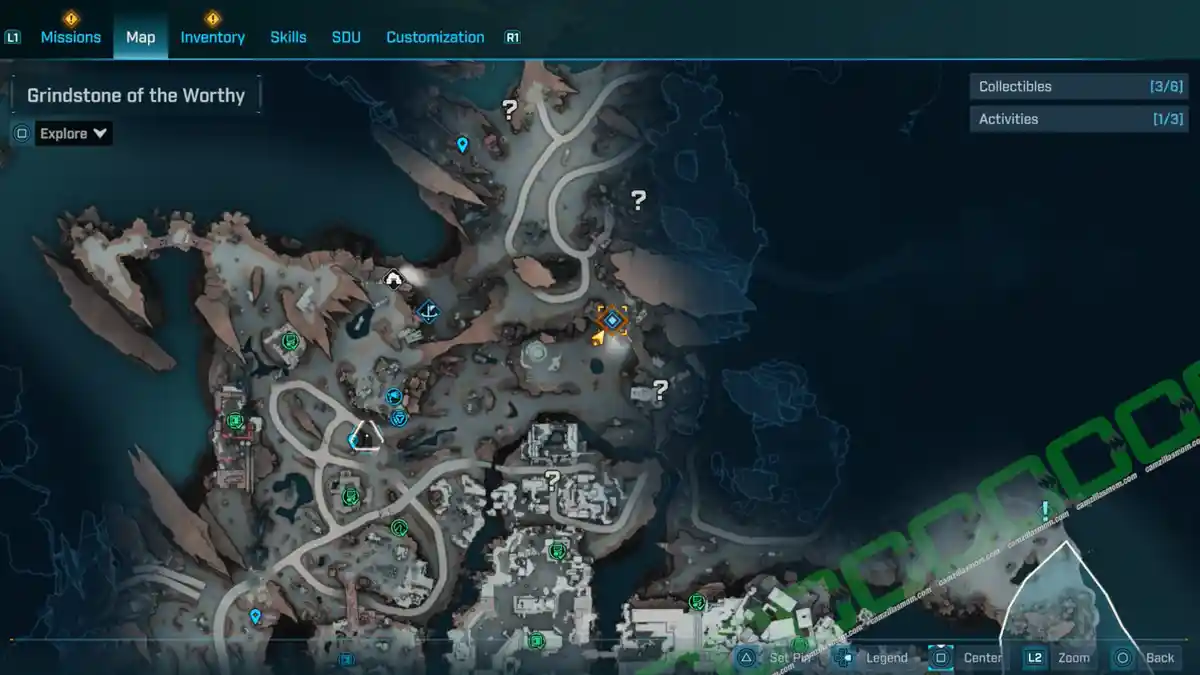
-> Reach tremor site: There is a cave at the mission marker.
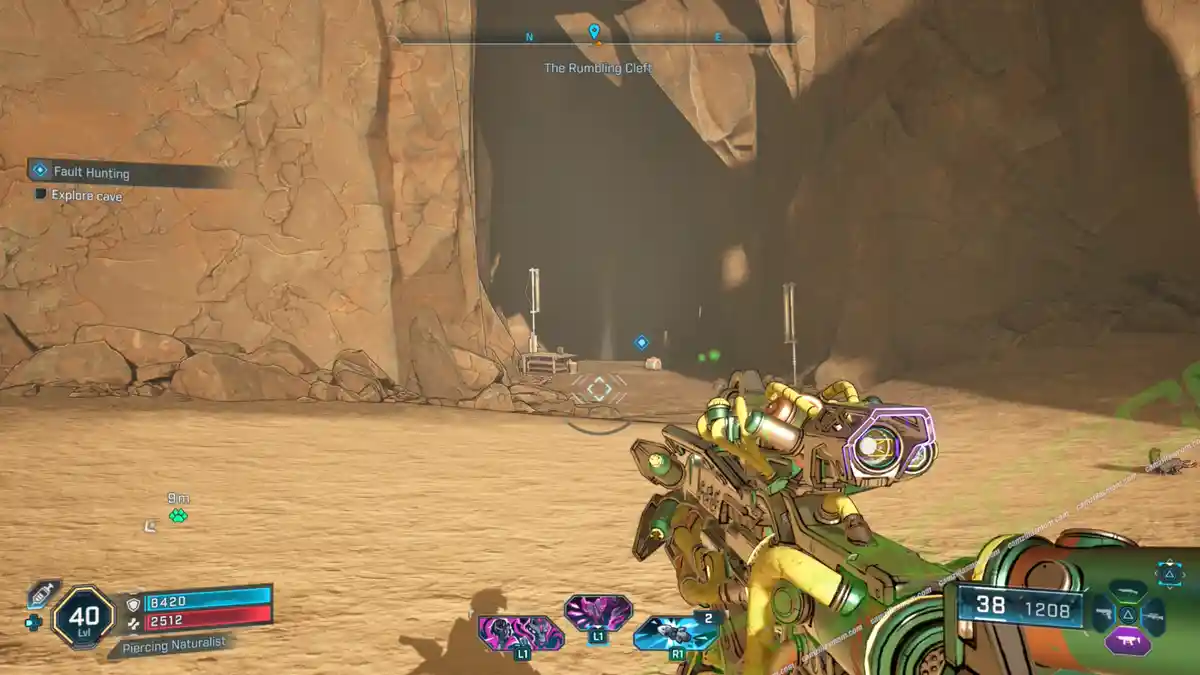
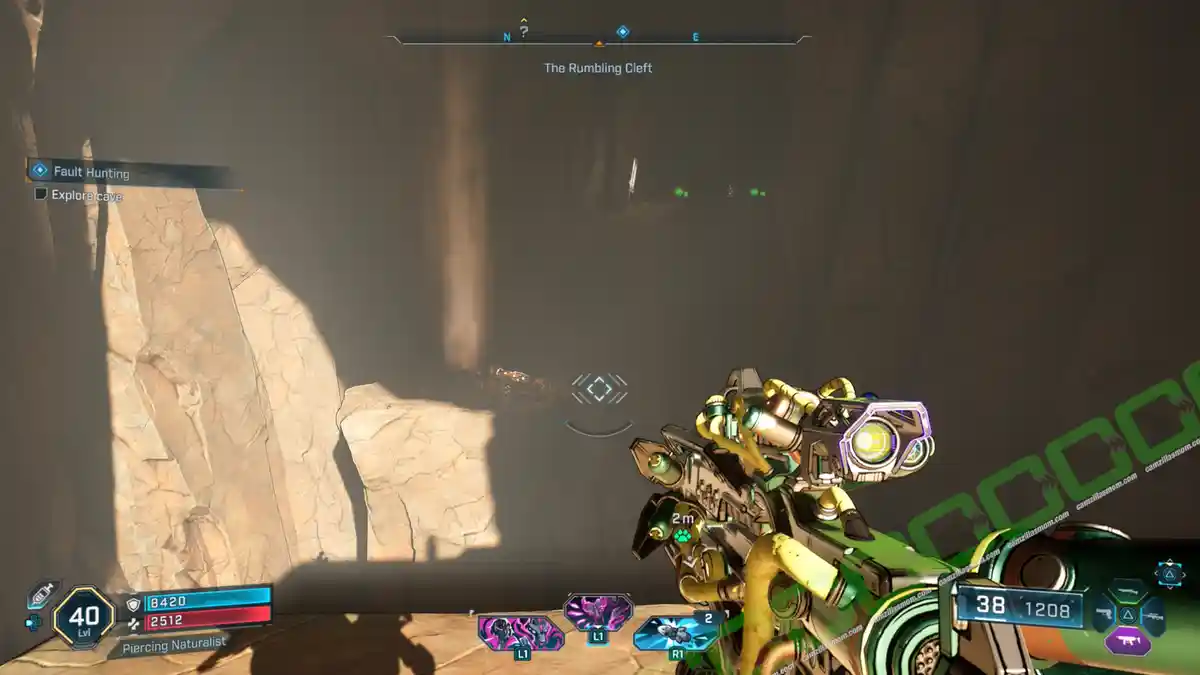
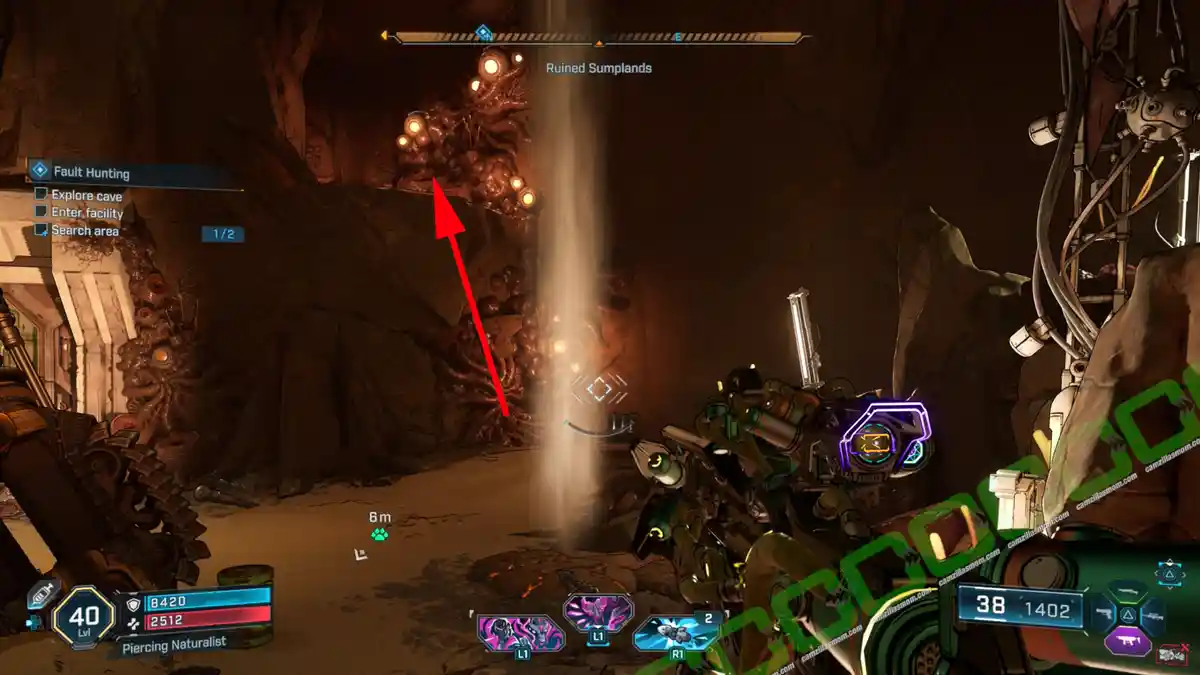
-> Explore the cave: Jump over to the cave pillar in the center of the cave and use the vertical wind funnel to jump over to the other side. Follow the corridor to an area with a big door, where you can find one of the Dead Bolts and a mission ECHO: Seismic Damage on the floor. Then investigate the door for extra points.
There is another wind funnel here. Use it to get to the platform at the top of this cave, where you can crawl to the area behind the door. Follow the path until you reach a malfunctioning door.
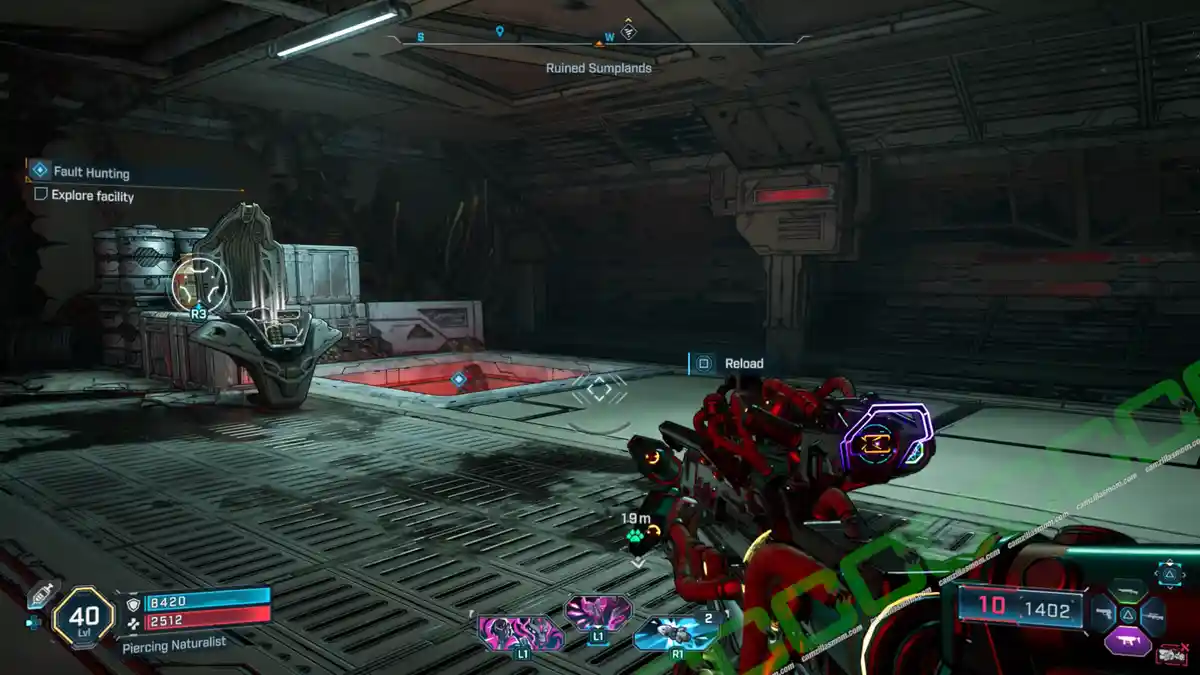
To get through the malfunctioning door, you have to shoot the power core on the other side of the door. Keep following the path and drop down into a shaft in the room at the end.
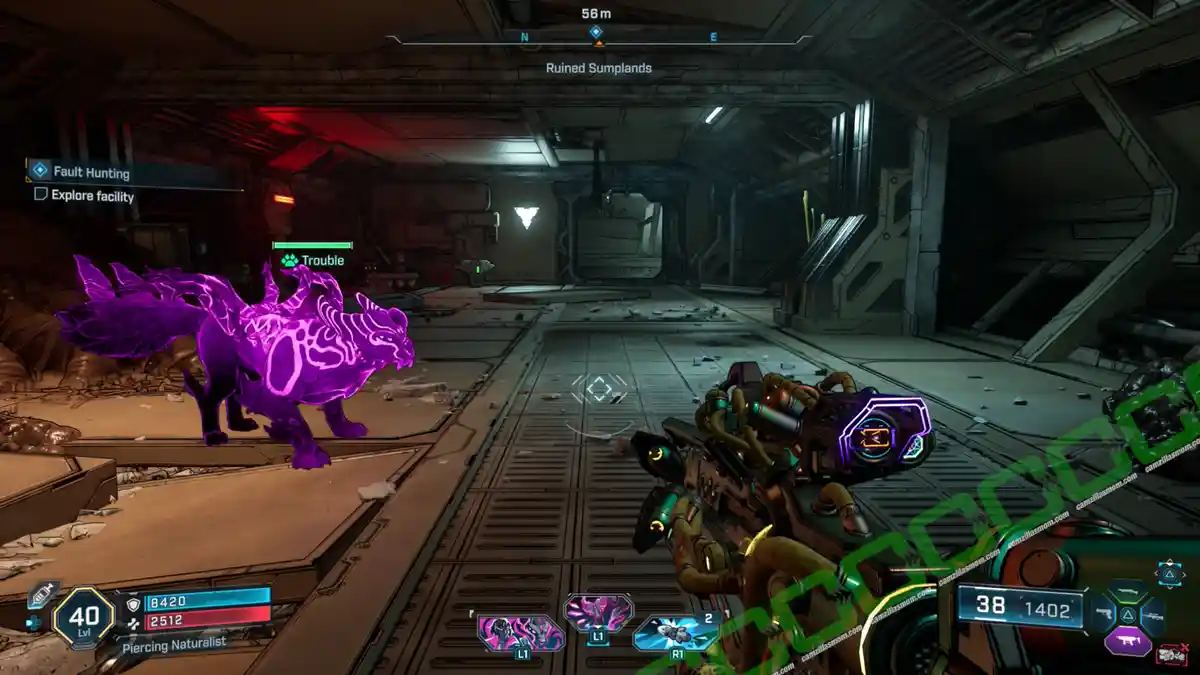
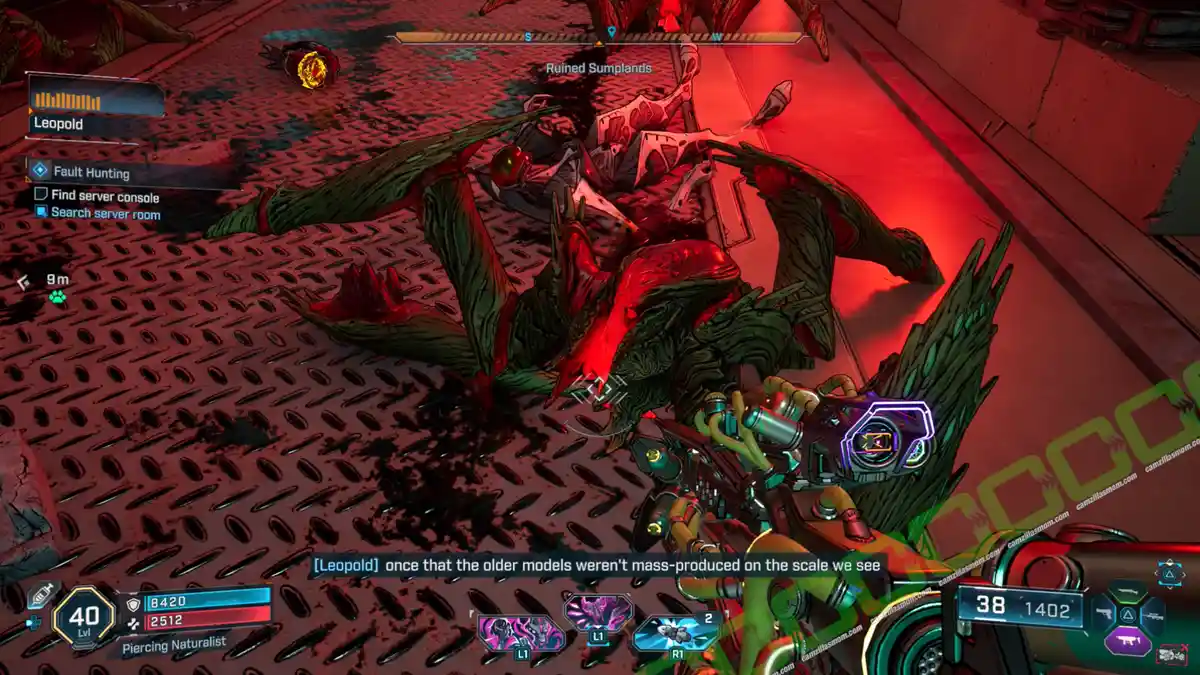
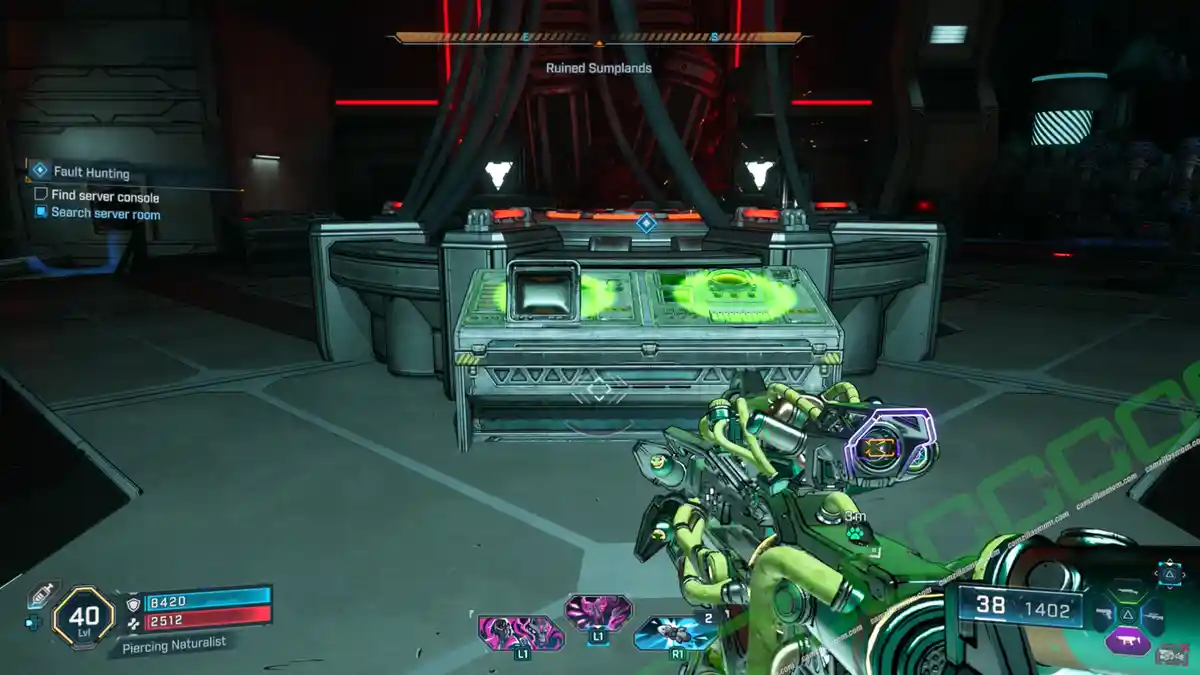
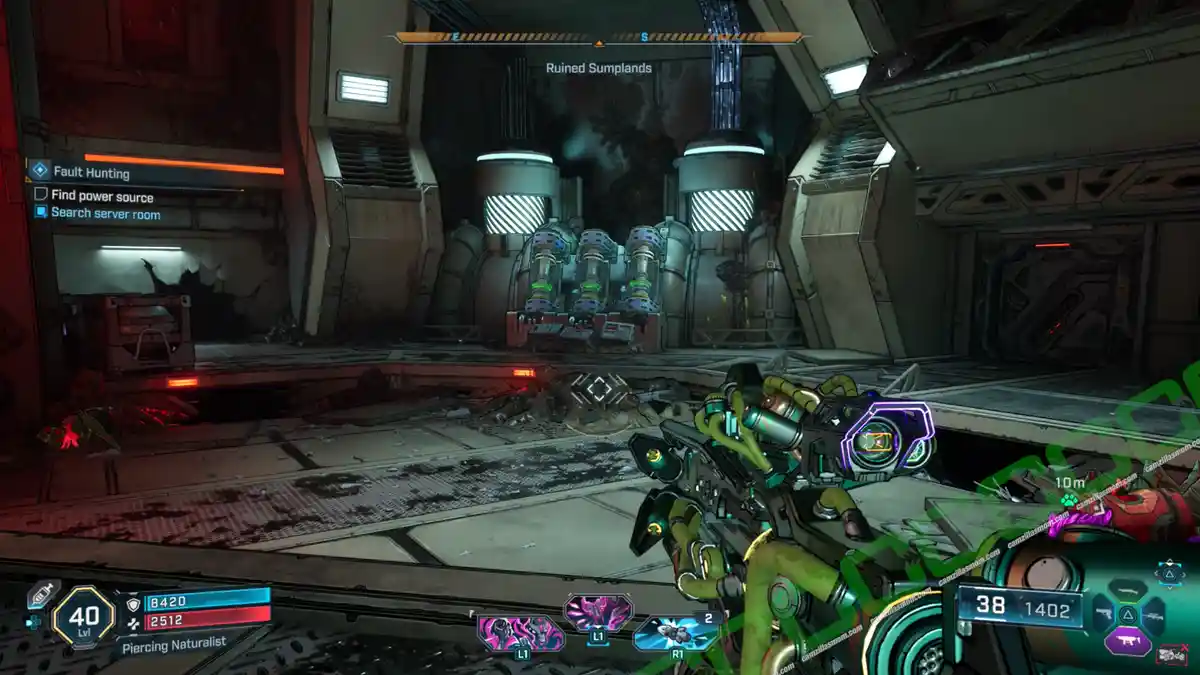
-> Search Server Room & Find Server Console: You will arrive in a big facility room. Examine the creeps on the floor and interact with the Server Console.
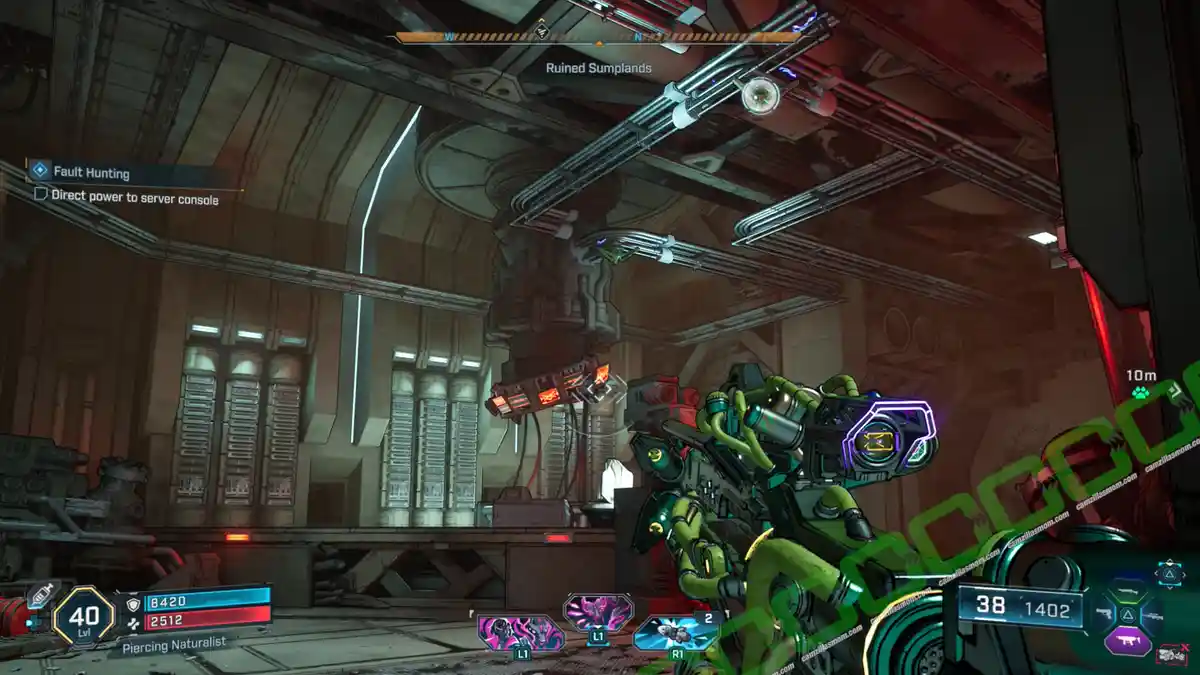
-> Find Power Source, Direct Power to the Console: The generator is on the other side of the room. You now have to divert the power by pulling the overhead cables. Pull the cables at the grapple points so they are an uninterrupted line to the console. Then hack the console.
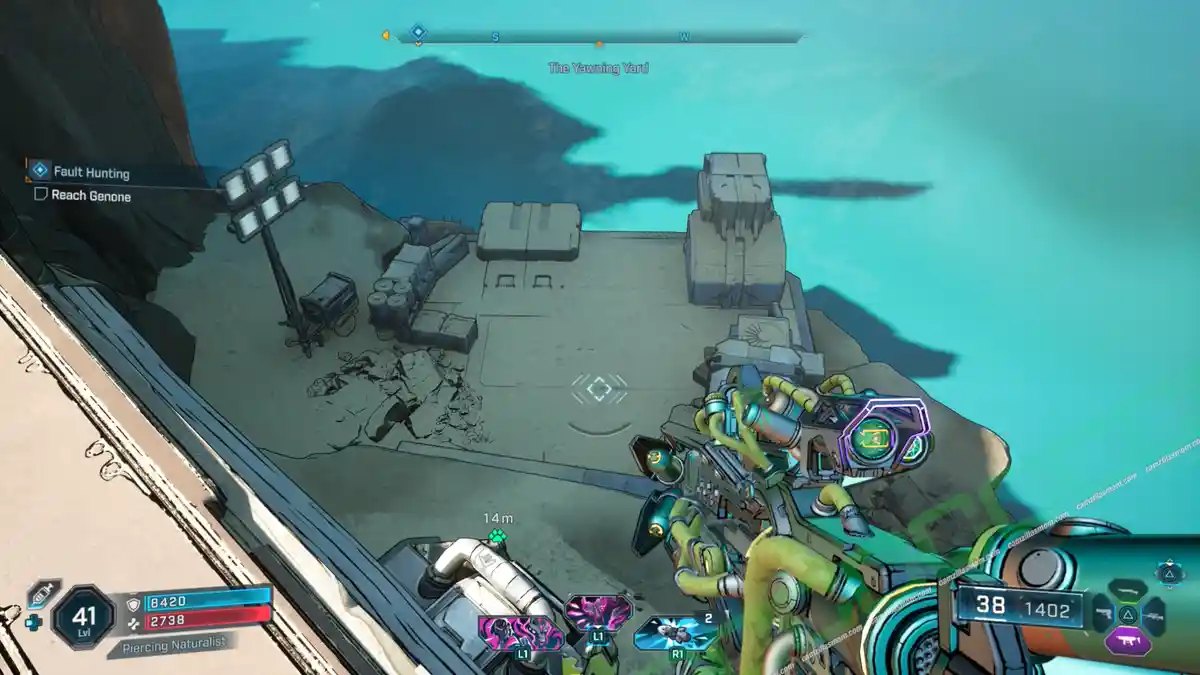
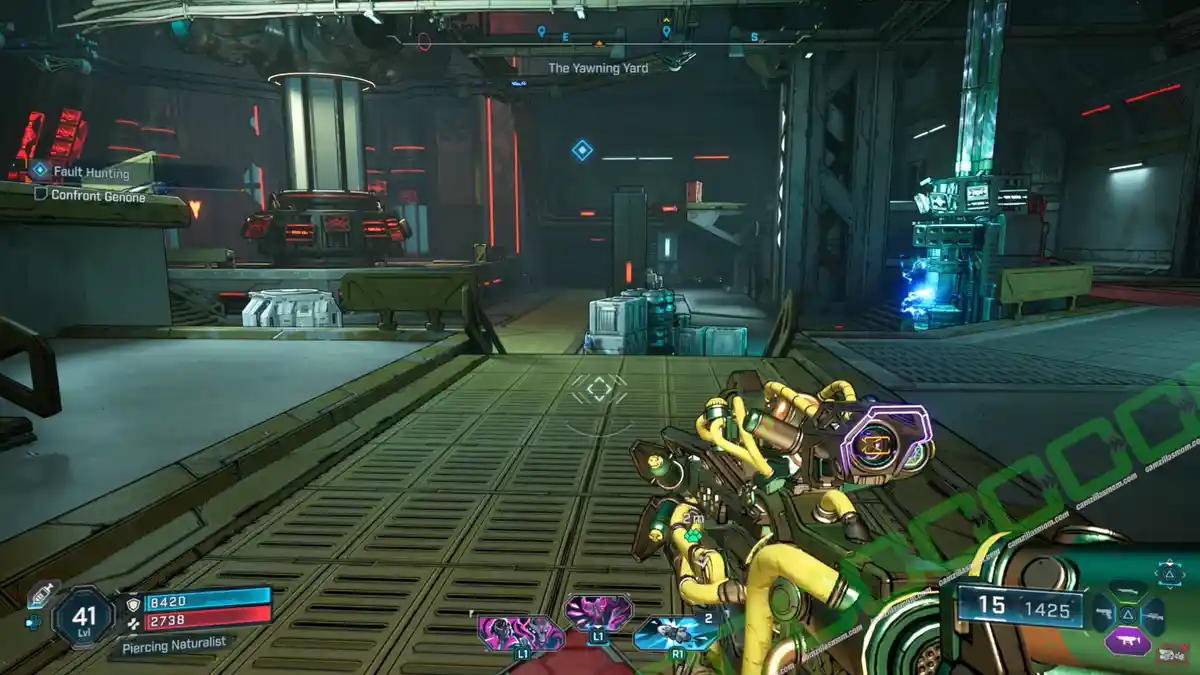
-> Reach Genone: The previously closed door near the generator is now open and you can proceed following the path. The facility turns into a cave again here and you have to ascend rocky steps to reach the cave’s exit. Genone is at The Yawning Yard POI at Lopside. The access point is north of the POI at water level. Enter the facility.
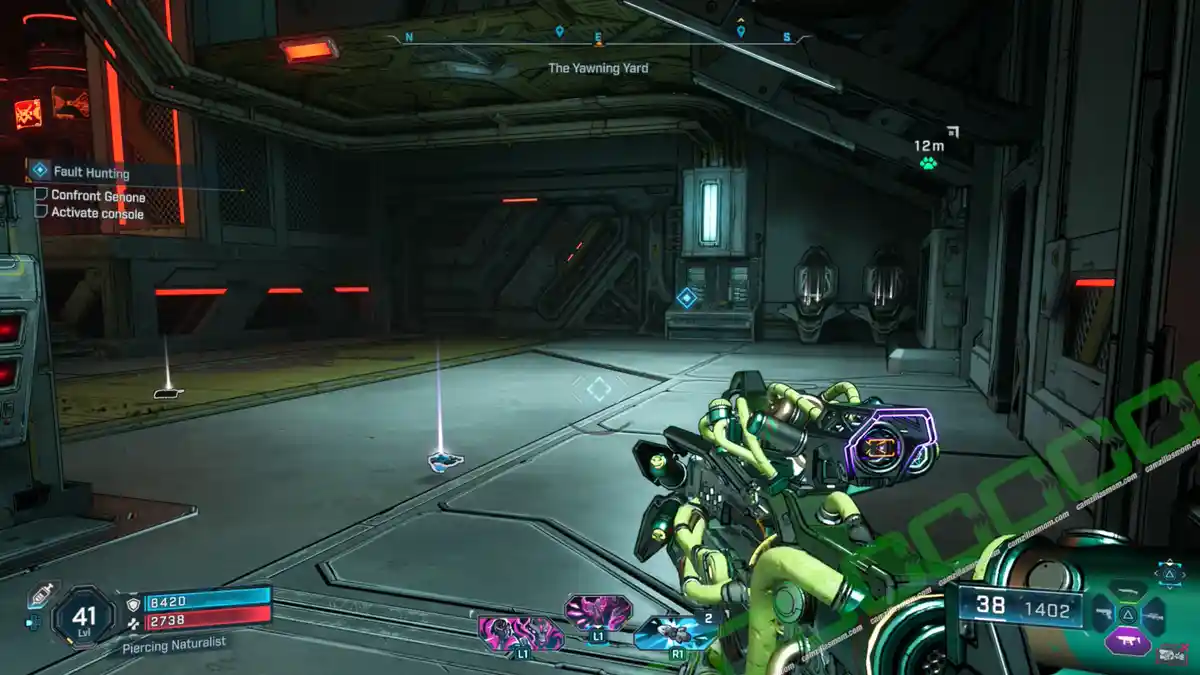
-> Confront Genone: Follow the only possible path until you enter a big, widespread facility room, where you have to first kill synth prototypes, then activate a console, followed by redirecting power to the door, as you had to do before to confront Genone. Note that there is more than one door in this room that can be opened by diverting the power!
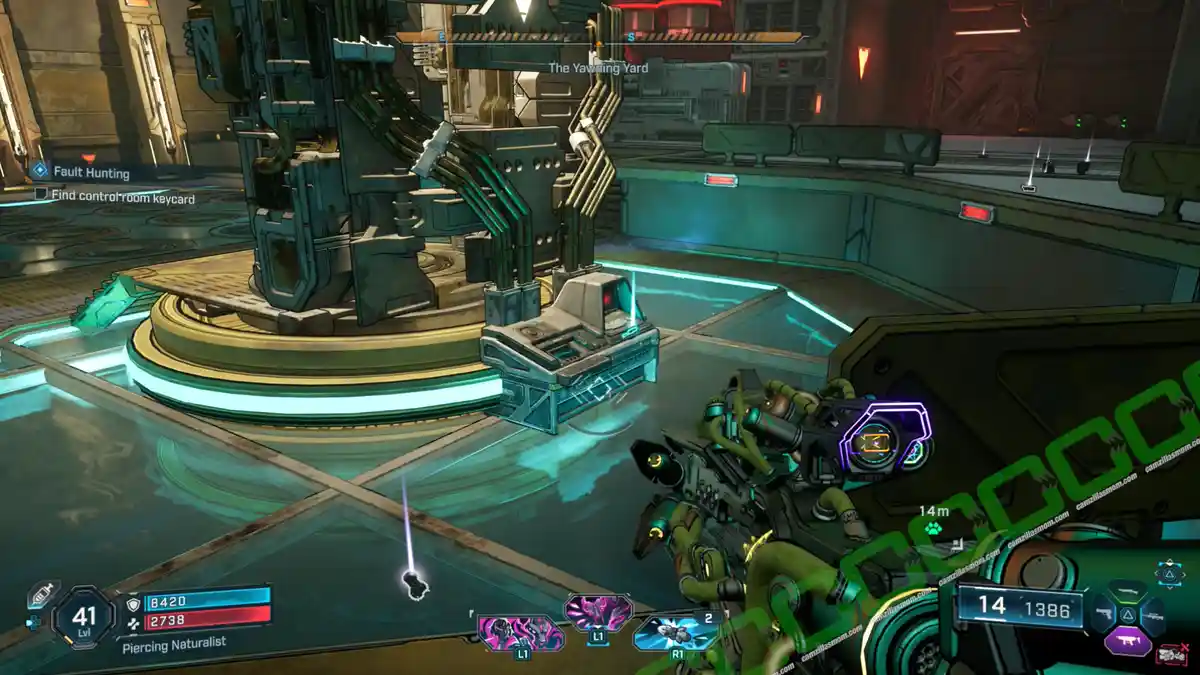
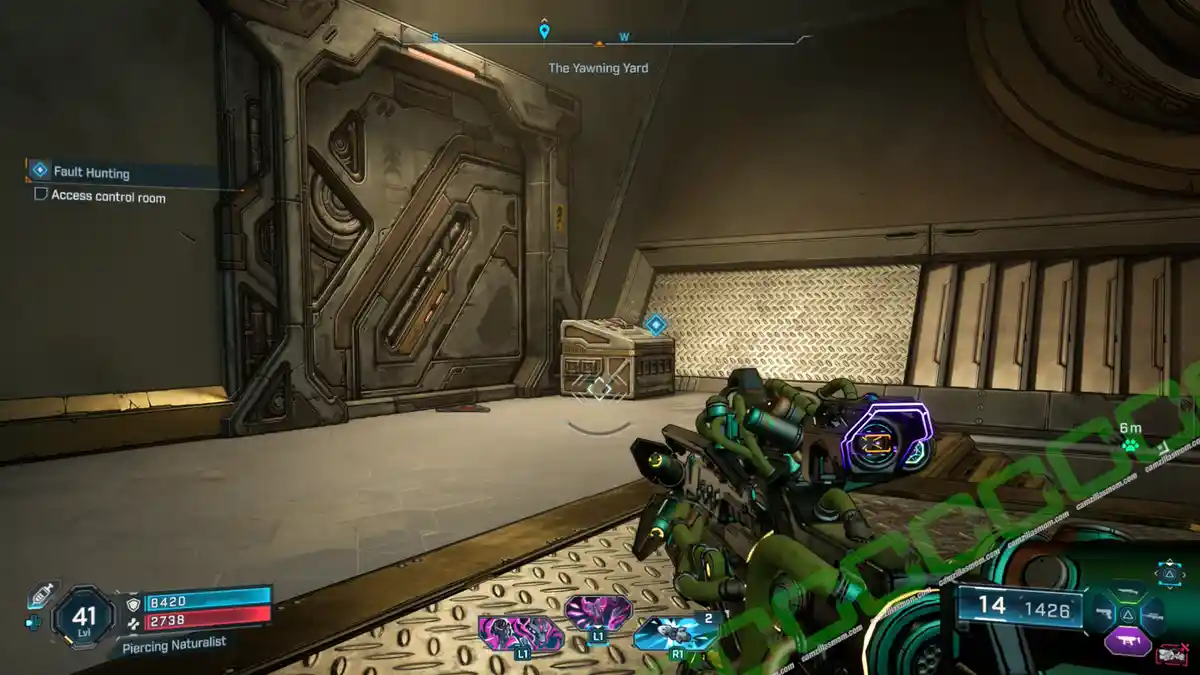
-> Find Control Room Keycard: The keycard is in the console at the center of the room. Use it on the console in front of the control room, enter the control room and pull the switch to power down the facility. This will end the Side Mission.
Her Own Funeral
Side Mission Start:
A note on the table in the main Faction Town building.
What it is about:
Lady Naheli has disappeared. Find her.
Side Mission Steps:
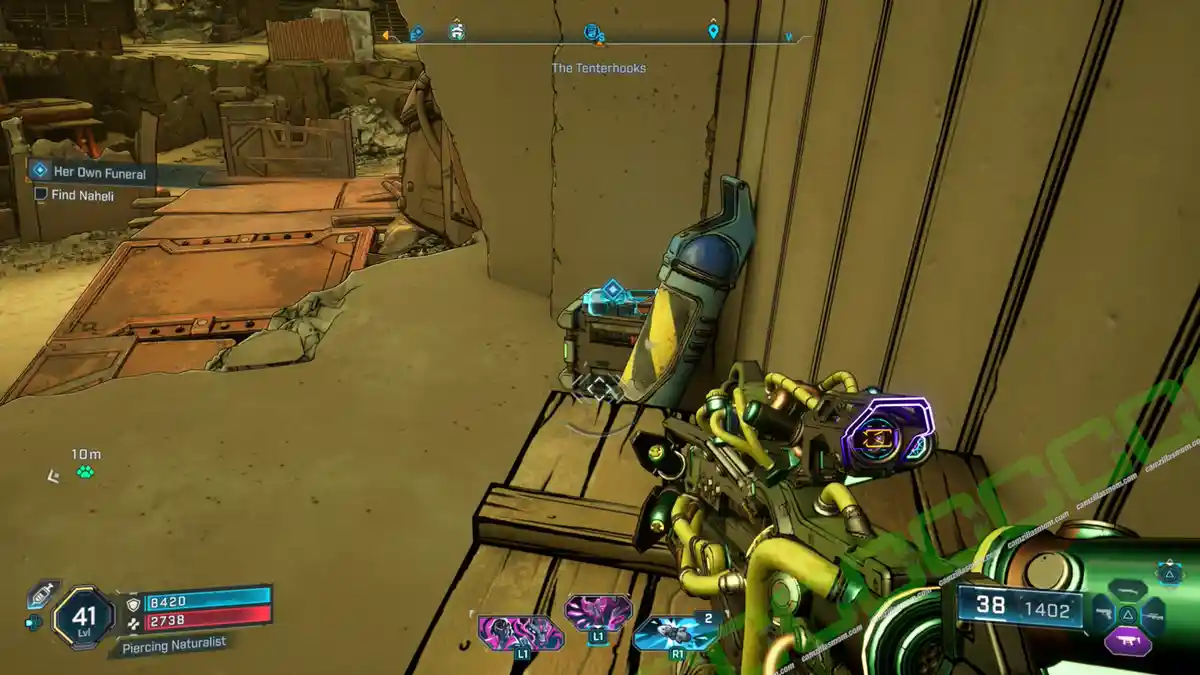
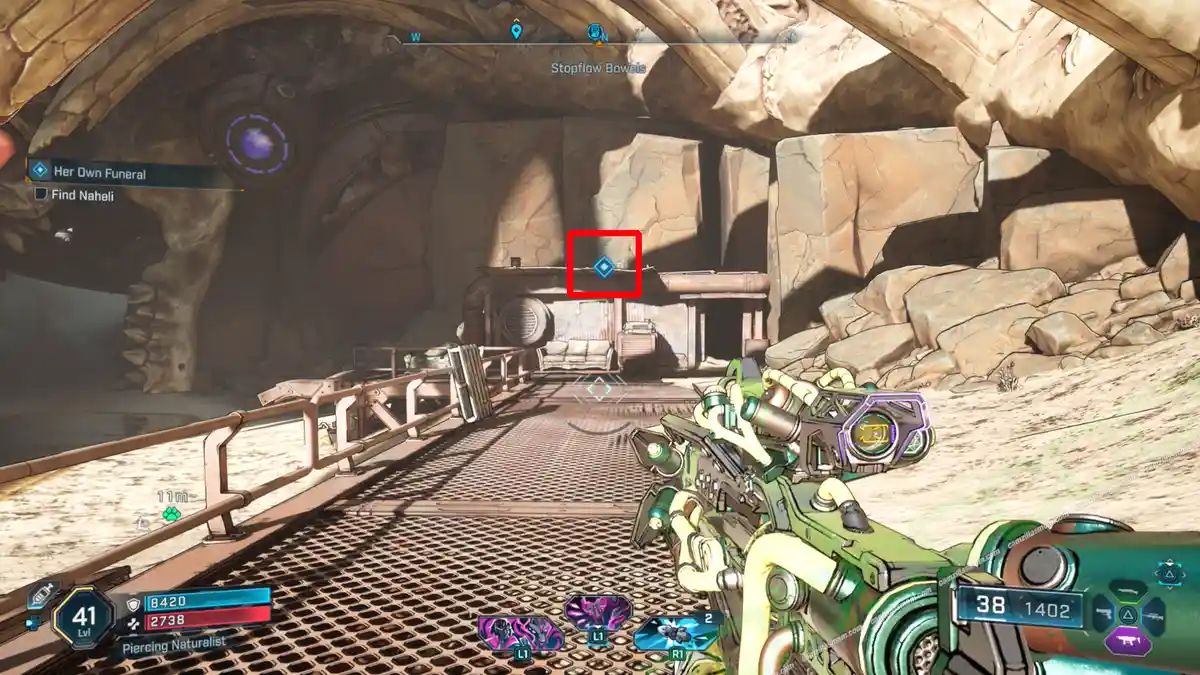
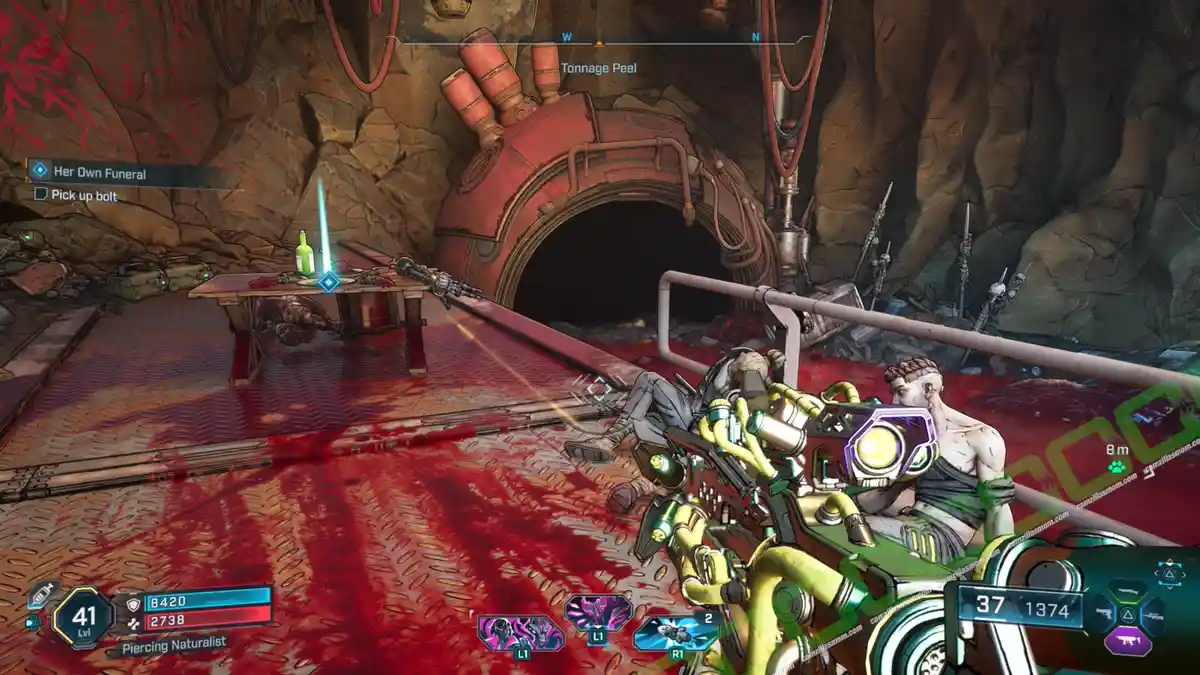
-> Find Naheli 1: Her last known location is just outside of town in the west. Here you can find the ECHO Log: Her Tragedy.
-> Find Naheli 2: The next location is a bit further to the west in the same area. Pick up the ECHO Log: Her Confrontation here.
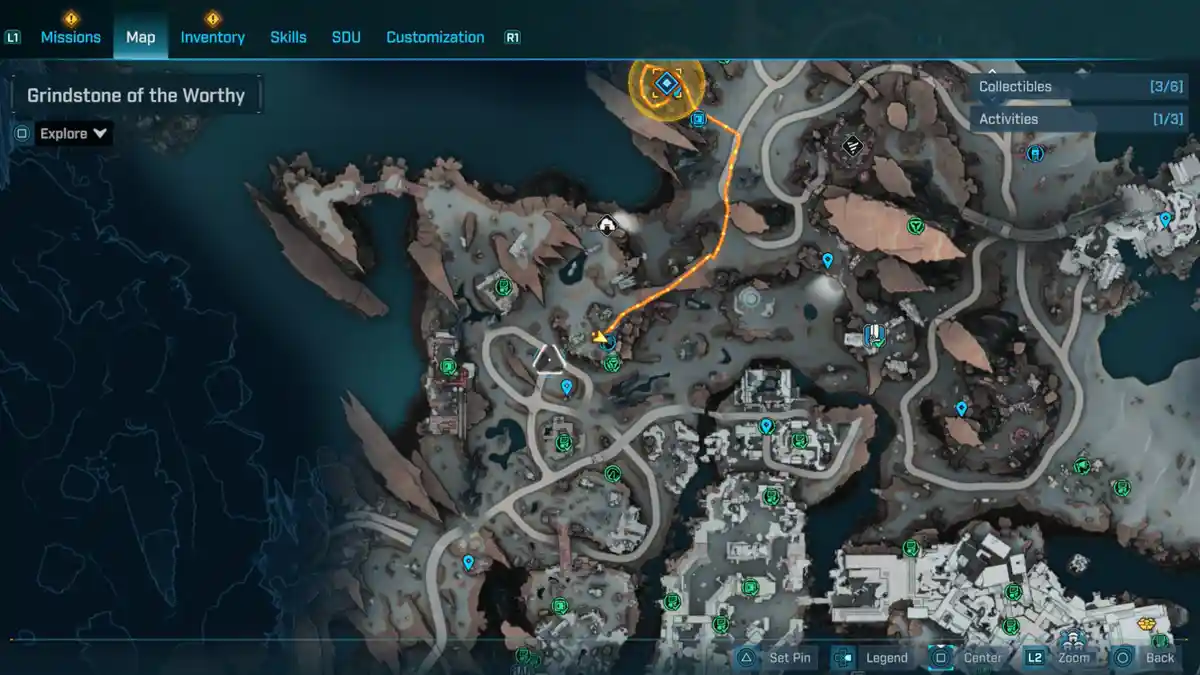
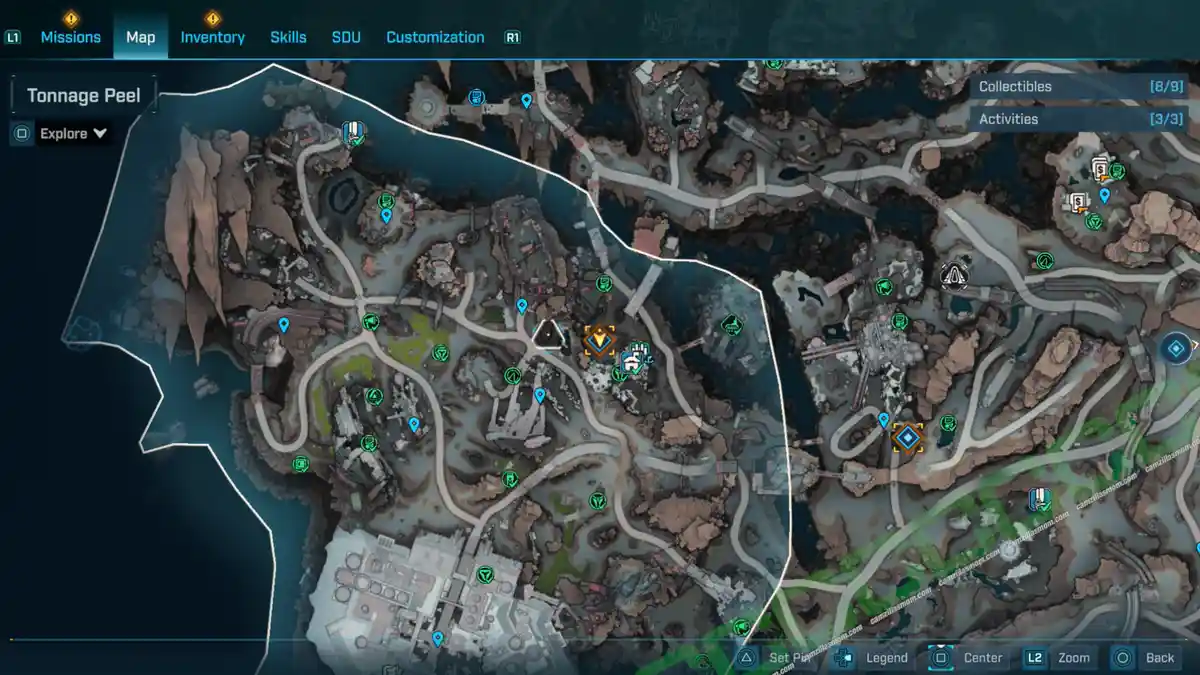
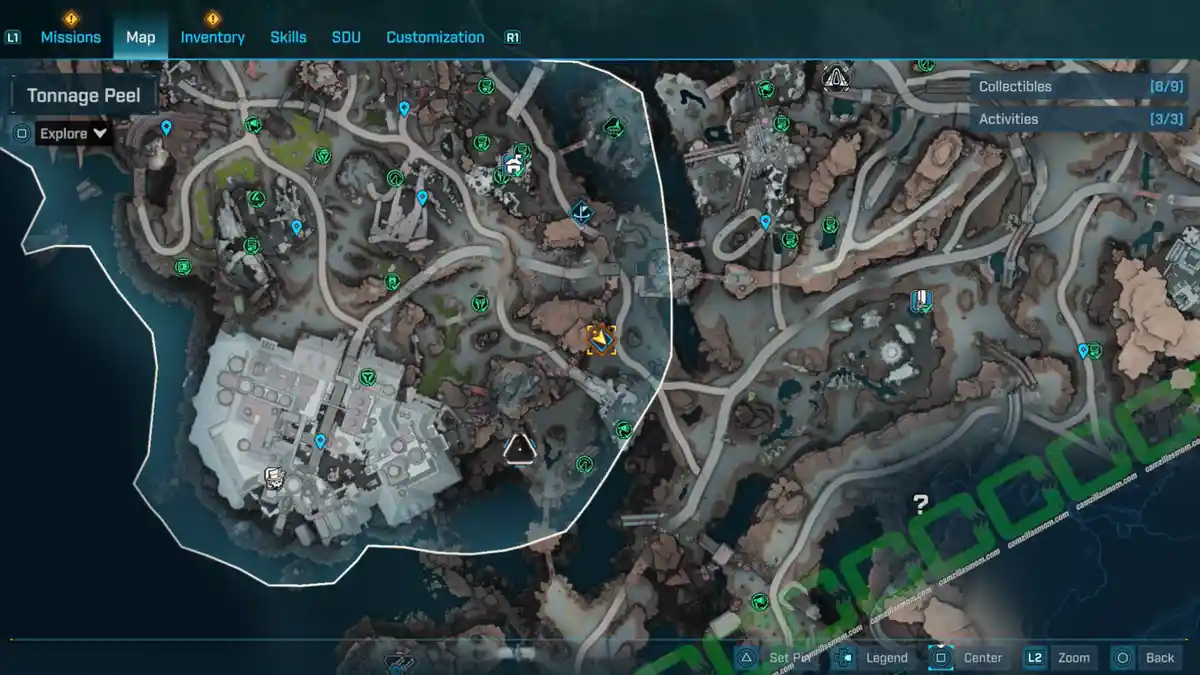
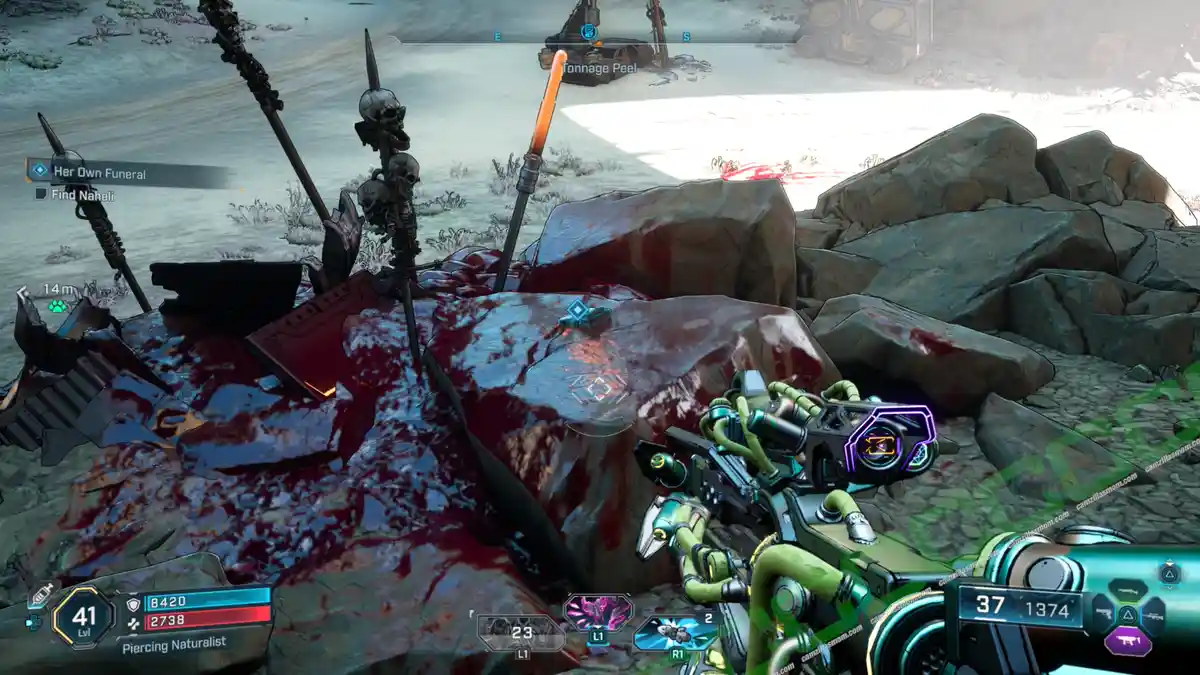
-> Find Naheli 3: The next location is further away at Tonnage Peel, just west, below the Lowrise safehouse.
-> Find Naheli 4: The next location is at the Stopflow Bowels POI at Grindstone of the Worthy. It’s on the roof of a metal shed.
-> Find Naheli 5: The next location leads back to the Tonnage Peel region, just west across the border.
-> Pick up bolt: The bolt is not far from the previous location in the southwest, in a cave just east of Queen’s Cradle. Defeat Naheli to complete the mission.
The Council Divided
Side Mission Start:
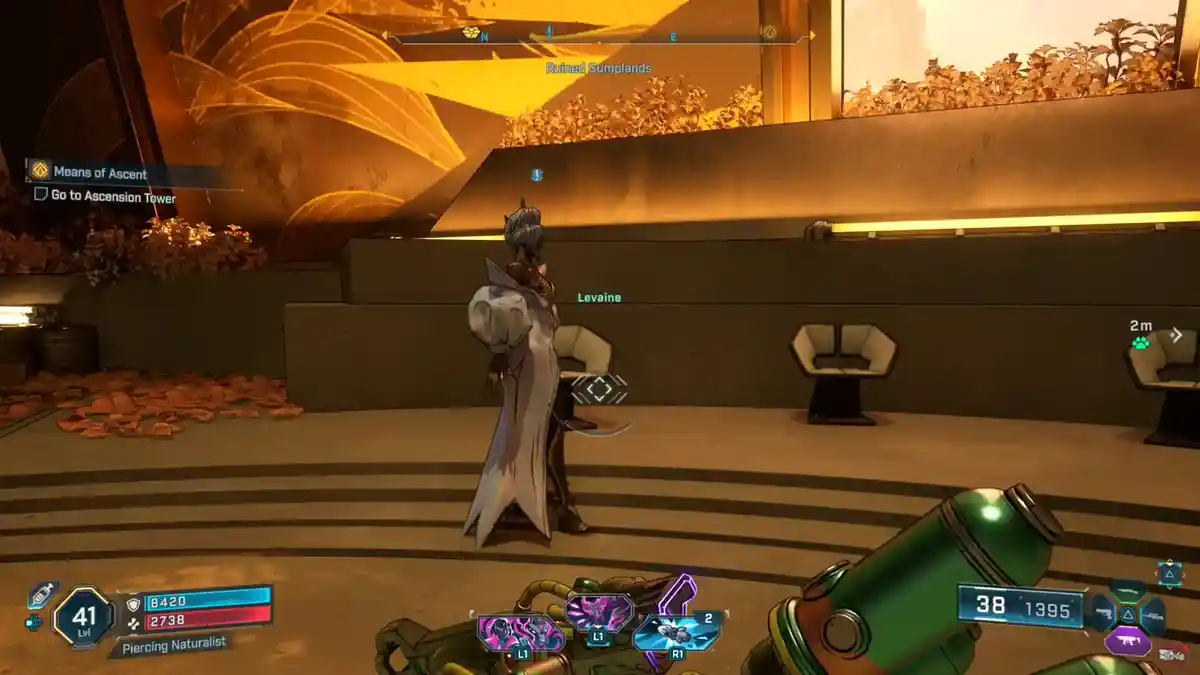
Levaine, in the main Faction Town building.
What it is about:
Keep the Electi from turning on one another – and destroy three ships in the process.
Side Mission Steps:
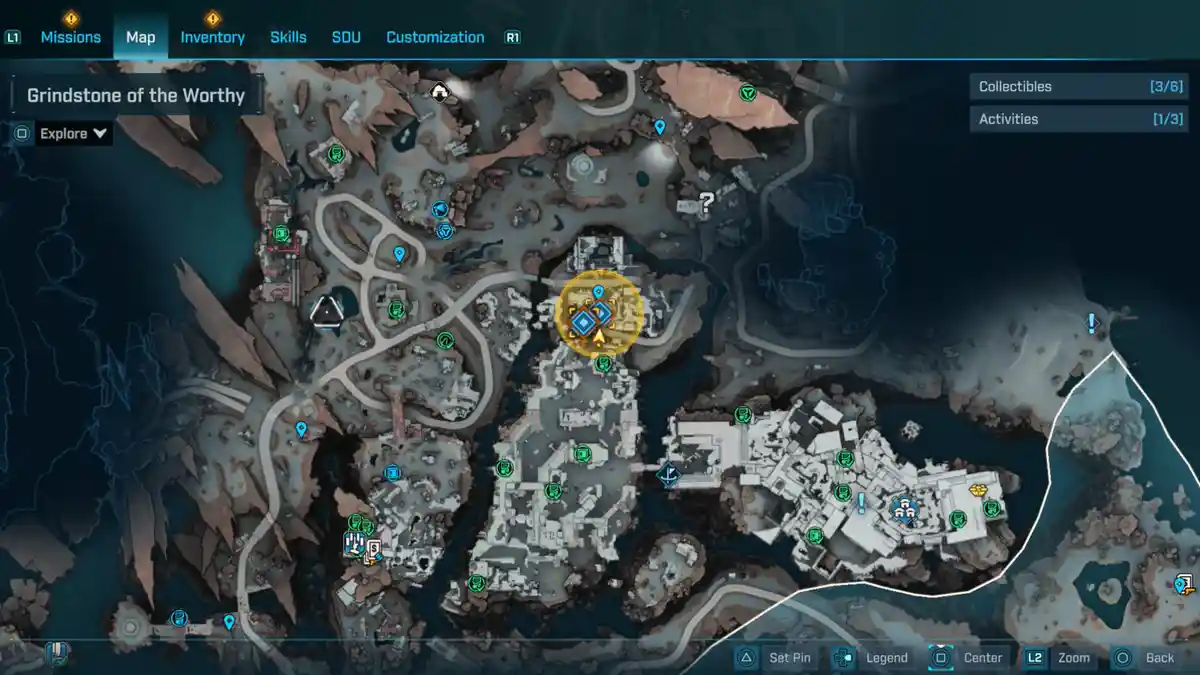
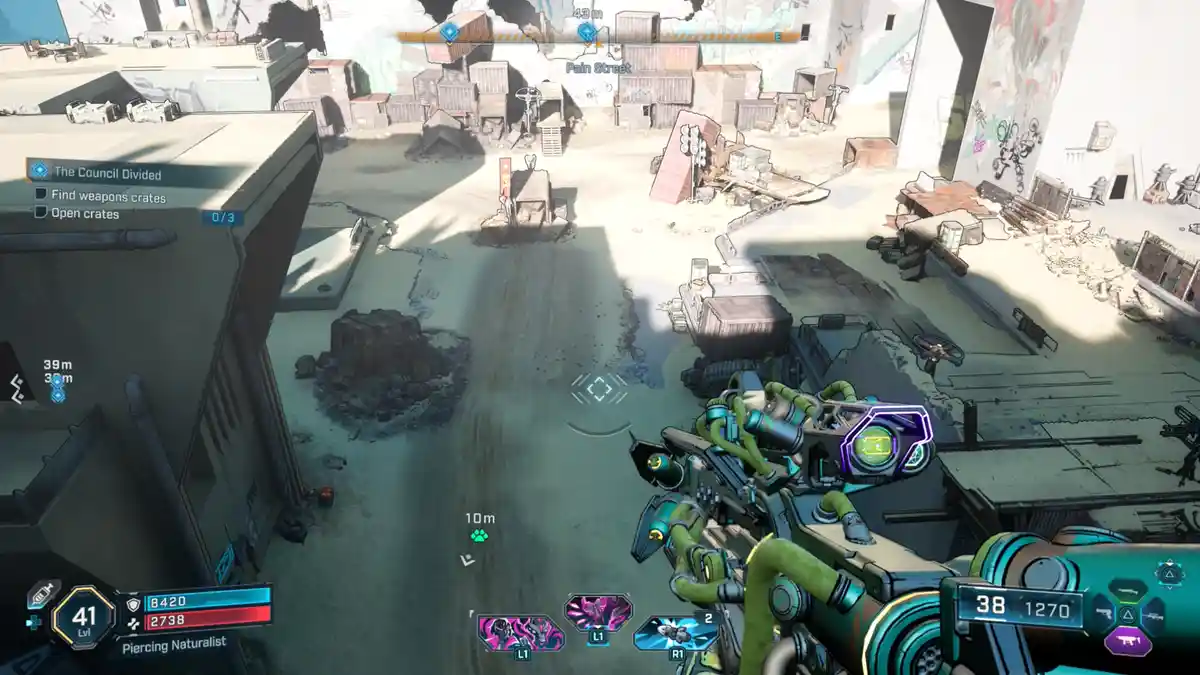
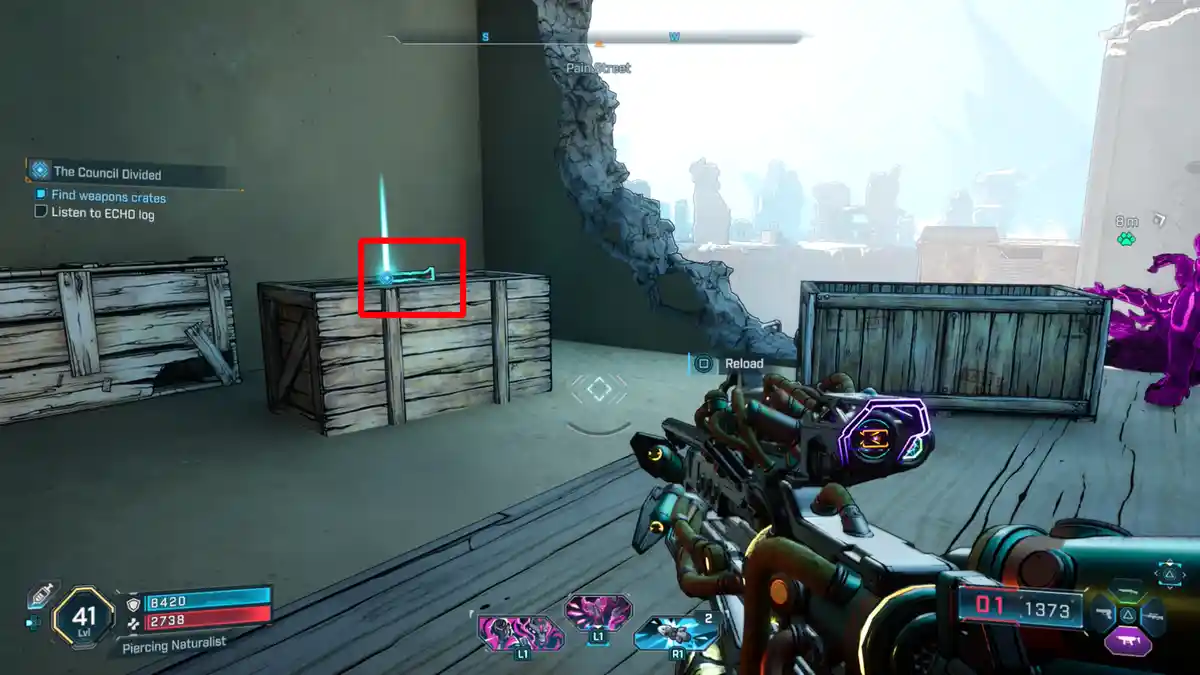
-> Find 3 weapon crates & open them: The weapon crates are marked on the map, they are near the Pain Street POI. There is a ladder halfway up the building that you can use to get to the top of the building.
-> Listen to ECHO Log: Destroy the 3 crates and listen to the ECHO Log: Accidental Evidence.
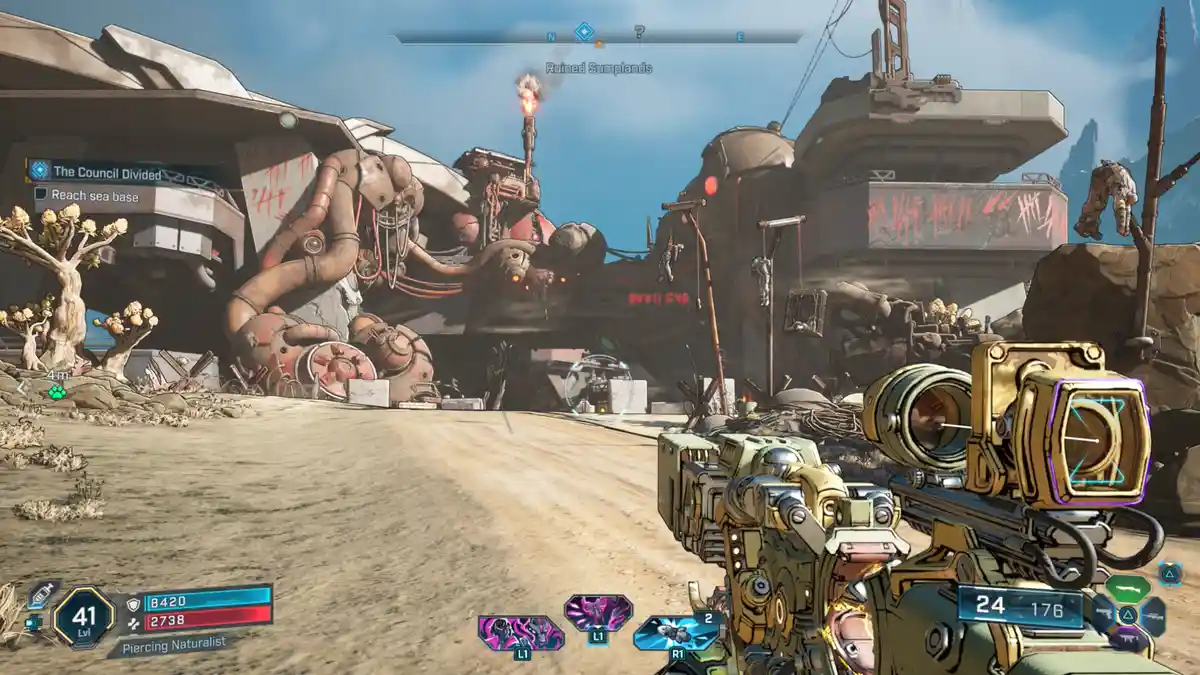
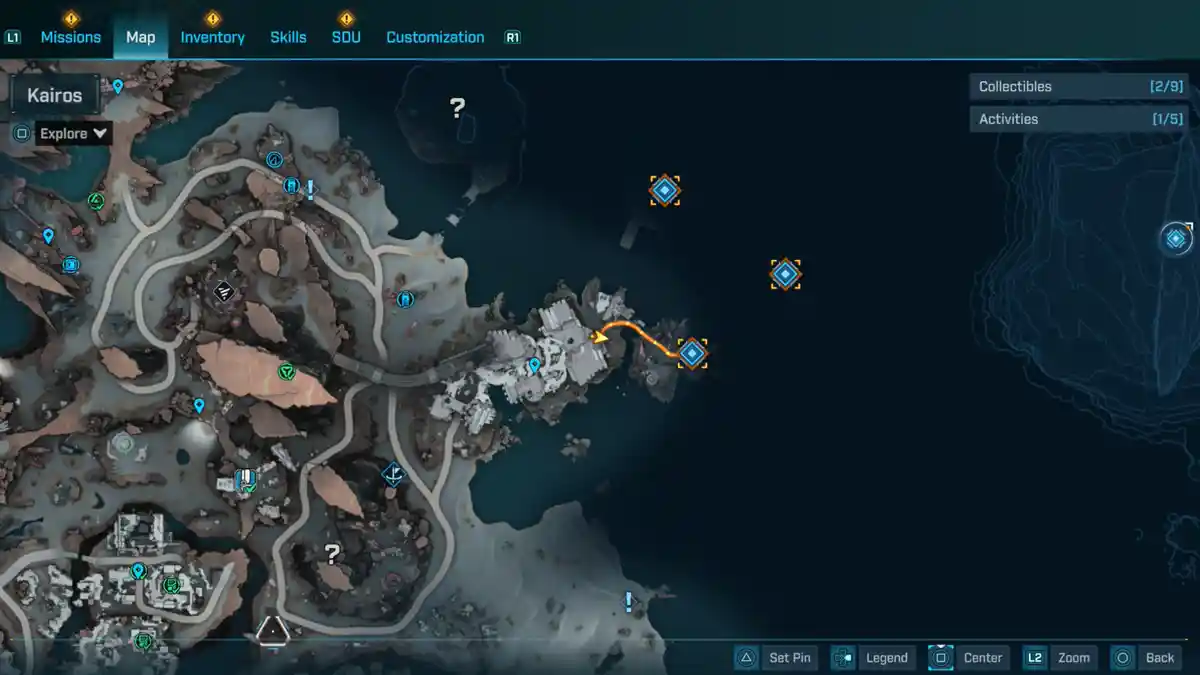
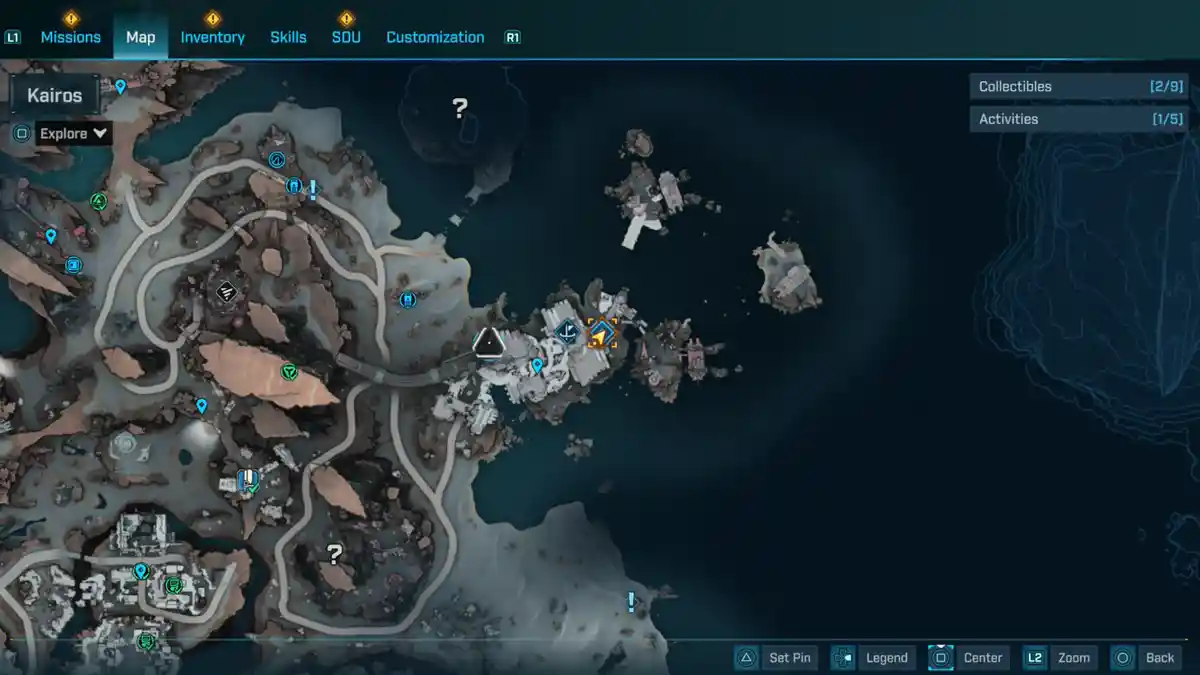
-> Reach sea base: The sea base is at Tariffton Harbors, north of the Faction Town.
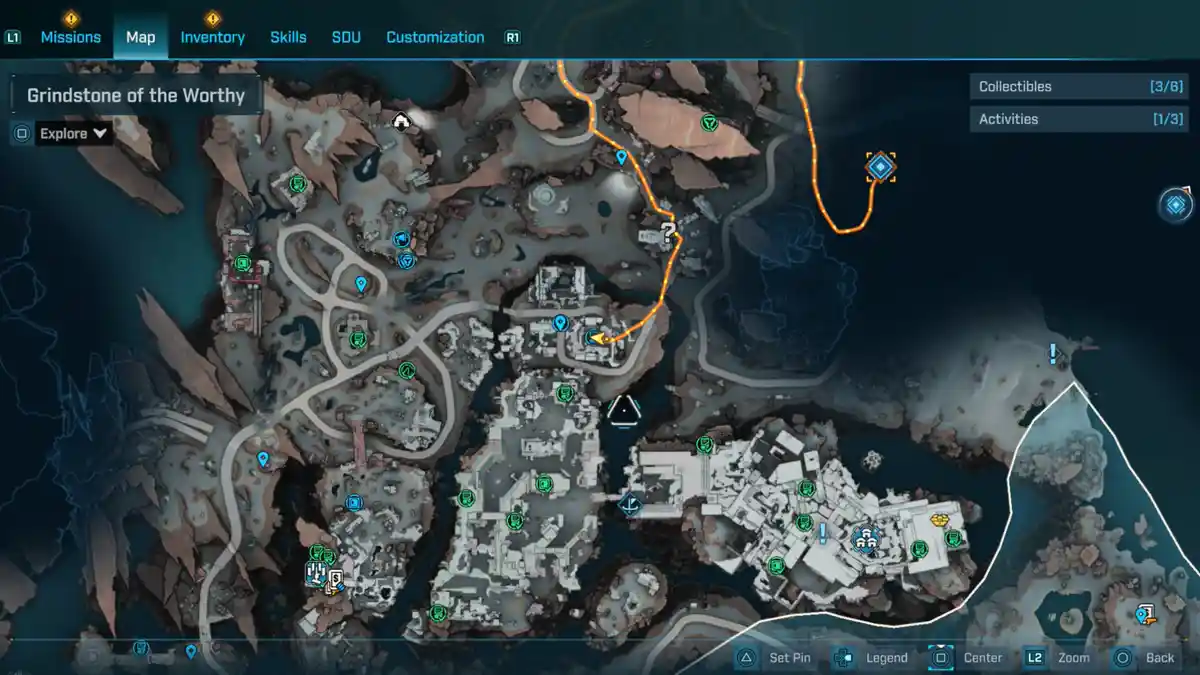
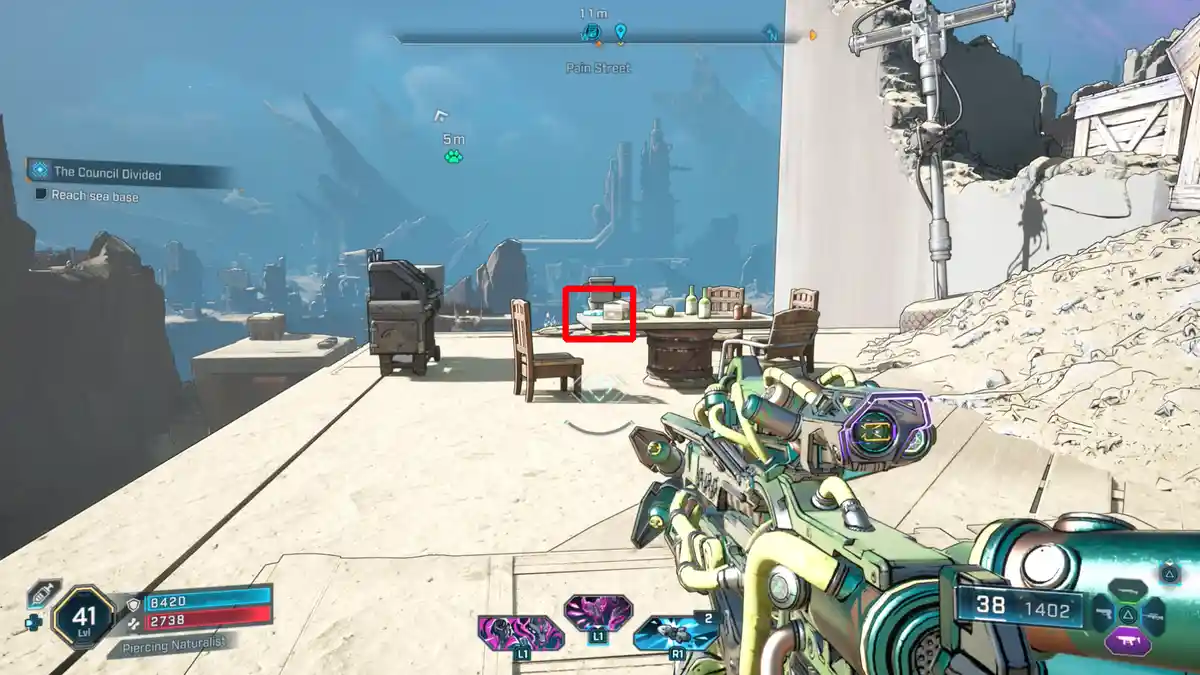
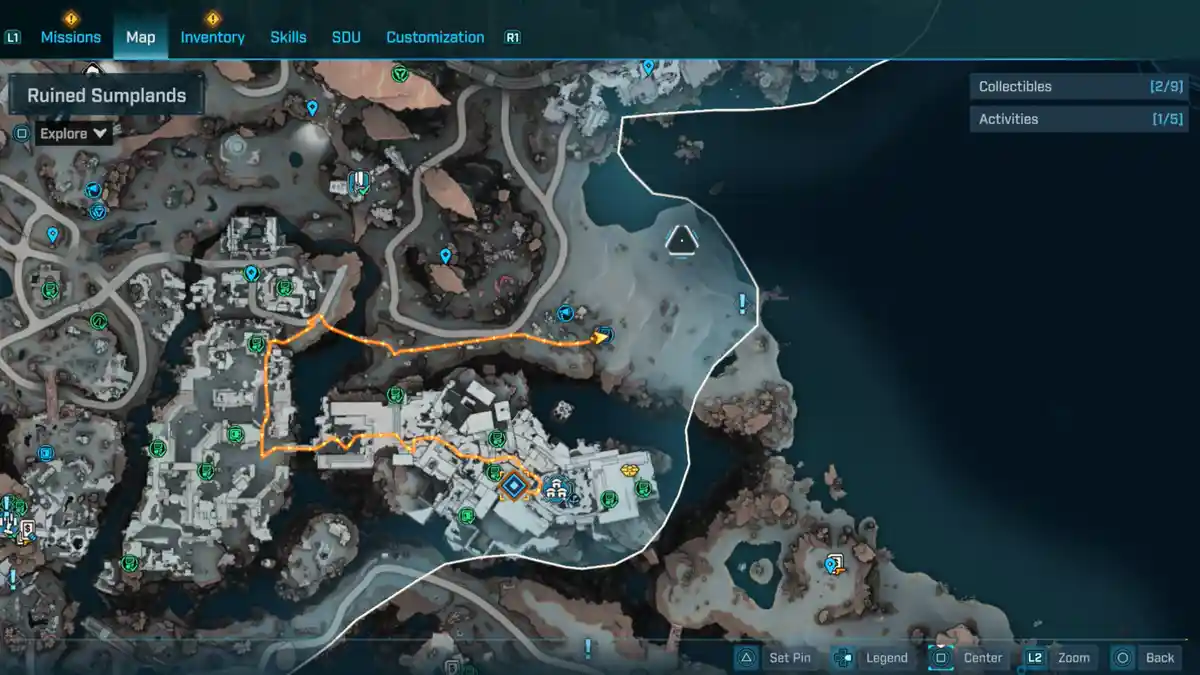
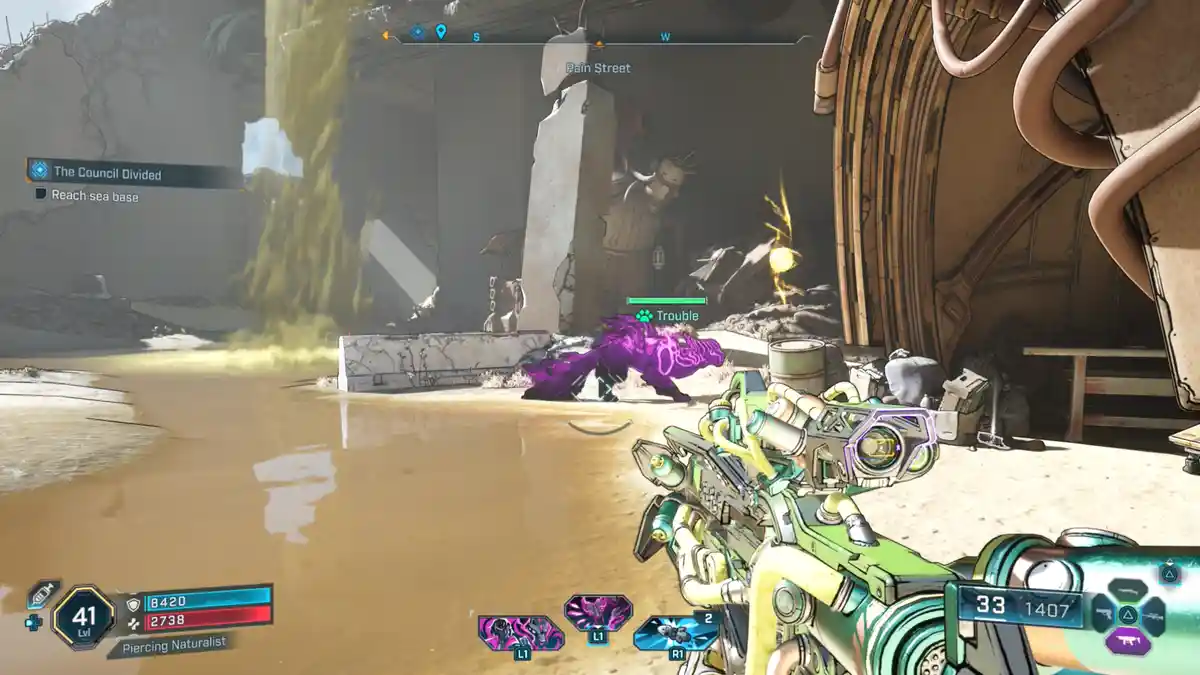
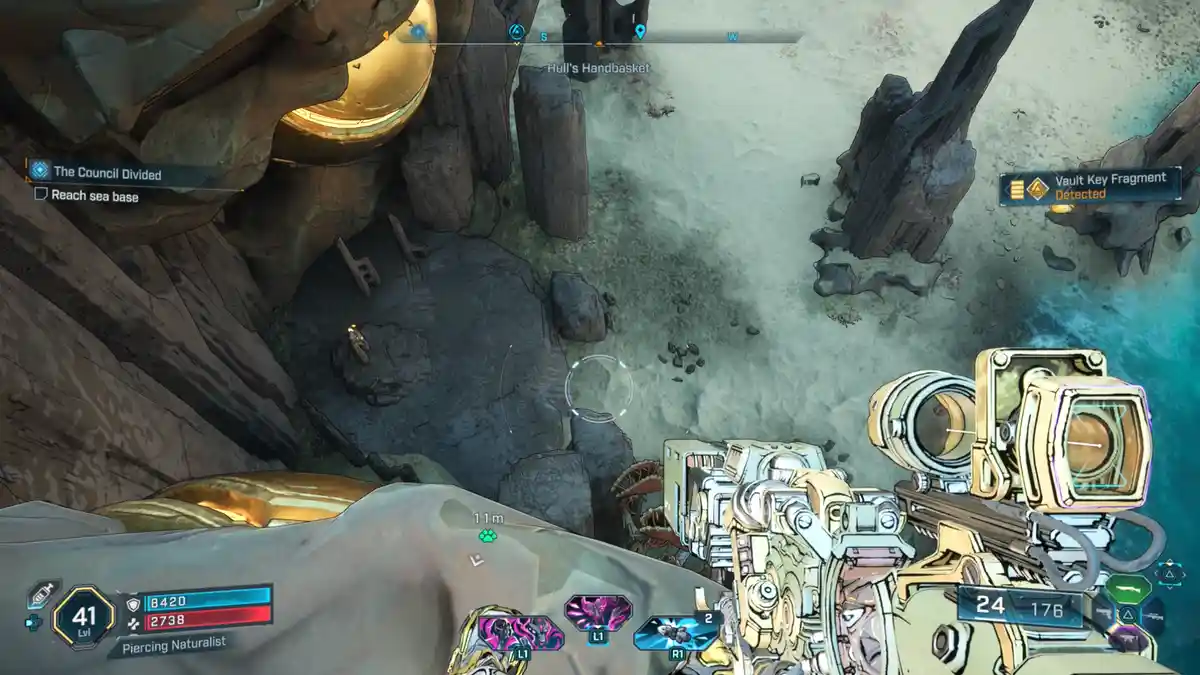
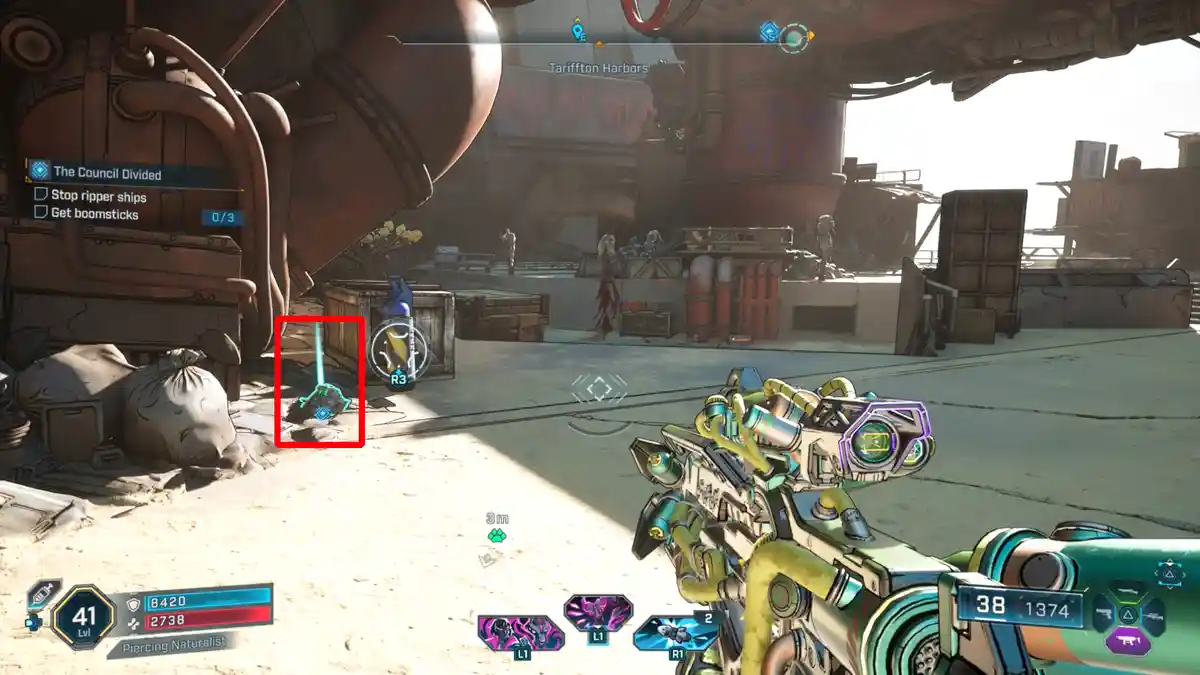
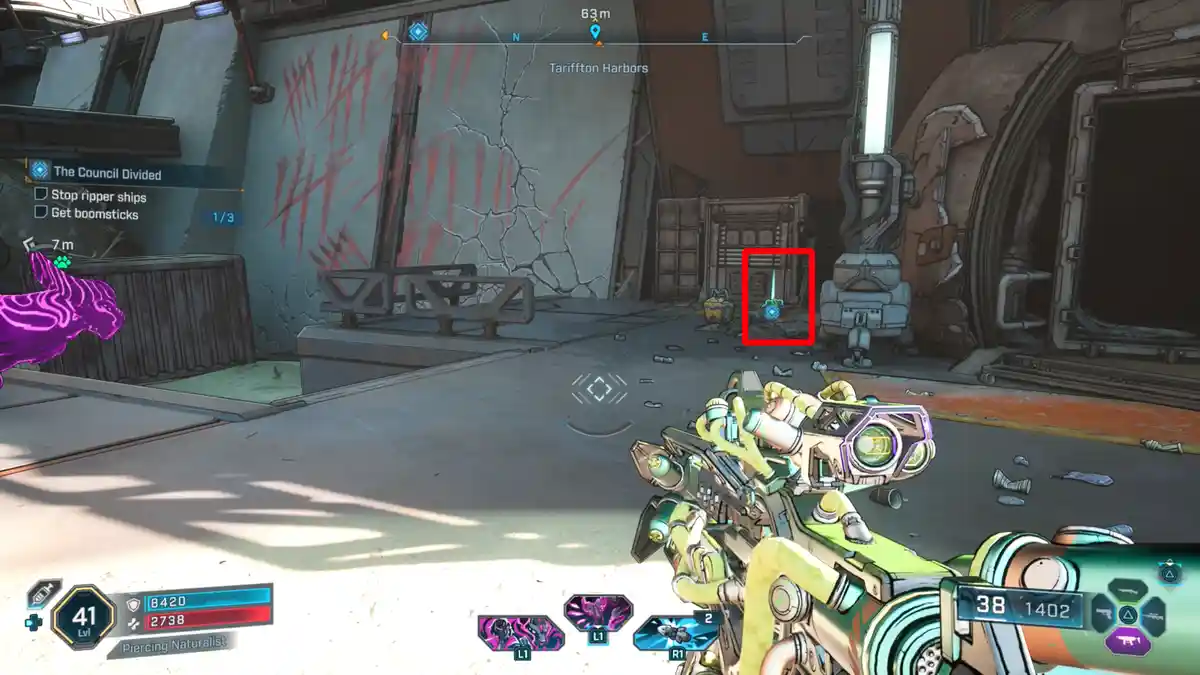
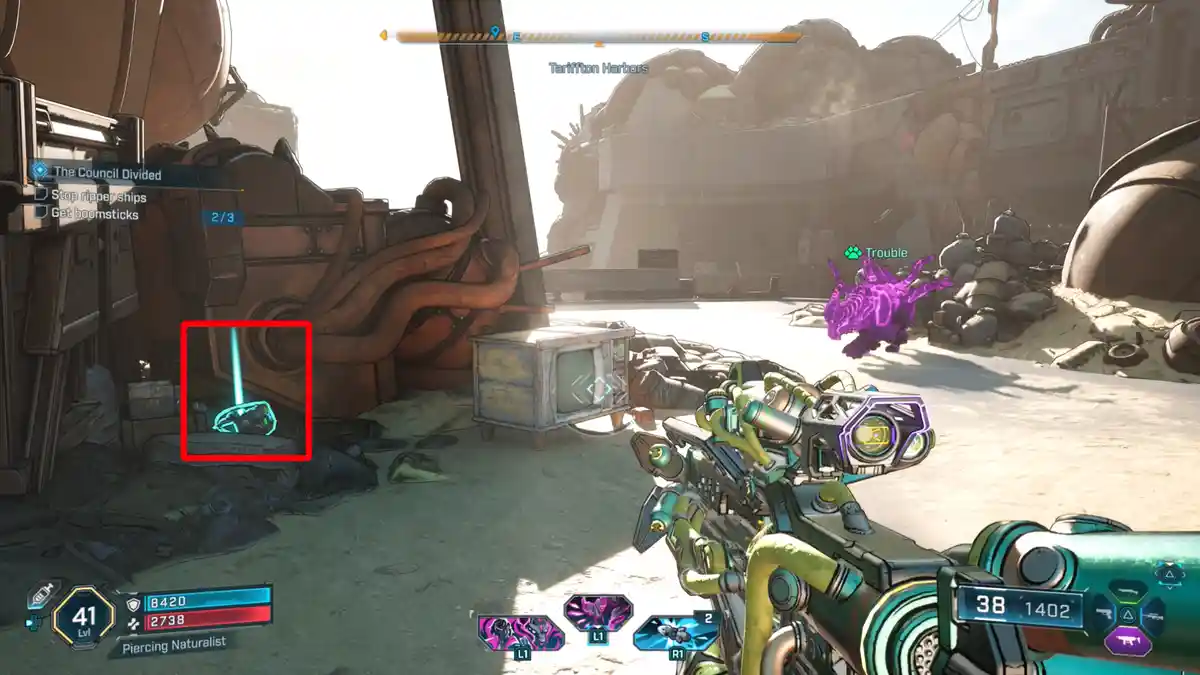
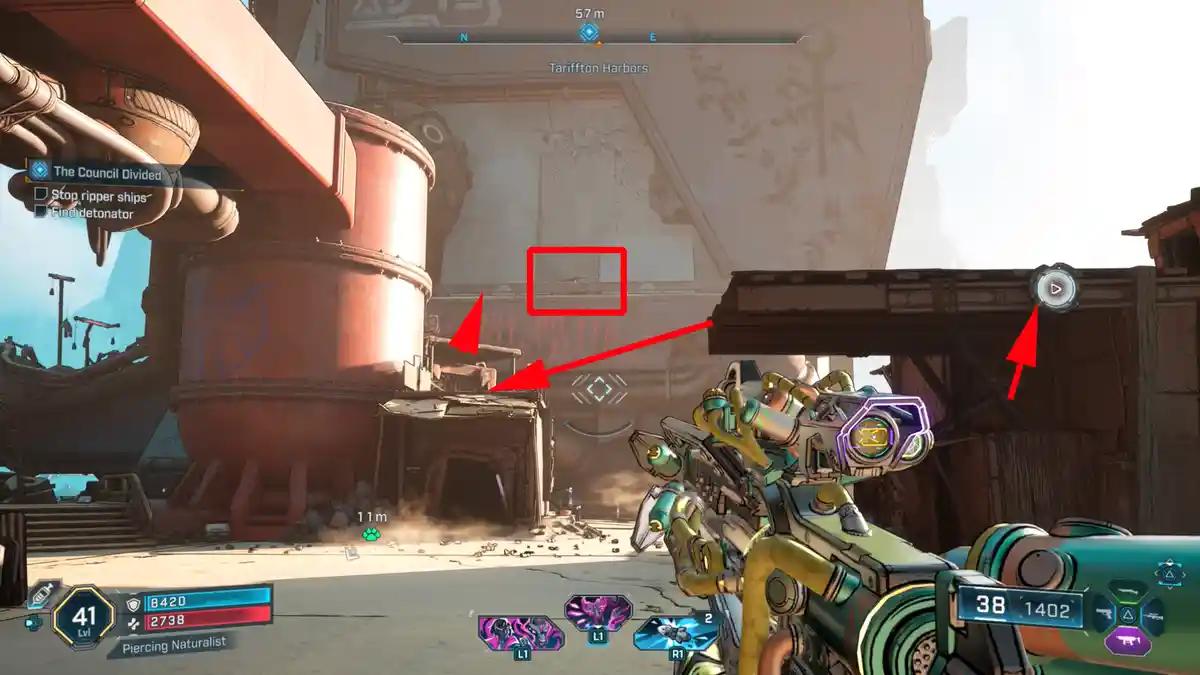
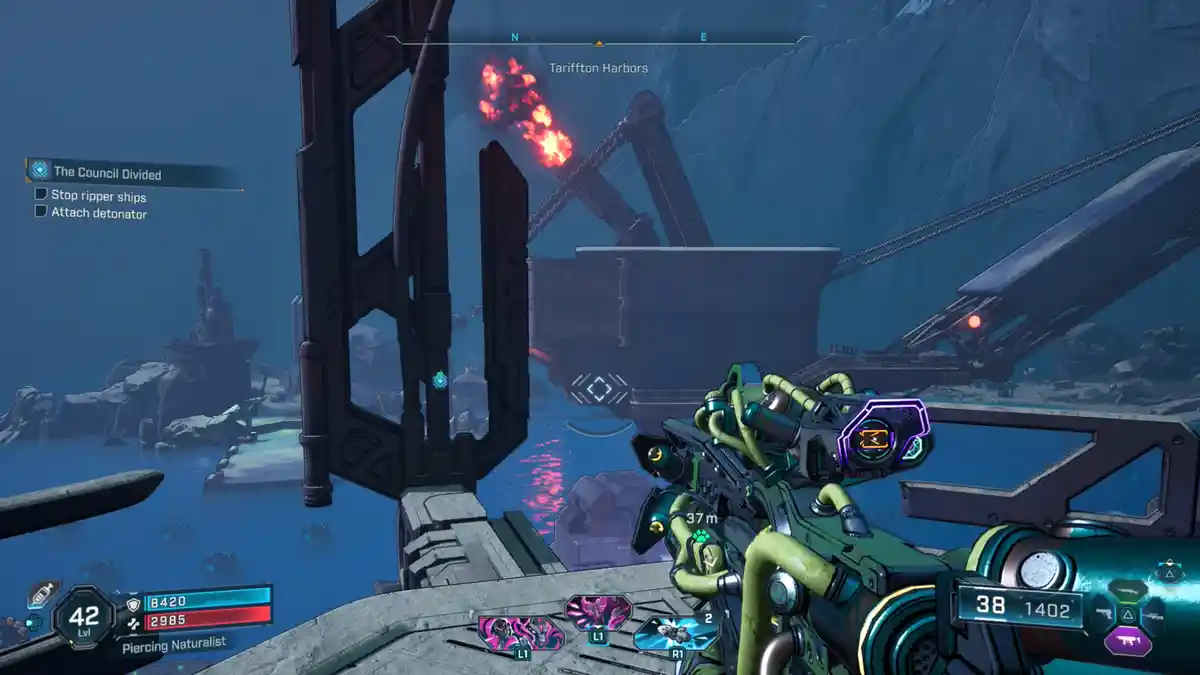
-> Find 3 boomsticks & detonator: The three areas are marked on the map. The first boomstick I went to is in the east (see screenshots). The boomstick is highlighted on the HUD when you’re close enough. The detonator is on a balcony of the building to the east.
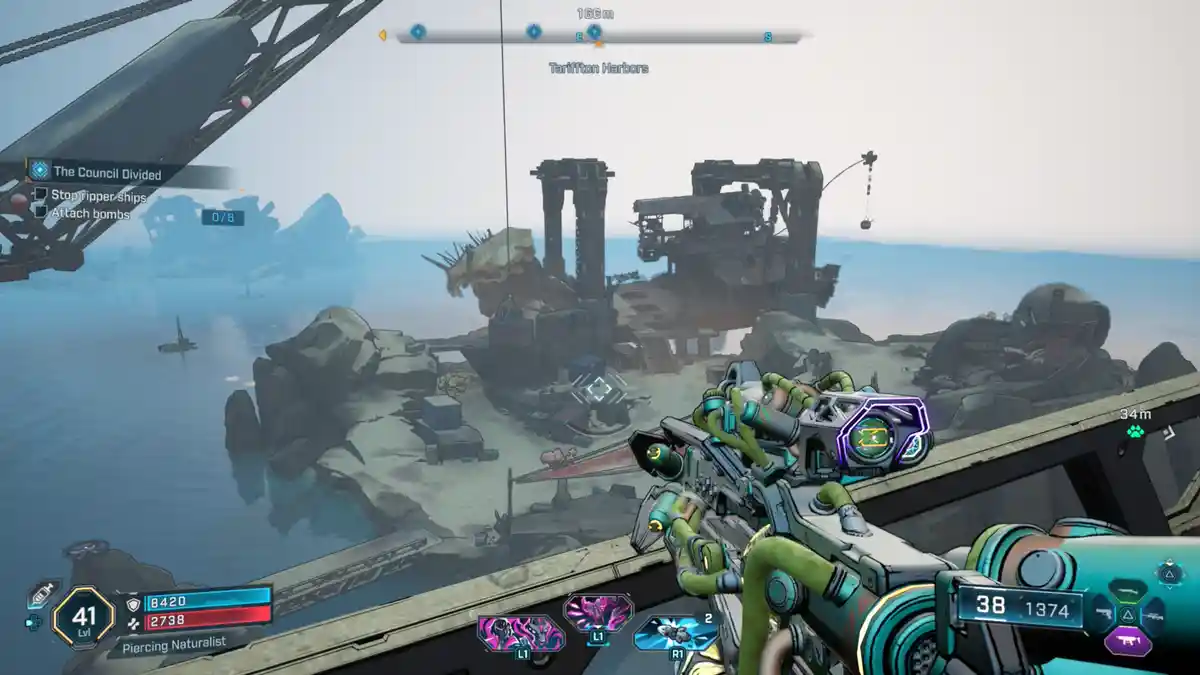
-> Attach 6 bombs: The ships are in the water to the east. There is a jump ramp for your vehicle to reach the first ship. From there, you can climb a tower and glide over to the other ships, also using the small islands to land on. Two bombs per ship, the attachment points are highlighted and visible in the HUD.
-> Reach Signal Booster: After attaching the bombs, head back to Tariffton Harbors. The elevator door near the beach is now open and can be used to reach the top. After attaching the detonator, use the nearby grapple point to get up to the platform to detonate the bombs.
-> Kill Meat Meat’s crew: Last step, defeat the crew and Meat Meat. Meat Meat will drop the ECHO Log: A Sweet Betrayal. Pick it up and complete this mission.
A Traitor Within
Side Mission Start:
A Traitor Within is the follow-up to “The Council Divided”.
Talk to Levaine in the main Faction Town building.
What it is about:
Find the Mole.
Side Mission Steps:
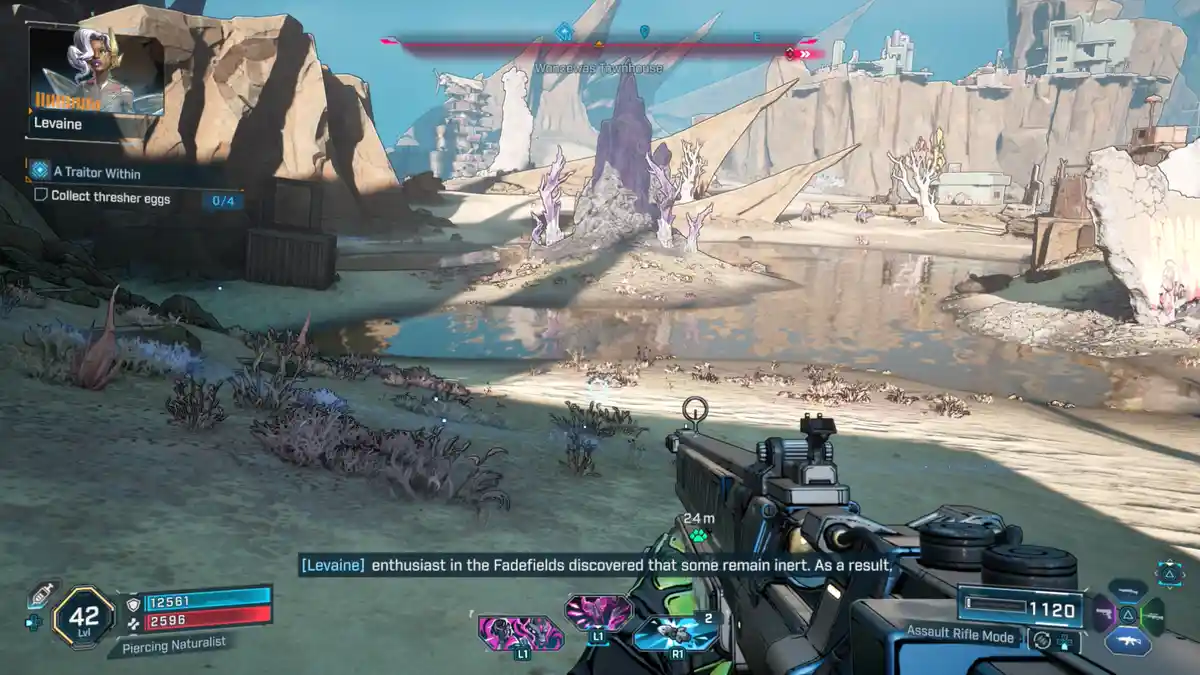
-> Collect 4 thresher eggs: Defeat four Thresher at this location and pick up the eggs.
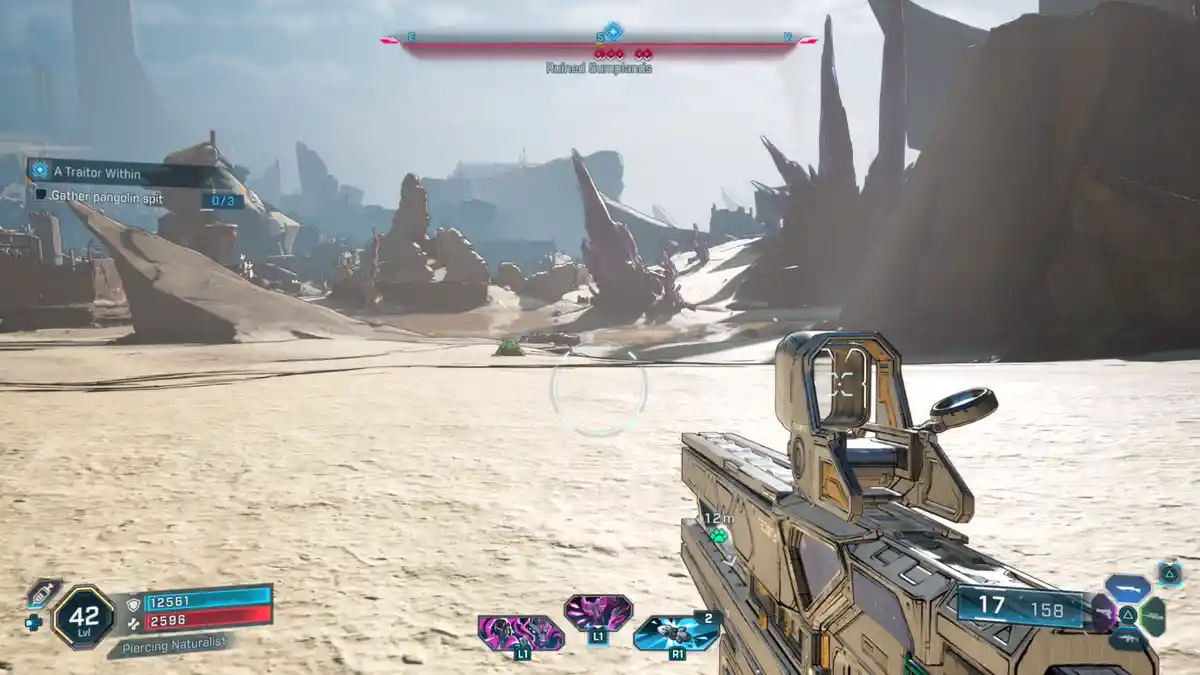
-> Gather 3 Pangolin Spit: Further north, not far away are the pangolins. Pick up the spit after defeating them.
-> Drop off food: The drop-off point is at the Moxxi’s Bottoms Up! counter.
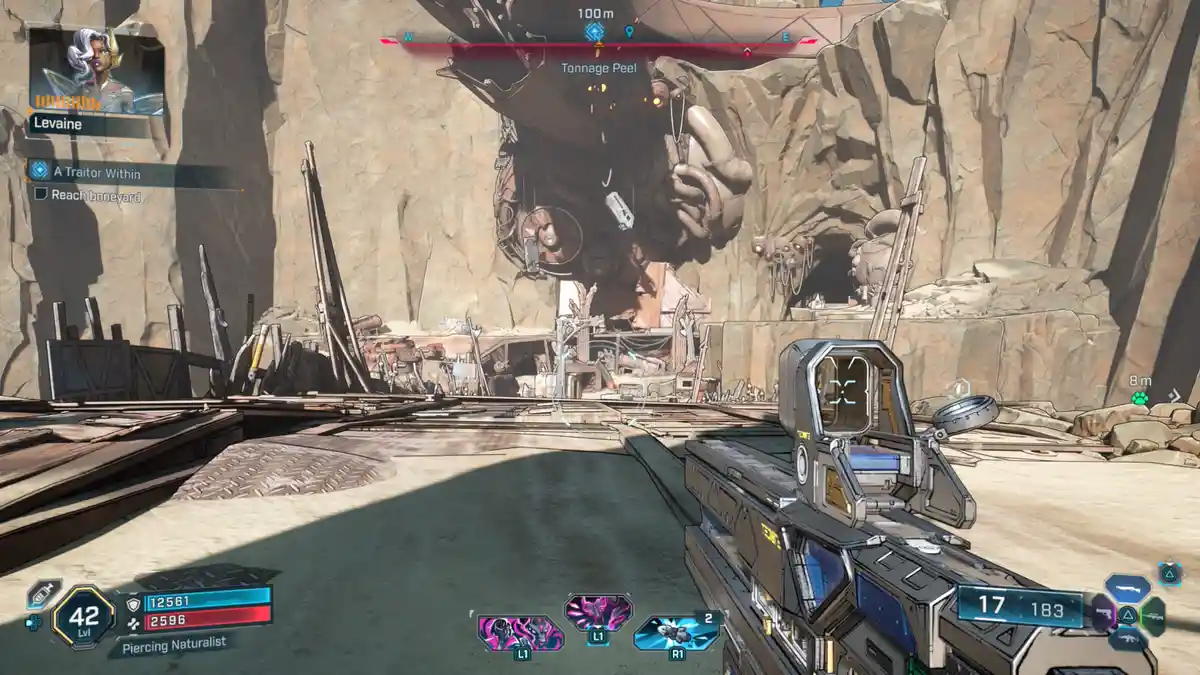
-> Reach boneyard: The boneyard is in the west of Tonnage Peel, near Quisling’s Cave. Fight the rippers. One of them will drop the ECHO Log: Bitter Plotter.
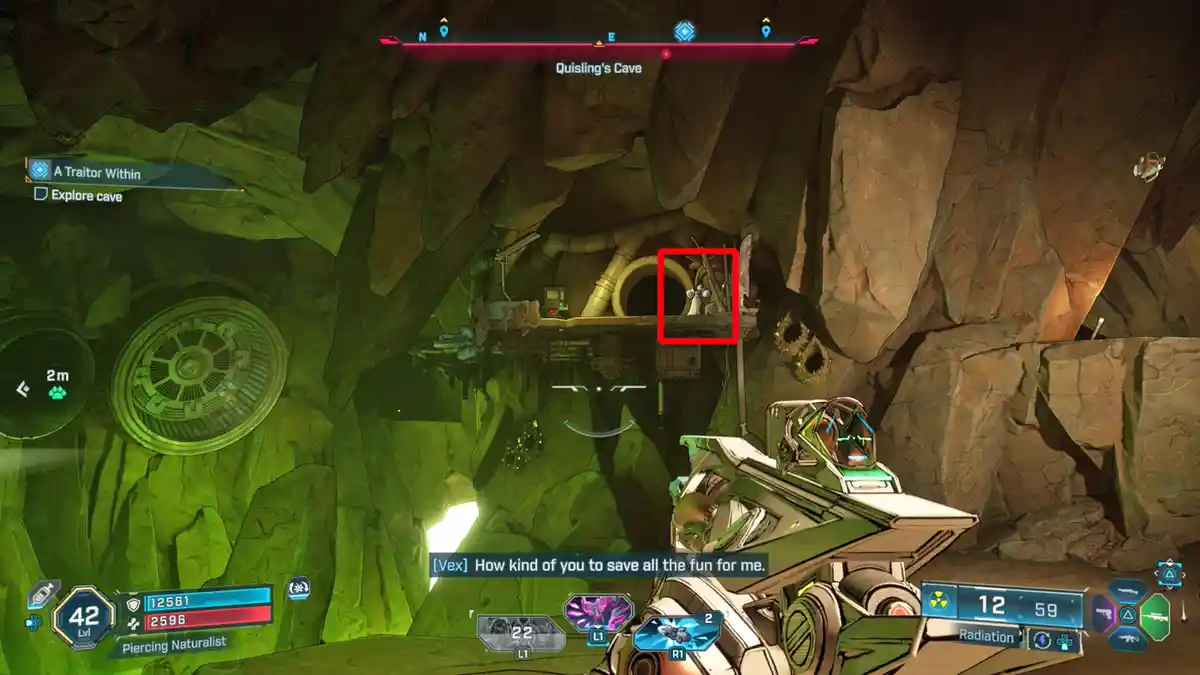
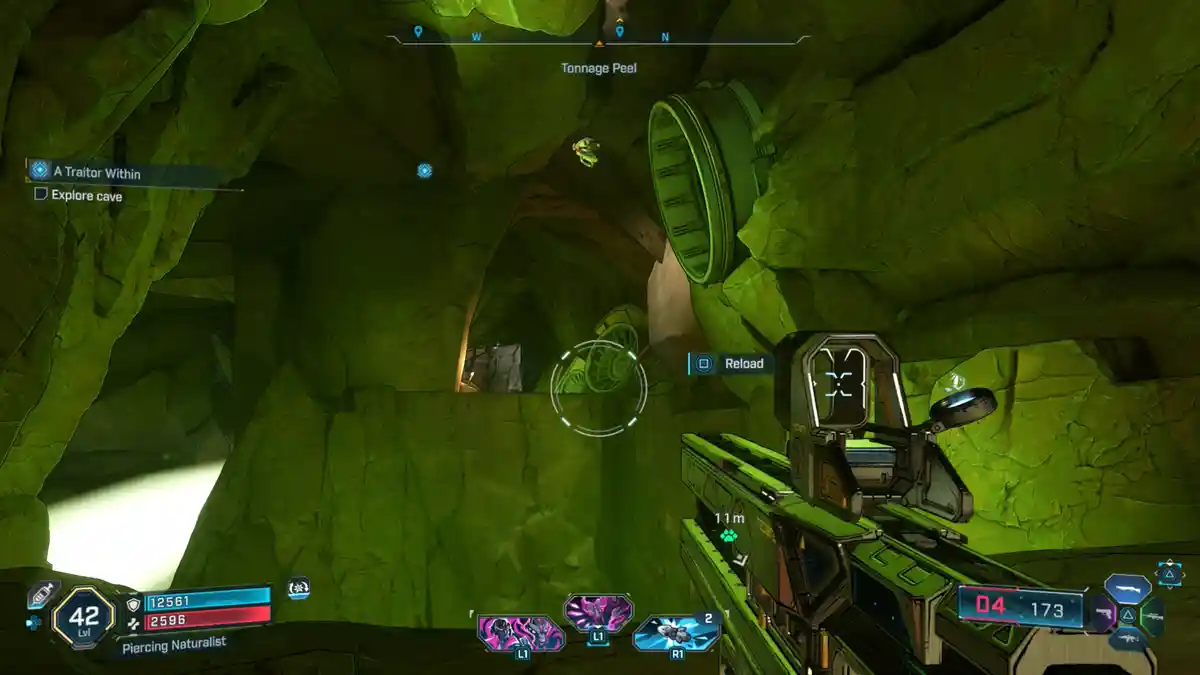
-> Enter the cave: Enter Quisling’s Cave. Levaine is waiting high up near the platform with the pipe. Use the overhead grapple to reach the next area with the pangolins. She will send a grapple drone ahead so you can explore the cave a bit better. Just look where the drone is, and you know where to go.
-> Defeat the Order & the mole: Drop down into a big cave that looks like a secret lab. Fight the Order.
-> Reach cockpit: The barrier is down, and you can reach the overhead cockpit.
-> Search cockpit: There is a chip locked inside the console.
-> Activate the Interface: Pull the nearby switch.
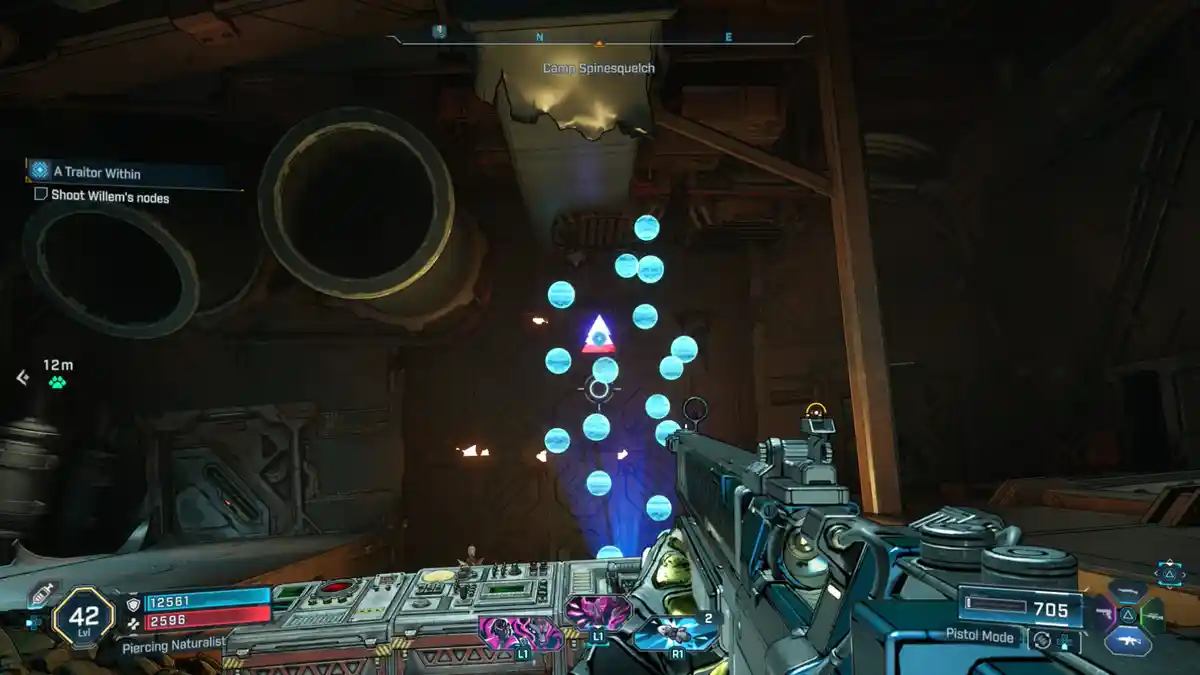
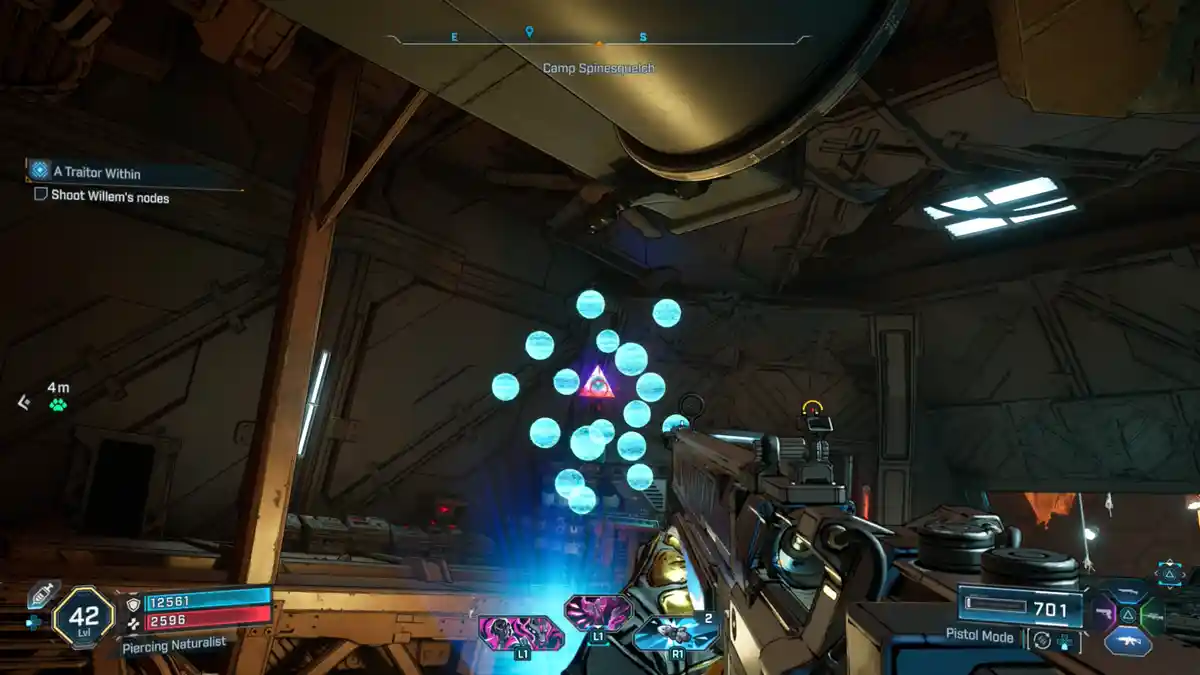
-> Shoot Willem’s nodes: Line them all up like in the screenshots and shoot them. The first one is easy. For the second one, you have to go around it to the left. The third one is right next to Levaine on the ground floor, and for the fourth, you have to climb the containers in the lab.
-> Take the drive, give it to Levaine: Now you can remove the drive from the console, and give it to Levaine. This will complete the mission.
The Mole’s Gambit
Side Mission Start:
The Mole’s Gambit is the follow-up mission to “A Traitor Within”.
Talk to Levaine in the main Faction Town building.
What it is about:
Find the Mole.
Side Mission Steps:
-> Destroy Willem’s devices: Return to the antennas you’ve installed in the Side Mission: “Enter the Electi Part 2” and destroy them. They are immune to guns and require a melee attack.
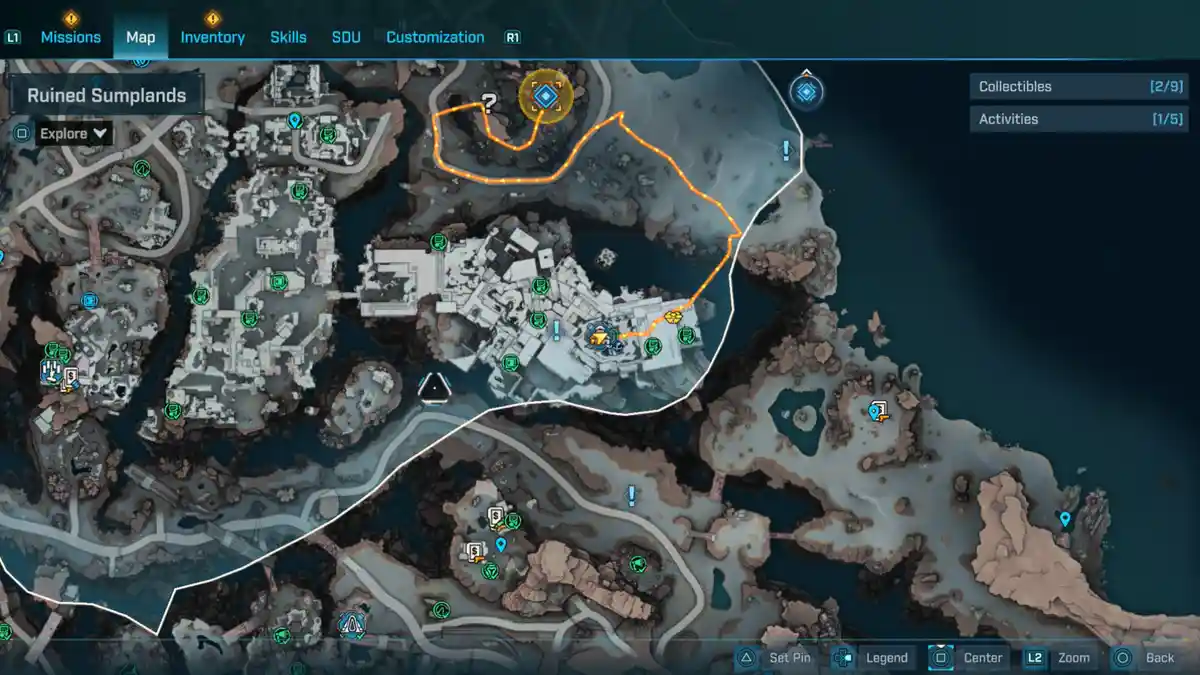
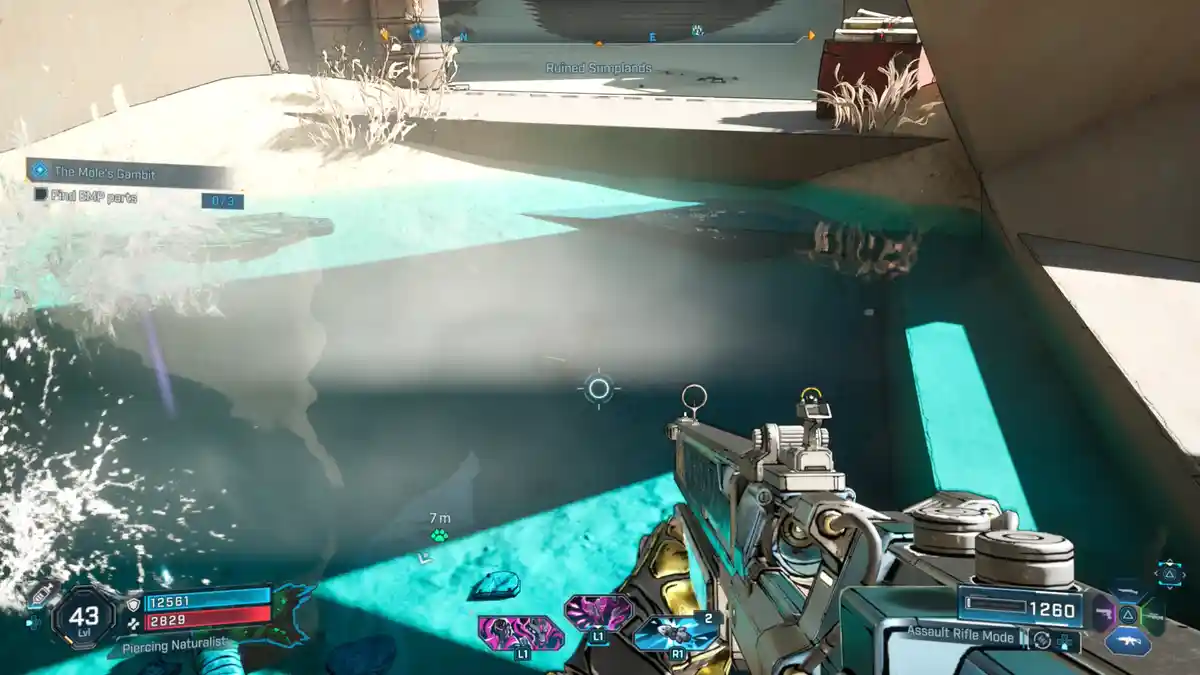
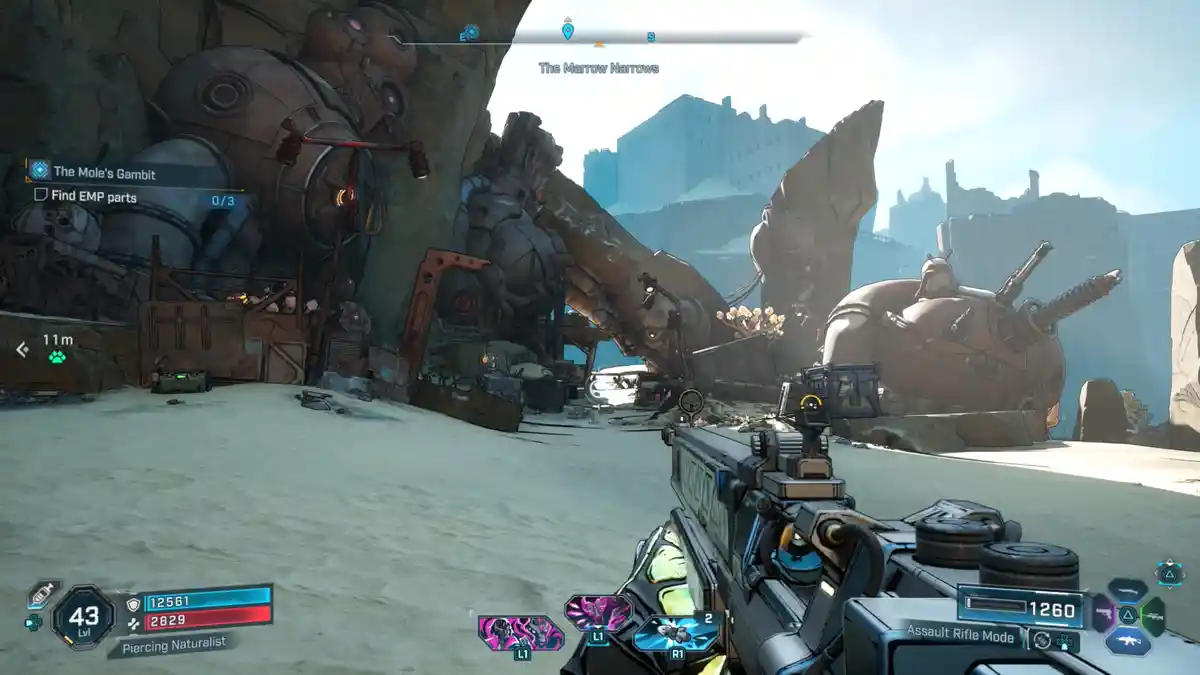
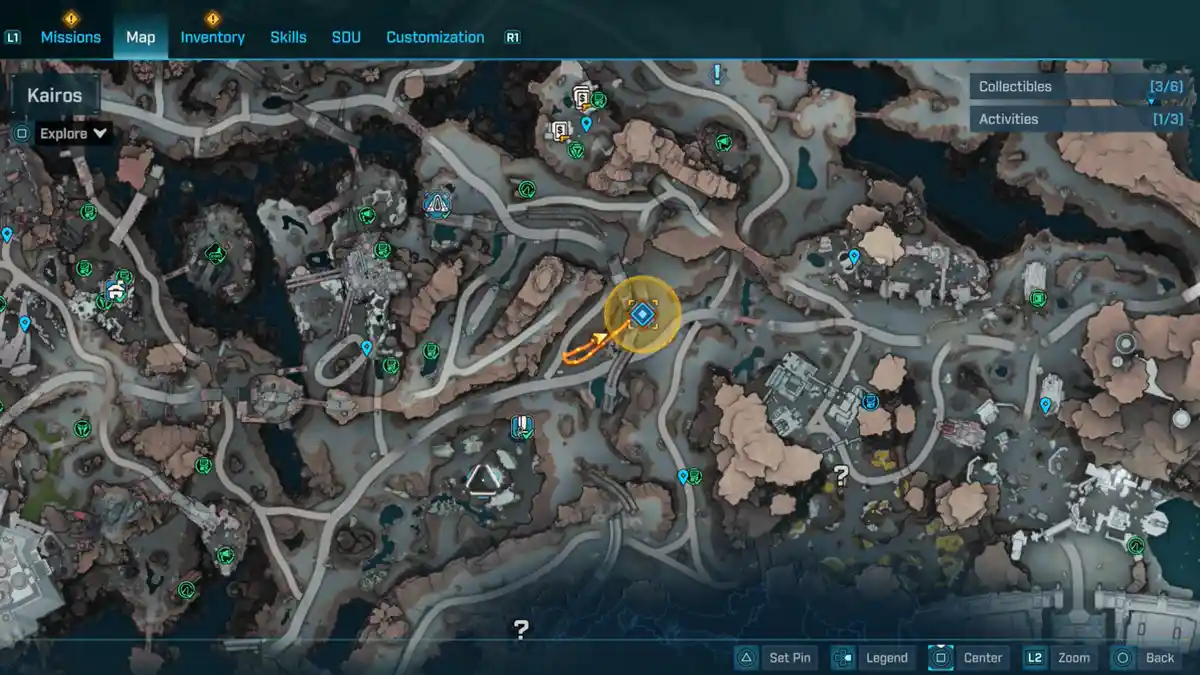
-> Find 3 EMP Parts: They are just north of the Faction Town at the Marrow Narrows POI. They are highlighted in green and blue. It’s a round orb on the ground level, an antenna high up on the building (use the hanging containers to reach it), and a green power core doorbell. You have to use the environment to climb up. Scan for grapple points!
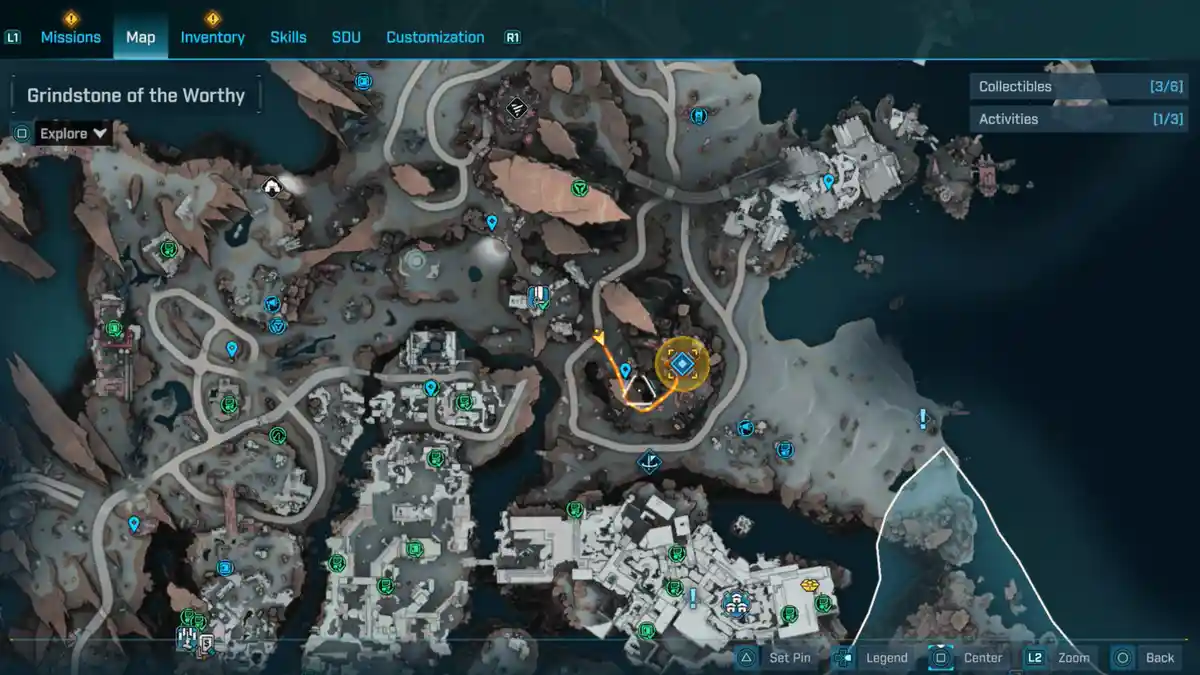
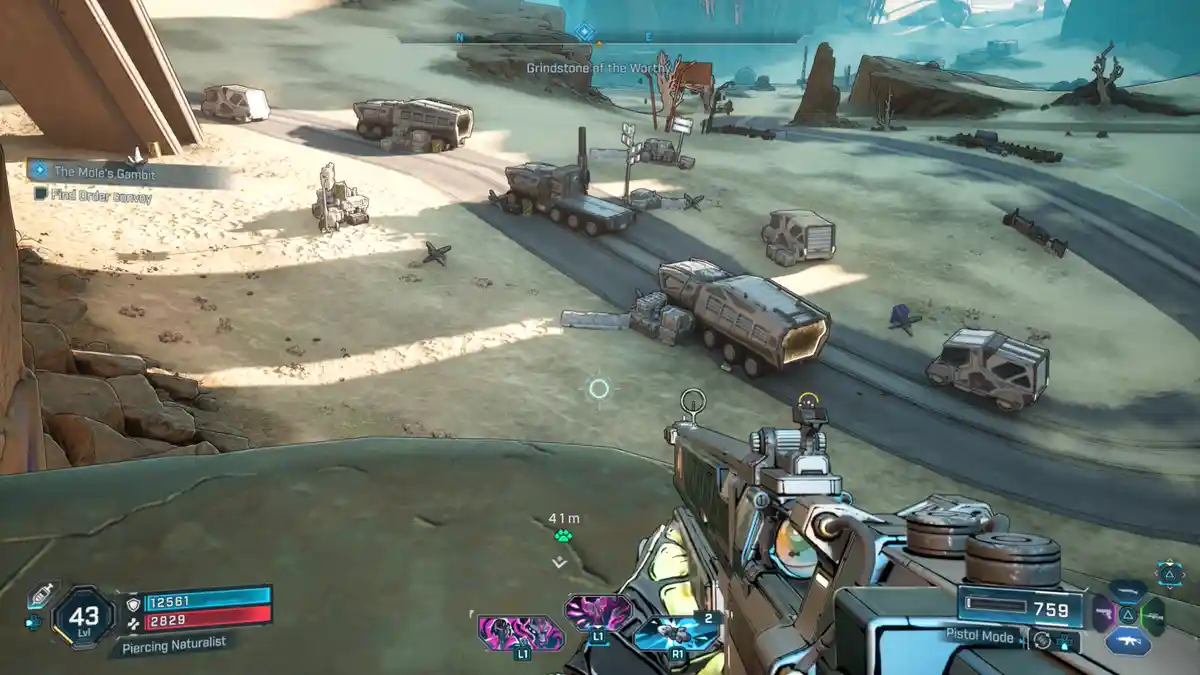
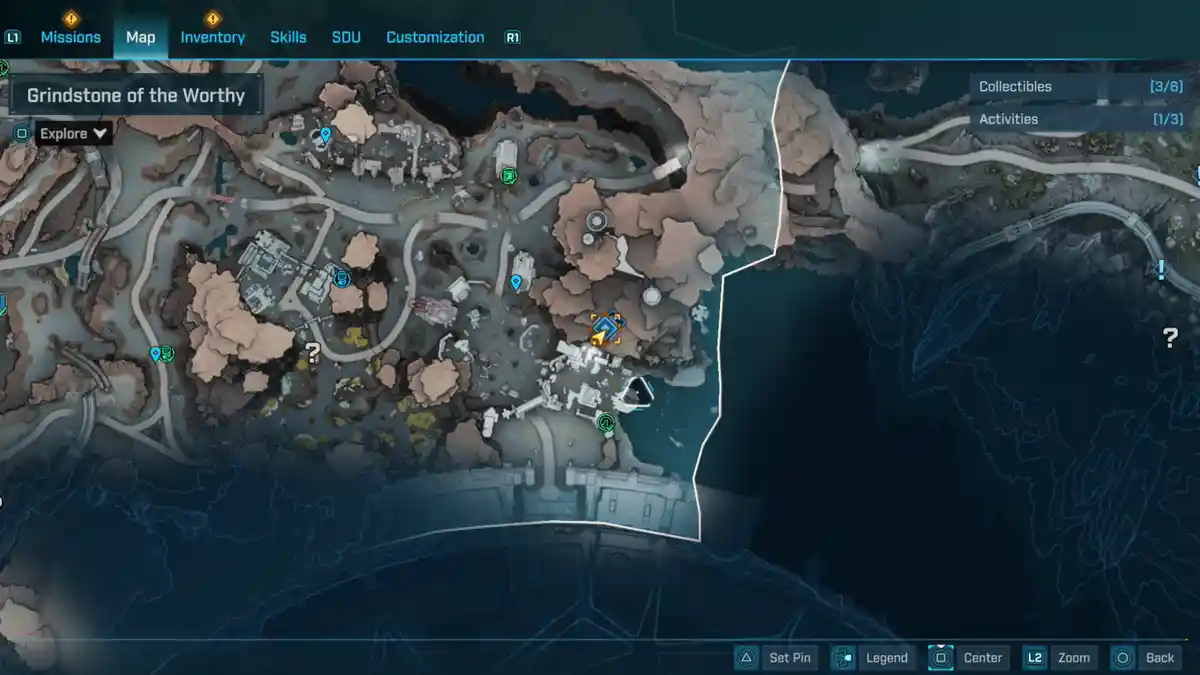
-> Find Order convoy: The convoy is at the Grindstone of the Worthy, northwest of the Order Silo. Defeat the order and hack the console on one of the trucks.
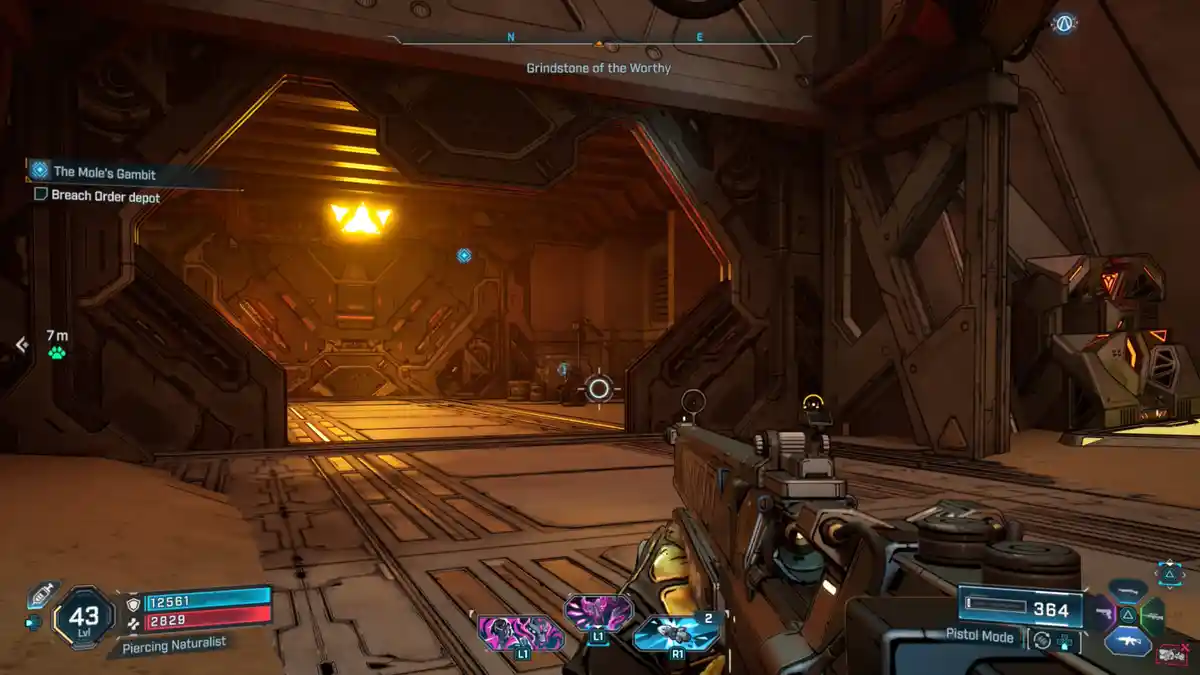
-> Breach Order depot: The Order depot is in the southeast of Grindstone of the Worthy at the Excrucible. There is a base with a lab on the first floor.
-> Assemble EMP: Enter through the storage bay. The EMP has to be assembled in the center of the lab.
-> Let EMP Charge: Fight the Order until the EMP is charged up.
-> Get to Willem: Follow the passage towards the northwest to find Willem. Bossfight against Leader Willem awaits! Return to Levaine at the Faction Town to receive your reward.
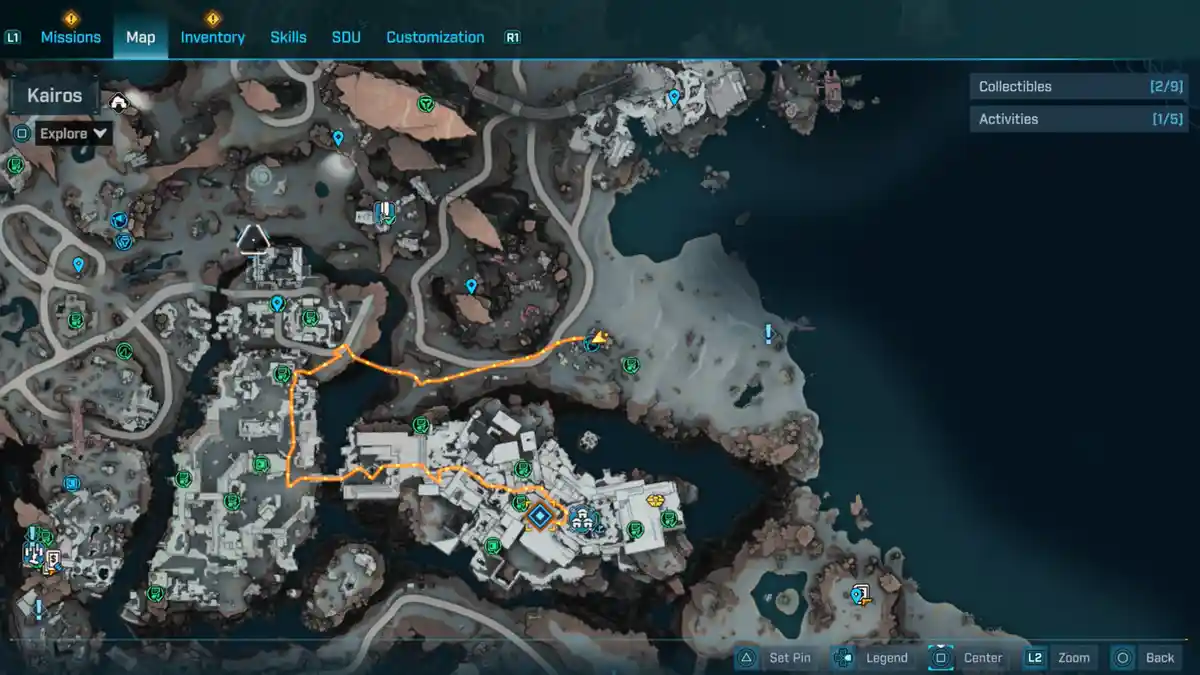
Vend of the Line
Side Mission Start:
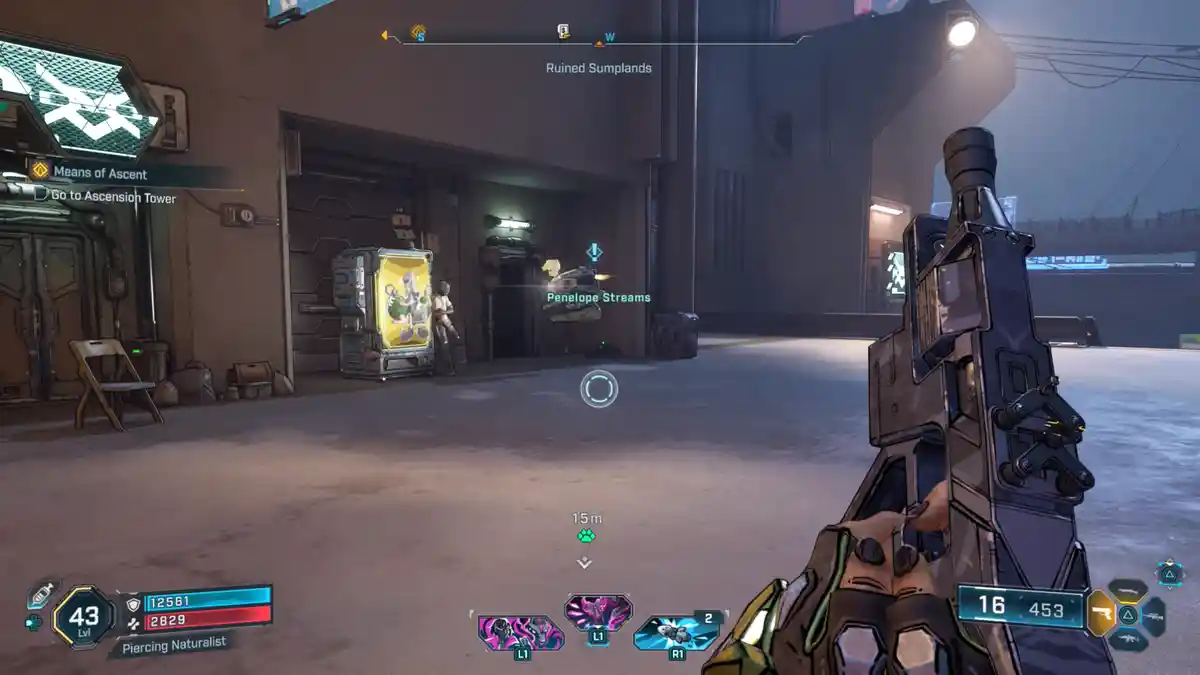
Penelope Streams, west of Faction Town center.
What it is about:
Find the Legendary Vending Machine.
Side Mission Steps:
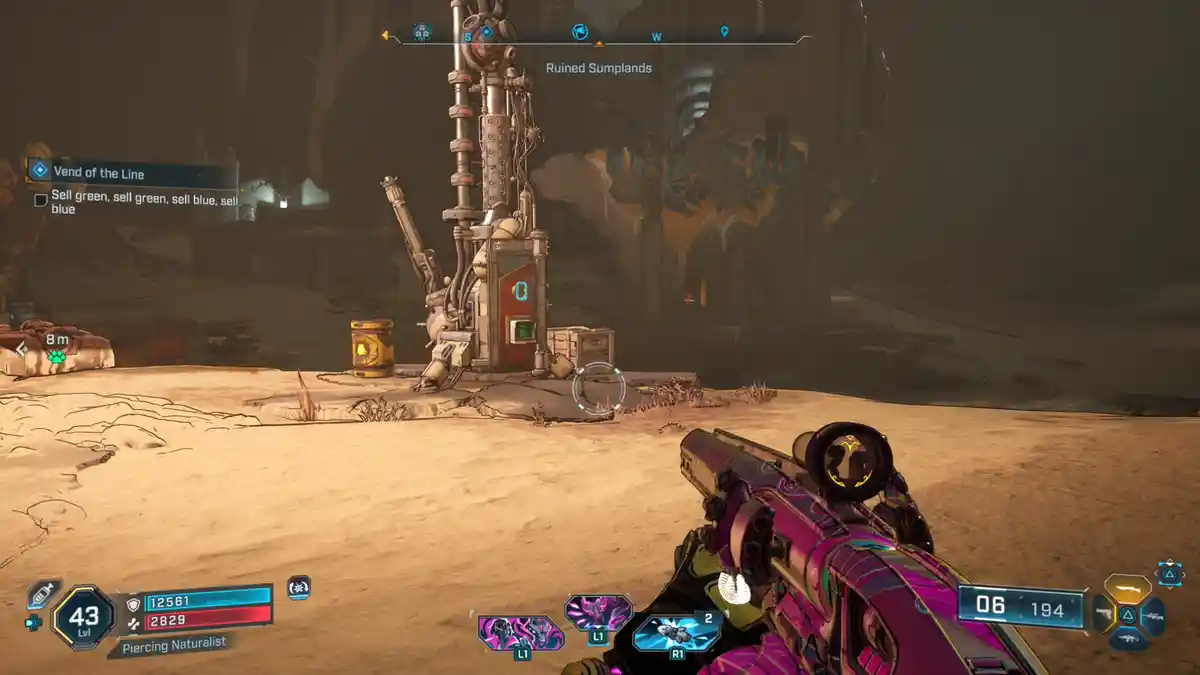
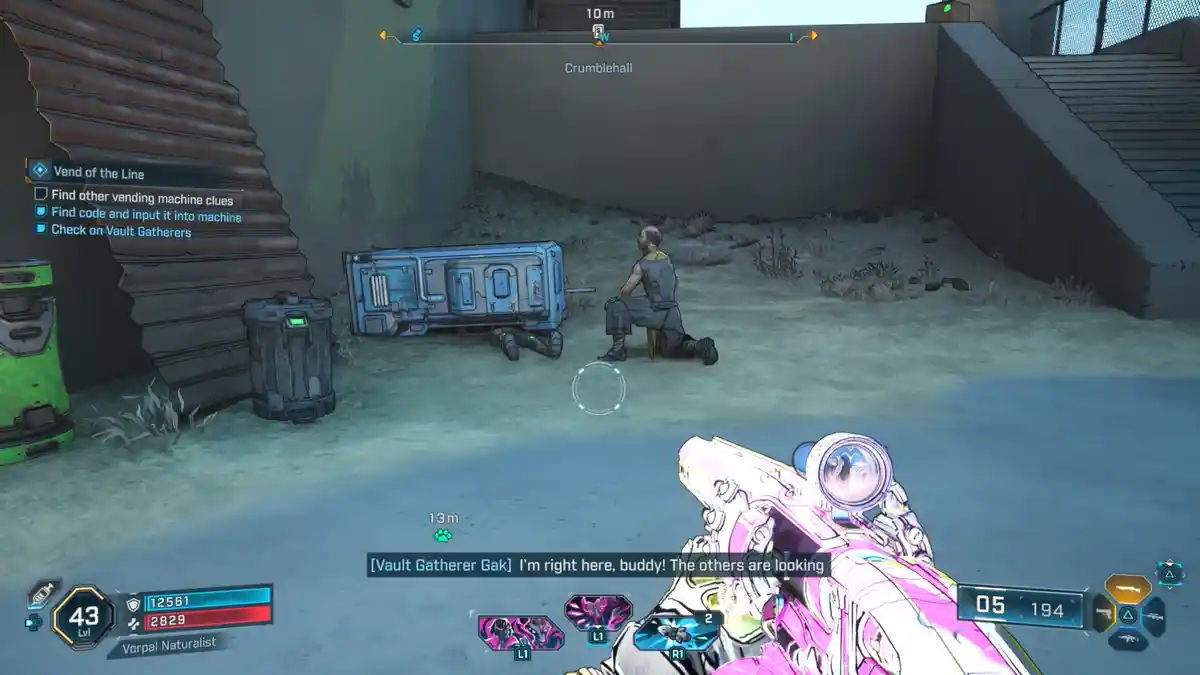
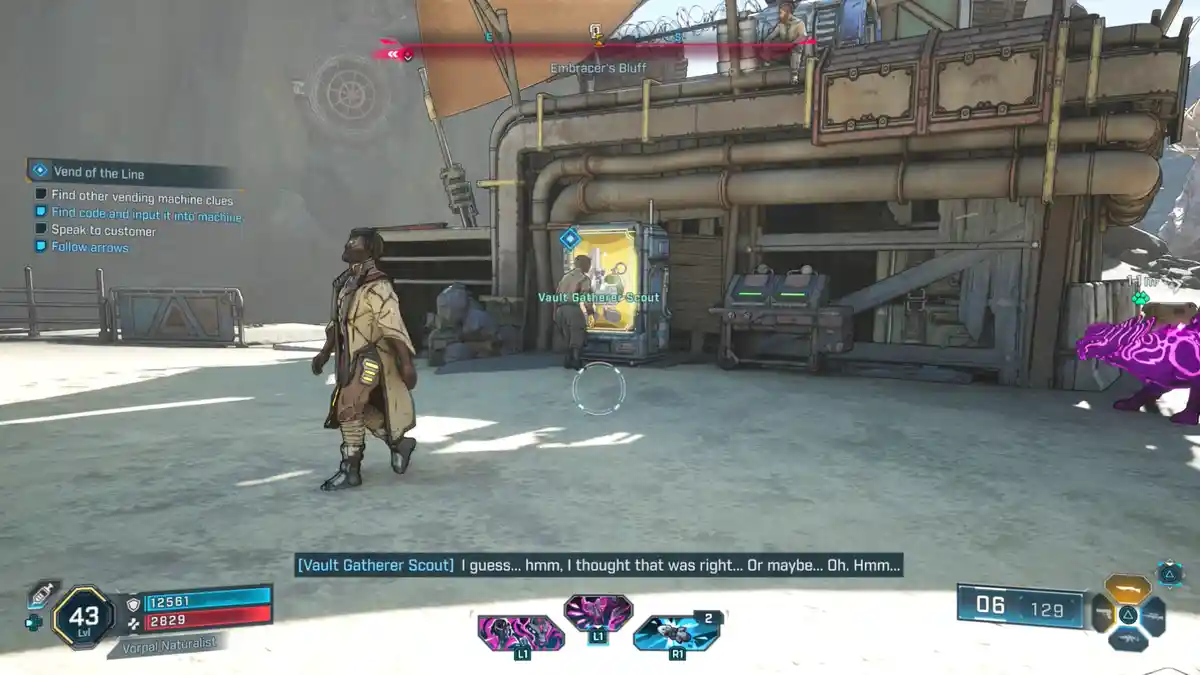
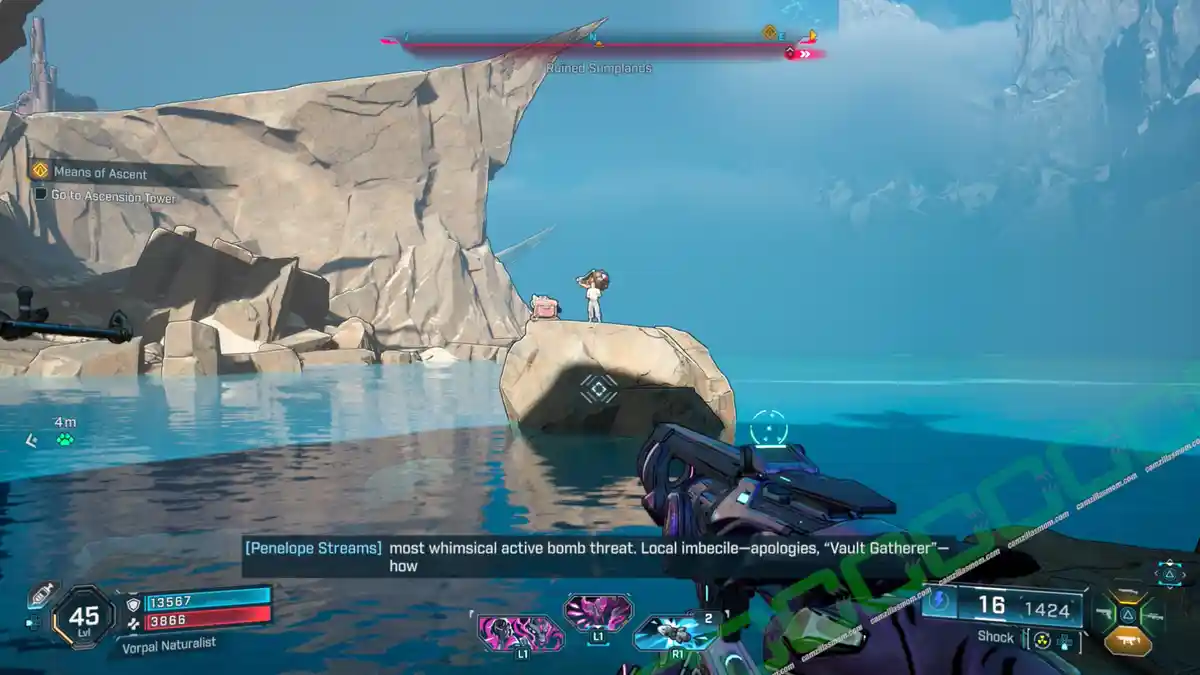
-> Talk to “Vault Gatherer”: He is standing next to the vending machine at the mission start point.
-> Inspect machine: There are crossed-out dollar signs at the back of the vending machine.
-> Sell green, sell green, sell blue, sell blue: You now have to sell two green items and two blue items in this order. This will give you the number 33.
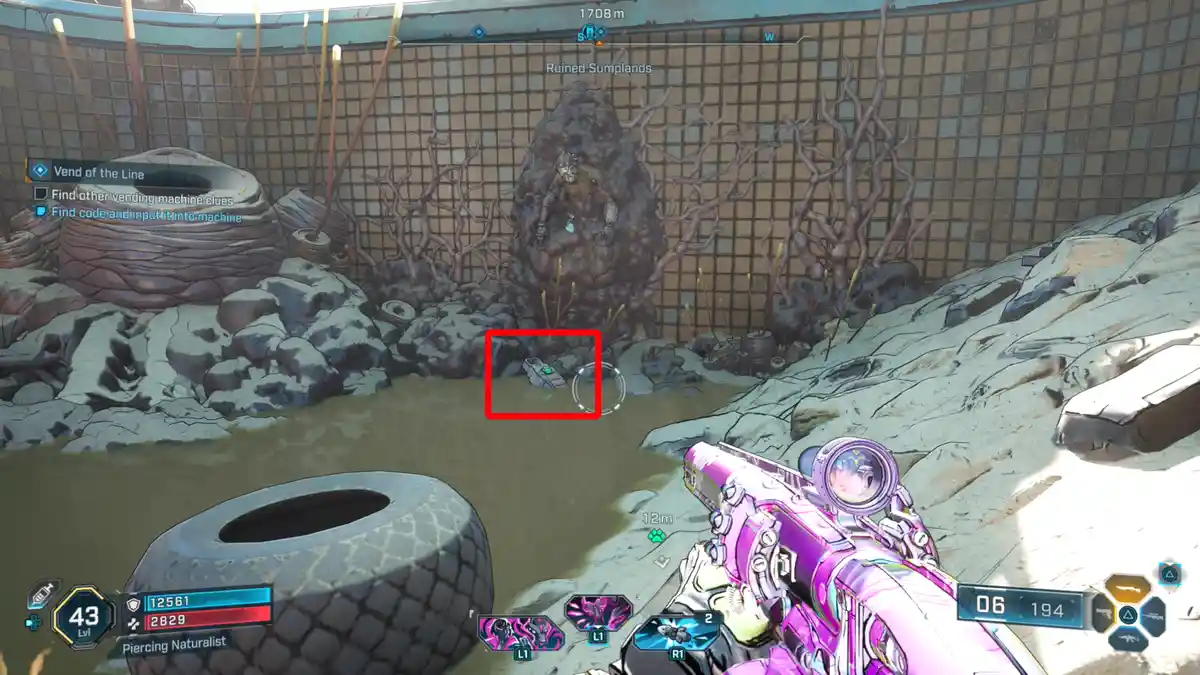
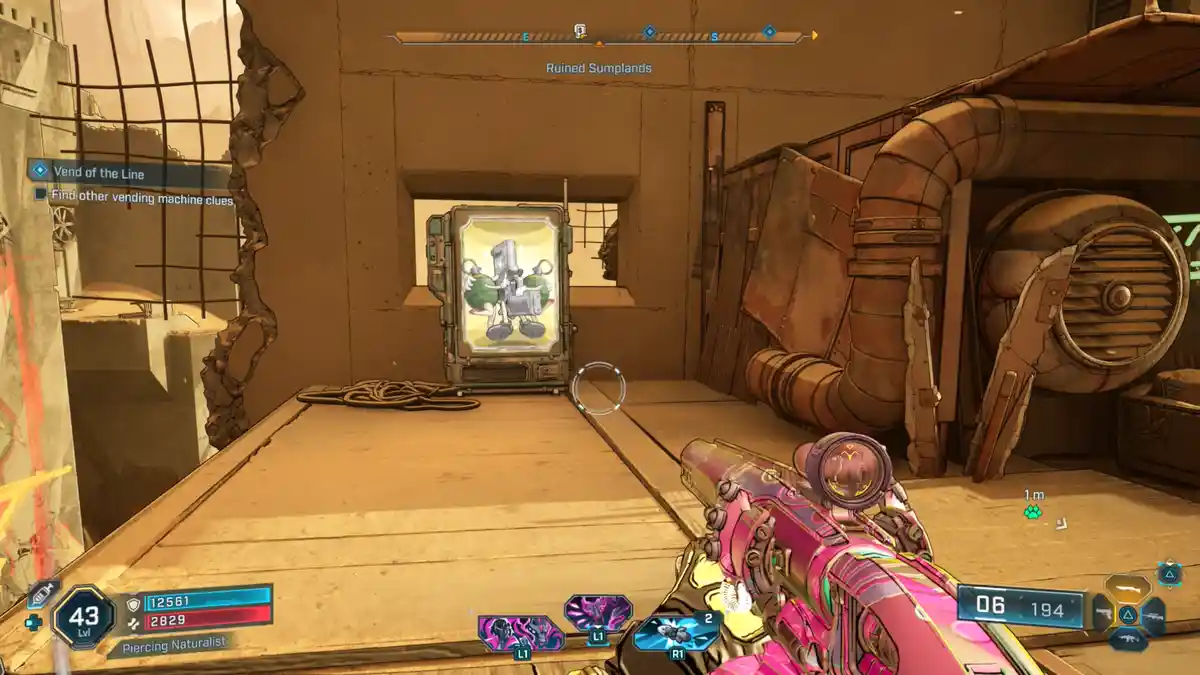
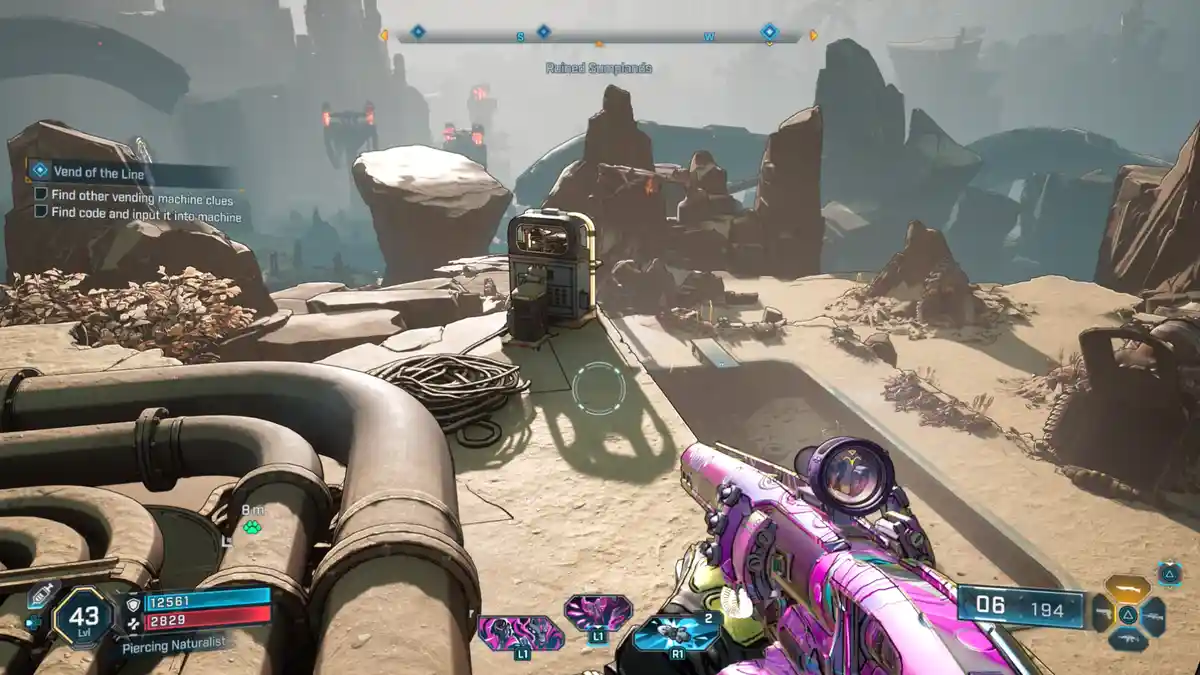
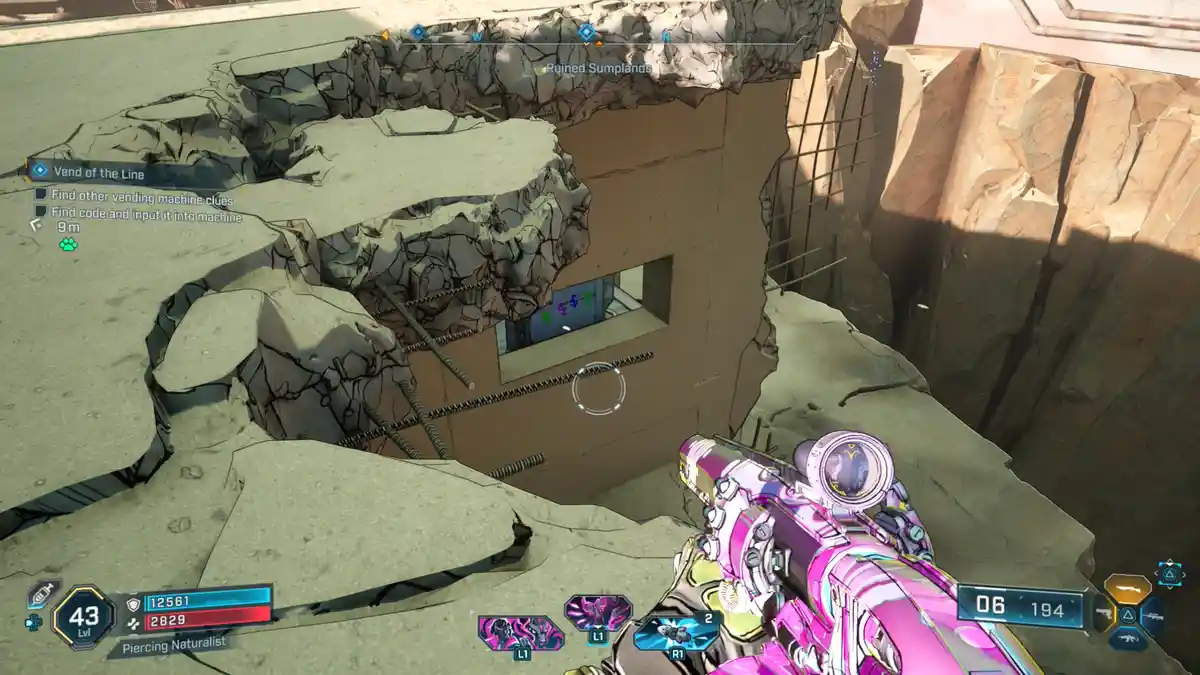
-> Find other vending machine clues: The locations are marked on your map. I will go to the closest one first. The vending machine at the next location is a bit broken.
To fix it, head to the roof at this location and pull the switch. The code is at the back of the vending machine and can be viewed through the window. It’s green – purple – blue – green. The dollar signs are not crossed out, so you first need to sell those items and buy them back in this order. The number is 96.
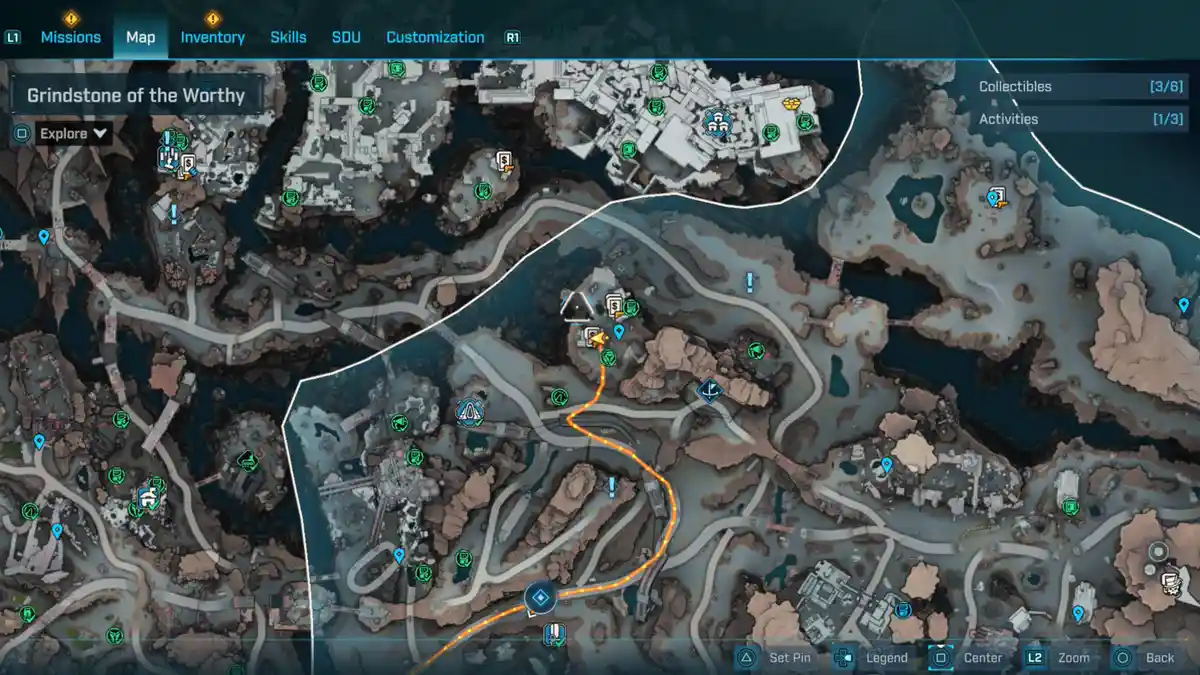
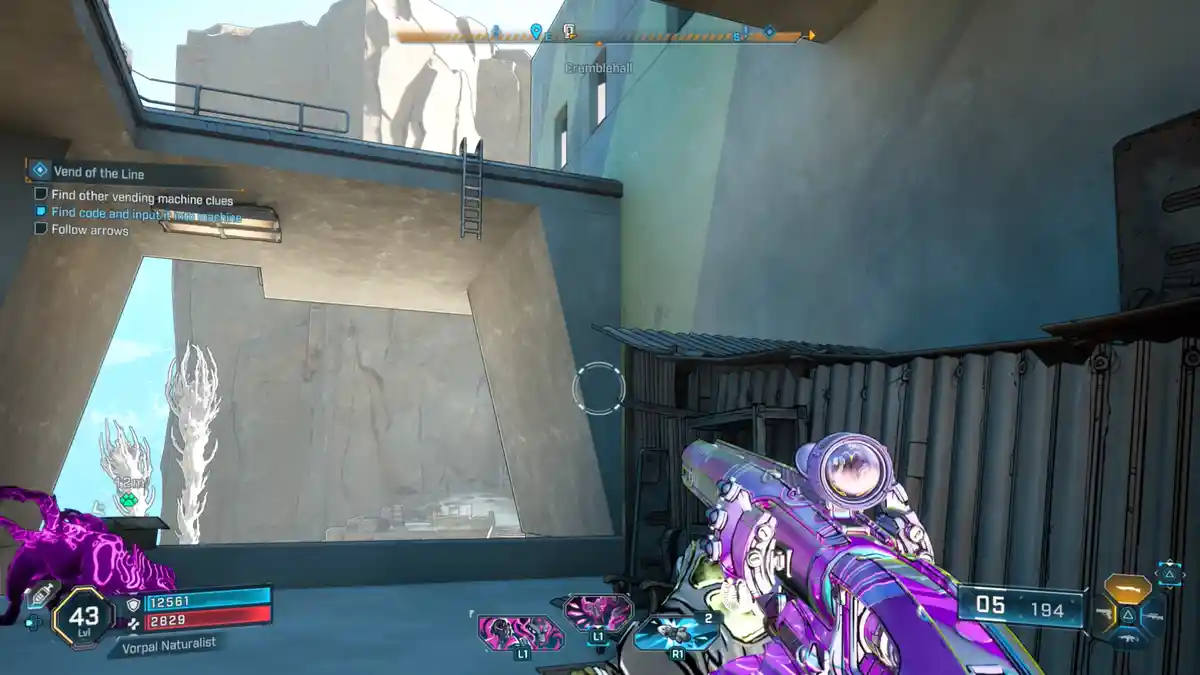
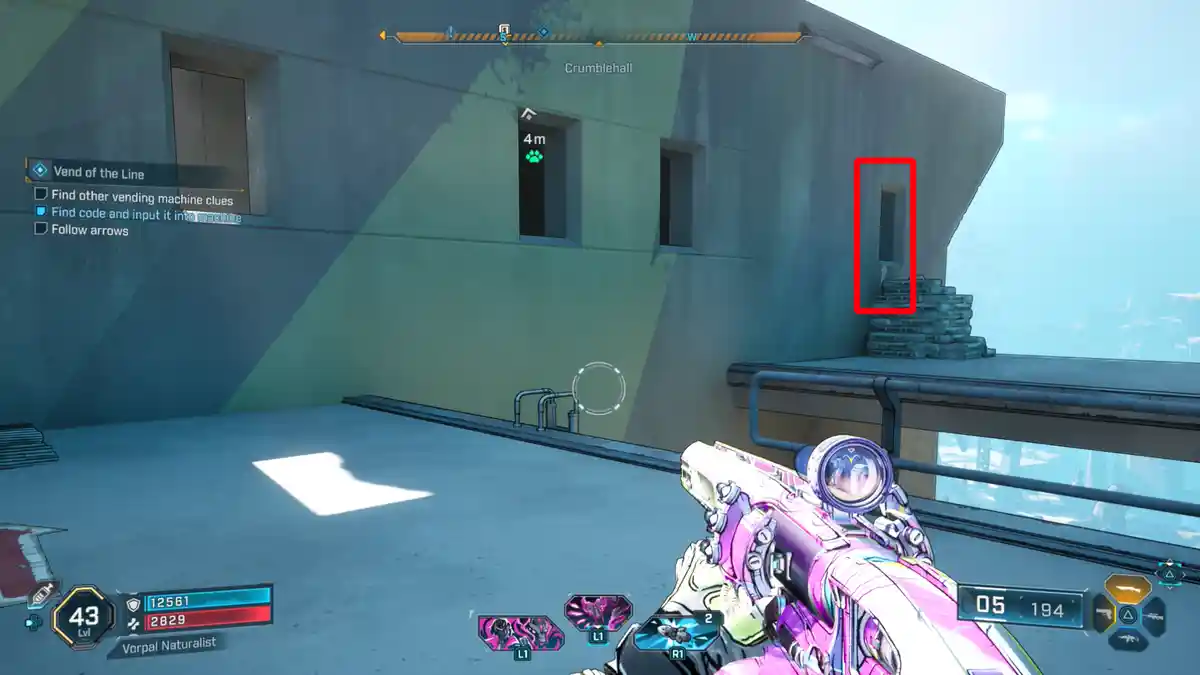
-> Find other vending machine clues: The next location is at Crumblehall at Grindstone of the Worthy.
Here, you have to follow the arrows that are first painted on the machine. Examine the arrows and follow them up to the top of the building, where you can look through a window to find the code. This time, you have to sell two purple and two orange. Fortunately, you don’t have to sacrifice those this time. The code is 8-W.
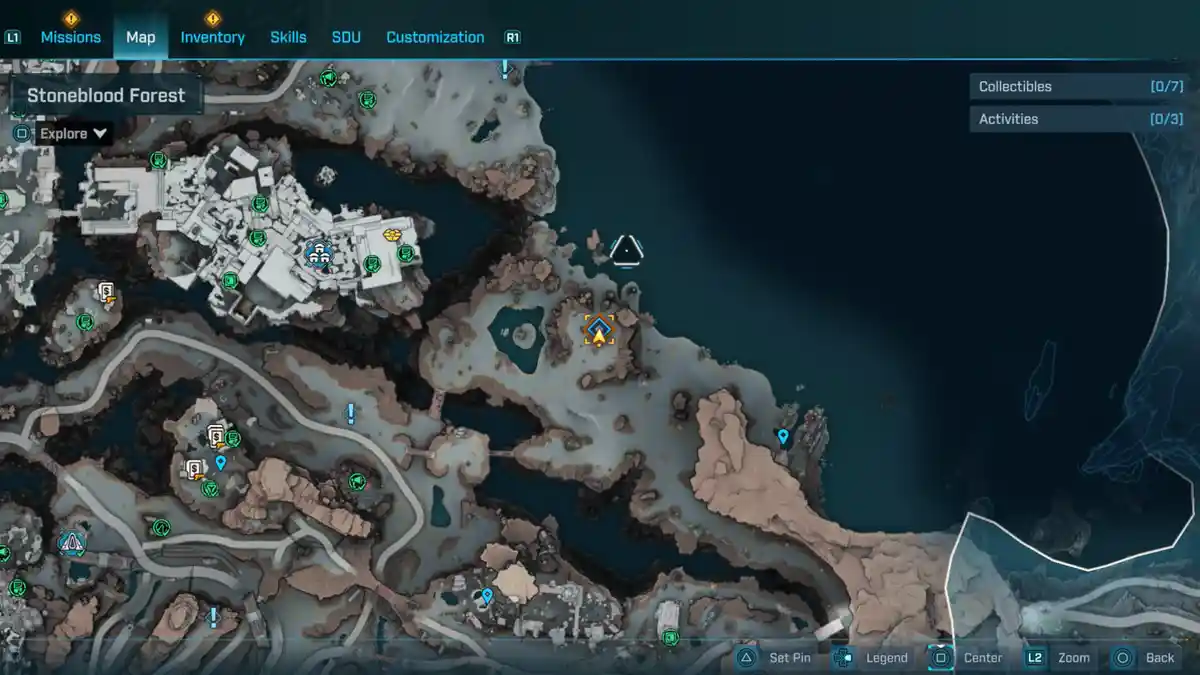
-> Find other vending machine clues: The last vending machine is at Lopside, just east of the Safehouse at Embracer’s Bluff. Talk to the Vault Gatherer there and melee the machine. Then melee the customer or shoot the machine. Crawl into the space behind the machine where you can read the code: Green – Purple – Blue – Purple. Sell those items in this order. The code is: 1
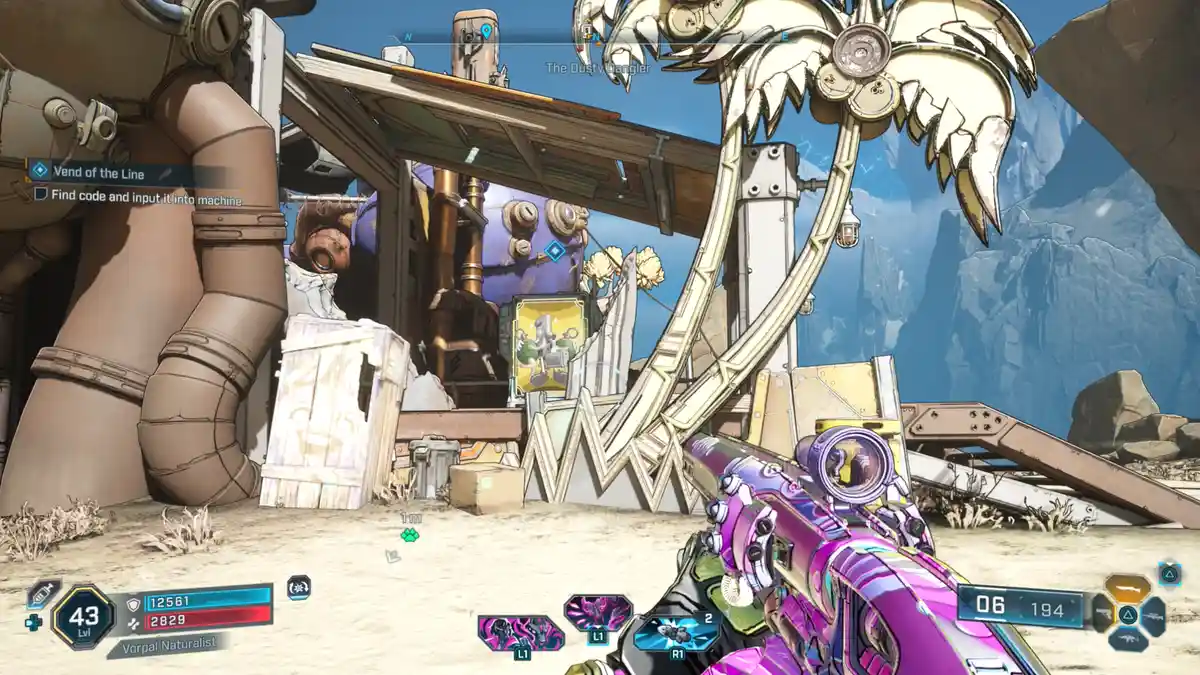
-> Follow coordinates to machine: The coordinates lead to a hill in the north of Grindstone of the Worthy at the Dusty Dangler. The code here is Green – Blue – Purple – Orange. Then follow the power line to a cave below the mountain. Defeat the vending machine there and buy something legendary. This will complete the mission.
Broken Ships
Side Mission Start:
Zane at Moxxi’s Bottoms Up! – After finding Lilith in the story.
What it is about:
Help Zane and Levaine overcome their issues.
Side Mission Steps:
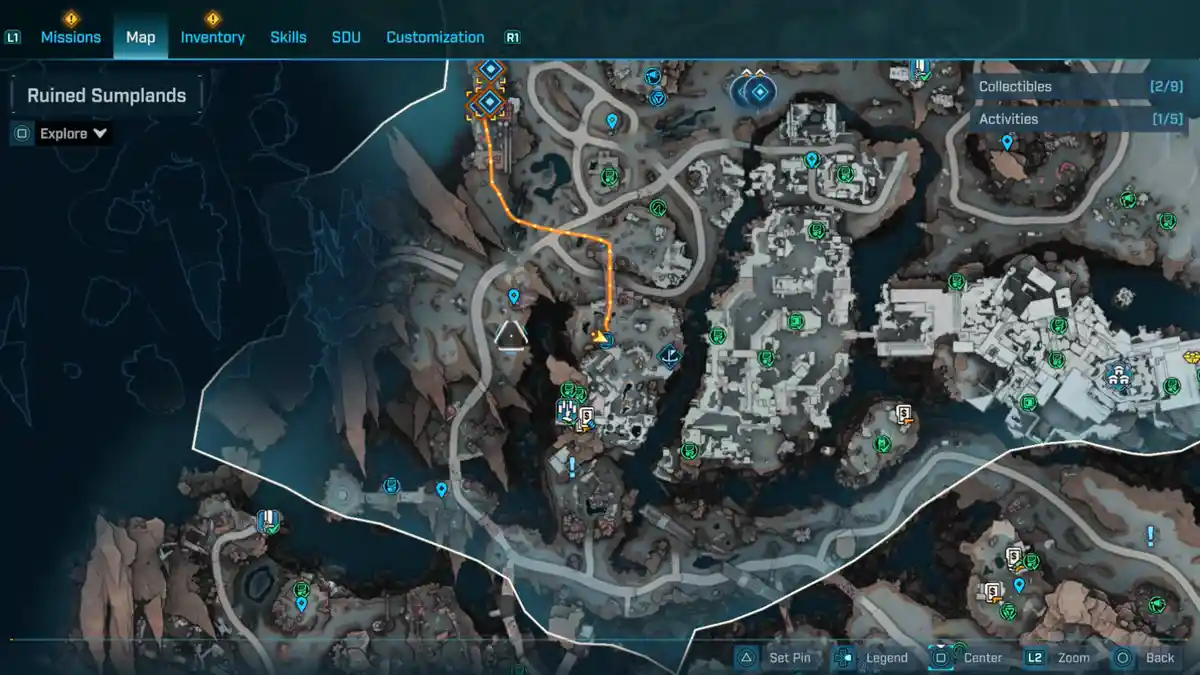
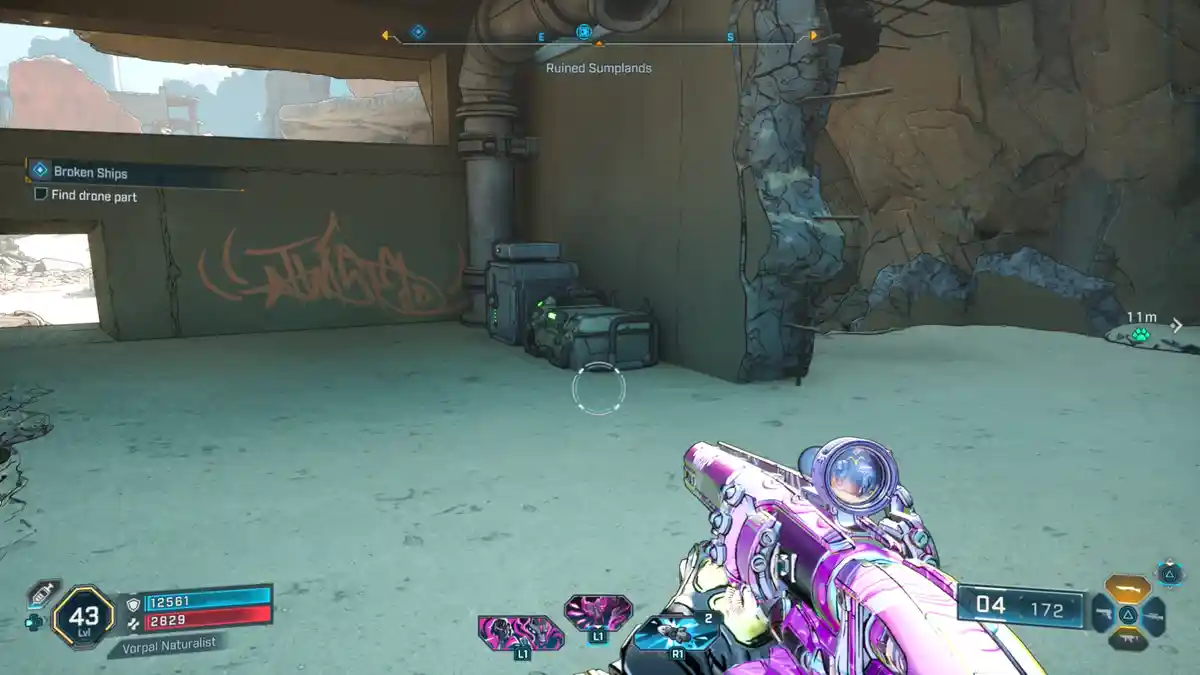
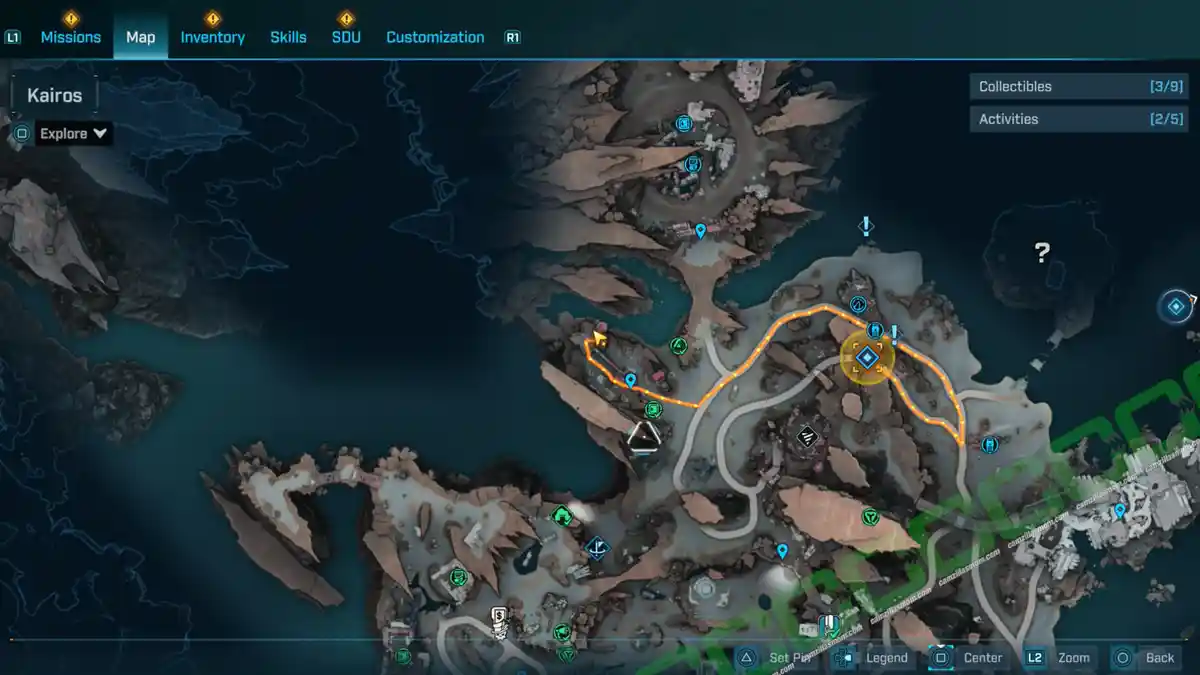
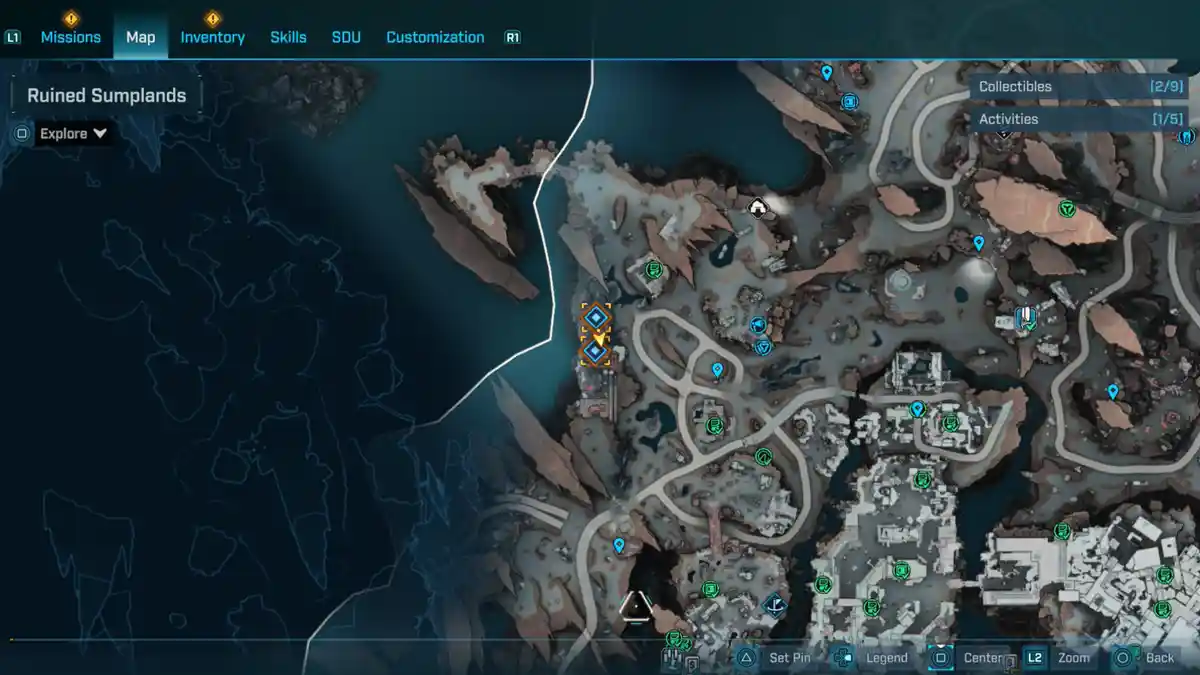
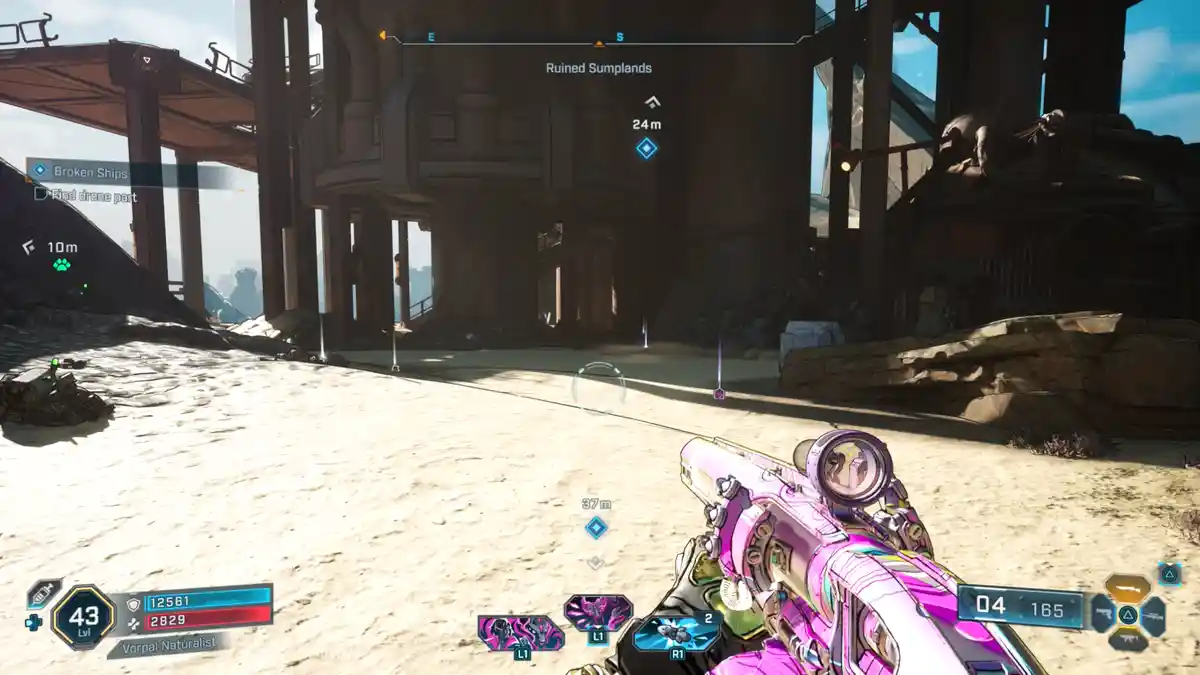
-> Find drone part: Head to the factory up at the western cliff side, west of the Society for Amateur Seismology. Climb the factory building to the top (where the Electi Safe is) and smash the crystallized person there. Return to Zane and give him the drone.
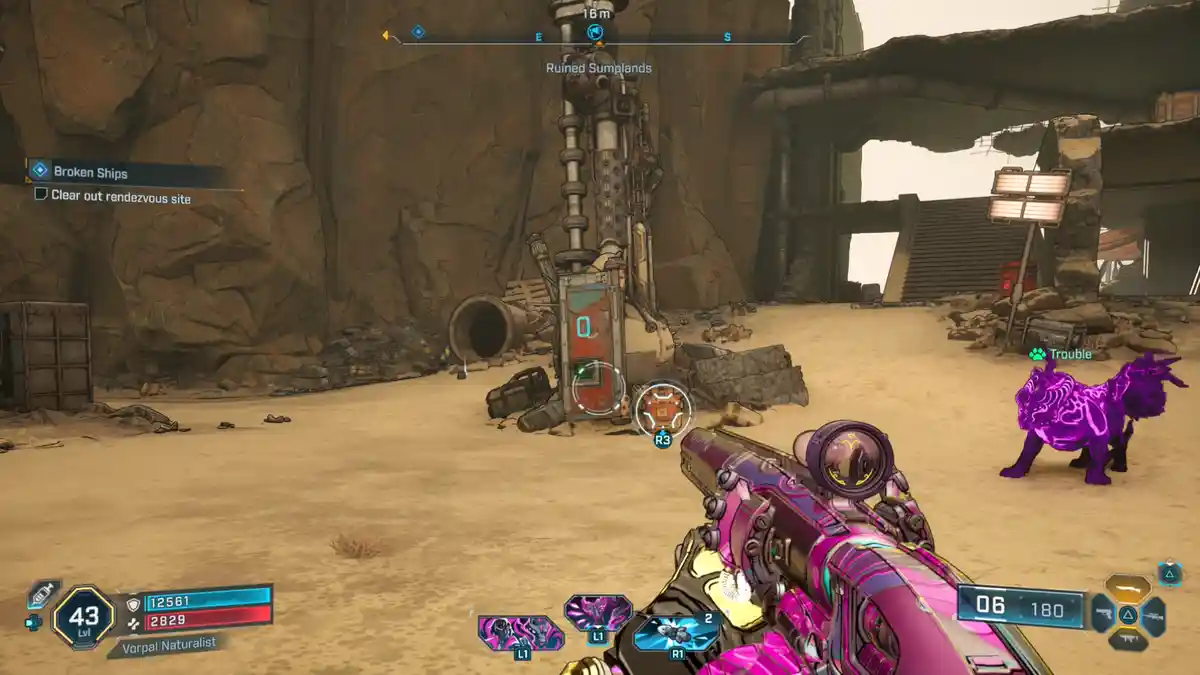
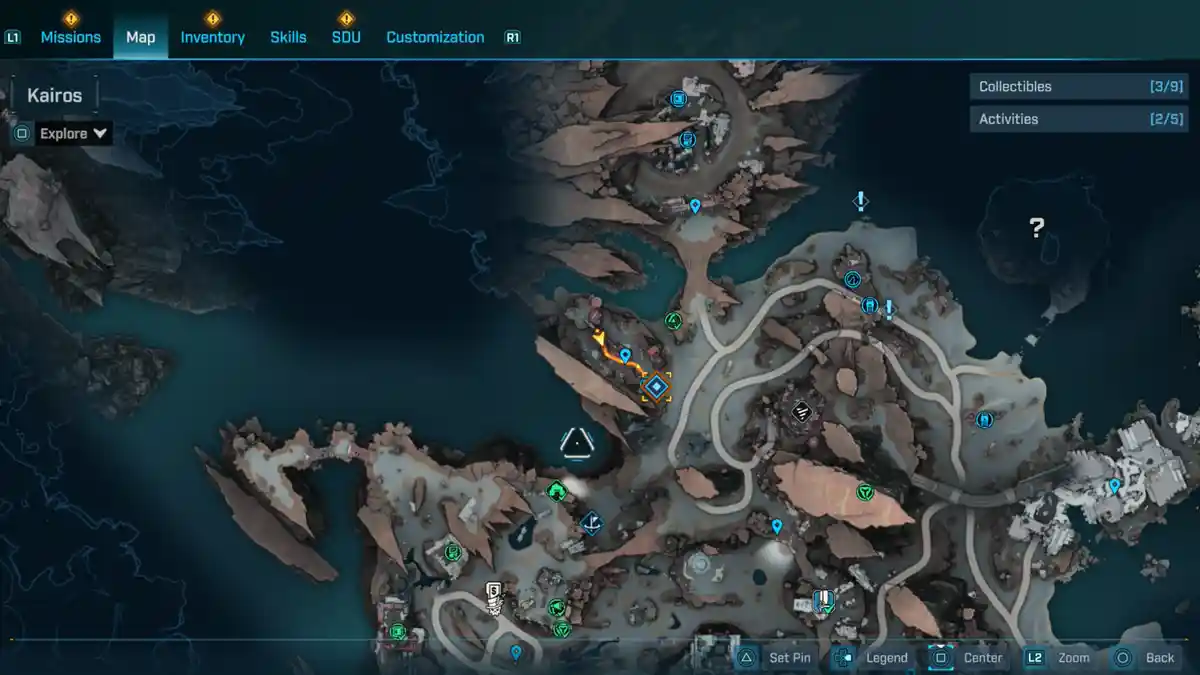
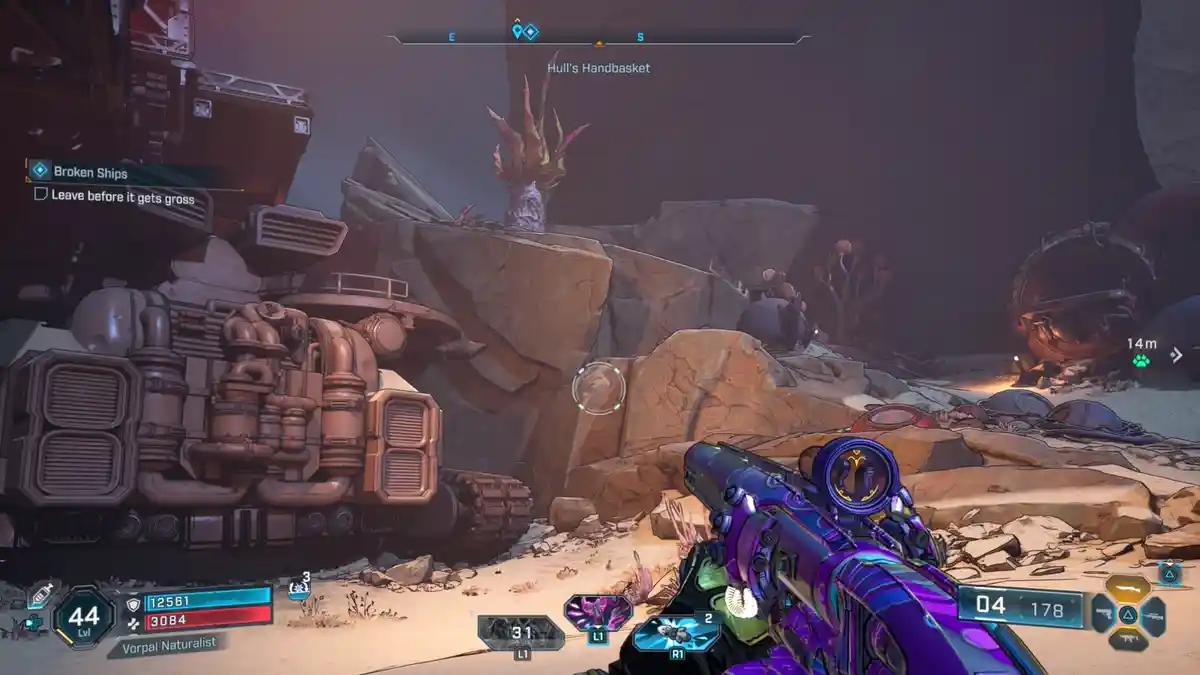
-> Clear out rendezvous site: The rendezvous site is north of the drone part location at Hull’s Handbasket.
-> Leave before it gets gross: Head back to the exit.
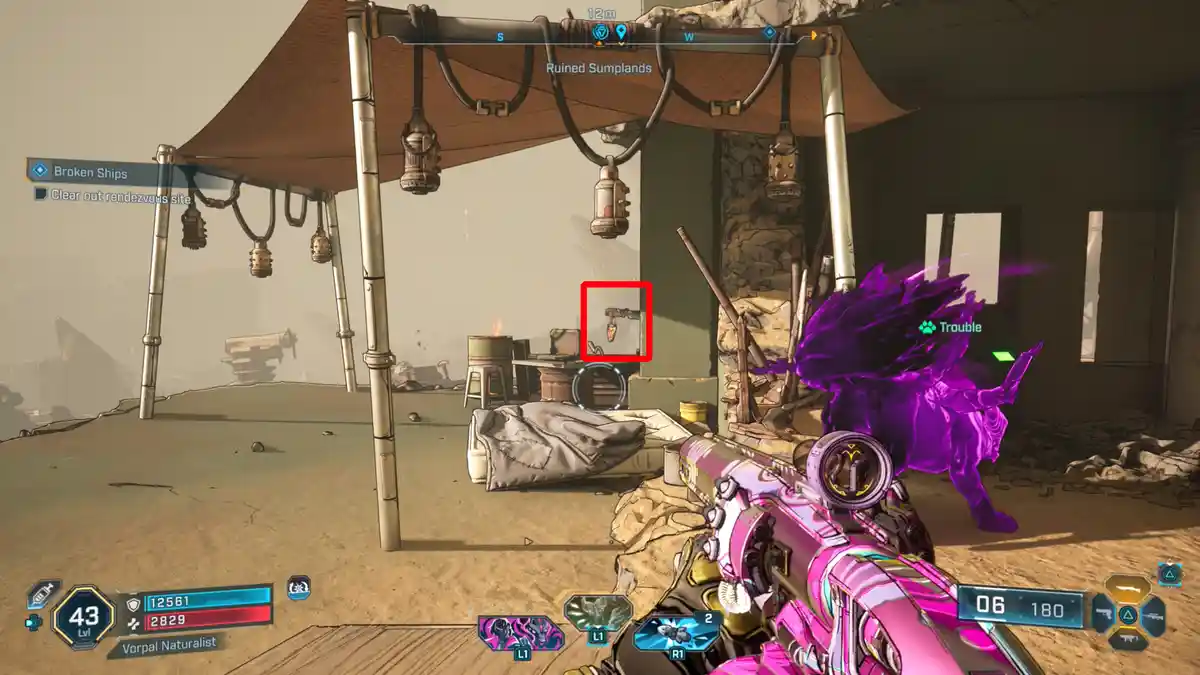
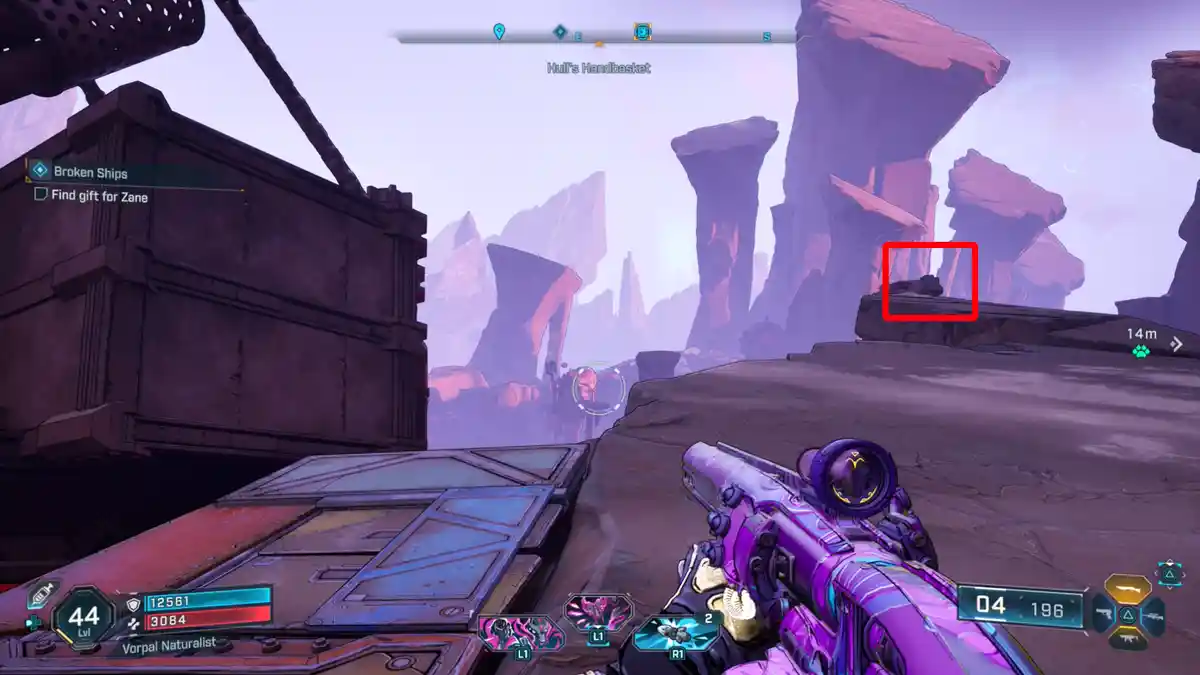
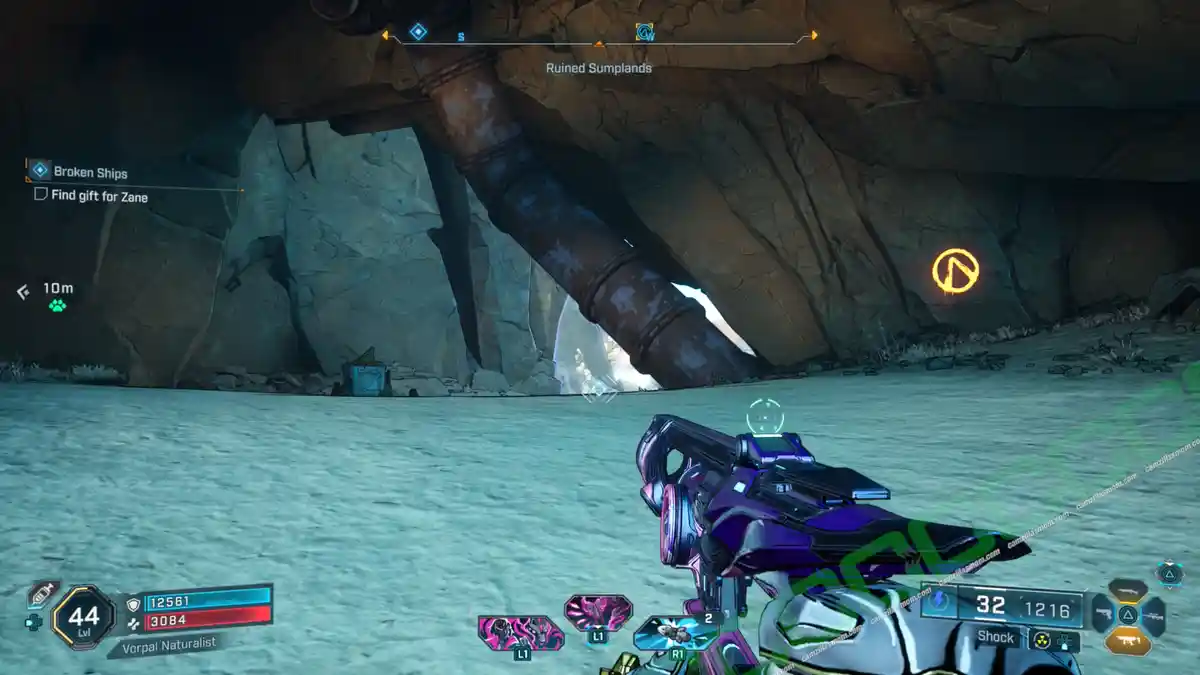
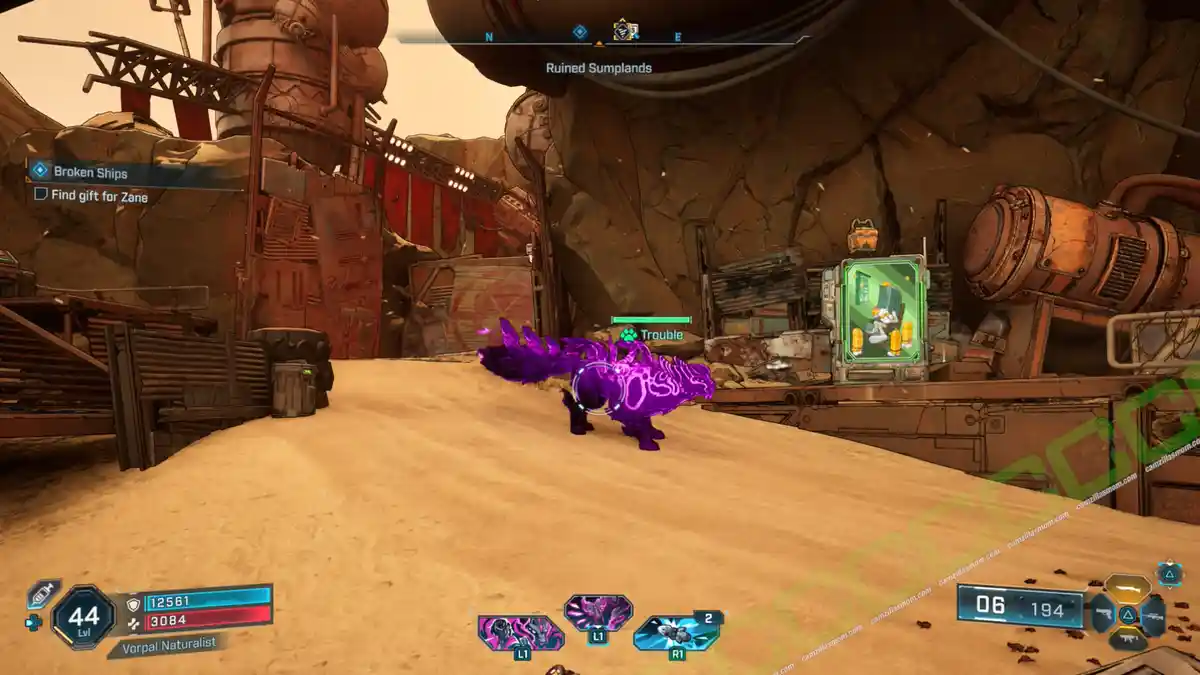
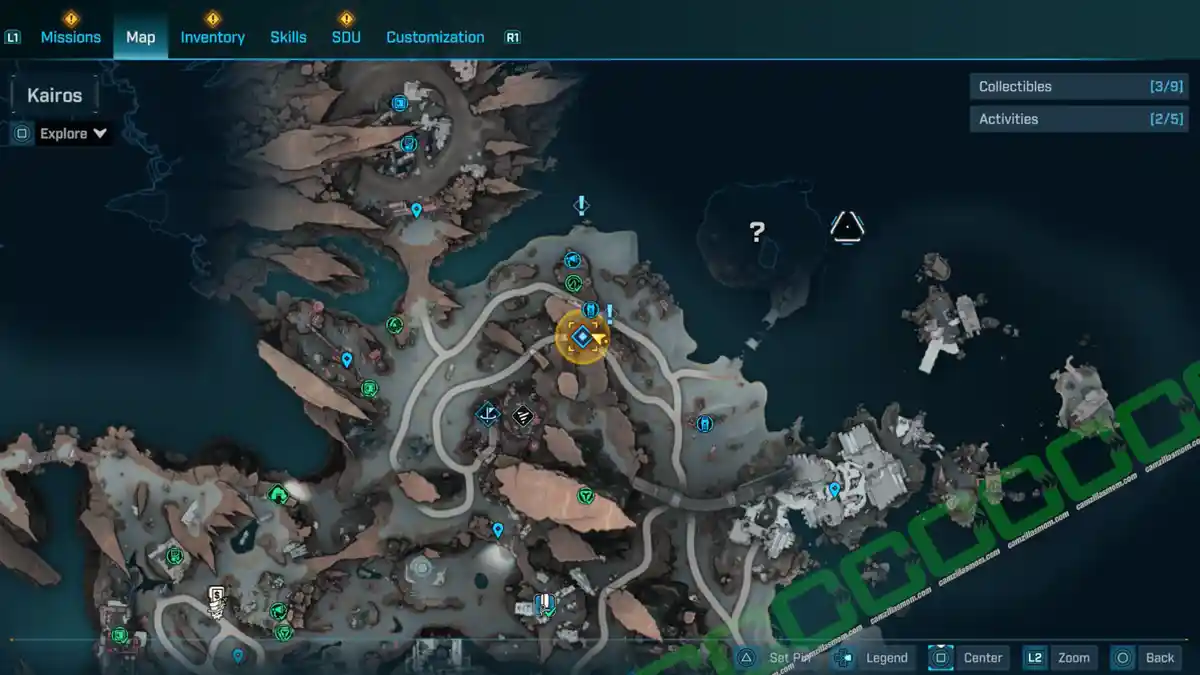
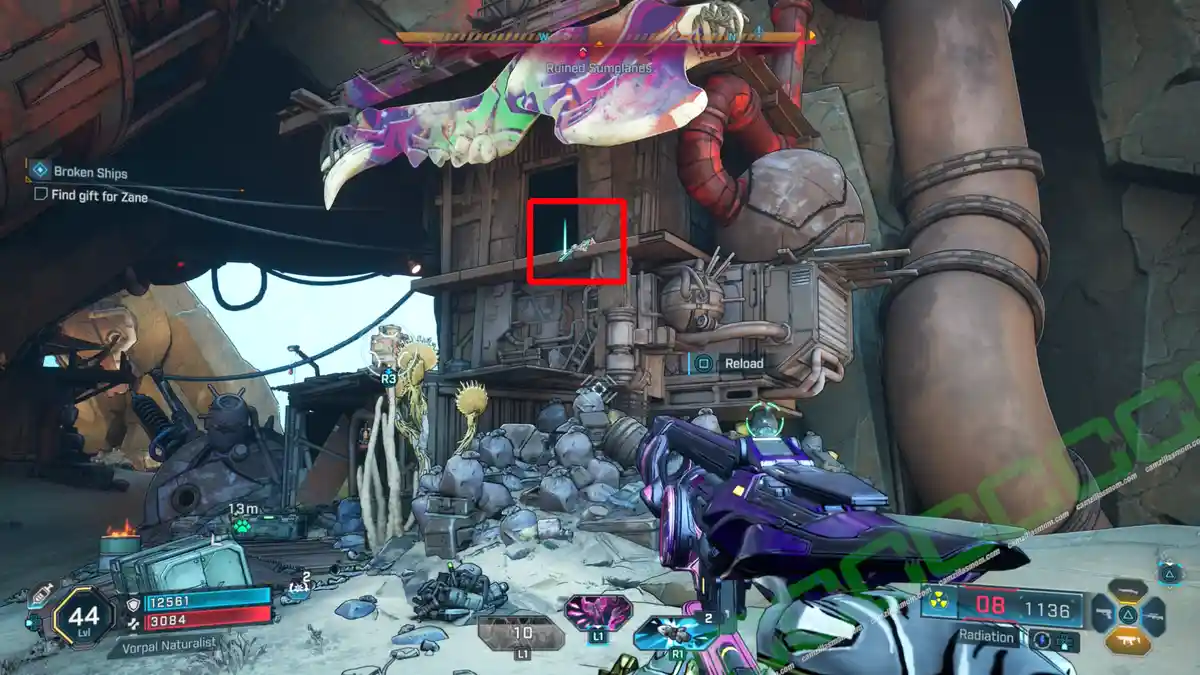
-> Find gift for Zane: The gift is on the top level of one of the ripper houses in the marked ripper camp.
-> Clear out rendezvous site…again: The same rendezvous site at Hull’s Handbasket.
-> Save Zane and Levaine: Hack the terminal at the rendezvous site. This will complete the mission.
PB&J
Side Mission Start:
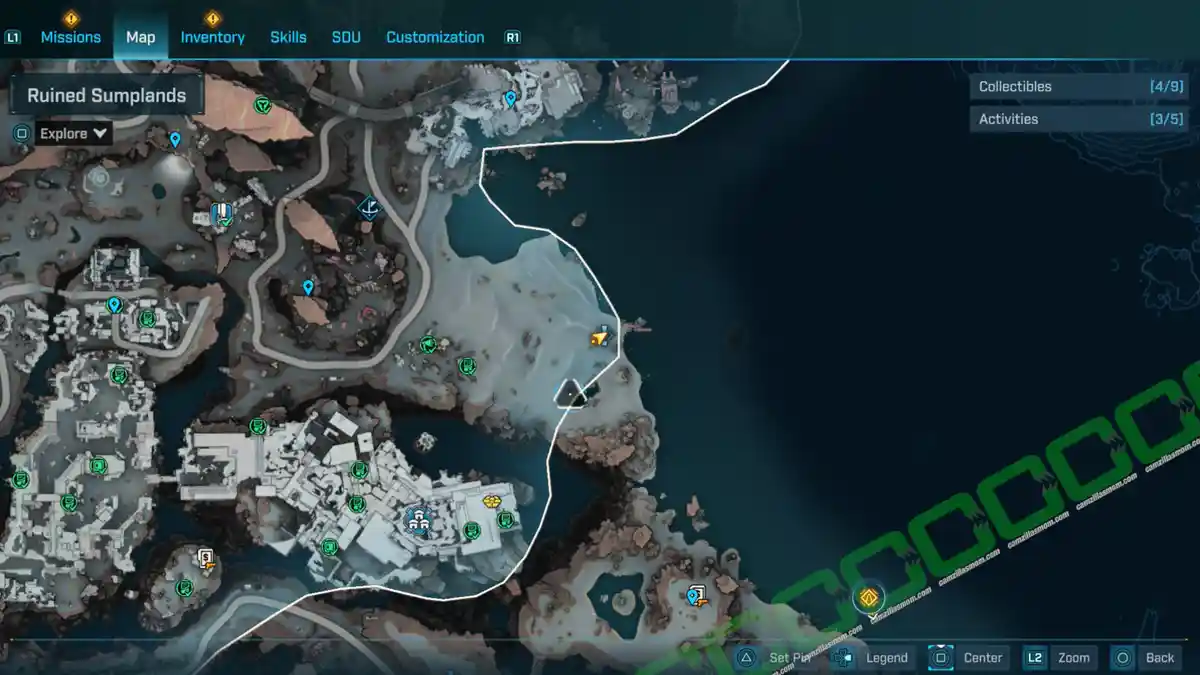
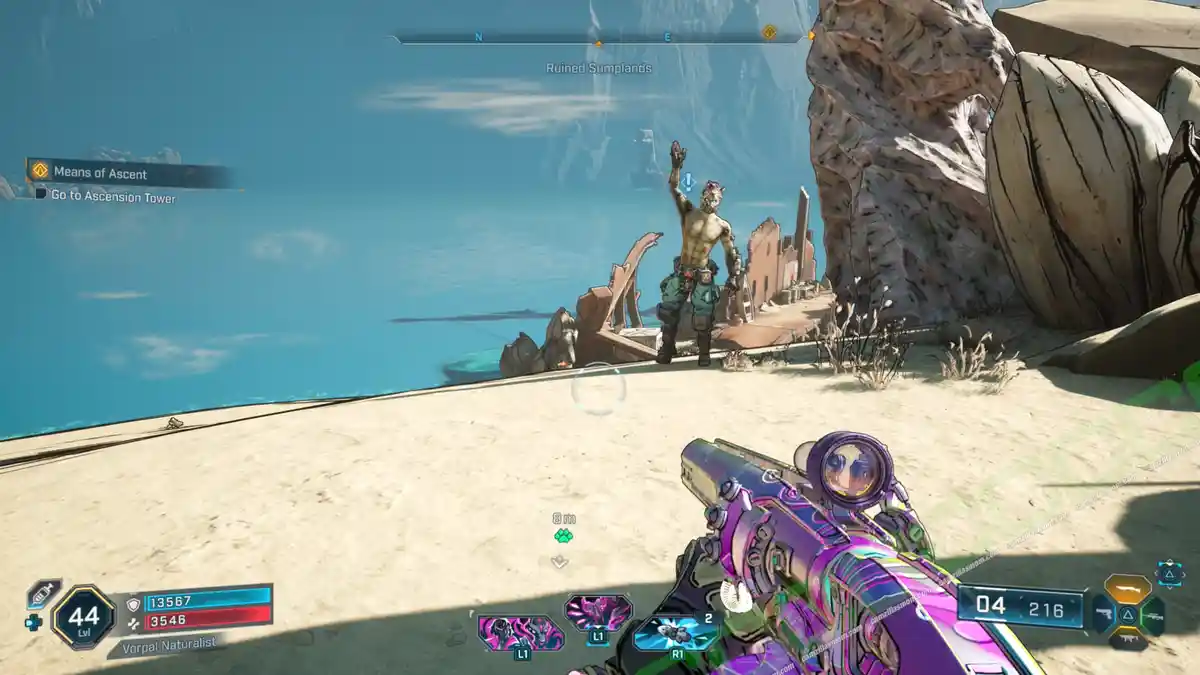
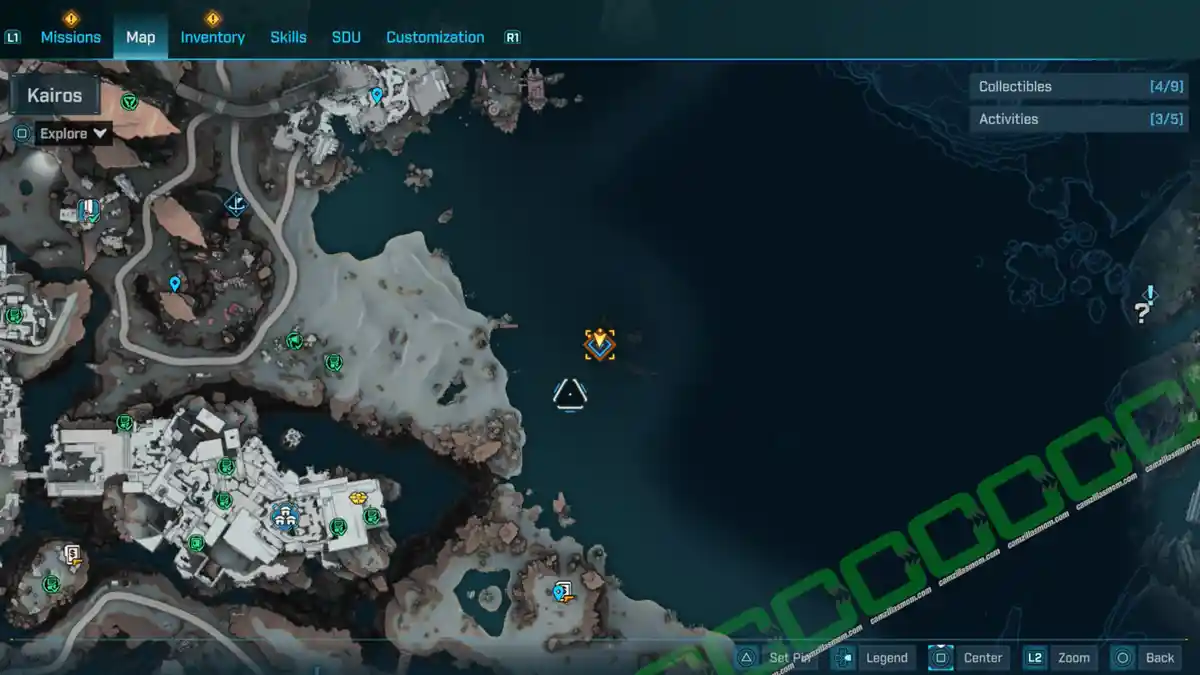
PJ at the beach, north of Faction Town.
What it is about:
PJ is looking to complete the PB&J.
Side Mission Steps:
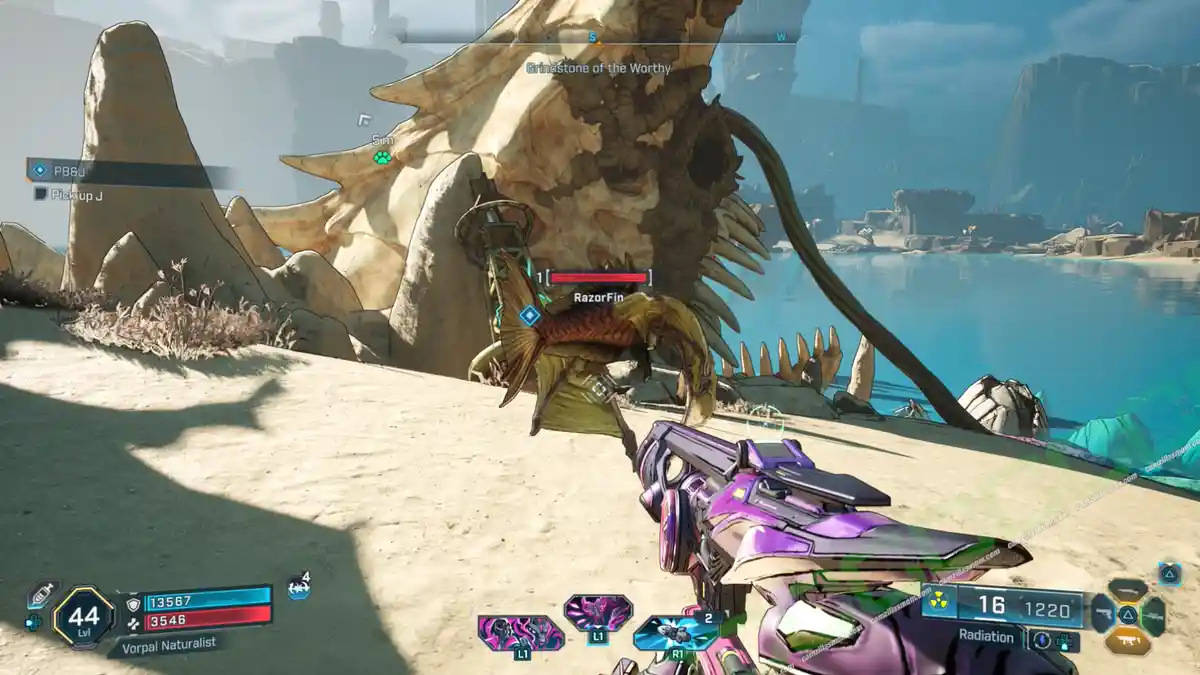
-> Pick up J: There is a buoy on the island to the west that should have some. Return to PJ and place it on the workbench. This will complete the mission.
Exit Through the Rift Shop
Side Mission Start:
Someone in the dirt, Southwest of the Safehouse. It can be started in other regions, too.
What it is about:
Figure out what this promise of escaping Kairos is all about.
Side Mission Steps:
-> Find Francis Oddman: He’s in the Dissected Plateau region, just north of the Deep Seven Order Silo. The locked door below the Order Silo will now be open, and the ECHO Log collectibles inside can be picked up. Francis Oddman is at the back of the lab.
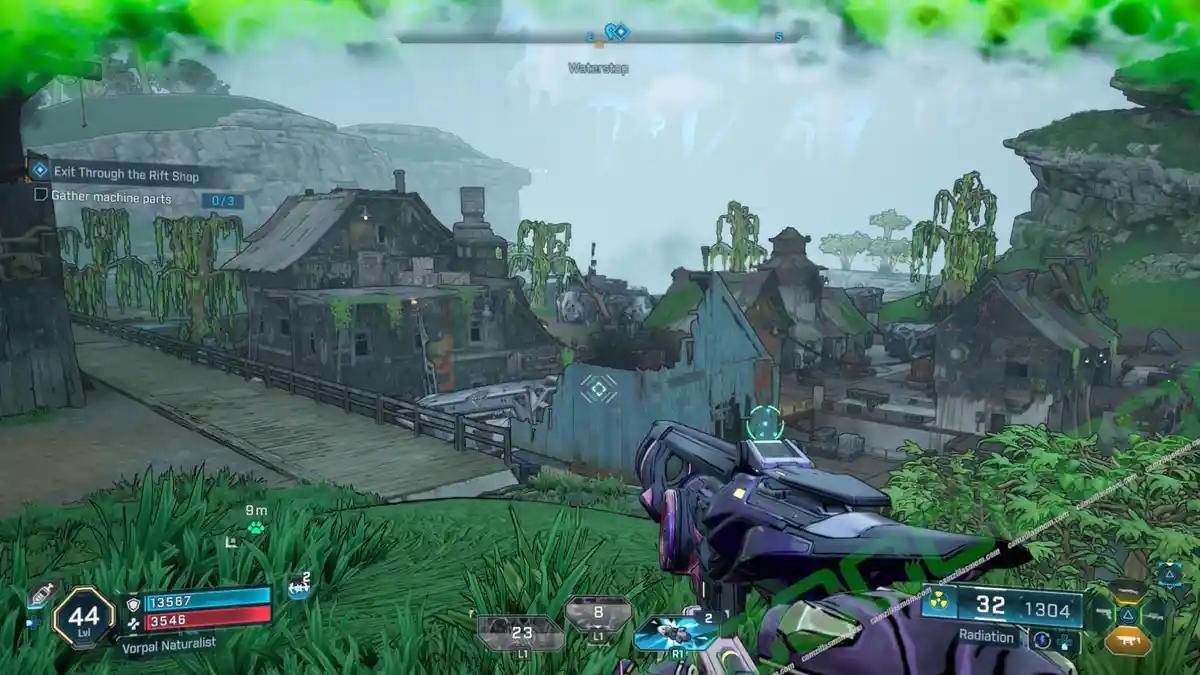
-> Reach Order encampment: Travel to the Waterstop, in the east of the Coastal Bonescape.
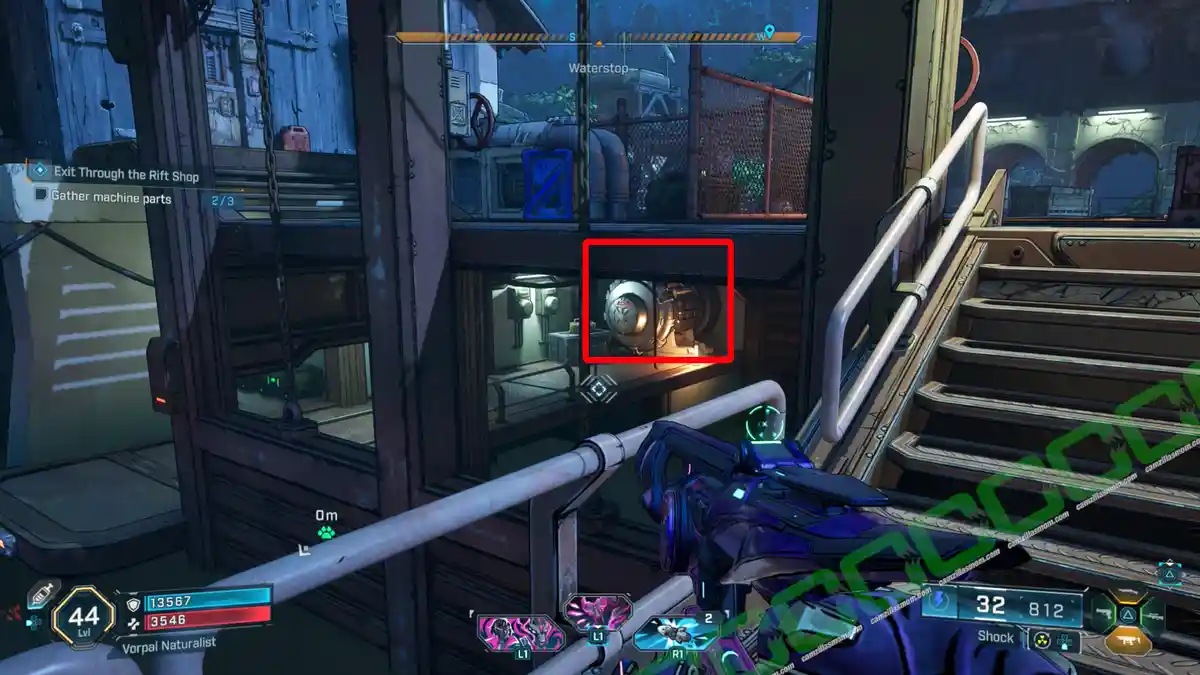
-> Gather 3 machine parts: Travel to the Waterstop, in the east of the Coastal Bonescape. Look for tanks that need to be melee attacked. One of them is below the main platform. Return to Oddman when you have them.
-> Fix Francis Oddman’s machine: Put the parts into the highlighted places.
-> Enter rift: Grapple the rift to enter.
-> Kill Order Forces & release prisoners: Press the button to release the prisoners. There are two ECHO Logs here. Talk to the prisoners for extra XP.
-> Gain access to the storage room: There is one vent panel on the prison cell level that you can grapple and go through the vent. There is an ECHO Log in the storage room.
-> Find enriched Eridium: Melee the lockers to find it and throw it into the rift (your arrival point).
-> Exit the Lab & Kill the Order Forces
-> Confront Francis Oddman: Decide what to do with him.
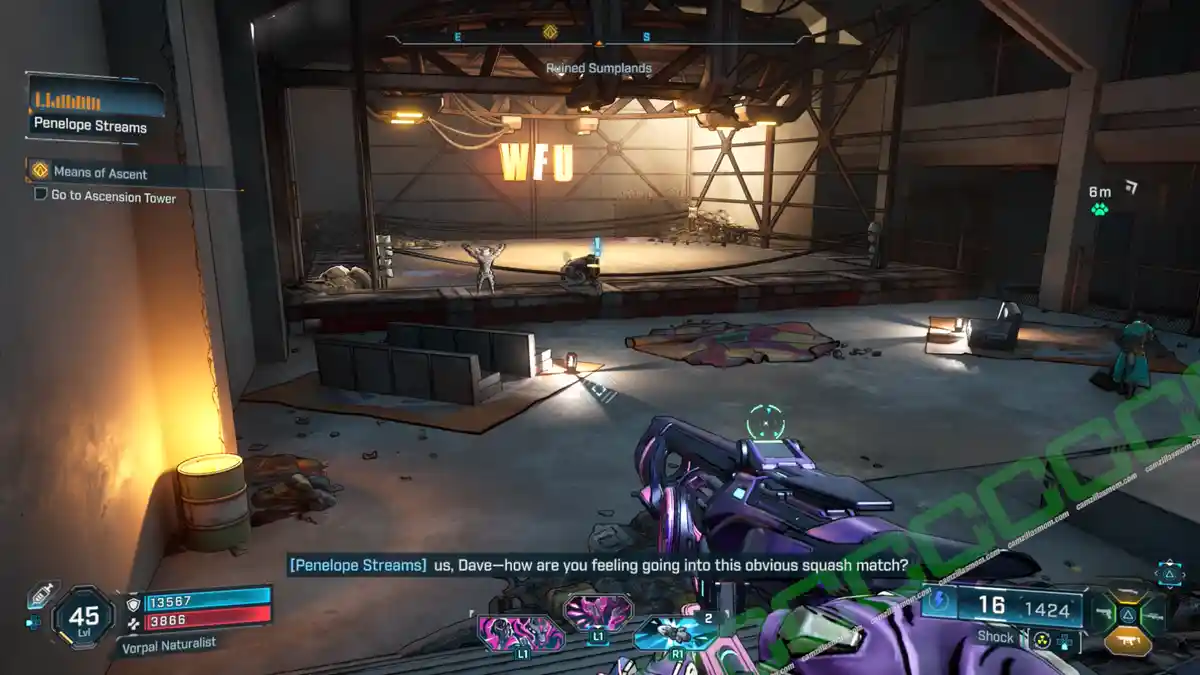
Vicious News Cycle: Hot Tag
Side Mission Start:
South of Moxxi’s Bottom’s Up! is a building with a cellar. Head down there to find Penelope Streams.
What it is about:
Fight a couple of times in the ring.
Side Mission Steps:
->Enter the ring
-> Melee Bowel Bruster.
-> Defeat Dave.
Vicious News Cycle: Mine Time Live
Side Mission Start:
West of the Safehouse is a small island. Mission starts when you’re close enough.
What it is about:
Fight a couple of times in the ring.
Side Mission Steps:
->Shoot the Spiteful Witness
Browse All Borderlands 4 Guides
All 224 ECHO Logs in Borderlands 4 Revealed
Discover every ECHO Log in Borderlands 4! This guide covers all 224 logs, including mission, general…
Any Last Words? All 39 Dead Bolts in Borderlands 4
Find all 39 Dead Bolts in Borderlands 4 and complete the "Any Last Words?" challenge with this compr…
Borderlands 4 Kairos Speaks Challenge – All ECHO Logs Revealed
Discover every ECHO Log for the Kairos Speaks Challenge in Borderlands 4. Follow this guide for exac…
Borderlands 4: All 10 Auger Shrine Locations Revealed
Discover all 10 Auger Shrines in Borderlands 4. Follow this guide to complete the challenge and clai…
Borderlands 4: All Fallen Crown Collectibles
Snag the Dead Bolt and Vault Symbol in Fallen Crown, Borderlands 4. A quick guide to help you comple…
Borderlands 4: All Upper Dominion Collectibles
Complete Borderlands 4's Upper Dominion with this guide. Locate all ECHO Logs and Vault Symbols effo…
Borderlands 4
Release: September 12, 2025
Developer: Gearbox Software
Publisher: 2K Games
Official Website: https://borderlands.2k.com/borderlands-4/
