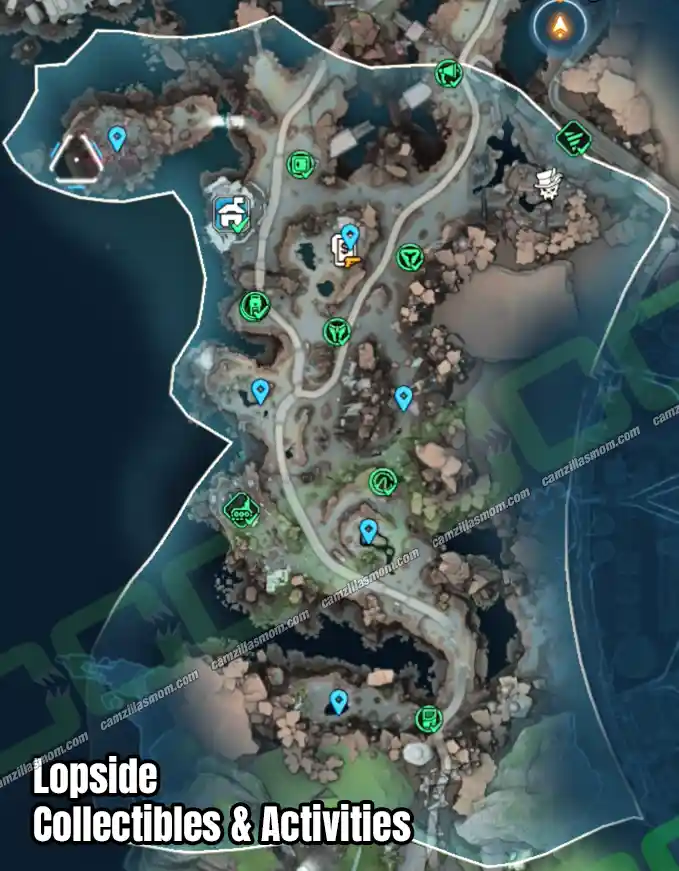
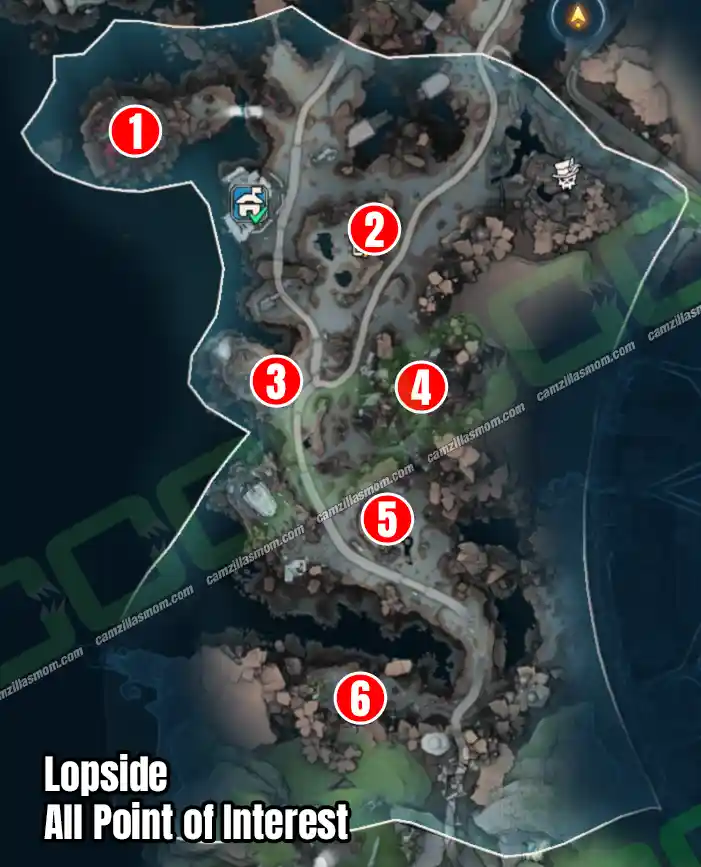
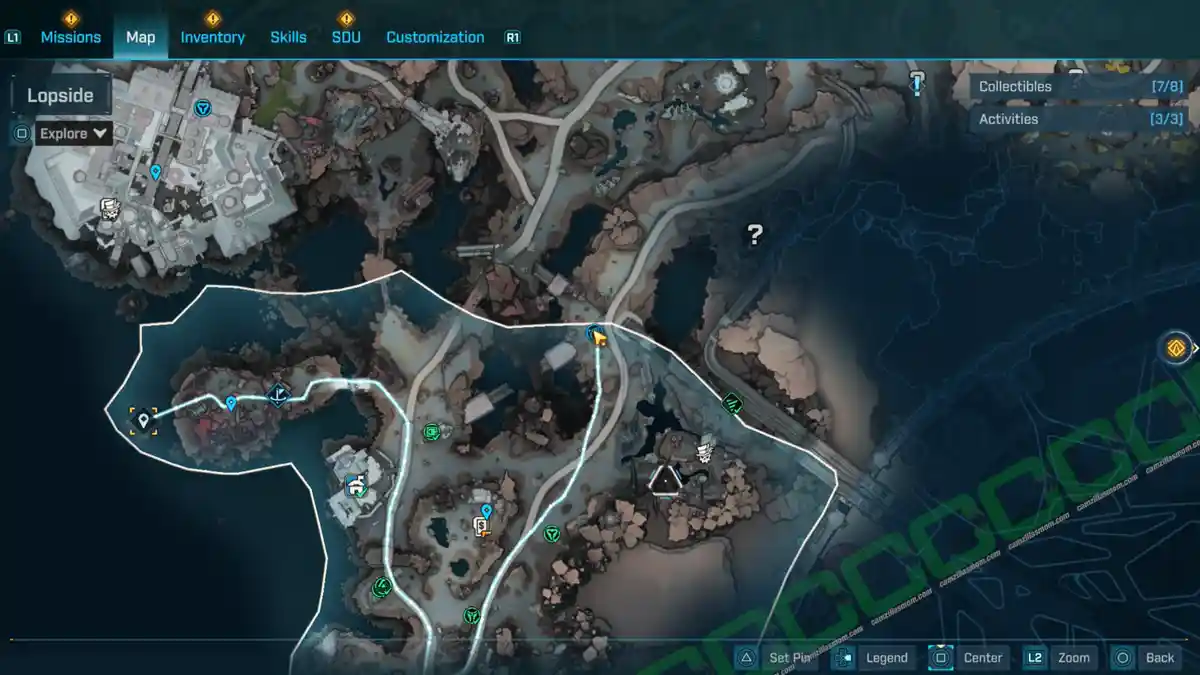
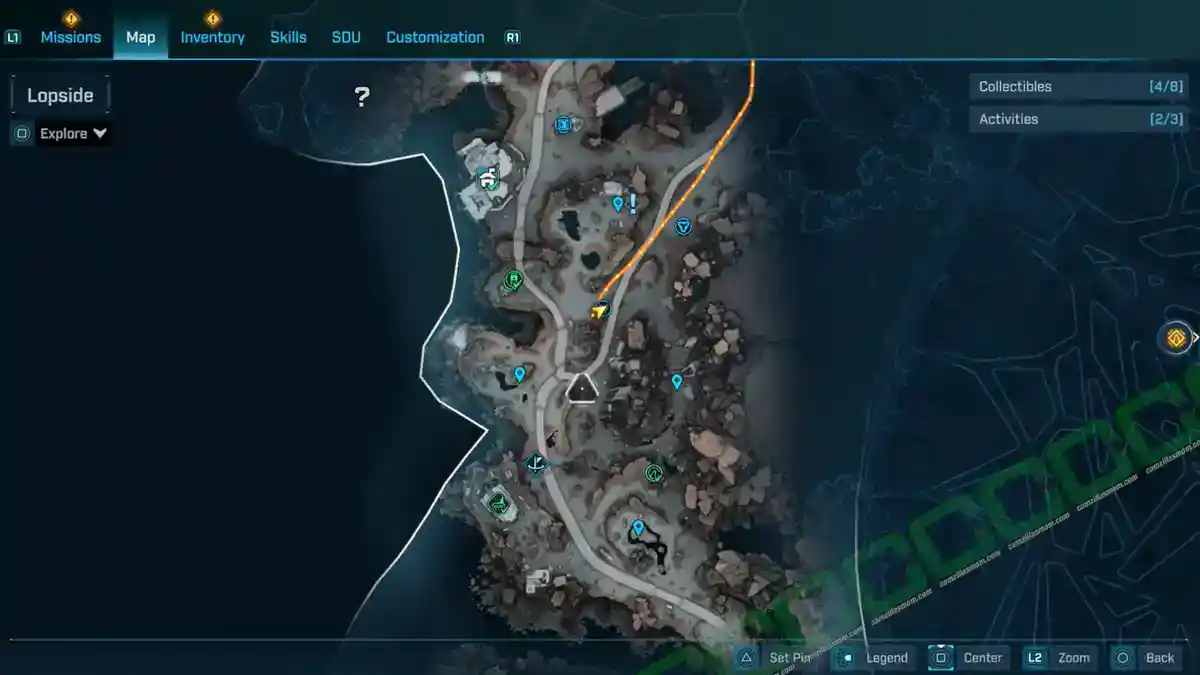
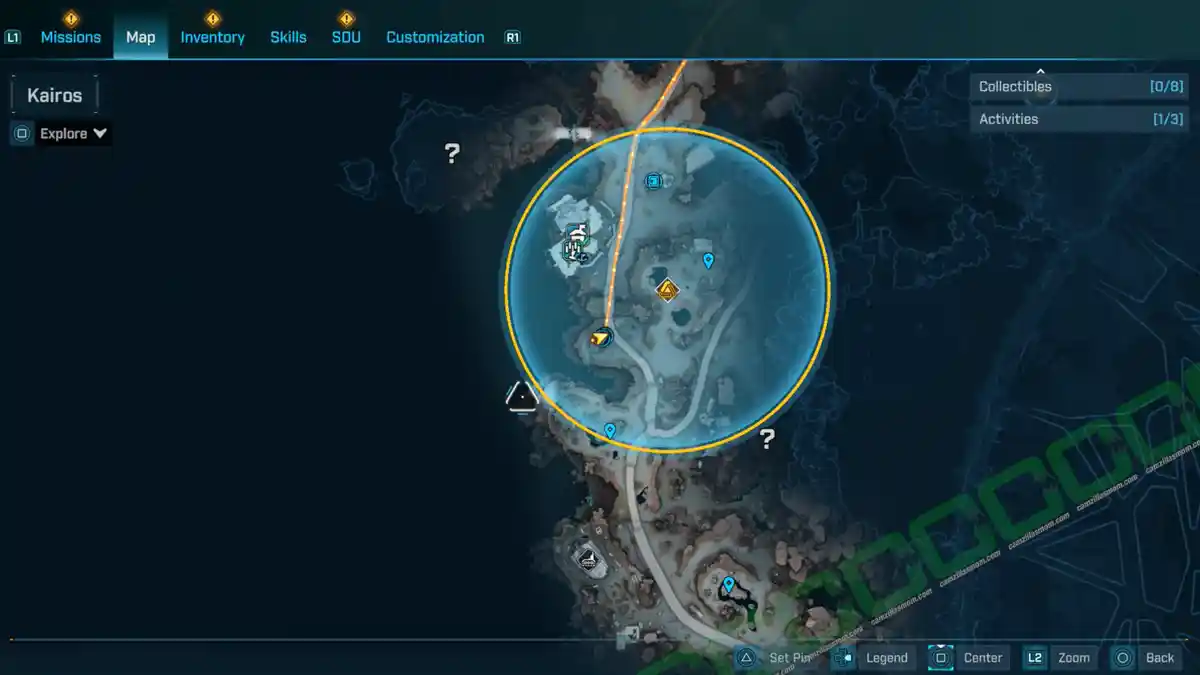
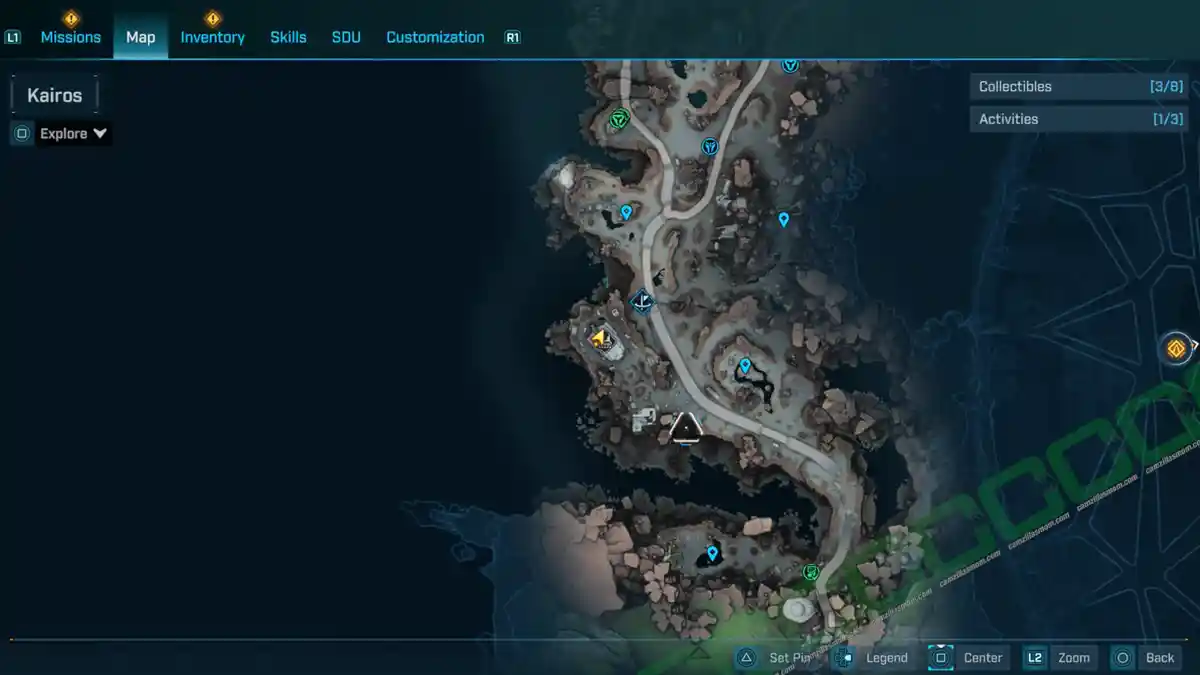
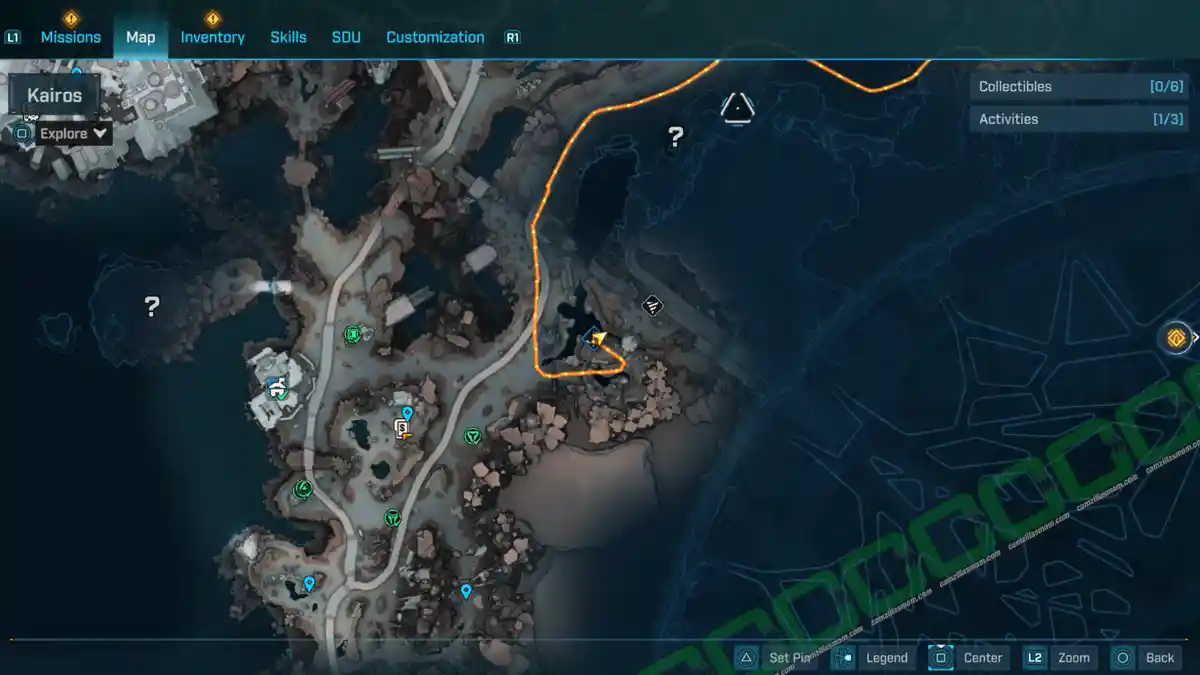
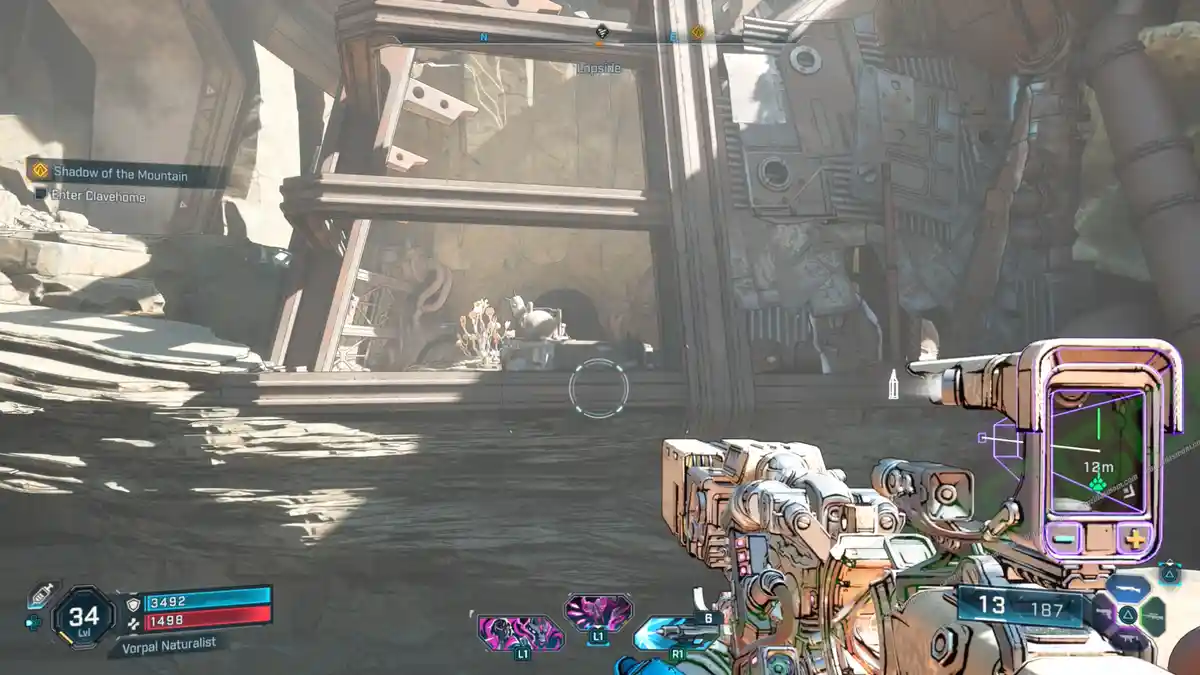
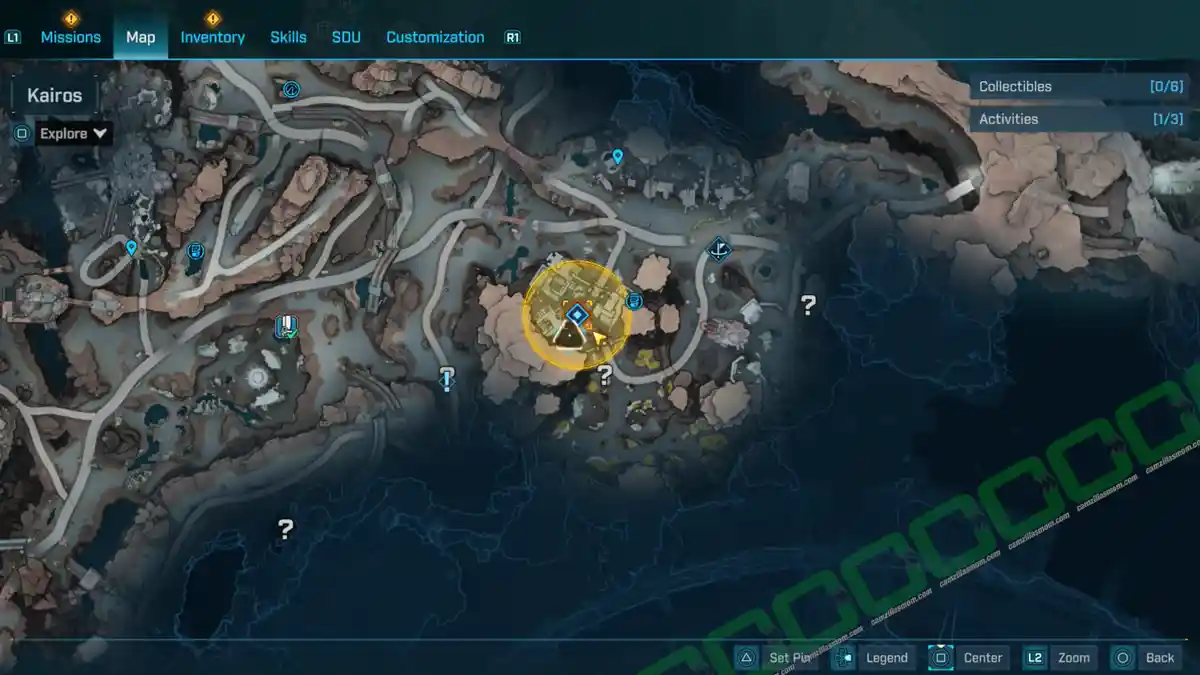
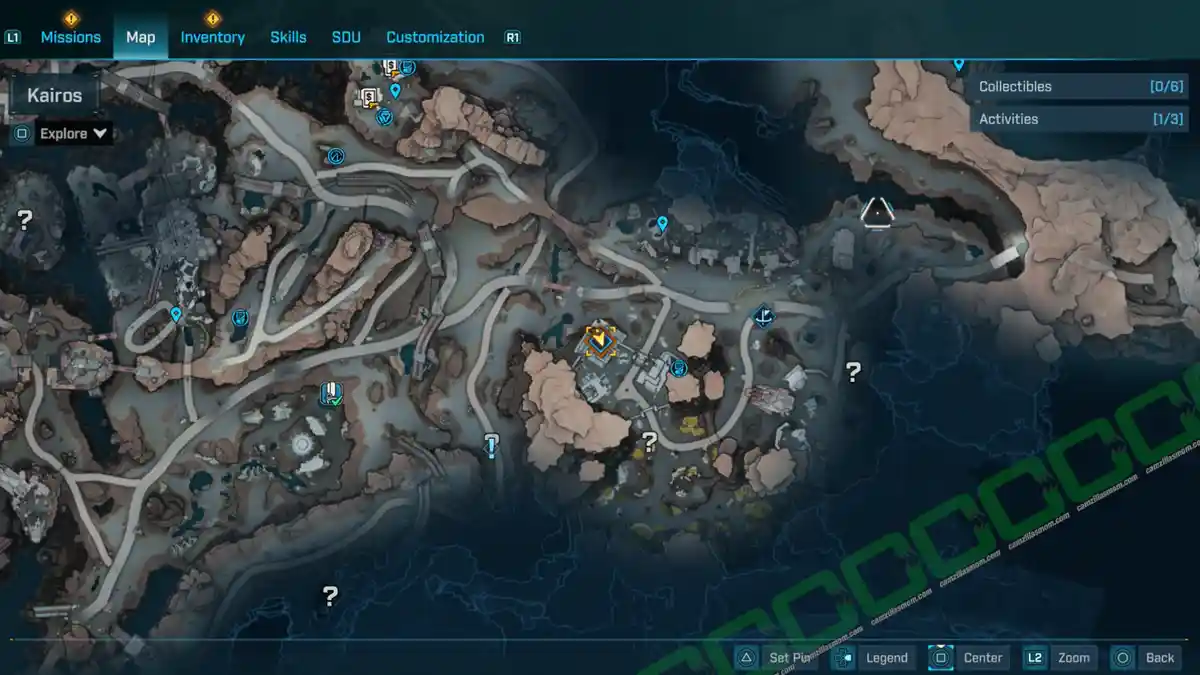
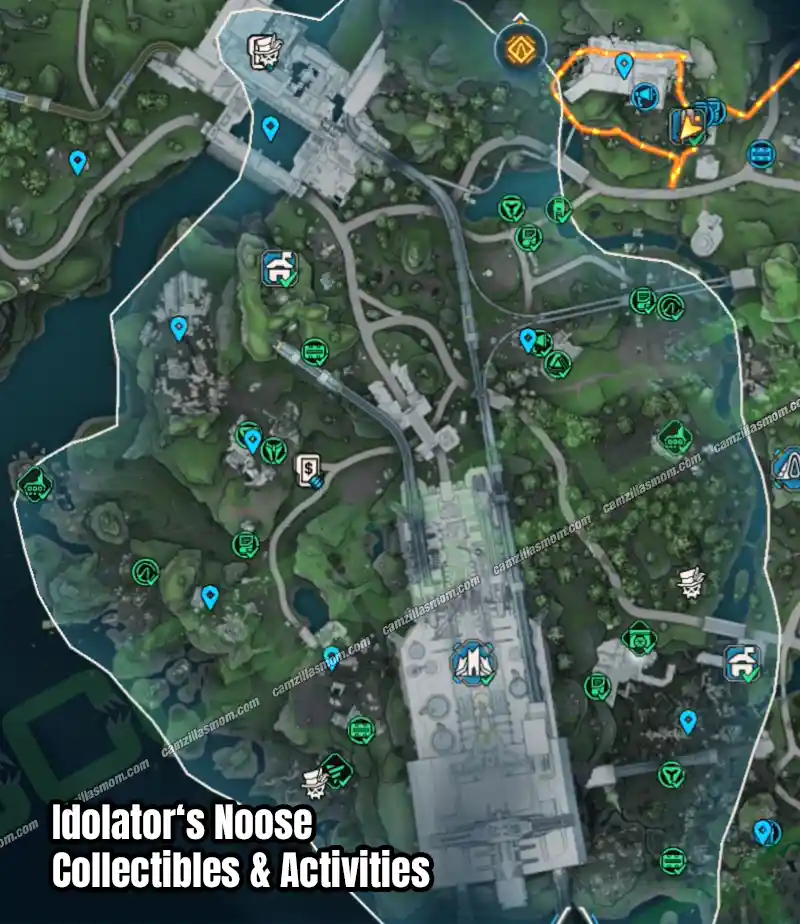
Lopside Collectibles
Dead Bolts – 2
Dead Bolts are glowing blue bolts left behind by their previous owners. Interact with them to learn more about who they were.
Electi Safe – 1
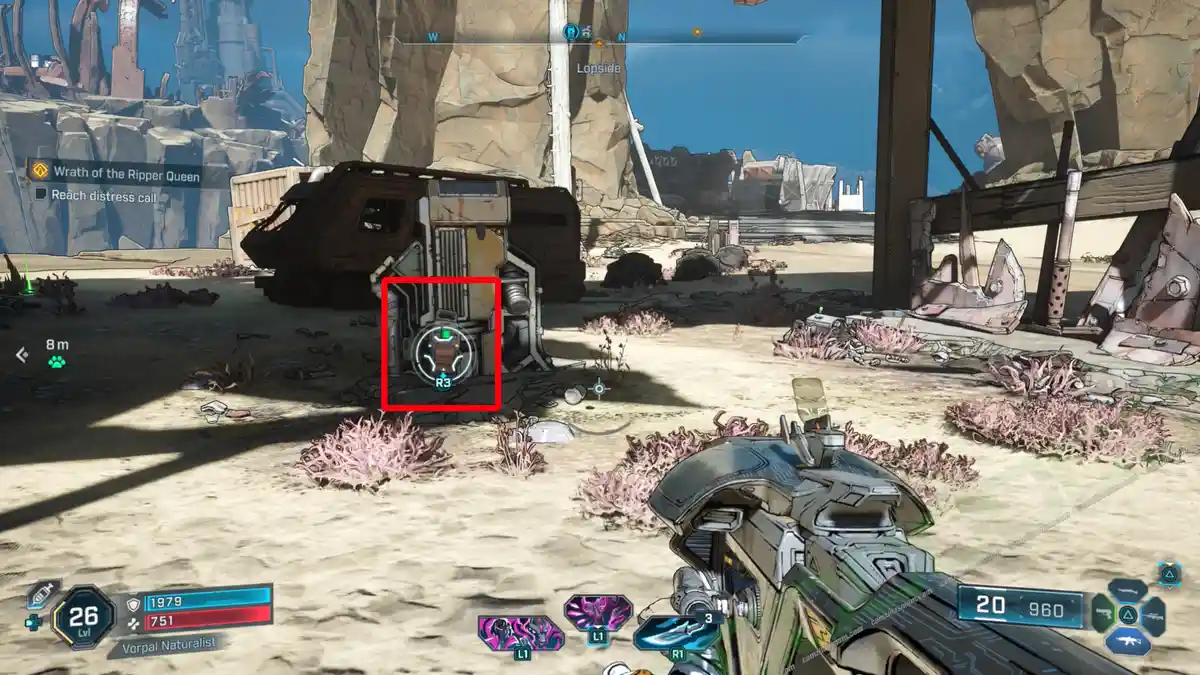
Just like Survivalist Caches, the Electi Safe is basically a big box of loot. Just open it up and grab everything inside!
Lost Capsule – 1
Find the Lost Capsule and carry it to the next Safehouse to claim its contents.
Propaganda Speaker – 1
Hack the Propaganda Speaker and fight three waves of hostiles to turn it into something more pleasant.
Evocarium – 1
The Evocarim is another kind of ECHO Log: Eridian. Interact with it to reveal three orbs. Reach those orbs, interact with them to find the Eridian ECHO Log.
Vault Fragment – 1
This is one of three Vault Fragments you’ll need to open the Arch of Inceptus Vault in this area. Grab it, and once you’ve collected all three, you can use them!
Vault Symbol – 1
You’ll need to find two glowing symbols, hidden somewhere. Interact with them to collect them.
ECHO Logs – 1
ECHO Logs are blue glowing tablets hidden in Idolator’s Noose. Interact with them to collect them.
Dead Bolt
There are 2 Dead Bolts
1 – Connect the Dots
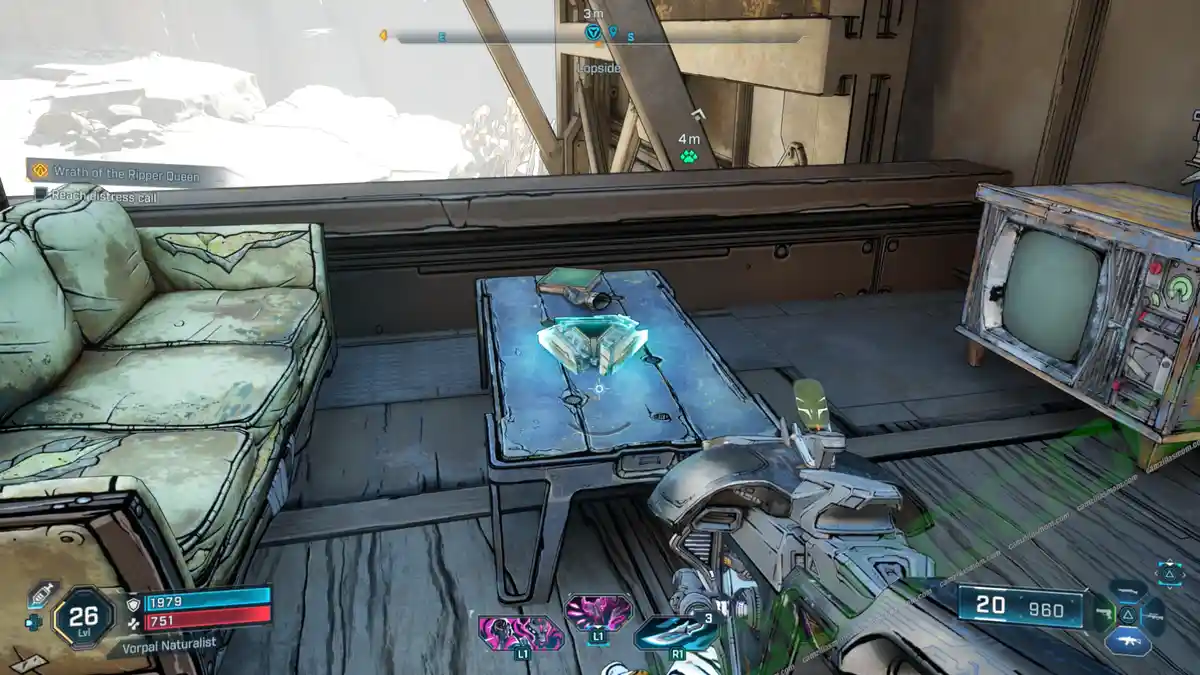
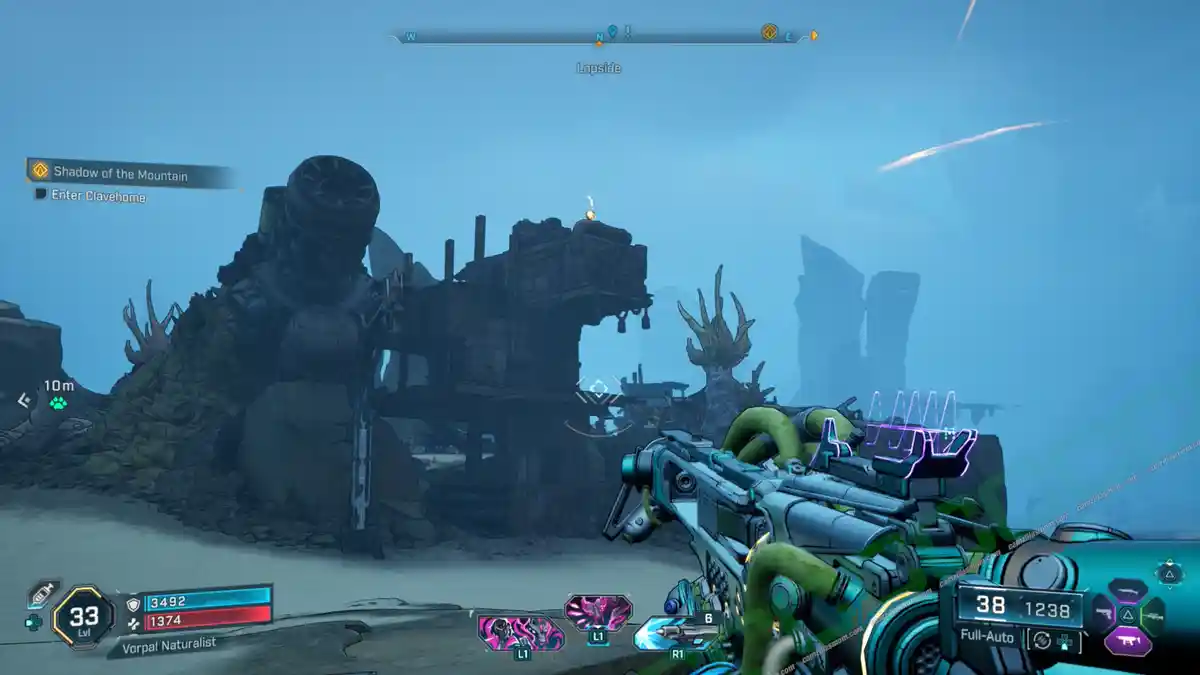
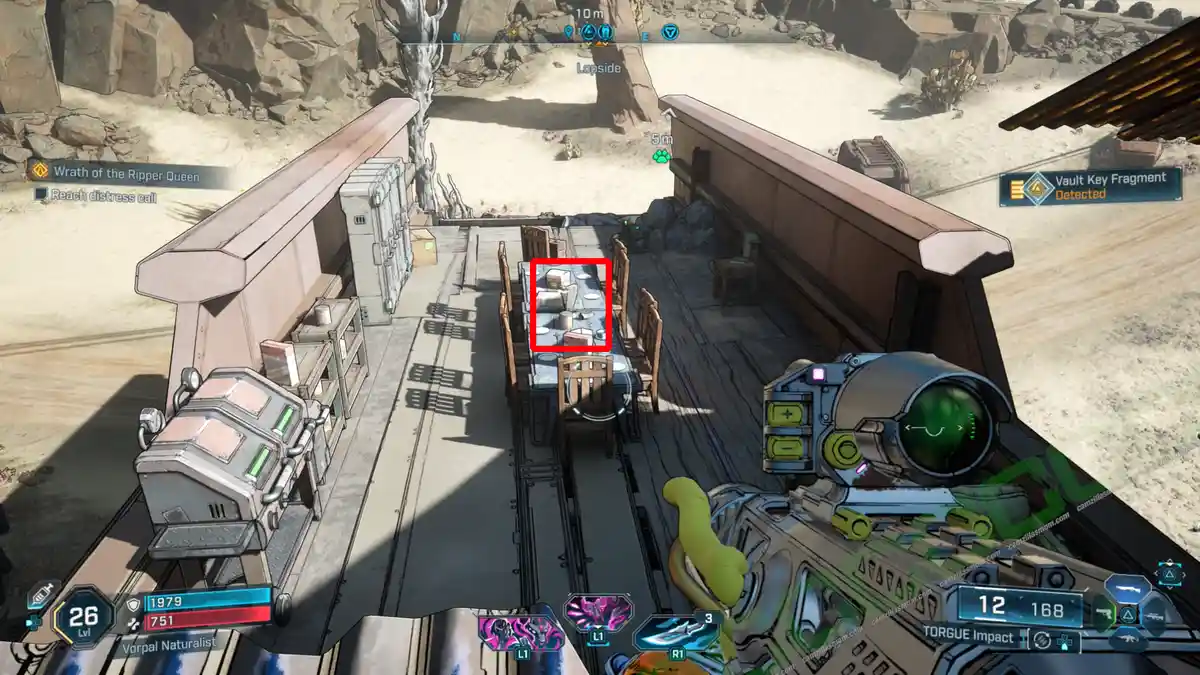
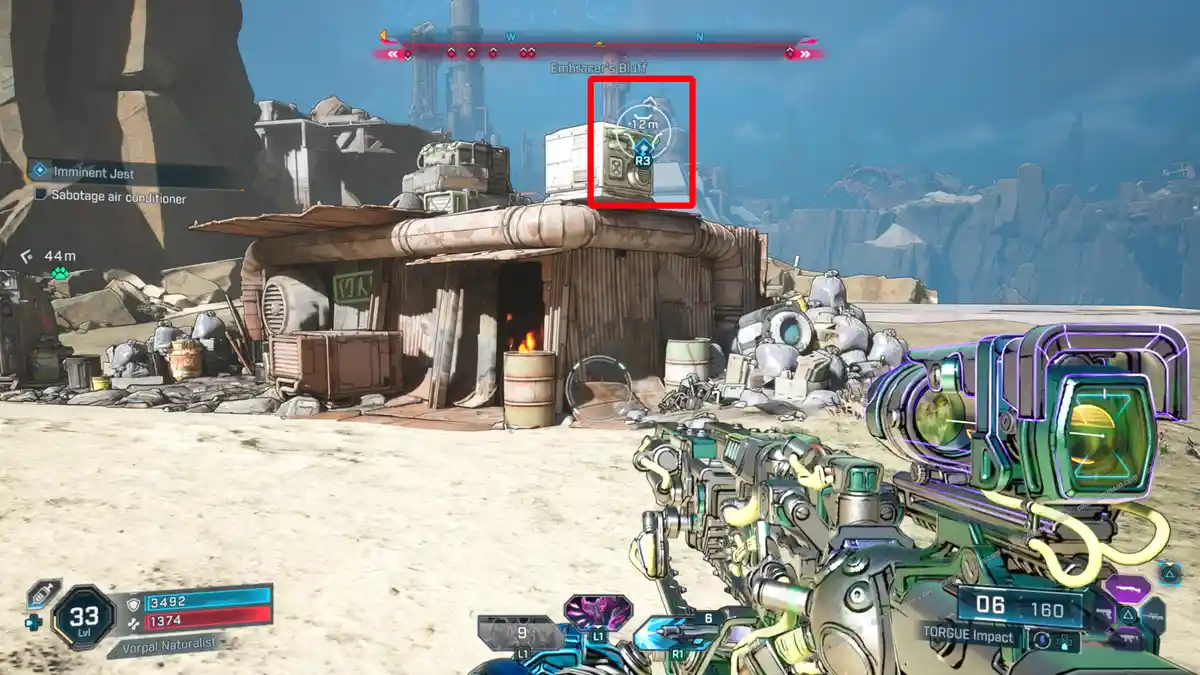
This Dead Bolt is on the roof of the petrol/gas station just south of the Makeshift Chalet Safehouse, on the coffee table. You can jump up to the roof from the sides. The Vault Fragment is also here.
Description:
“Loretta Rumsen. Mithra. 1,782 hours. Offline.”
2 – Don’t Walk into the Fight
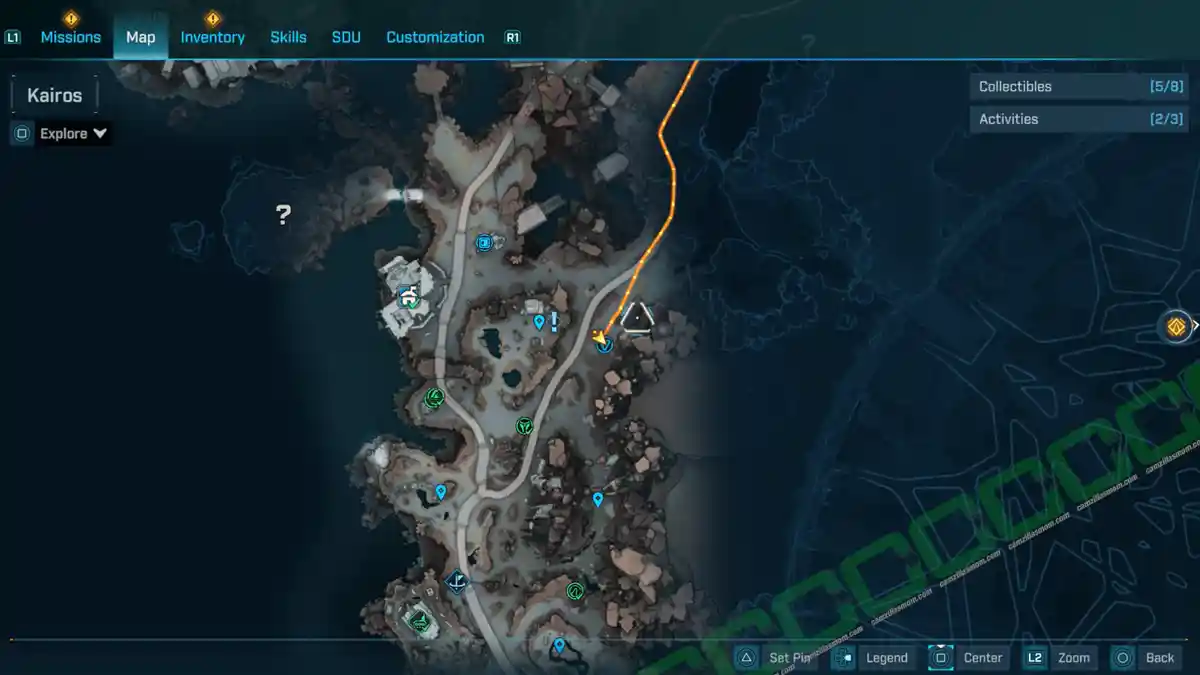
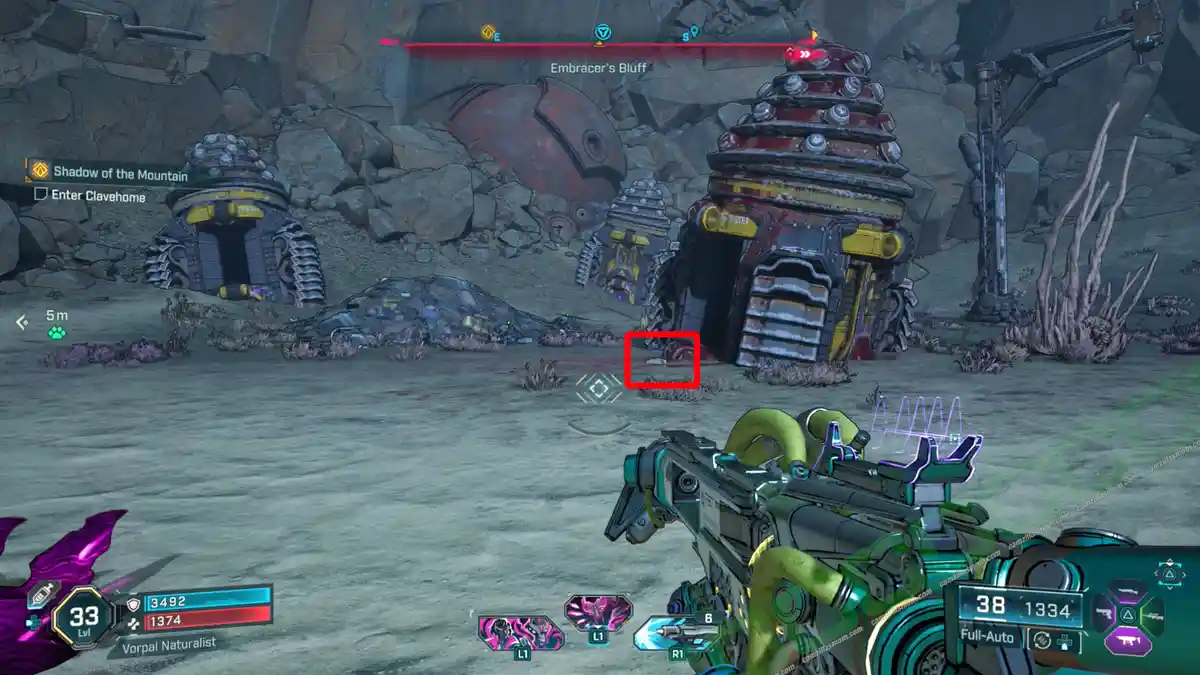
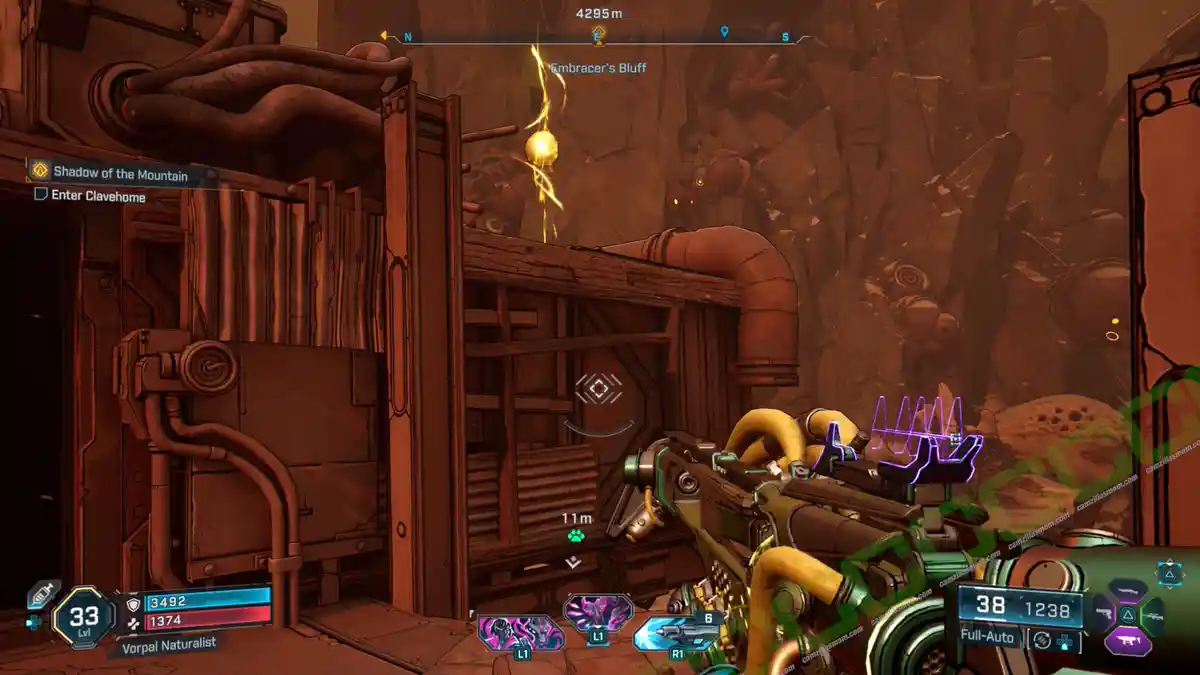
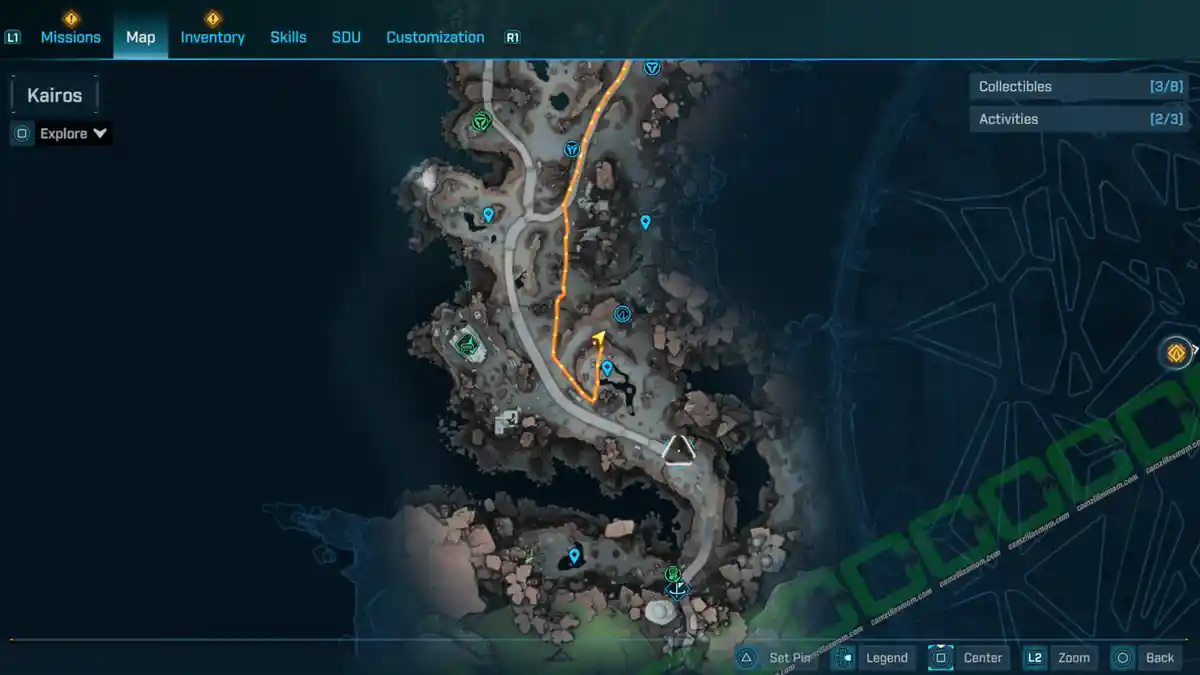
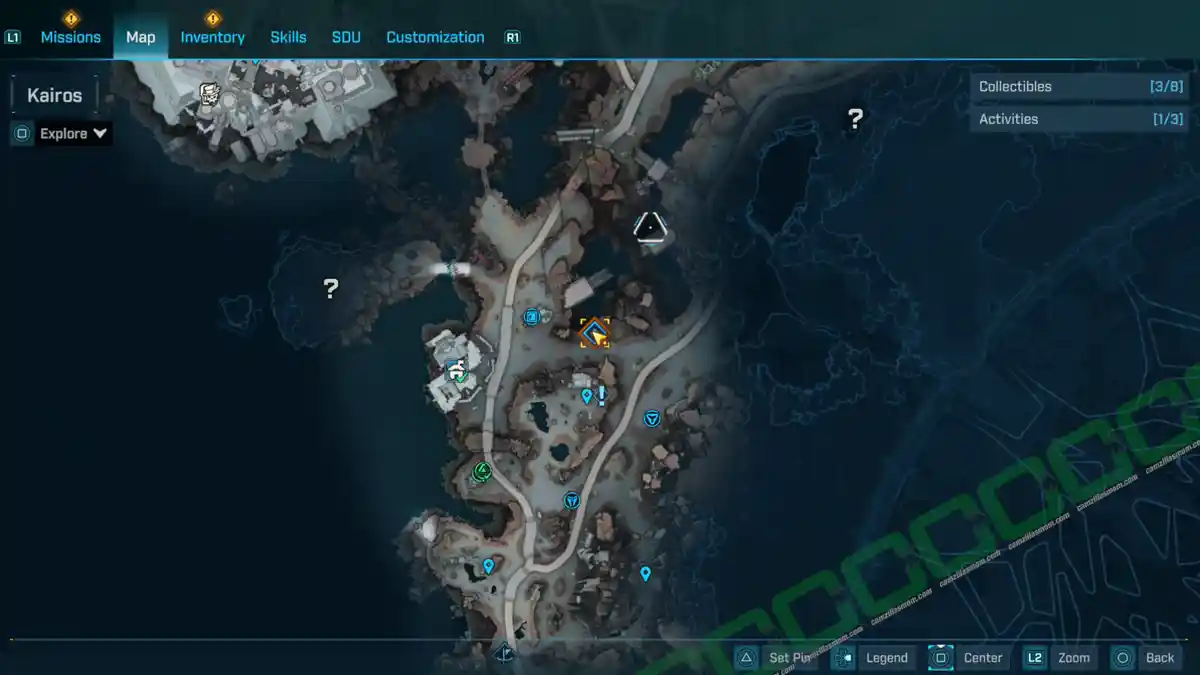
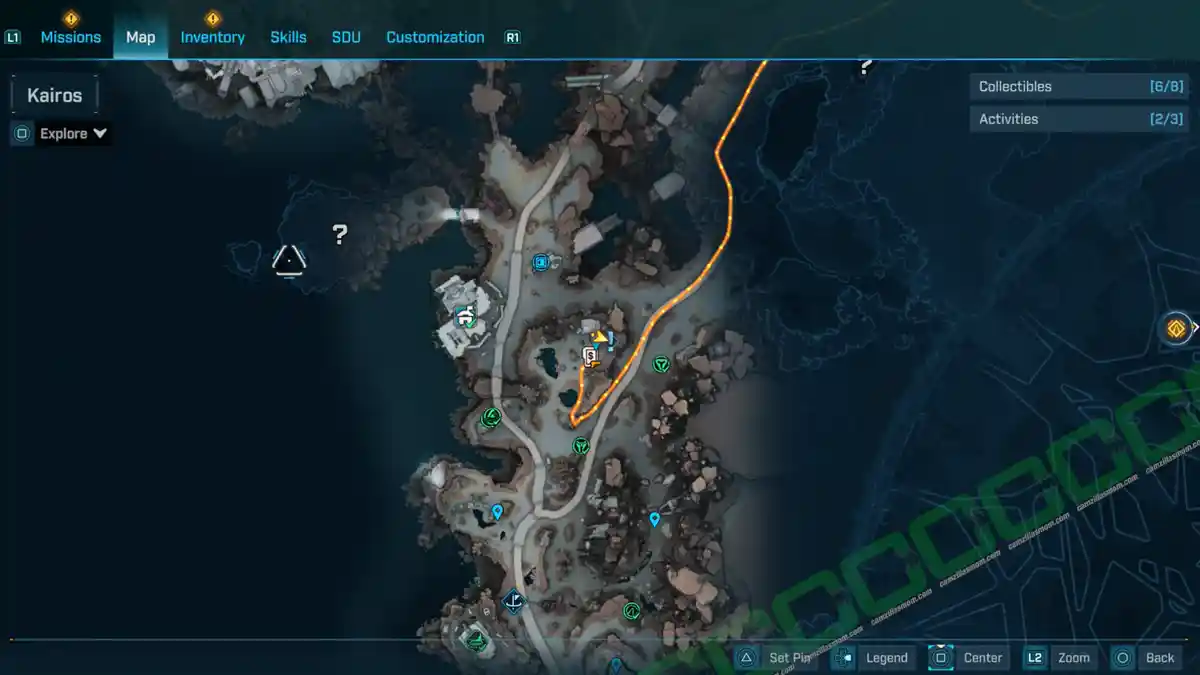
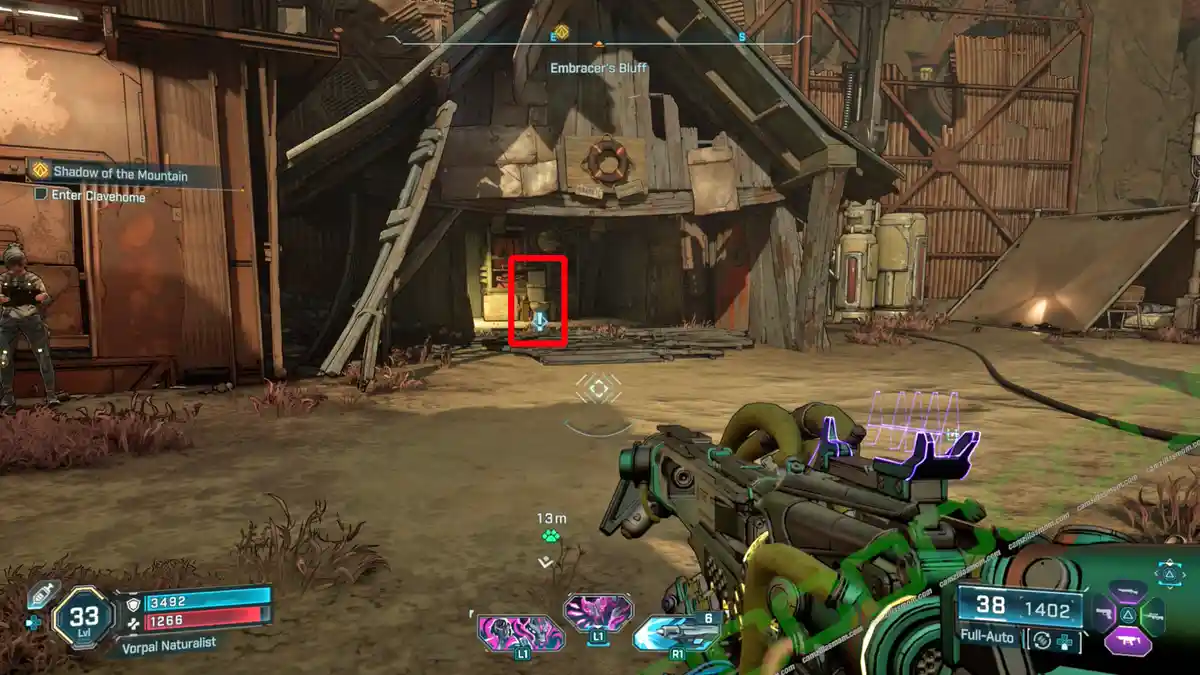
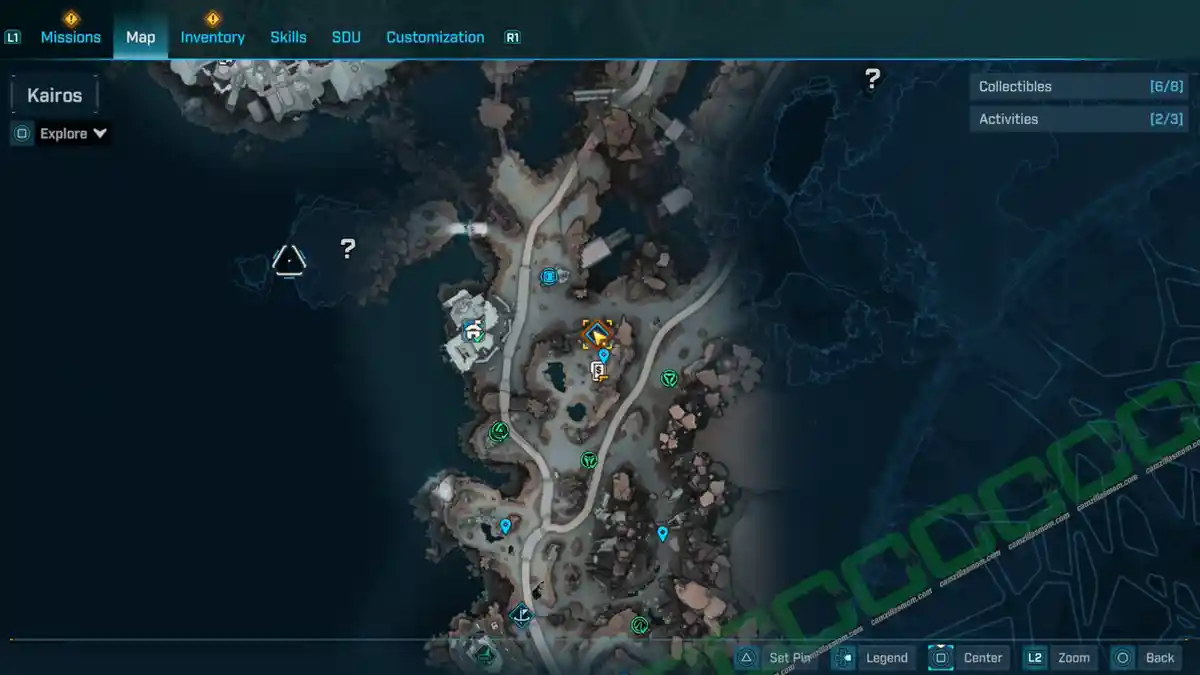
East of Embracer’s Bluff in the north of Lopside, there are a couple of attacker drills, where you can also find a Dead Bolt.
Description:
“Pam Ashland. Tethys. 3,952 hours. Offline.”
Electi Safe
Just kick the Electi Safe to receive the loot.
1 – Makeshift Chalet Safehouse
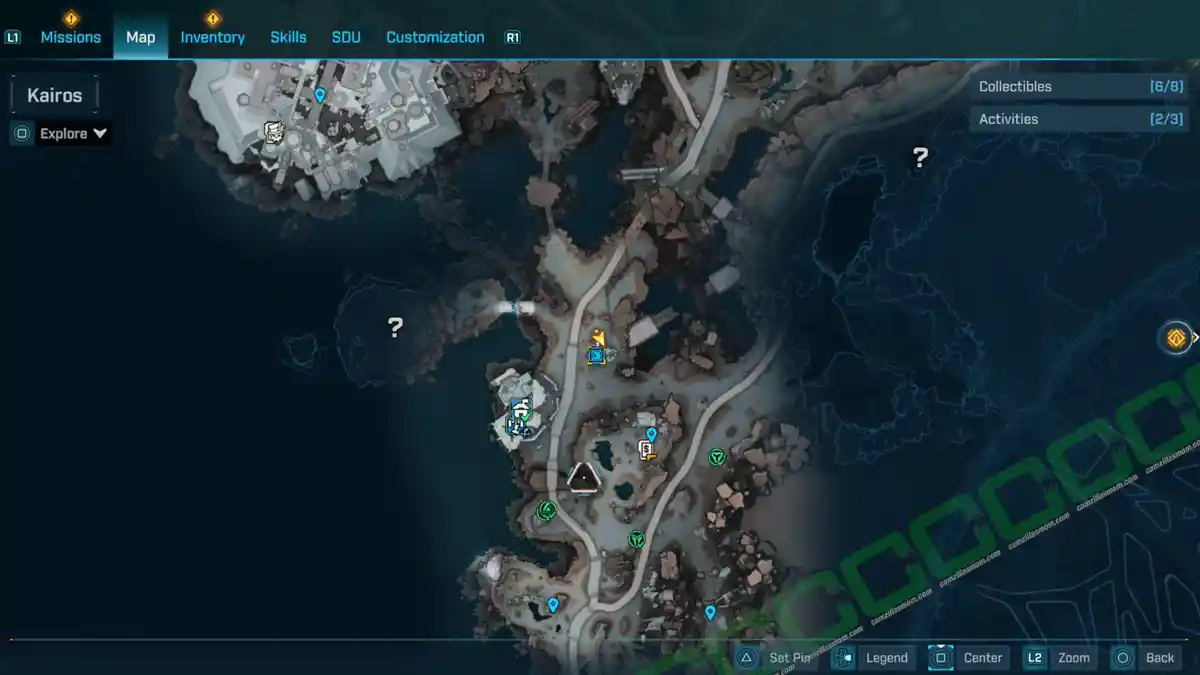
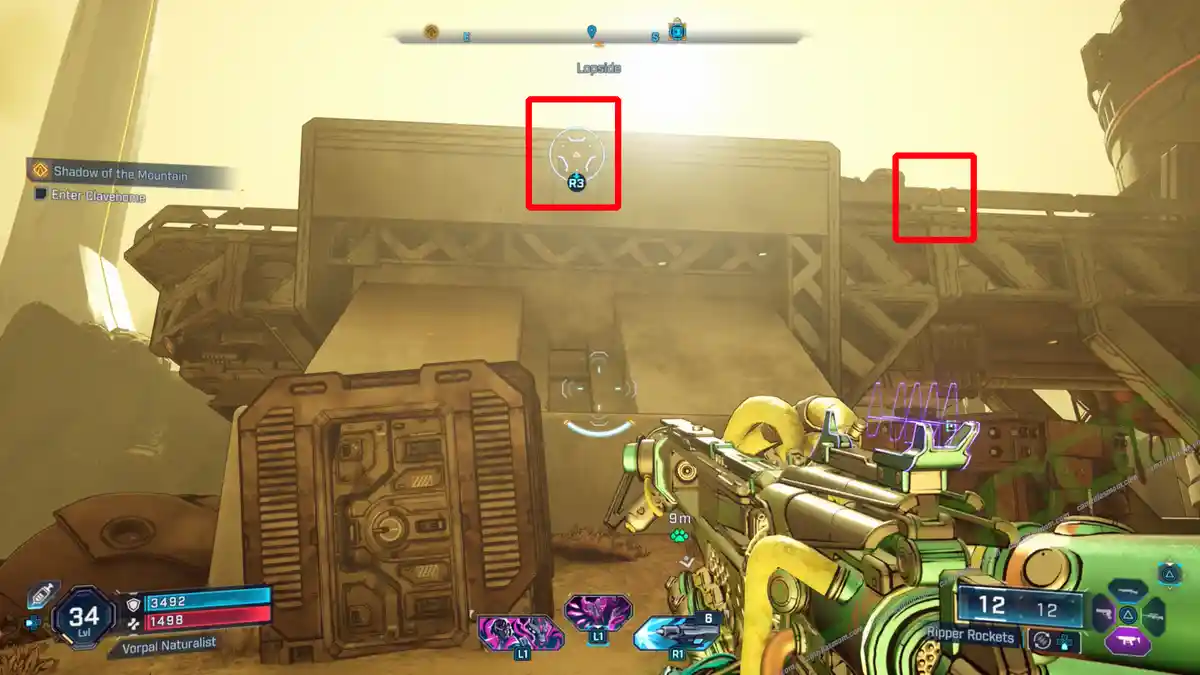
The Electi Safe is up on a structure northeast of the Makeshift Chalet Safehouse. Opening the safe is easy after you’ve defeated all the hostiles in the area. There is a grapple point that will take you there.
Lost Capsule
The Lost Capsule is a long, bulky device that has to be carried back to a safehouse of your choosing – preferably the nearest one to put it in the Decryption Machine there. There is one Lost Capsule in the Lopside Region
1 – Petrol/Gas Station, South of Makeshift Chalet
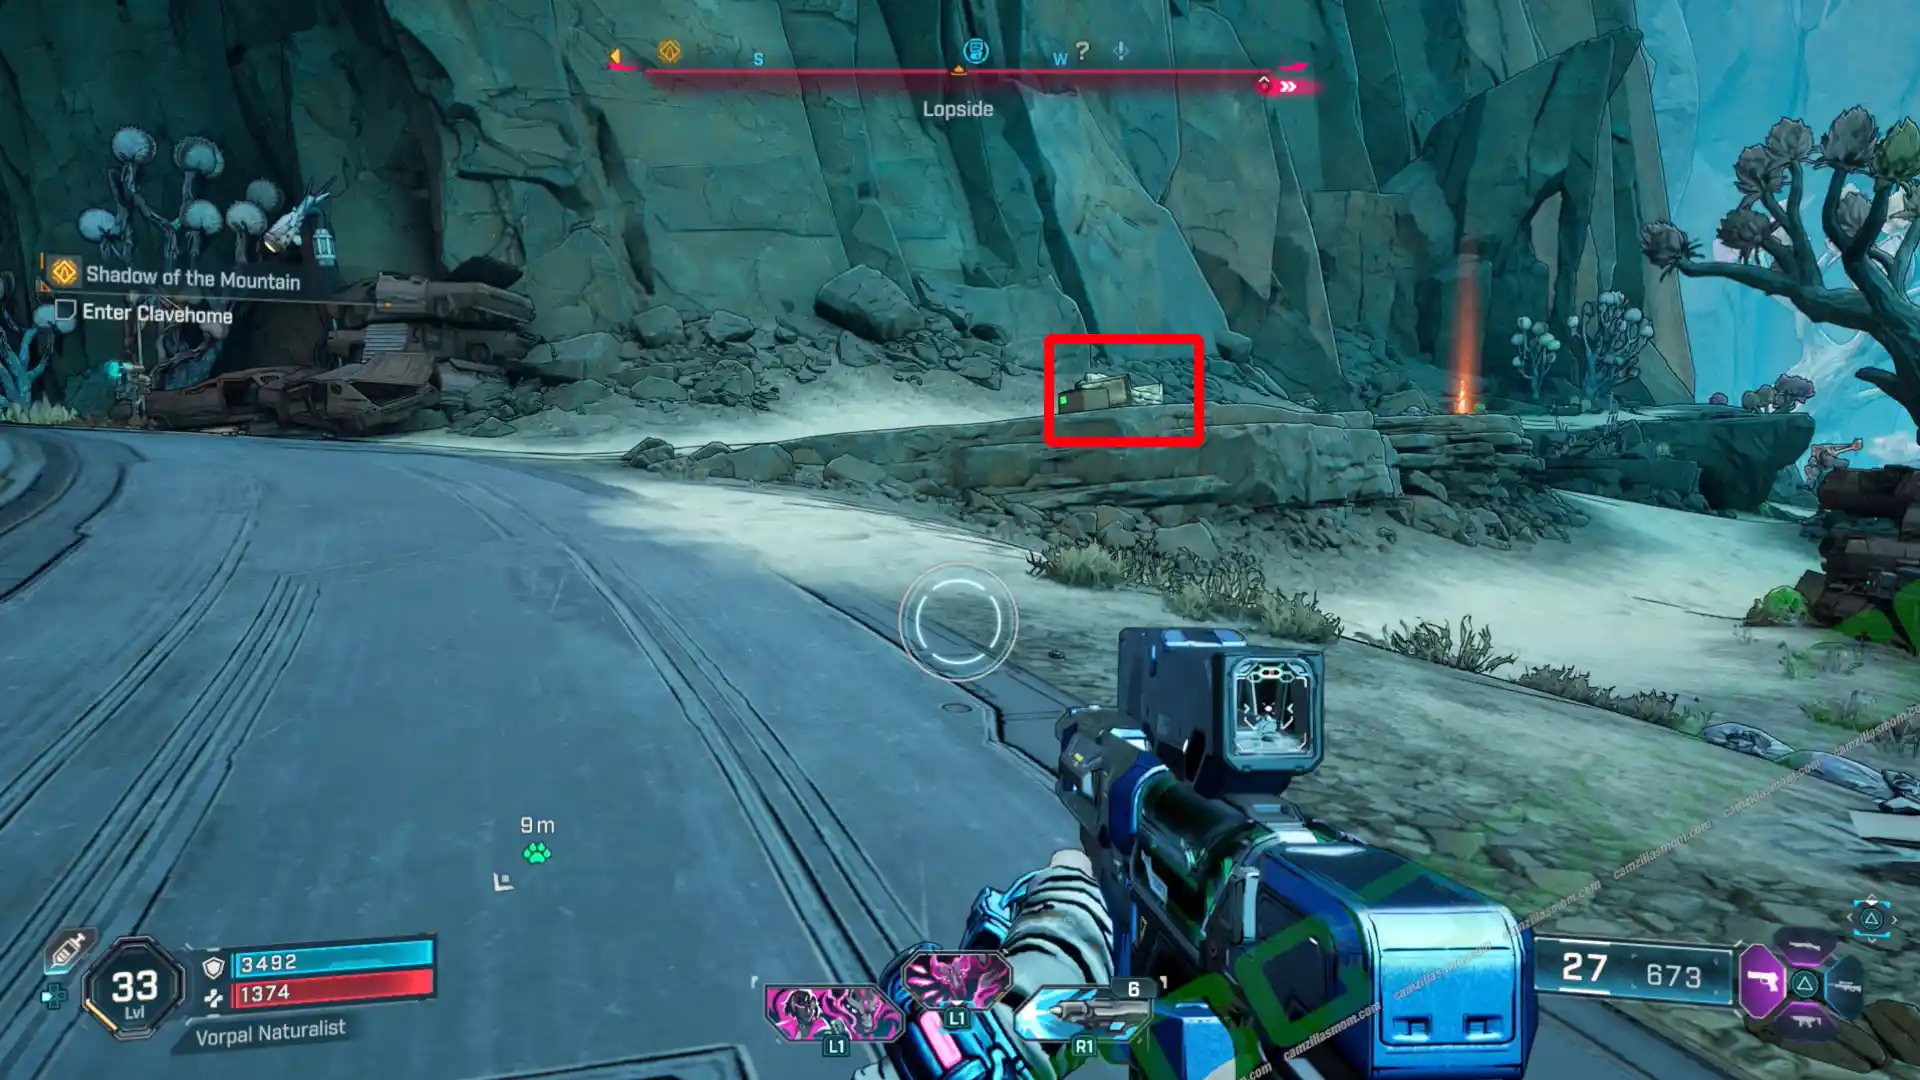
South of the Makeshift Chalet Safehouse is a Petrol/Gas Station. The Lost Capsule is just by the pump. Carry it to the Makeshift Chalet in the north.
Propaganda Speaker
Propaganda Speakers are interactive collectibles that require players to locate and activate them before defending against attackers while Echo completes a 100% hack.
1 – Northern Lopside
The Propaganda Speaker at Lopside is in the far north of the area, by the border to Grindstone of the Worthy. Hack the terminal and survive three waves to claim the Propaganda Speaker.
Evocarium
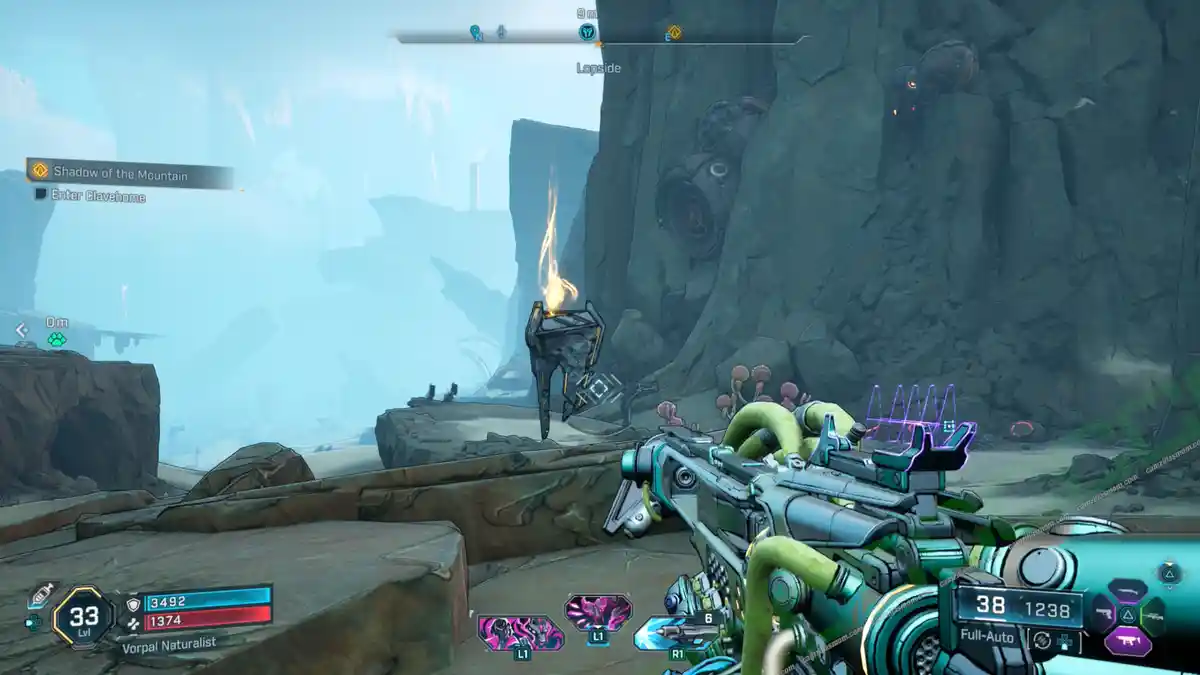
You’ll find one Evocarium at the Lopside. It’s a hovering Eridian device that I refer to as the “torch” throughout this guide. Evocariums always lead to a special type of ECHO Log, called an “Eridian Log,” which get their own subsection in your ECHO Logs Inventory.
1 – Eridian: Hungrier – The Yawning Yard
This time, the Eridian Evocarium torch is northwest of the Yawning Yard, standing out in the open without the protection of buildings. Interact with it to reveal the tree orbs.
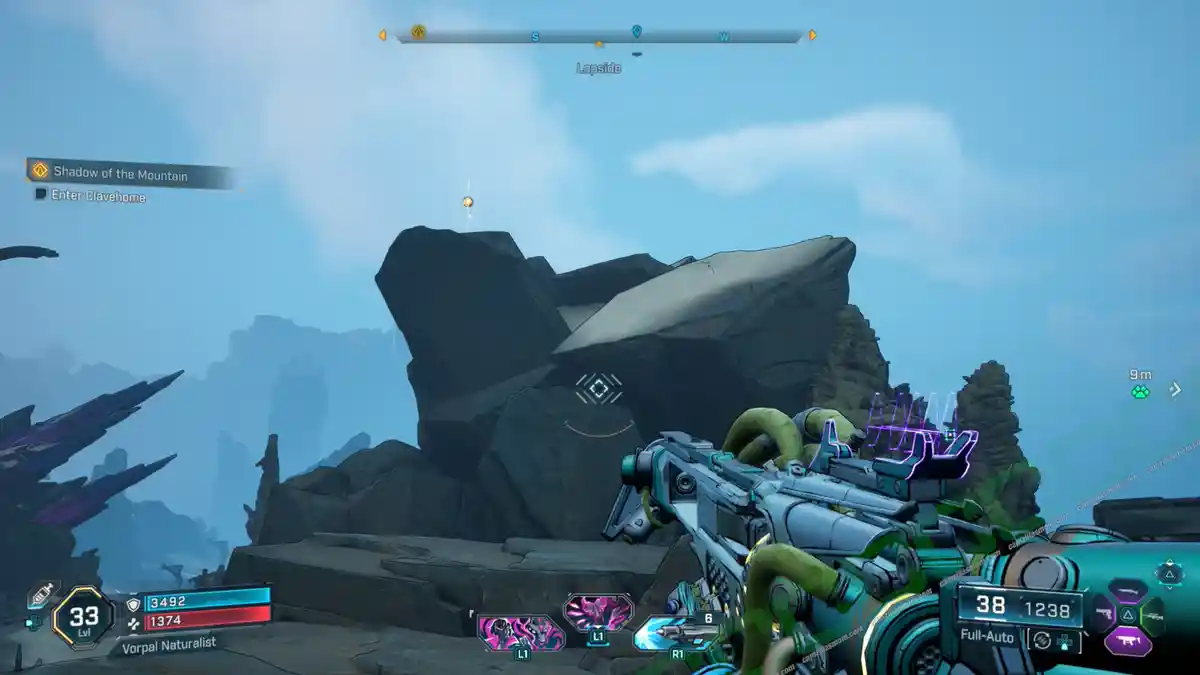
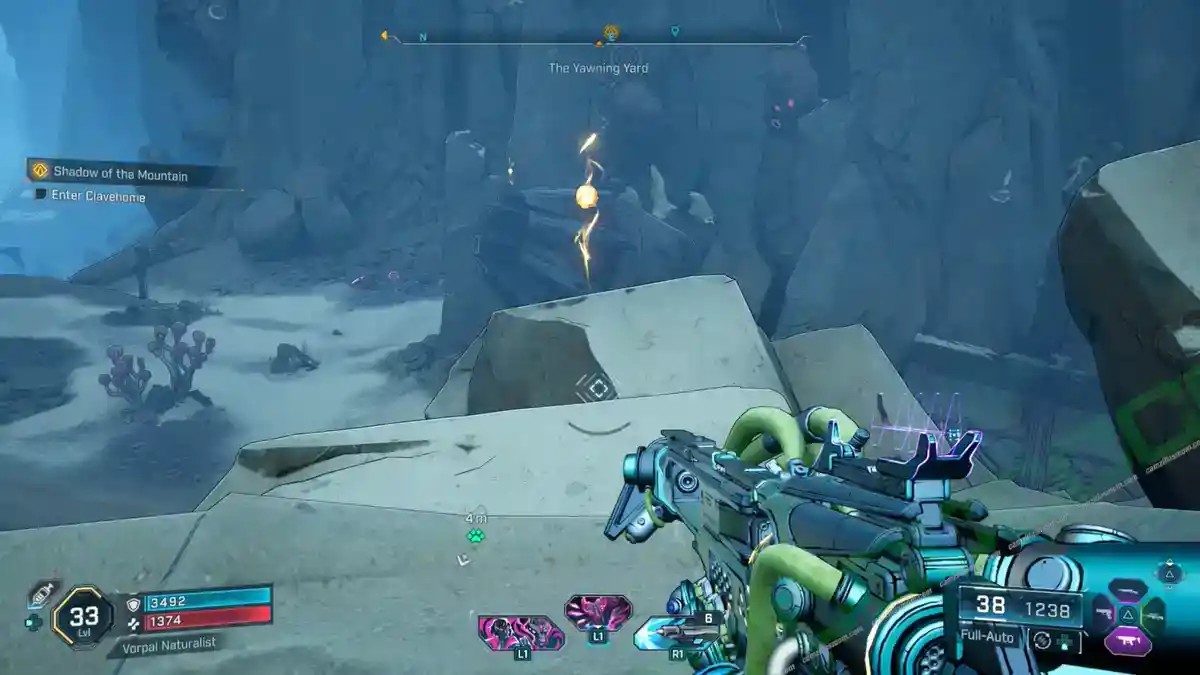
The orbs are located on top of a steep rock just above the torch, on top of a nearby building, and on top of a turbine in the east. The only tricky one is the orb on the turbine. I reached it by gliding from the elevated rock, where one of the orbs is. In the screenshot below, you can also see the turbine orb behind the orb on the elevated rock. Once you’re done, head back to the torch to grab the ECHO Log Eridian: Hungrier.
Vault Fragment
The Vault Fragment at Lopside is on the roof of the petrol/gas station just south of the Makeshift Chalet Safehouse. You can jump up at the sides or at the back. There is a dinner table with the Vault Fragment in the center of it.
Vault Symbol
There is only one Vault Symbol hidden at The Howl.
1 – Smackwater
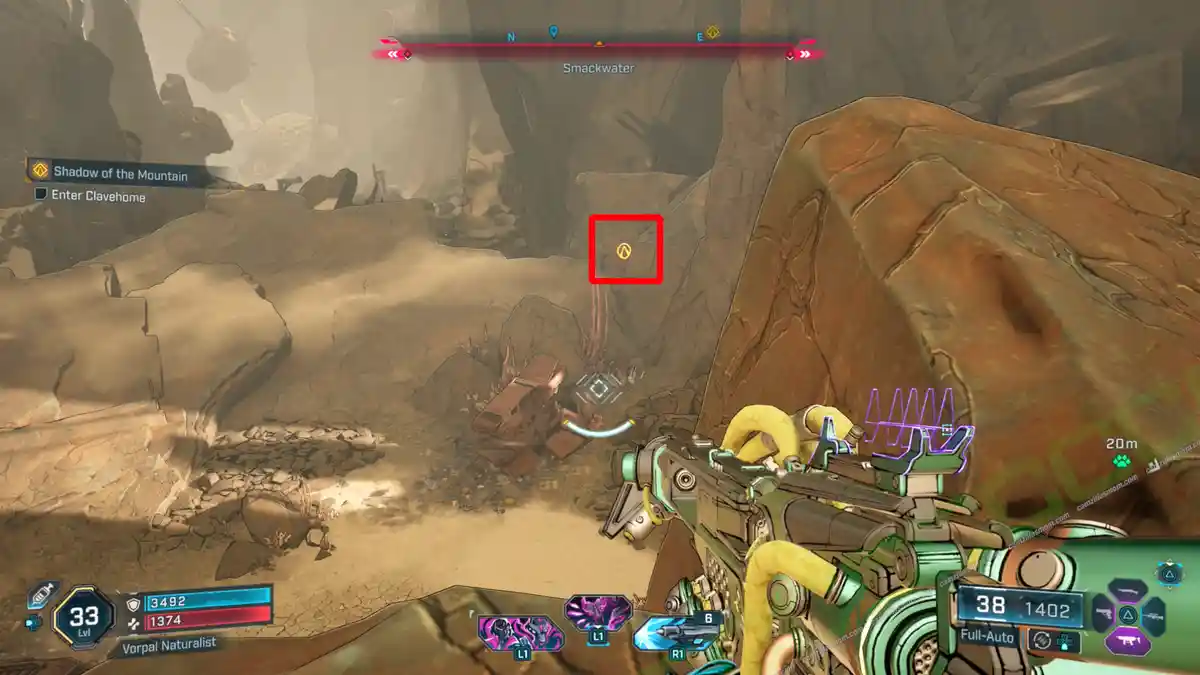
Head to the rocky overhang in the north of Smackwater and look down to spot the Vault Symbol in the valley below.
ECHO Log
There is one ECHO Log at Lopside.
1 – Rafa the Negotiator
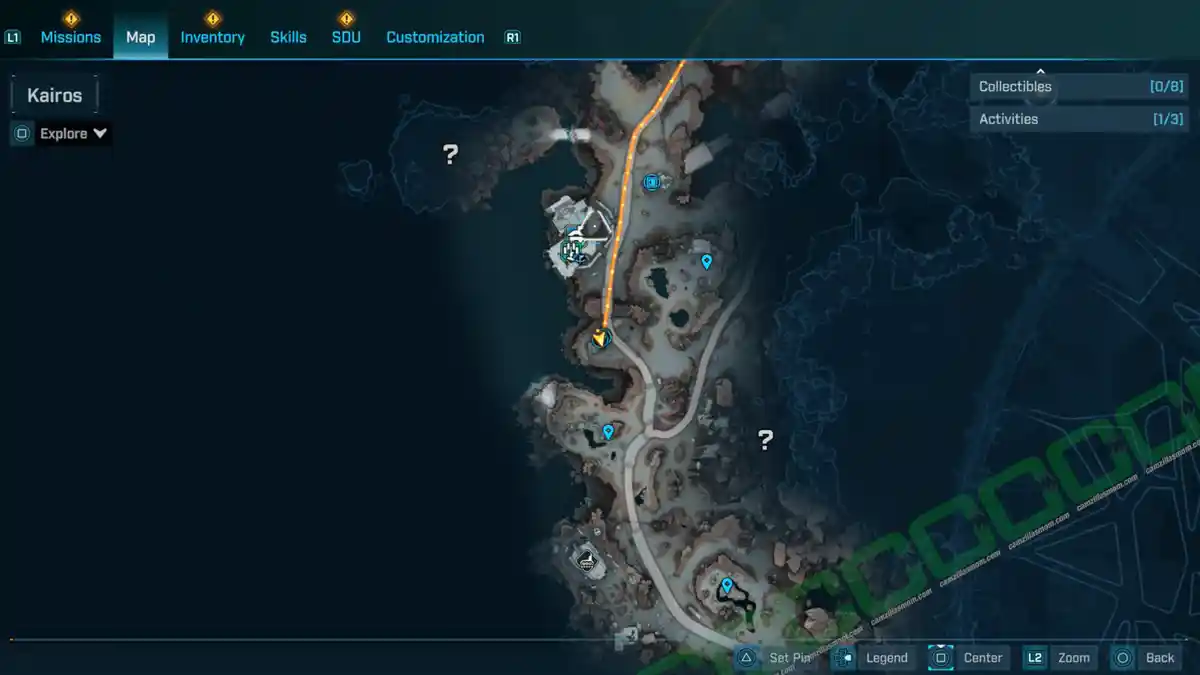
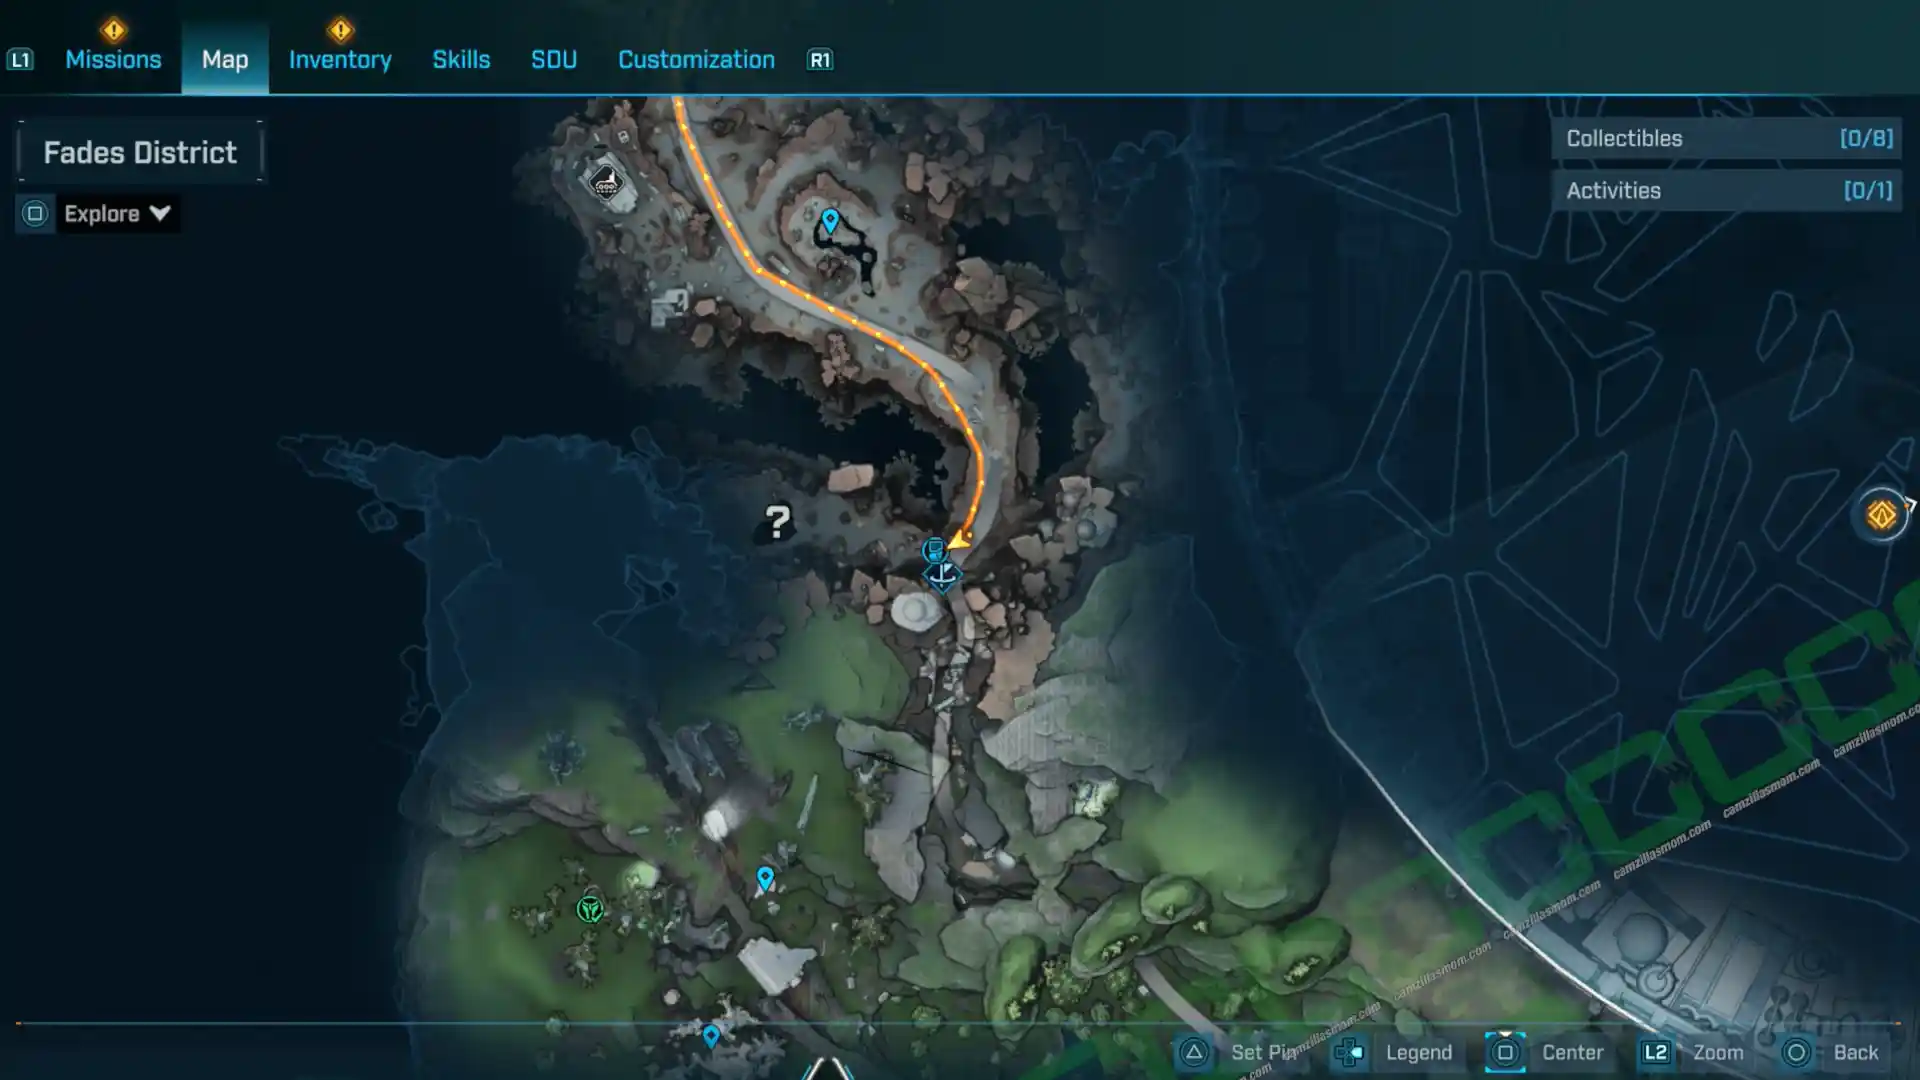
This ECHO Log is in the south of Lopside, by the main road on a couch.
Description:
“Rafa Rafas his way out of a crisis.”
Lopside Activities
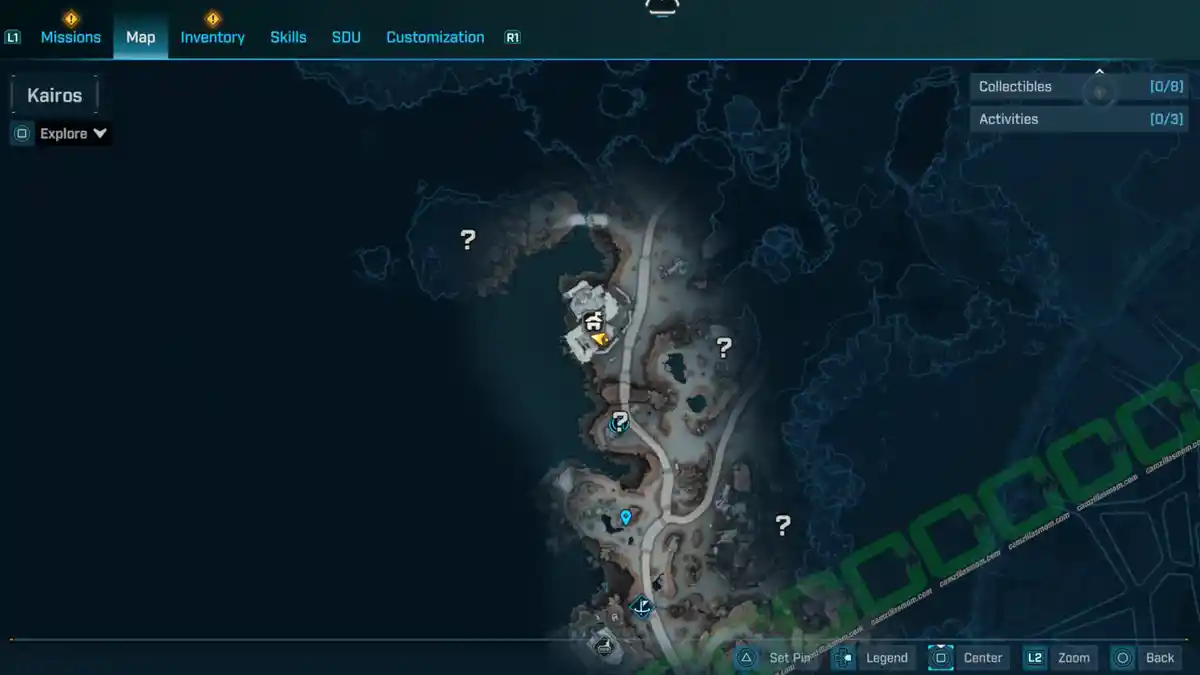
There are a total of three activities in Lopside.
Ancient Crawler:
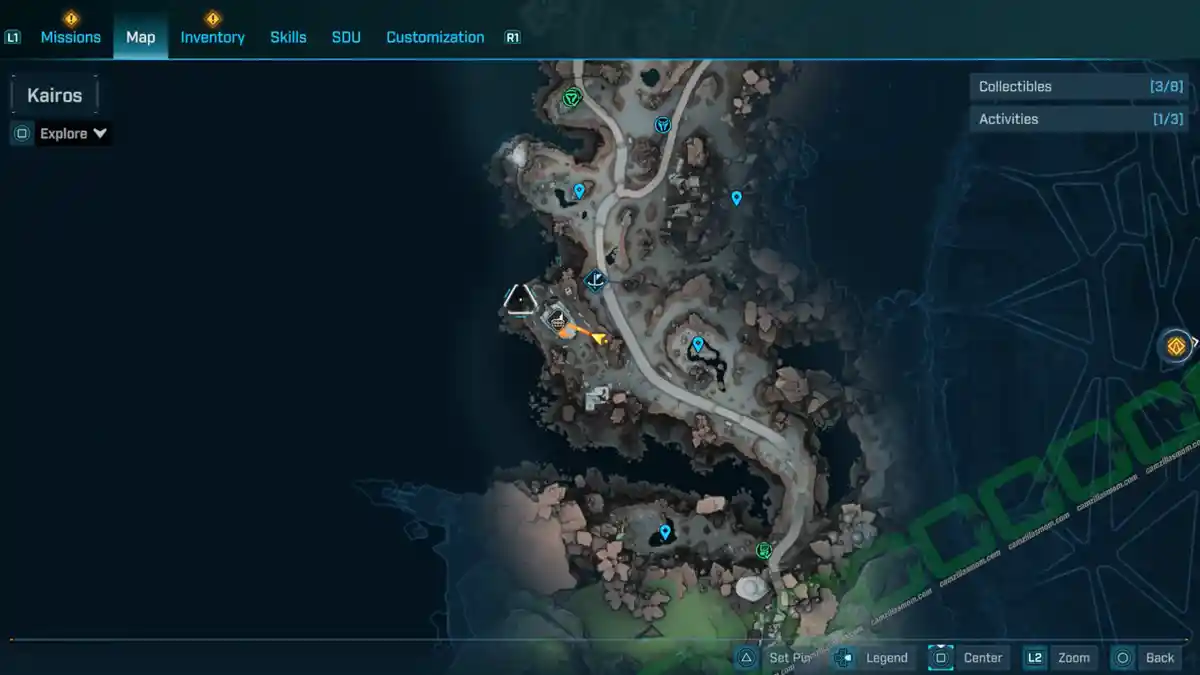
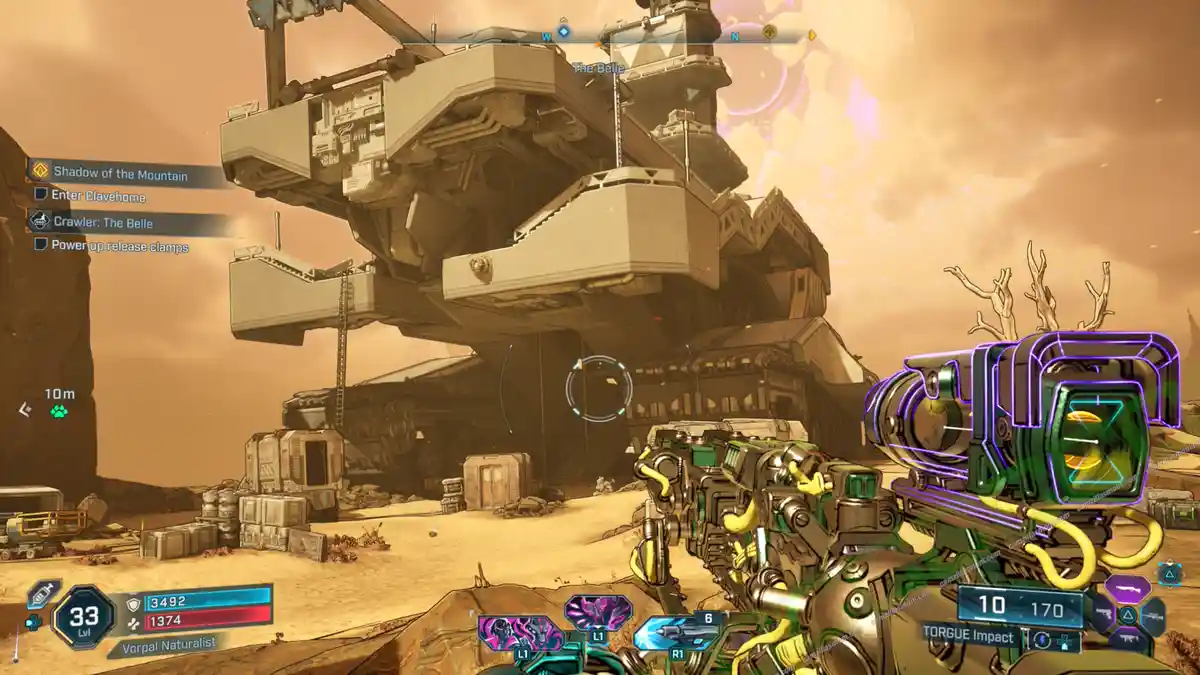
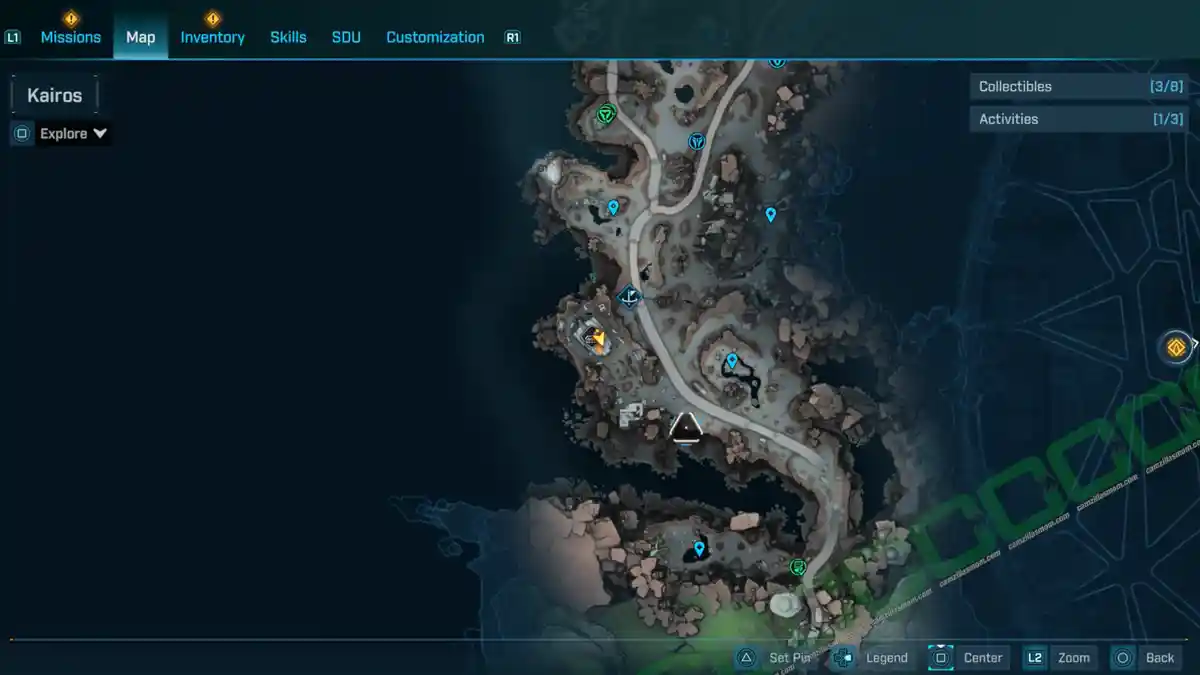
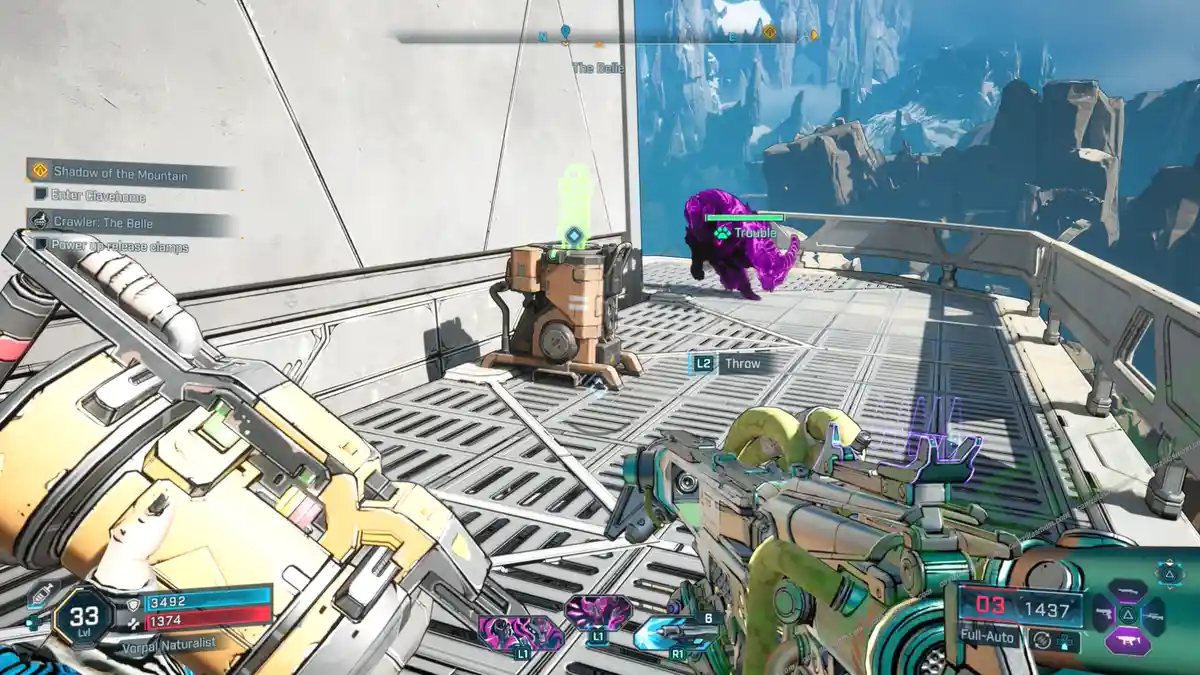
The Belle
-> Location: In the south of Lopside, west of Smackwater.
-> Completion Reward: Never Say DIY – Vehicle Cosmetic
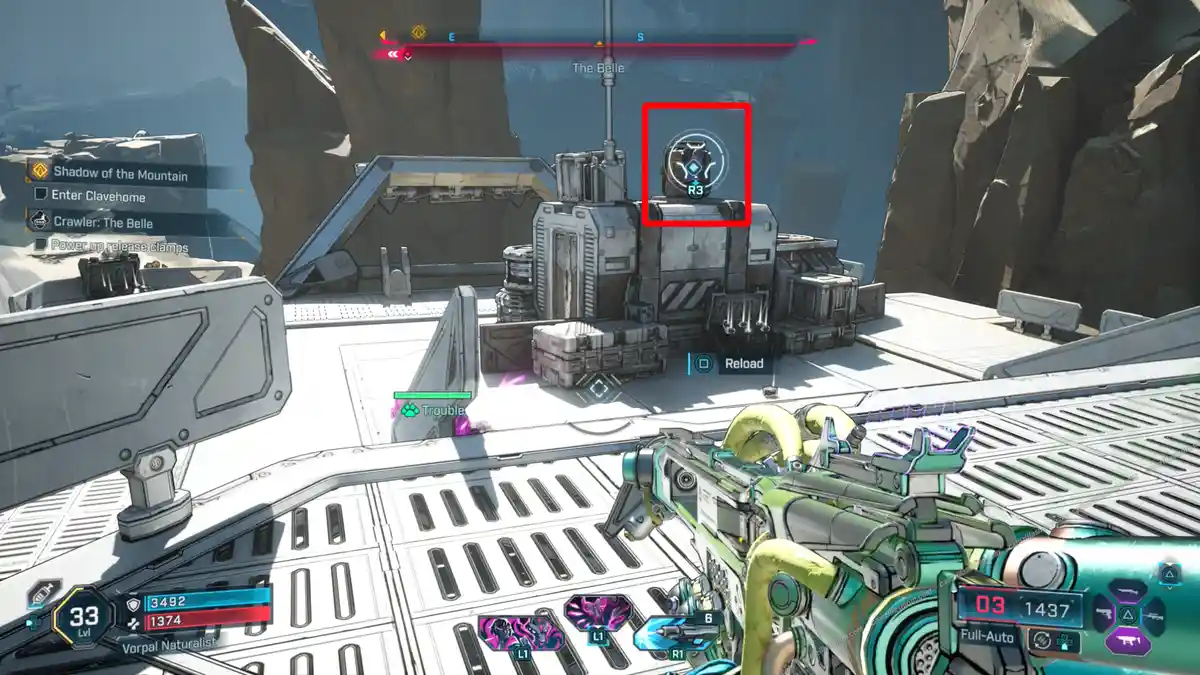
-> Power Core Location: The Power Core Dispenser is on the first Crawler Platform.
-> Deposit: At the top of the crawler. There are only ladders from here on. Throw the power core ahead to take it up there. As usual, the reward is behind the panel at the top of the crawler.
Ripper Drill Site: Tendercage
Enter the area of the Ripper Drill Site in the northeast of Lopside through the mouth of a skeleton animal and defeat Pango and Bango.
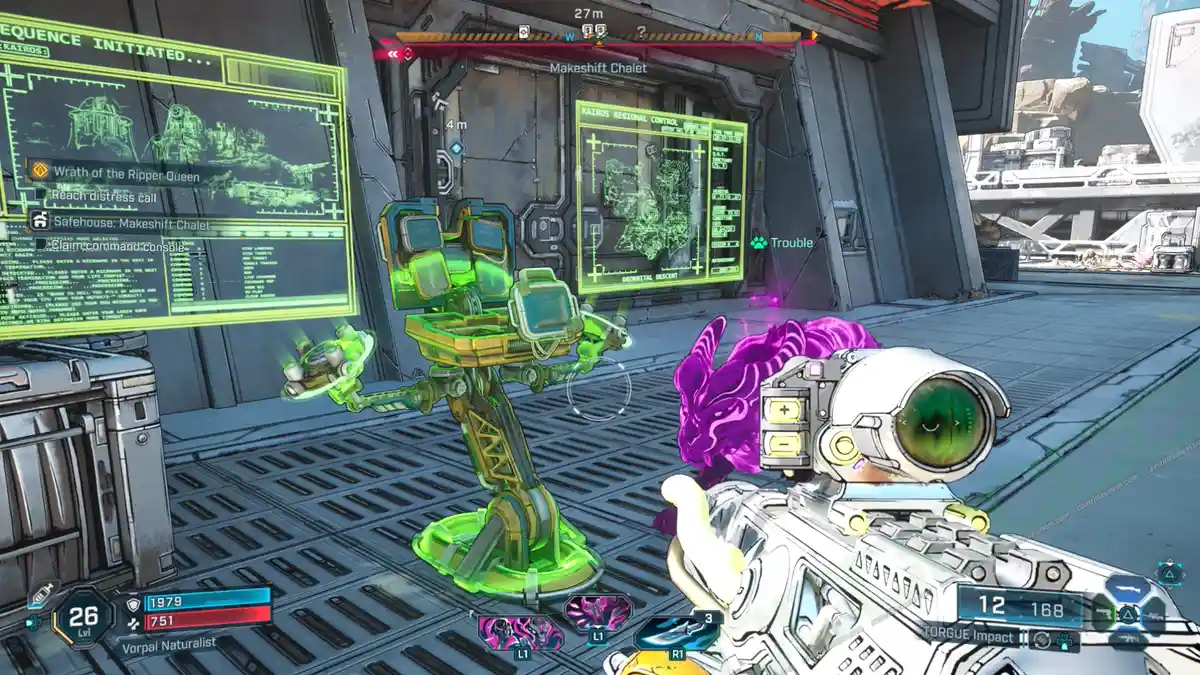
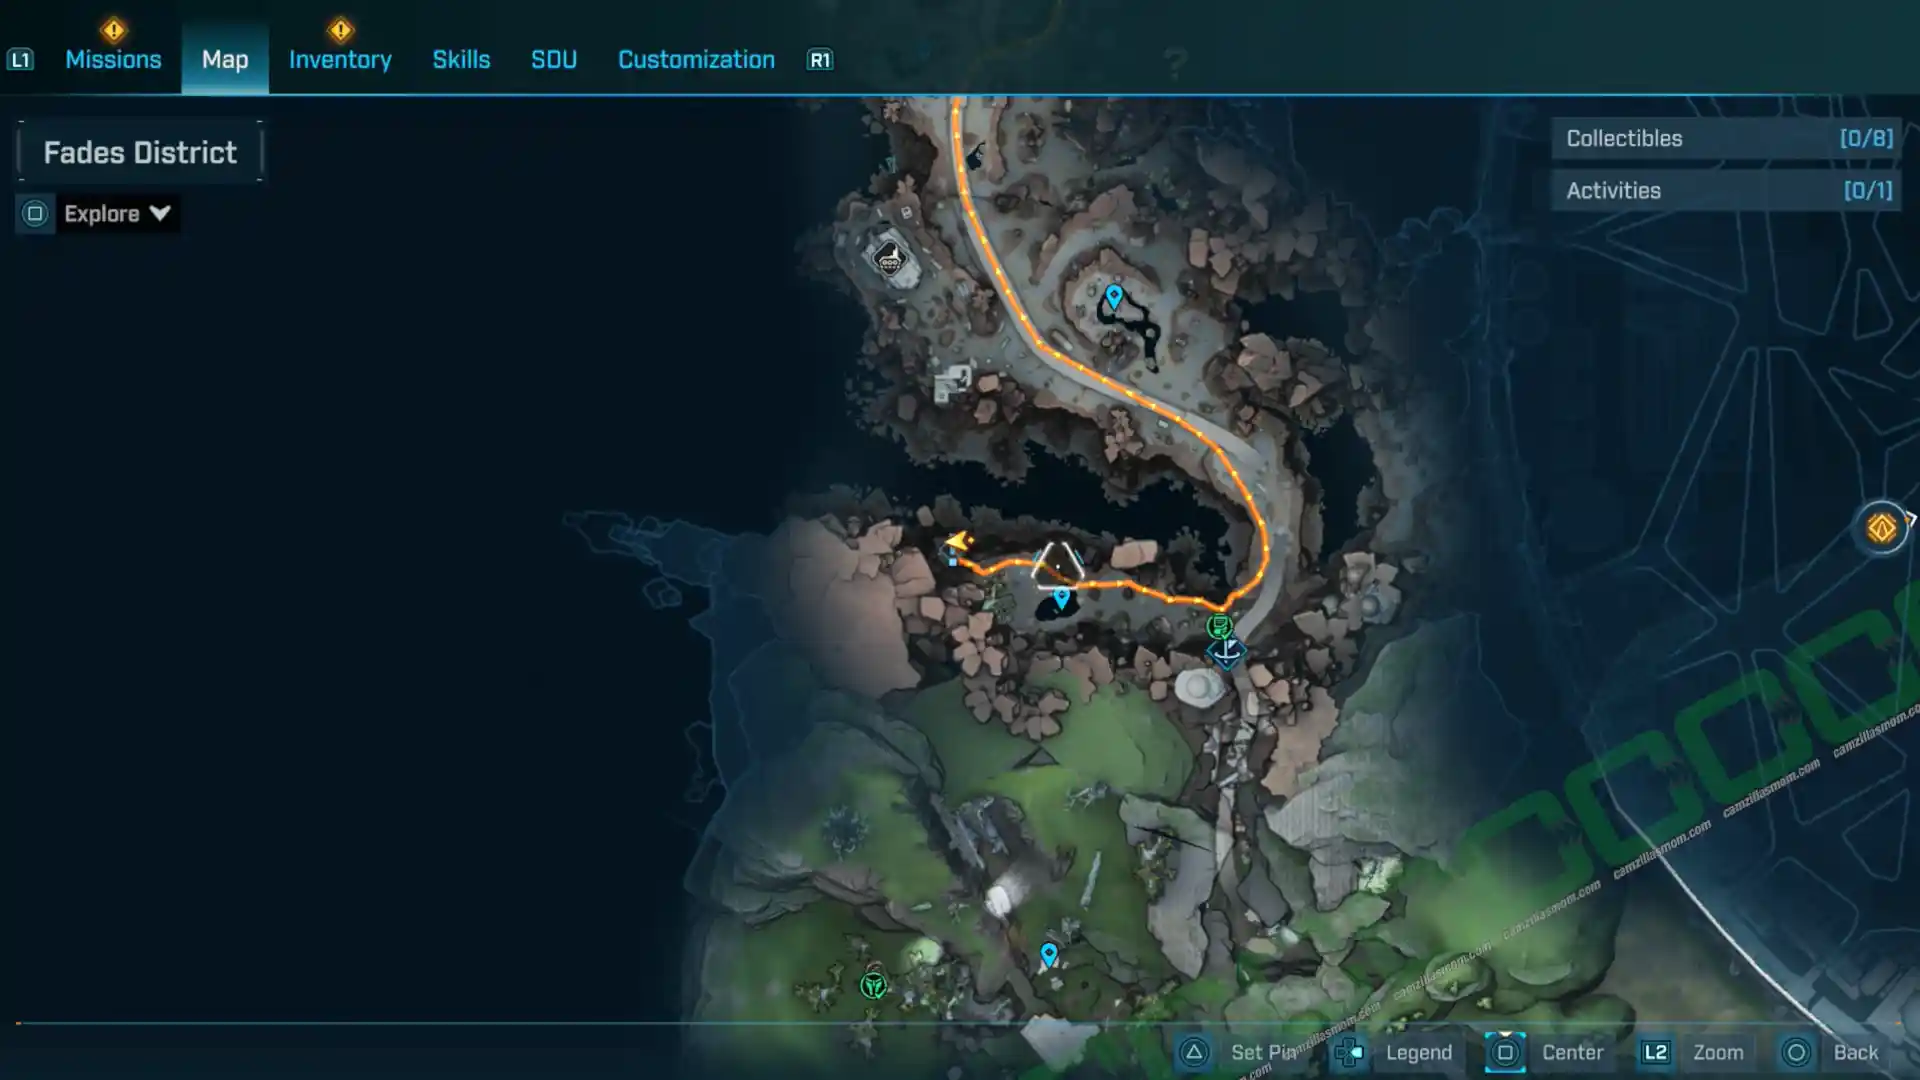
Safe House: Makeshift Chalet
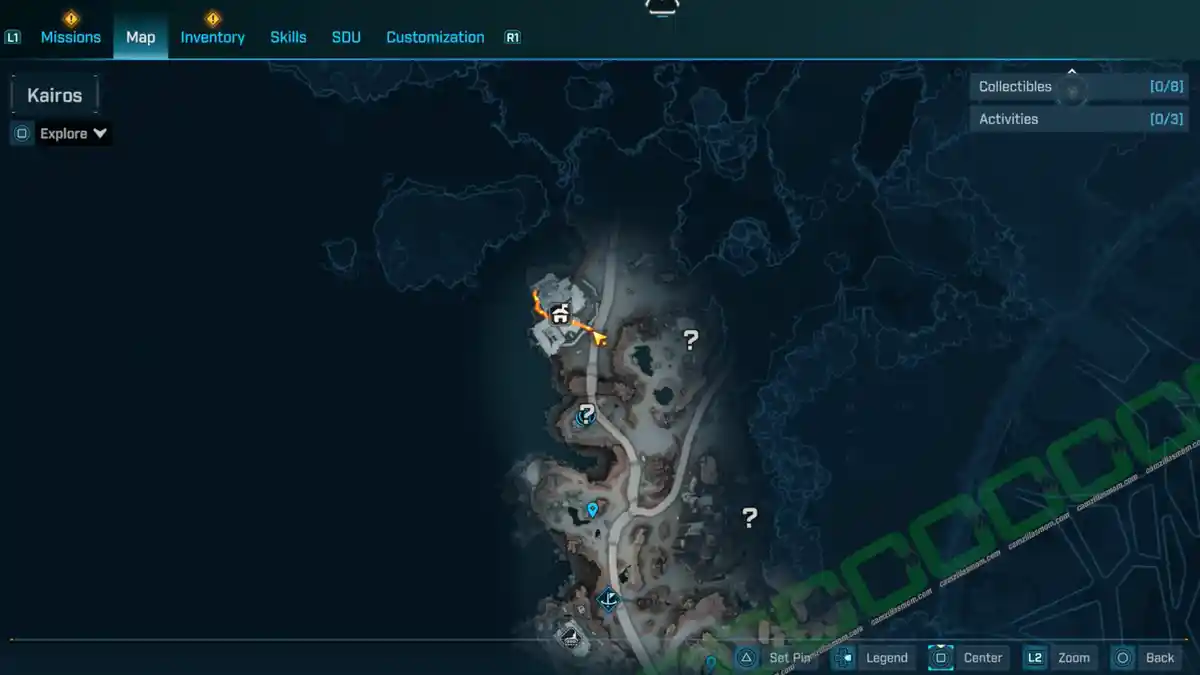
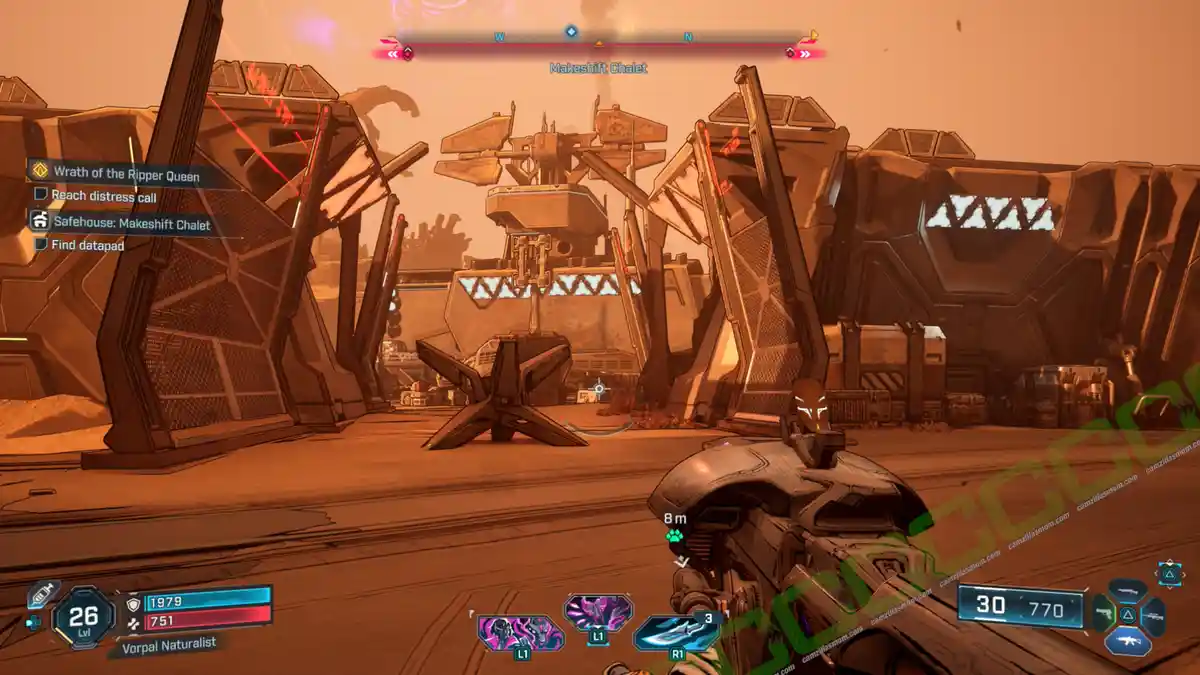
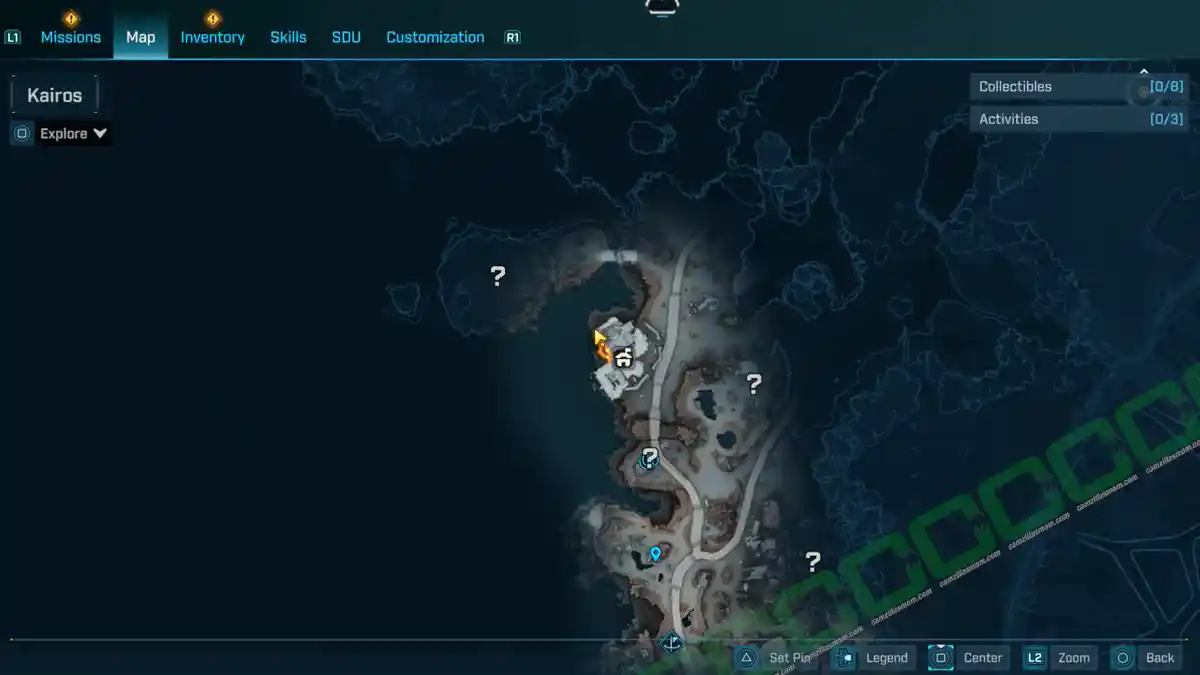
The Safe House: Makeshift Chalet is in the northwest of the Lopside region. It is a fort with an open gate, initially owned by the Order.
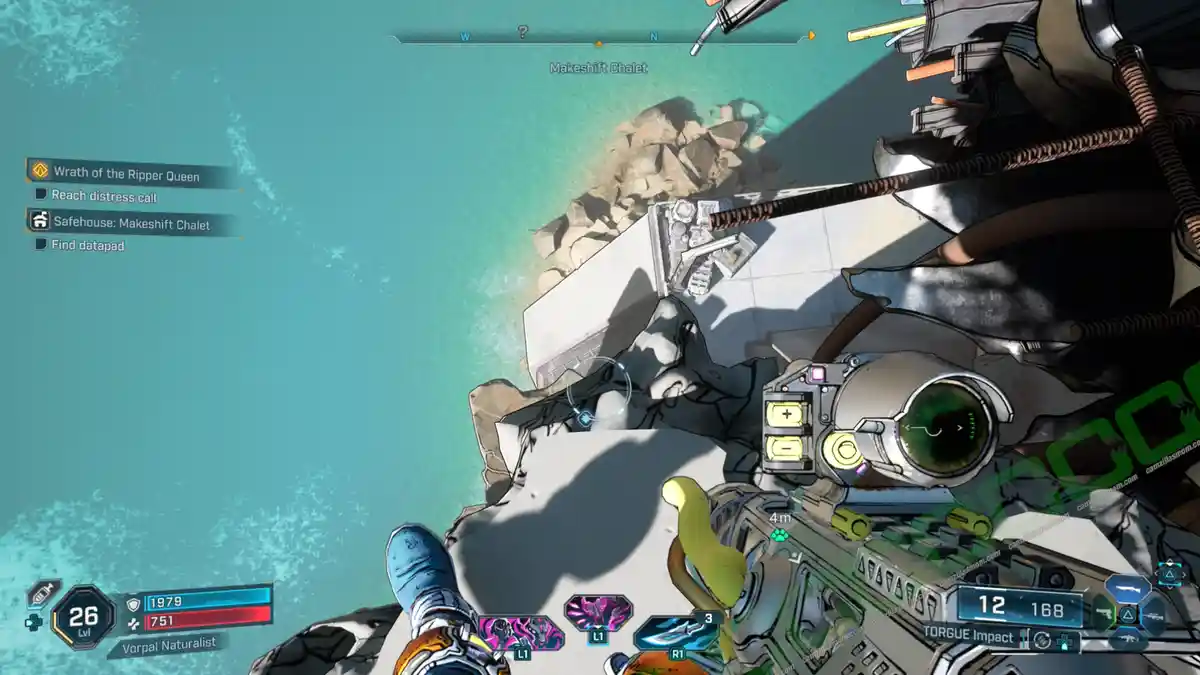
The Datapad fell down to a ledge on the northwestern side. Jump down to retrieve it. There is also a grapple and a metal wall you can use to get back up.
The capture terminal is outside of the intact building, not the one where you’ve retrieved the datapad from.
Side Missions
Side Missions at Lopside.
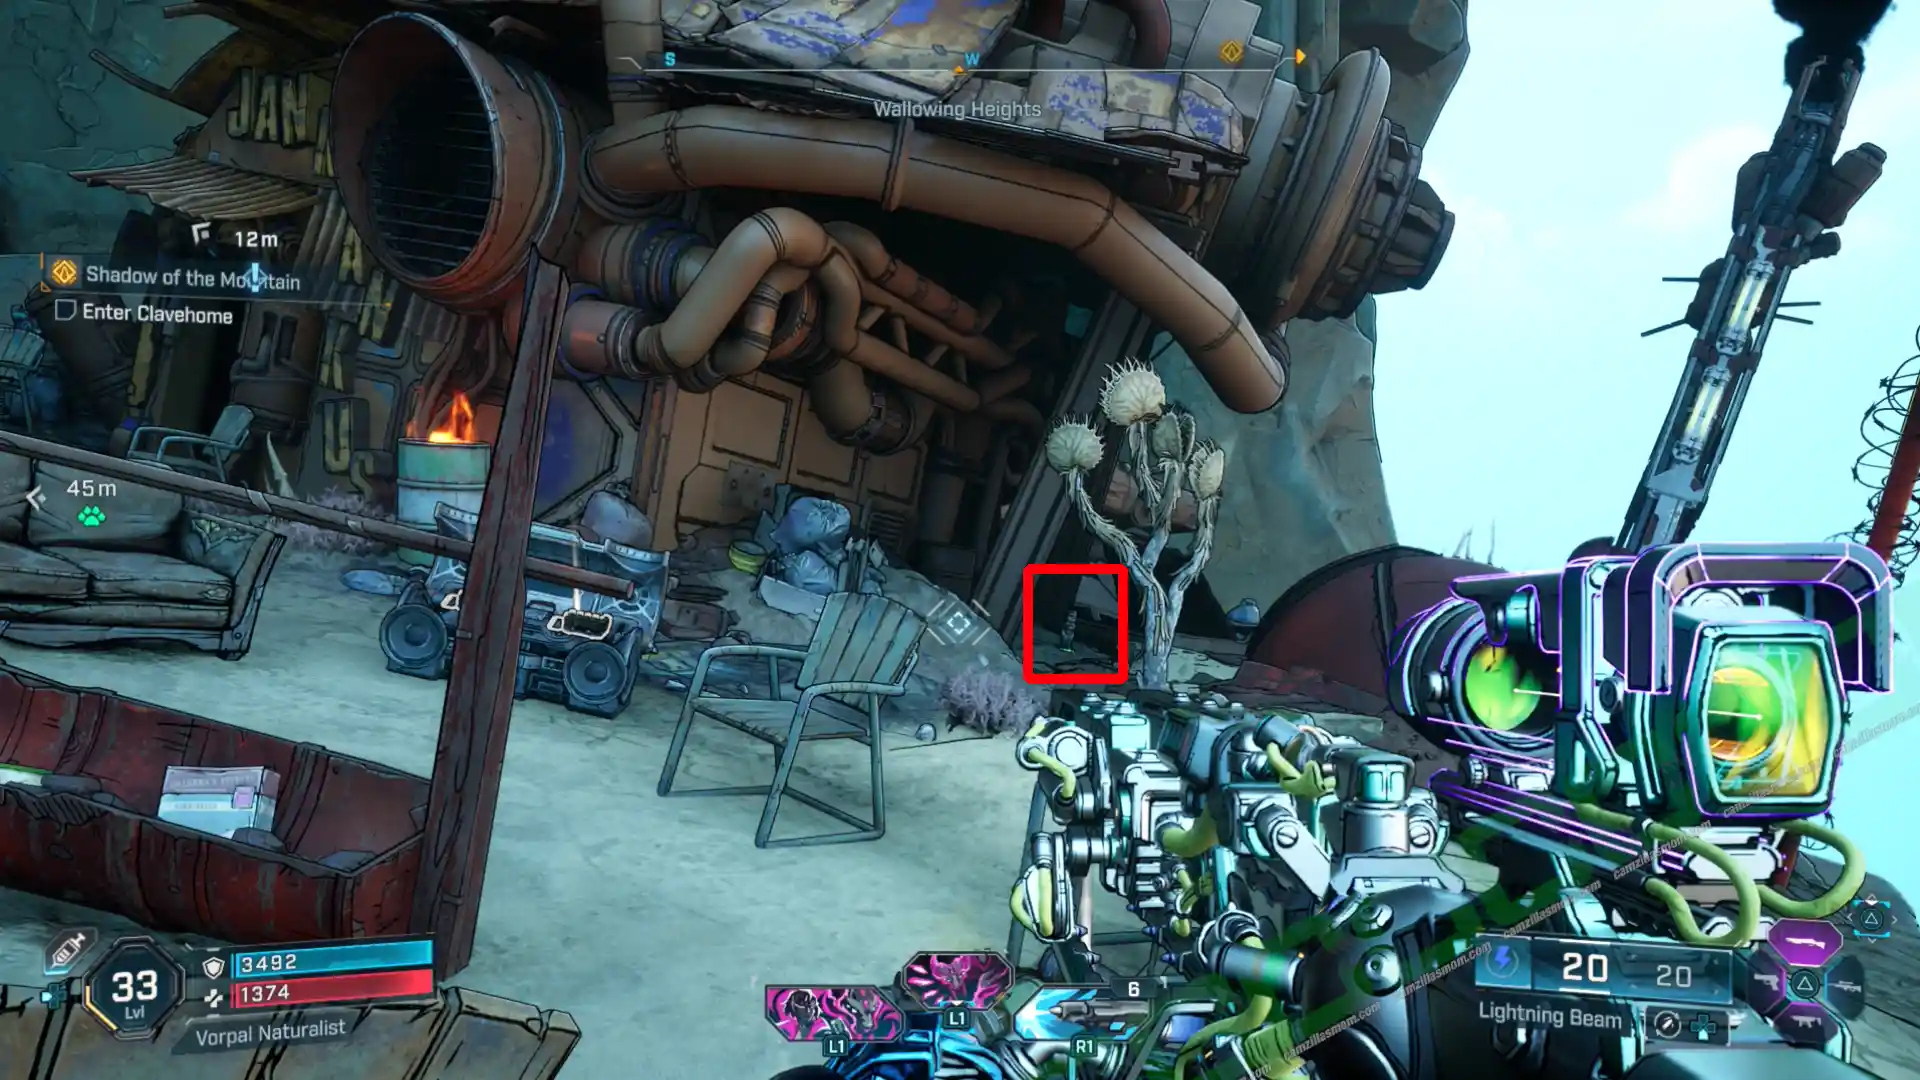
Imminent Jest
Side Mission Start:
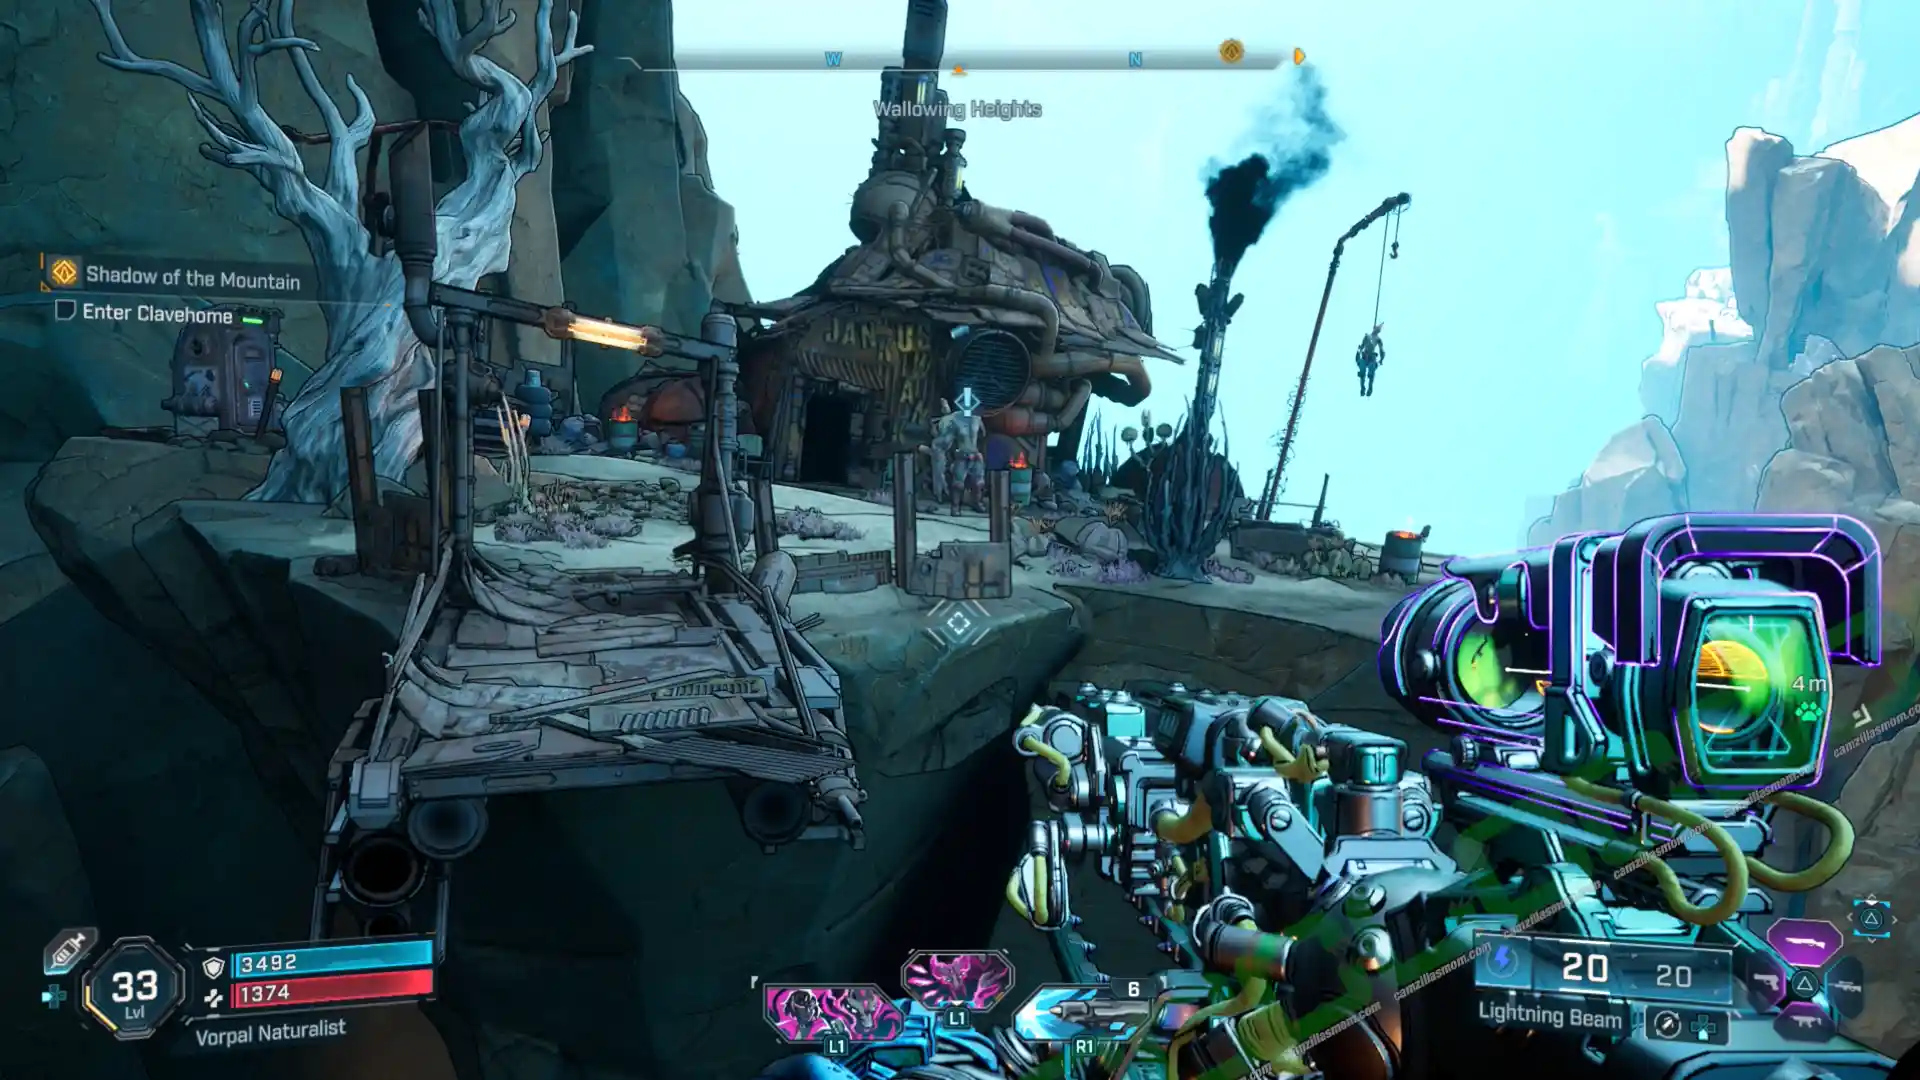
South of Lopside, West of Wallowing Heights
What it is about:
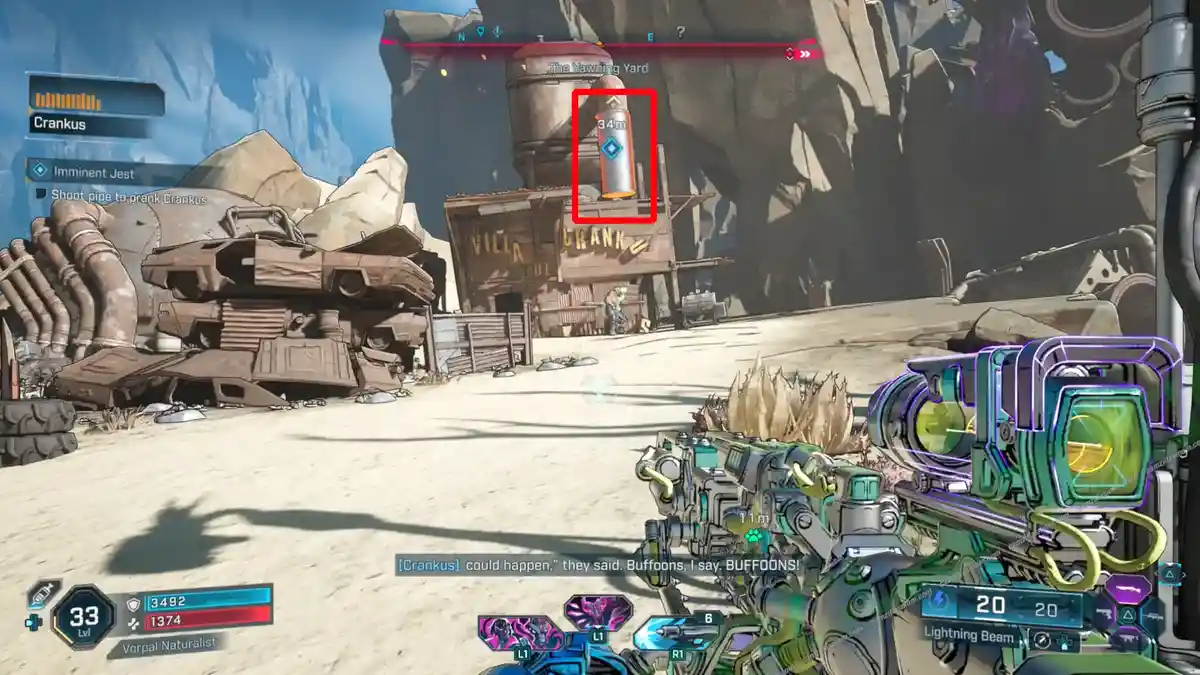
Jankus needs help pranking his brother, Crankus.
Side Mission Steps:
-> Shoot pipe to prank Crankus: He lives north, near The Yawning Yard.
-> Talk to Crankus: He’s standing below the burst pipe.
-> Sabotage Air Conditioner: Drive north and pull the lever at the shed’s air conditioner.
-> Talk to Crankus: Return to his house and take care of the two.
Potty Mouth
Side Mission Start:
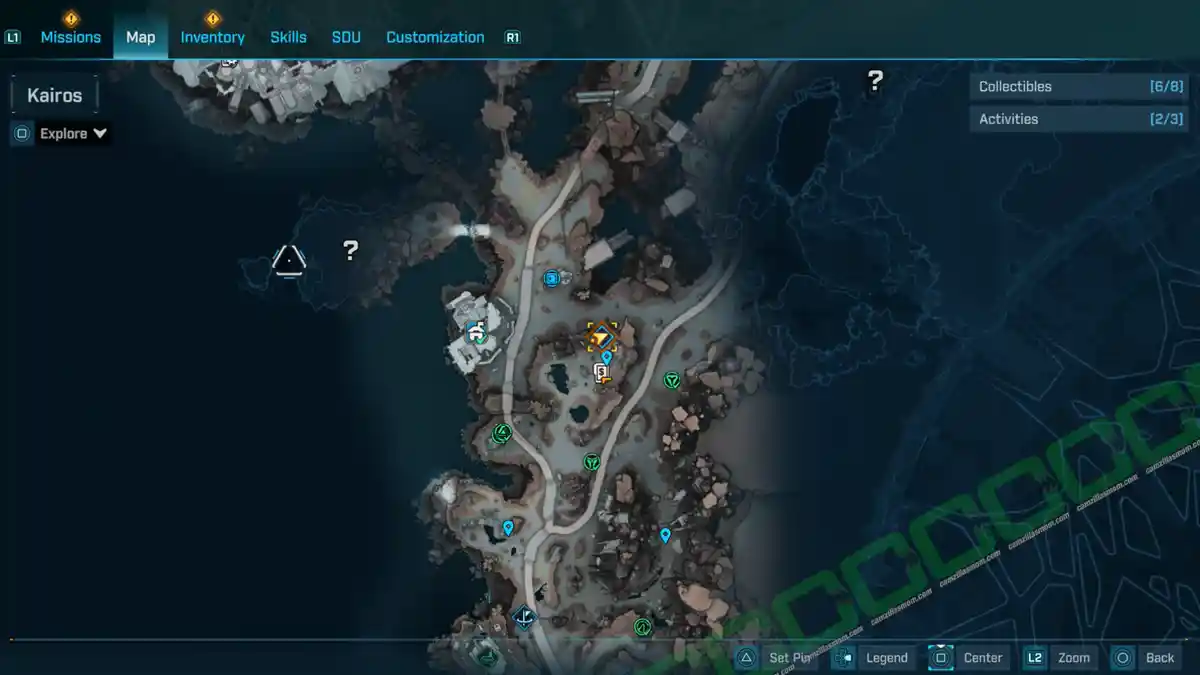
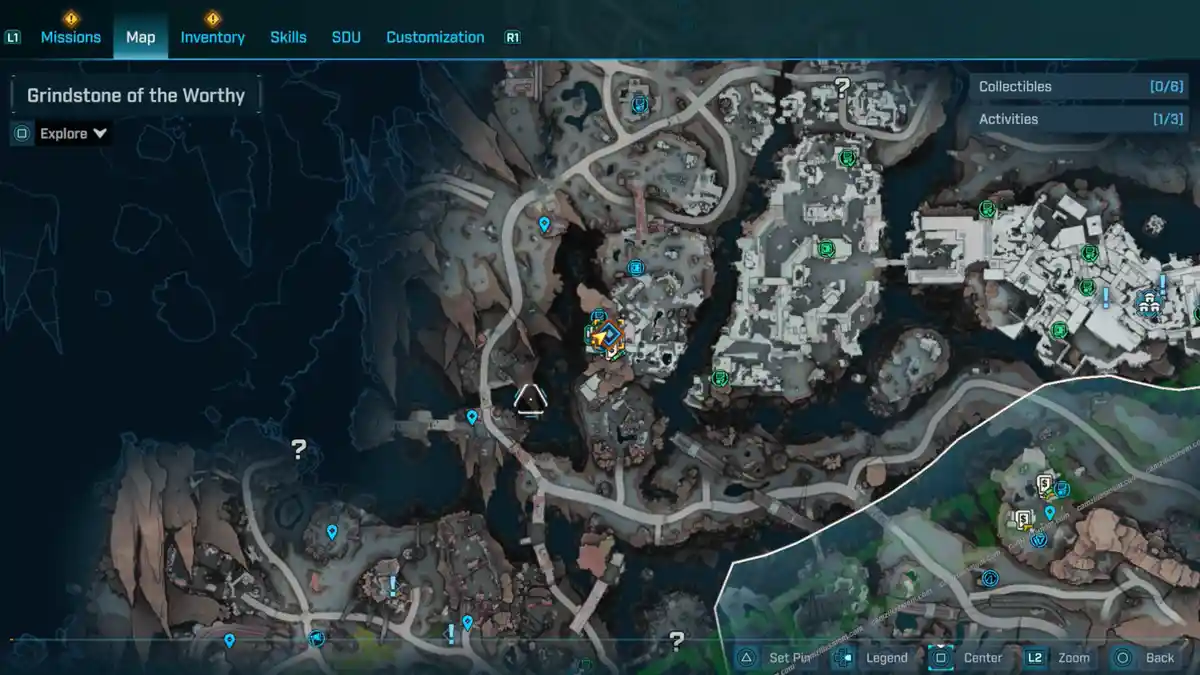
North of Lopside at Embracer’s Bluff
What it is about:
GenIVIV needs help with a new body.
Side Mission Steps:
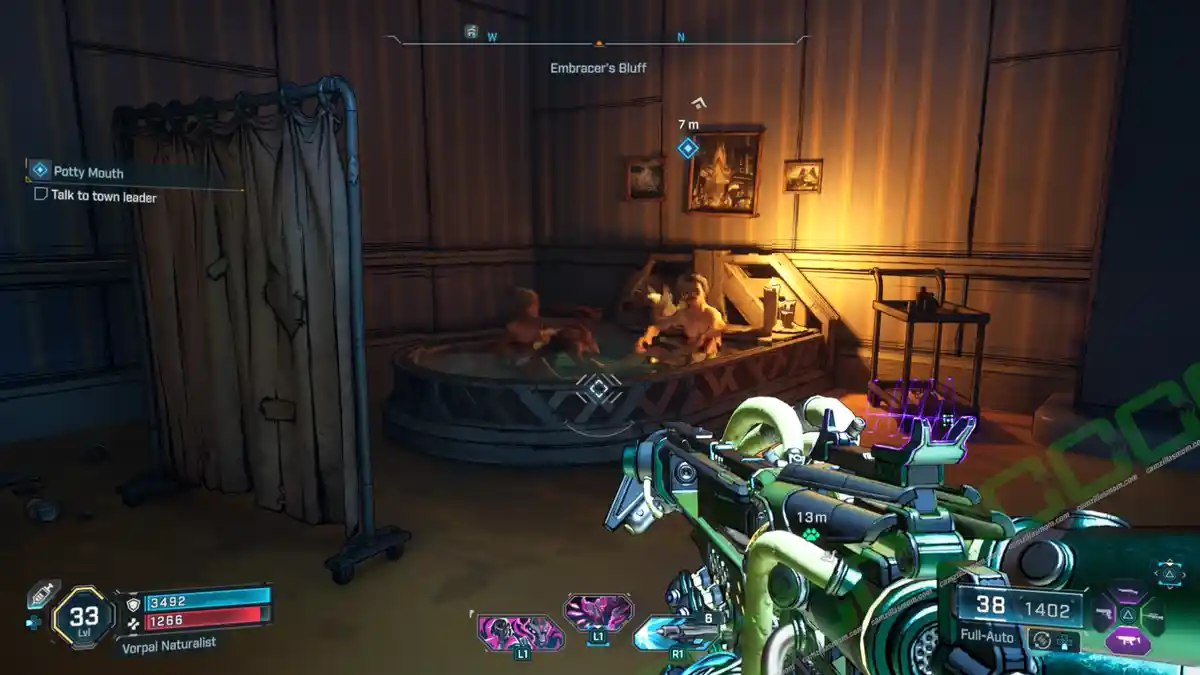
-> Talk to Town Leader: He’s in the “King” house.
-> Talk to Town Leader: He’s in the “King” house.
-> Talk to Claptrap: He has arrived at the ground floor.
-> Flush GenIVIV out: Flush the toilet.
-> Do something else: Use the crank on the side.
-> Smack Claptrap: Melee attack him.
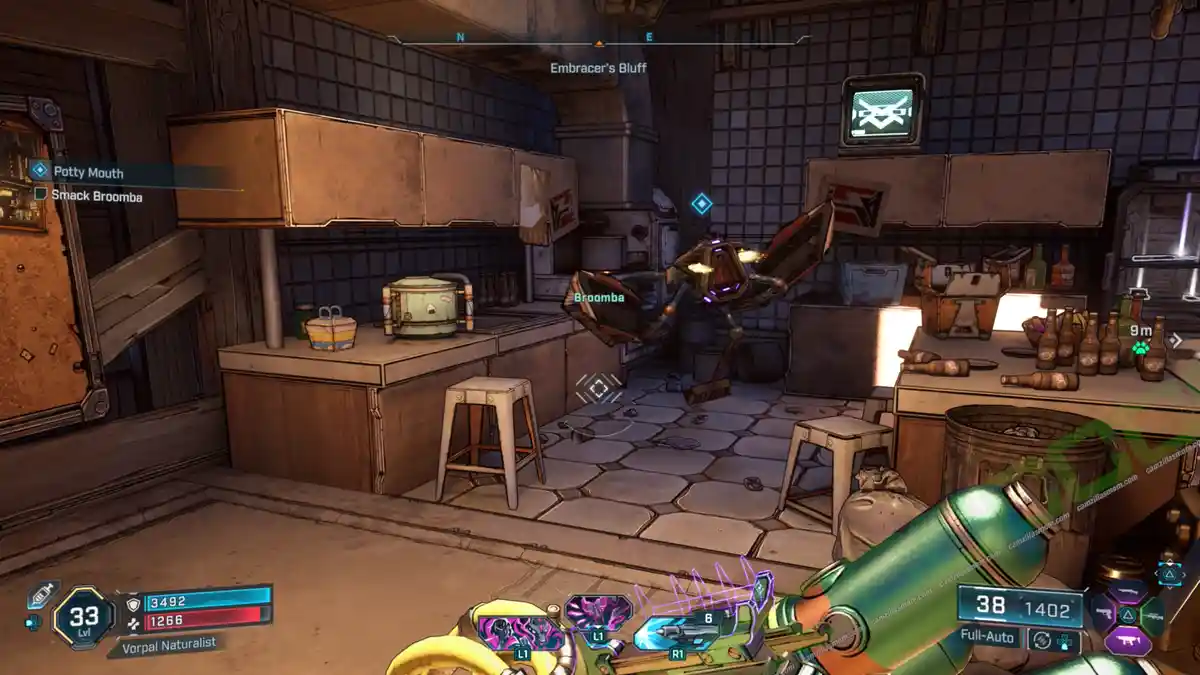
-> Find new container for GenIVIV: Look for Brooma in the “King” House.
-> Smack Brooma: Melee attack them.
-> Pick up Brooma: “A dirty robot maid” falls on the floor.
-> Place Brooma: Near the toilet – area is marked.
-> Slap GenIVIV really hard: Melee attack her.
-> Pick up GenIVIV: The robot on the floor.
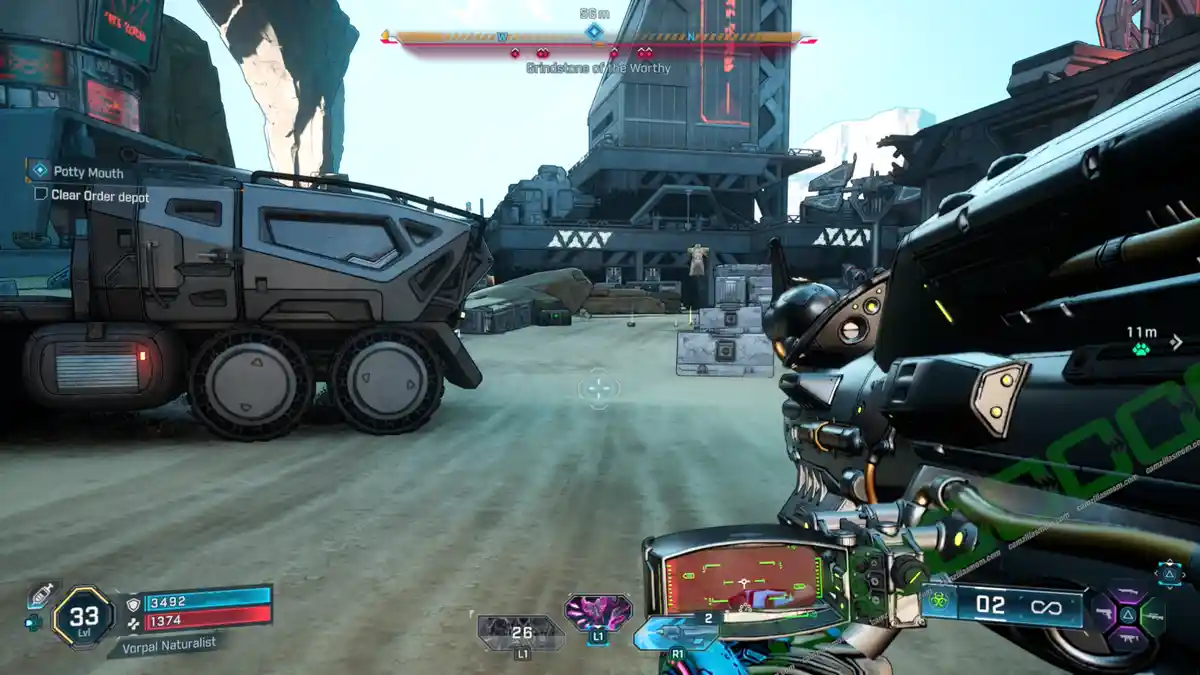
-> Find Order depot: In the Grindsone of the Worthy region.
-> Clear the Order Depot
-> Put GenIVIV down: Location is marked in green.
-> Search Order Depot: Open the marked door.
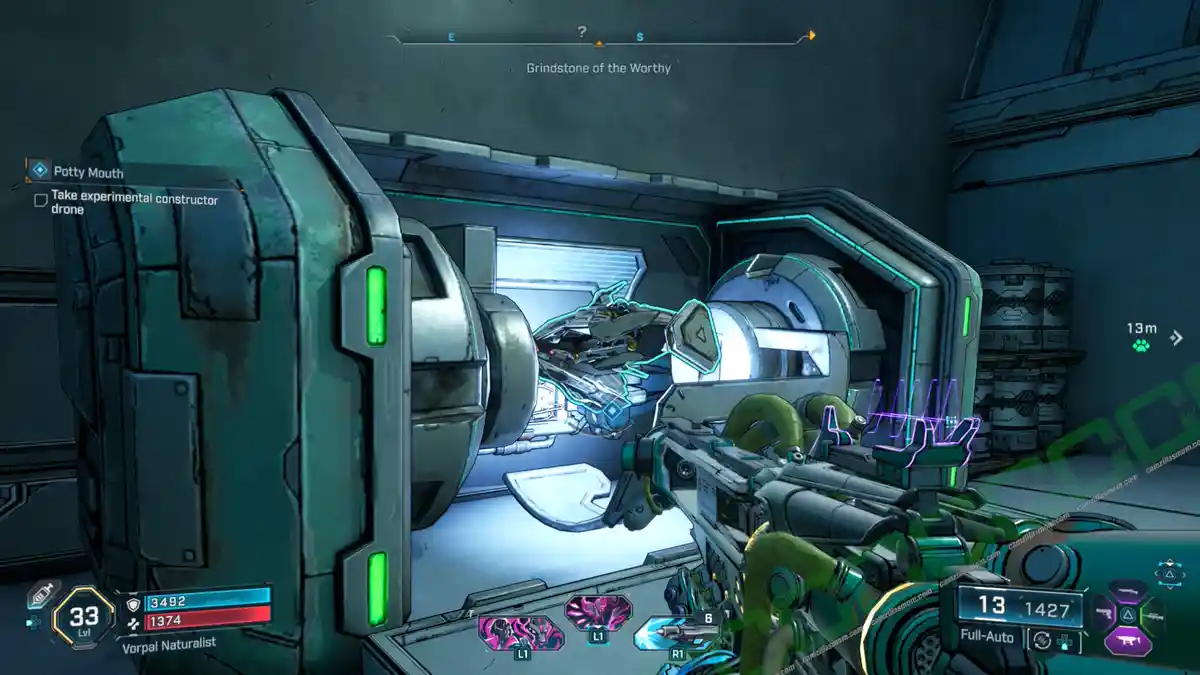
-> Find new body for GenIVIV: Open the experimental model closet.
-> Pickup and place constructor bot: Outside at the marked location.
-> Defeat counterattack: The Order attacks again.
-> Find Rippers: Just north of the Order depot.
-> Help GenIVIV kill rippers: Just follow GenIVIV
-> Put an end to GenIVIV: We all knew where this was going…
-> Collect GenIVIV’s core: From the floor, after her defeat.
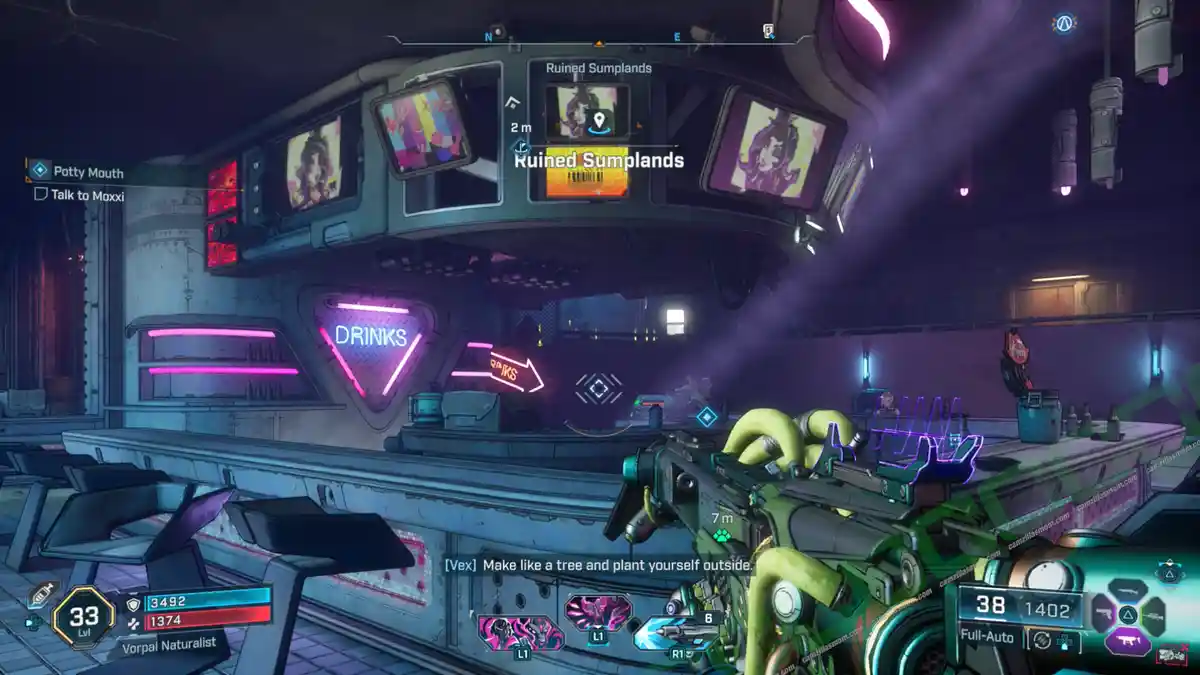
-> Reach Moxxi’s bar, talk to Moxxi: At Ruined Sumplands. There is fast travel.
-> Choose what to do with GenIVIV: Destroy forever/Jukebox.
-> Talk to Claptrap: He’s outside to finish the mission.
Borderlands 4
Release: September 12, 2025
Developer: Gearbox Software
Publisher: 2K Games
Official Website: https://borderlands.2k.com/borderlands-4/
