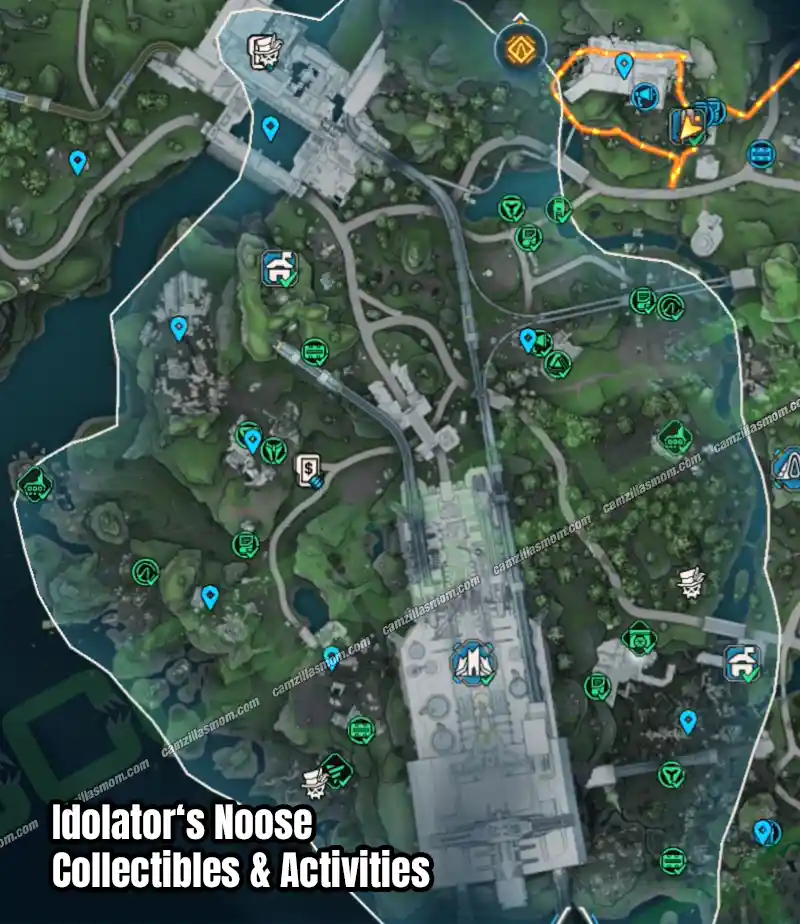
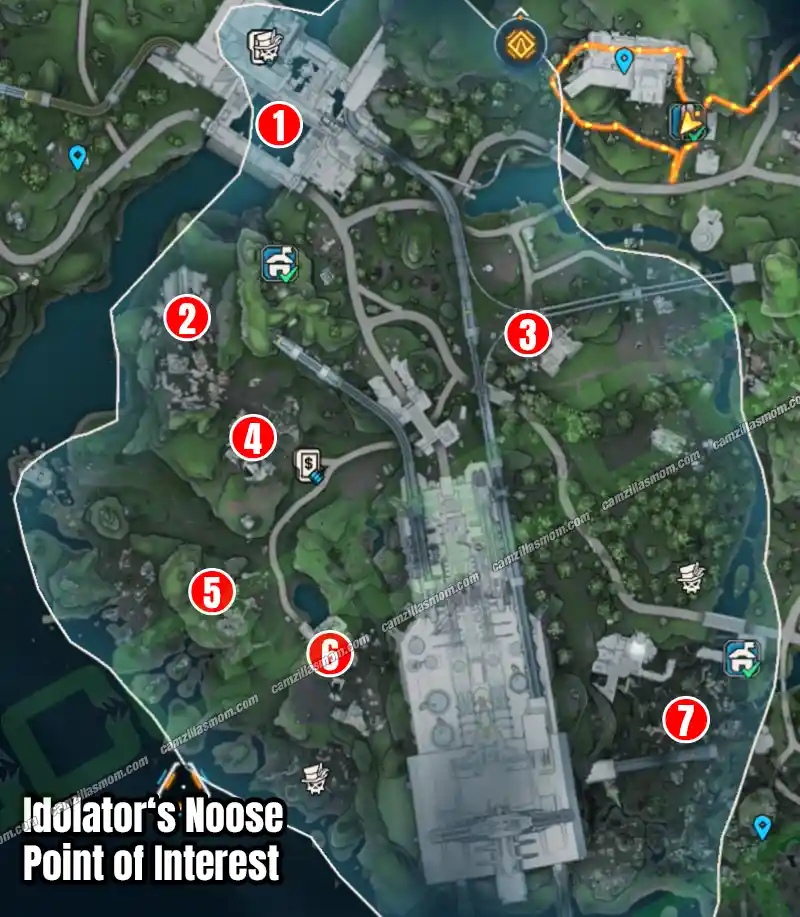
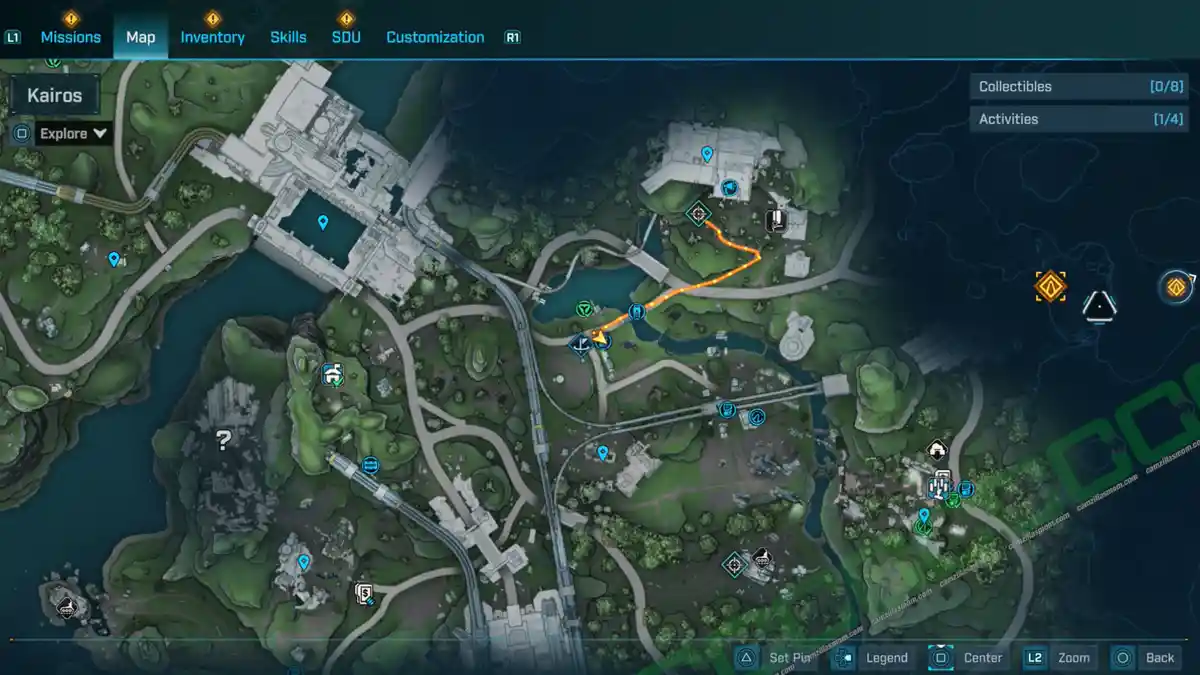
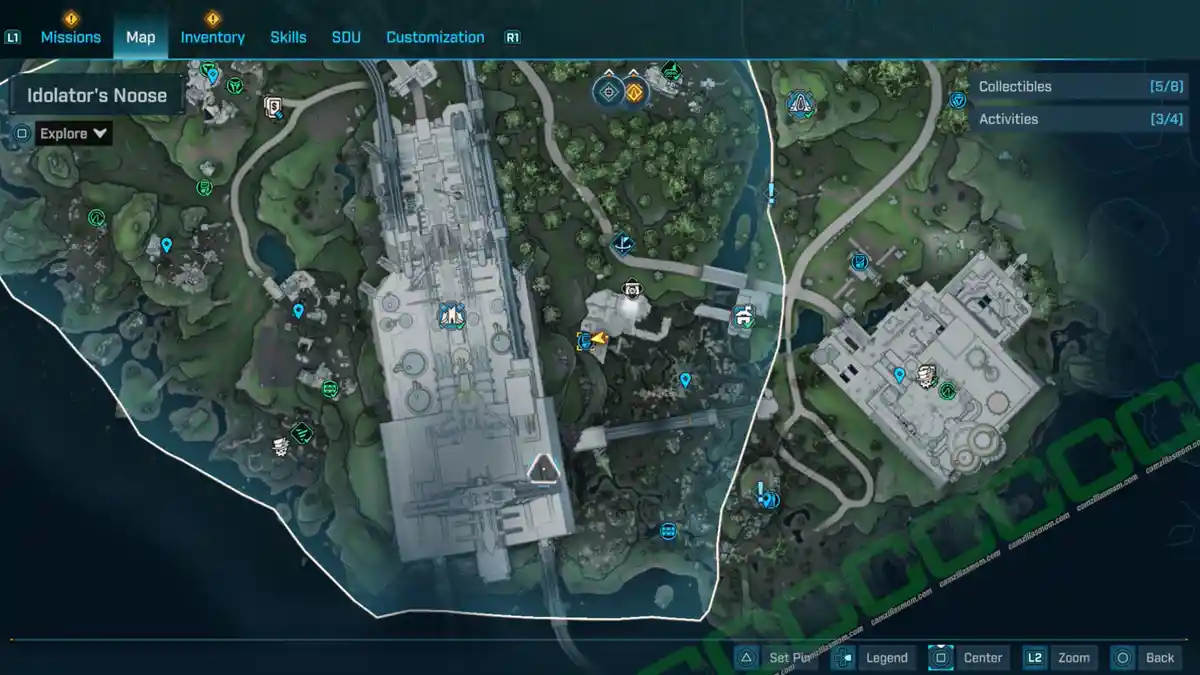
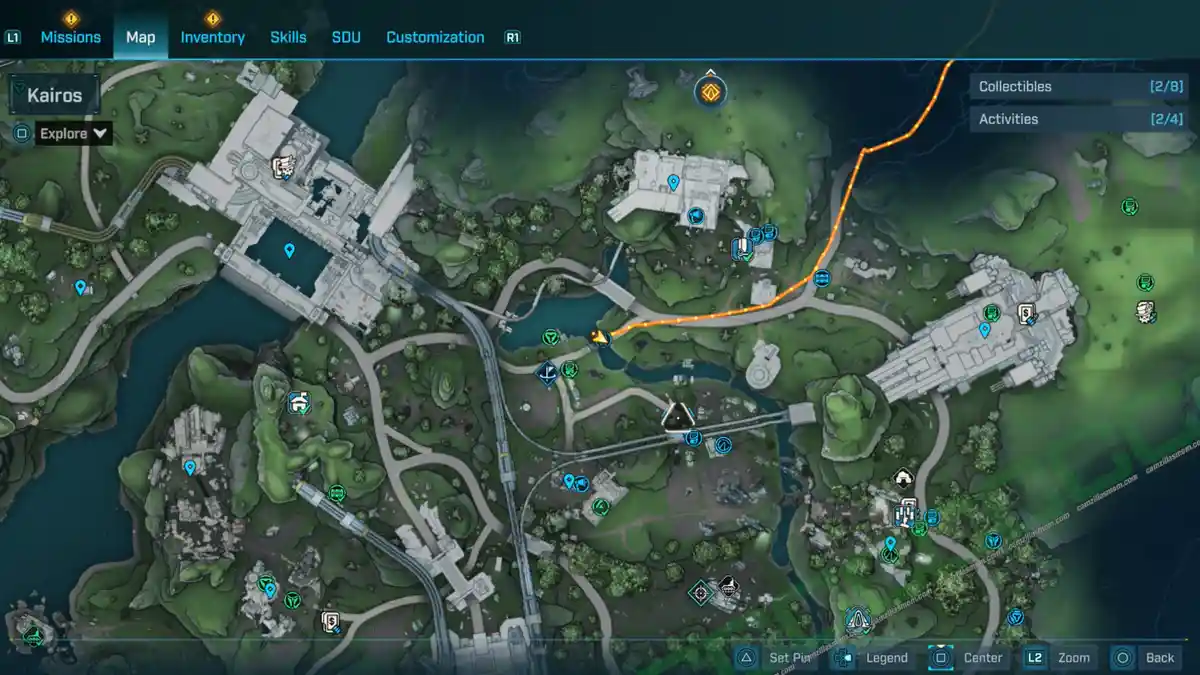
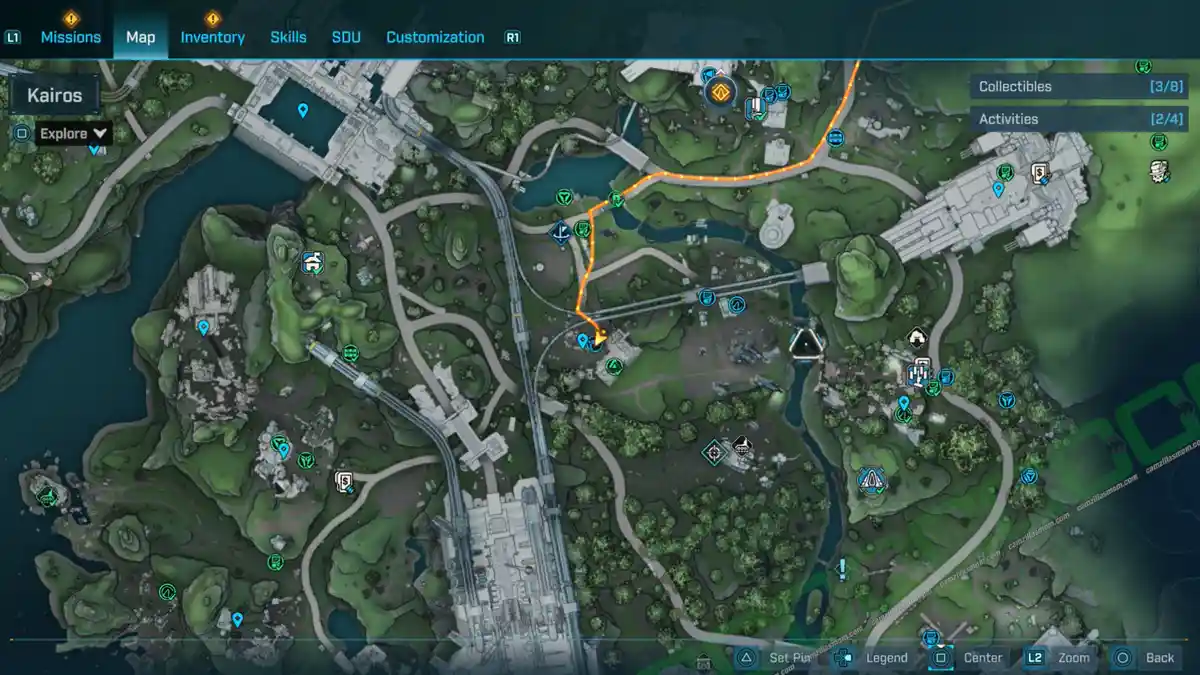
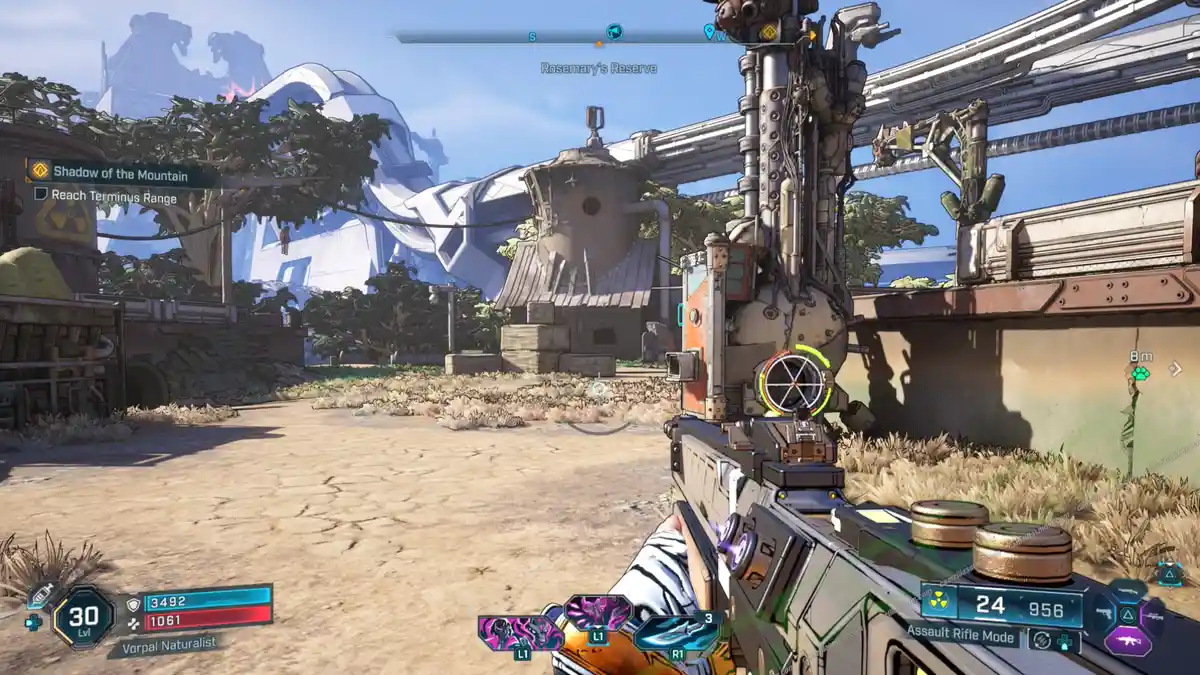
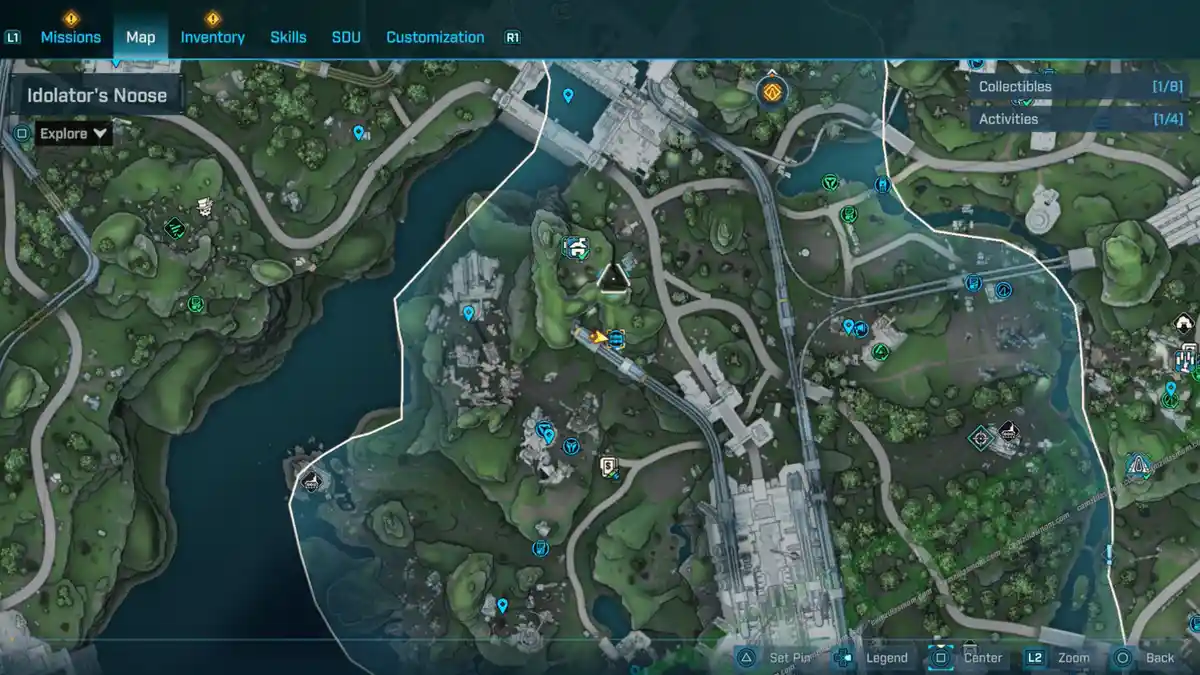
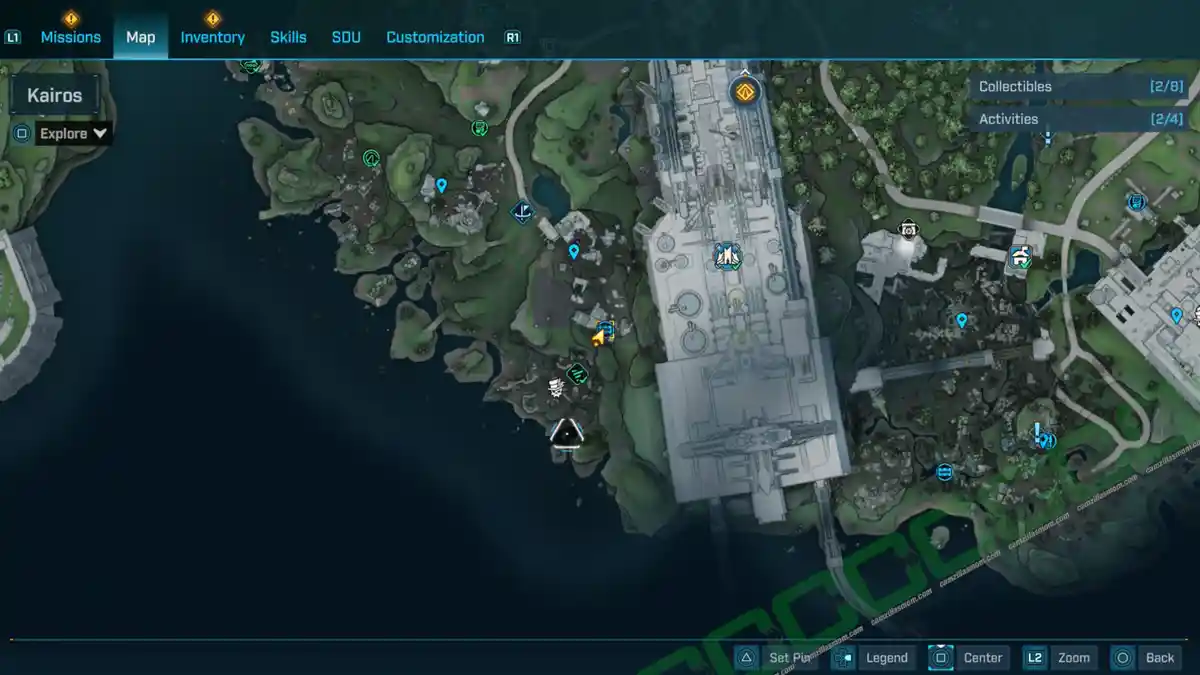
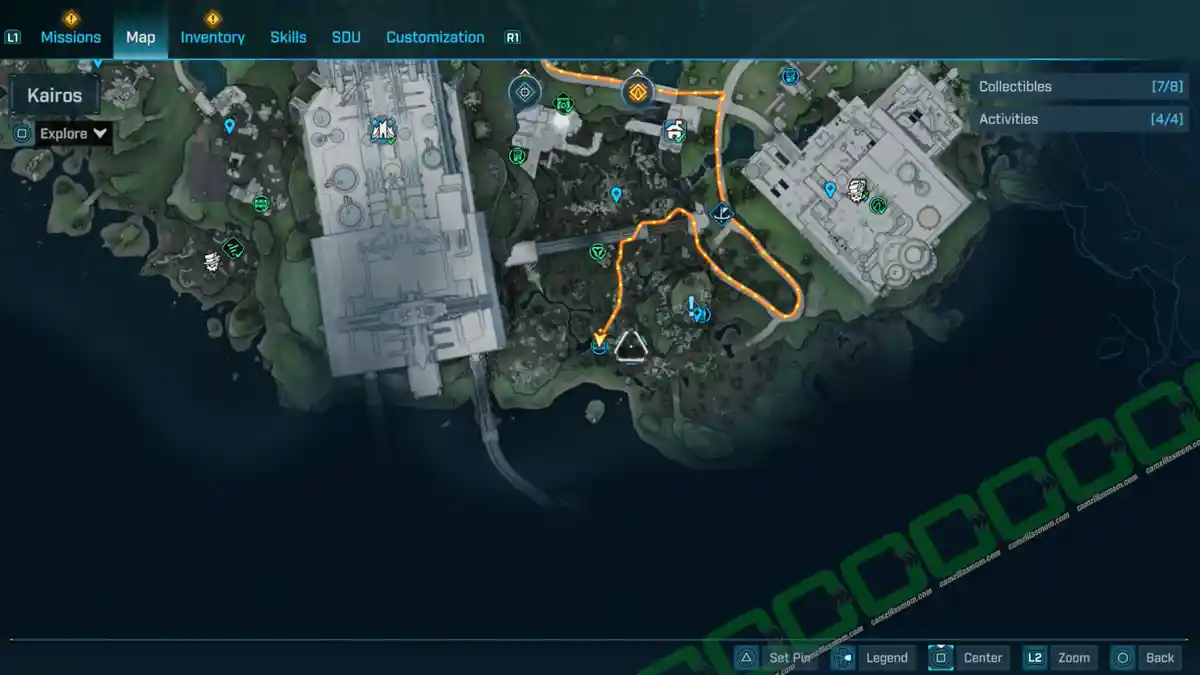
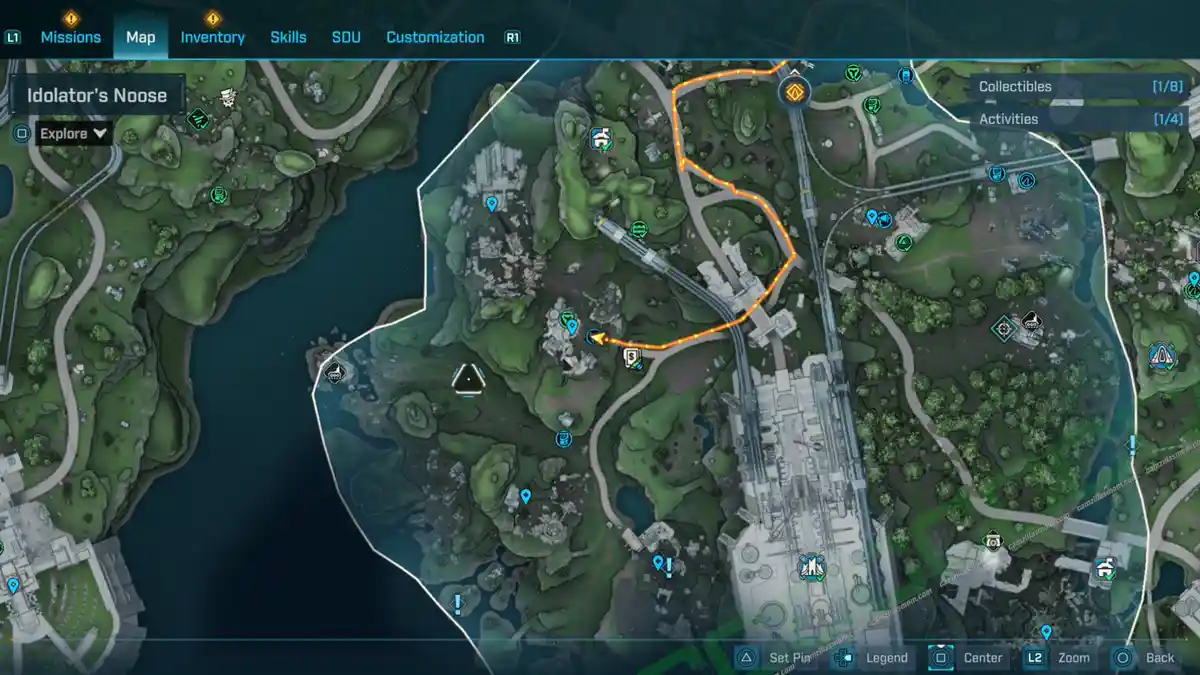
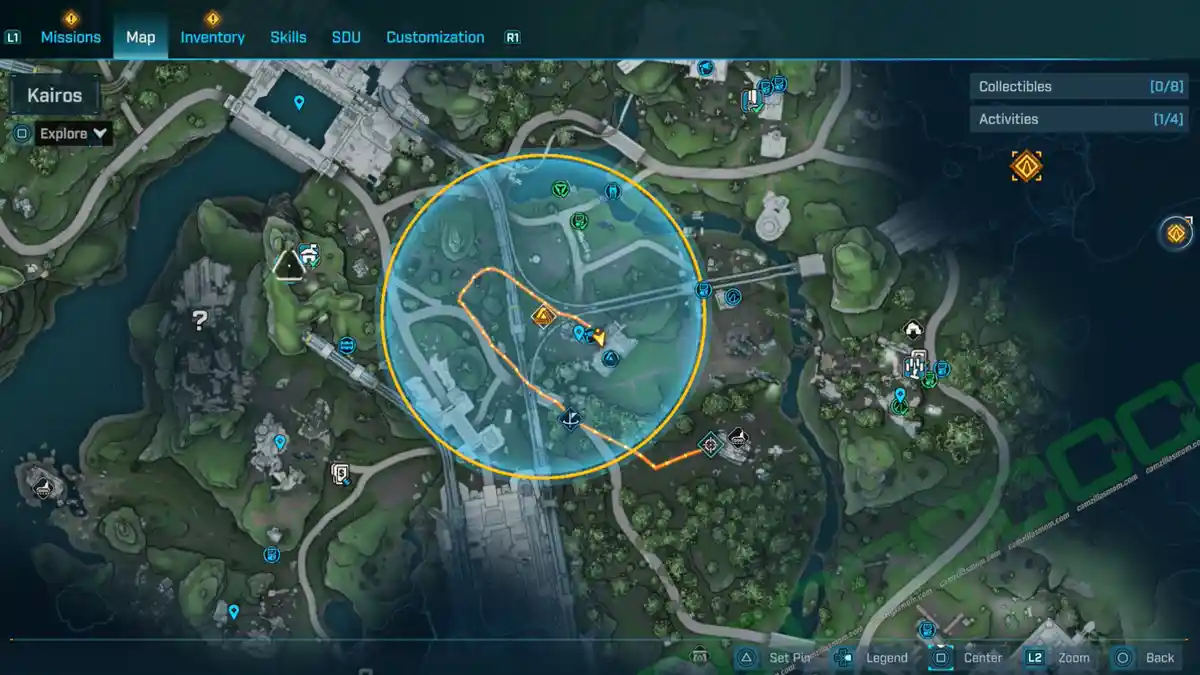
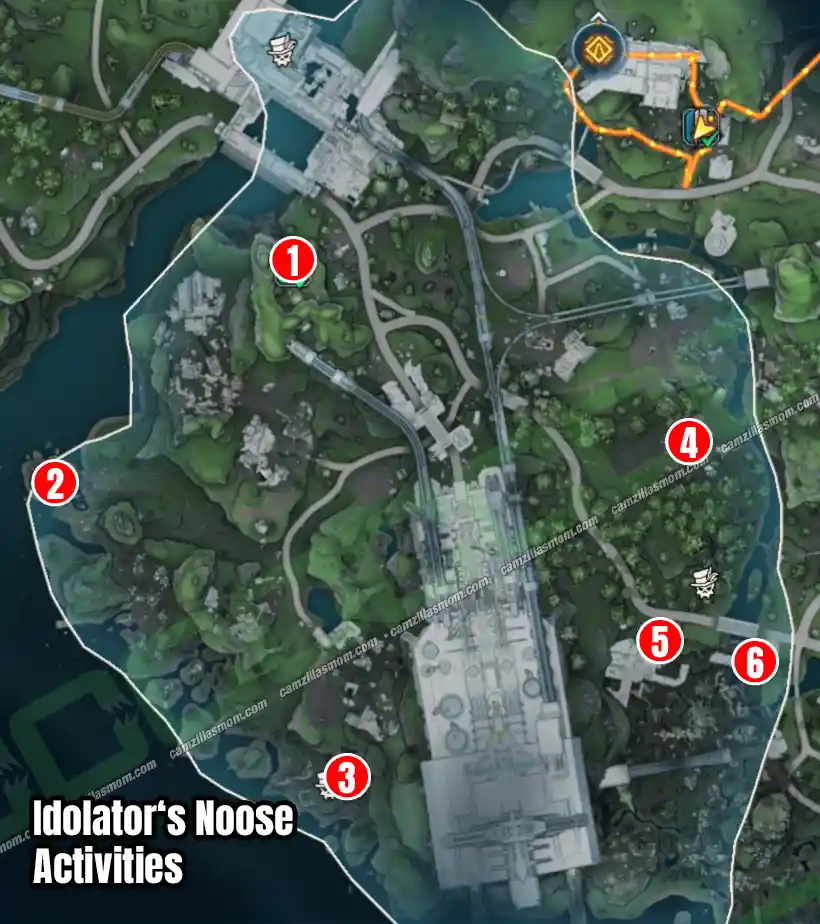
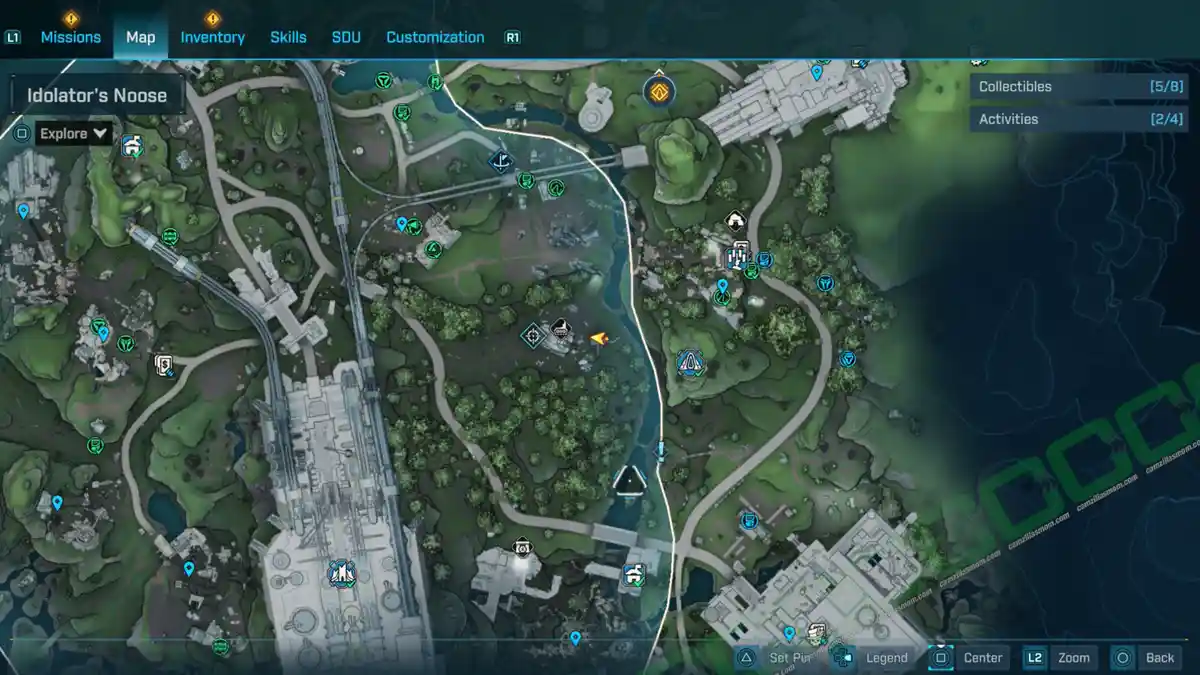
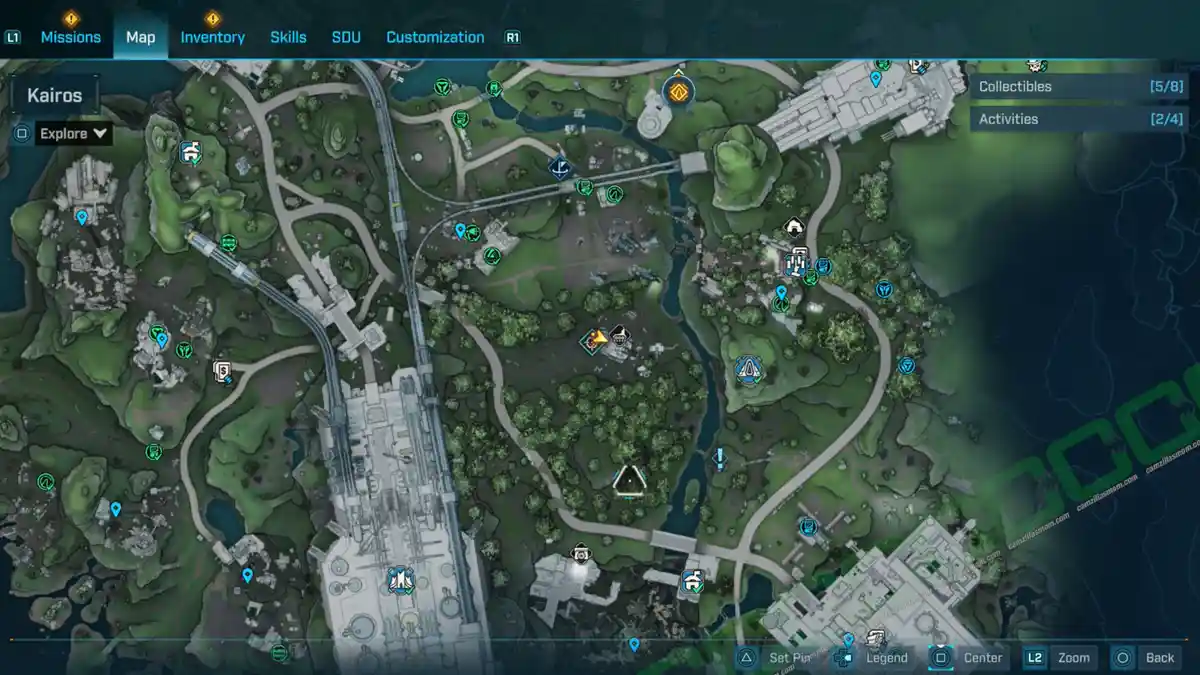
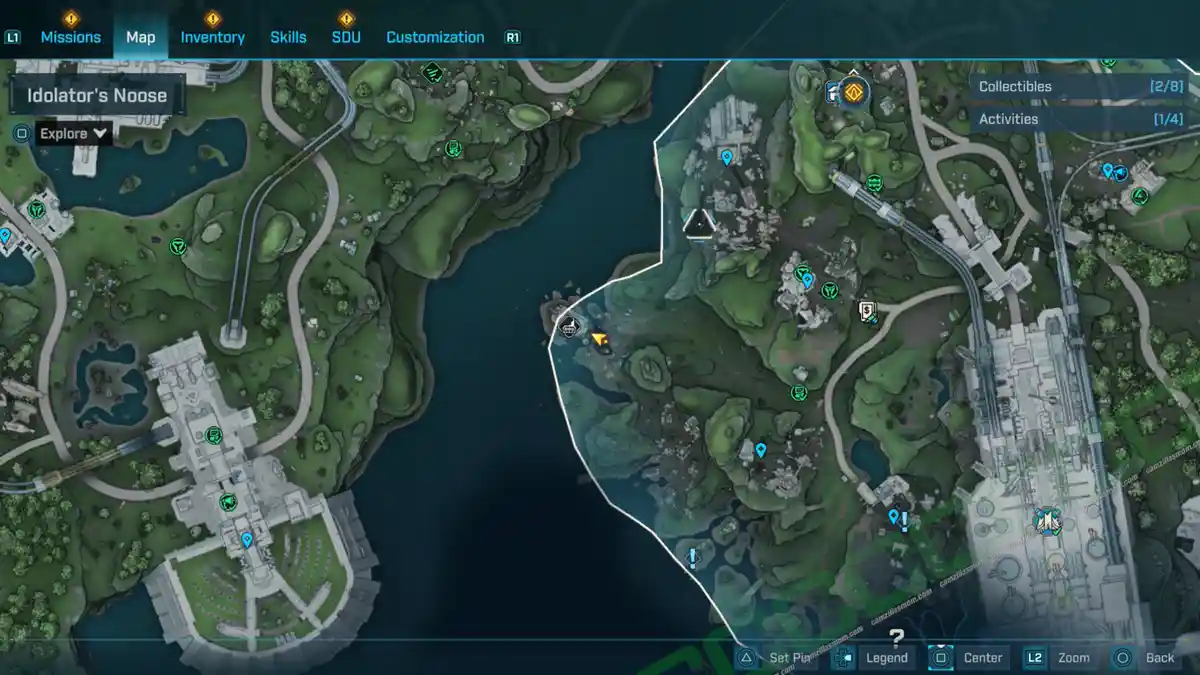
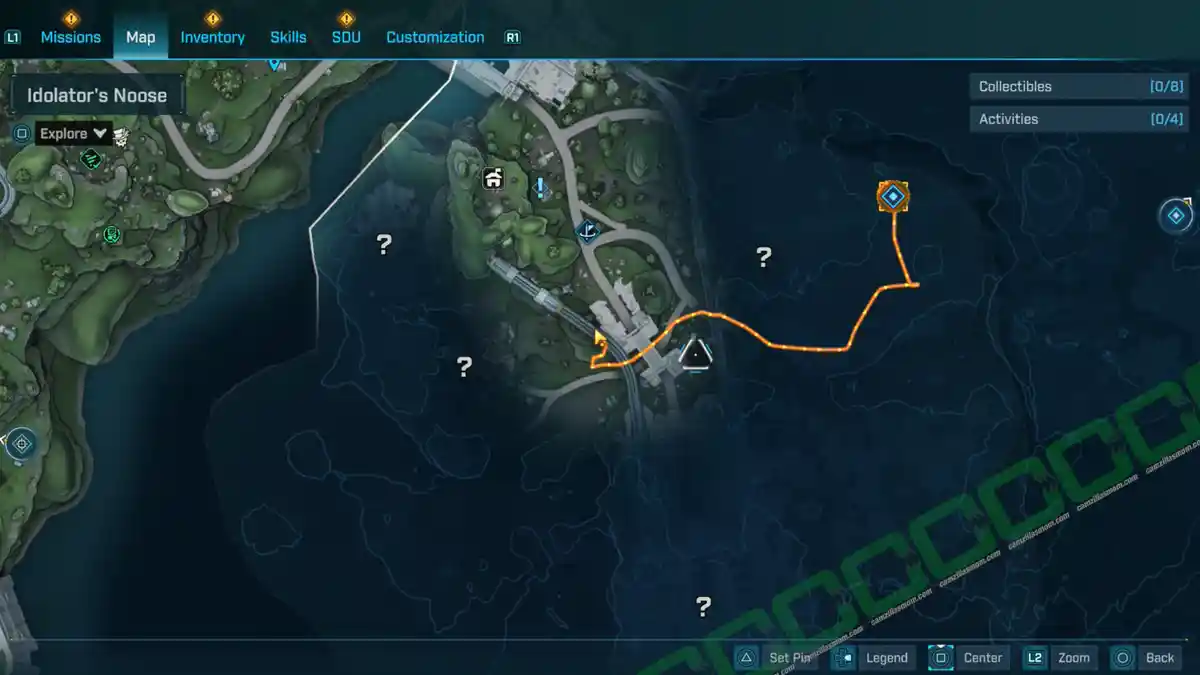
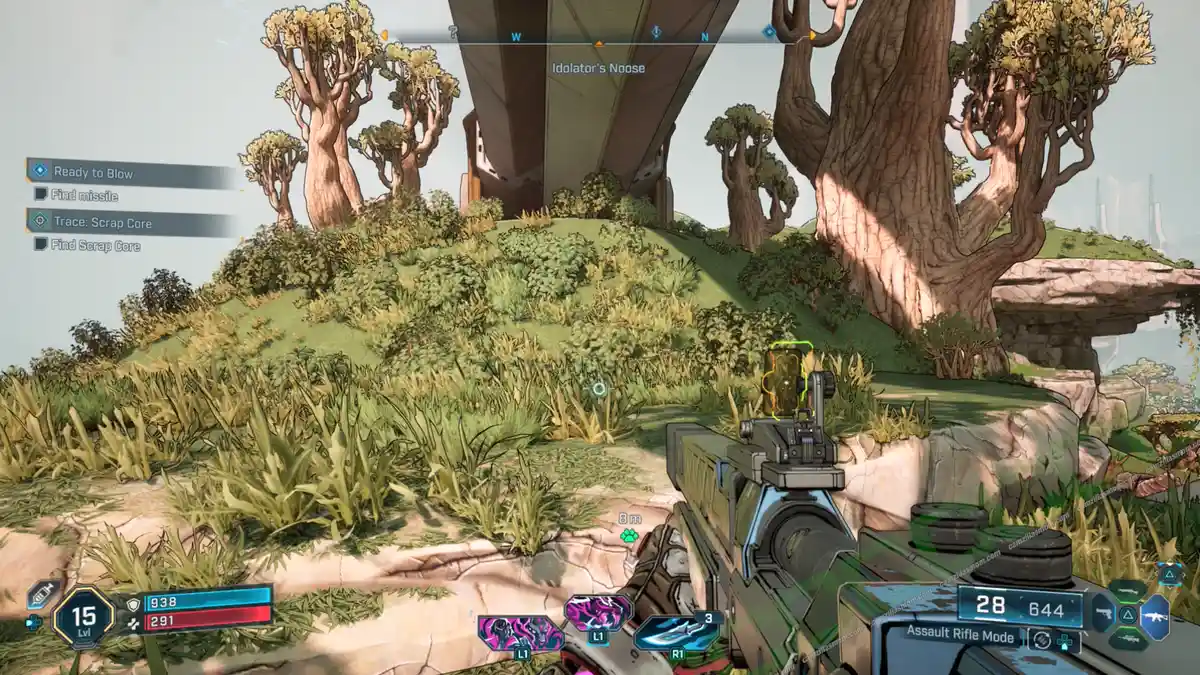
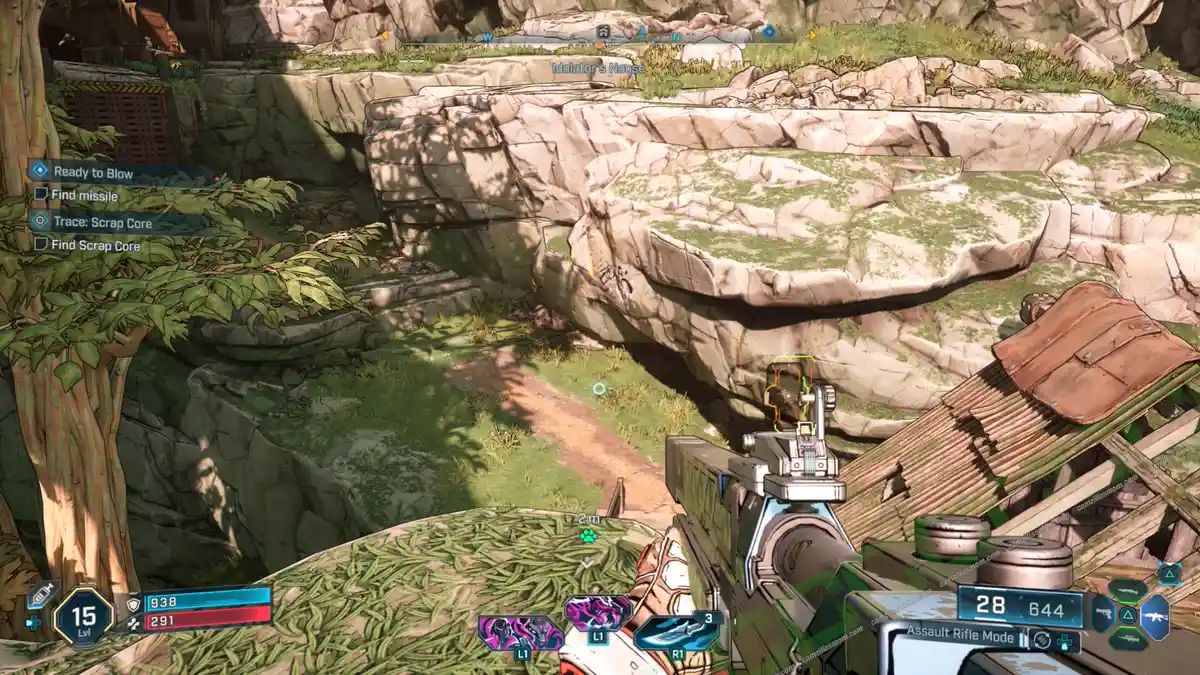
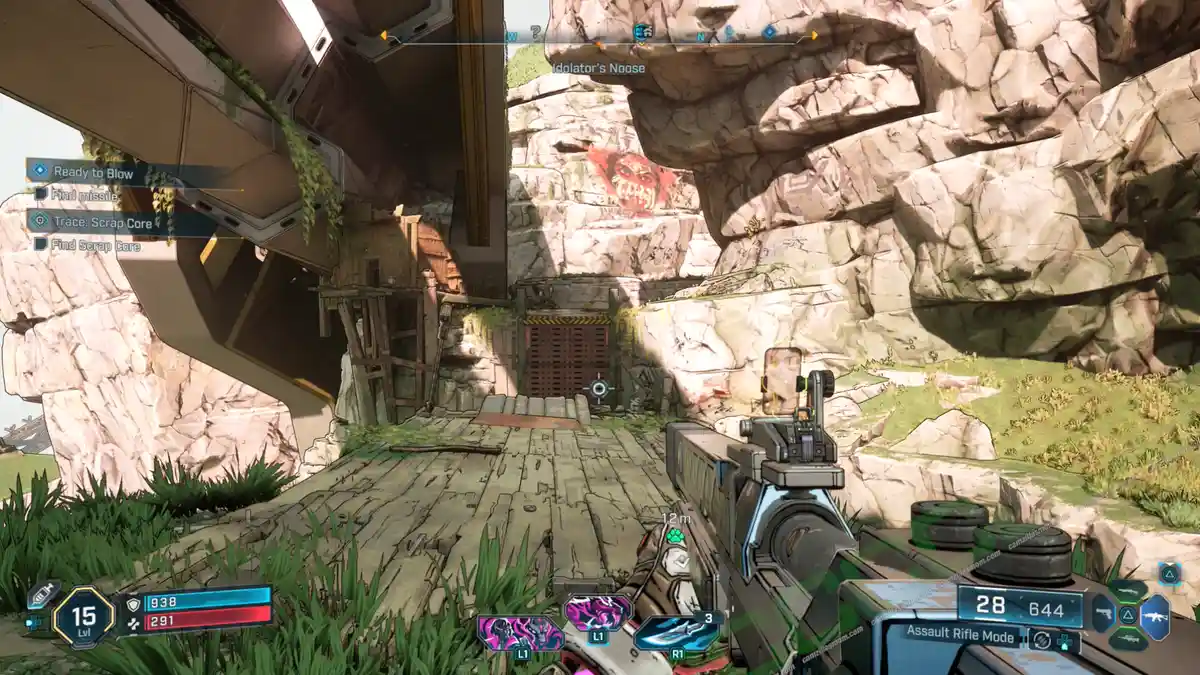
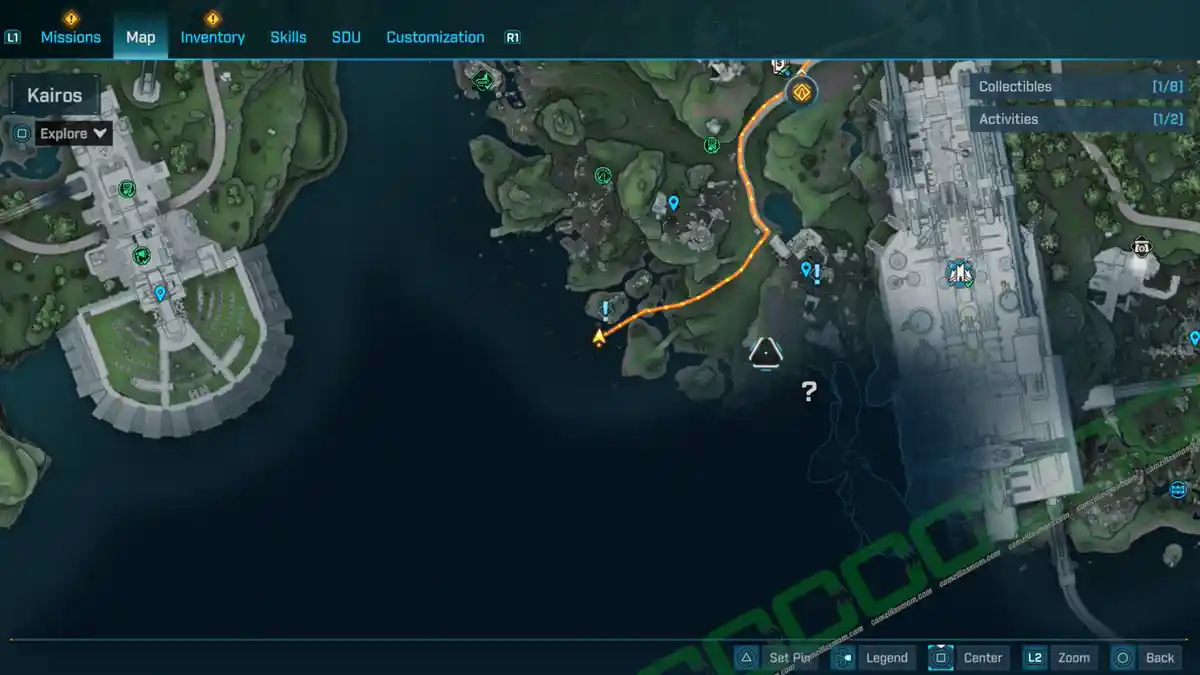
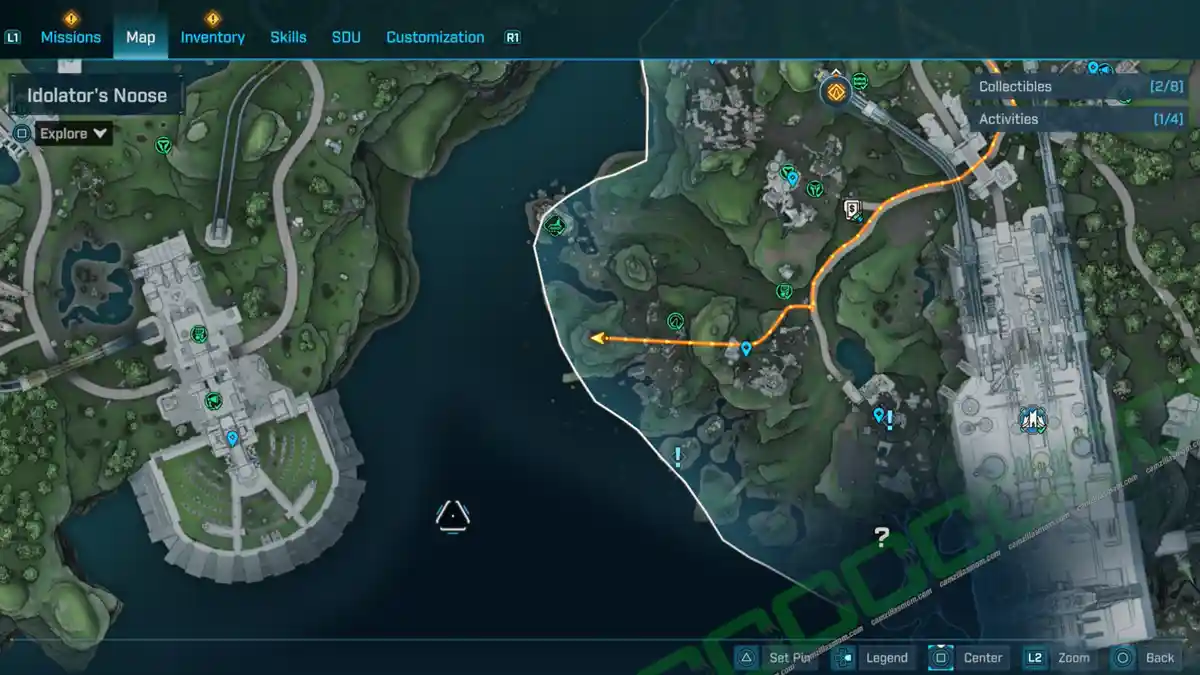
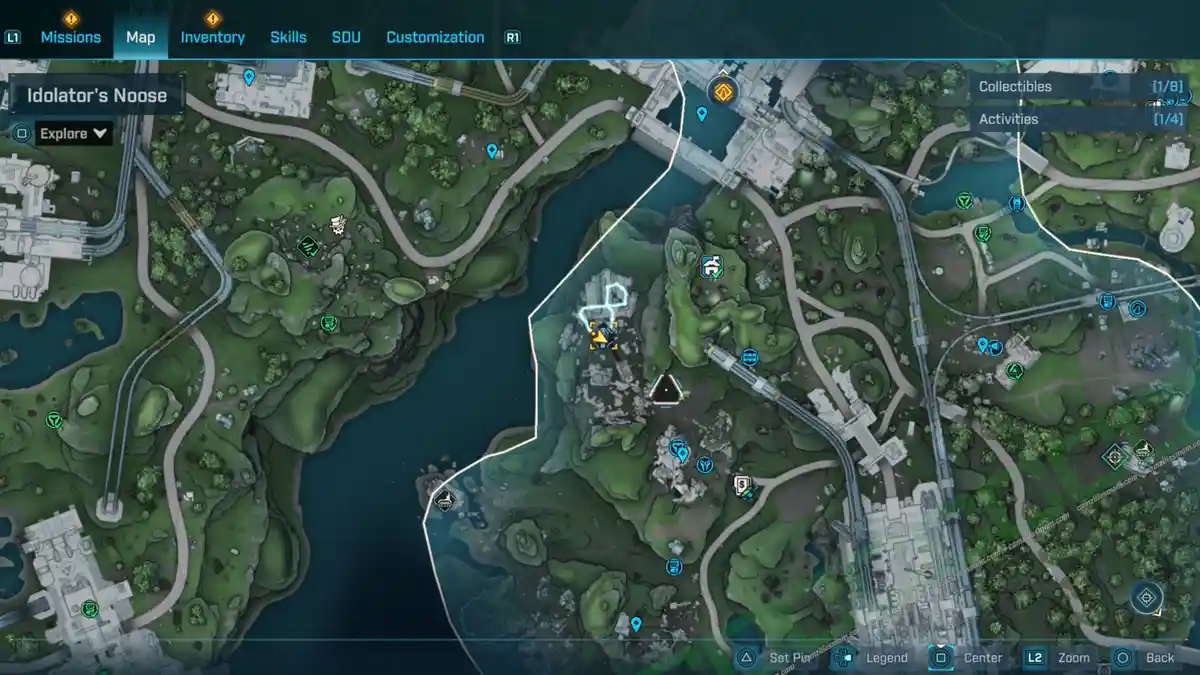
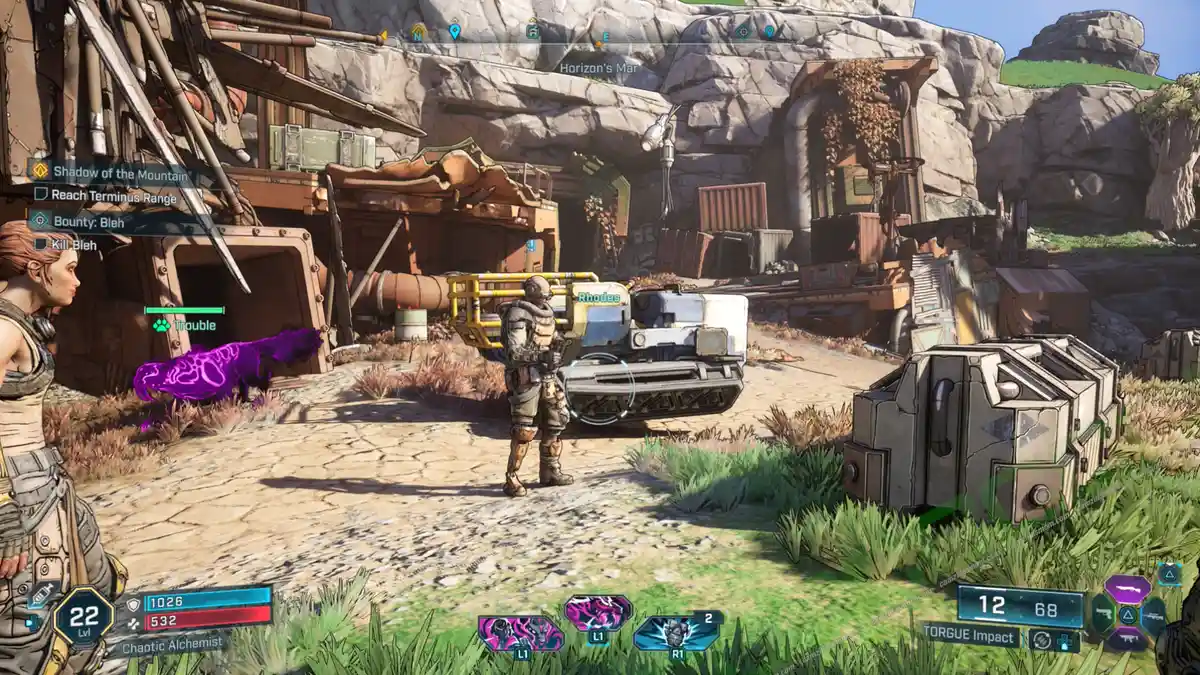
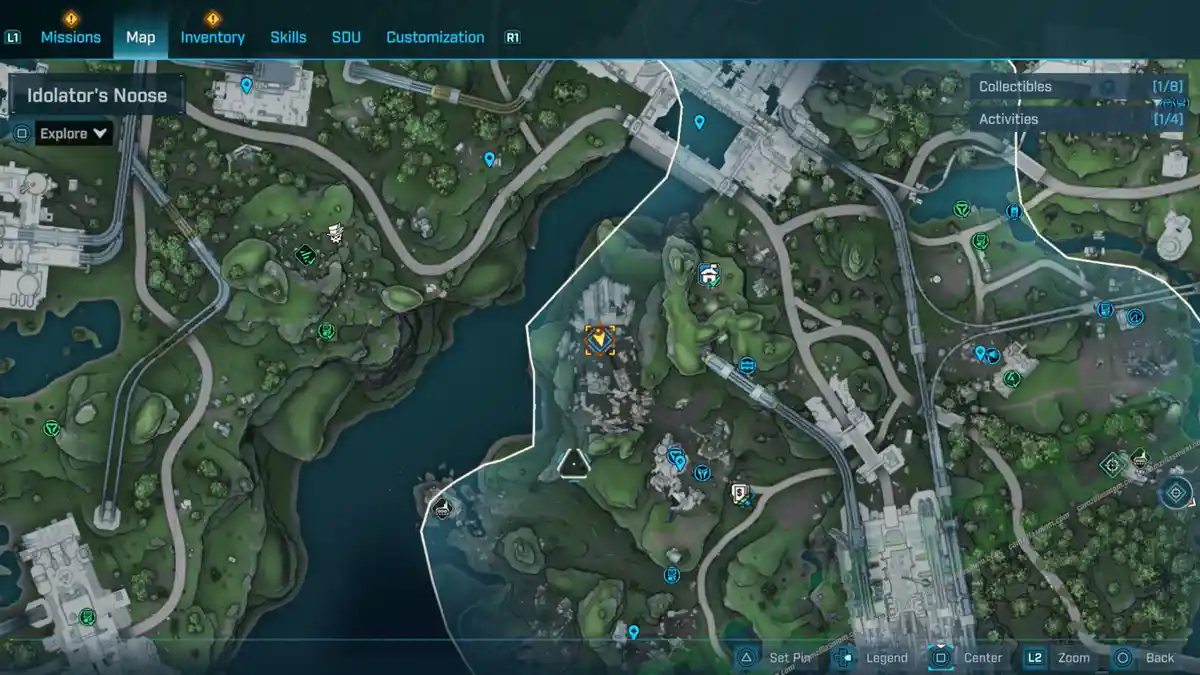
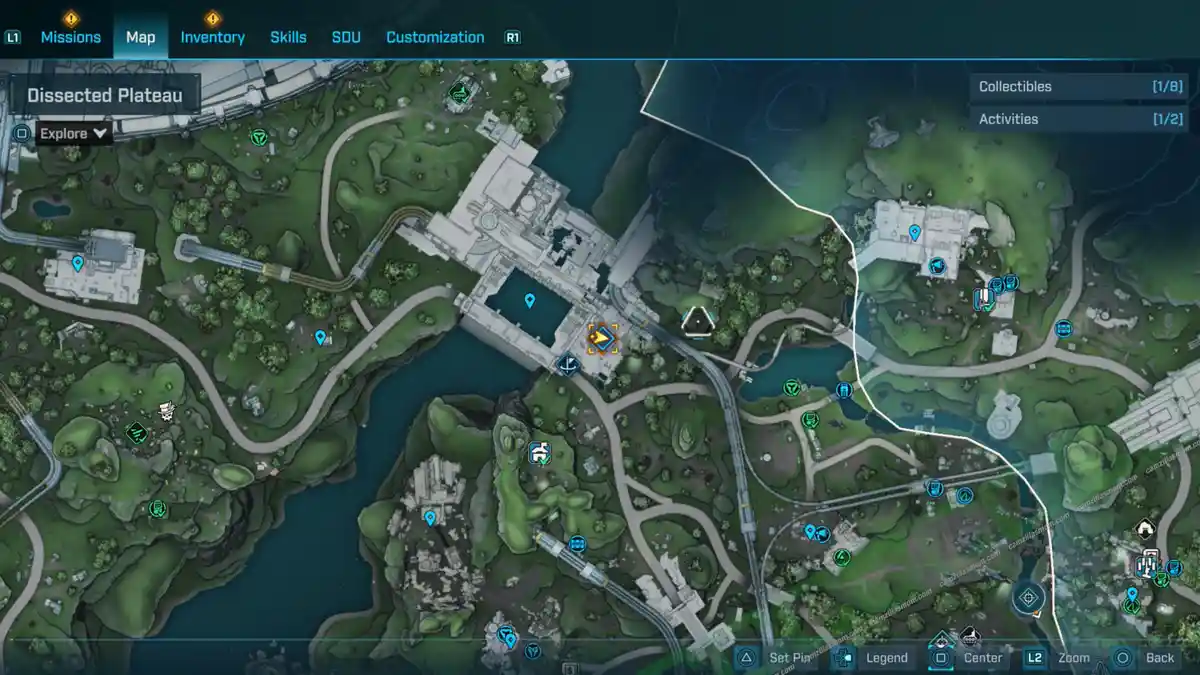
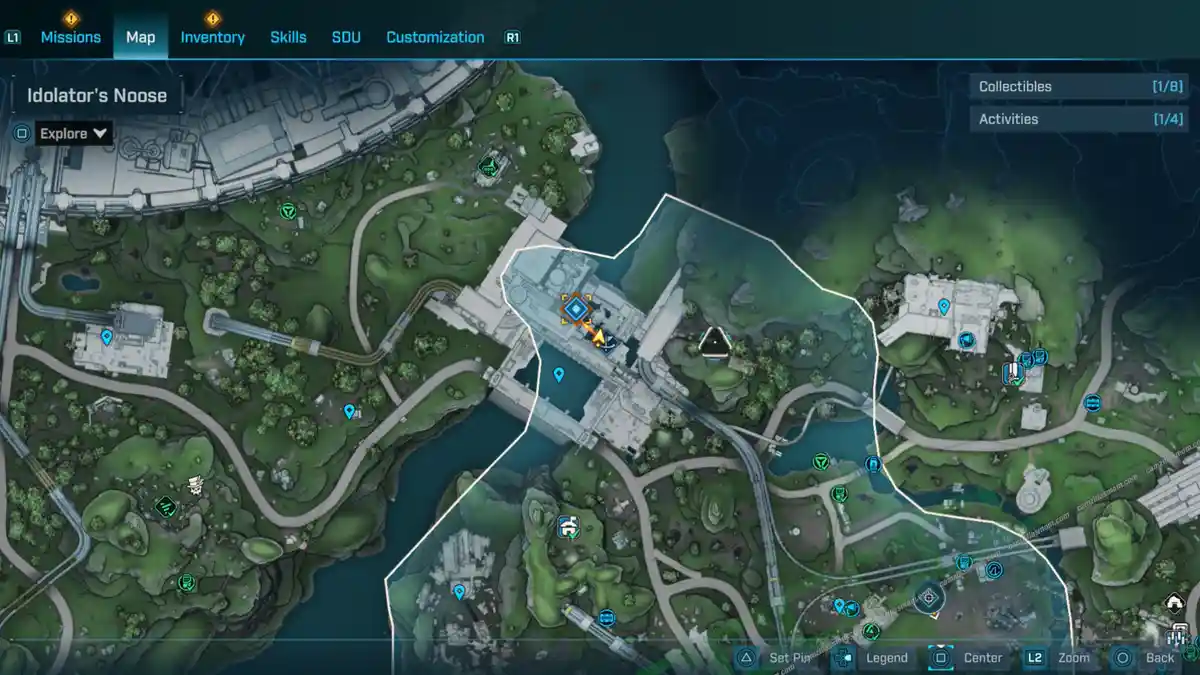
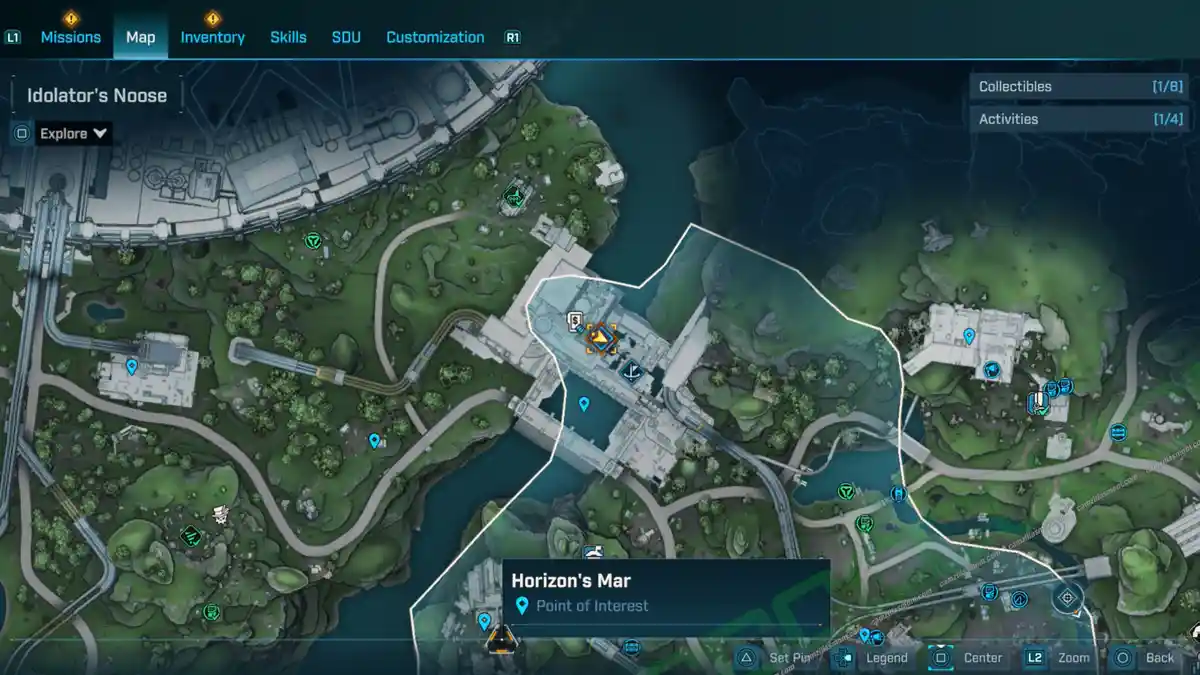
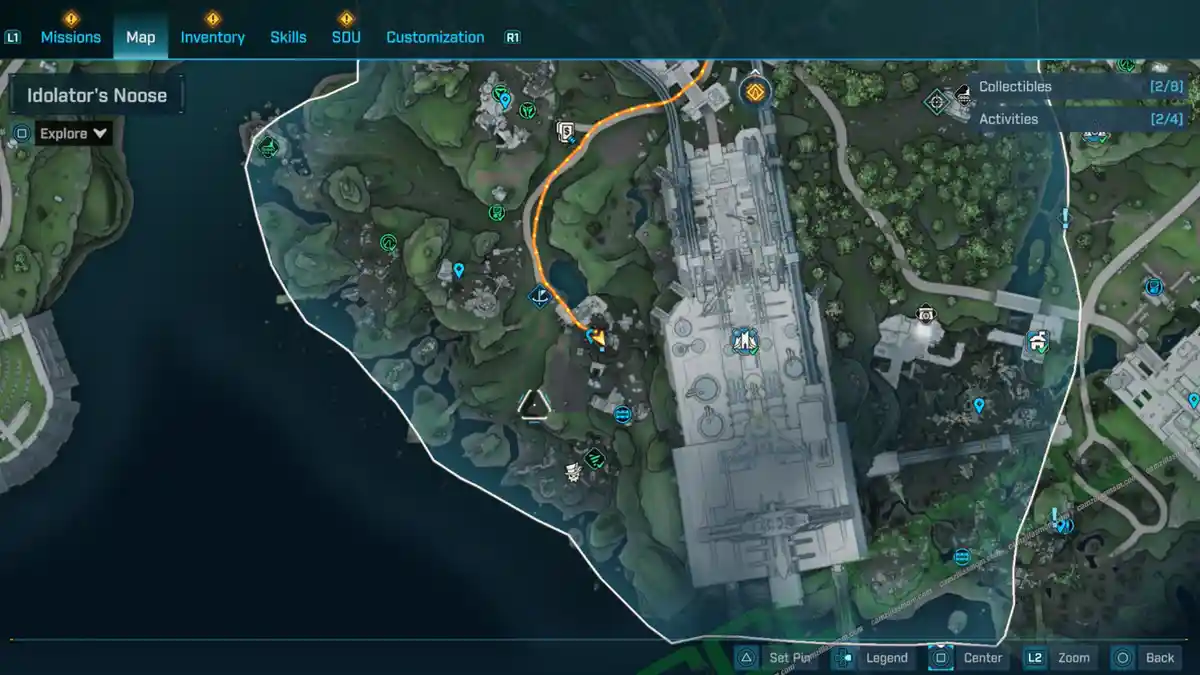
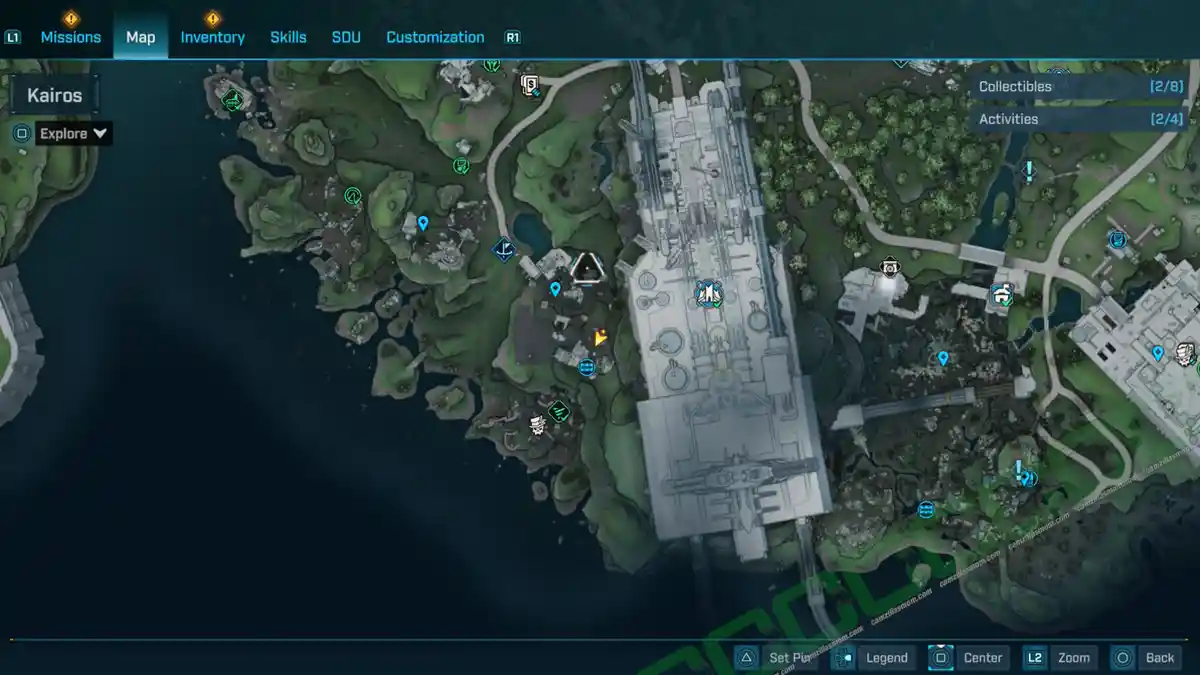
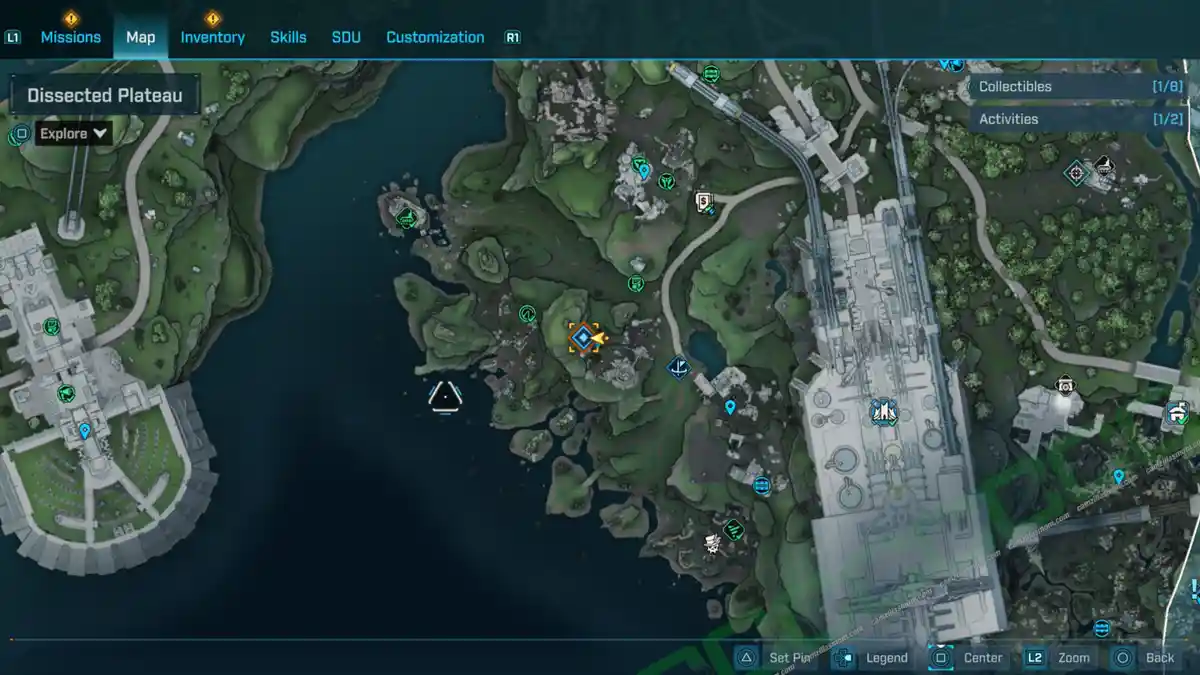
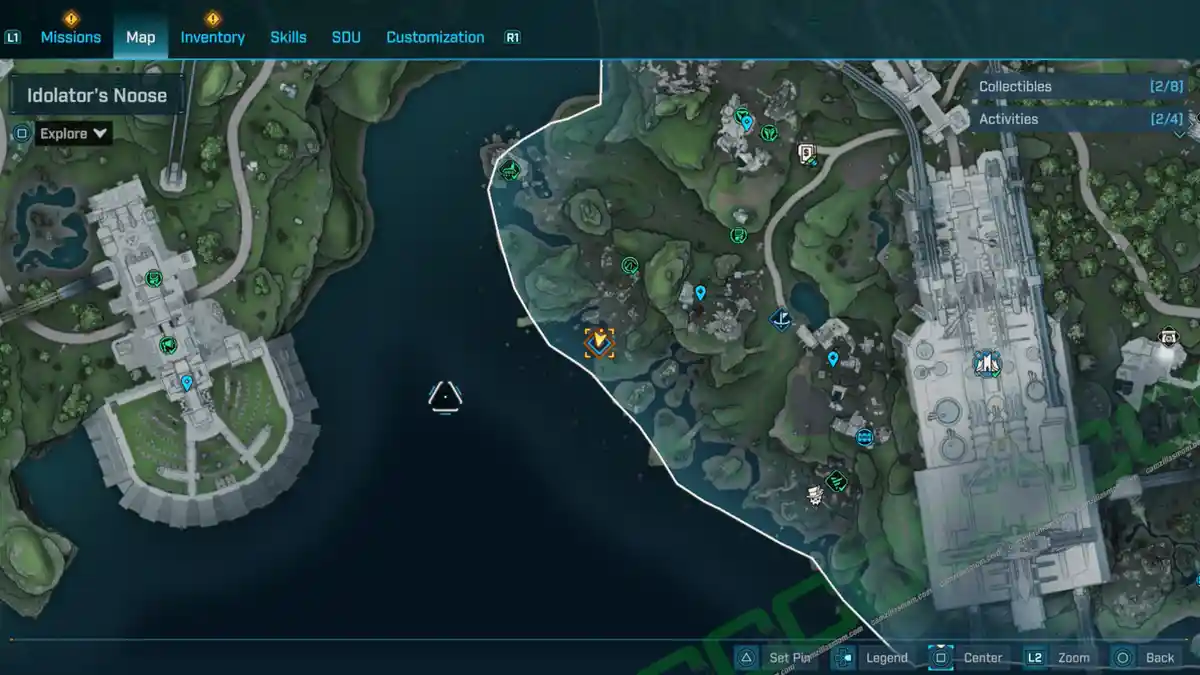
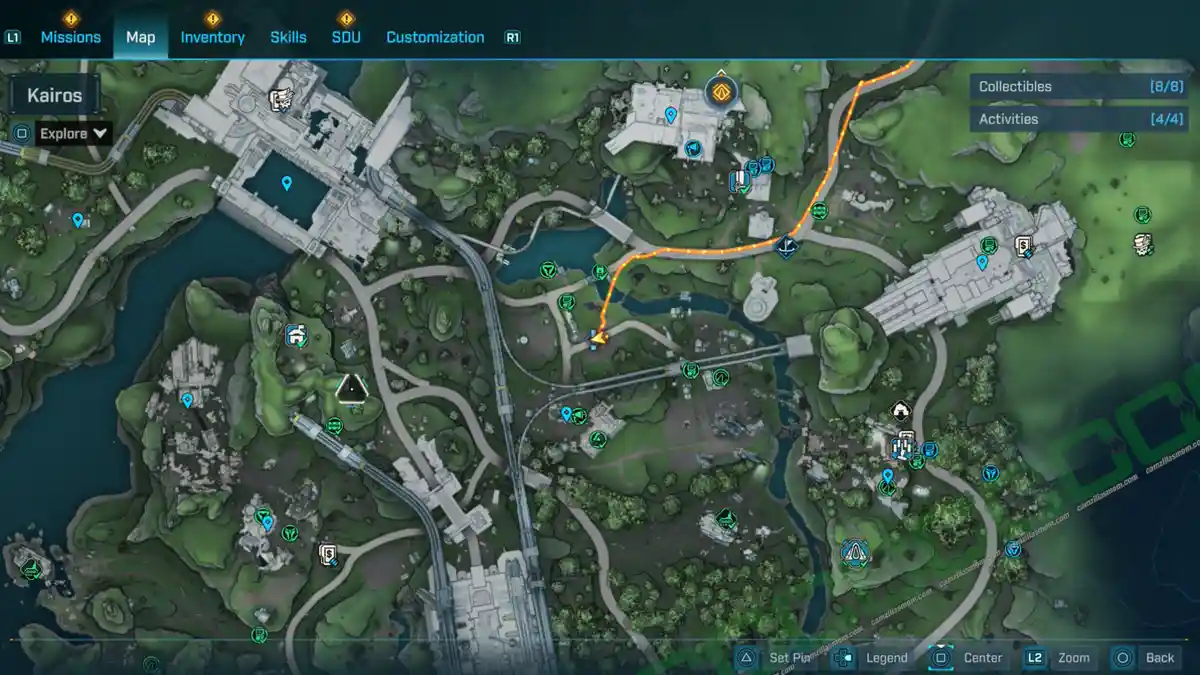
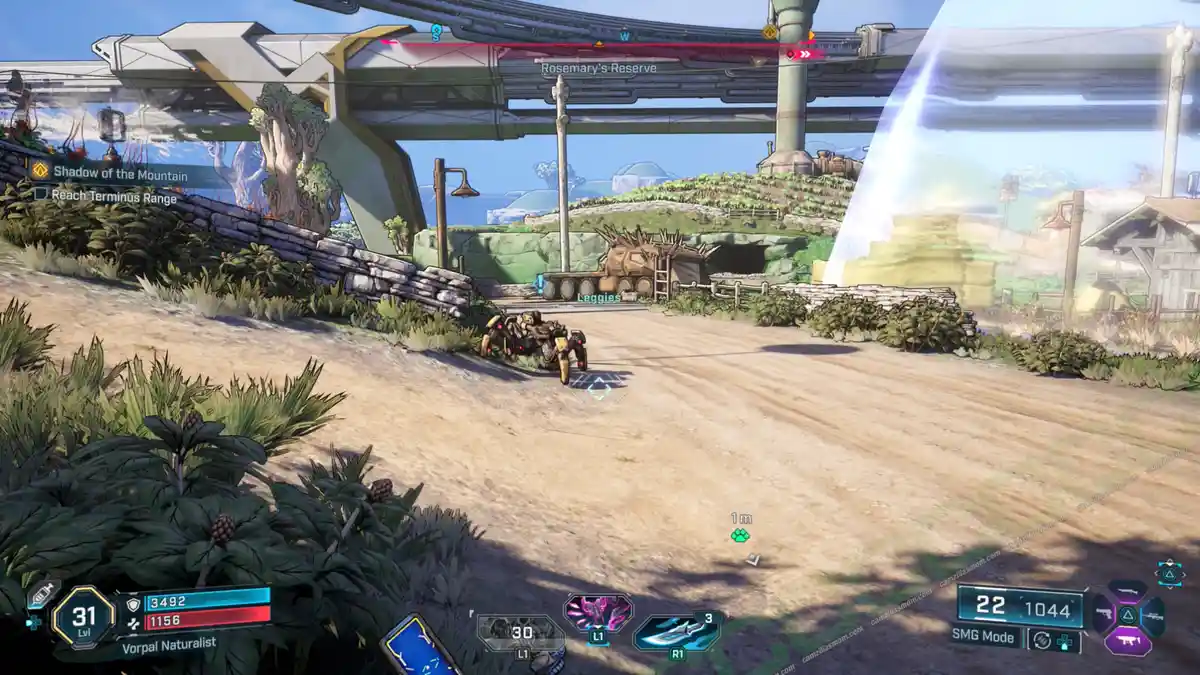
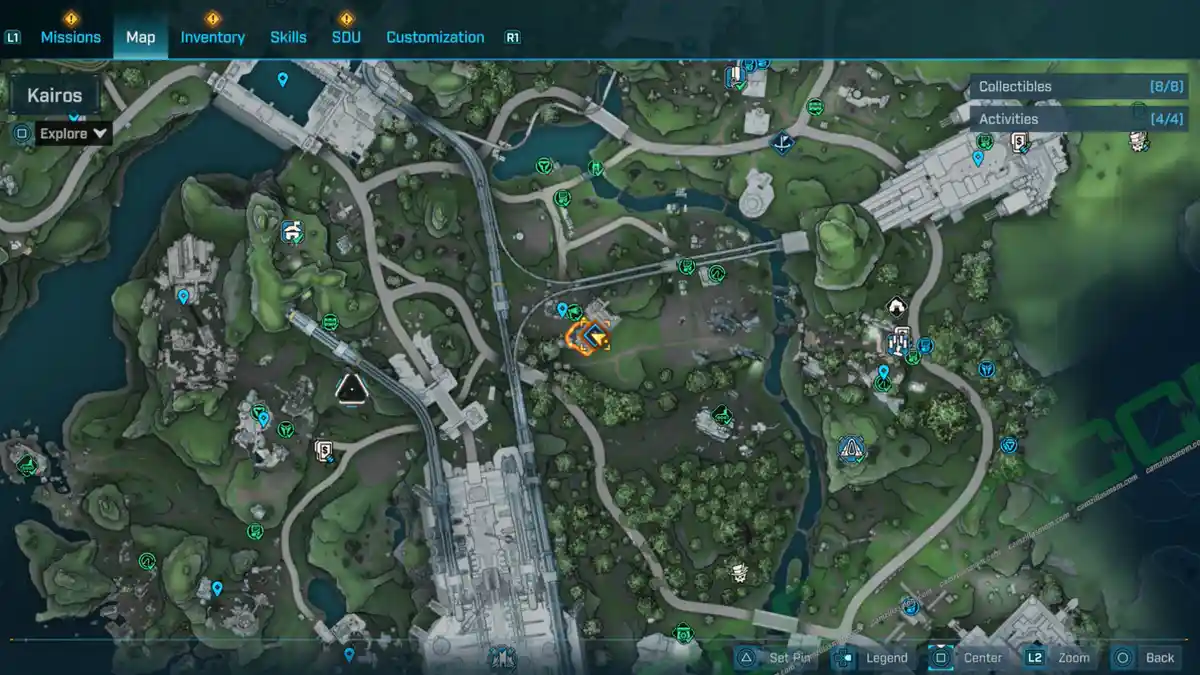
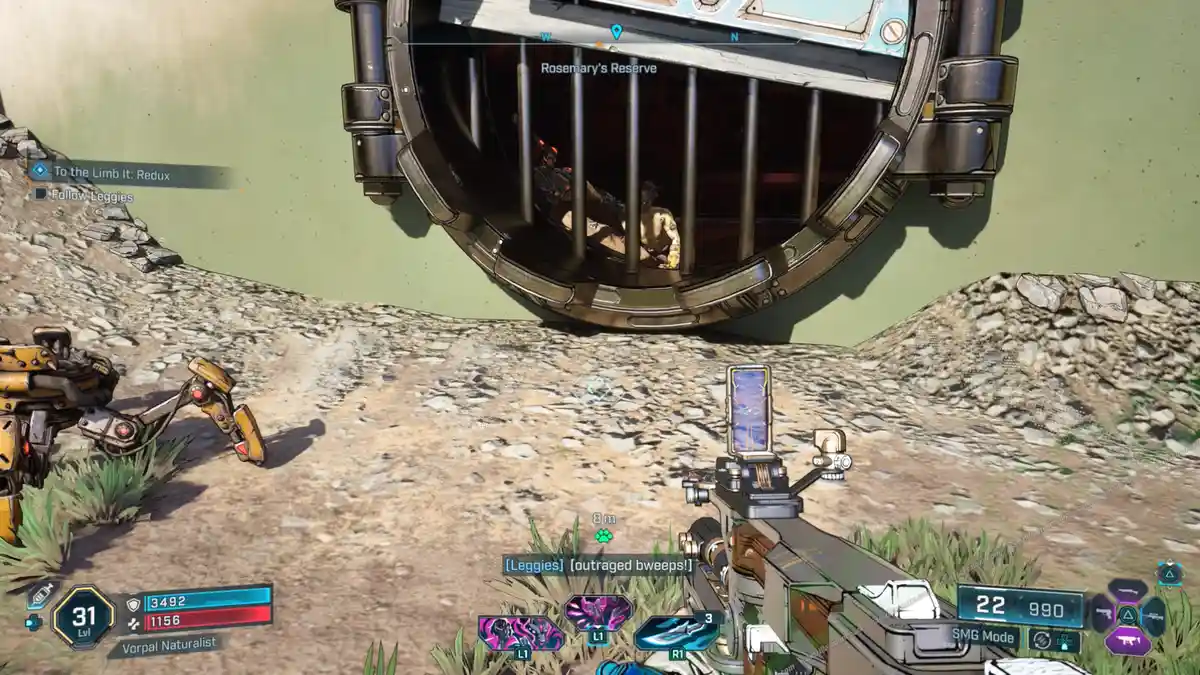
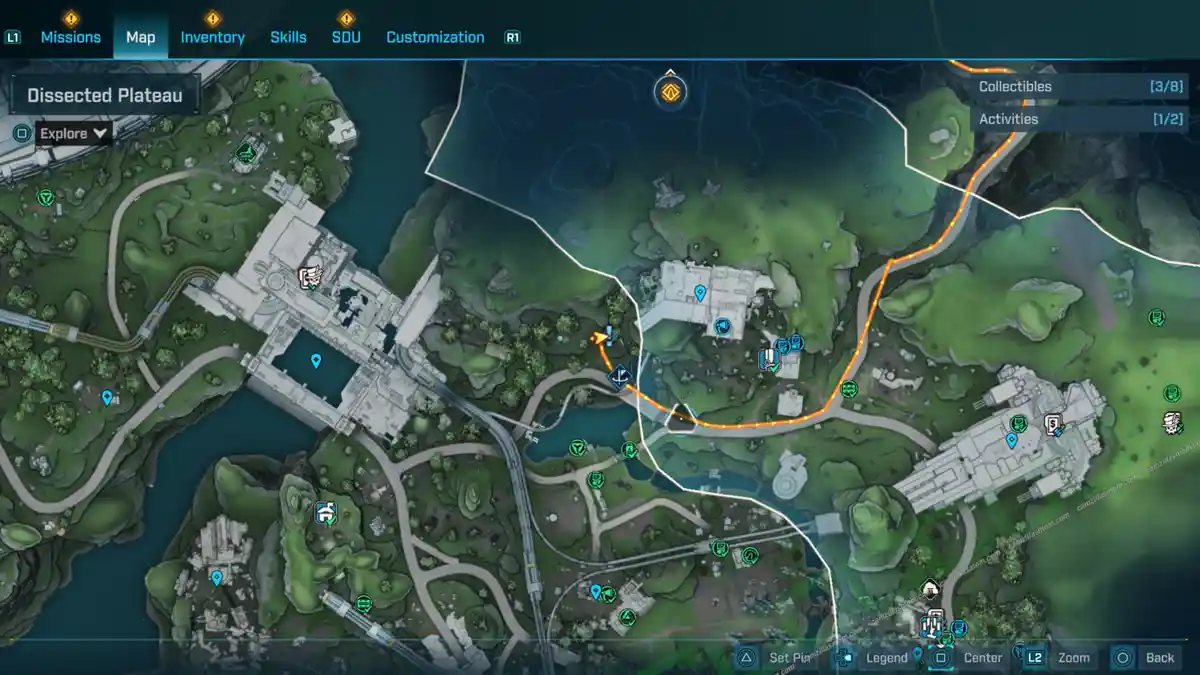
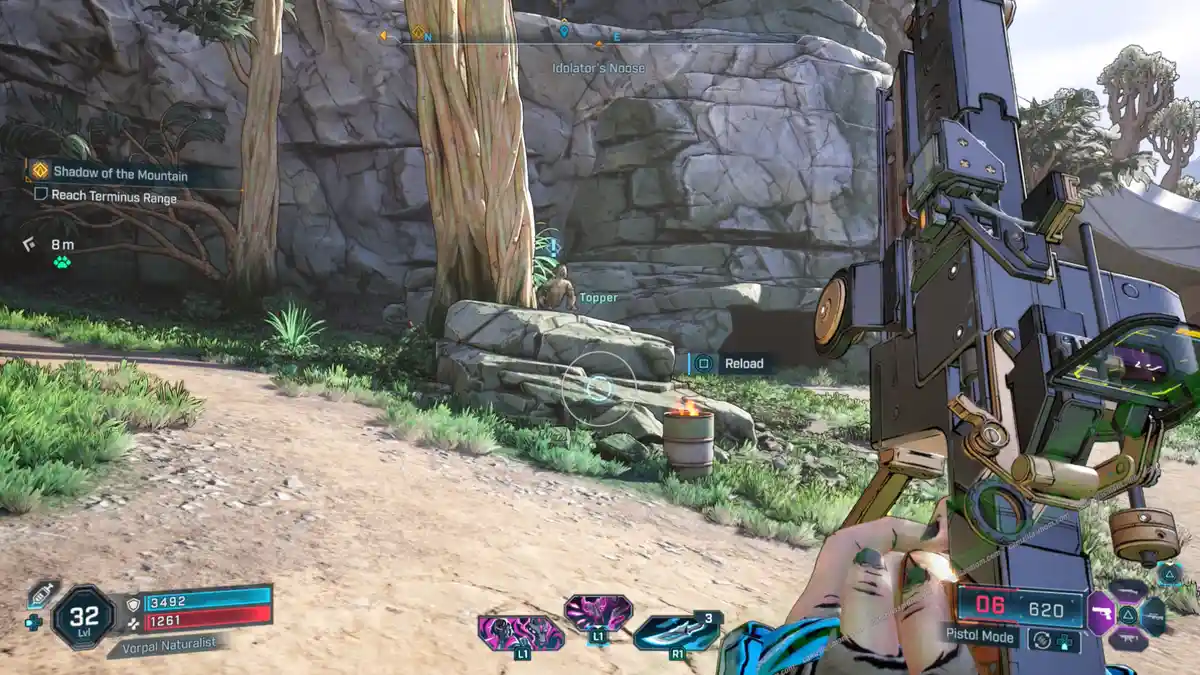
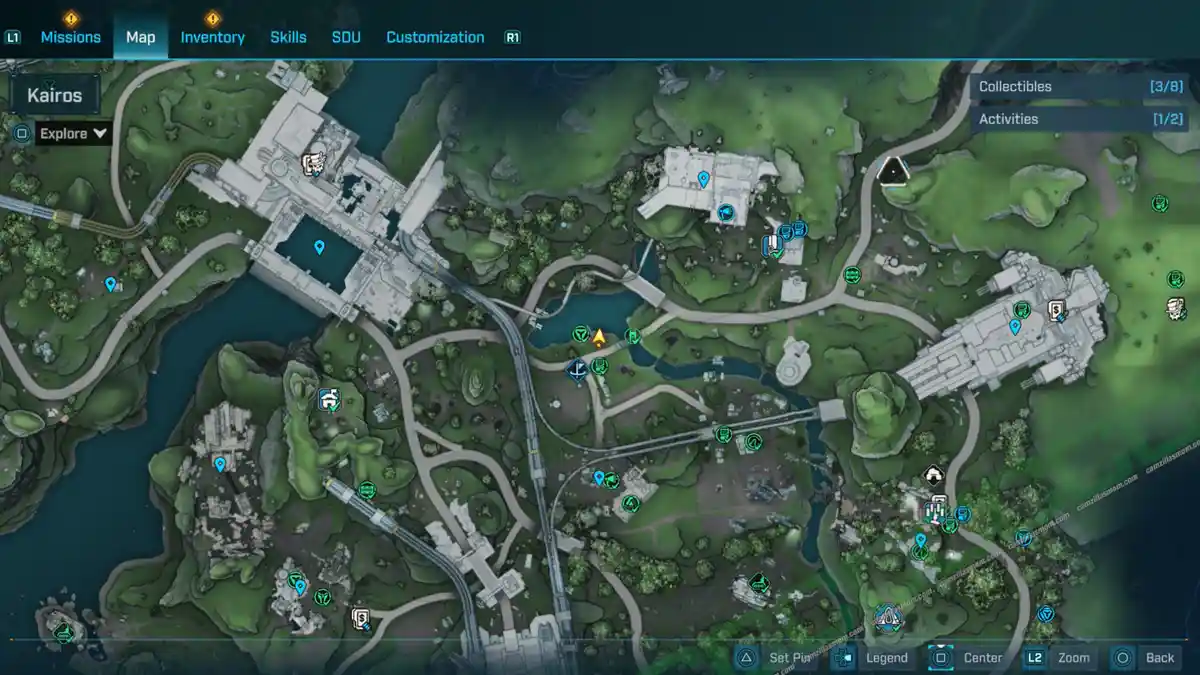
Navigating the sprawling, chaotic landscapes of Borderlands 4 can be a wild ride, and the Idolator’s Noose is no exception. If you’re determined to tick off every single task and snag every piece of loot this area has to offer, you’ve come to the right place. Missing that one last ECHO Log or struggling to find a hidden Vault Symbol can be frustrating, but don’t you worry.
This guide provides a complete breakdown of all collectibles and activities waiting for you in the Idolator’s Noose. We’ve got detailed maps and straightforward, step-by-step instructions to help you find everything from Dead Bolts and Survivalist Caches to taking on Ancient Crawlers and Order Bunkers. Let’s get you to that 100% completion without the headache.
MORE THE FADEFIELDS GUIDES
Coastal Bonescape
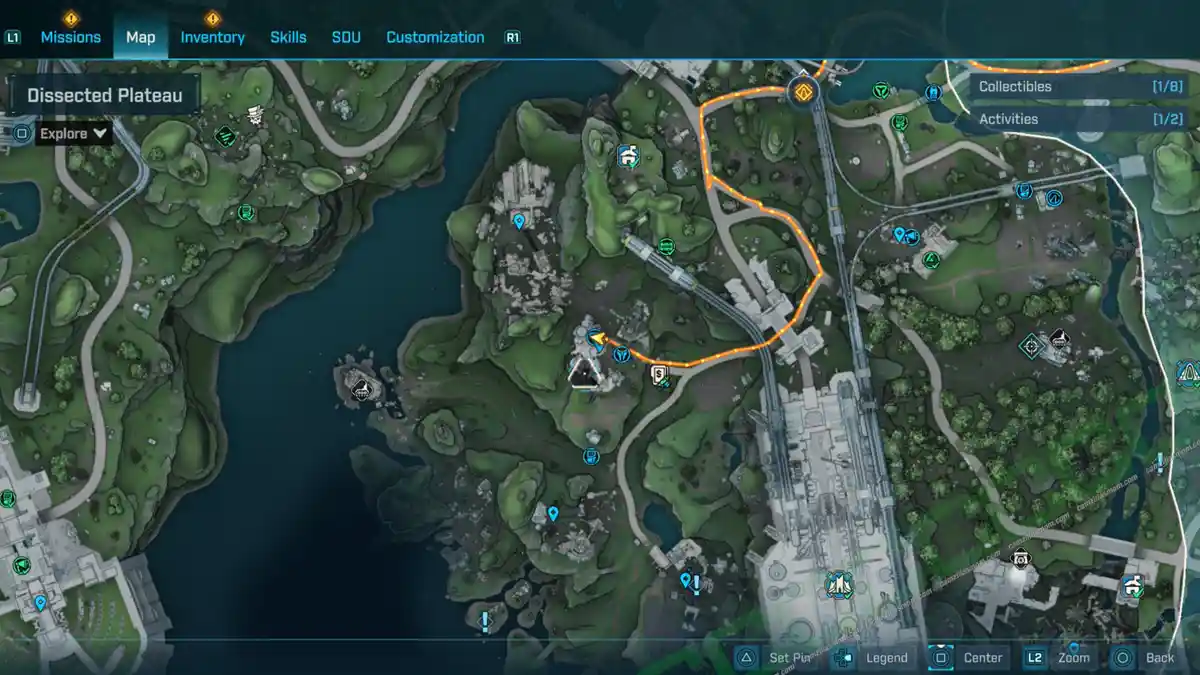
Dissected Plateau
Fortress Indomita
Hungering Plain
The Howl
-> More Borderlands 4 Guides at the Hub
Idolator’s Noose Collectibles
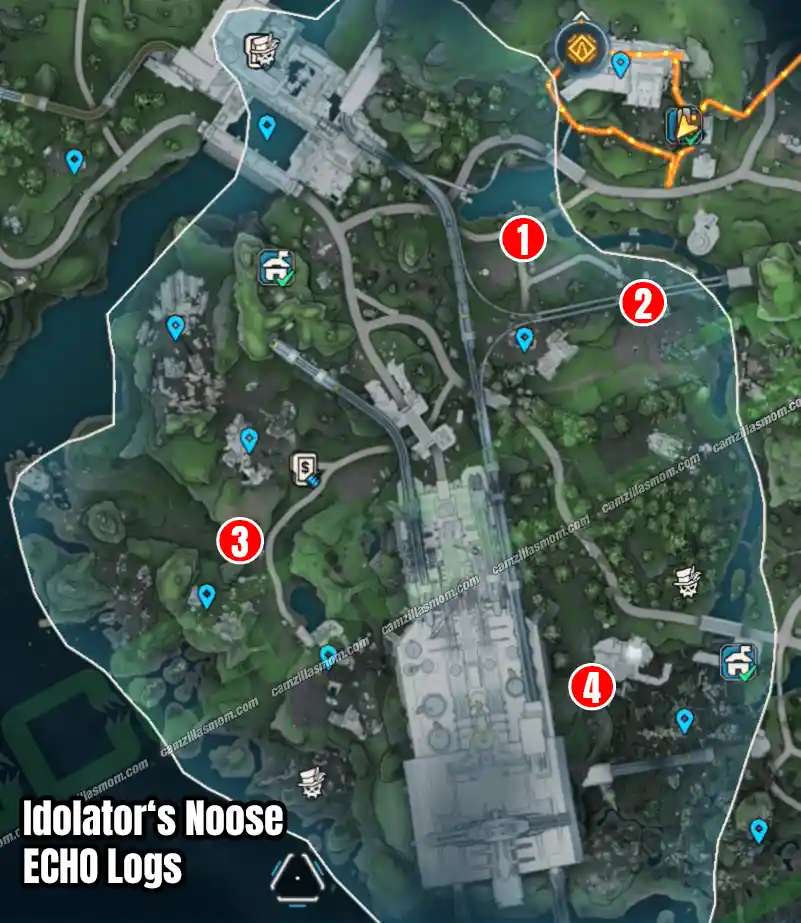
ECHO Logs – 4
-> Also available: Kairos Speaks – All ECHO Logs
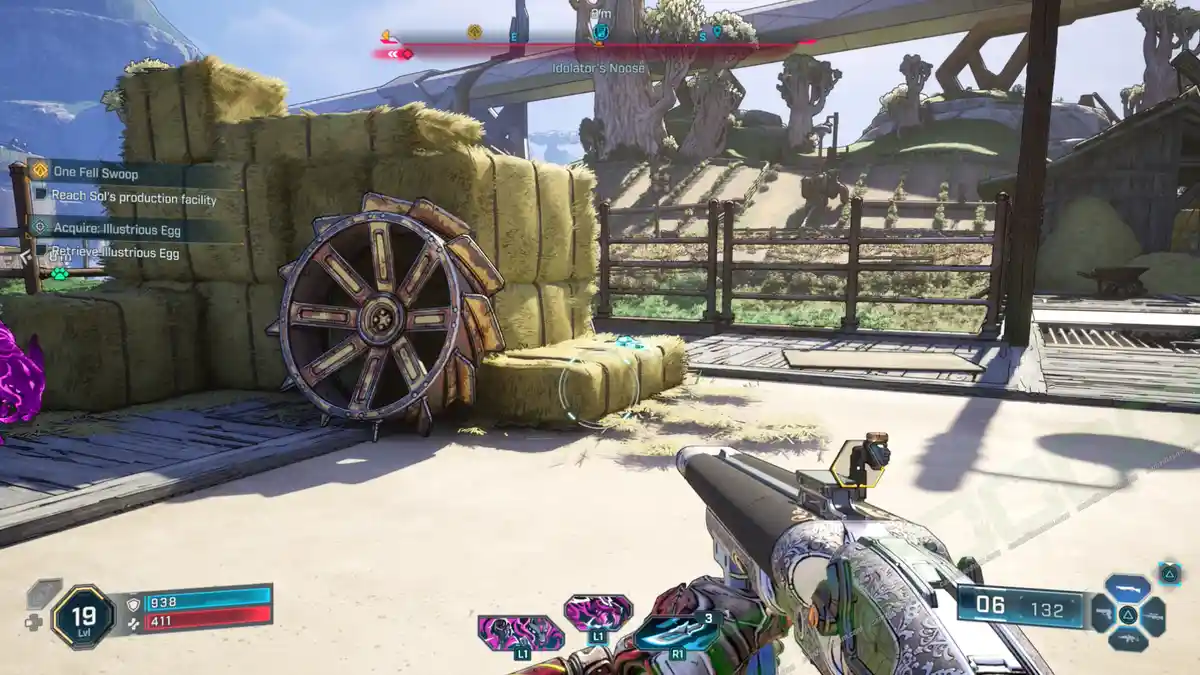
1 – Happy Helper
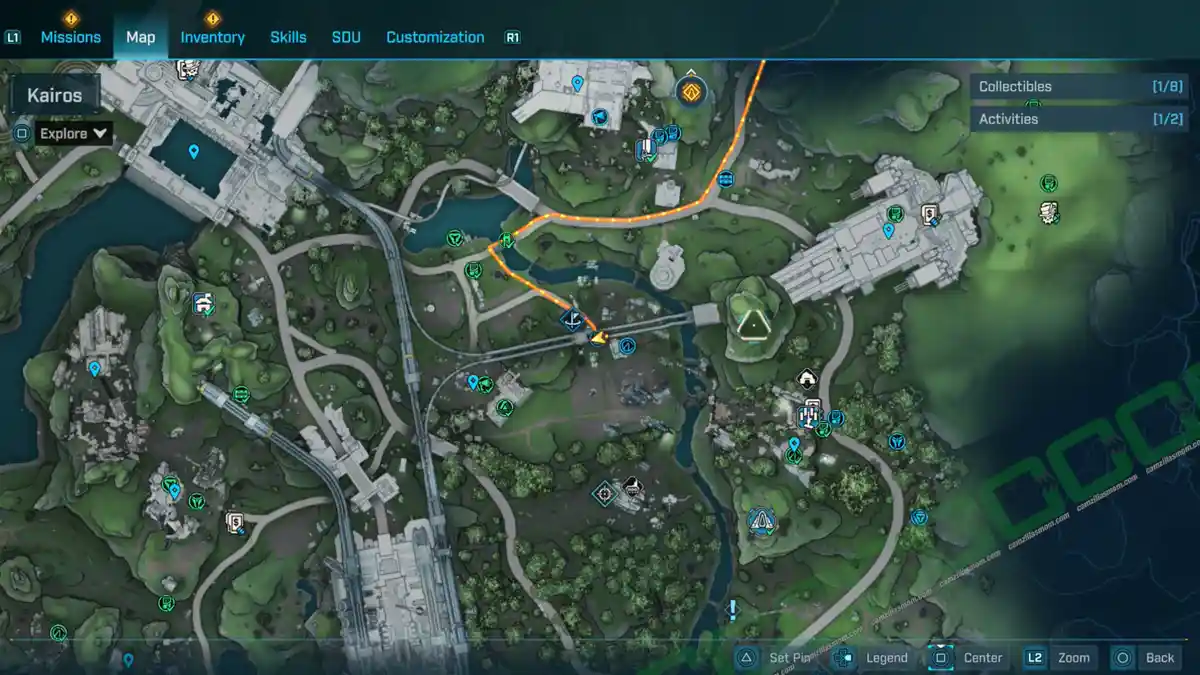
Just head north from Rosemary’s Reserve, in the northeast part of the region. You’ll spot a small farm by the road, and there’s an ECHO Log on some hay bales there.
Description:
“Harlowe hits a work milestone.”
Collectibles Nearby:
-> Dead Bolt
-> Lost Capsule
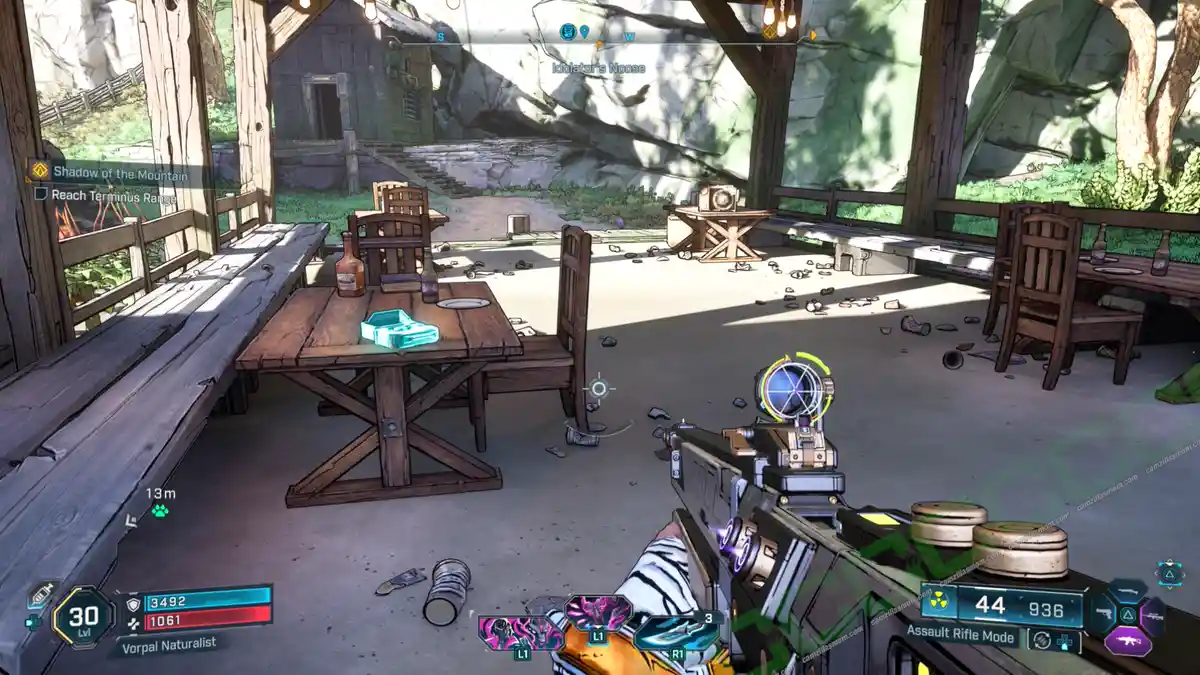
2 – Hear Ye, Hear Ye
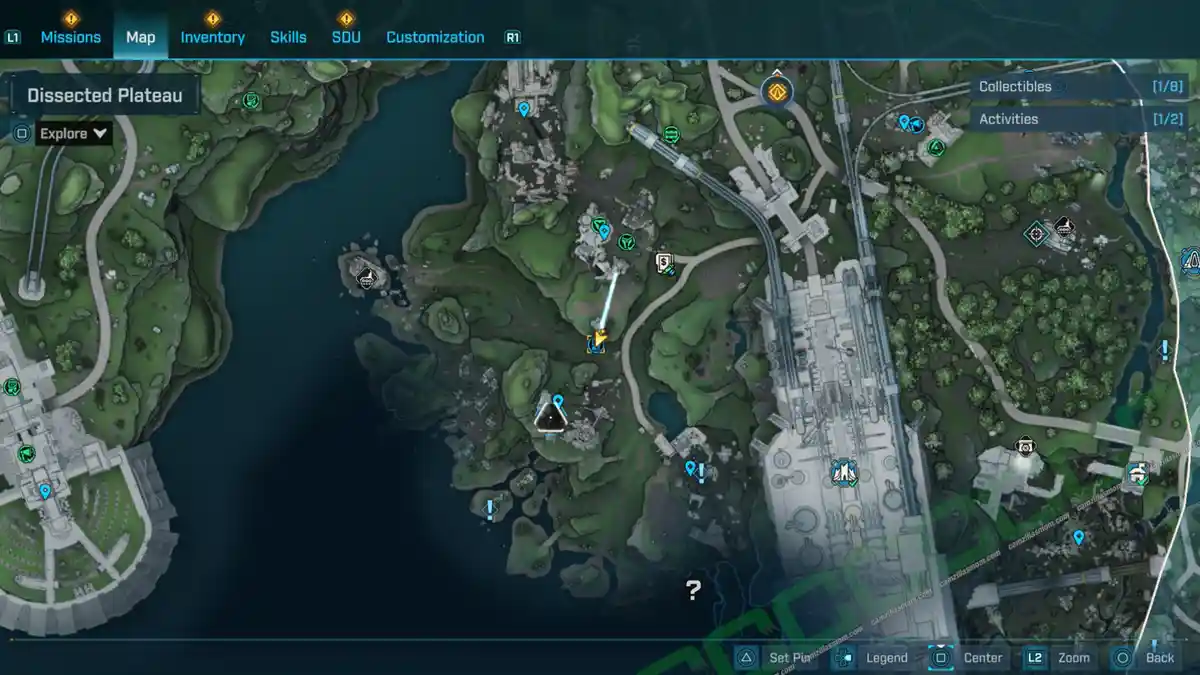
Just east of Rosemary’s Reserve, near the edge of the Dissected Plateau, you’ll find a friendly settlement. The ECHO Log is located in the outdoor seating area.
Description:
“Rush tries writing his inspirational speech.”
Collectibles Nearby:
-> Vault Symbol
3 – Safe and Sound
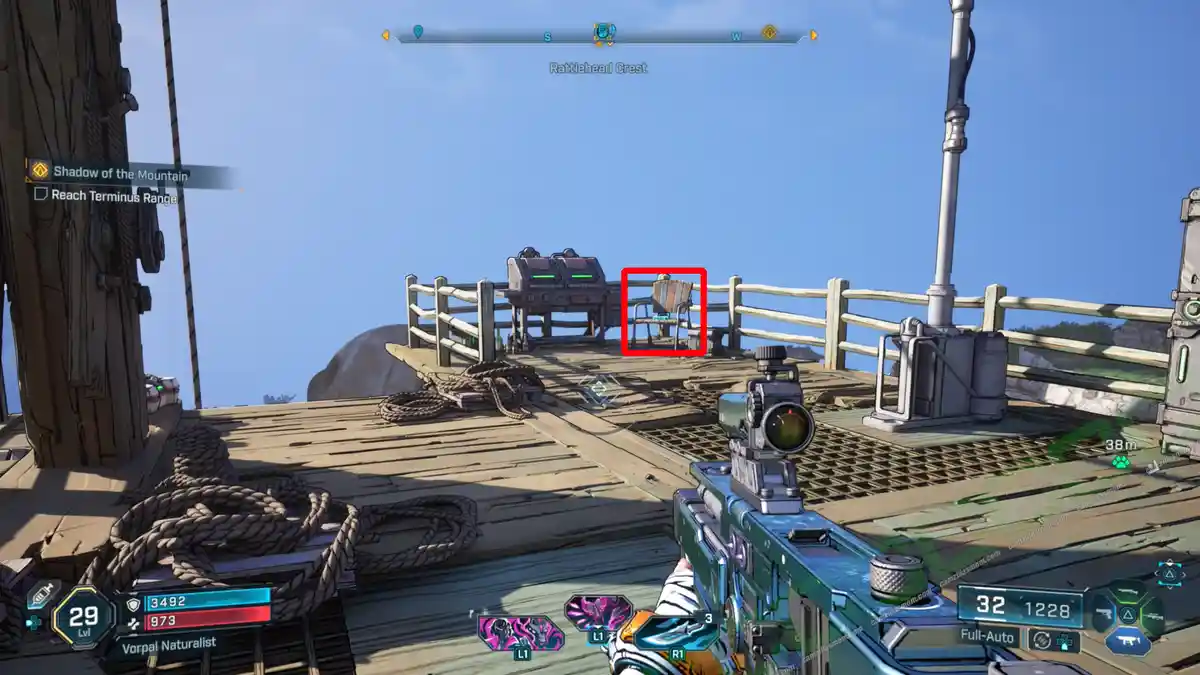
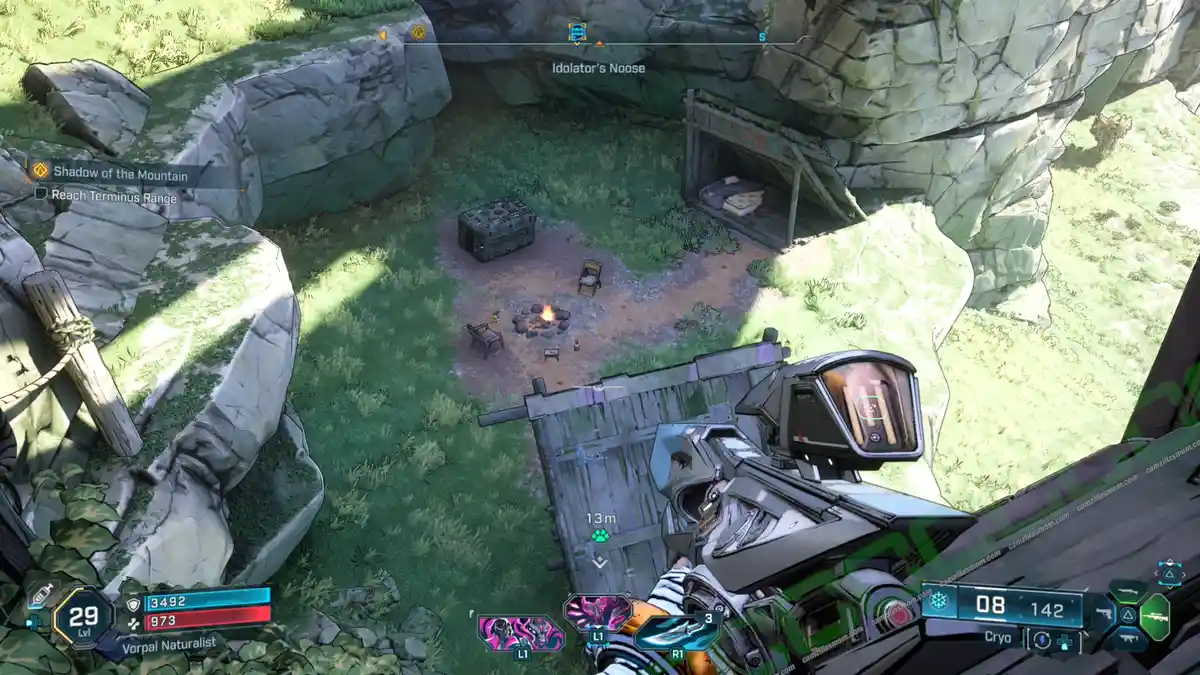
Just south of the Tetanus Squad Point of Interest, you’ll find a cliff with a wooden platform and a crane. Right by the BBQ, you can grab the ECHO Log.
Description:
“A woman recounts her first meeting with Harlowe.”
4 – Till Death Do Us Part
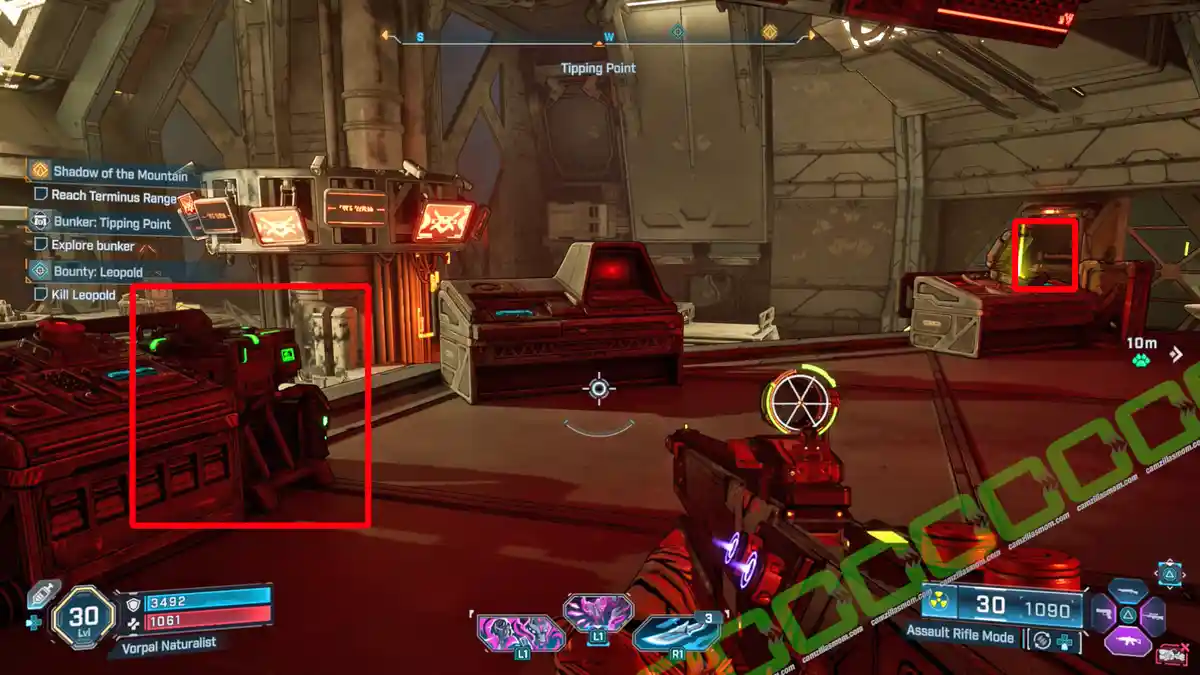
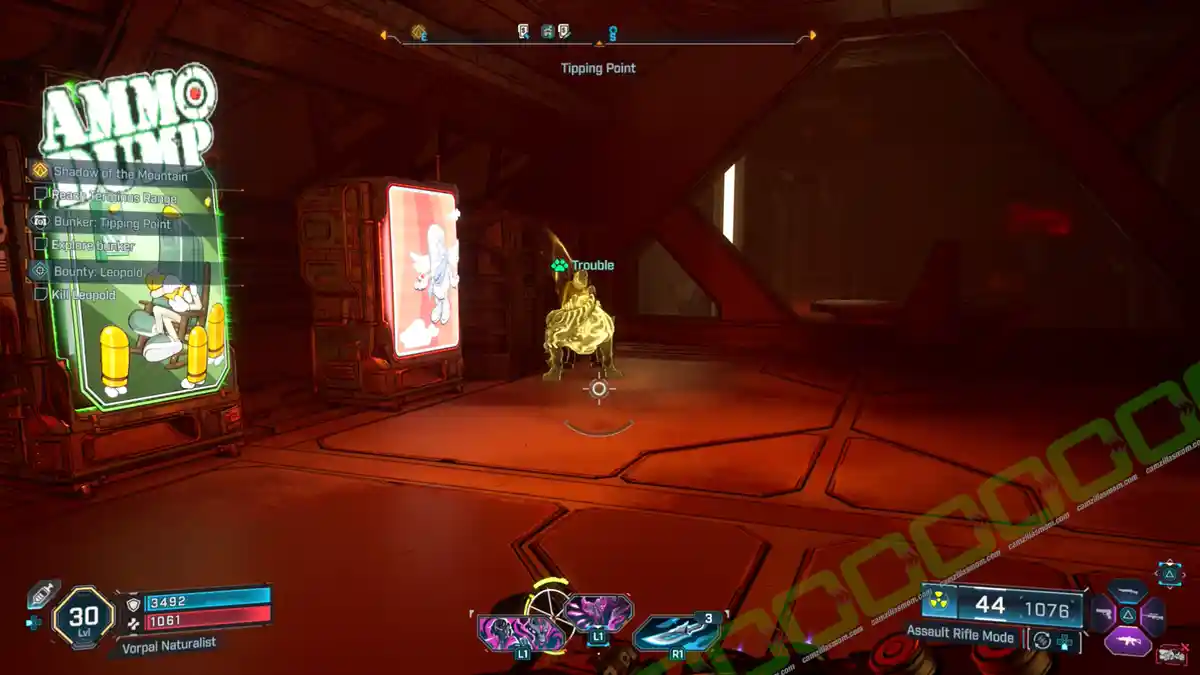
Go to the Order Bunker Tipping Point and jump off the platform in the southwestern corner. Right below the Bunker platform, you’ll find an angry guy with his pet. That’s where you’ll spot the ECHO Log: Till Death Do Us Part.
Description:
“Amon says goodbye to his love.”
Dead Bolts – 3
-> Also available: Any Last Words? All 39 Dead Bolts
1 – Dying Wish – Mirehome
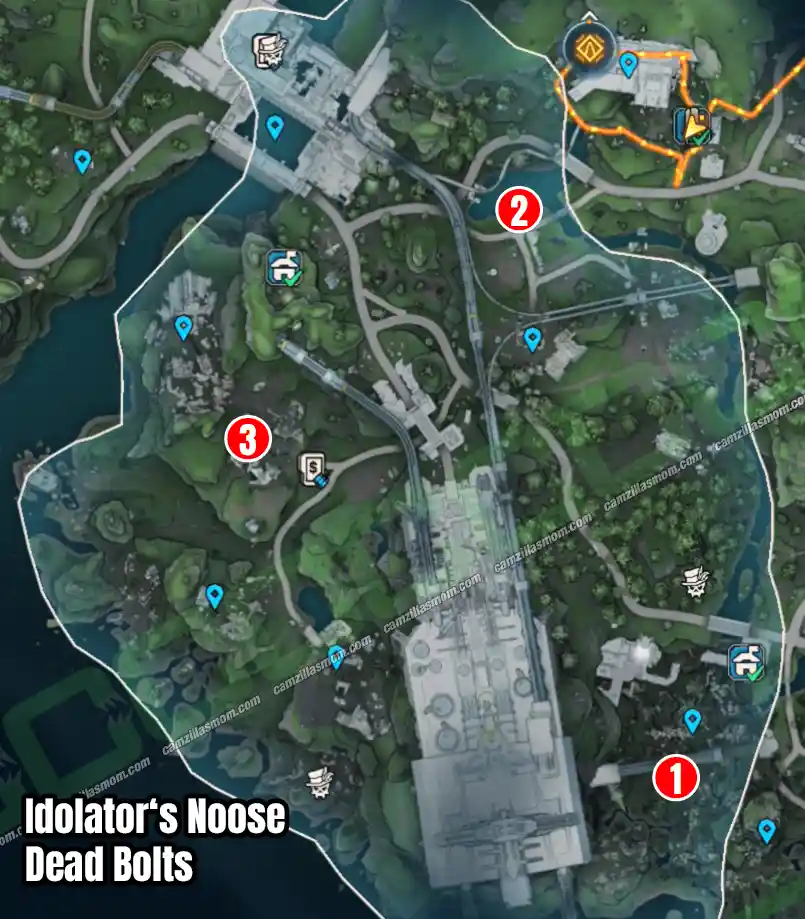
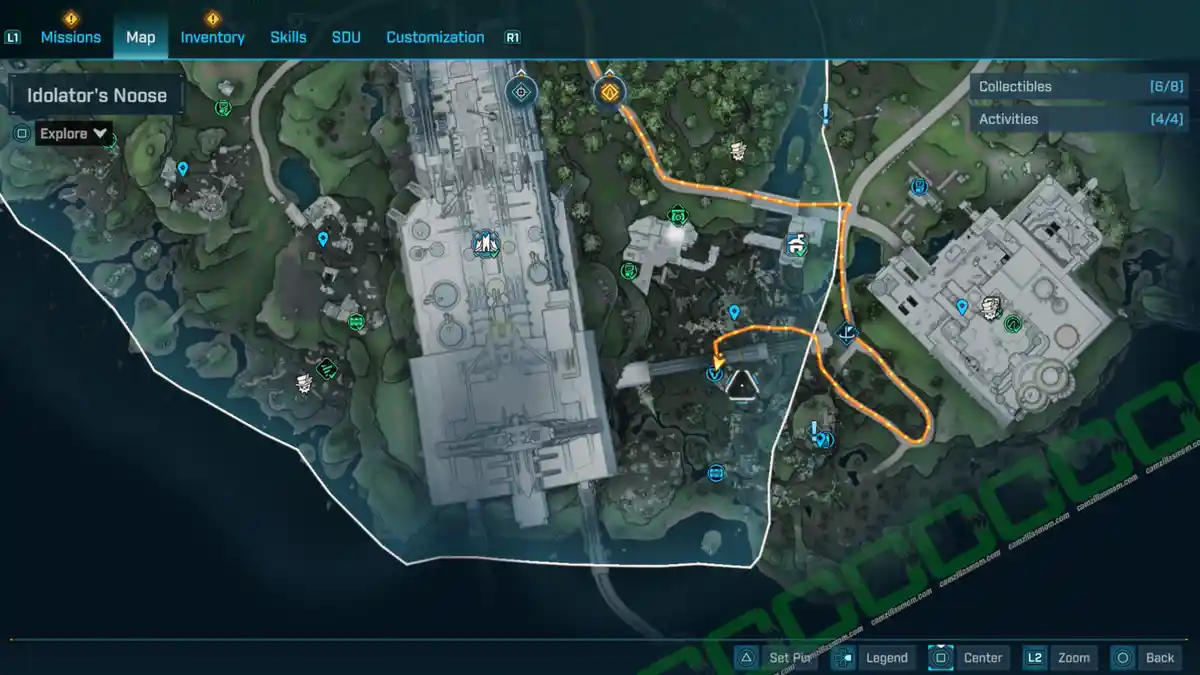
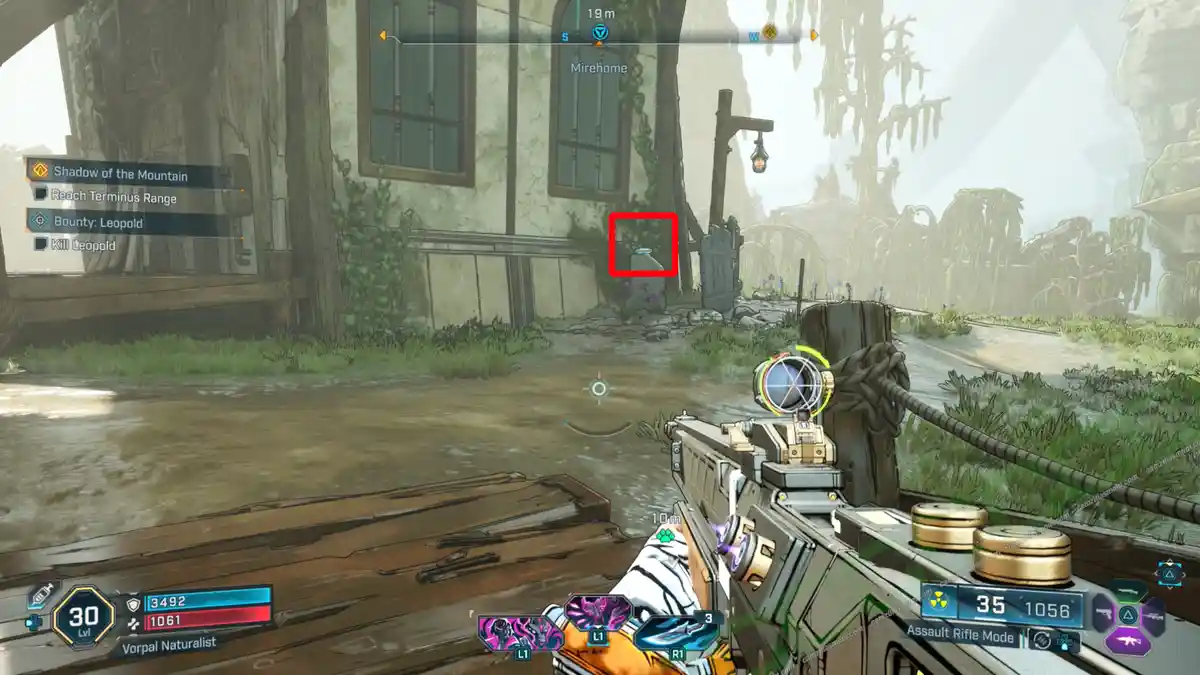
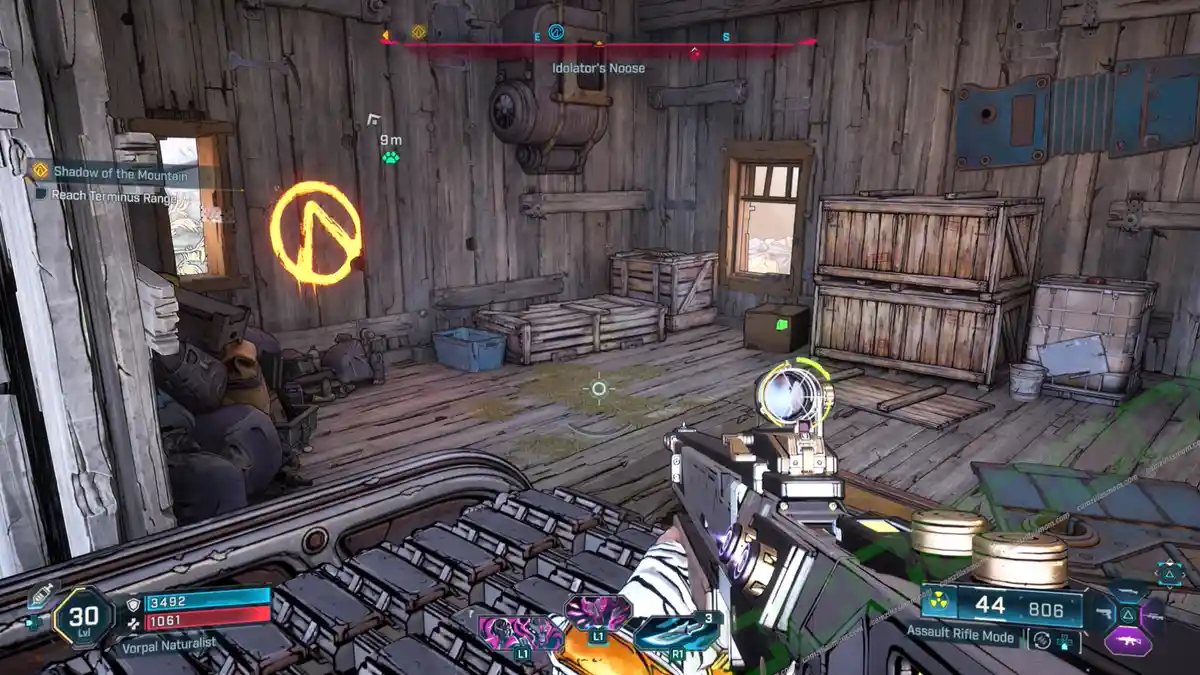
Southwest of Idolator’s Noose, you’ll find the Mirehome. Just south of there, there’s a wooden bridge that takes you to a church-like building. Outside that church, you’ll come across the Dead Bolt.
Description:
“Choir Linden. Kairos. 186,588 hours. Offline.”
2 – Starfish-Crossed – Rosemary’s Reserve
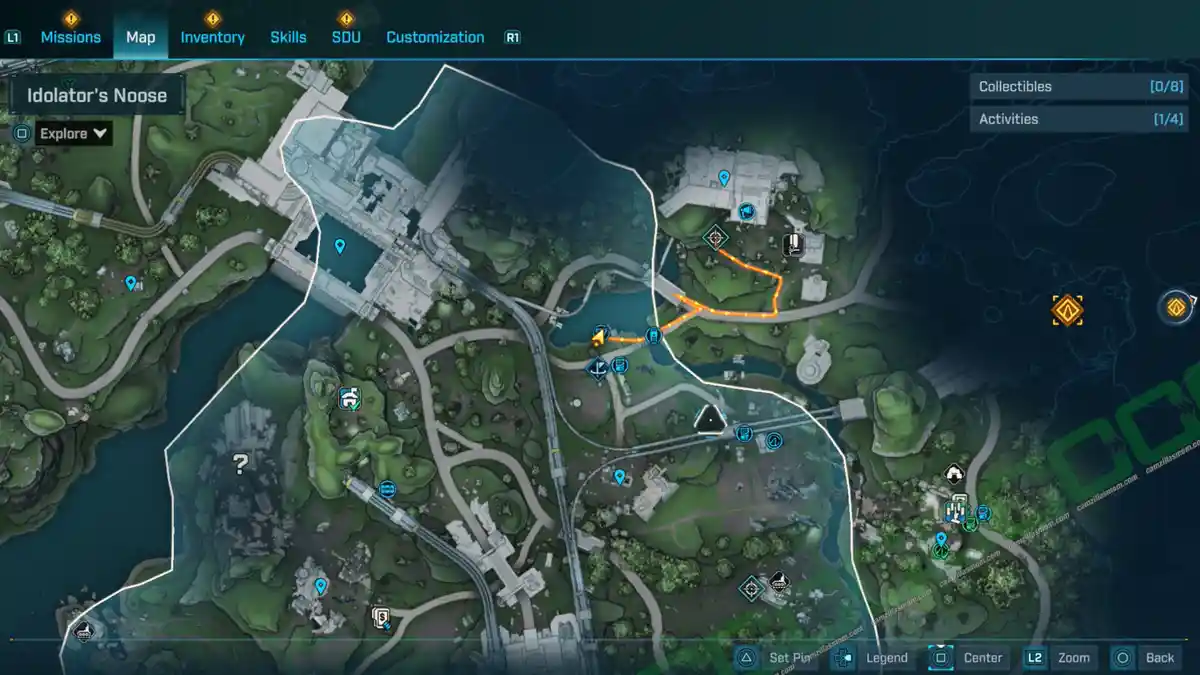
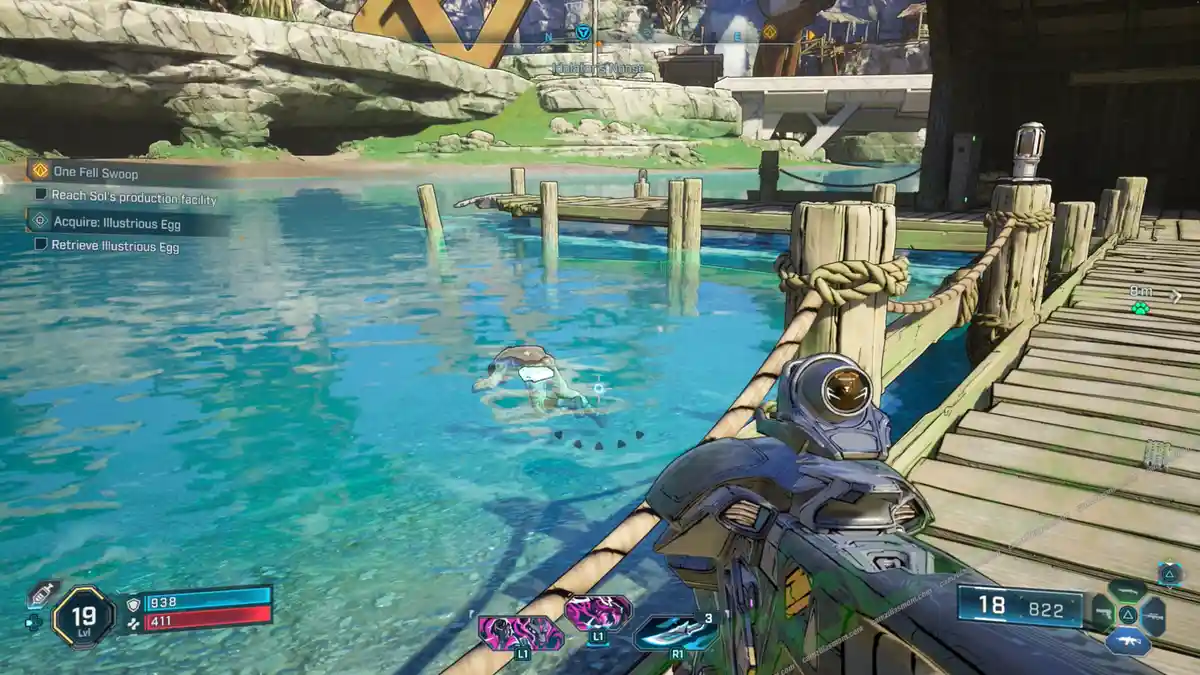
Just north of Rosemary’s Reserve, in the central eastern part of Idolator’s Noose, there’s a pond with a dock and a house. Someone drowned in the pond, leaving behind the Dead Bolt.
Description:
“Ames Slowik. Elpis. 5,110 hours. Offline.”
3 – Watch This – Tetanus Squad
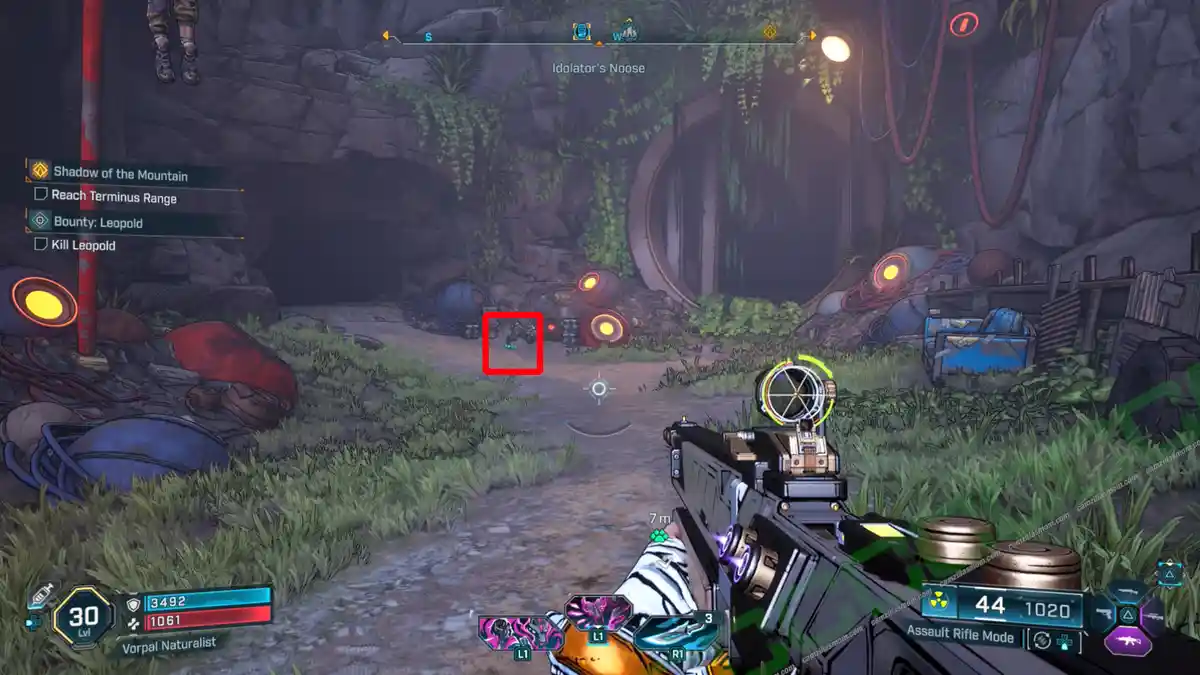
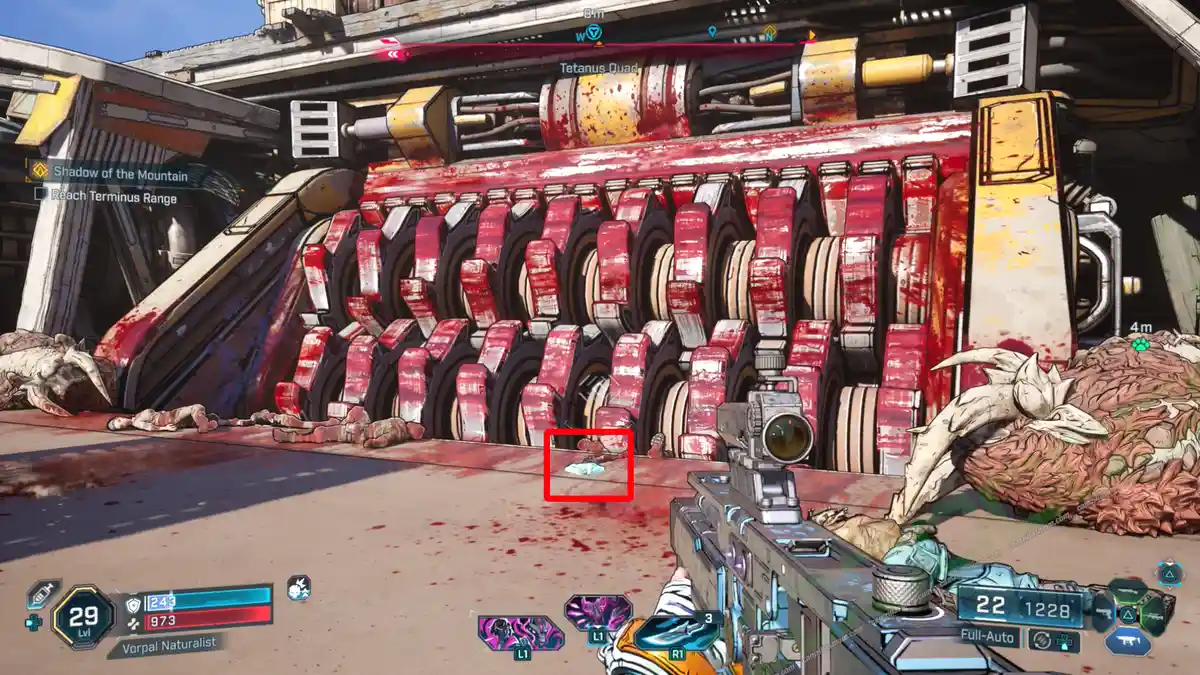
The Dead Bolt is right in front of the meatgrinder at Tetanus Squad.
Description:
“Alwa Hadad. Ninazu. 50,983 hours. Offline.”
Lost Capsule – 1
Lost Capsules in Borderlands 4 are these encrypted containers. They’re too big for your inventory, so you’ll have to carry them by hand back to a Safehouse with a Decryptor. Don’t worry about finding your way; the decryption spot shows up on your HUD and in-game map as soon as you grab a Capsule. Your reward? Some sweet loot!
1 – Wooden Bridge
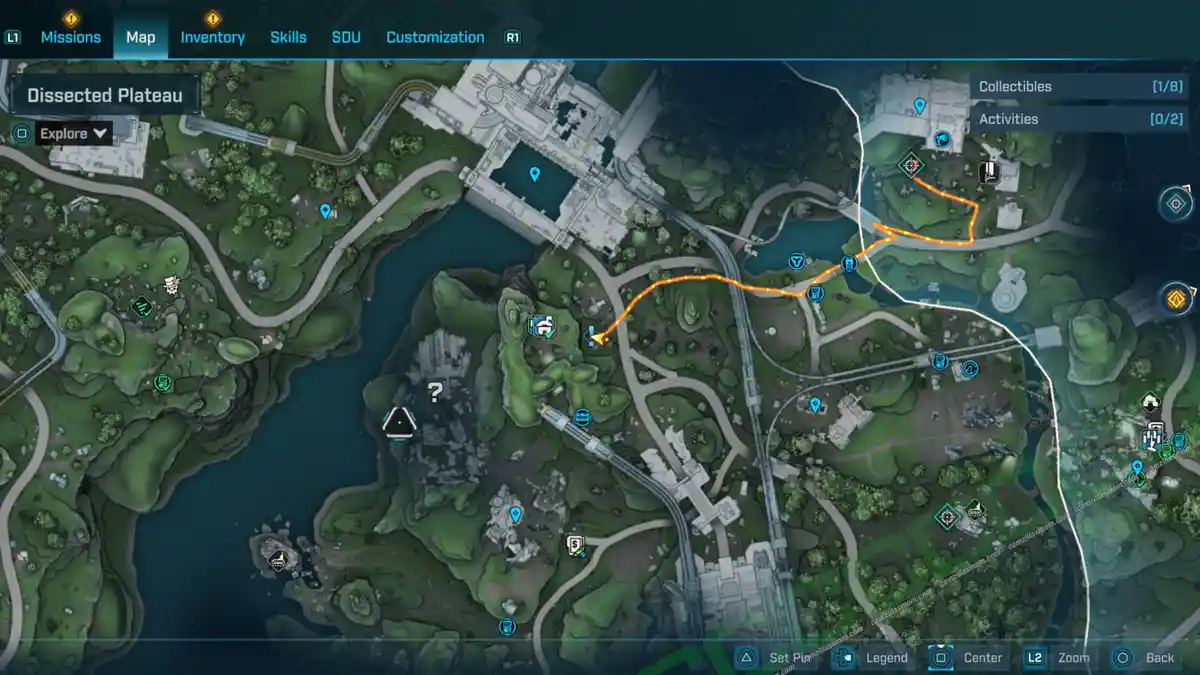
The Lost Capsule? It’s on the upper part of the covered wooden bridge, right on the northeast edge to the Dissected Plateau. Grab it and head to the Someday Rise Safehouse. You’ll need to toss it up a couple of times to get it where it needs to go.
Propaganda Speaker – 1
Propaganda Speakers are interactive collectibles you’ll need to find and activate. Once you do, get ready to defend against three waves of attackers while Echo-4 hacks the device. You can find a Propaganda Speaker in Idolator’s Noose, located at Rosemary’s Reserve.
1 – Rosemary’s Reserve
You’ll find the Propaganda Speaker right next to Rosemary’s Reserve’s map marker.
Collectibles Nearby:
-> Vault Fragment
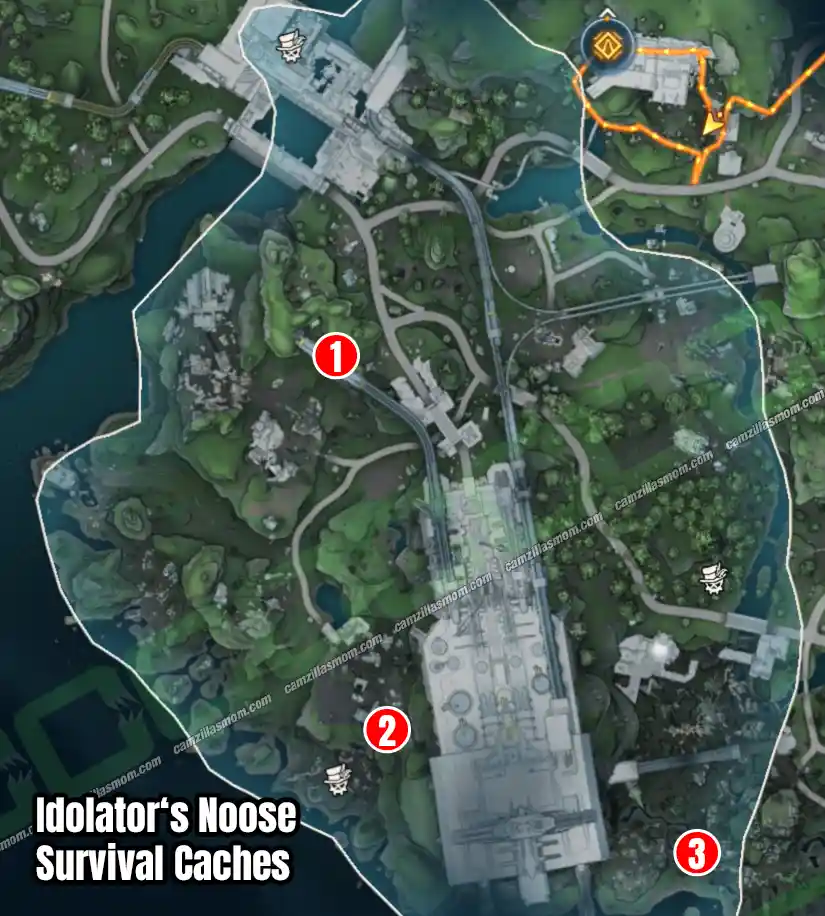
Survivalist Caches – 3
Survivalist Caches are big loot containers hidden around the Borderlands 4 map. Just track them down and interact with them to grab the goods!
1 – Someday Rise Safehouse
Just south of Someday Rise Safehouse, there’s a Survivalist Cache out in the open—it’s not exactly well hidden.
2 – Racketrun
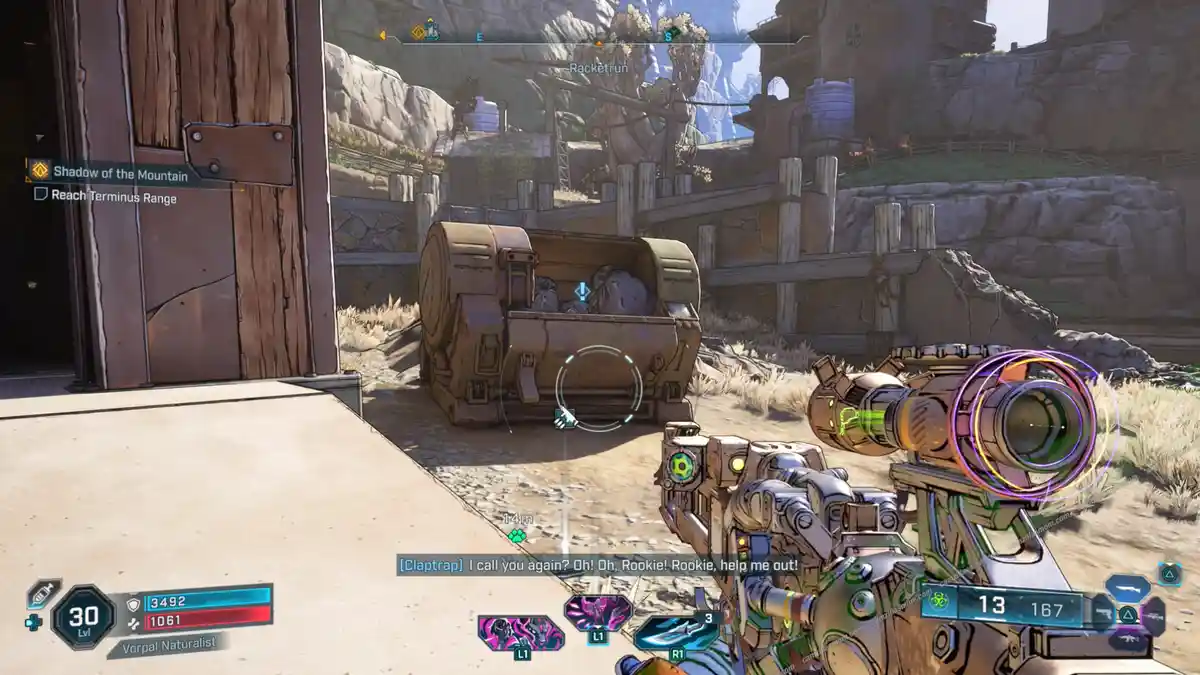
Just south of Racketrun, there’s a shed. The Survivalist Cache is inside. You can pick up this Survivalist Cace during the “Sum of His Parts” Side Mission.
3 – Mirehome
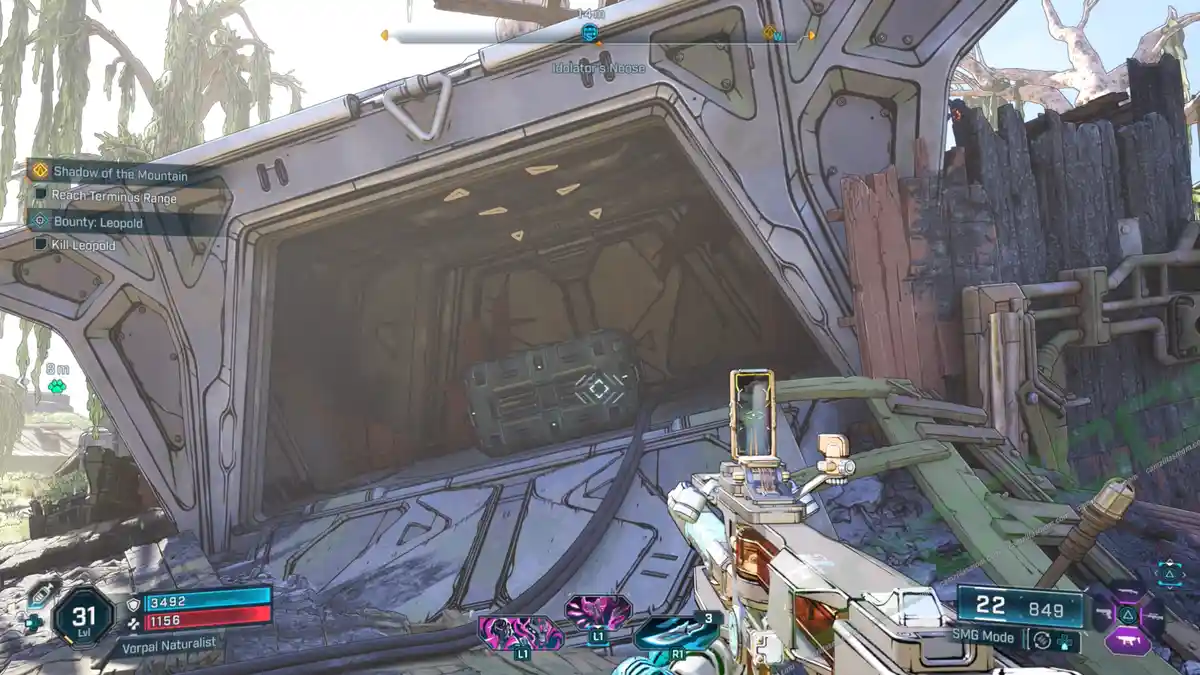
In the far south of the Mirehome Point of Interest, tucked away in the southwest corner of Idolator’s Noose, you’ll find a Survivalist Cache inside a crashed Order container.
-> Also Available: Cache to Spend: Survivalist Caches in Borderlands 4
Evocarium – 1
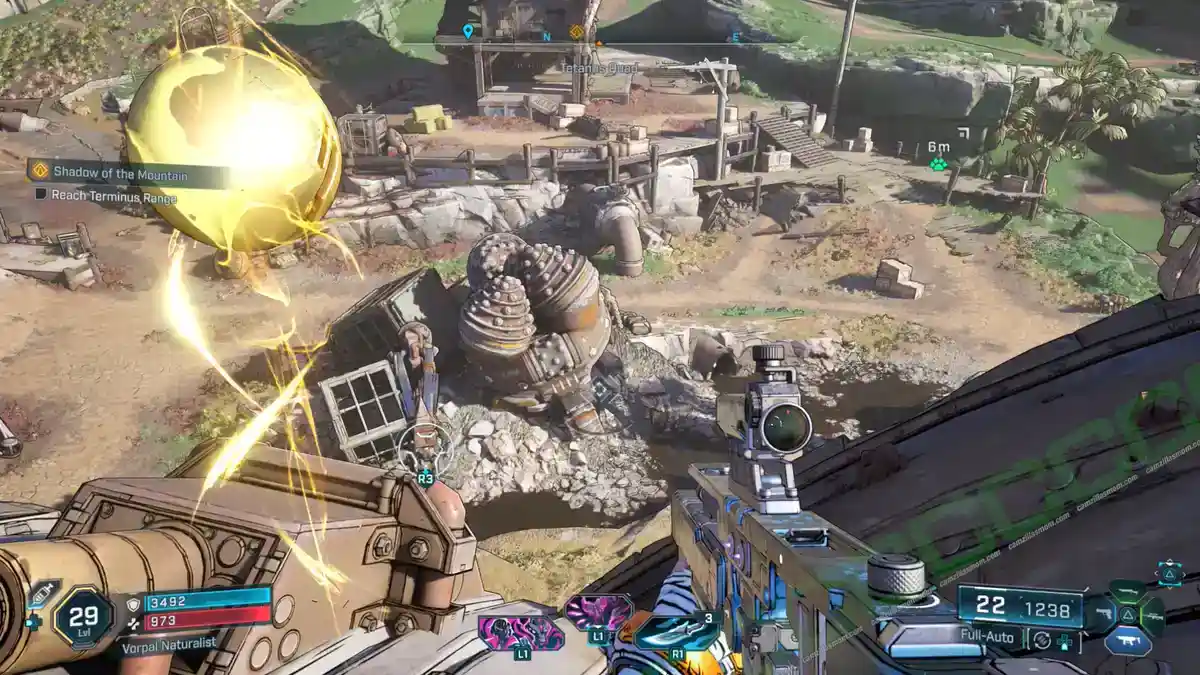
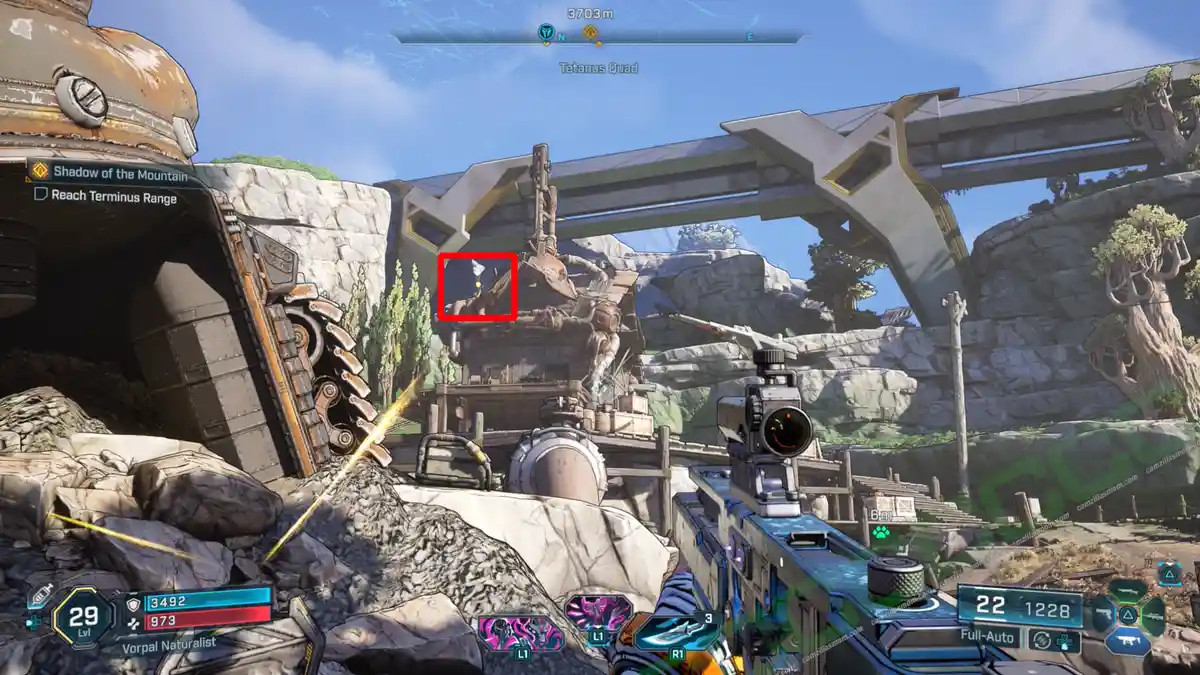
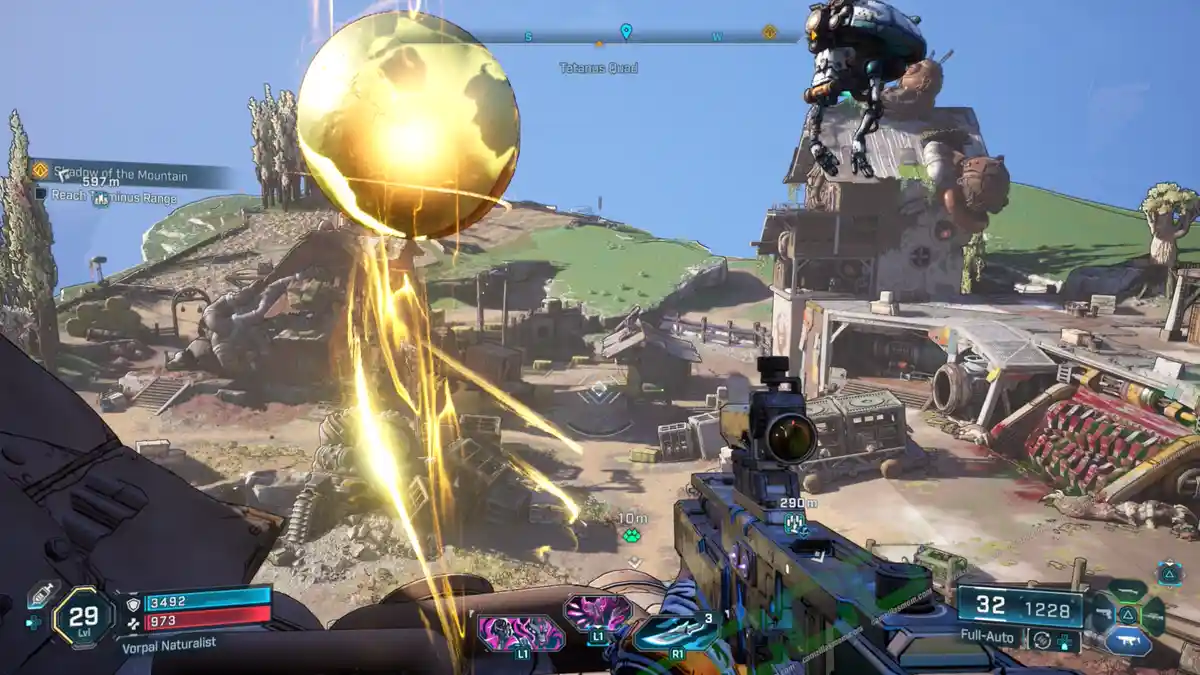
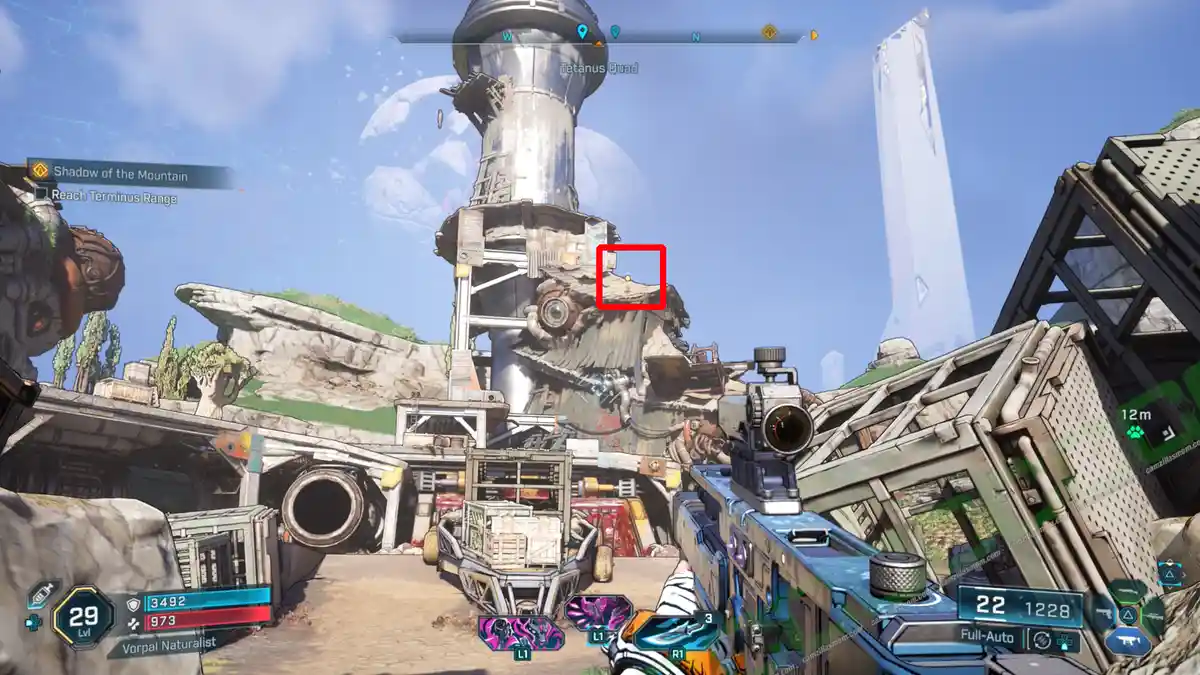
1 – Eridian: Warmth – Tetanus Squad
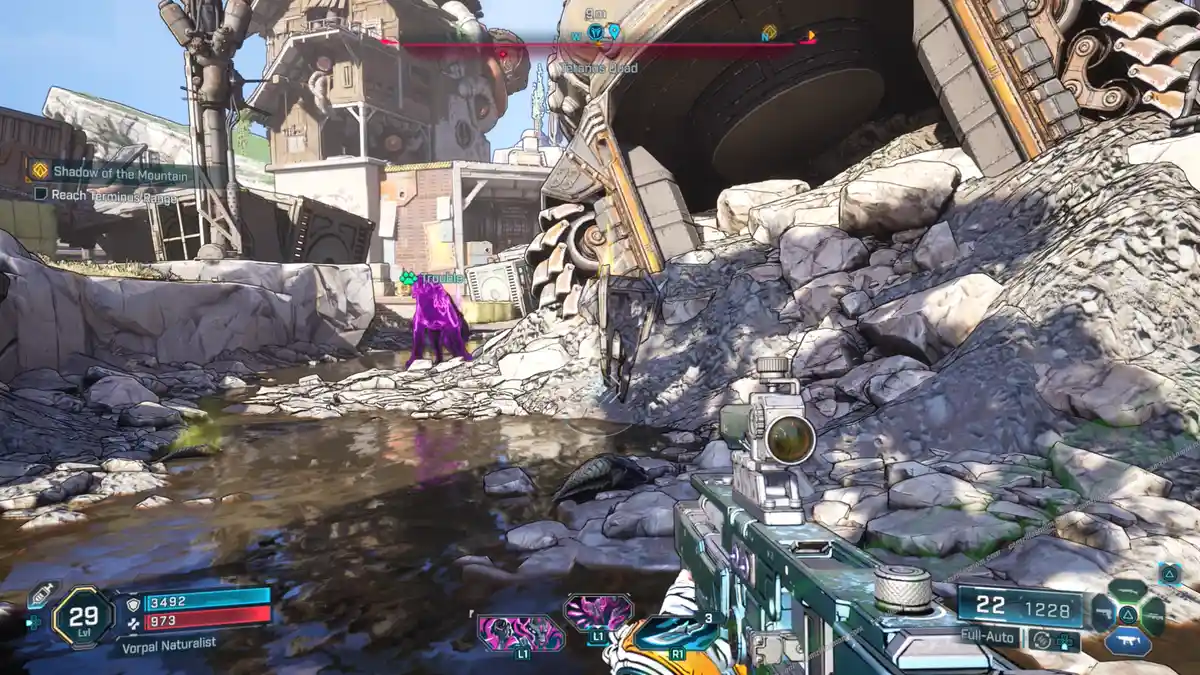
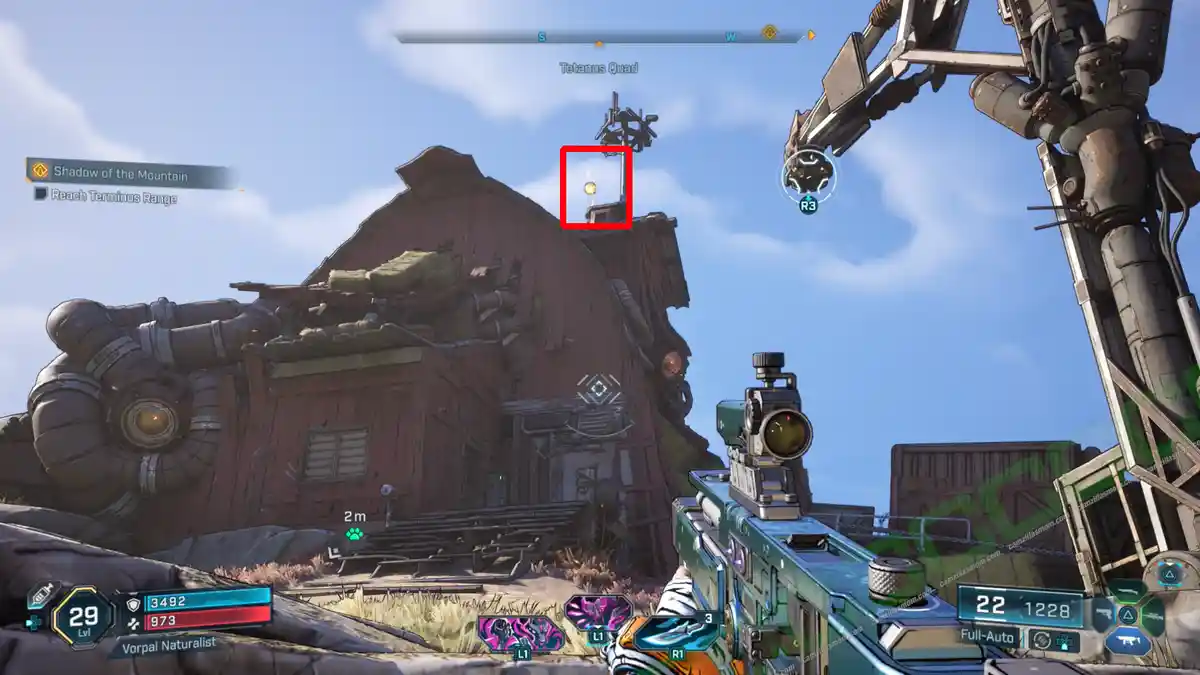
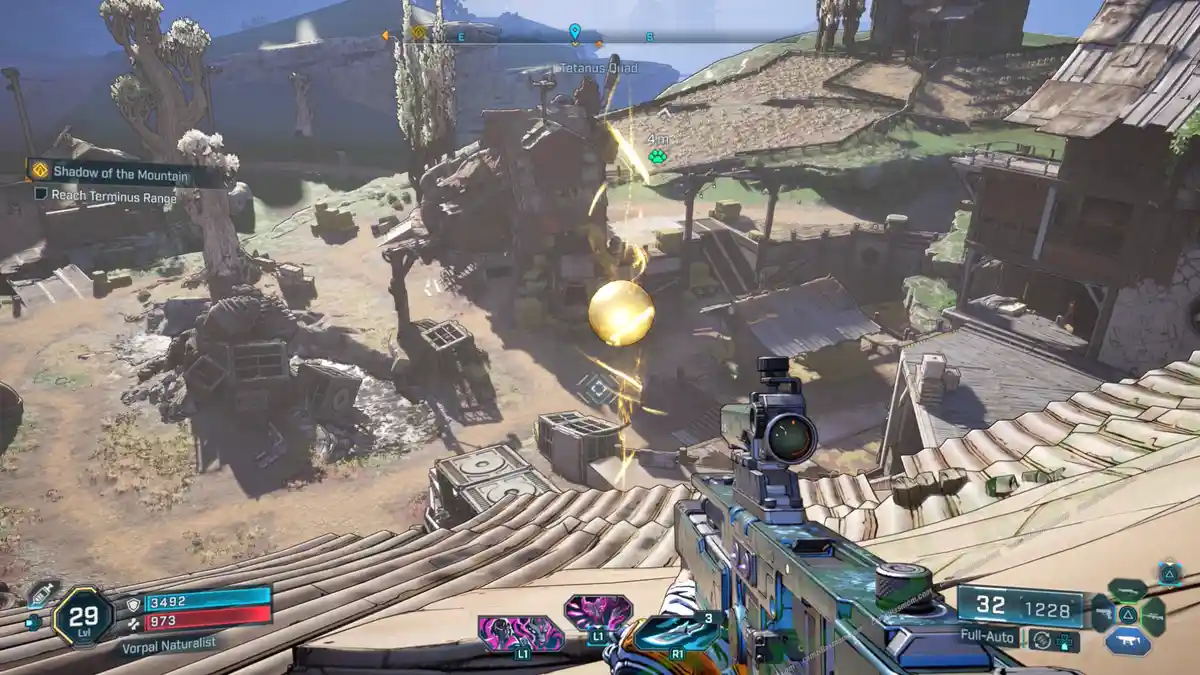
You’ll find it at Tetanus Suad, way out west in the region. The torch is right in the middle of the area, down in the ditch. Grab it to reveal three target orbs. There’s one on each building.
Check out these screenshots of the orbs on all three buildings. Just use ECHO to spot the ladders and climb up using the surroundings! Once you’re done, head back to the torch to grab the ECHO Log Eridian: Warmth.
-> Also available: Stranded Sister – All 18 Evocariums Revealed
Vault Fragment – 1
There is one Vault Fragment at Idolator’s Noose. A Vault Fragment is one of three parts that need to be found to open the Arch of Inceptus Vault in the Dissected Plateau region.
1 – Rosemary’s Reserve
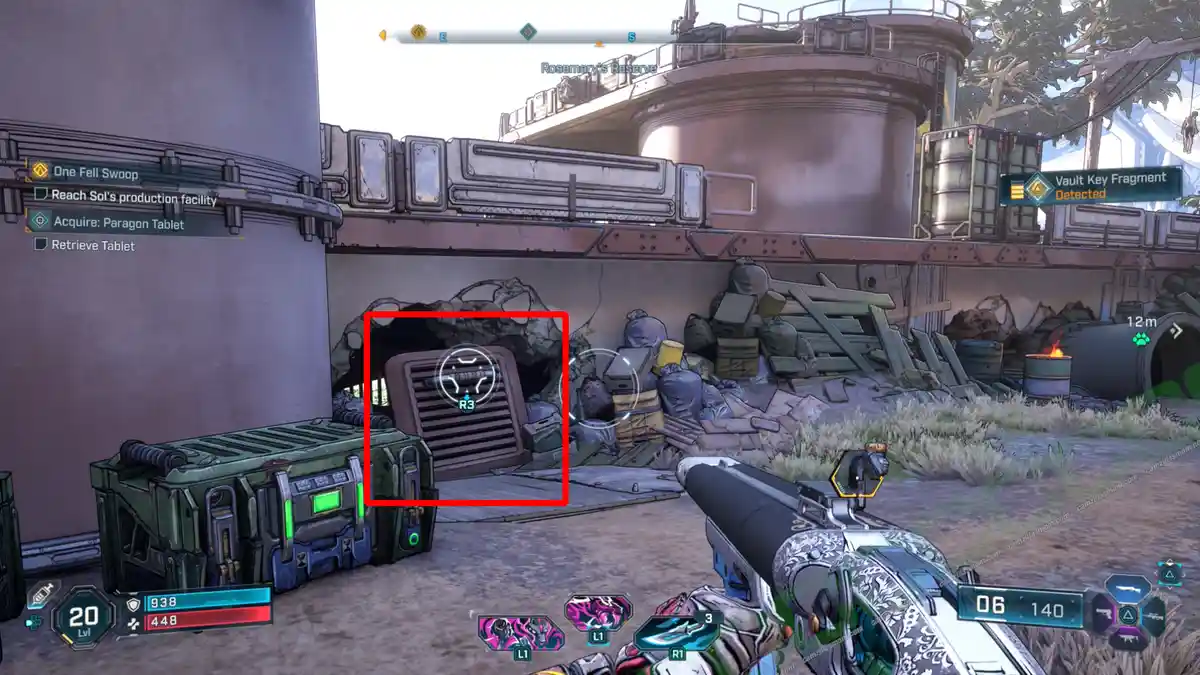
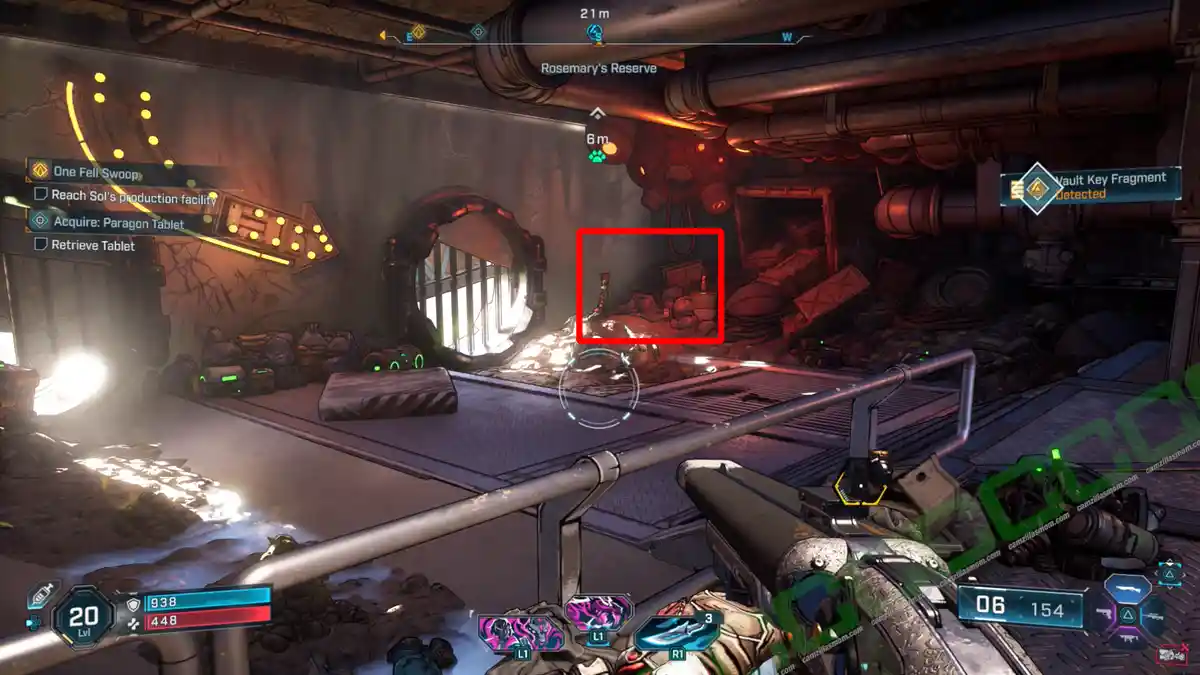
Head to Rosemary’s Reserve! The Vault Fragment is stashed in the crawlspace under the silos. Just find a ventilation panel you can yank away to get in there. Bonus: there’s a bobblehead right next to it!
-> Also available: Every Vault Fragment & Vault Location in Borderlands 4
Vault Symbols – 2
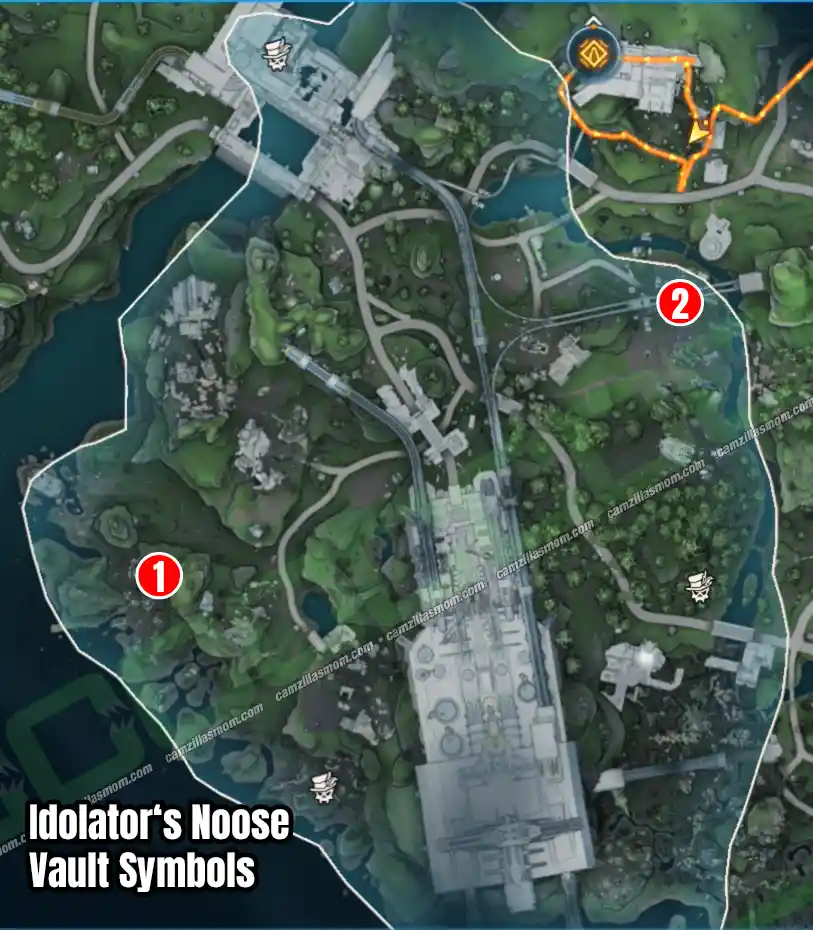
You’ll find two Vault Symbols hidden at Idolator’s Noose. These are those bright, glowing symbols carved into various spots in the game world. Just interact with them to add them to your collection!
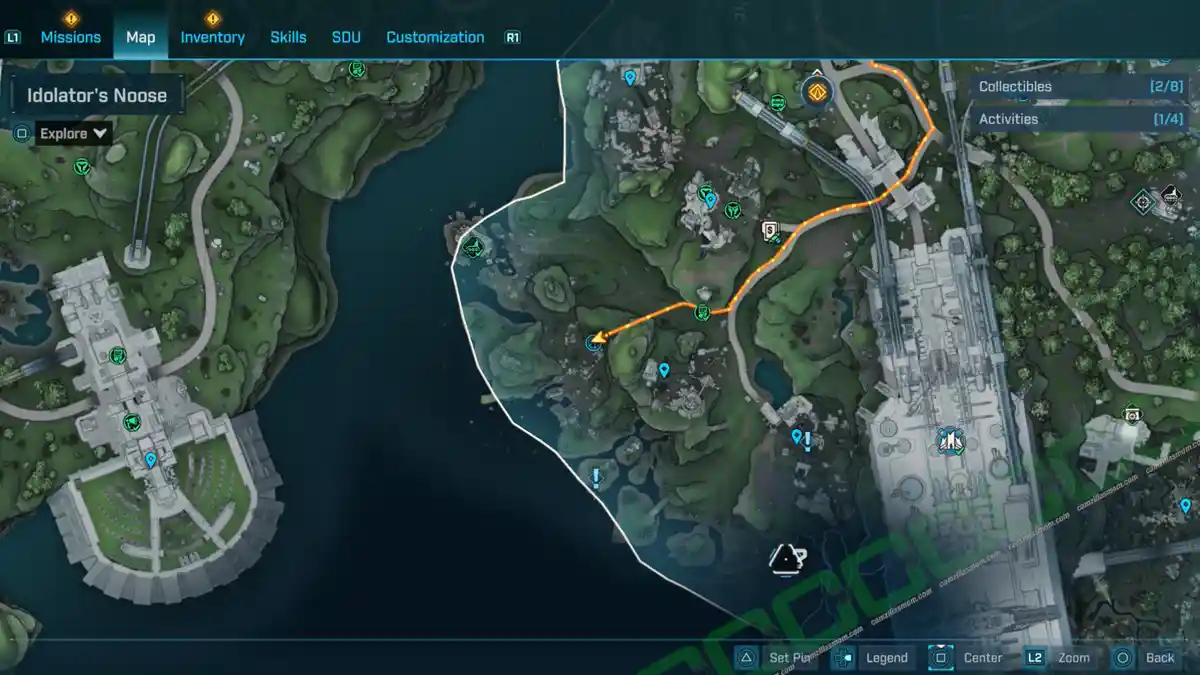
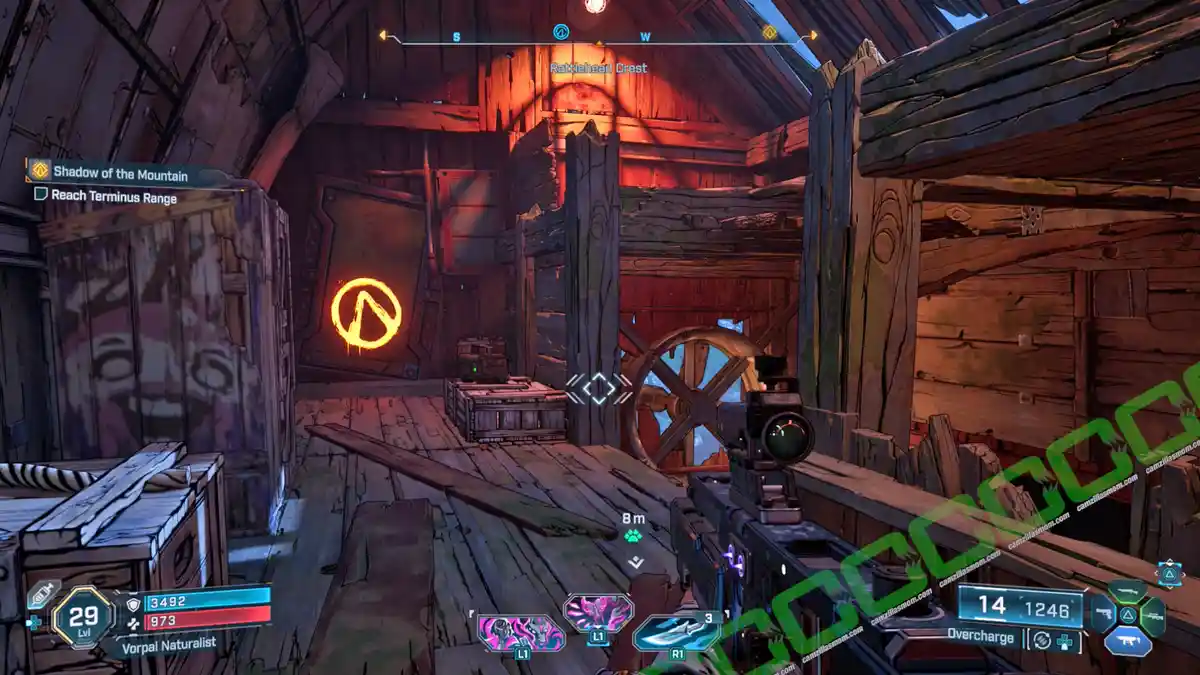
1 – Rattlehead Crest
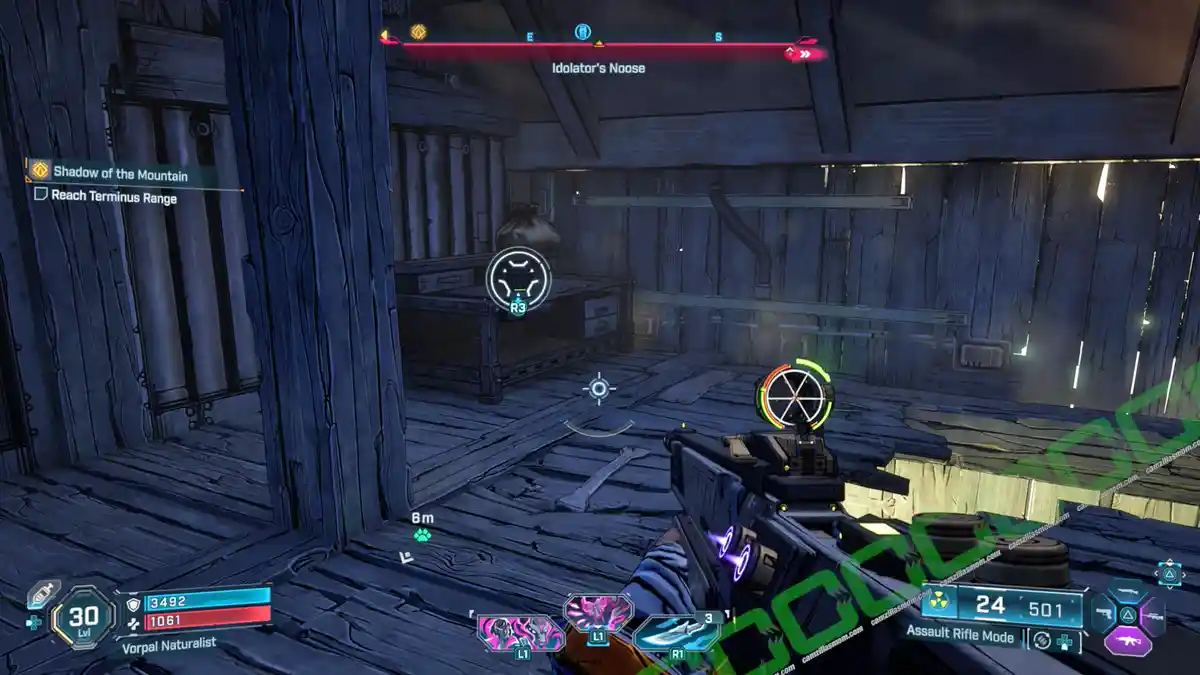
Rattlehead Crest is a large, spread-out Ripper settlement located in the western part of Idolator’s Noose. Just west of the Rattlehead Crest marker on the map, you’ll find another big section of the settlement with a tall building built right against the mountain. Climb all the way to the top of this building, go inside, and head up to the attic – the highest point – where you’ll find the Vault Symbol.
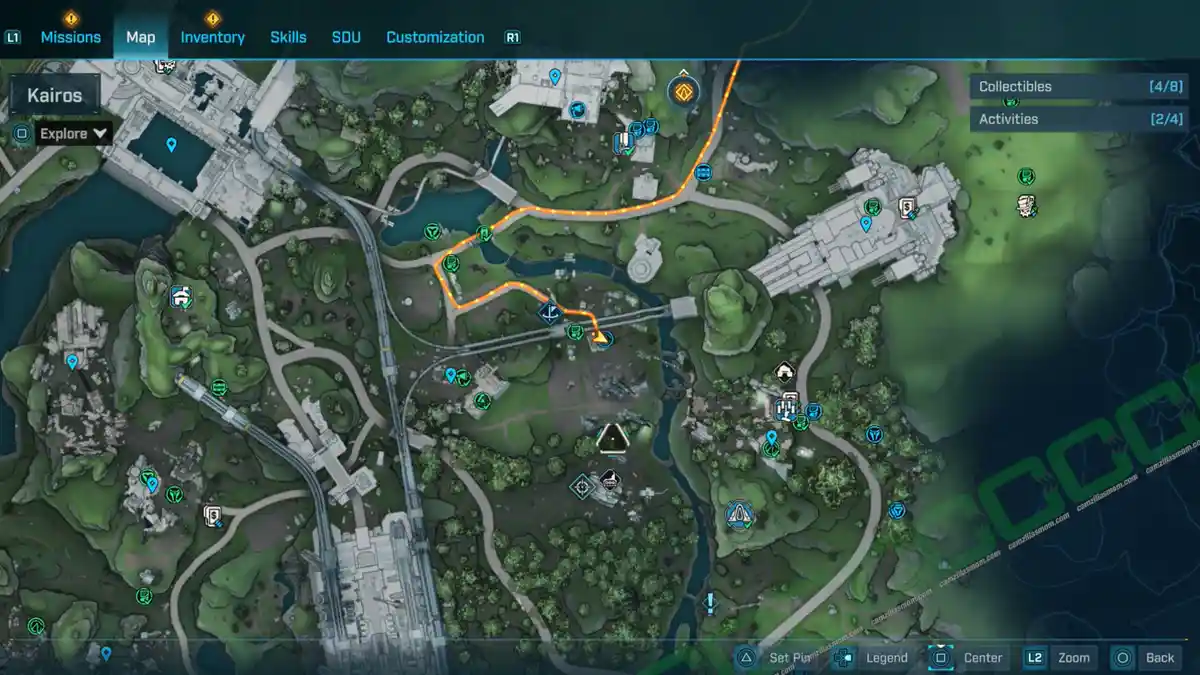
2 – Rosemary’s Reserve: Eastern Settlement
Just east of Rosemary’s Reserve (you know, that POI), right where it meets the Dissected Plateau, there’s a friendly little settlement. The Vault Symbol is waiting for you on top of the building furthest to the east.
Activities
Ancient Crawler:
Pester’s Grotto
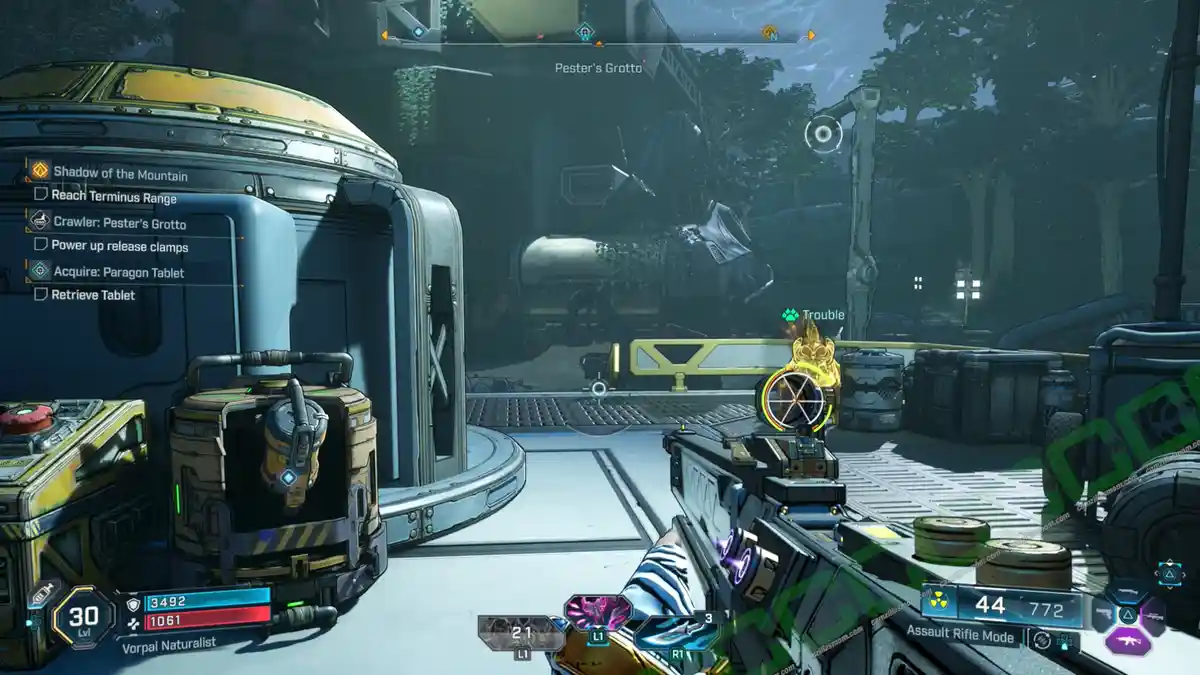
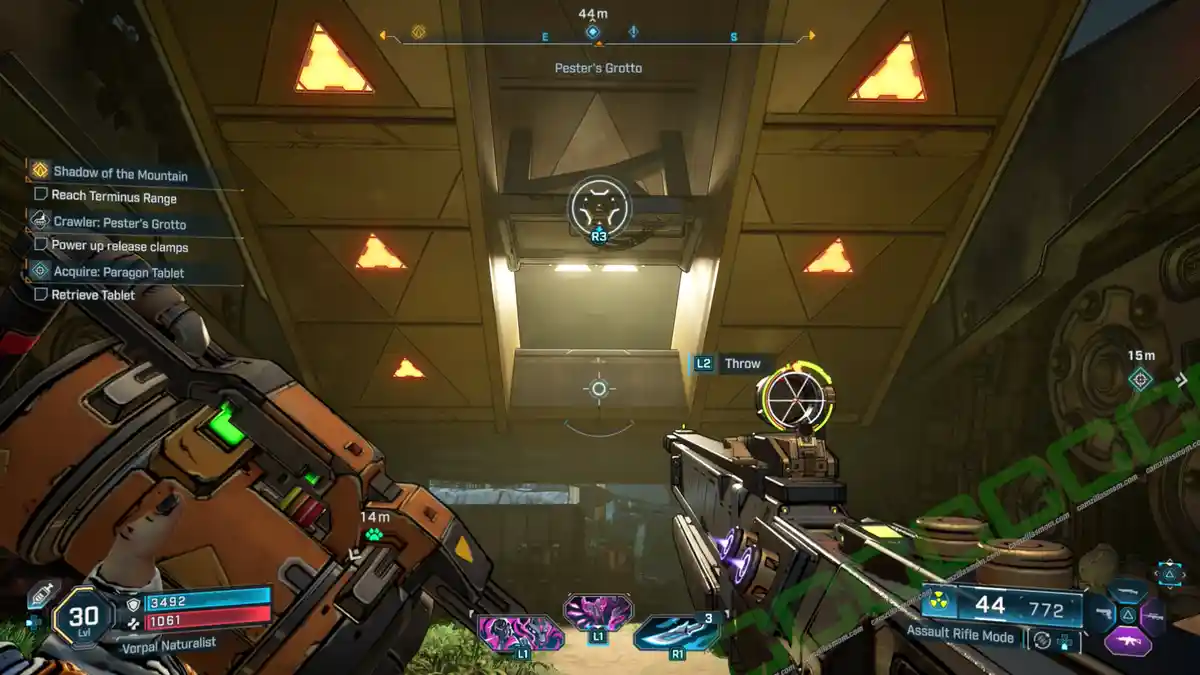
To complete the Ancient Crawler location in Pester’s Grotto, east of Idolator’s Noose, you’ll first need to find the Power Core. You can find it just east of the Crawler inside a dome-shaped loading station.
To access the Deposit, look for the access point located just below the crawler. See that grapple point? You’ll need to toss the power core forward first, then grapple up. From there, you’ve got a good, long staircase. For the final push, just throw the power core ahead again and climb on up. The Deposit is on the same level as the reward metal panel. It’s actually below the Deposit itself. Rip it off and you’ll snag the Itty Bitty Kitty Committee – Vehicle Cosmetic.
Ancient Crawler:
The Eminent Husk
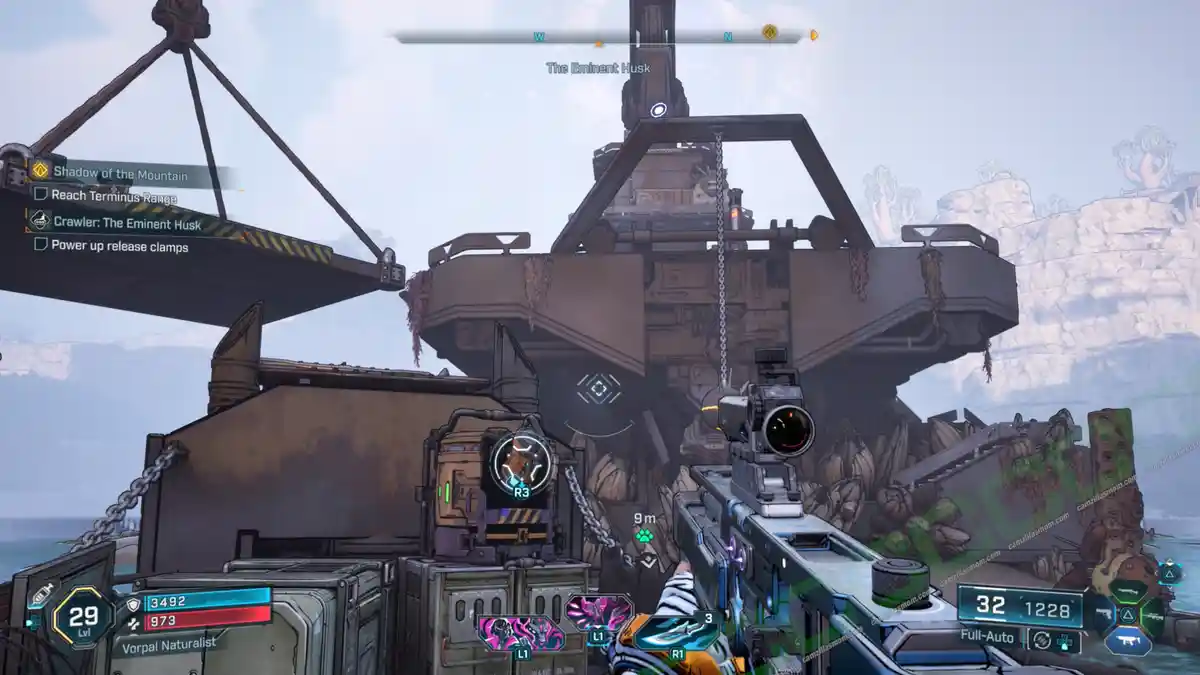
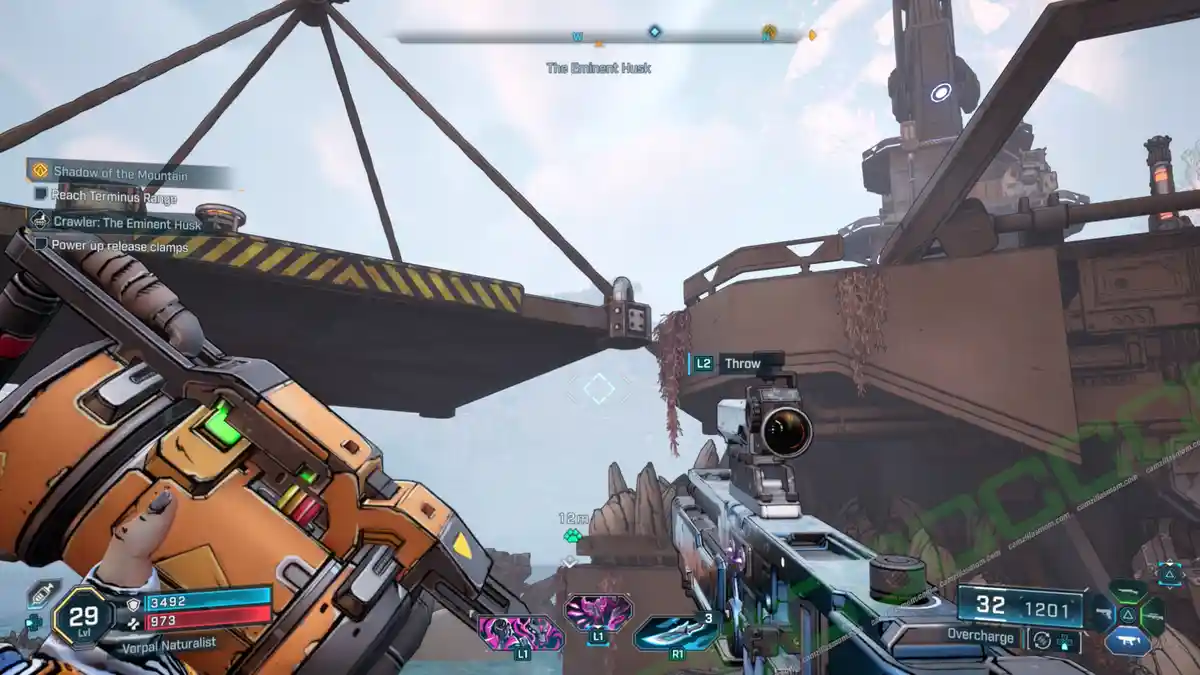
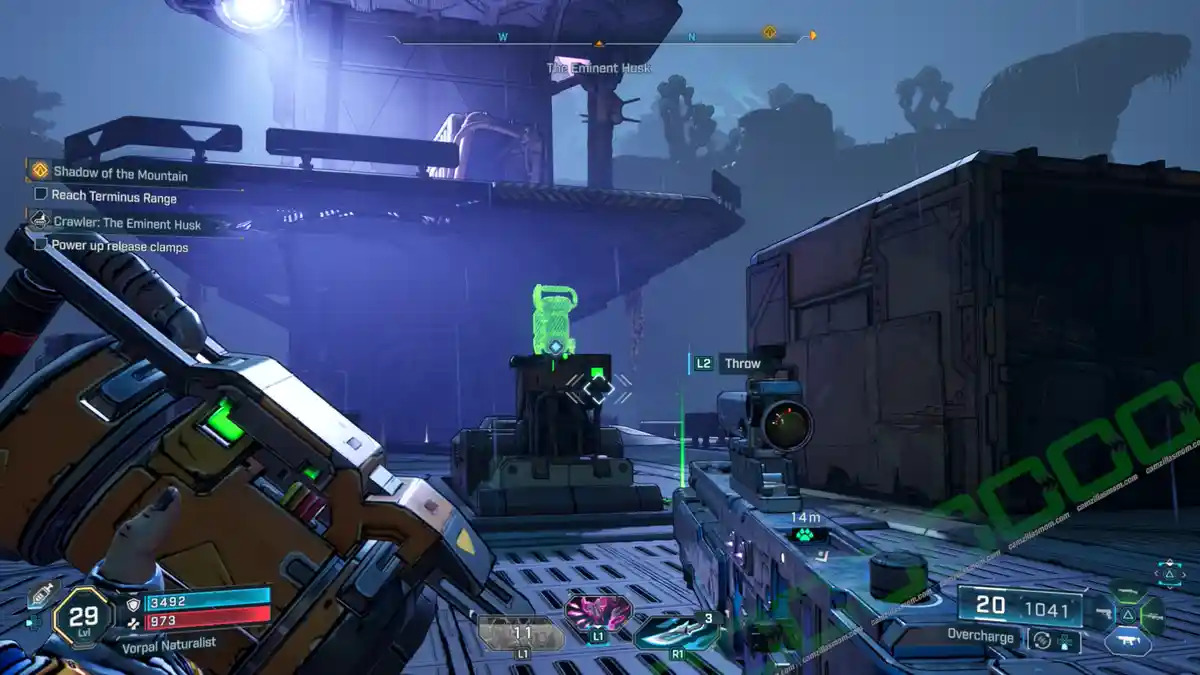
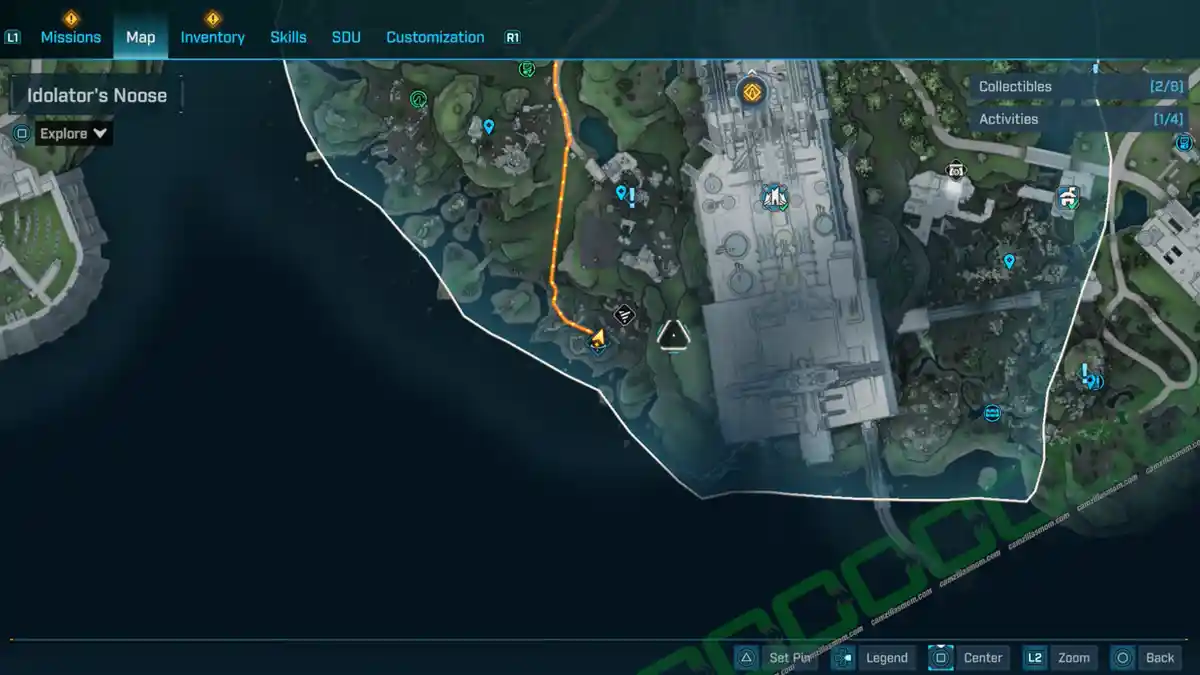
The Ancient Crawler: Out west in Idolator’s Noose, you’ll find the Eminent Husk – a huge, still-intact Ancient Crawler. To clear this Ancient Crawler location, you first need to track down the Power Core. It’s right there on the ground, loaded onto a truck.
Next, use the truck to jump onto the next platform and reach the Ancient Crawler. Toss the power core ahead of you since you can’t climb while holding it. The deposit slot is just one level up, and once you use it, a hidden compartment at the top will open. Climbing gets a lot easier after that. When you reach the top, just pull off the metal cover from the compartment, and you’ll get the Afterparty – Vehicle Cosmetic.
Ripper Drill Site:
The Pitted Stain
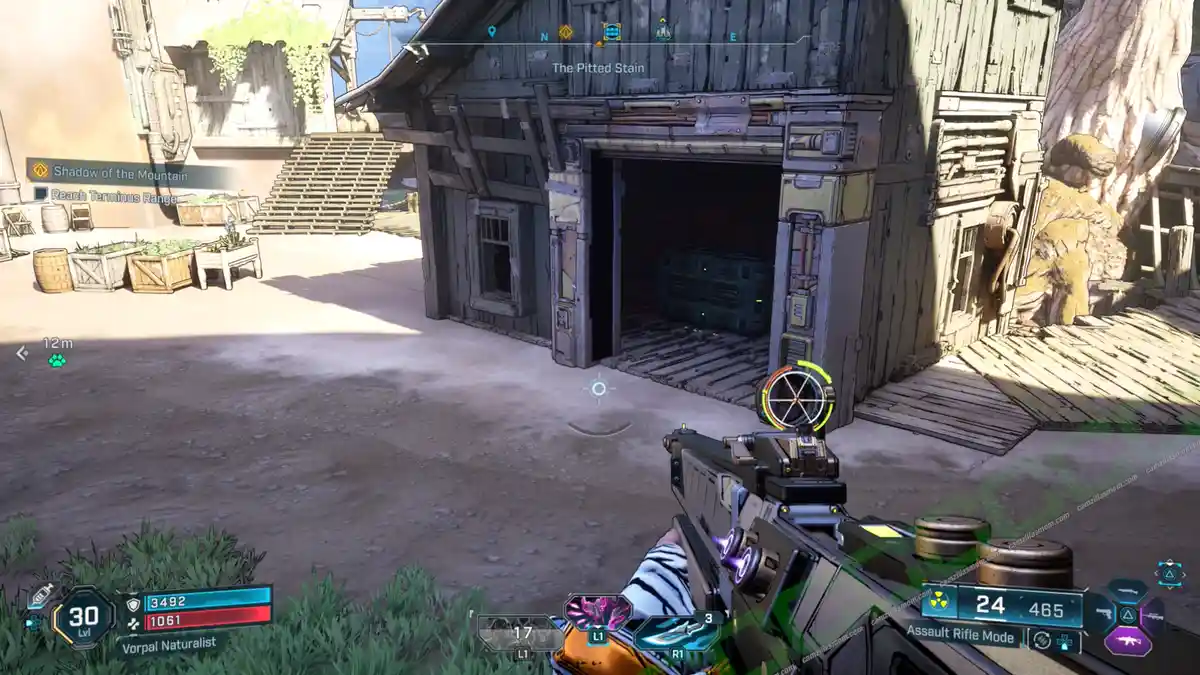
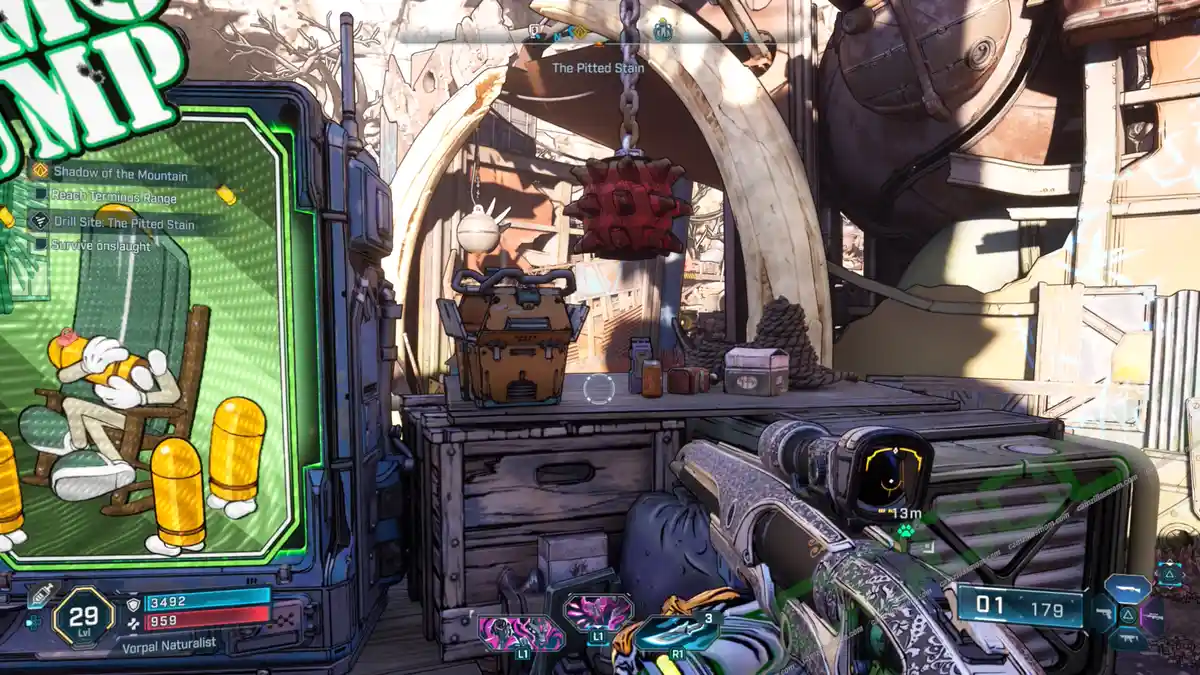
Southwest of Idolator’s Noose, you’ll find the Ripper Drill Site: The Pitted Stain. Head inside and take on the Foundry Freaks – Frank the Furnace, Sal the Engineer, and Hank the Welder. Good luck making it out in one piece!
-> Also Available: Disrupted Eruption: All Ripper Drill Sites in Borderlands 4
Order Bunker: Tipping Point
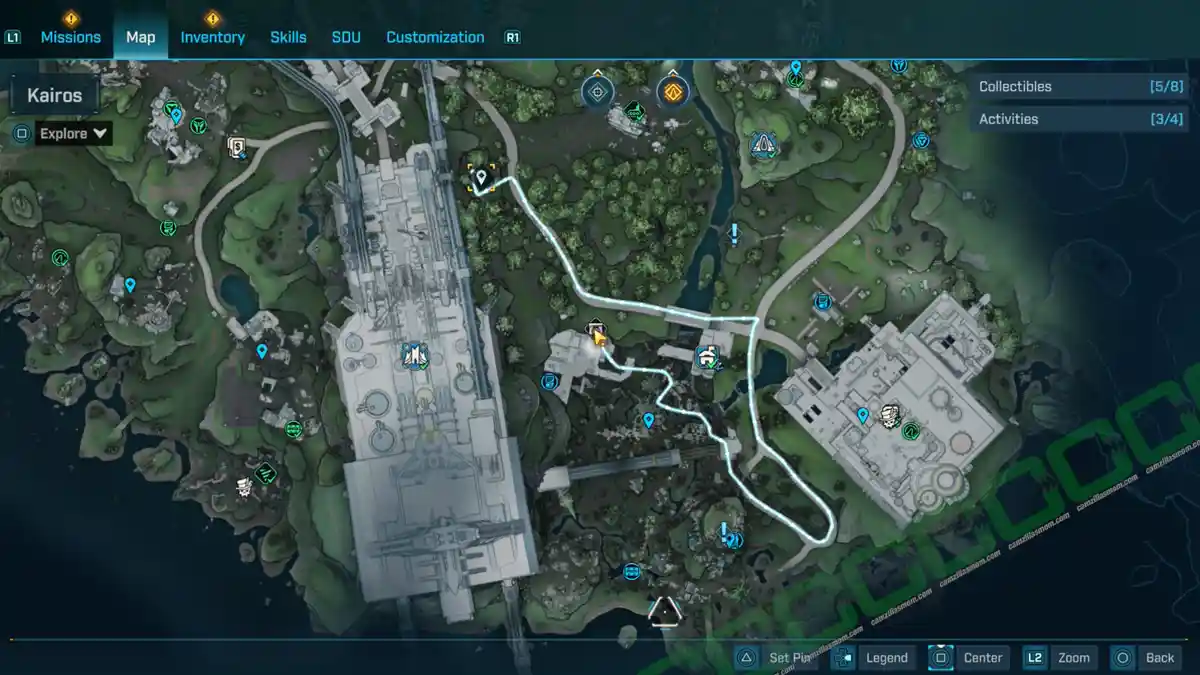
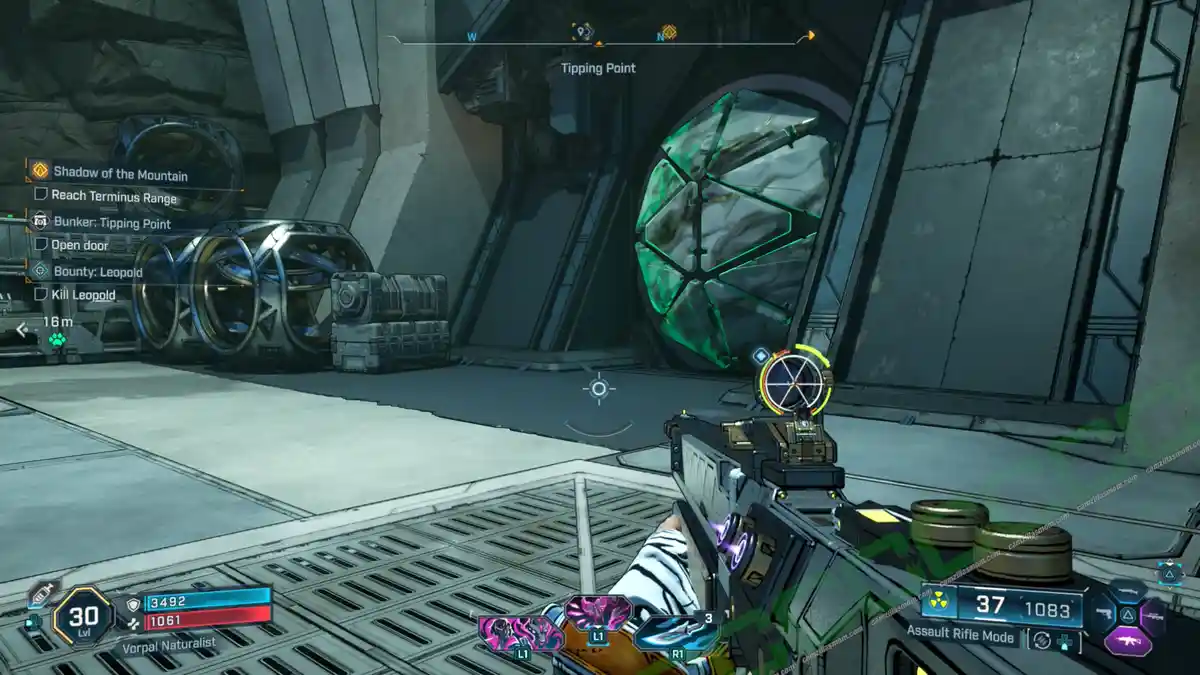
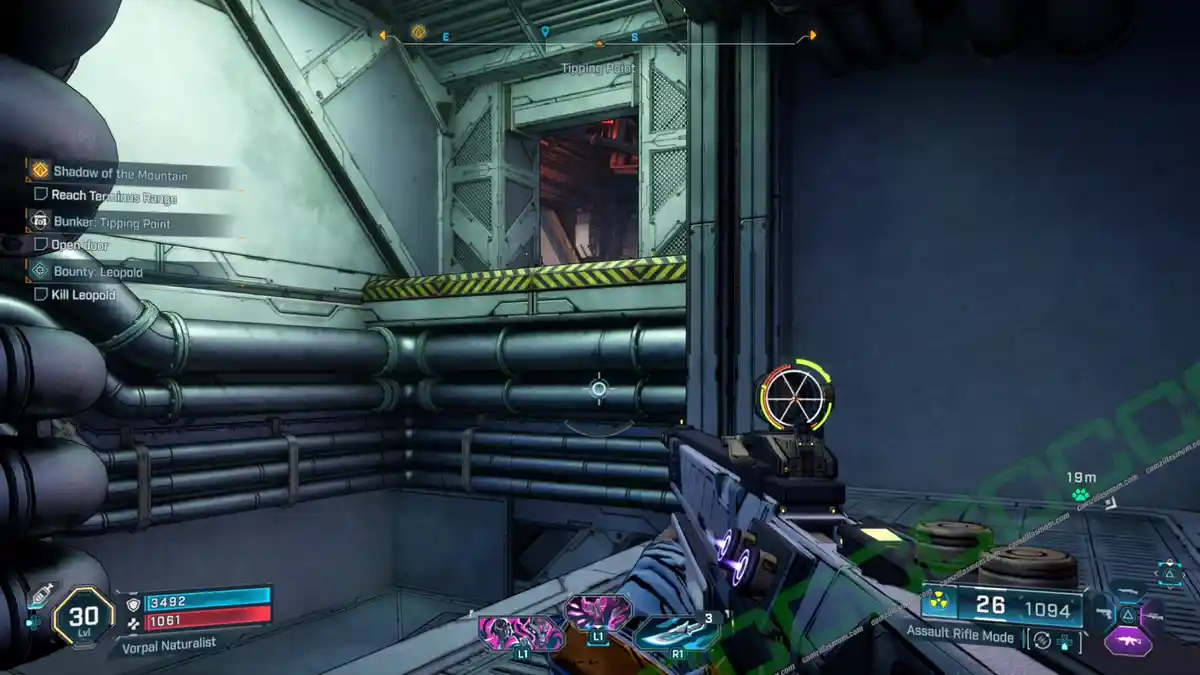
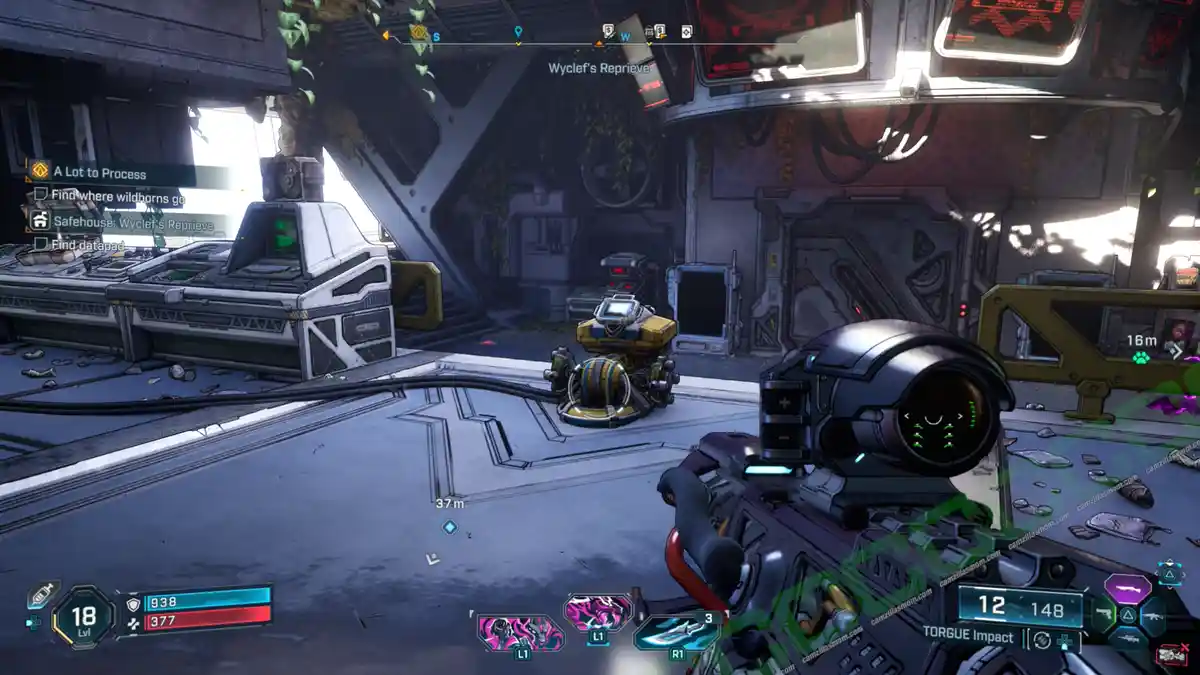
The Order Bunker: Tipping Point? You’ll find it just east of Wyclef’s Reprieve Safehouse, which is in the southeast part of Idolator’s Noose. To get there, just head down the elevator shaft from inside the Safehouse.
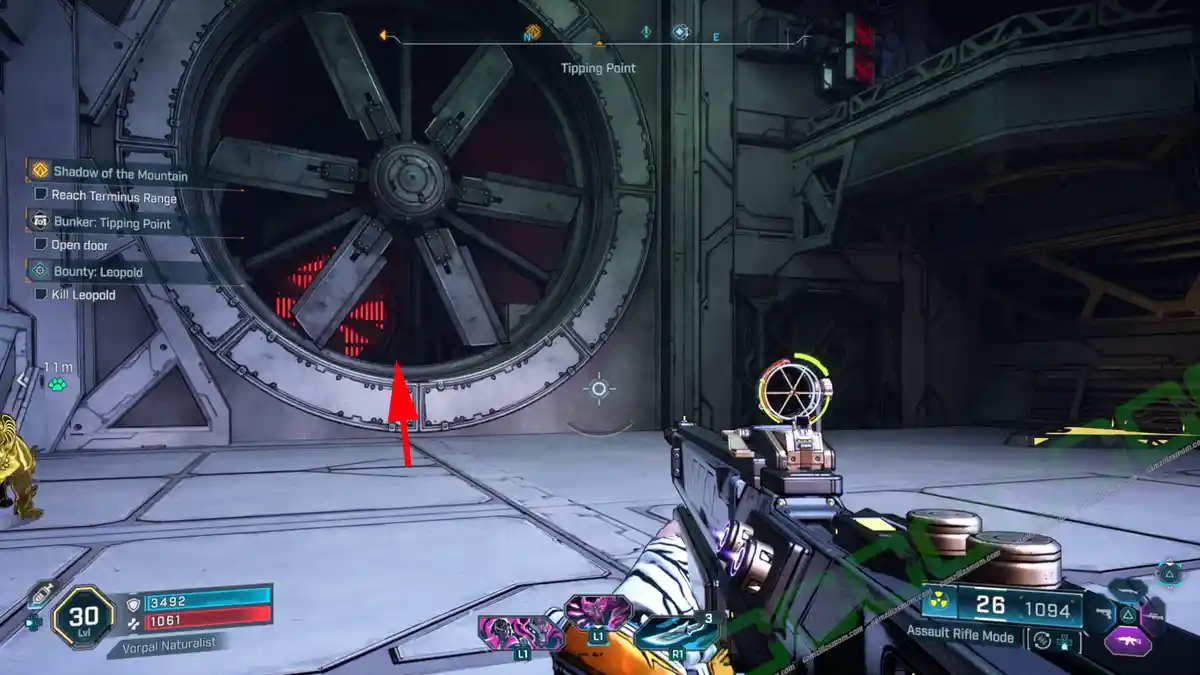
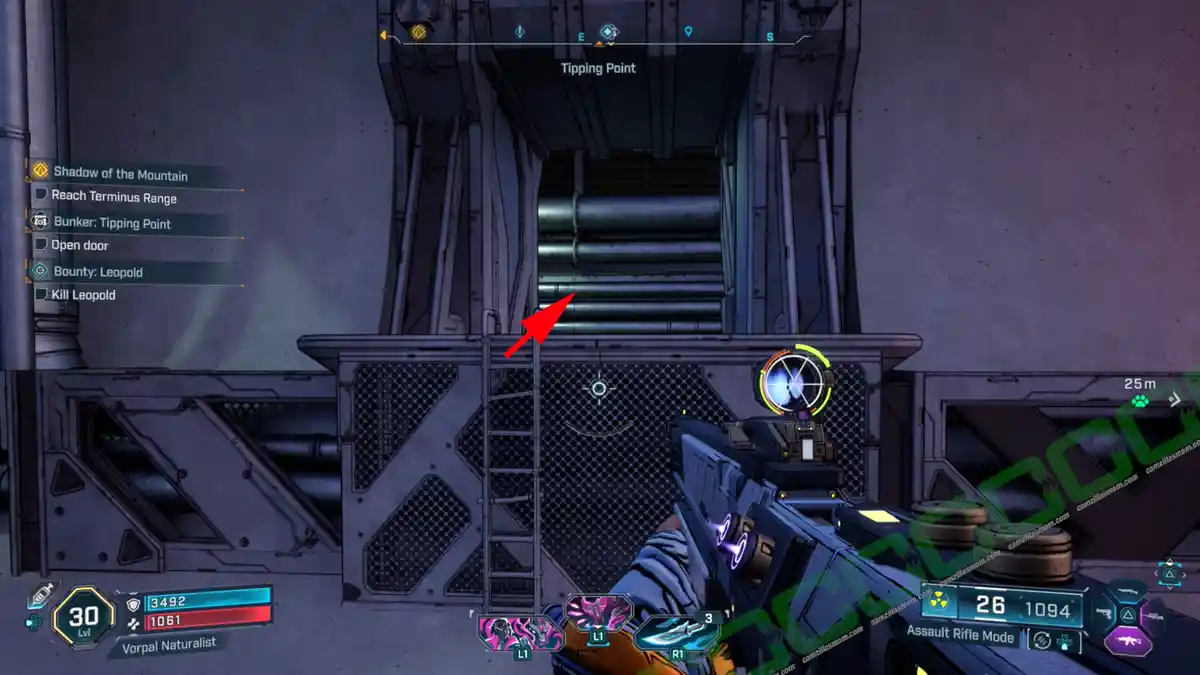
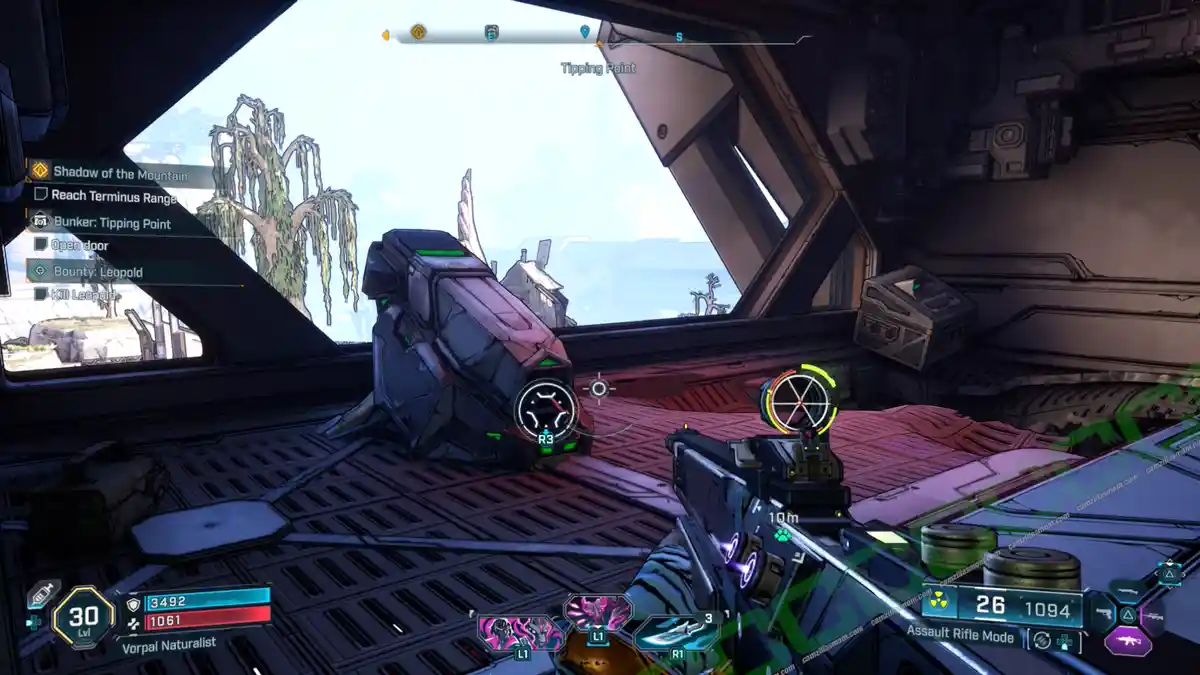
Just like any bunker, the entrance is covered by a special green shield. Play through the story until you can weaken those shields using something called a “Locust.” It’s a capsule you’ll need to find and toss onto the door. Start by looking for the big, stationary vent and climb inside. You’ll find a ladder there with a passage to continue.
In the next room, you’ll find an overhead area with a Locust dispenser. Grab a pod, drop through the hole in the floor, and throw the pod at the door to open it.
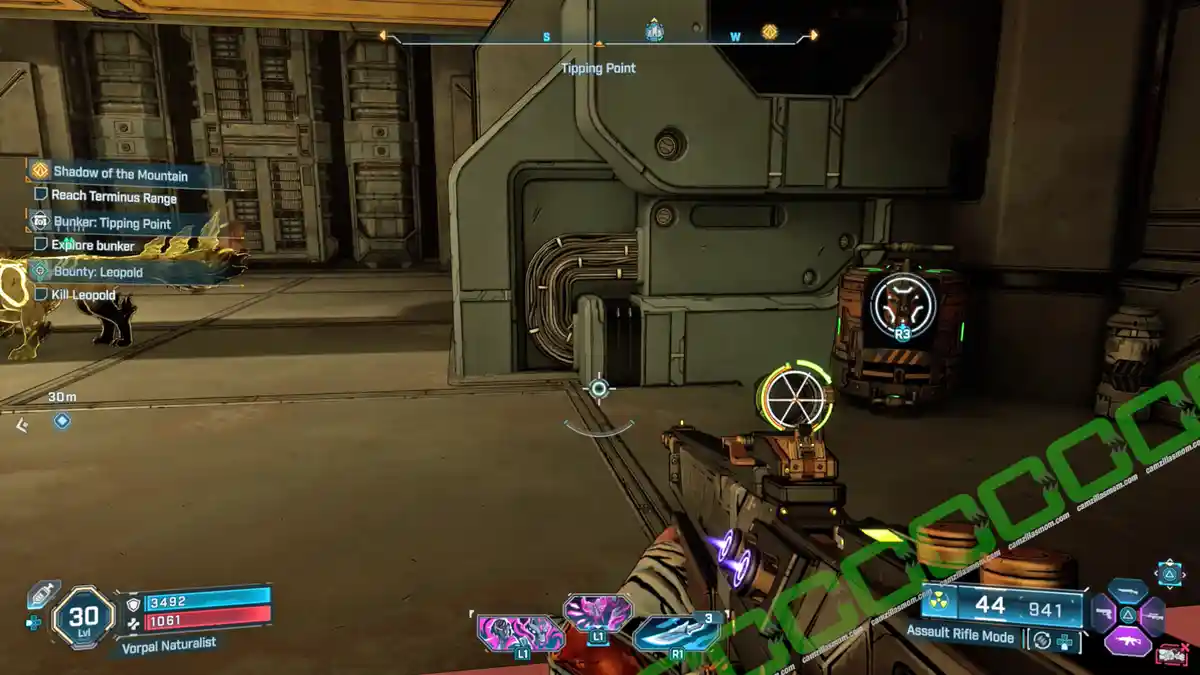
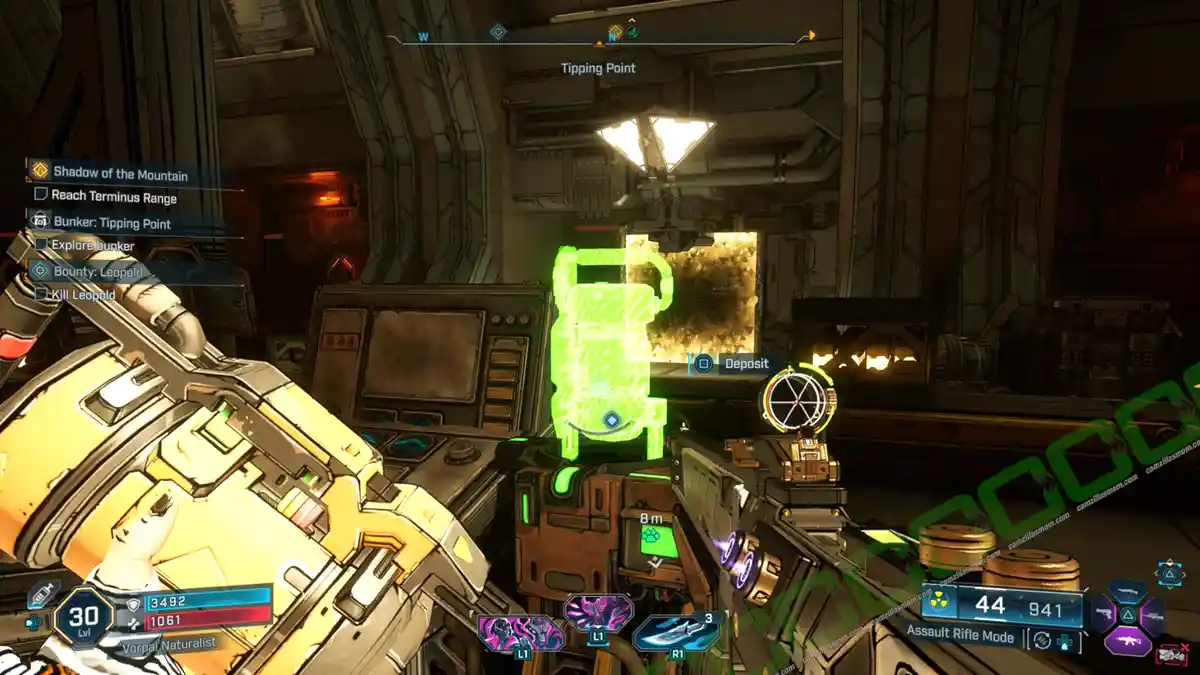
Okay, next up! You’ll head through a room with bright orbs, where you’ll bump into the first wave of Order baddies. After that, just follow the corridor into a room that’s got a conveyor belt and a Deposit needing a power core. Find it under the elevated part of the conveyor belt, pop it in the Deposit, then hit the button to open the door to the next section.
To power up the control room, you’ll need another power core. You can grab one from the top of the conveyor belt. Slot the power core into the Deposit and hit the button to drop the power shields. This will open up the next area.
You’ll see a broken elevator that drops when you step on it. Just climb back out, jump on top of the elevator, and use it to climb the metal walls. You’ll find some vending machines just before the next big fight: the Bunker Boss, Mimicron.
Safehouse: Someday Rise
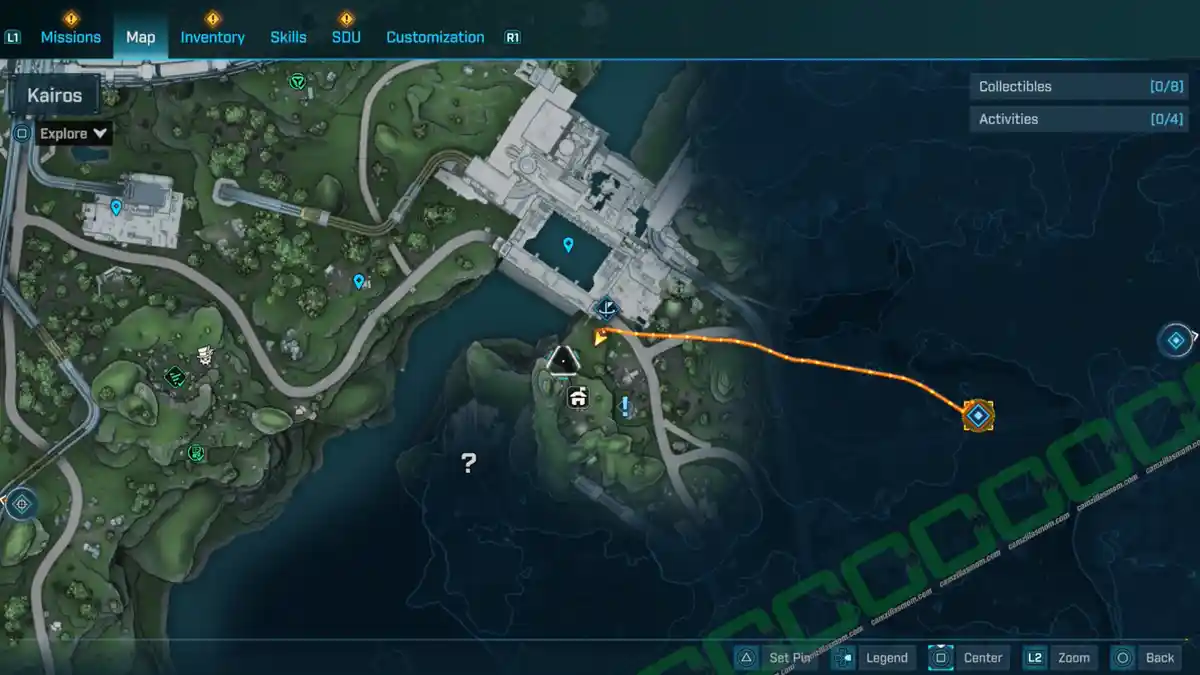
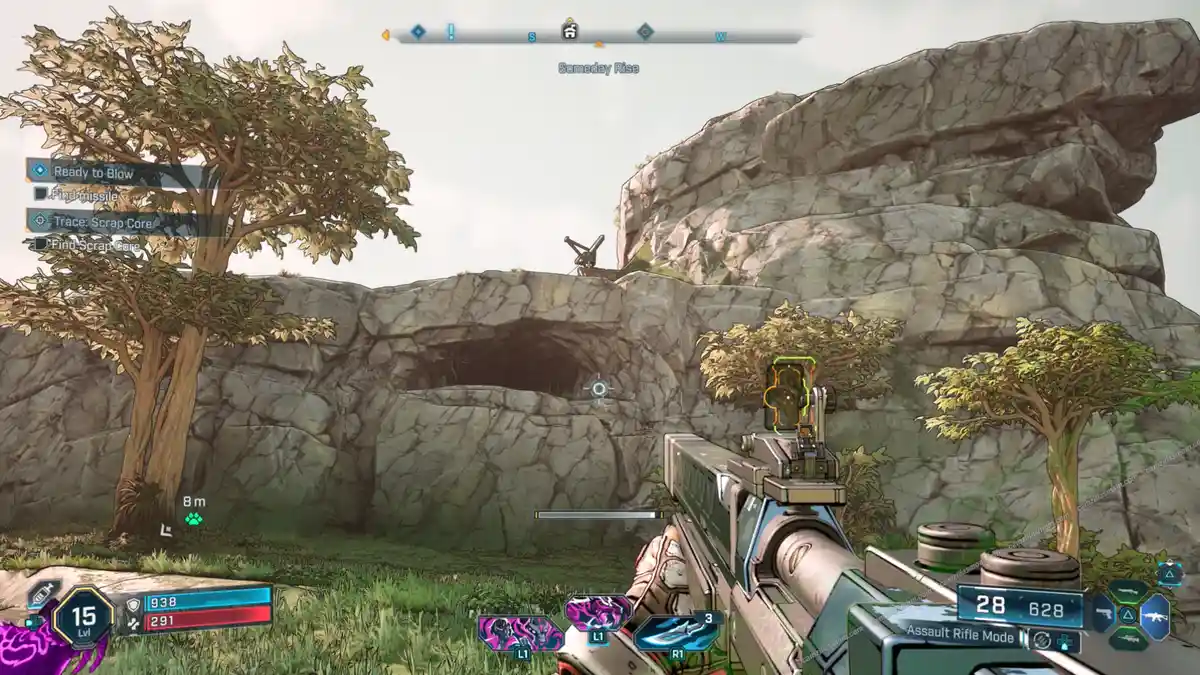
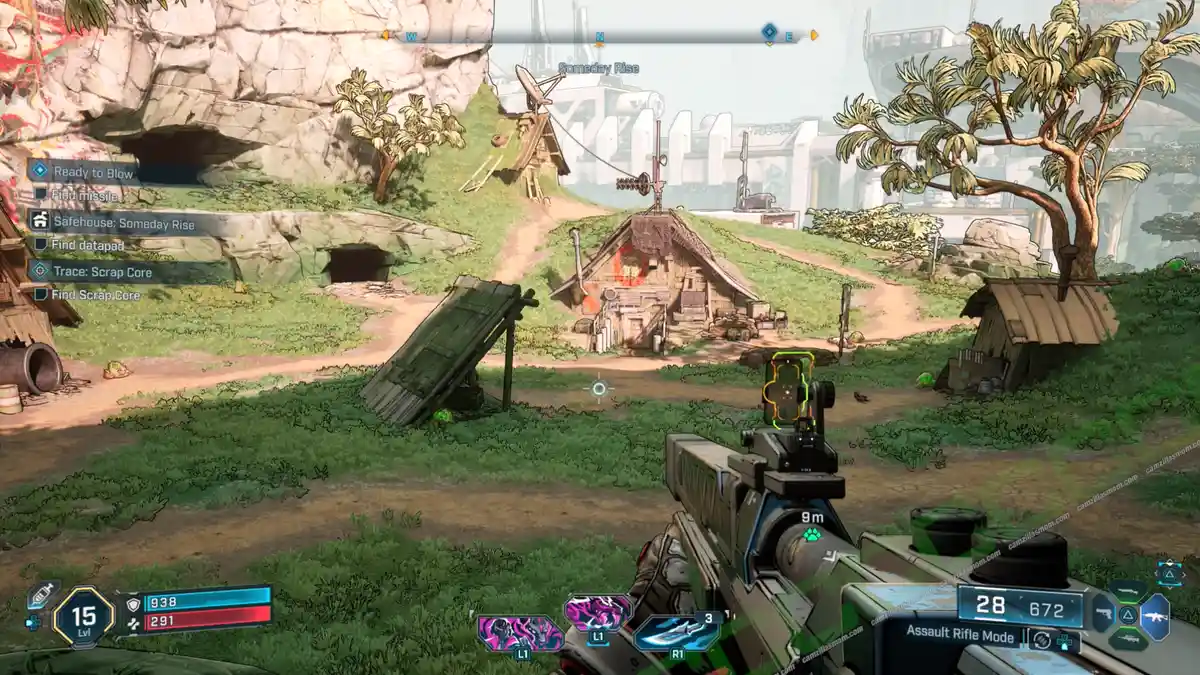
The Safehouse? It’s located north of Idolator’s Noose, way up on the mountainside.
To get there, I just headed south to the Order outpost, then you can hike up the hill and follow those overhead tracks north.
Up ahead, you’ll find a path going down to a metal wall. Keep following it. Expect a bit of jumping, gliding, and grappling.
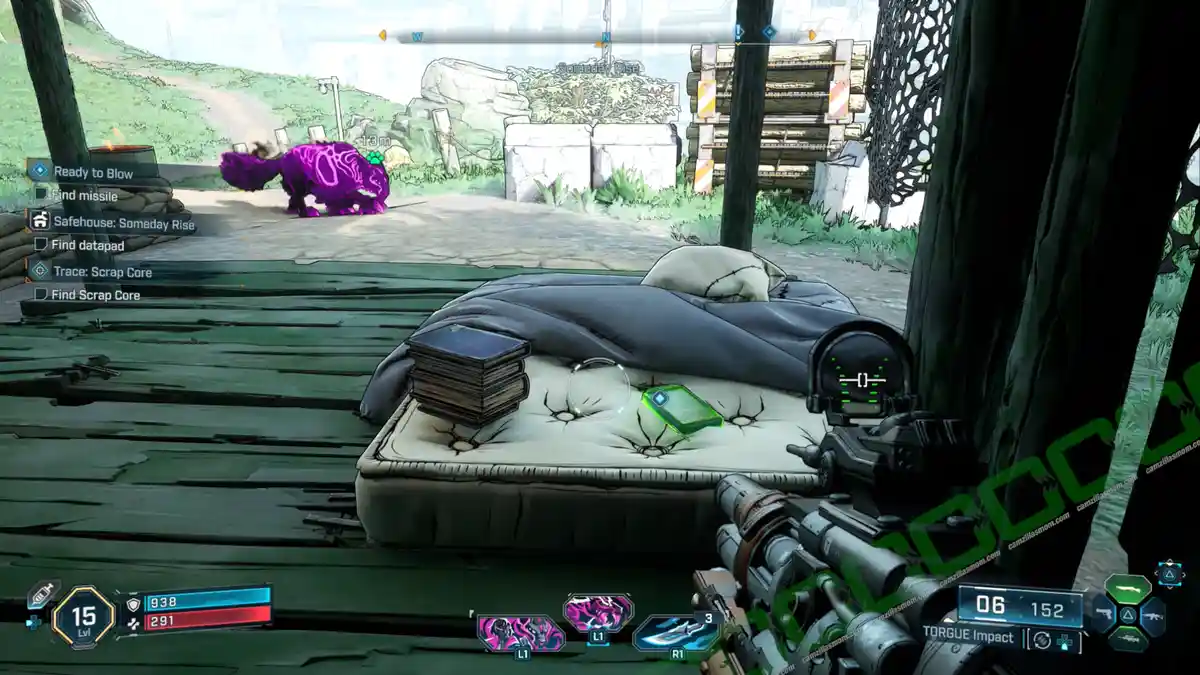
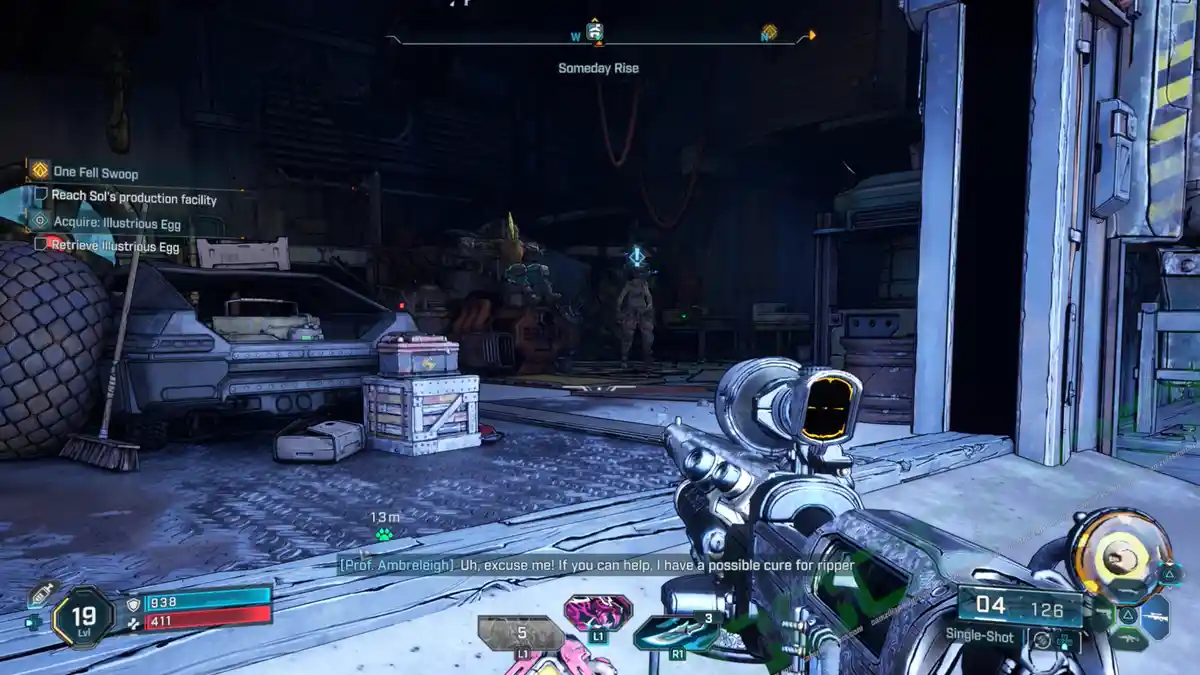
First, take out the native manglers at the safehouse. Then, grab the datapad from one of the sheds around the main building. Once you do that, the safehouse door will open, and you can capture it.
Safehouse: Wyclef’s Reprieve
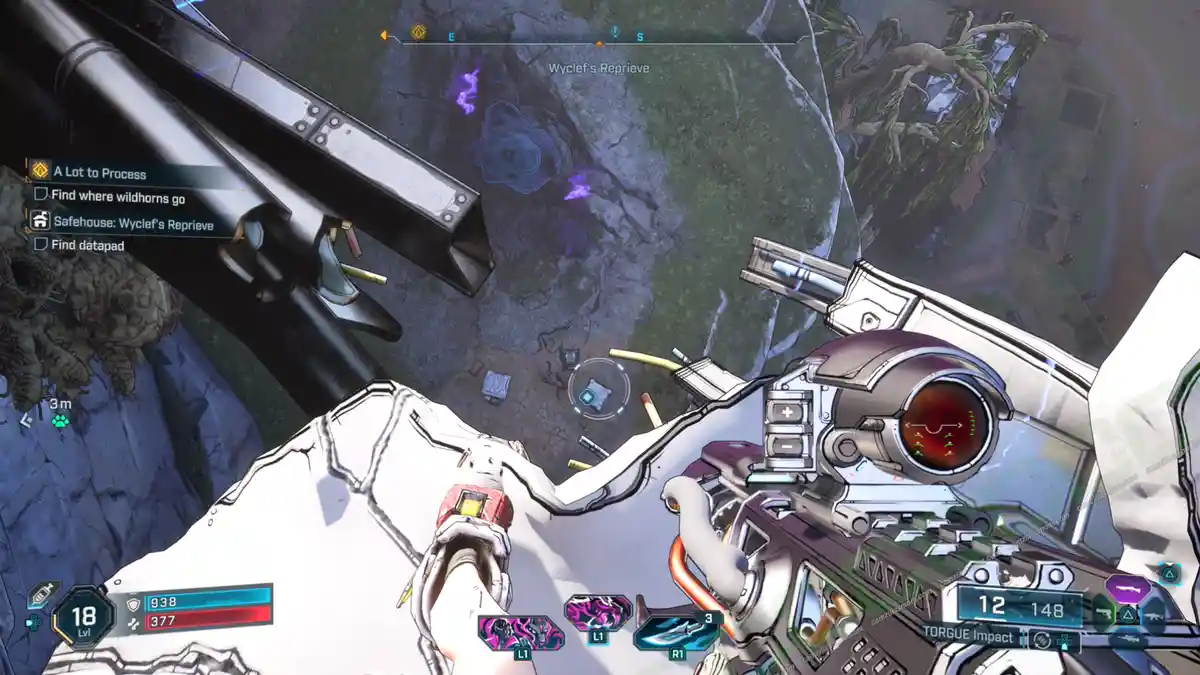
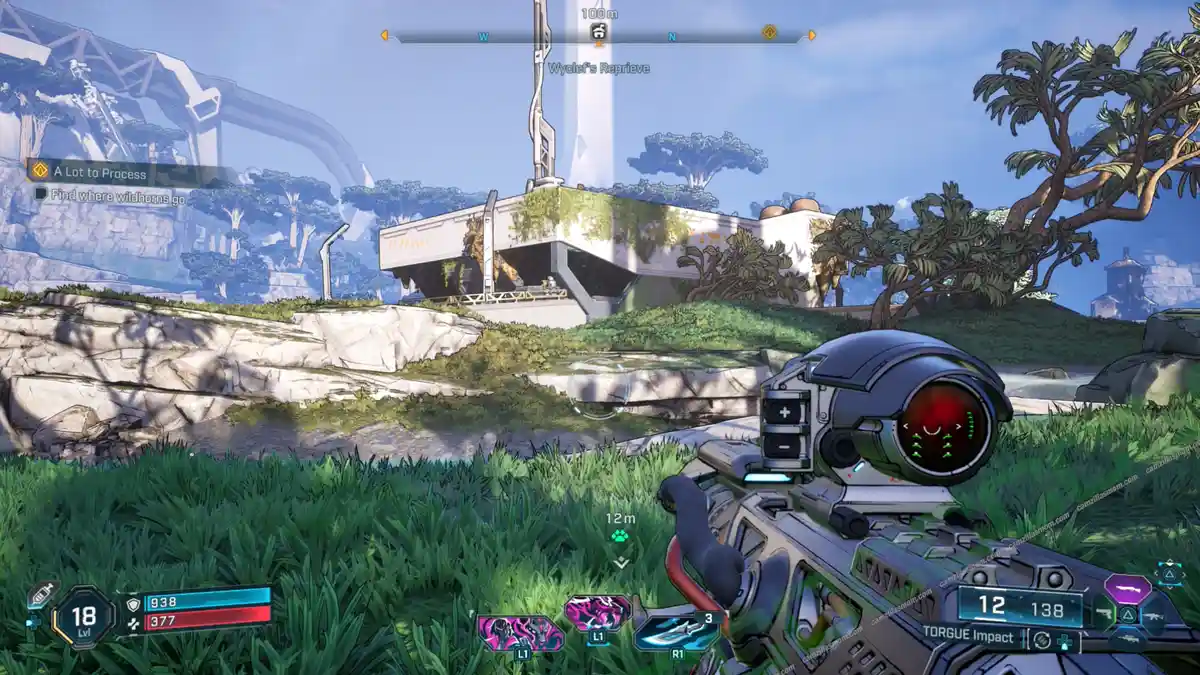
Wyclef’s Reprieve Safehouse is southeast of Idolator’s Noose, right off the road. But first, you’ll need to find the datapad to claim it.
Head into the Safehouse and make your way to the terrace at the back. Look for the big crack in the floor and drop down through it. You’ll find the previous safehouse owner there with the datapad. Grab it and head back to the terminal to claim the safehouse. Then, follow the path through the cave to climb back up.
Bobbleheads
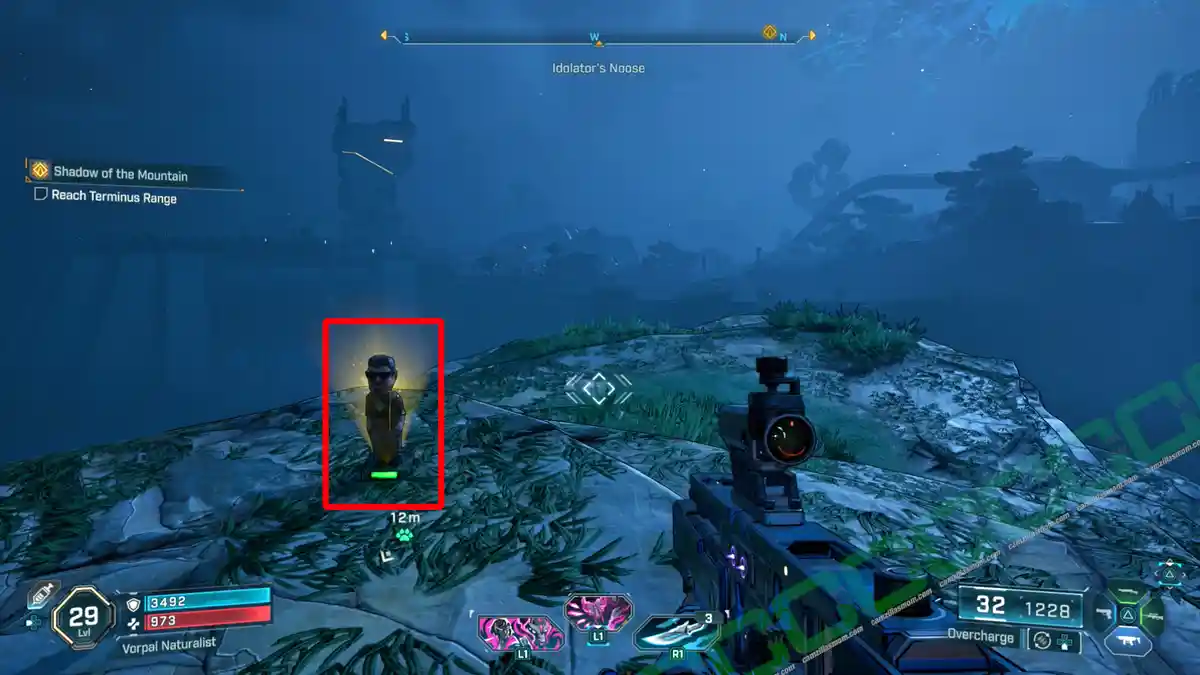
Bobbleheads are hidden all over the Borderlands 4 world. Flick them to receive 100XP.
Droning On Side Quest – Start Location
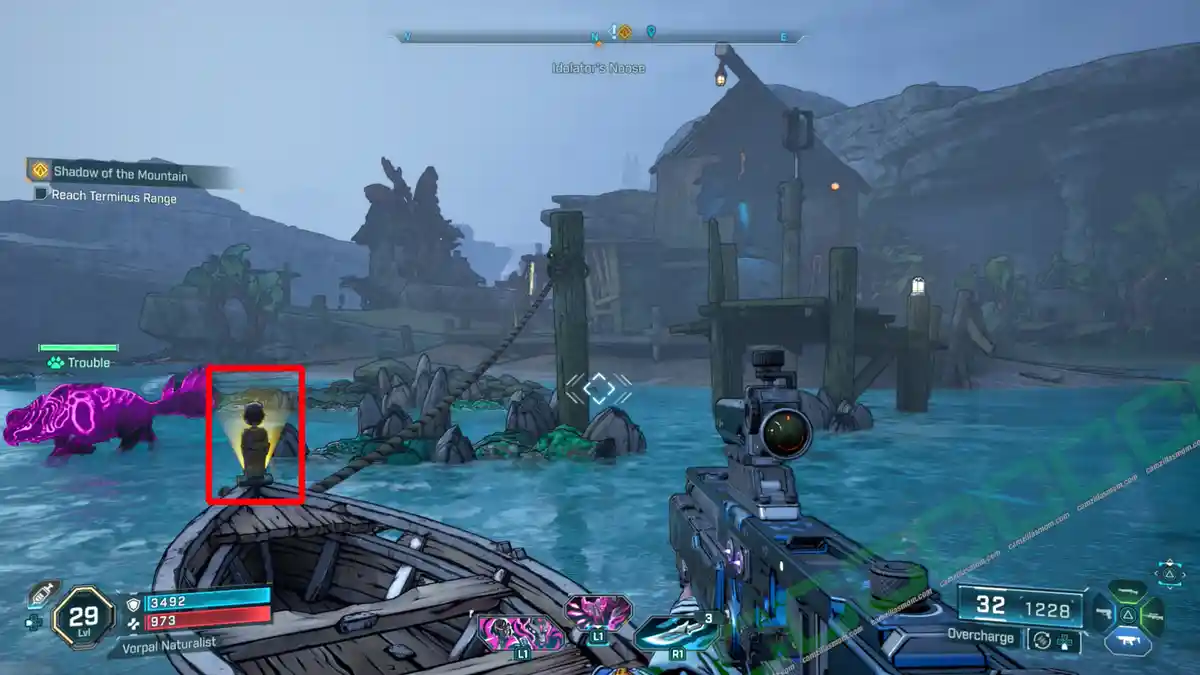
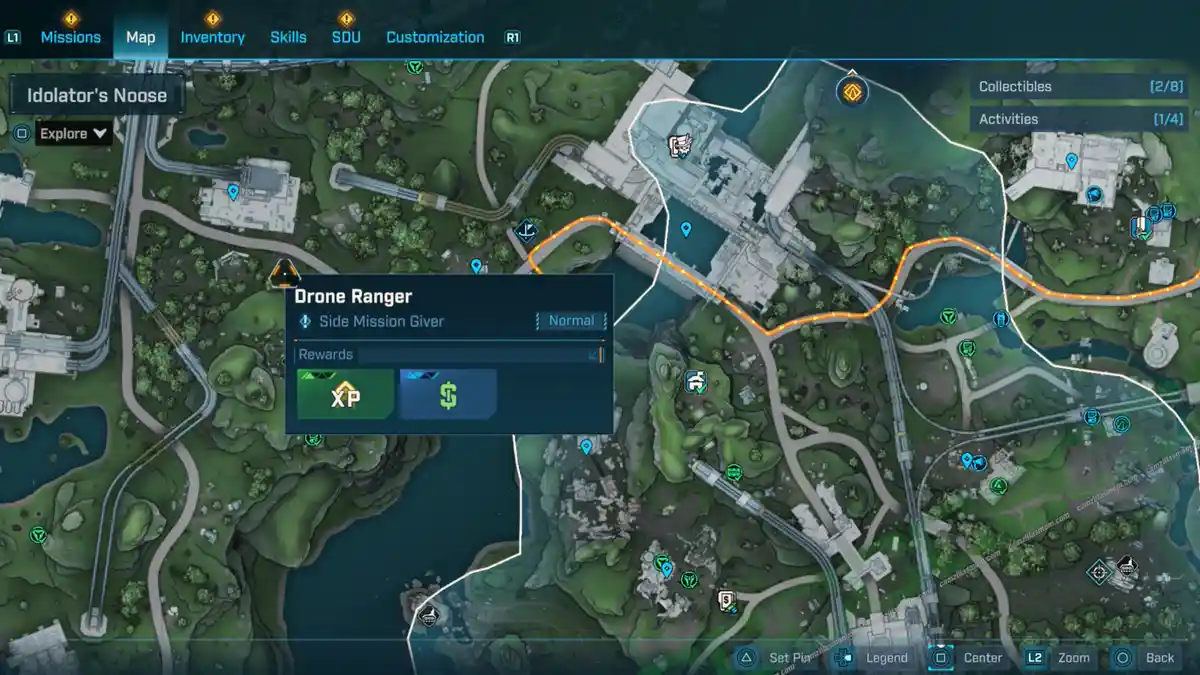
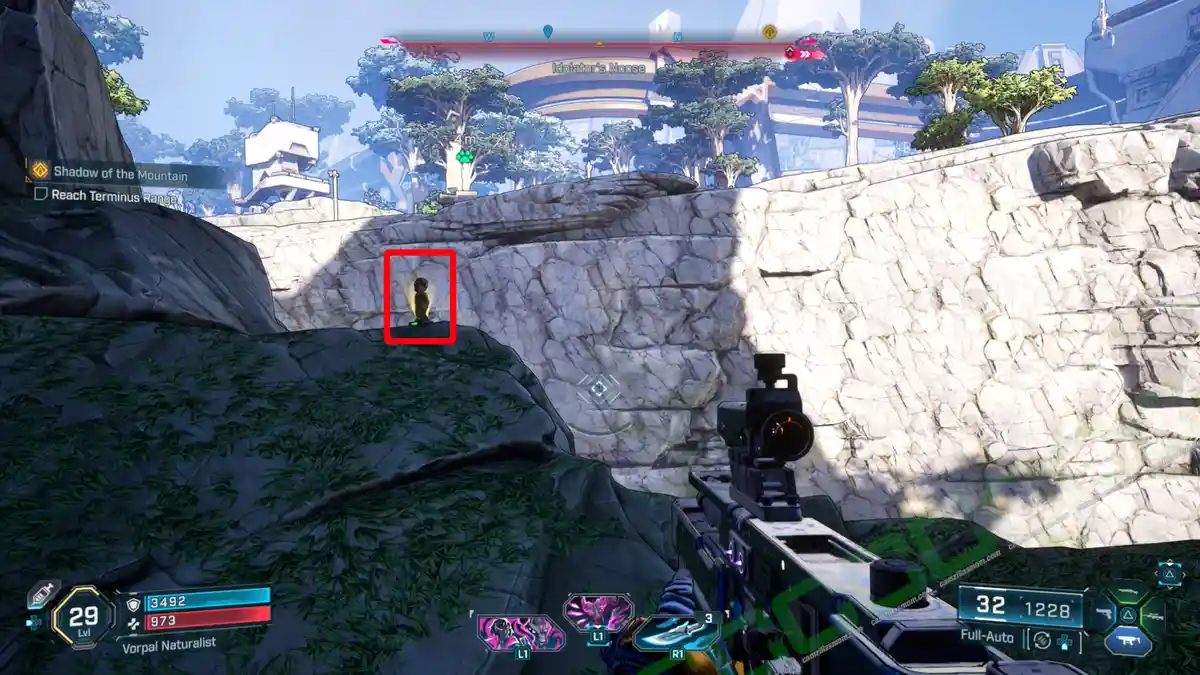
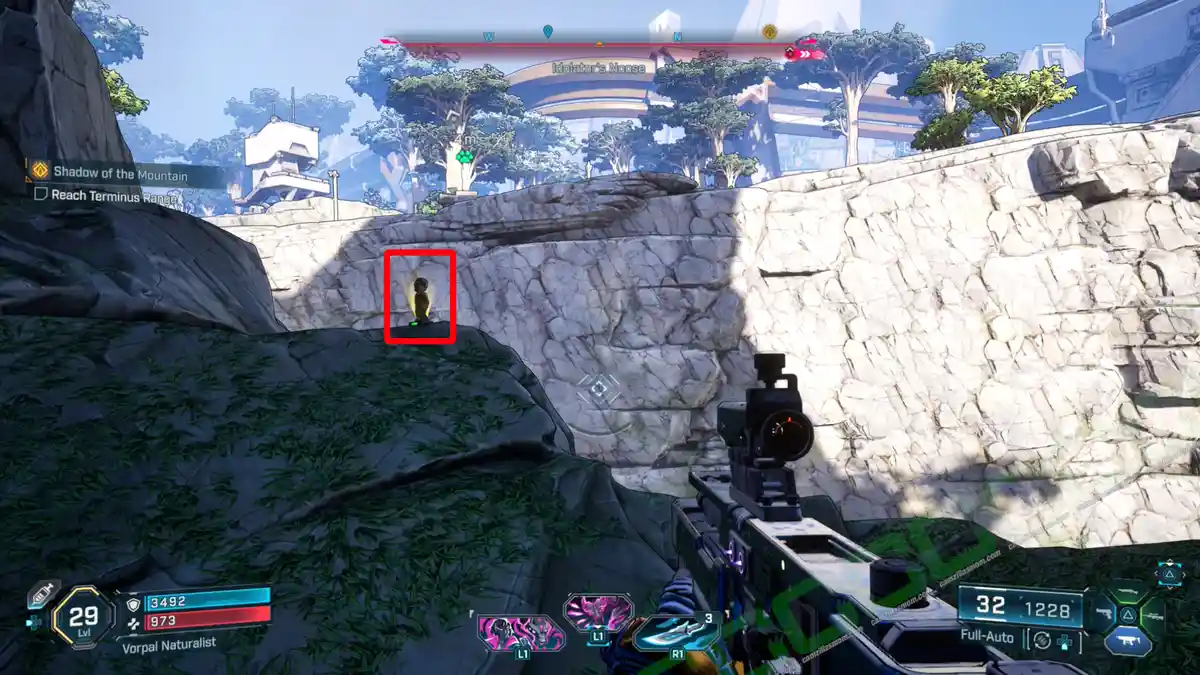
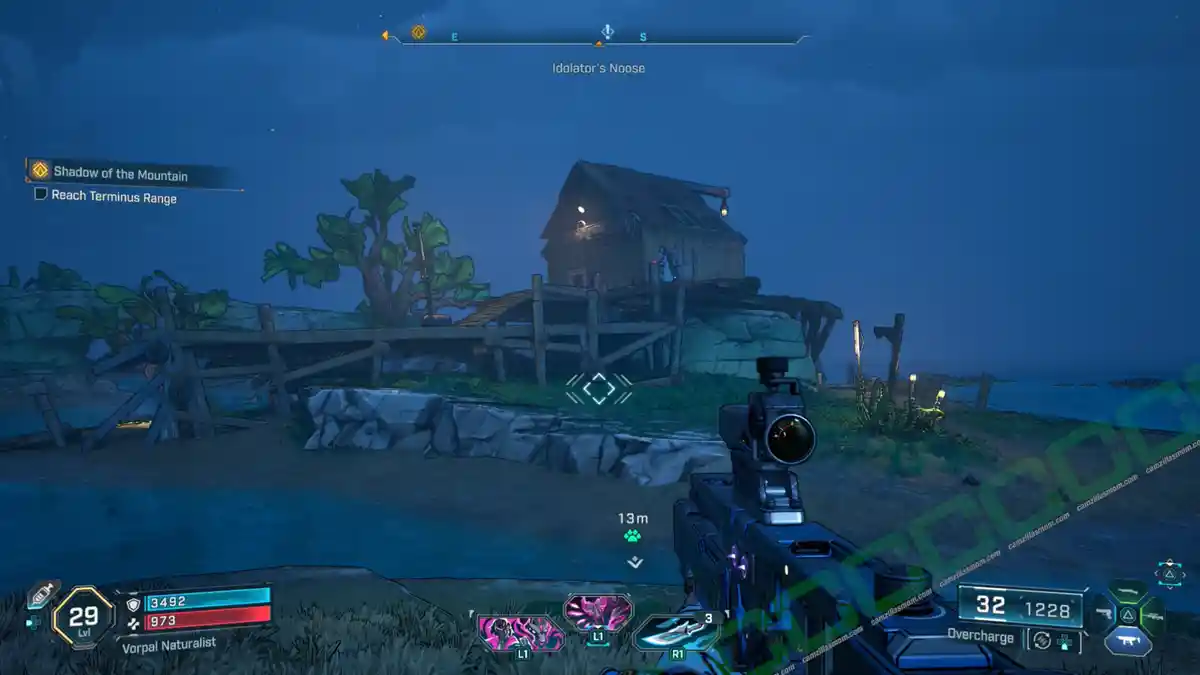
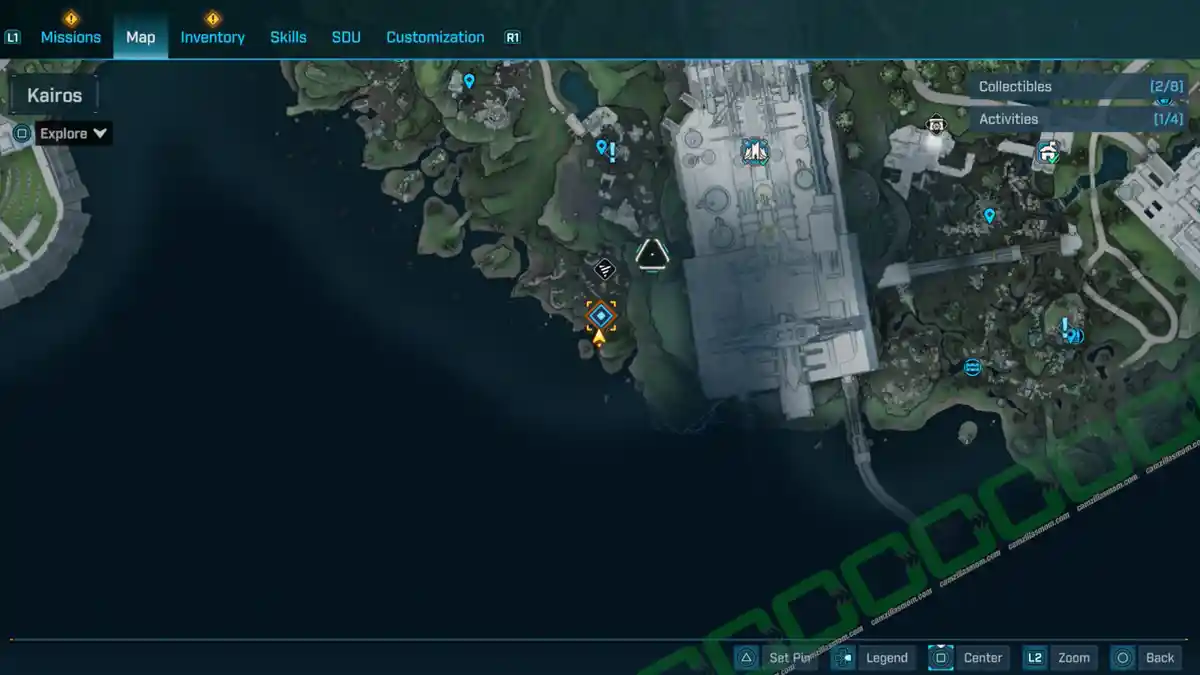
Alright, at the “Droning On” Side Quest starting spot, which is southwest of Idolator’s Noose, there’s a house with a dock out back. Just follow that dock all the way to the boat at the end, and you’ll snag a bobblehead there.
Horizon’s Mar – Waterside Cave
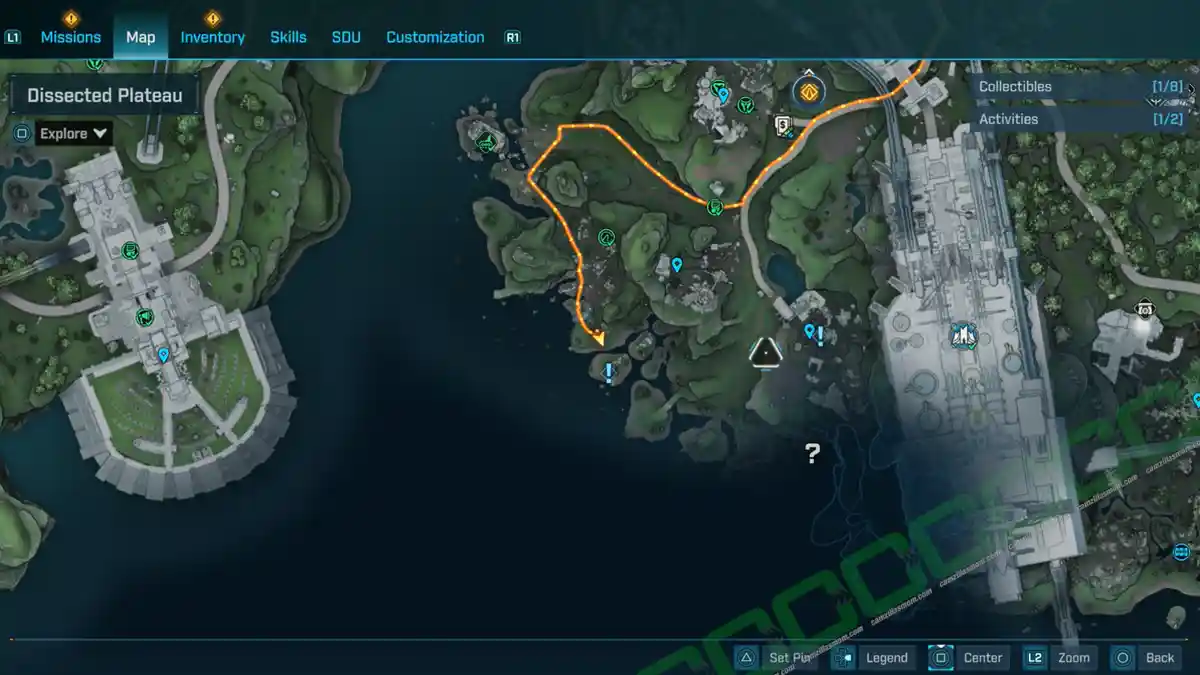
Just below Horizon’s Mar, there’s a cave with these big, round openings. Guess what? There’s a bobblehead in there! I actually managed to glide over from Hungering Plain, which is on the other side of the river. You can even launch from the Watershed Gate Hydroplant if you want.
Mirehome – Eastern House
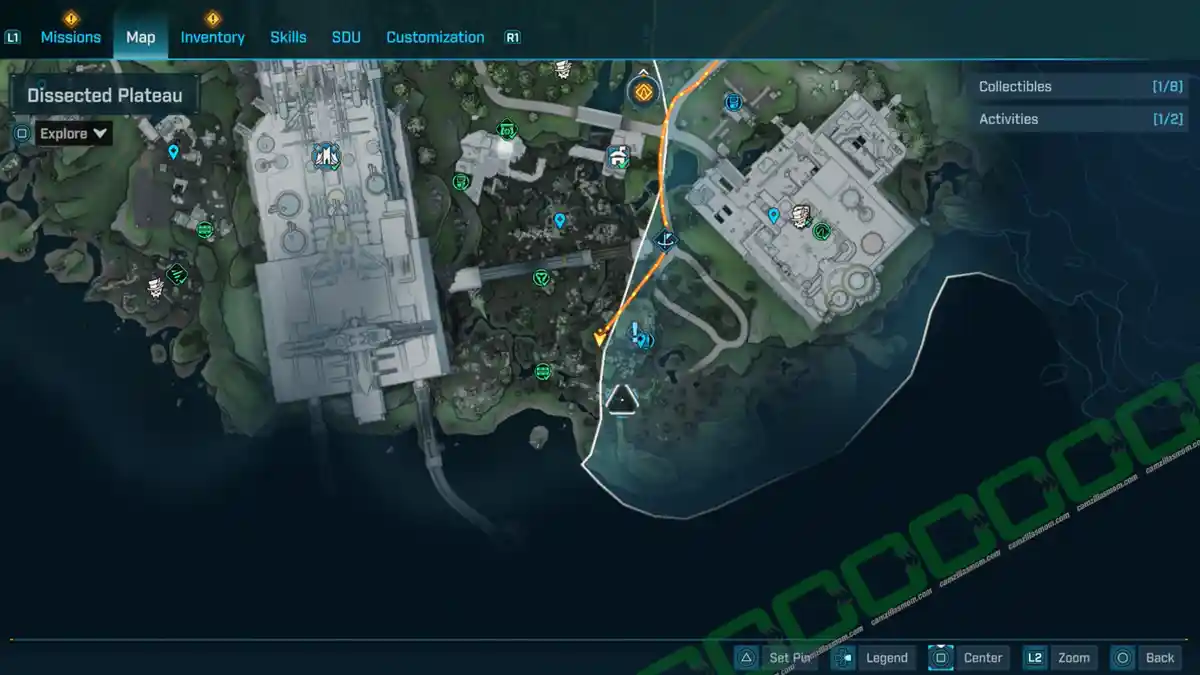
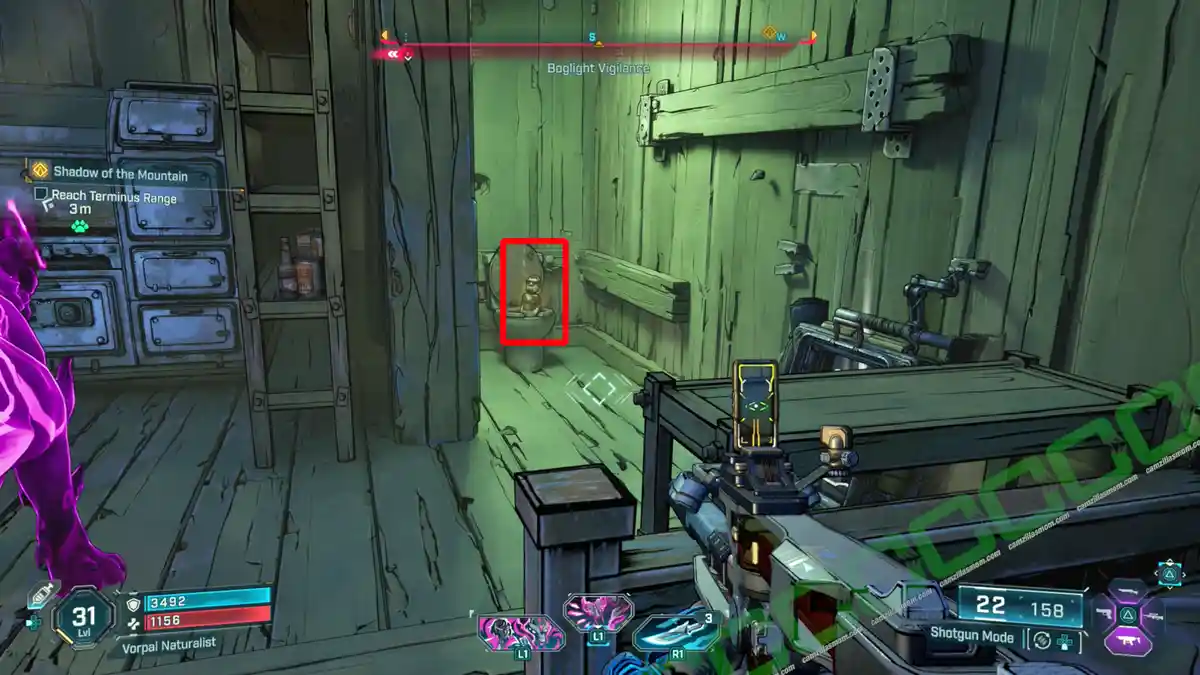
Just east of Mirehome, near the Dissected Plateau border, there’s a house where a Bobblehead desperately needed the toilet.
Racketrun – Southern House
Head to the house south of the Racketrun Point of Interest and climb to the roof to grab a bobblehead.
Rattlehead Crest – Highest Western Mountain
Head to the highest mountain west of Rattlehead Crest – you’ll find a bobblehead up there!
Rosemary’s Reserve – Vault Fragment
Head to Rosemary’s Reserve and find the crawlspace beneath the silos. To get inside, you’ll need to pull away a ventilation panel. The bobblehead will be right next to the Vault Fragment.
Side Missions
-> Also Available: All Side Missions in Borderlands 4
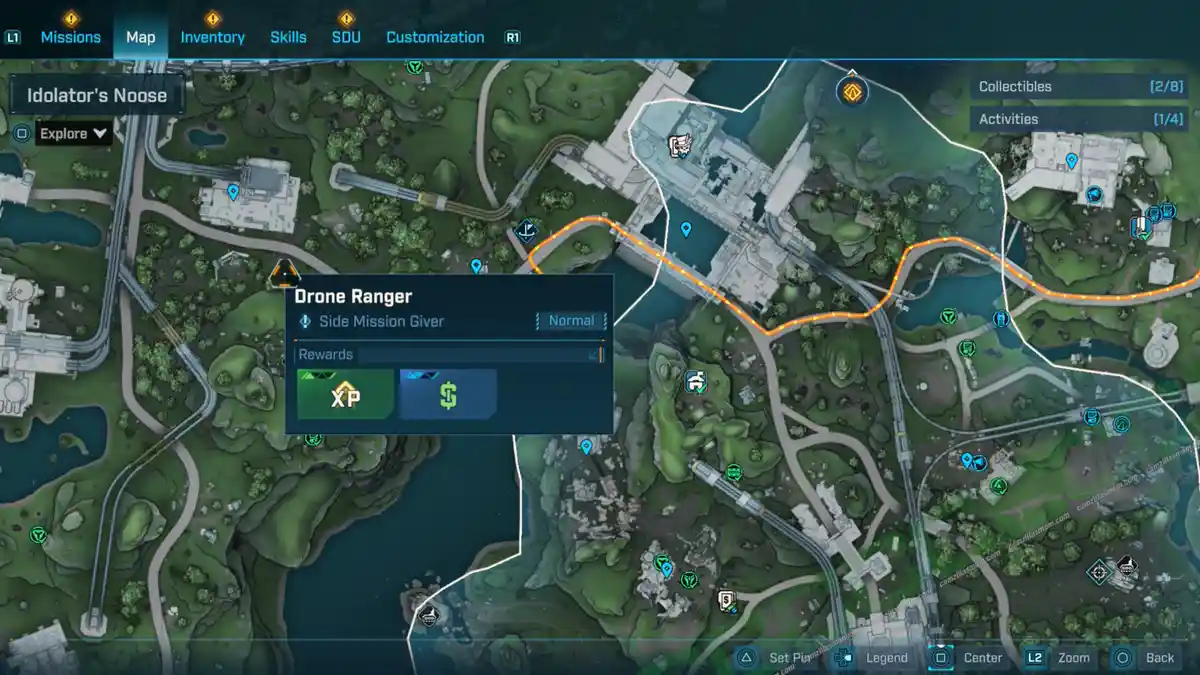
Droning On
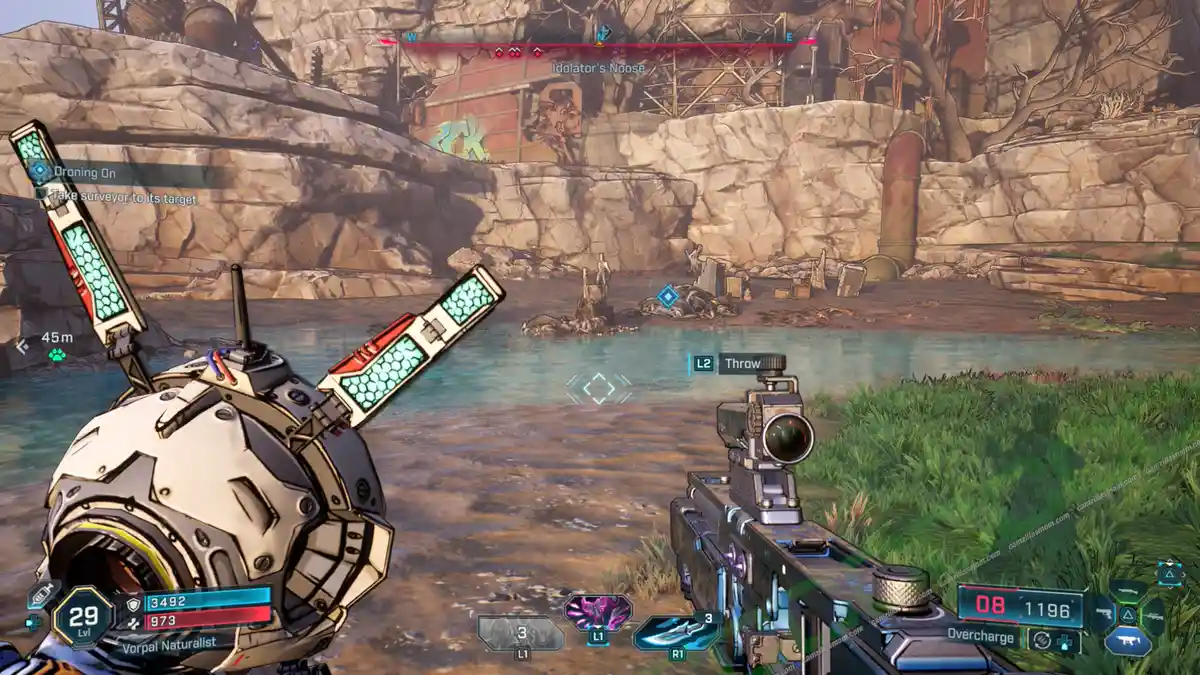
Head southwest from the Idolator’s Noose region, going even further southwest past the Reattlehead Crest POI. You’ll find a house by the coast. Go inside, and you’ll spot a drone named C.H.A.D. hanging there. Before you leave, there is also a Bobblehead nearby.
1 – Free Surveyor Drone
Free C.H.A.D., the Surveyor Drone, and complete its survey by shooting it. Once it’s free, pick it up and carry it southeast, just south of the Pitted Stain Ripper Drill Site activity. Drop the drone at the fish pile to wrap up the side mission.
Electroshock Therapy
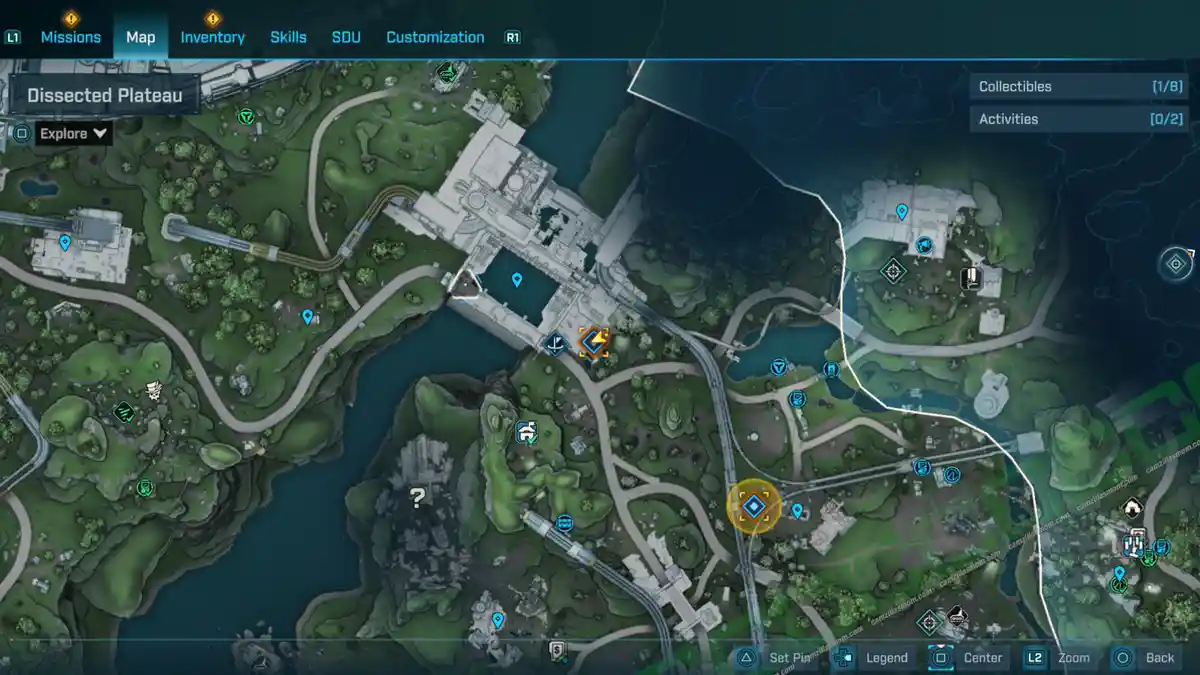
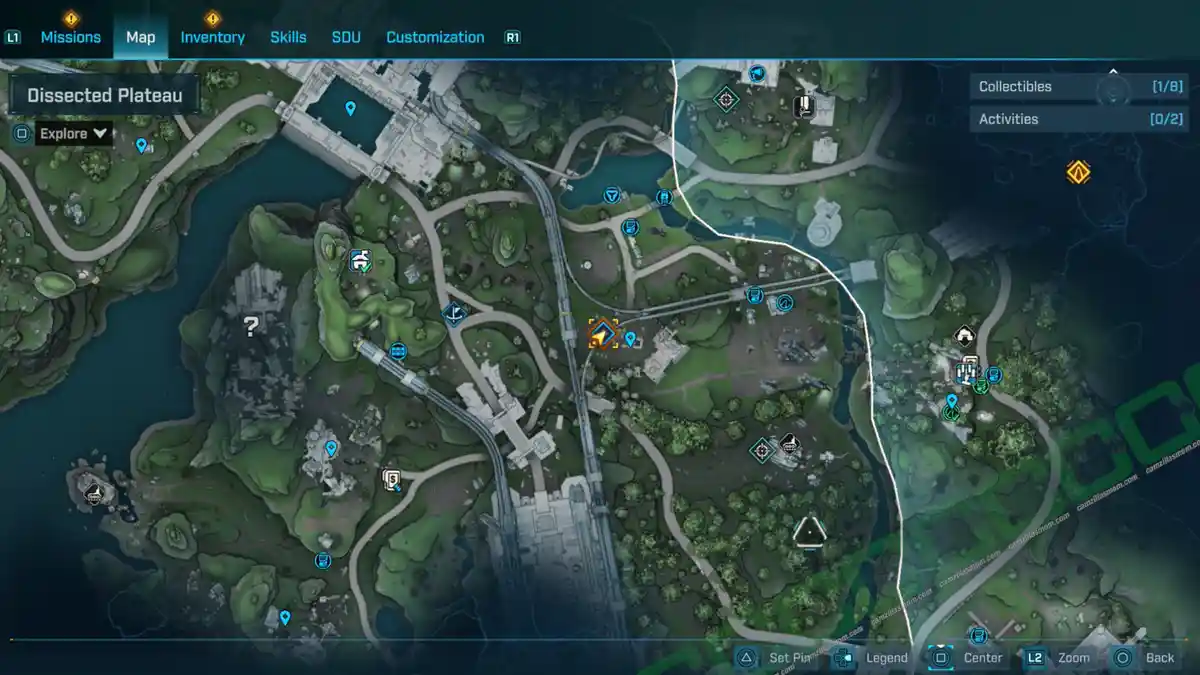
Head just east of the Someday Rise Safehouse in the Idolator’s Noose region. You’ll find a house with people hiding in the garage who need your help.
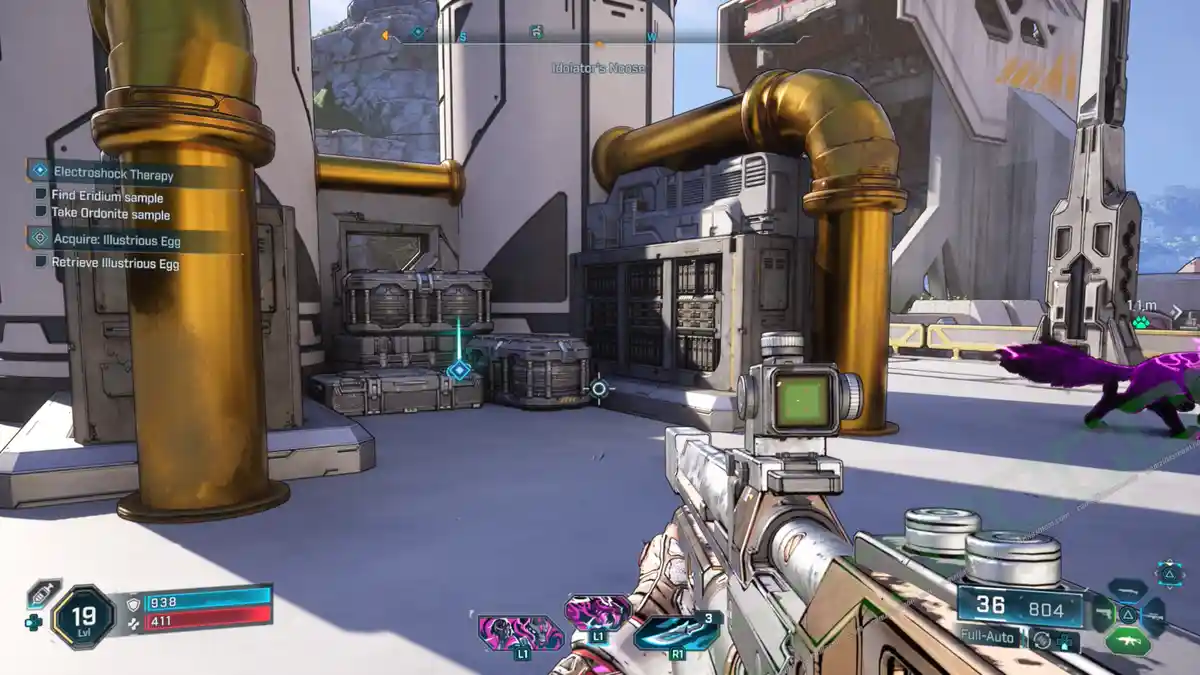
1 – Find the Ordonite Sample
You’ll find the Ordonite Sample tucked away in a small Order storage area up north.
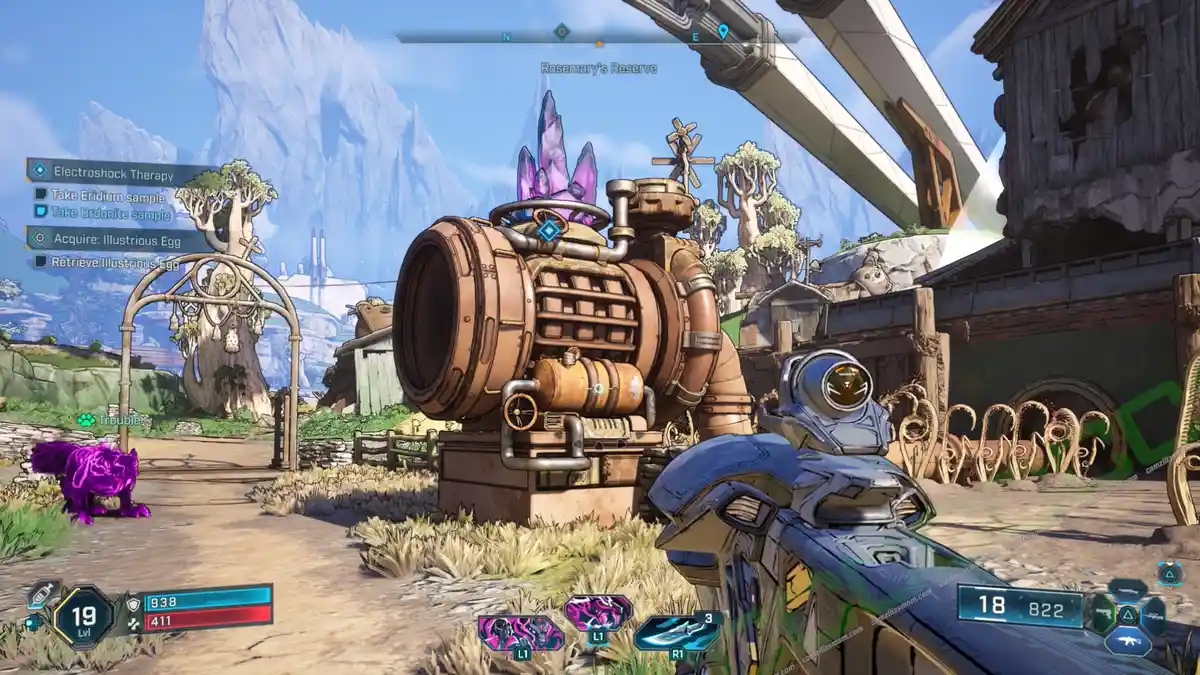
2 – Find the Eridium Sample
You’ll find the Iridium Sample just east of the Mission Giver, near Rosemary’s Reserve, sitting right on top of a water pump.
3 – Place Samples
Head back to the Mission Giver in the house, put the samples where they belong, and then flip the switch.
4 – Find Meathead
Alright, your next mission is to find a Meathead. You can take ’em down just next door. Bring the Meathead back, pop it into the device, give it a good melee attack, and hit the switches when it tells you to.
All Charged Up
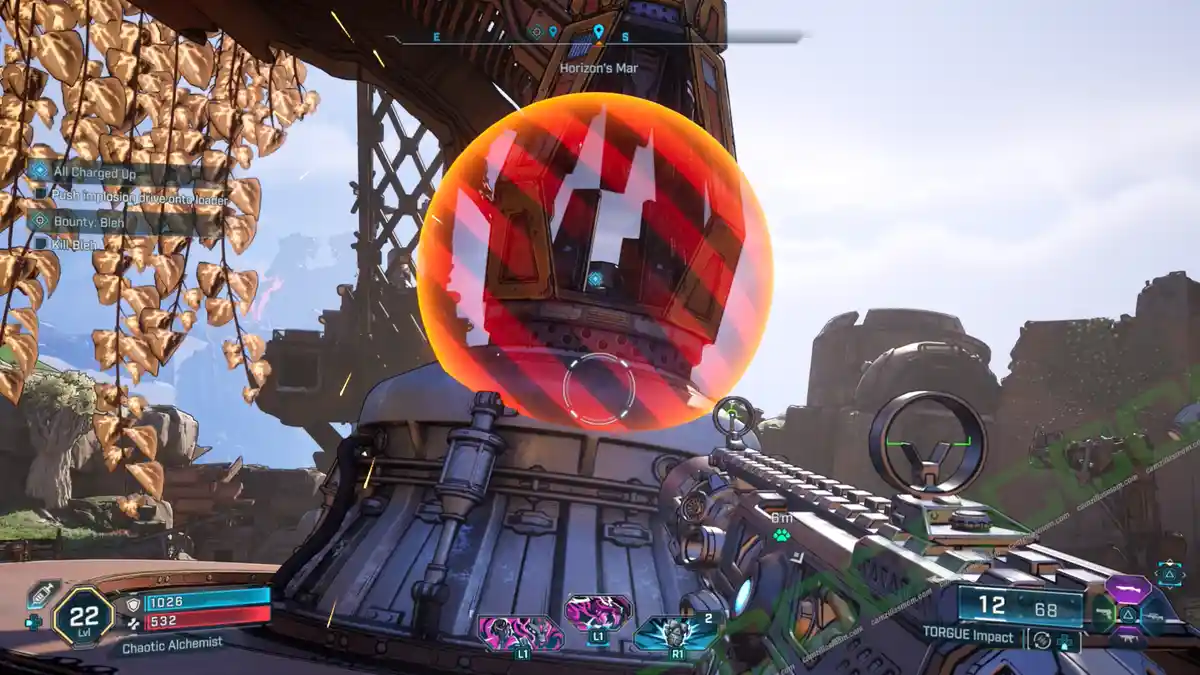
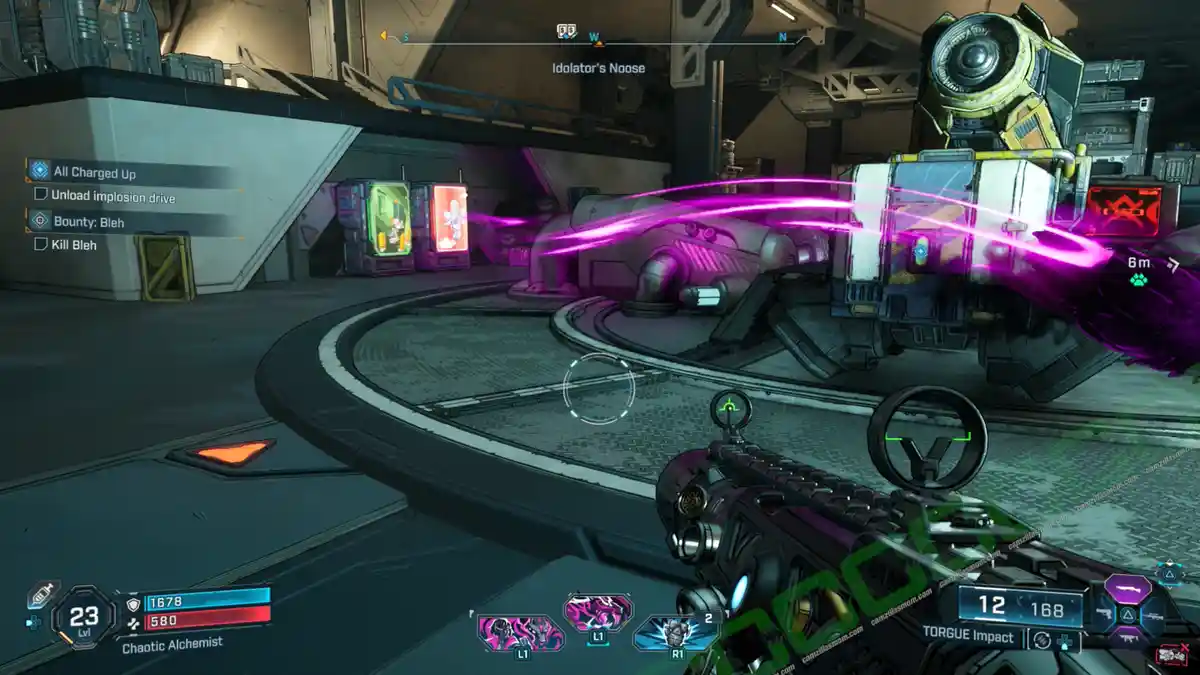
“All Charged Up” picks up right after the “Null and Void” Side Mission. You’ll keep on scavenging for spaceship parts to fix up the Order’s ship.
1 – Transport the Implosion Drive
Time to get that Implosion Drive charged! First, just give it a good push onto the loader so it flies right on.
2 – Meet Outbounders at Order Hydroplant
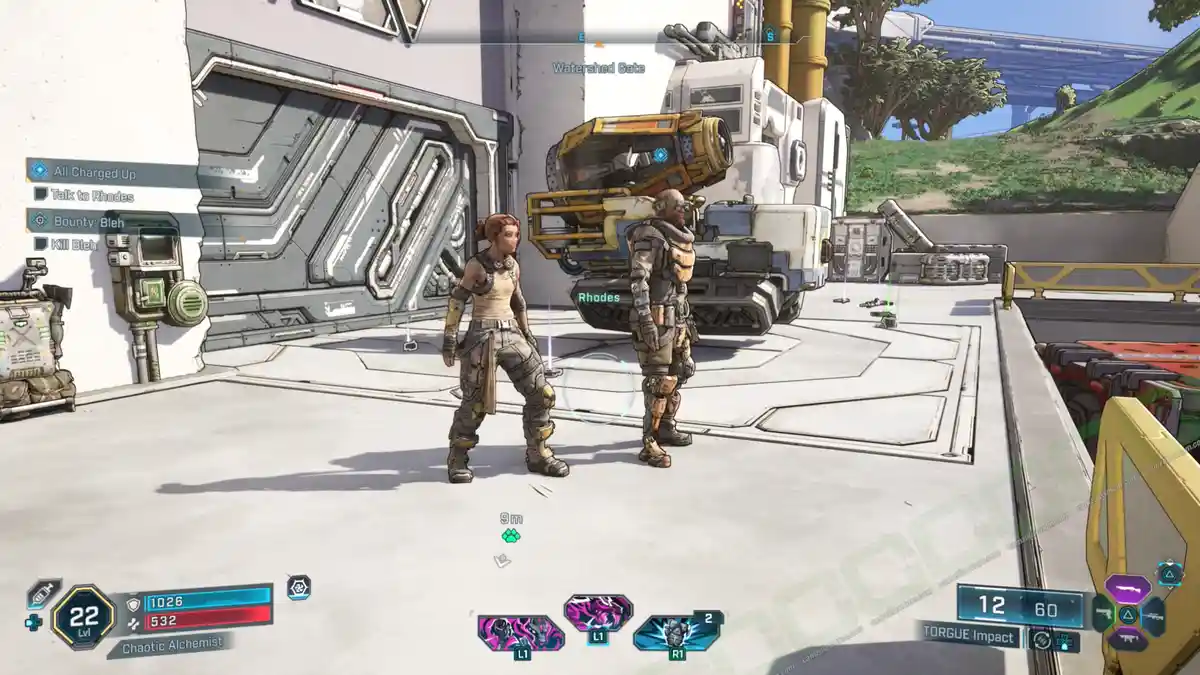
Next, haul the Implosion Drive over to the Order Hydroplant, which is just north of the Watershed Gate POI. Take down the Order forces there, then chat with Rhodes. After that, hack the panel at the Hydroplant until the loading bay pops open and you can get inside. Once in, defeat the Order and pull the lever to unlock the elevator going up.
3 – Reach the Hydroplant Reservoir
Once you’re at the top of the elevator, just keep heading up inside the Hydroplant.
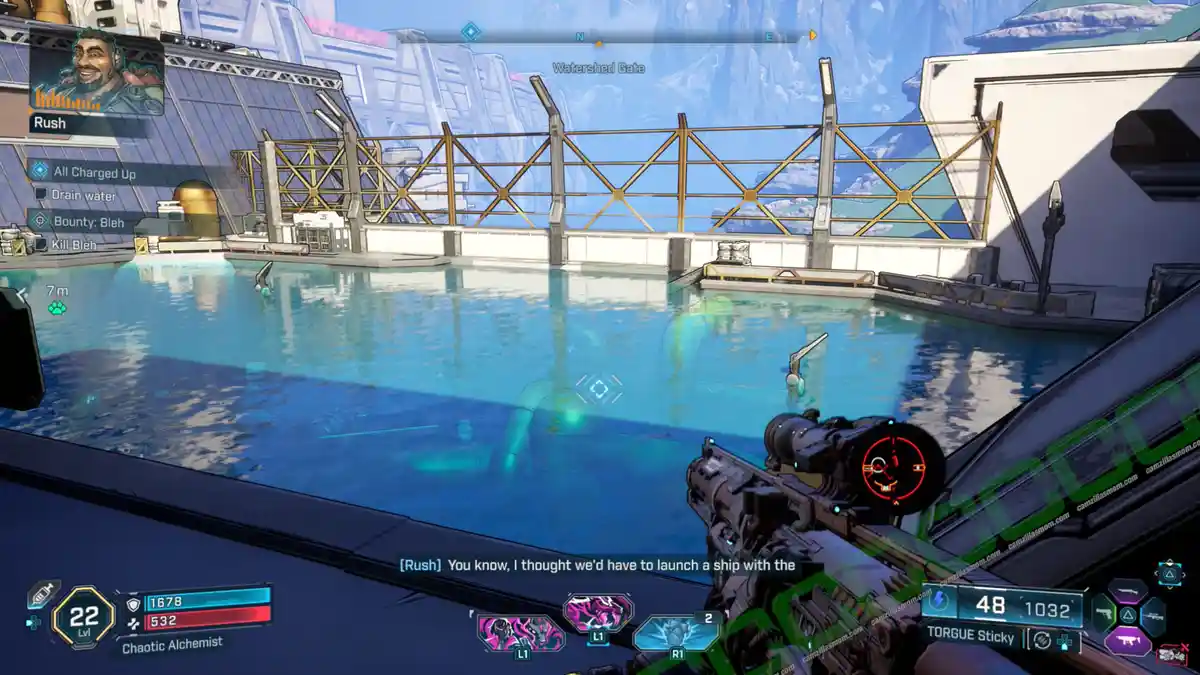
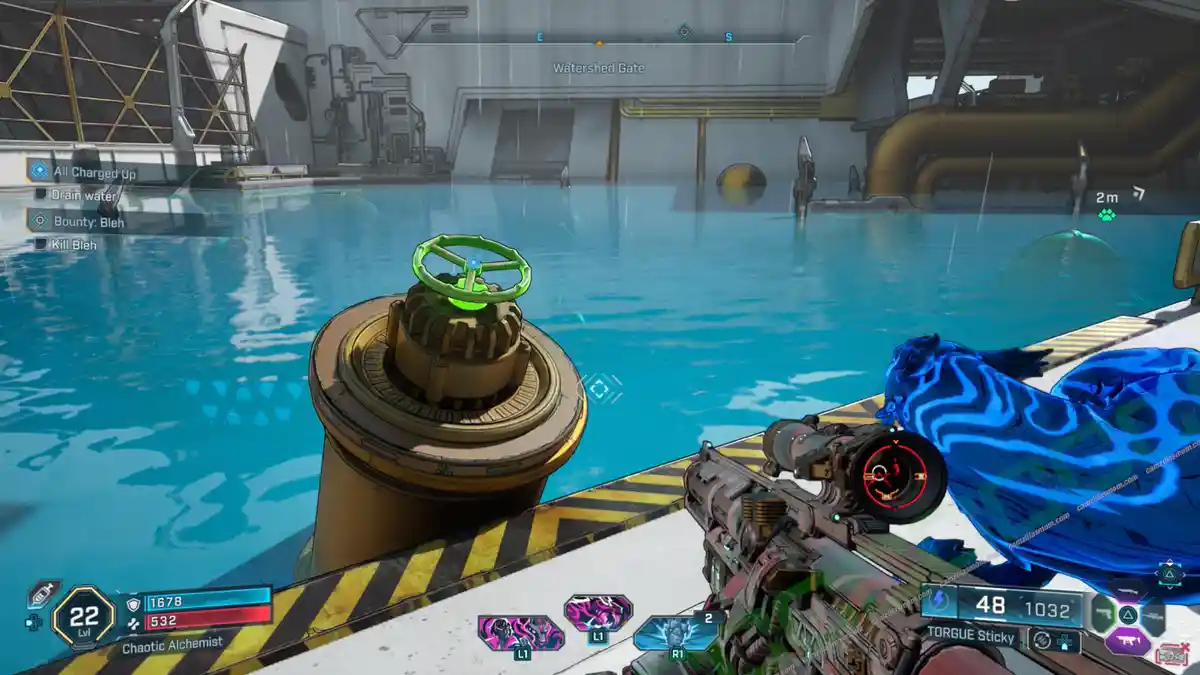
4 – Drain the Water, Lower the Loader
To drain the reservoir, turn the crank on the far side of the pool. After that, head over to the other side of the crank and pull the switch. Once the loader is on the center platform, pull the lever to lower it.
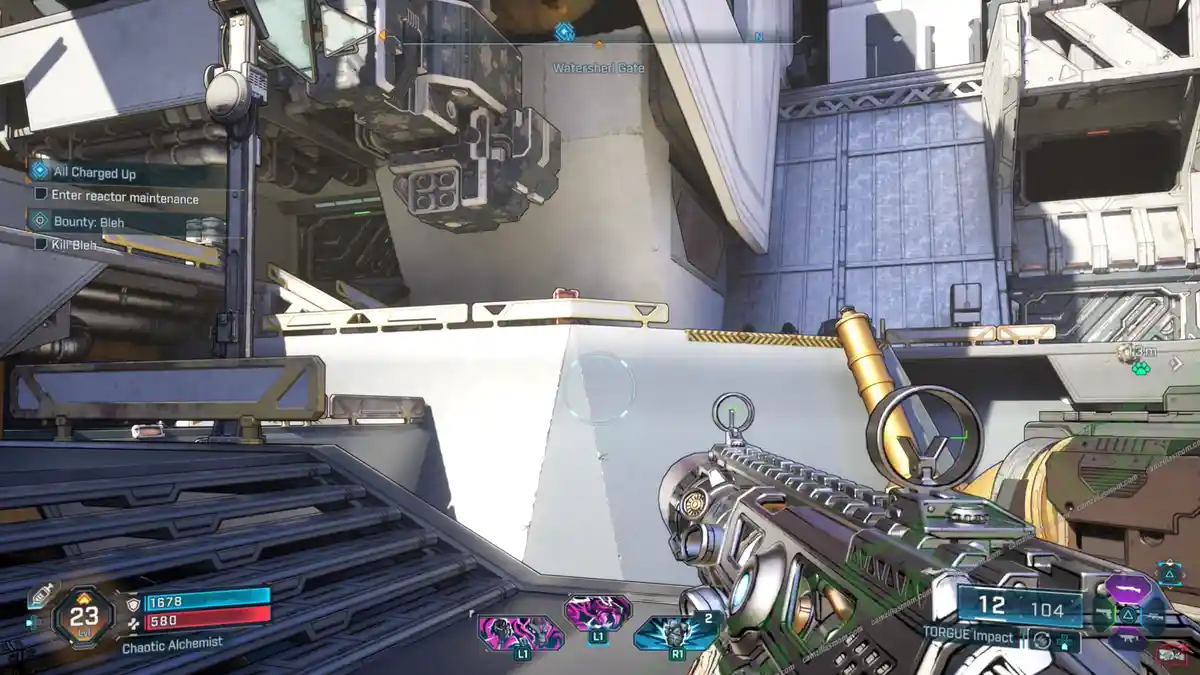
5 – Enter Reactor Maintenance
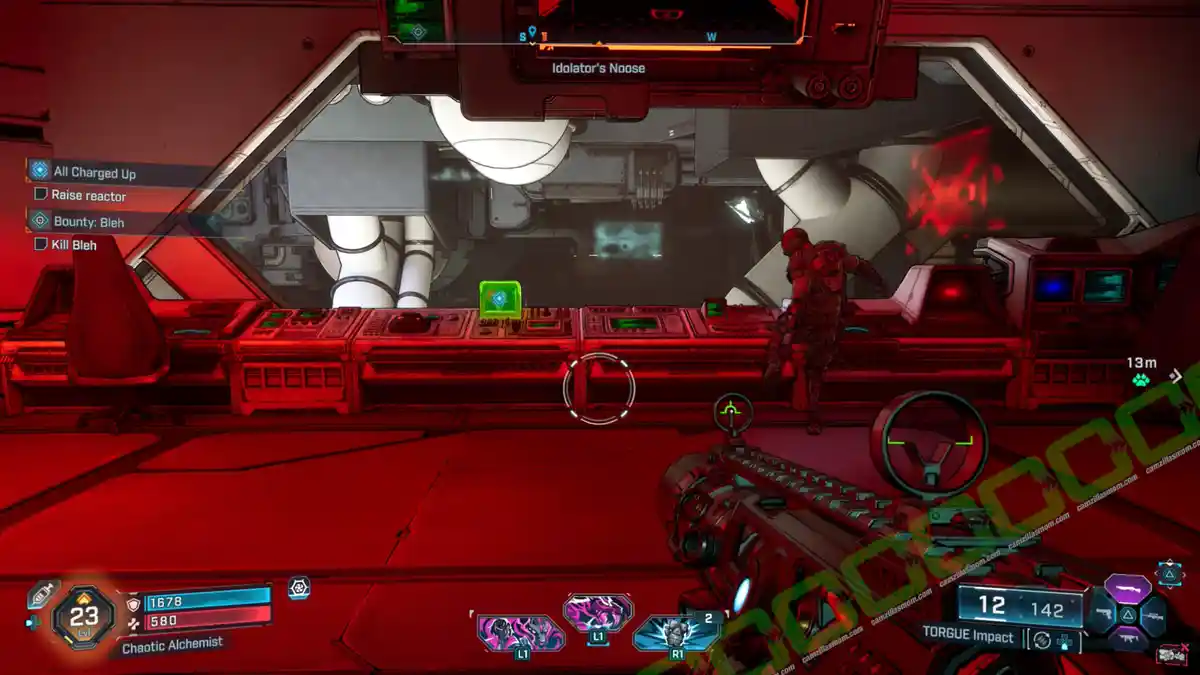
The upper doors will open, giving you access to Reactor Maintenance, where you’ll meet Rhodes in the control room.
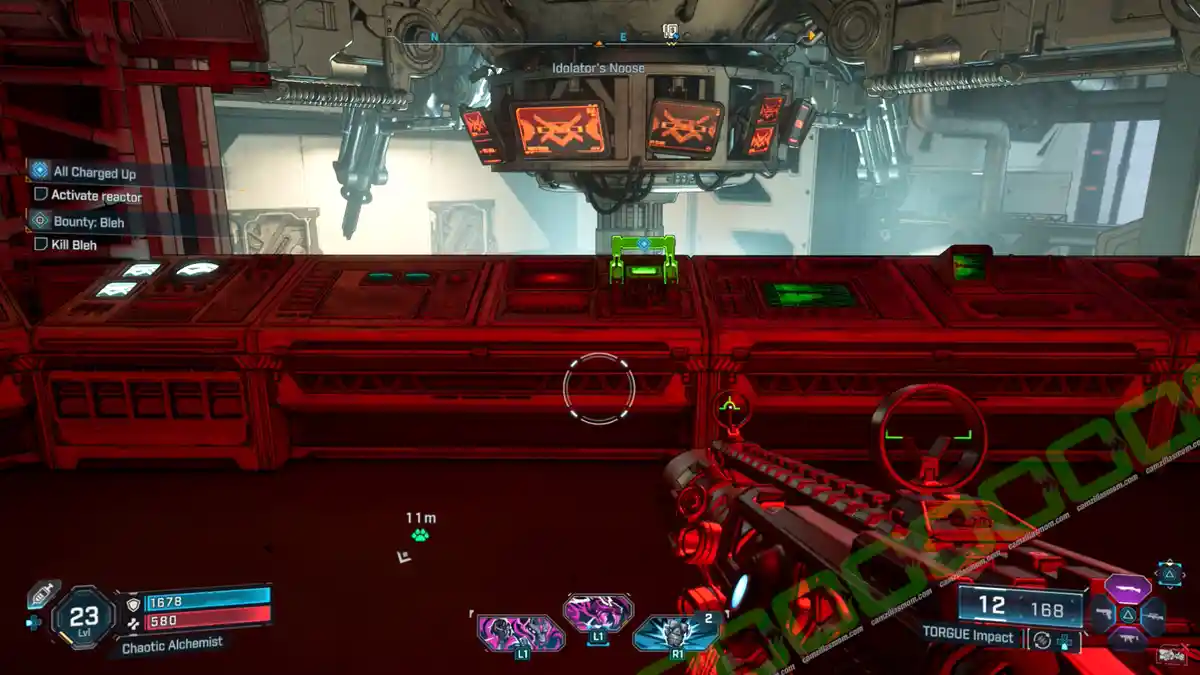
6 – Repair the Reactor
Okay, the three reactor components are scattered around the reactor room – pretty easy to spot. Just pop them into their slots on the generator. Then head back to the control room to lower the reactor. After that, go to the pool area where the loader is and lower it.
Head down to the reactor with the loader. You’ll find vending machines there. Then, just use the panel on the Implosion Drive to keep going, and kick off the process in the control room.
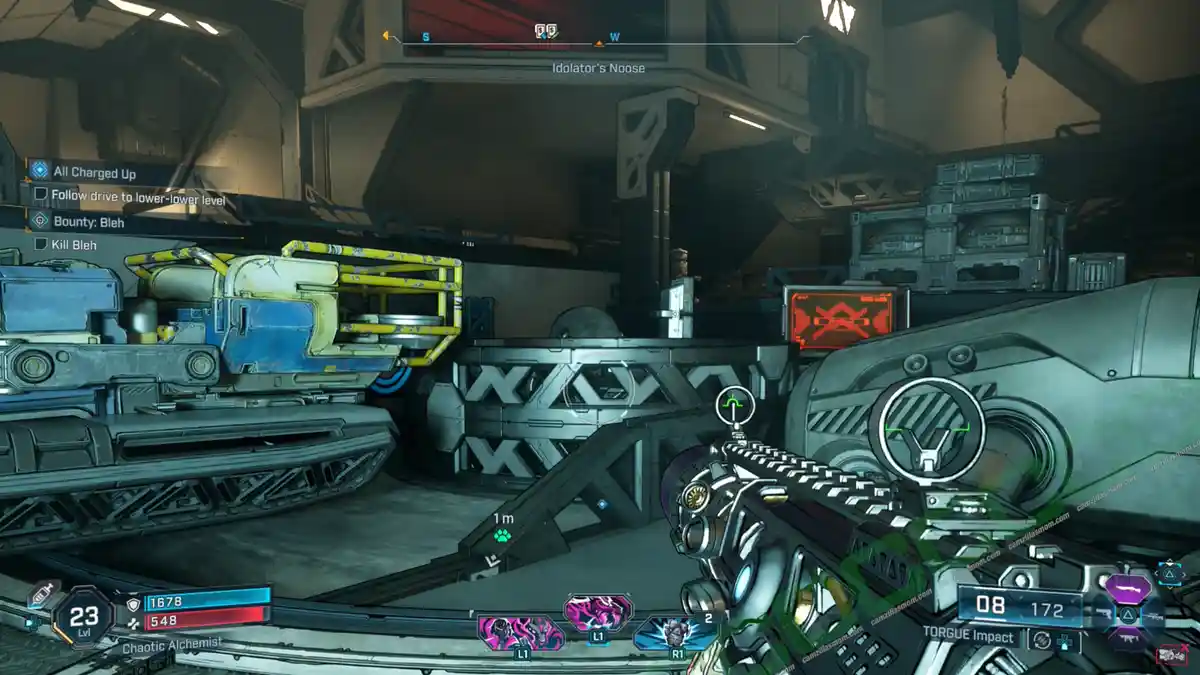
7 – Follow Drive to Lower-Lower Level
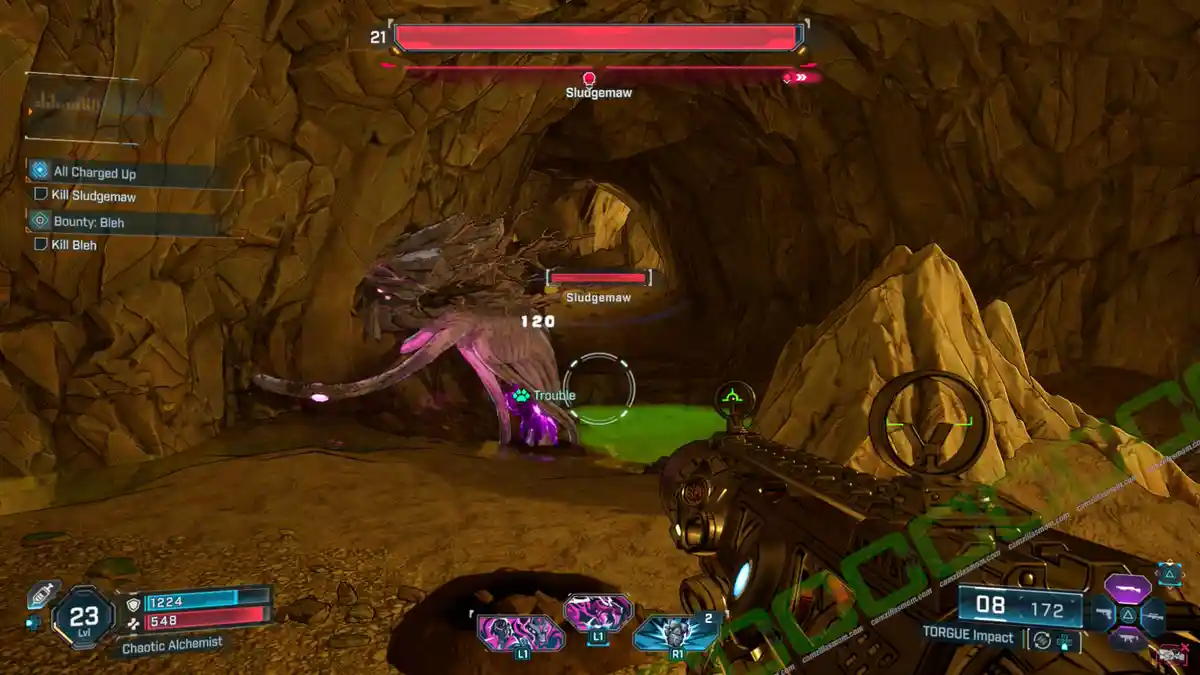
Eject the drive. Of course, it’ll fall right into the hole in the middle of the room. Jump in after it and get ready to fight the boss, Sludgemaw. Once it’s defeated, interact with the implosion drive. To get out, just grapple up to the ceiling. Finally, go speak to Rhodes to complete the side mission.
Sum of His Parts
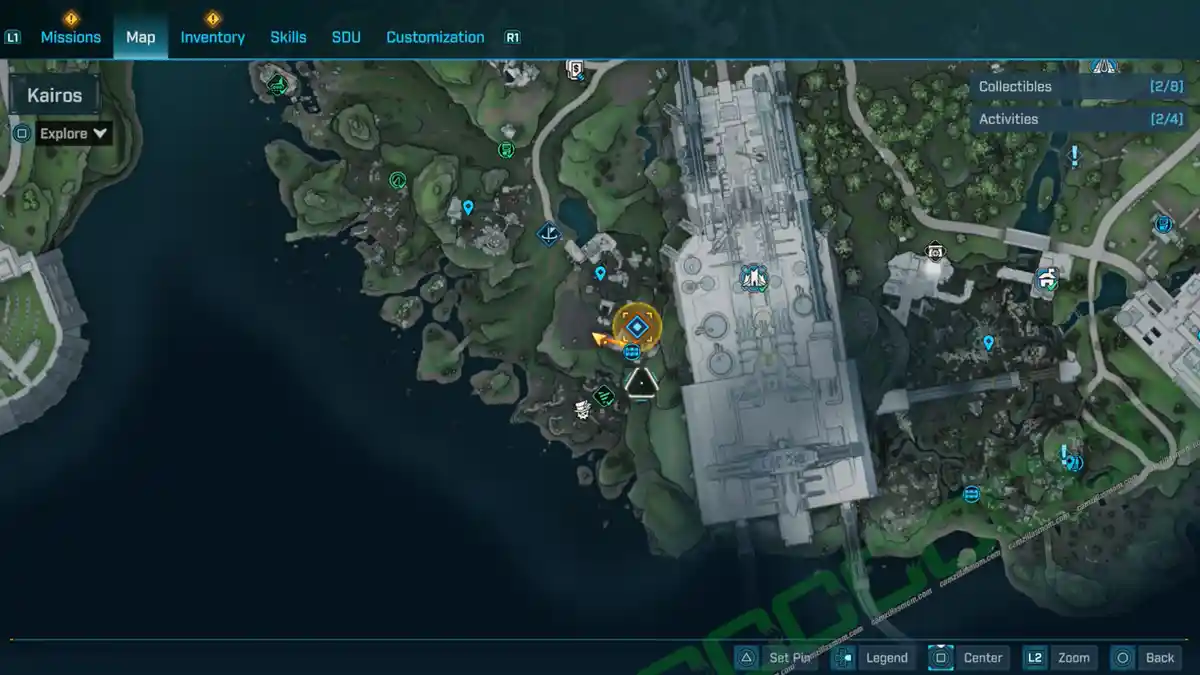
The “Sum of His Parts” quest kicks off at the Racketrun POI, down in the southwest part of Idolator’s Noose. Go find Claptrap’s distressed eye stuck inside a dumpster.
1 – Find Claptrap’s Chassis
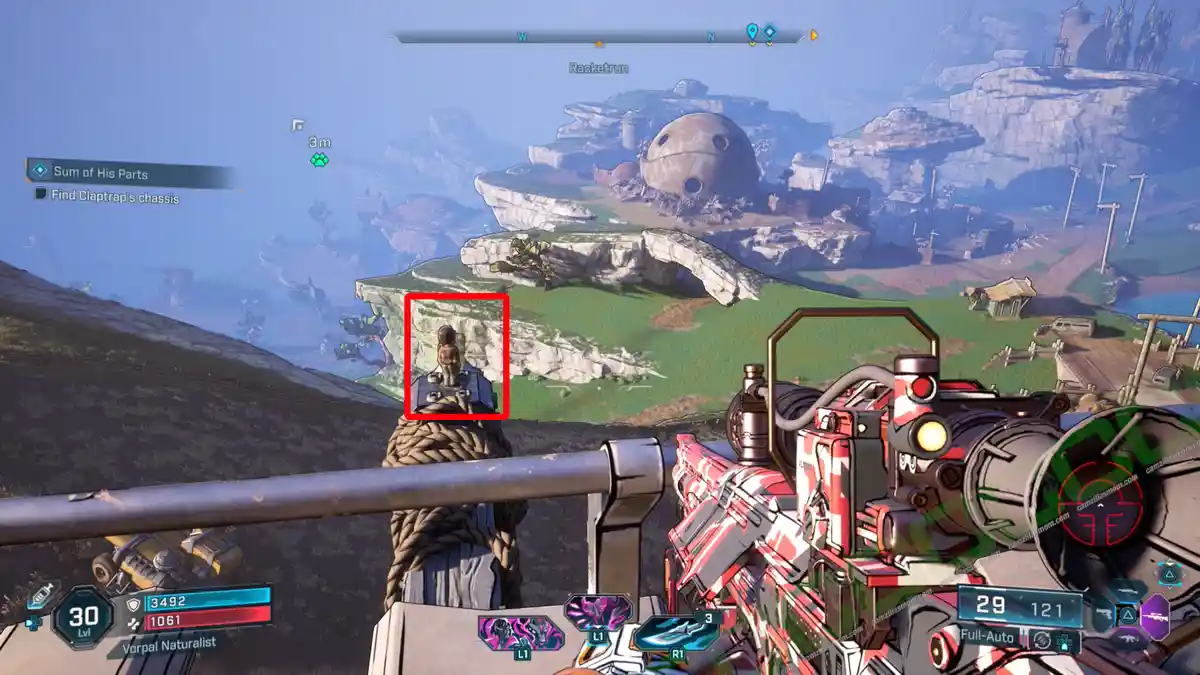
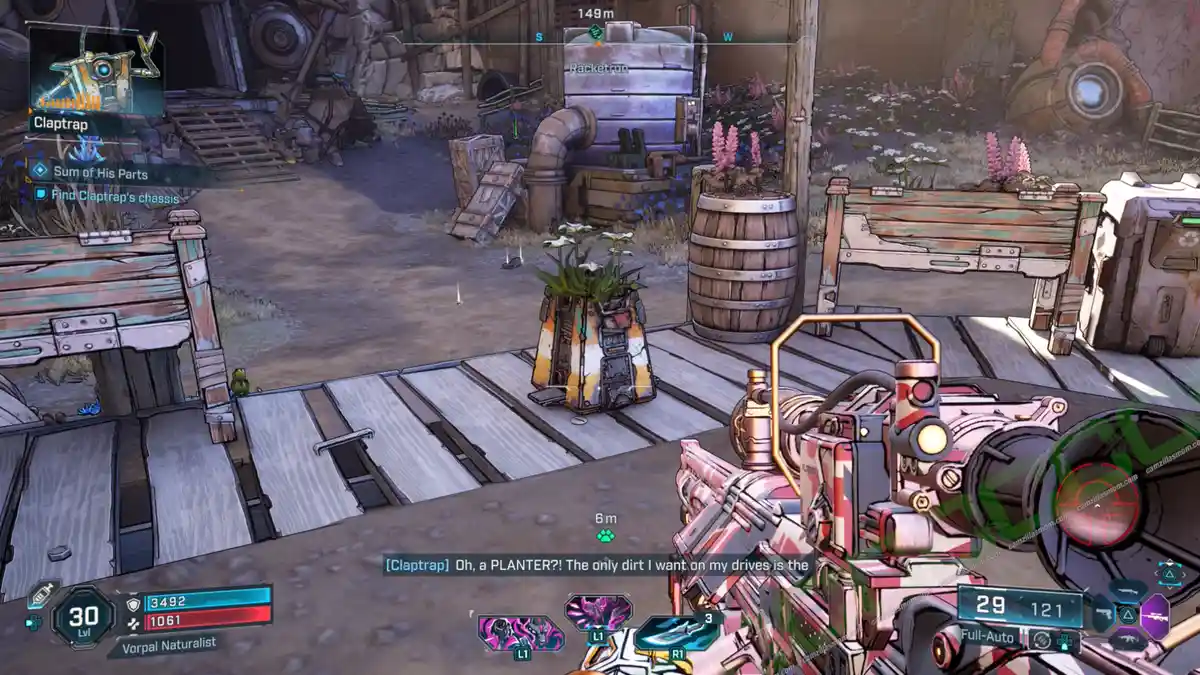
Head to the south of Racketrun, near a Survivalist Cache, to find Claptrap’s Chassis. You’ll see a search radius around there. The Chassis is actually being used as a flower pot right in the center of the area. Once you’ve got it, take the Chassis over to the garage in Racketrun and put it next to Claptrap’s eye-dumpster. Then, just grab the eye and pop it into the Chassis.
2 – Find the Arms
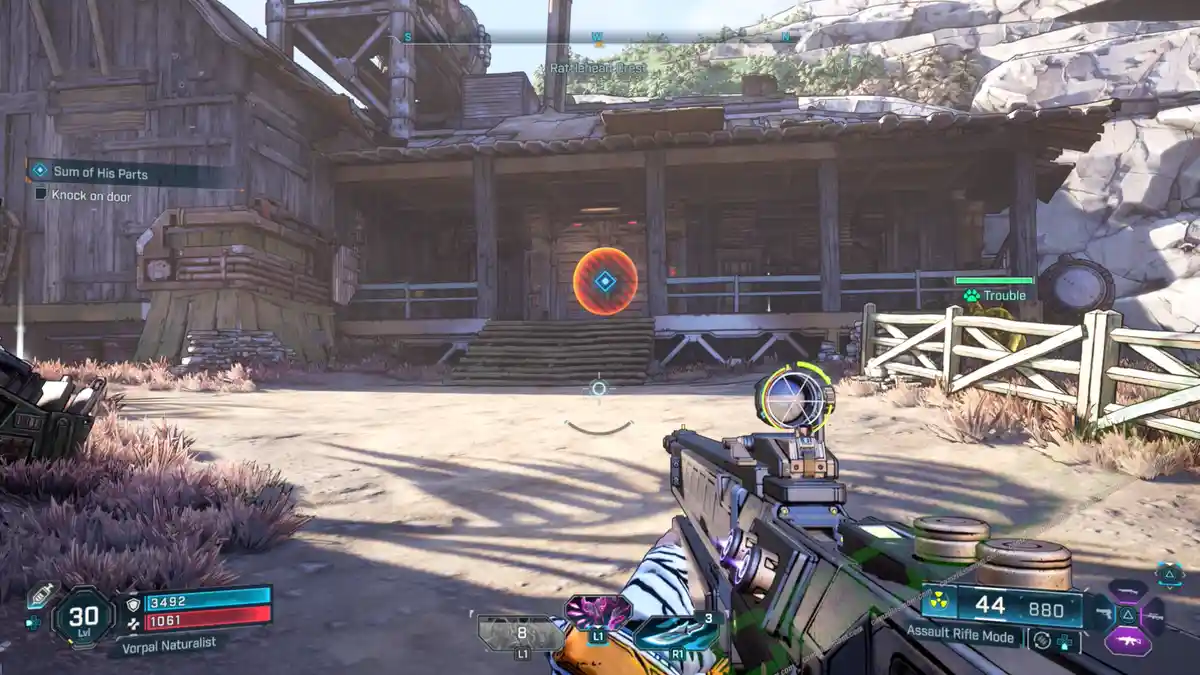
Next up, you’ll need to head over to the old scrapper’s house at Rattlehead Crest to find Claptrap’s arms. Just give the entrance door a good whack, then climb to the top of the tower to grab the antenna. You’ll use two ladders first, then grapple your way up the rest. Once that’s done, you can get inside the house and snag Claptrap’s arms right there in front of the TV.
3 – Find the Wheel
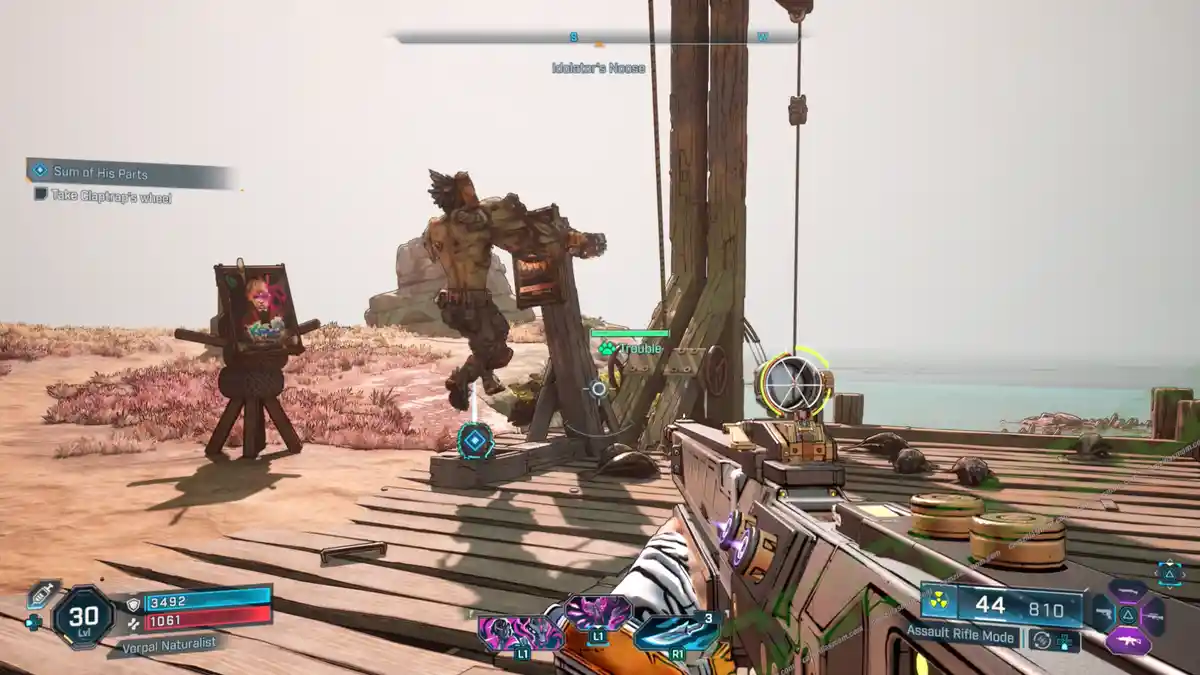
The wheel’s in the western part of Rattlehead Crest; a Ripper uses it to stay fit. Go grab it and bring it back to Claptrap so you can reassemble him.
4 – Kill Lootin’ Luke and his Gang
All that’s left is to take care of Lootin’ Luke and his gang.
To the Limb It: Redux
Side Mission Start:
North of Rosemary’s Reserve
Pre-requisite:
To the Limb It – Side Mission (Dissected Plateau)
What it is about:
Topper has gone missing – again!
Side Mission Steps:
-> Follow Leggies: Topper is locked in the Vault Fragment and Bobblehead room.
-> Reach Topper: Pull off the ventilation panel at the other side of the structure.
-> Lead Topper to his Legs: Follow Topper.
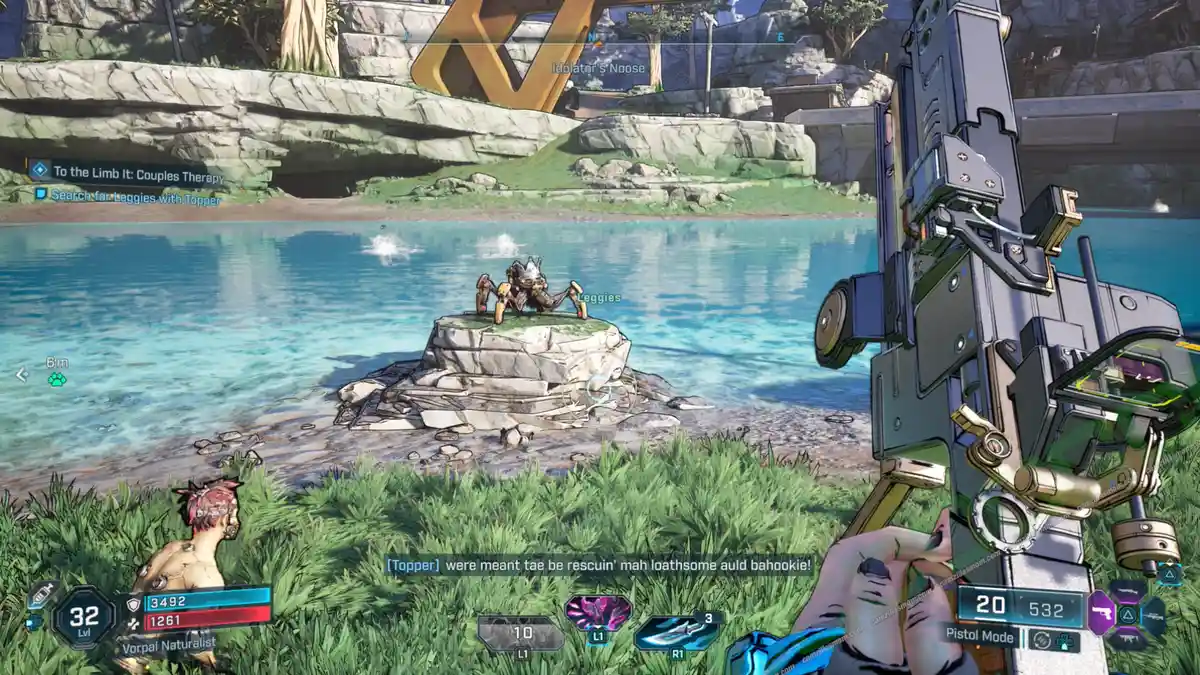
To the Limb It: Couples Therapy
Side Mission Start:
West of Order Silo: Deep Seven
Pre-requisite:
To the Limb It: Redux – Side Mission
What it is about:
Leggies has gone missing this time.
Side Mission Steps:
-> Kill Creatures: Take care of the Manglers.
-> Search for Leggies with Topper: Follow Topper and kill creatures. Leggies has become the crab king.
Borderlands 4
Release: September 12, 2025
Developer: Gearbox Software
Publisher: 2K Games
Official Website: https://borderlands.2k.com/borderlands-4/
