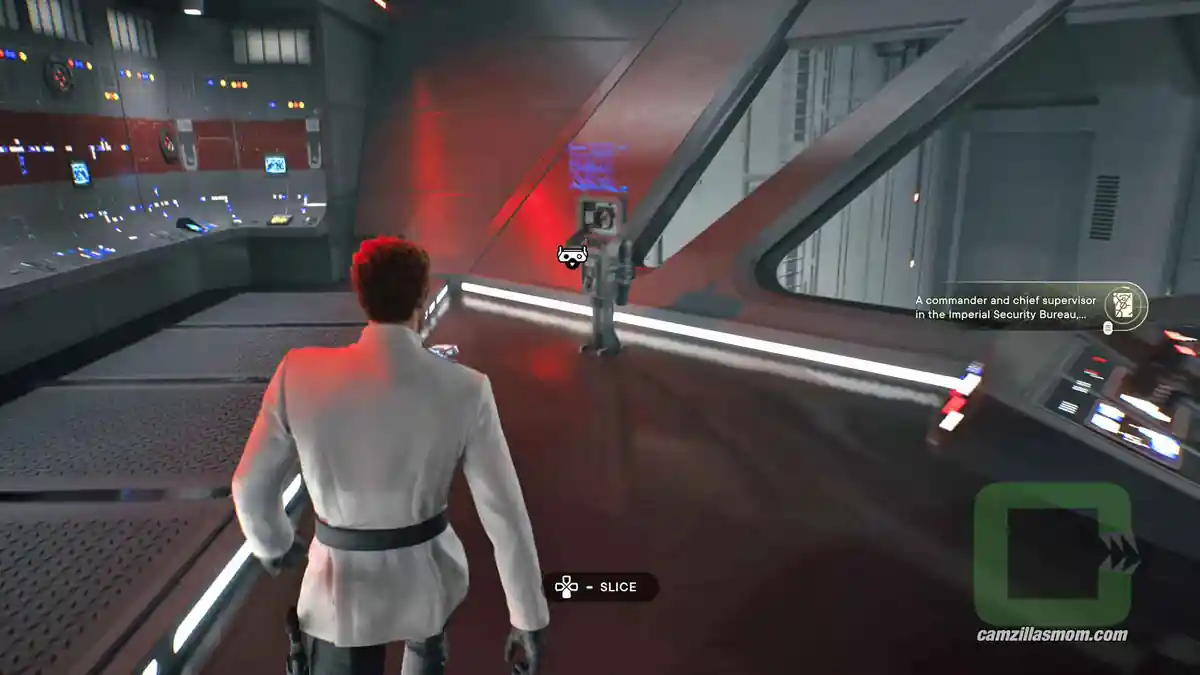
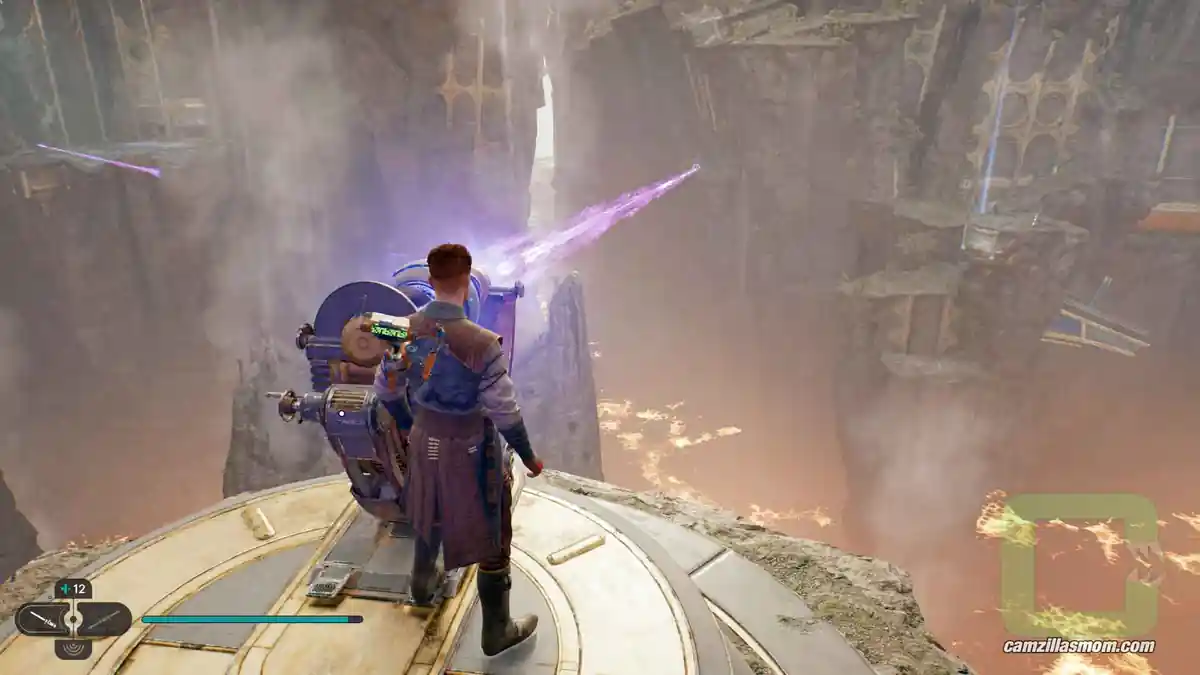
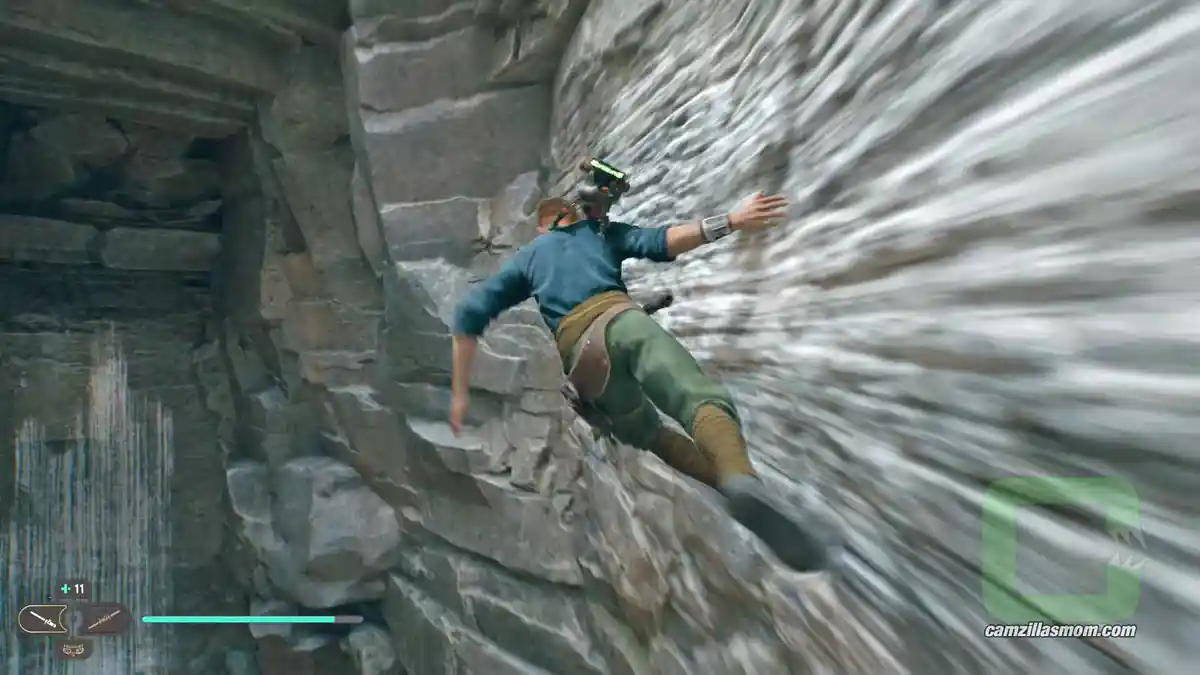
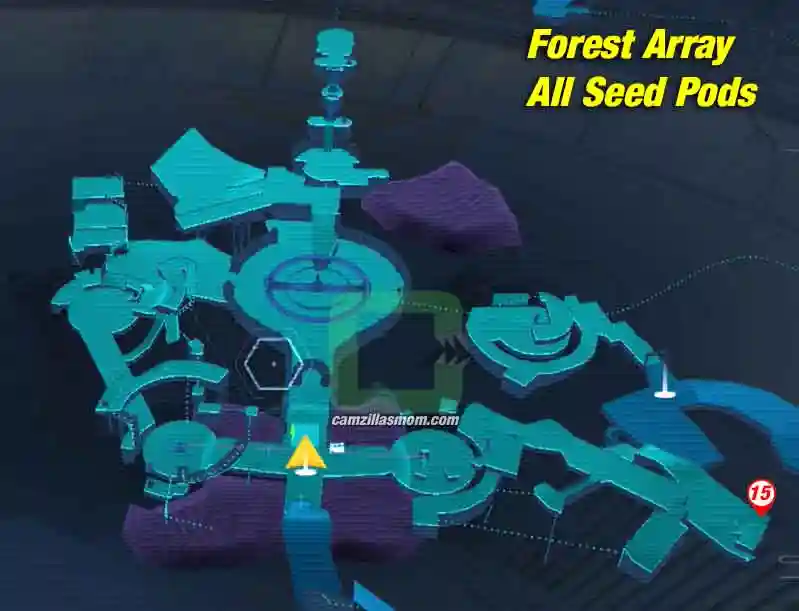
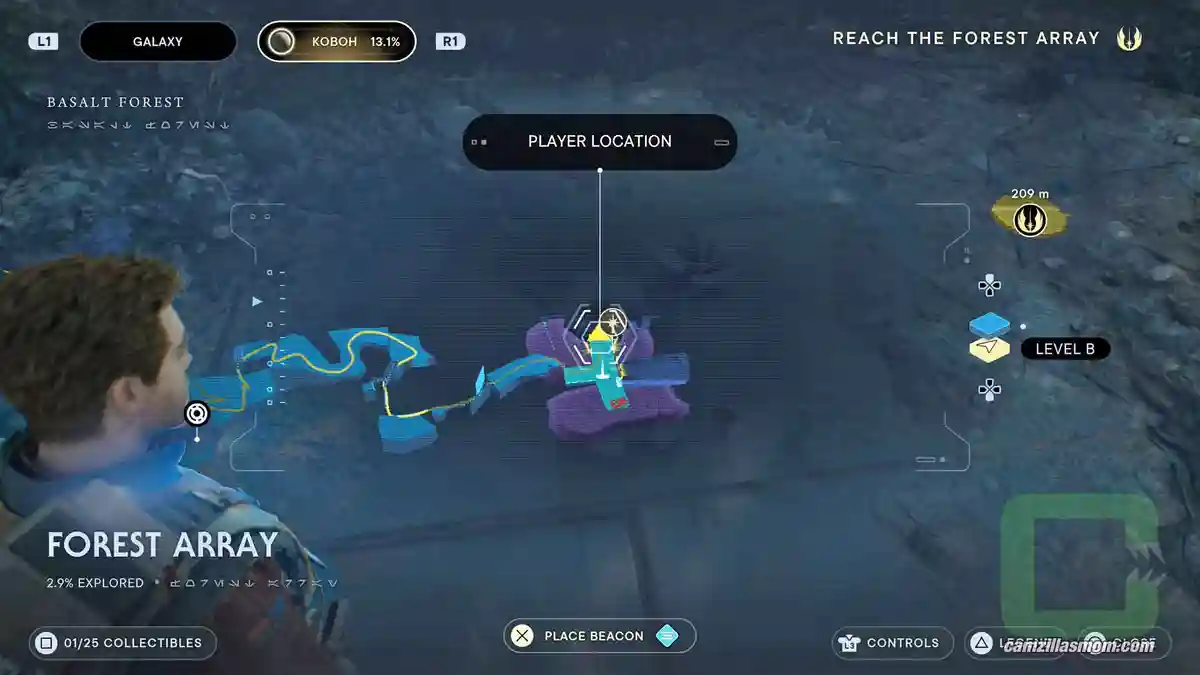
The Forest Array at Koboh (sometimes typed as “Forrest Array“) is where the Story leads Cal to find the Compass to reach Tanalorr. It is partially covered in Koboh Dust that will kill Cal if he stays in it too long, which makes it trickier to reach the Forest Array collectibles. In the story, you’ll get there by crossing Basalt Rift, but you can also use the Forest Array Meditation Point or come in through Bilemaw Den. The tower at the center of Forest Array is the Rehabilitation Wing, where Cal fights Dagan Gera in the story.
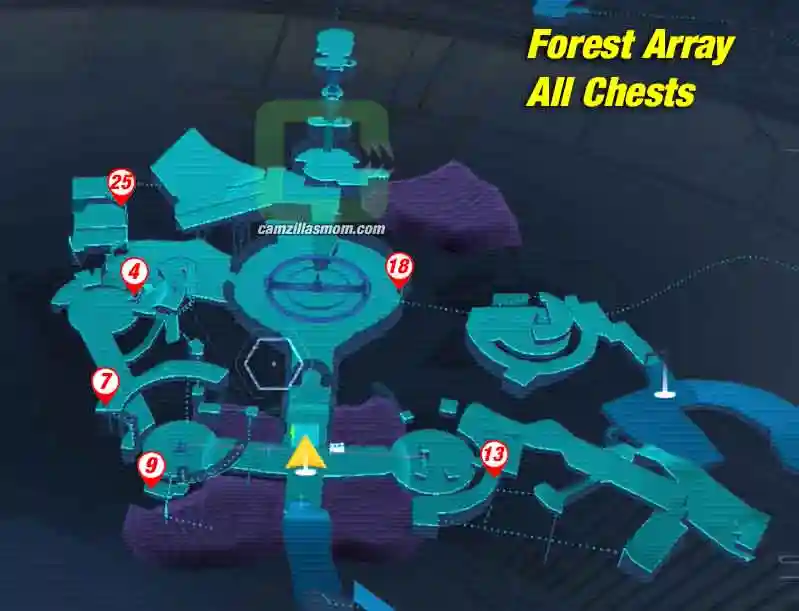
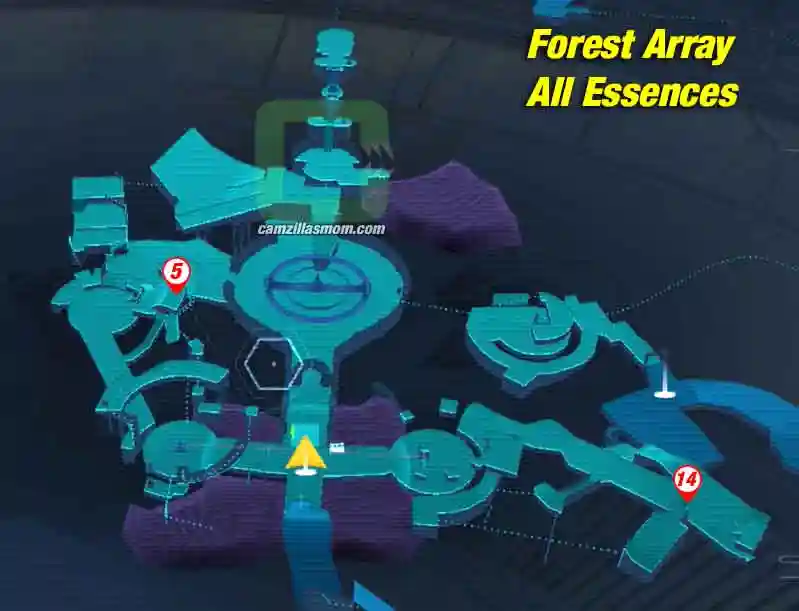
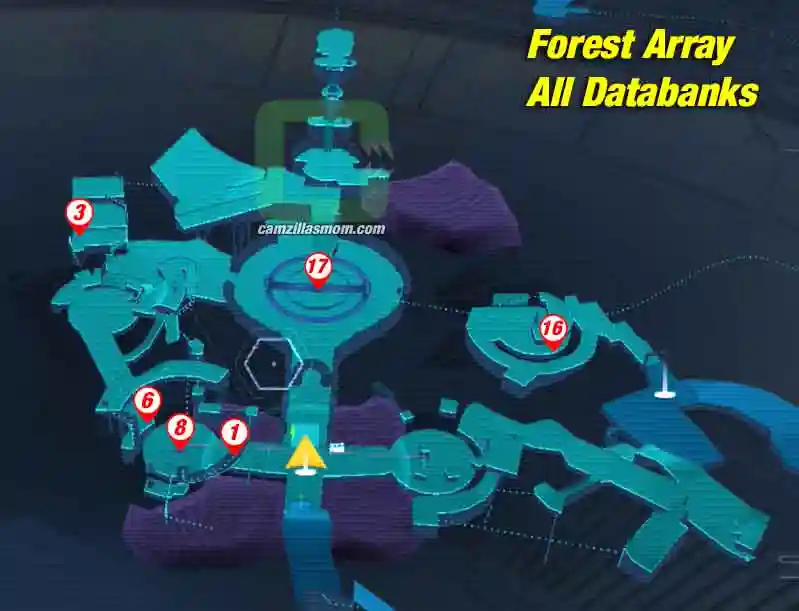
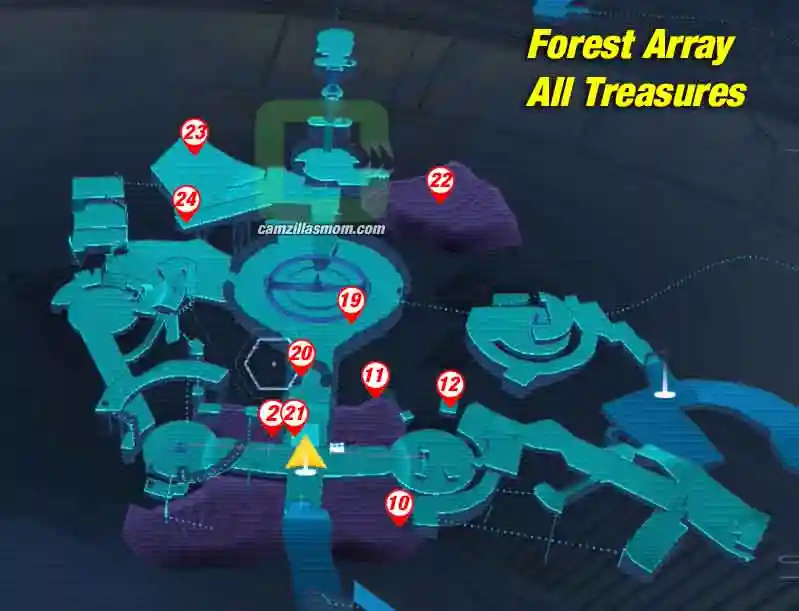
There are 25 collectibles to find at Forest Array: 6 Chests, 2 Essences, 6 Databank entries, 10 Treasures and 1 Seed Pod. This guide walks through the area in one logical, continuous route so you can pick up everything in a single pass. If you’re only missing one or two, check the specific map by collectible type and jump straight to that number below.
Related Guides:
Koboh: Basalt Rift Collectibles
Koboh: Chamber of Reason
Koboh: Swindler’s Wash
All Map Upgrades in Jedi Survivor Guide
Star Wars: Jedi Survivor Game Guides Hub
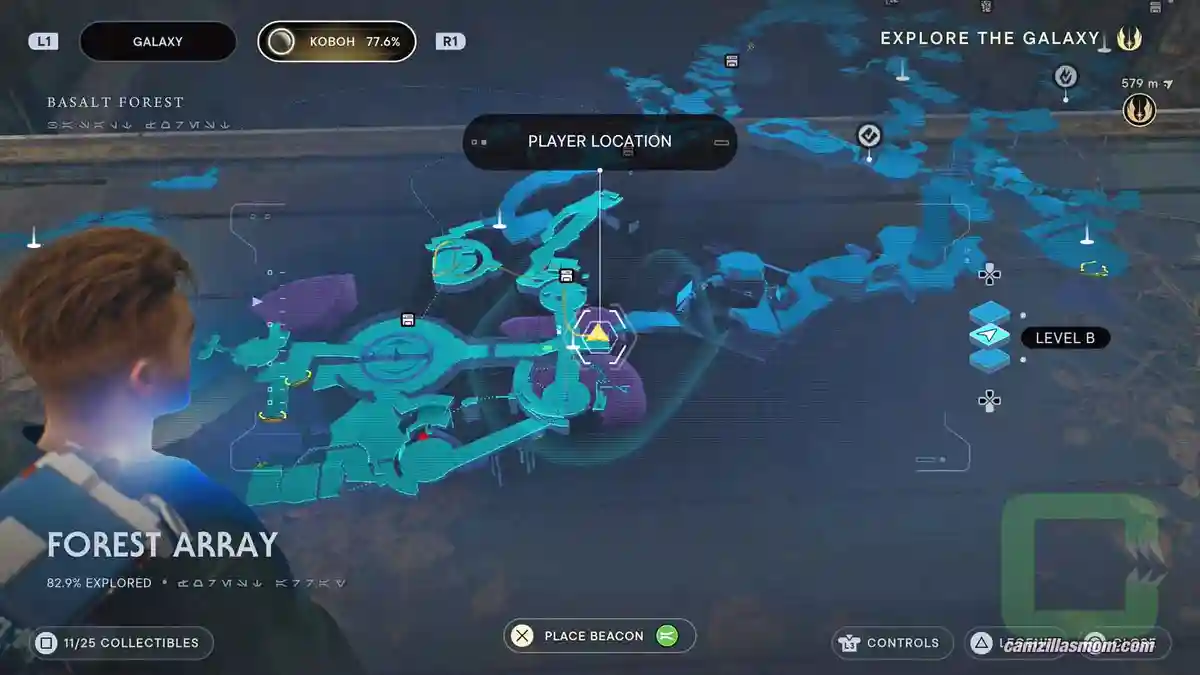
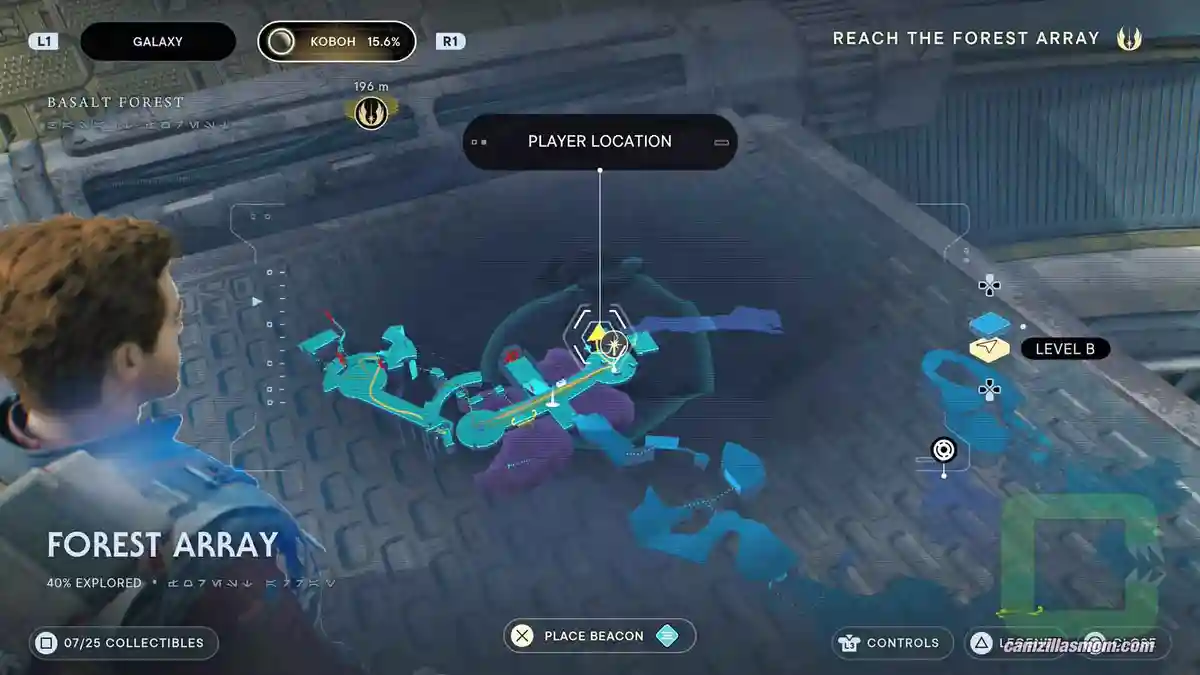
- Forest Array Collectibles – Overview Map
- 1 – Databank Entry #138
- 2 – Treasure
- 3 – Databank Entry #145
- 4 – Chest
- 5 – Essence
- 6 – Databank Entry #142
- 7 – Chest
- 8 – Databank Entry #141
- 9 – Chest
- 10 – Treasure
- 11 – Treasure
- 12 – Treasure
- 13 – Chest
- 14 – Essence
- 15 – Seed Pods
- 16 – Databank Entry #146
- 17 – Databank Entry #135
- 18 – Chest
- 19 – Treasure
- 20 – Treasure
- 21 – Treasure
- 22 – Treasure
- 23 – Treasure
- 24 – Treasure
- 25 – Chest
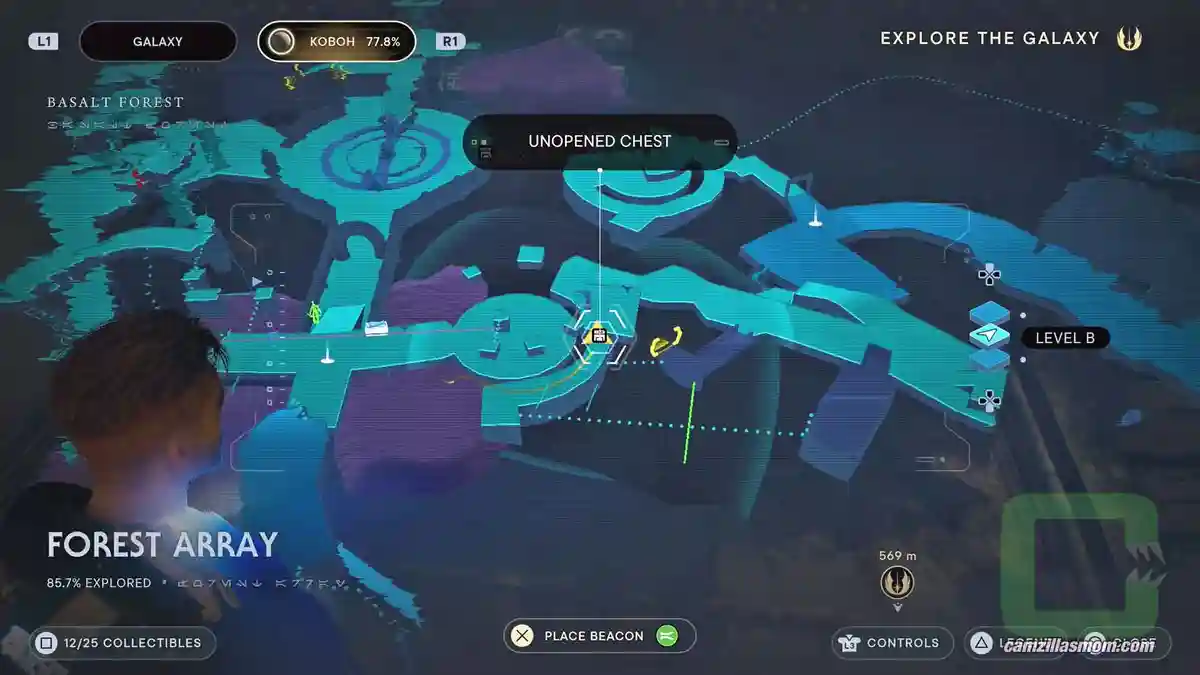
Forest Array Collectibles – Overview Map
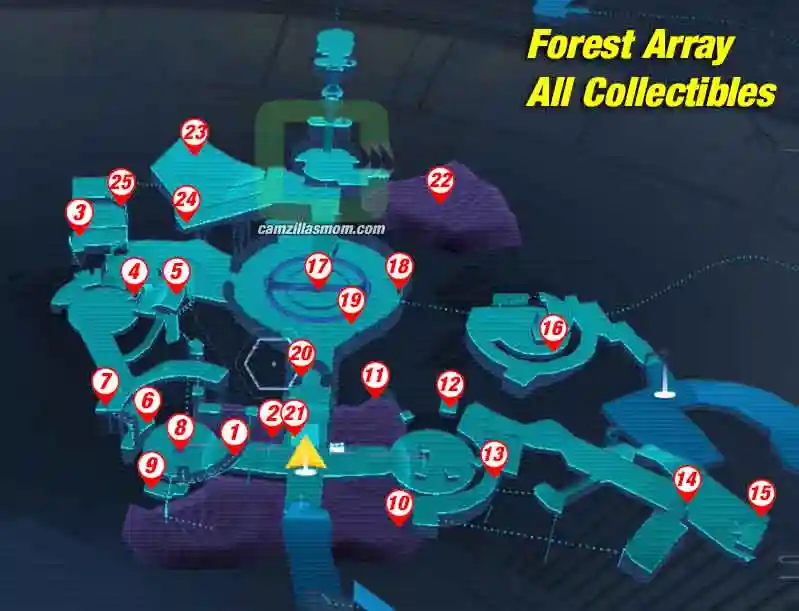
1 – Databank #138
2 – Treasure
3 – Databank #145
4 – Chest
5 – Essence
6 – Databank #142
7 – Chest
8 – Databank #141
9 – Chest
10 – Treasure
11 – Treasure
12 – Treasure
13 – Chest
14 – Essence
15 – Seed Pods
16 – Databank #146
17 – Databank #135
18 – Chest
19 – Treasure
20 – Treasure
21 – Treasure
22 – Treasure
23 – Treasure
24 – Treasure
25 – Chest
1 – Databank Entry #138
Title:
Koboh Barrier
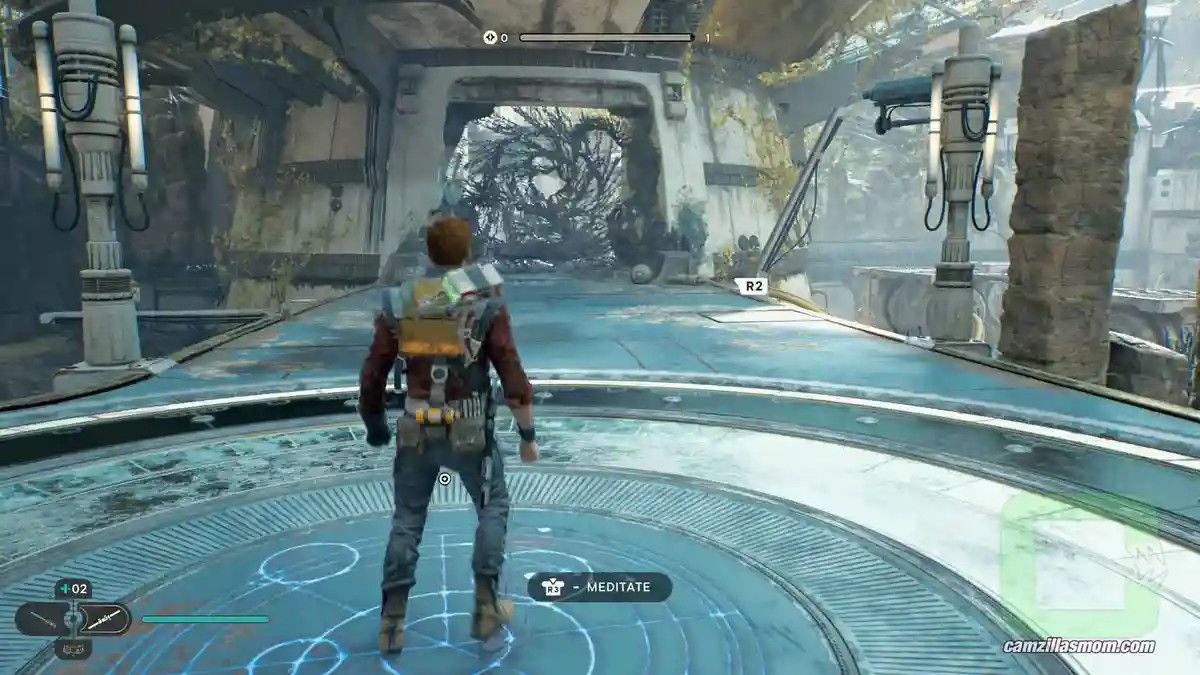
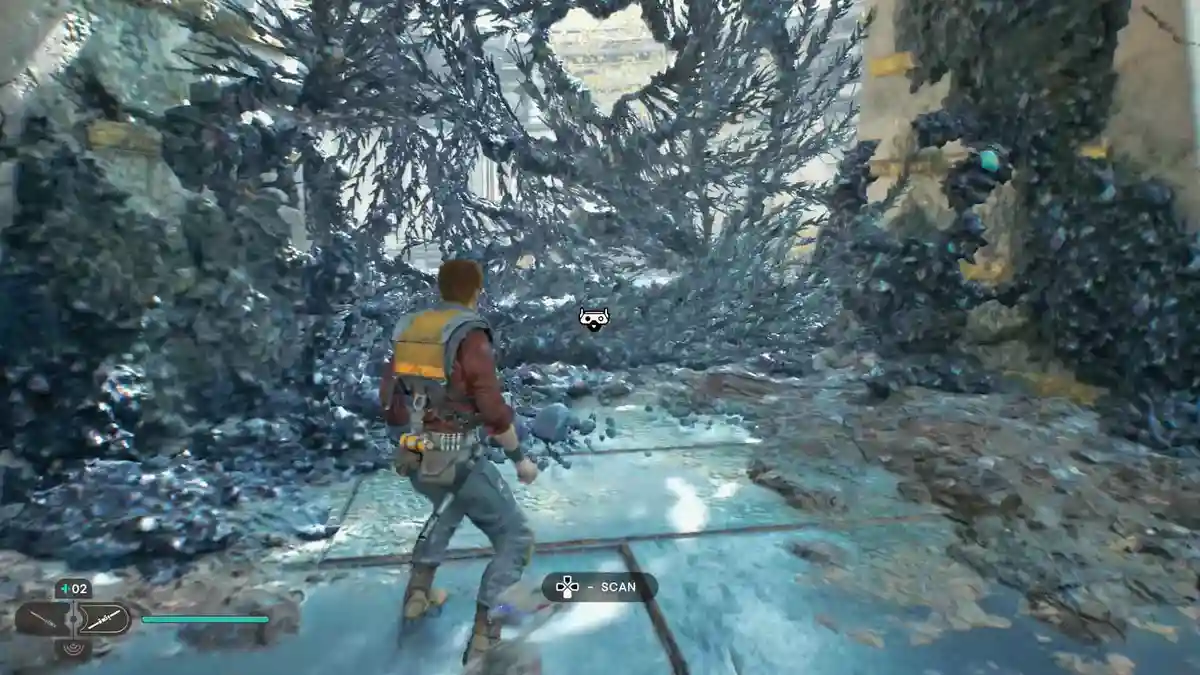
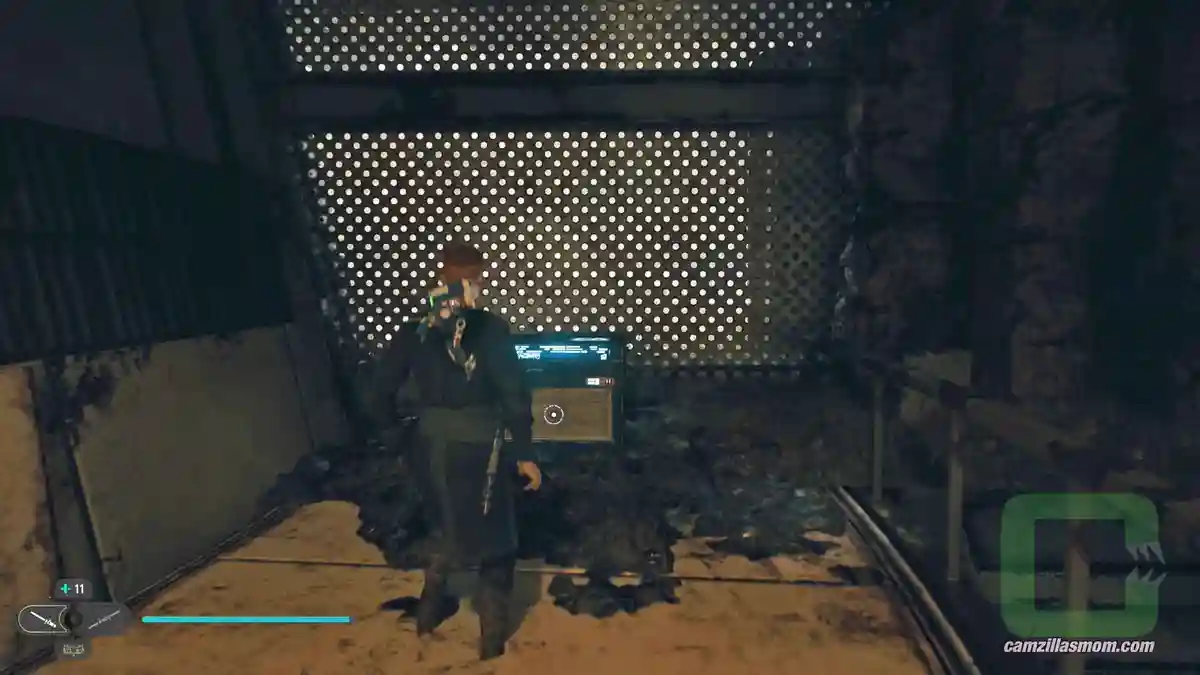
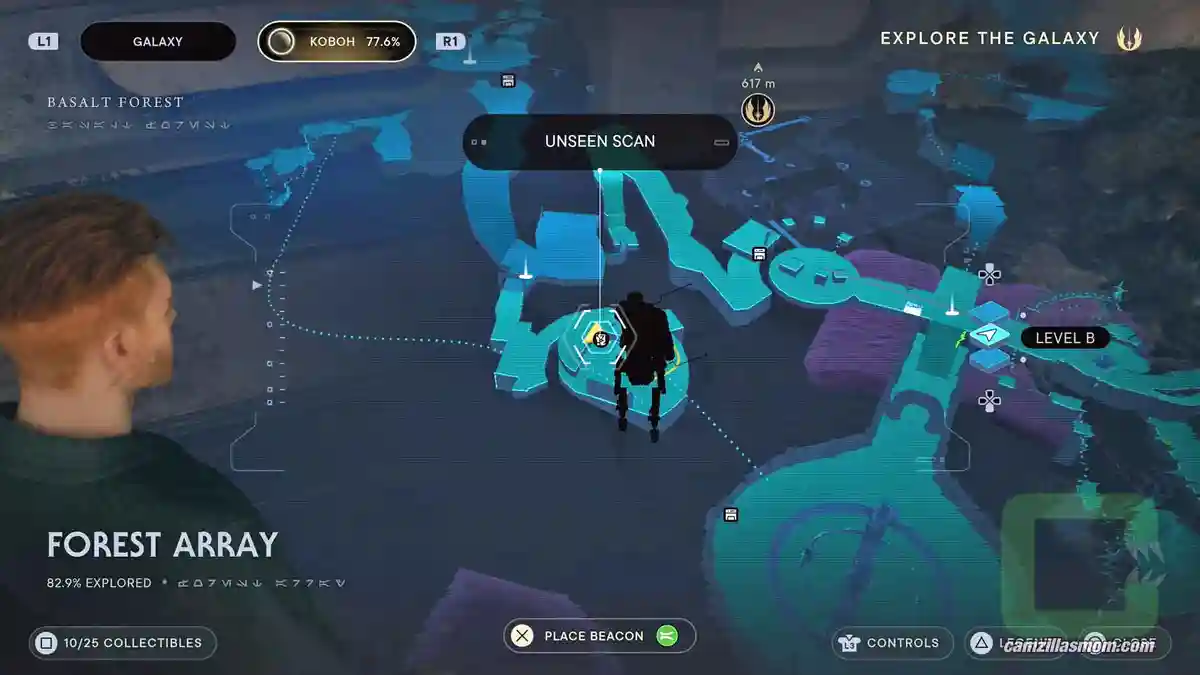
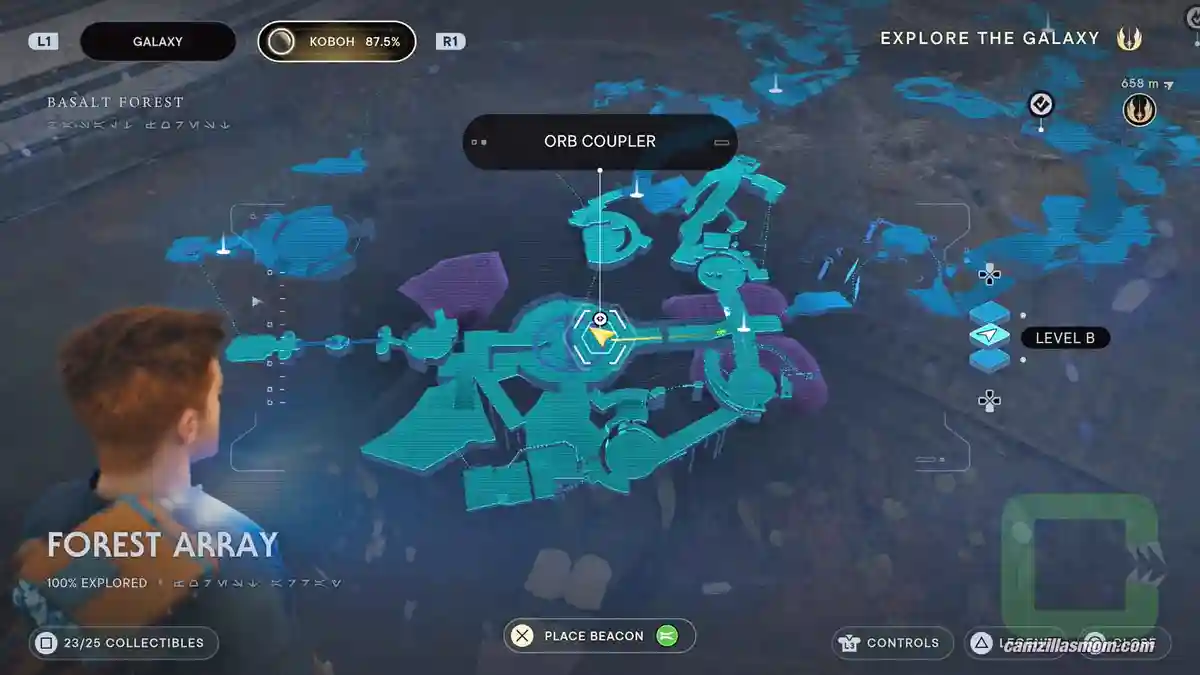
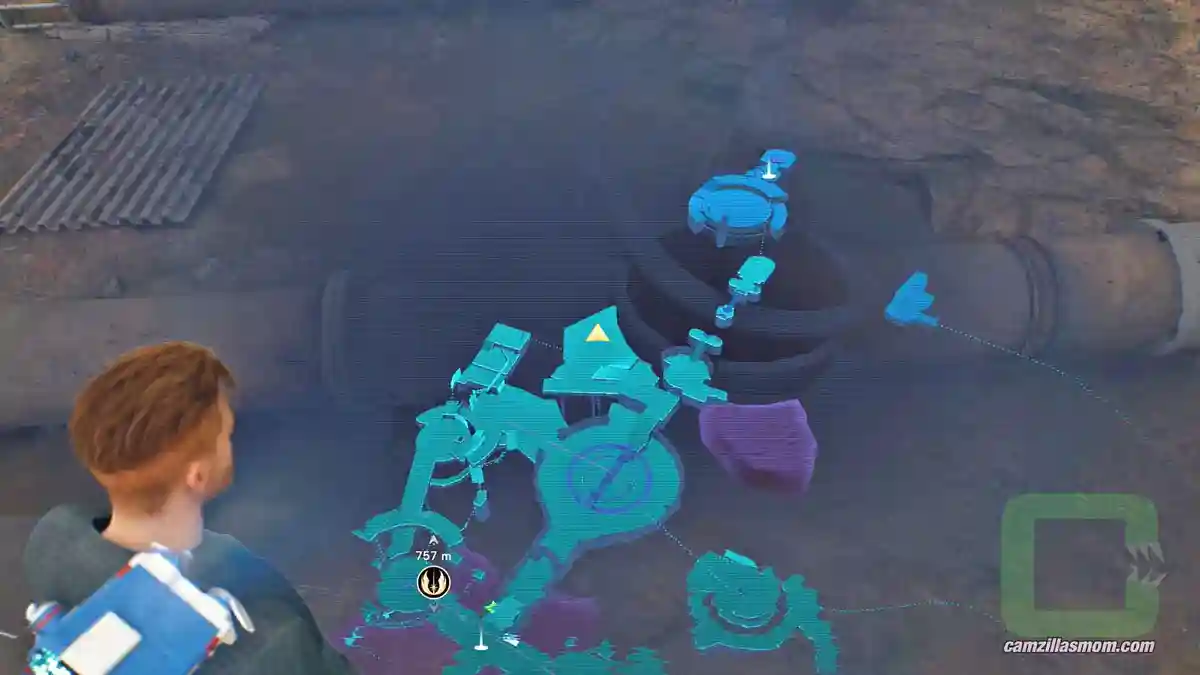
The Forest Array Meditation point is right in the middle of a path that connects two round rooms with no roofs. When Call arrives here for the first time, the room’s entrances are covered by Koboh Matter. This Databank entry is a scan of the Barrier that covers the entrance of the room with the Orb Coupler in it.
2 – Treasure
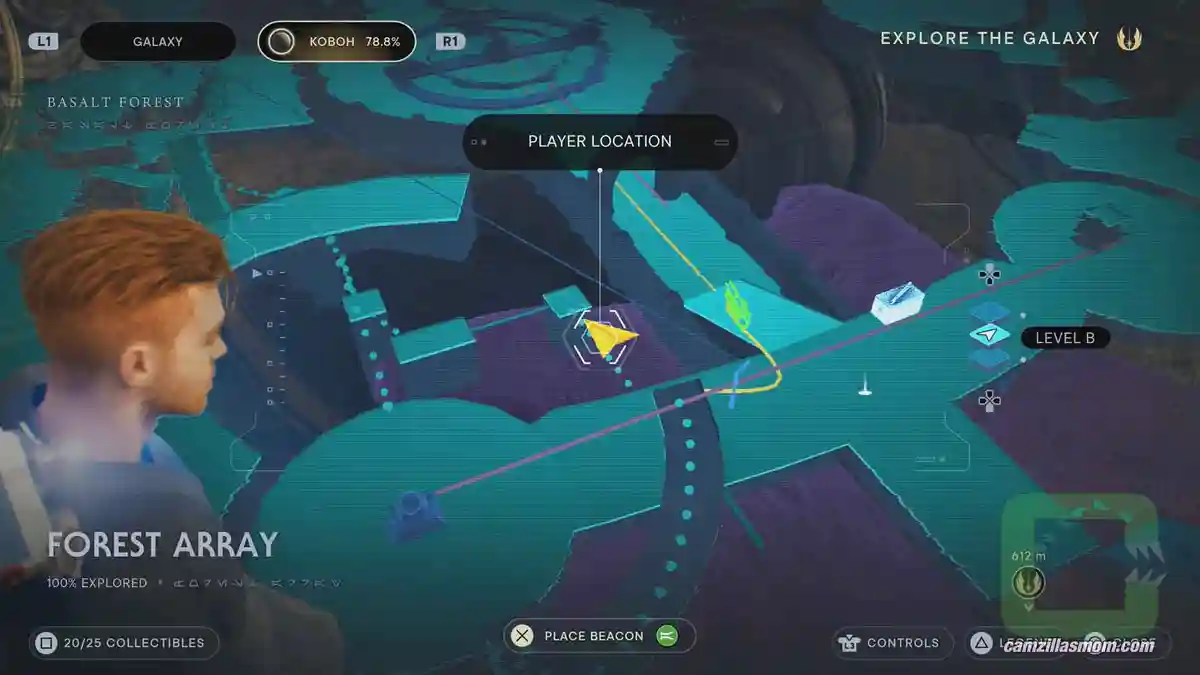
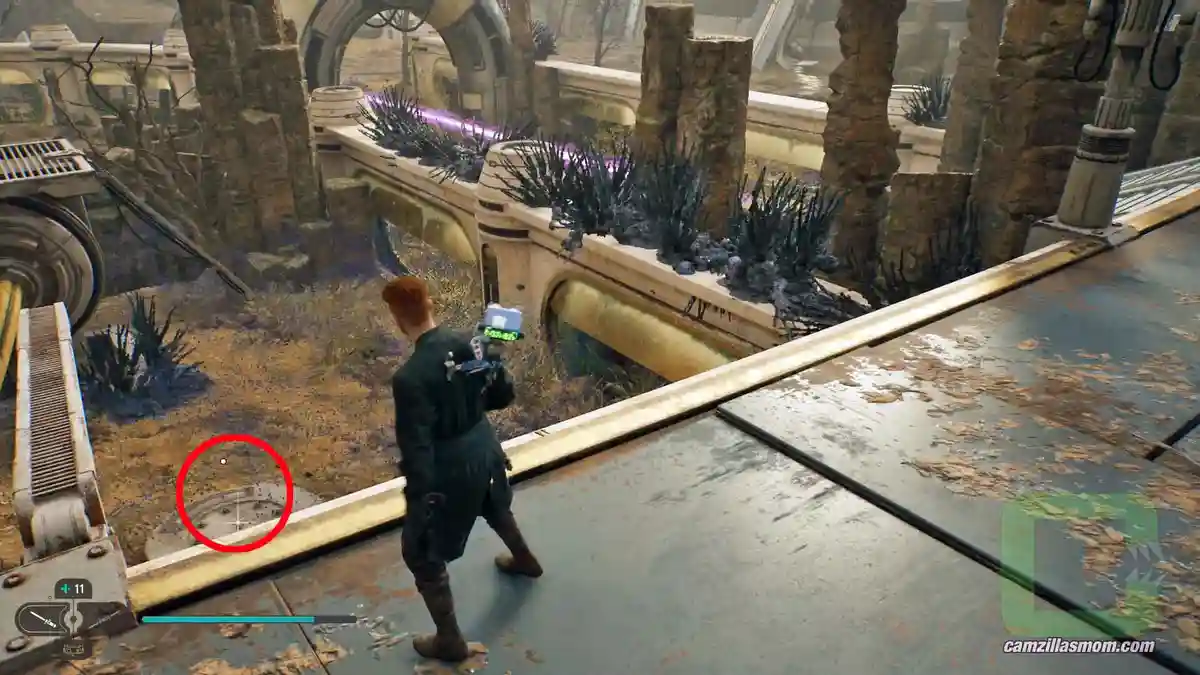
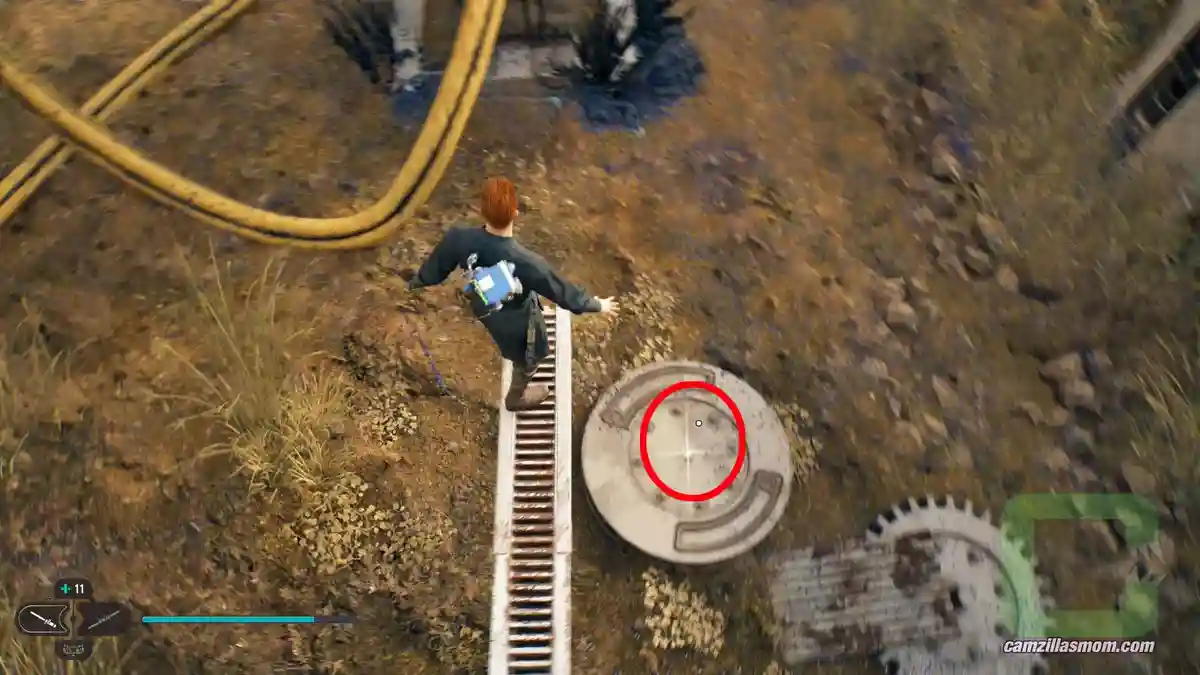
In the story, the only way forward is by getting on a beam not far from the Koboh Barrier above. As you stand on the beam, look down from the beam to a round platform next to a cog on the floor in the Koboh Dust. In the center is this Treasure item. Just jump down to get it. Be fast, before you get killed. You get to keep the Treasure!
3 – Databank Entry #145
Title:
Epic Moltings
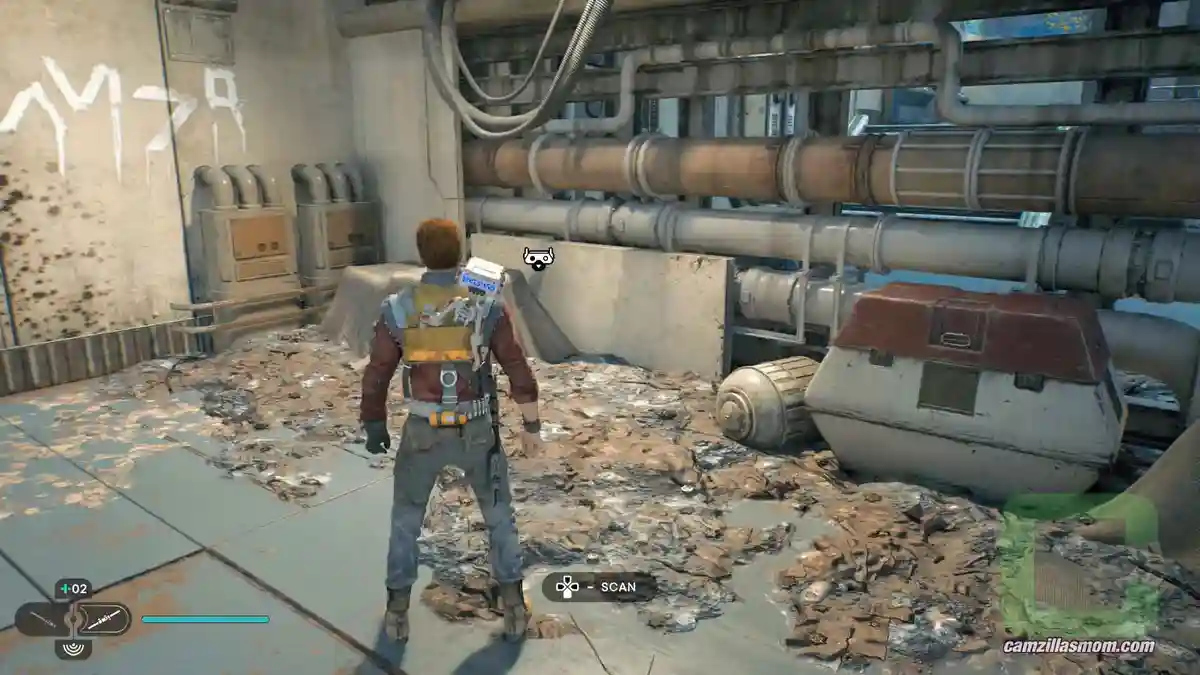
Go back onto the beam from where you jumped down to get the treasure from the previous collectible. Follow the path you took in the story. Cross over and jump down, where the giant bird made you fall down.
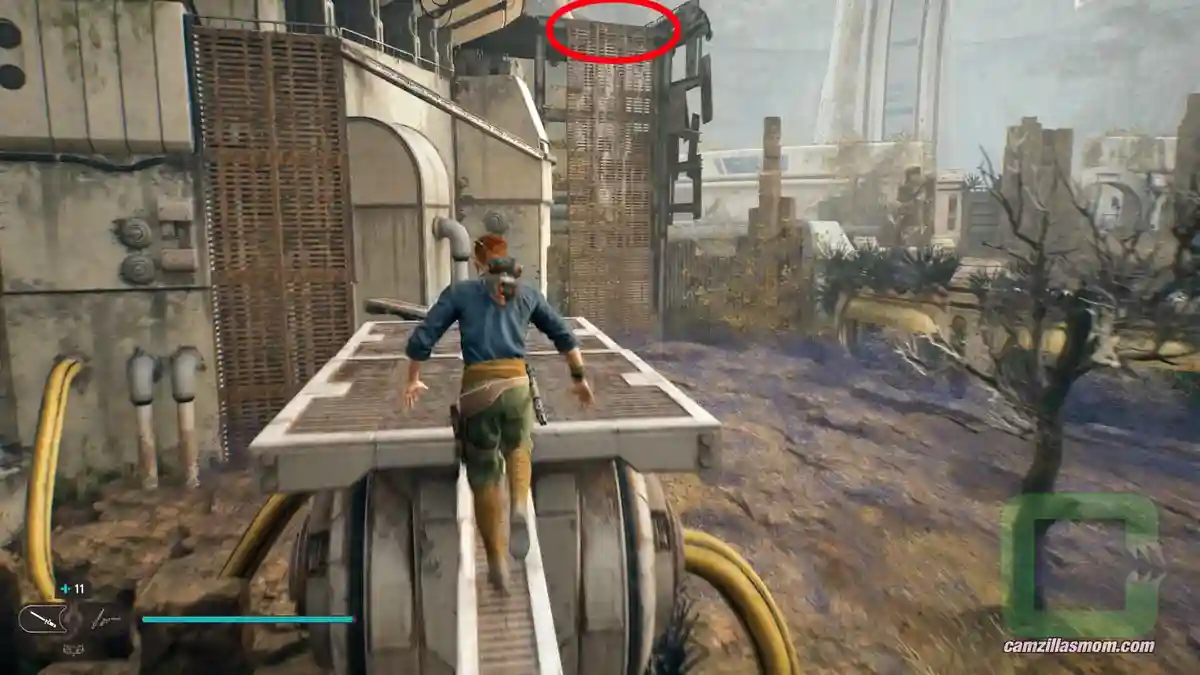
The Databank Entry scan is just in the corner where you fall down.
4 – Chest
Contains:
Beard – Light Mustache
Wall-run the the left from the previous collectible, where you can open the door so you have a shortcut from the other side. In the round room with the dead birds (Rawka), look to the left and up. There is a wall-run that leads to a pole. From there you can reach a platform with this chest.
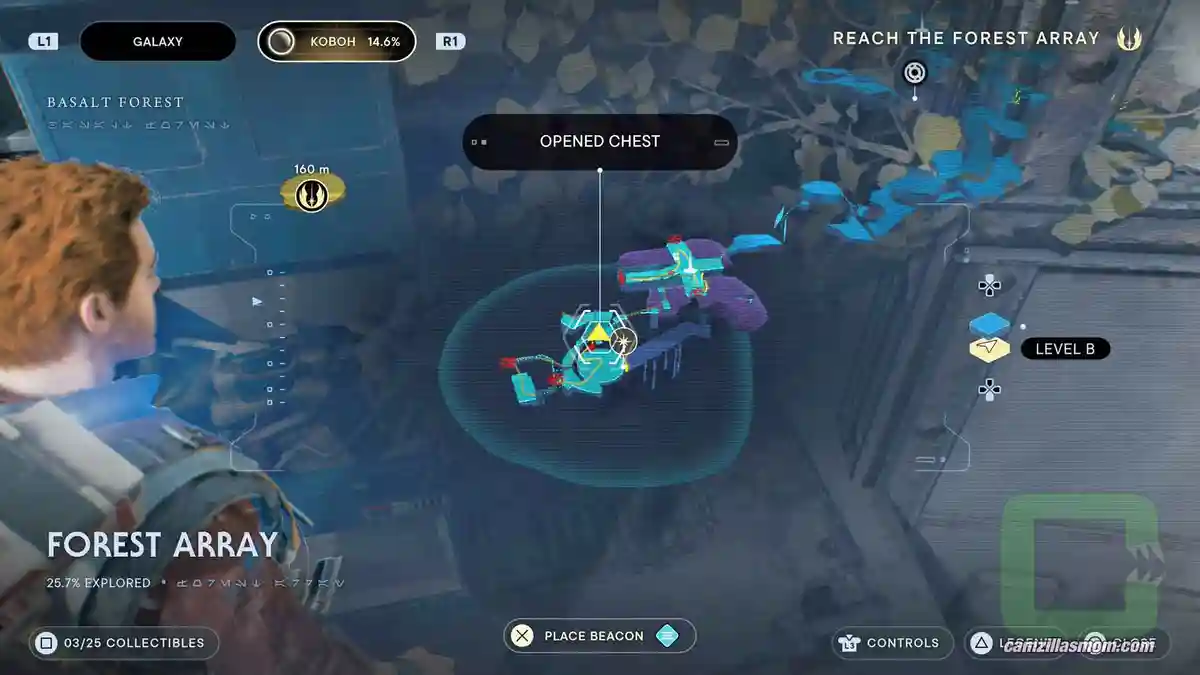
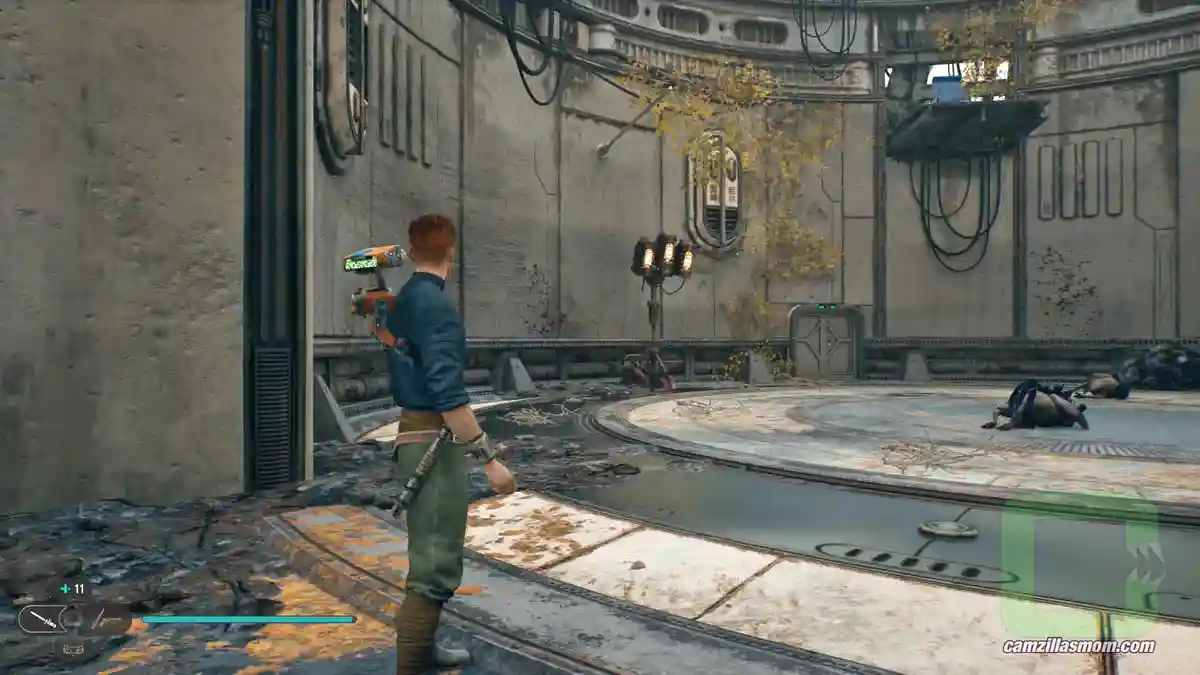
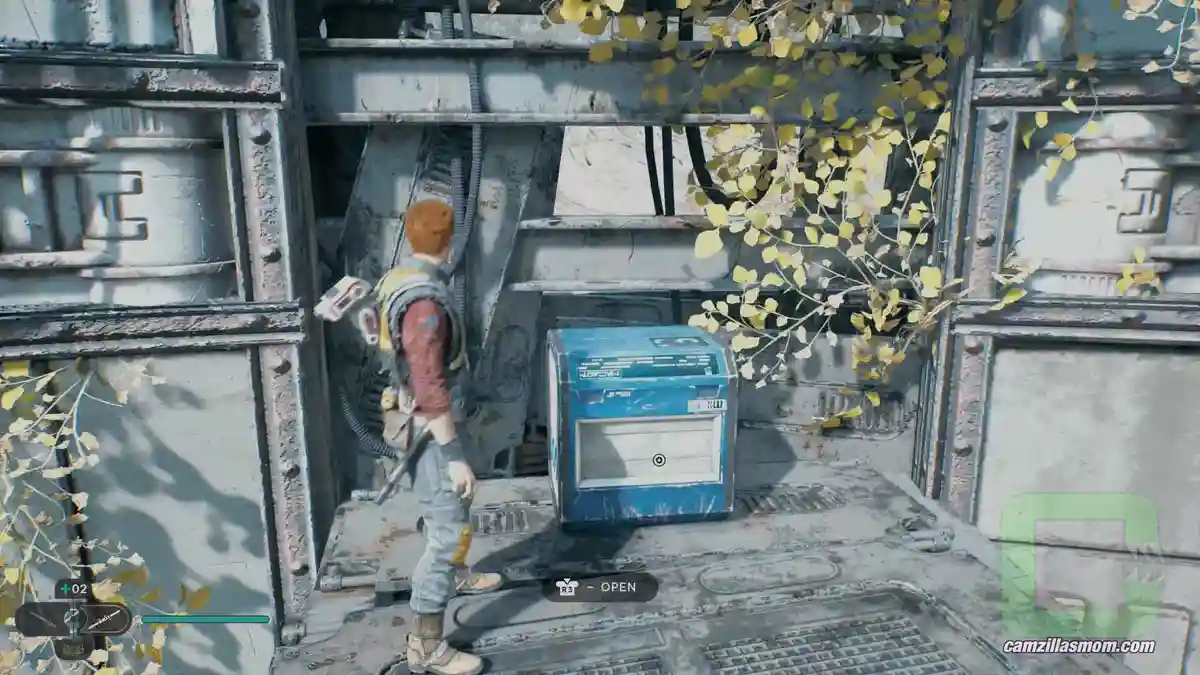
5 – Essence
Contains:
Skill Point
Below the previous chest is a locked door. We’ll open it after we collected this Essence.
To start that, cross the nearby bridge and defeat the Mogu. Go all the way to the other side of the bridge. There is a beam below the climbable metal wall over the abyss to the right. Jump onto the beam.
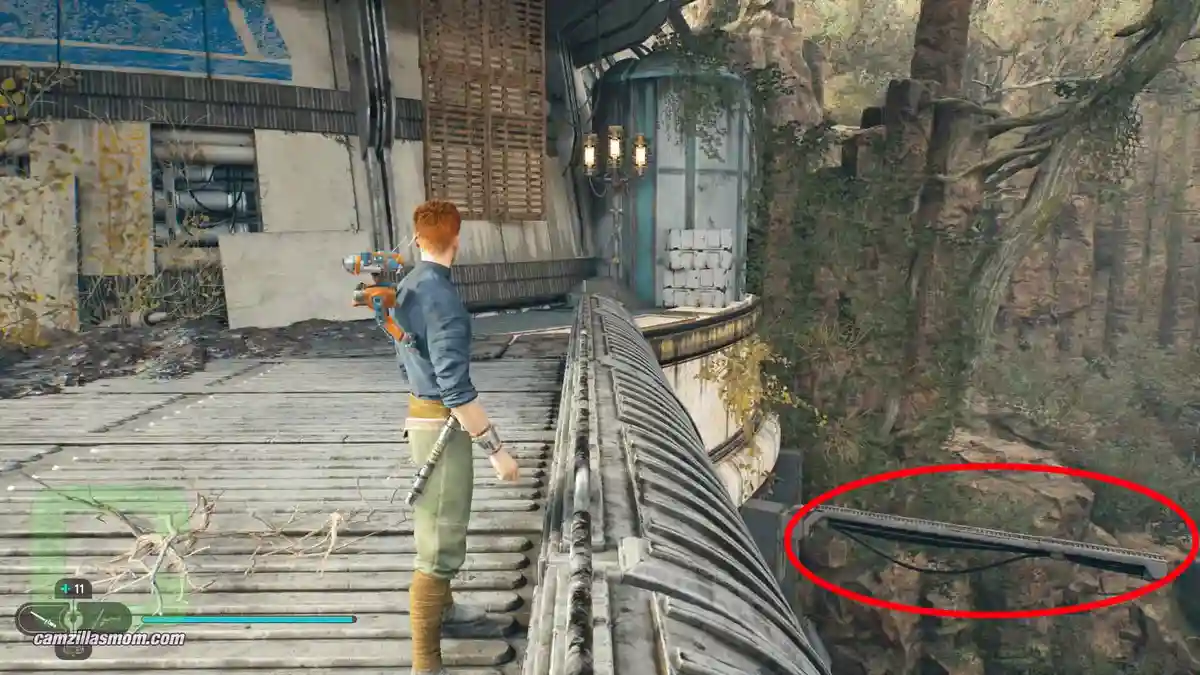
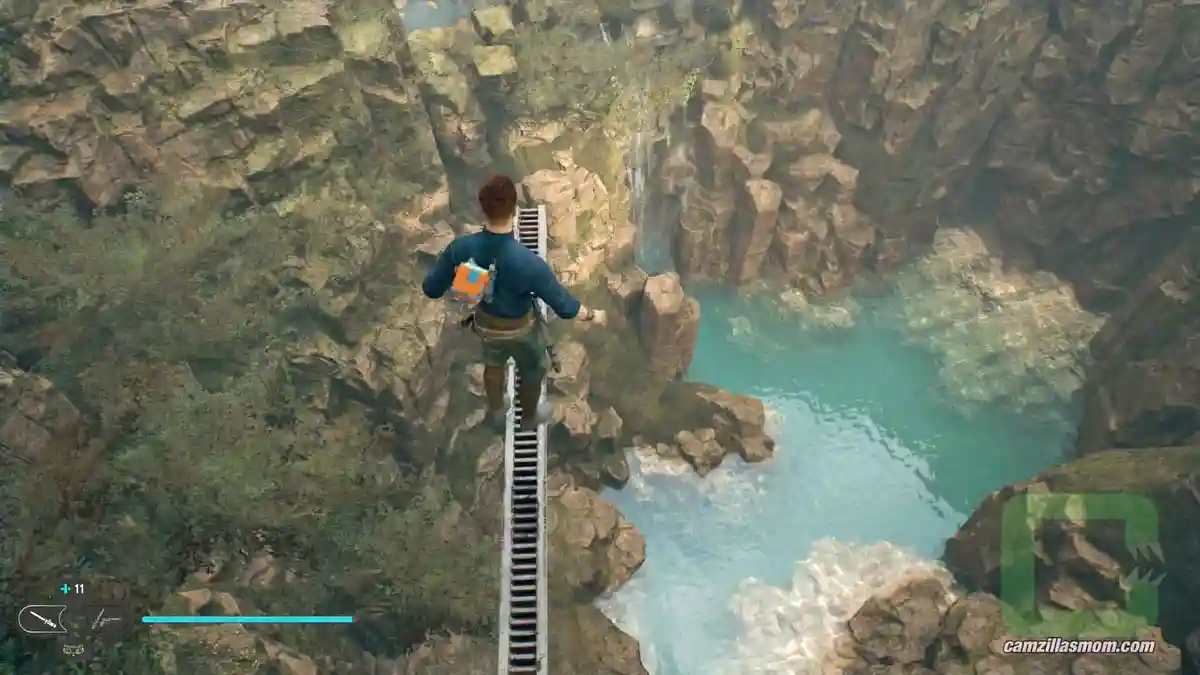
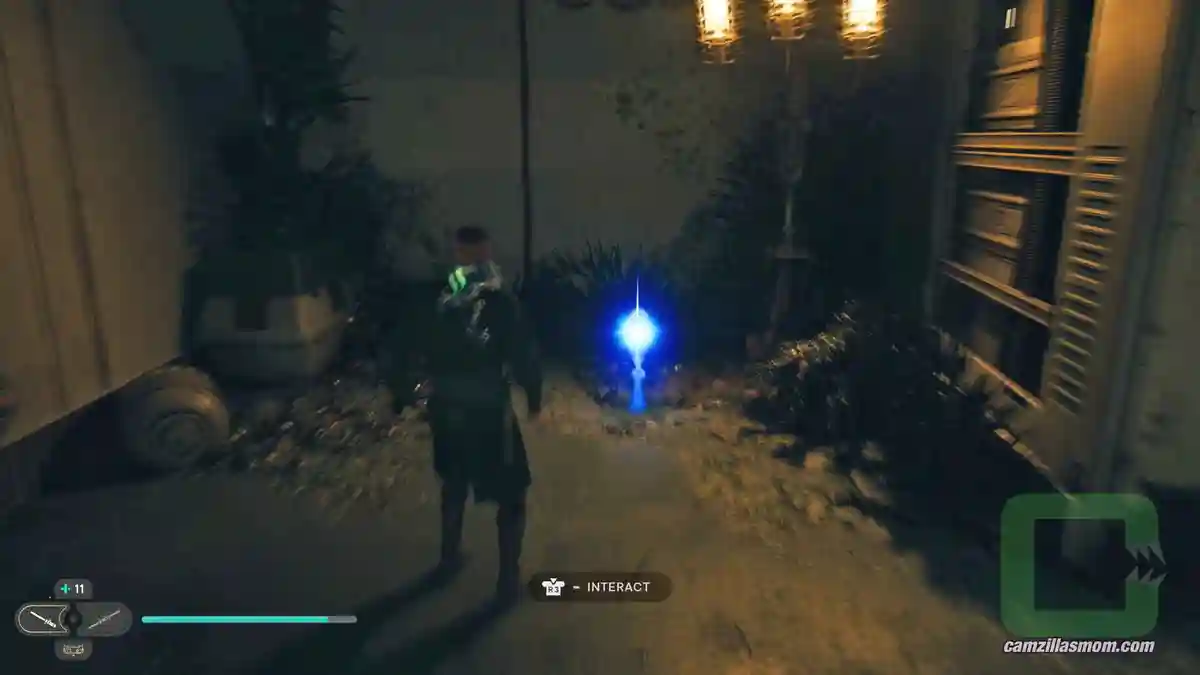
From there, use the grapple point underneath the bridge and climb up. From here, jump up to the metal ceiling to swing over to the other side. There’s the Essence on the floor.
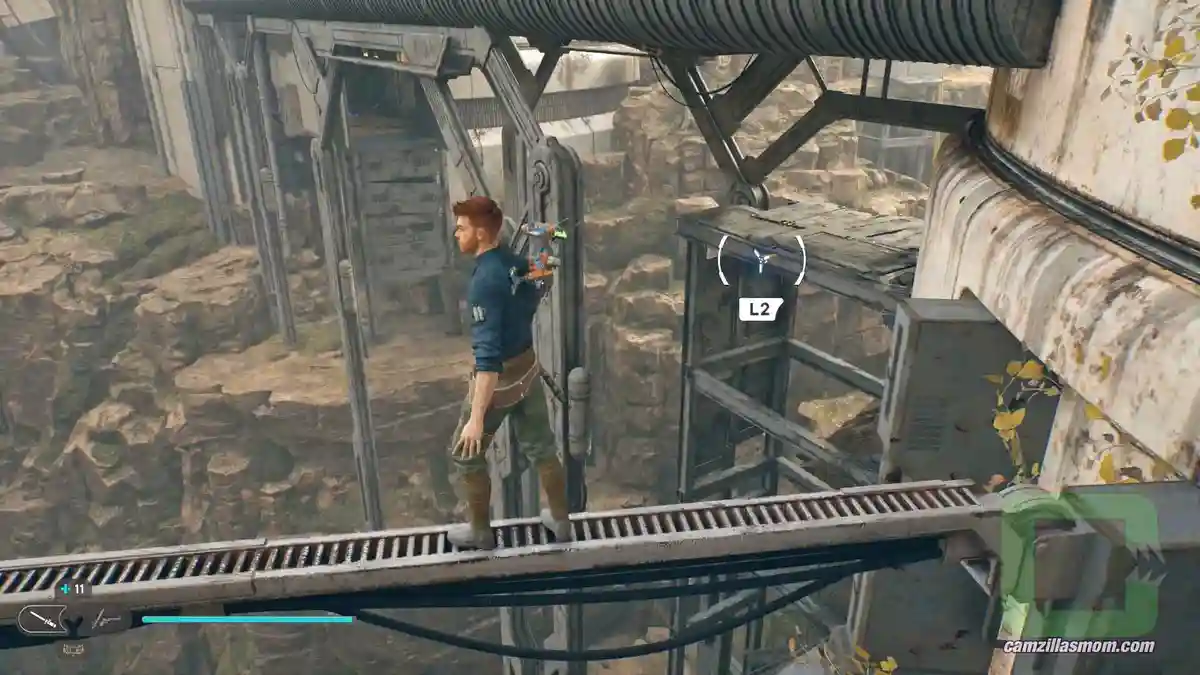
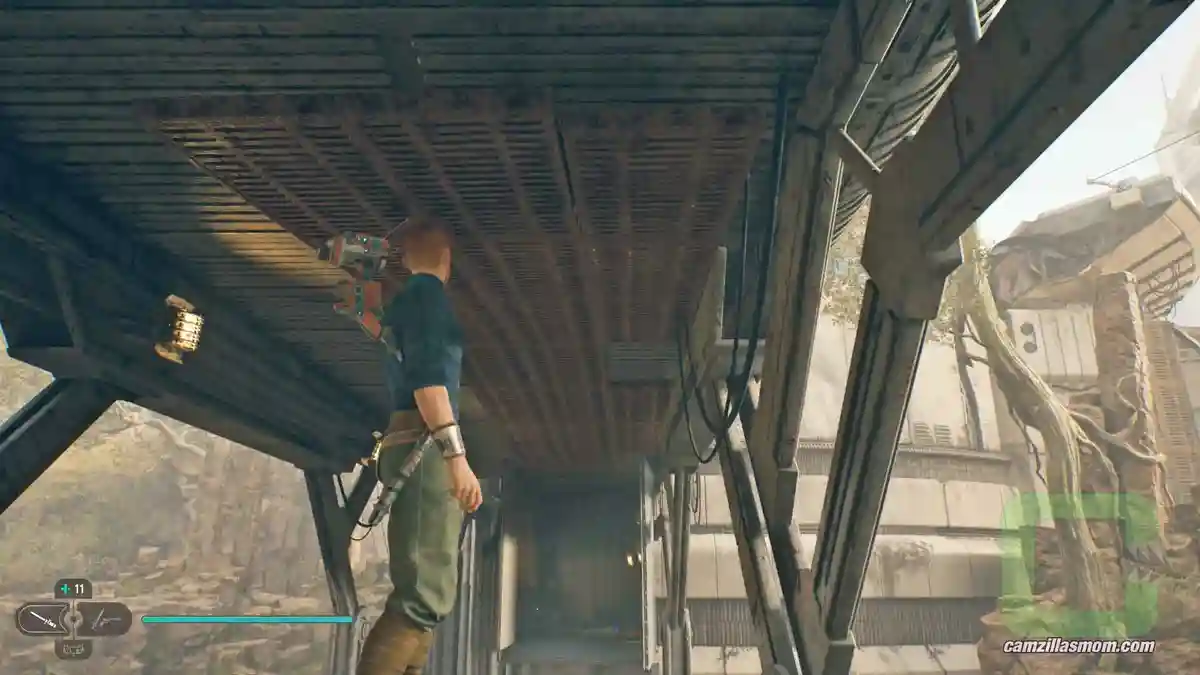
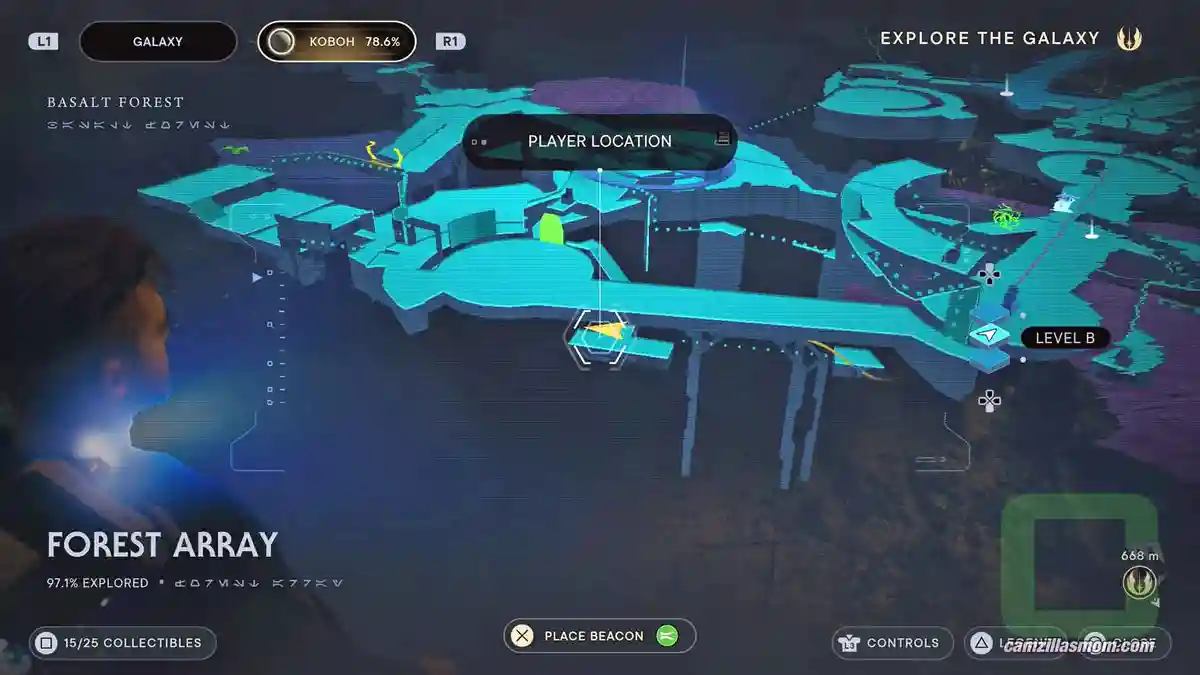
At the end of the dark corridor – on the other side- is the Essence.
6 – Databank Entry #142
Title:
Auxiliary Array Telescope
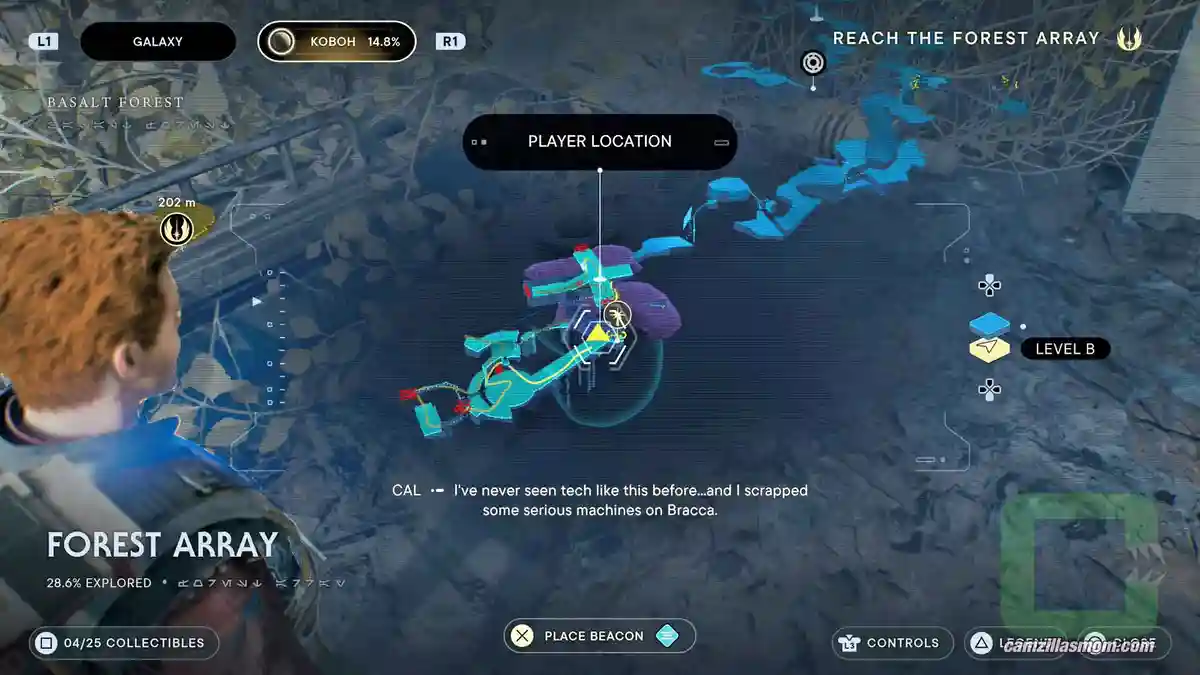
From the Essence above, follow the corridor up. Now you can open the door from the other side and you’re back below the chest and the dead Rawka.
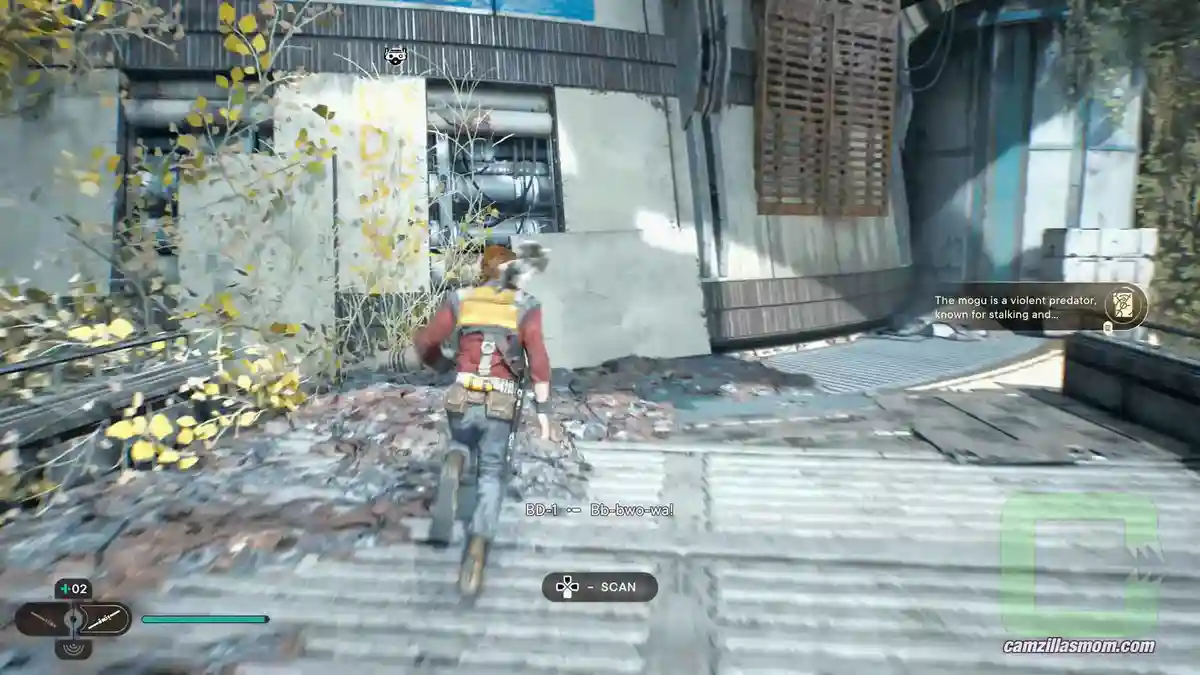
Cross the bridge again. But before you jump onto the metal frame wall to climb up, scan the Databank entry next to it on the wall with the graffiti.
7 – Chest
Contains:
Switch – Diligence
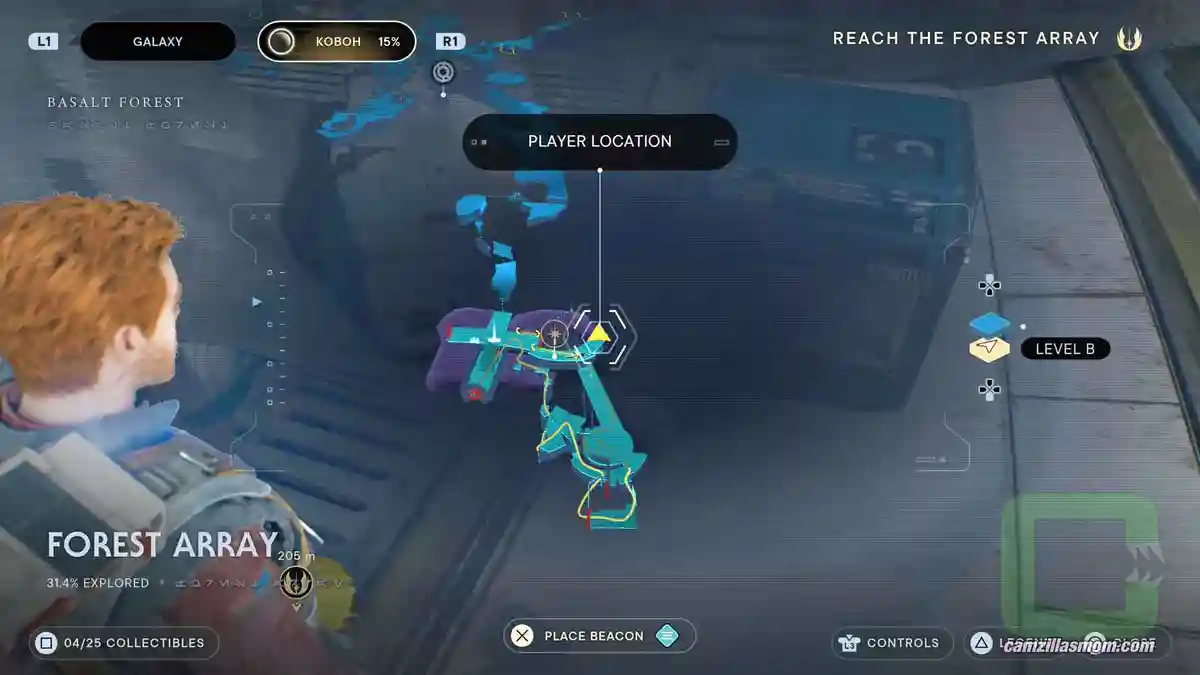
Now climb up the metal wall to the top of the building. Up here, don’t slide down yet. Go get the chest!
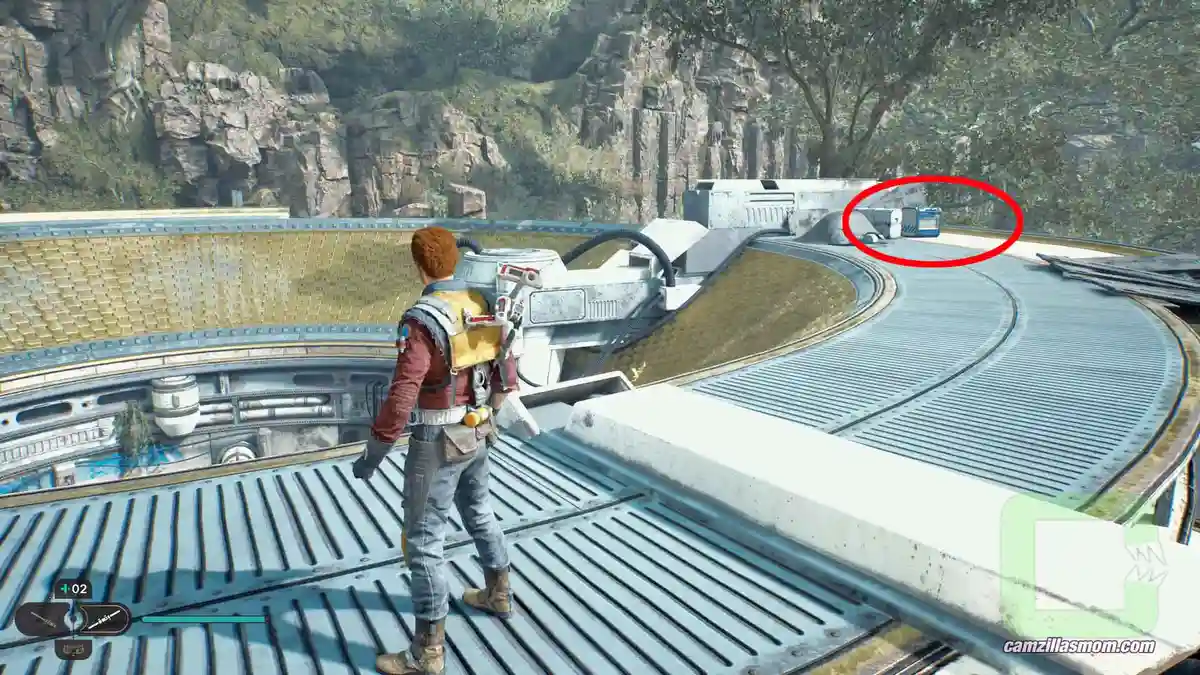
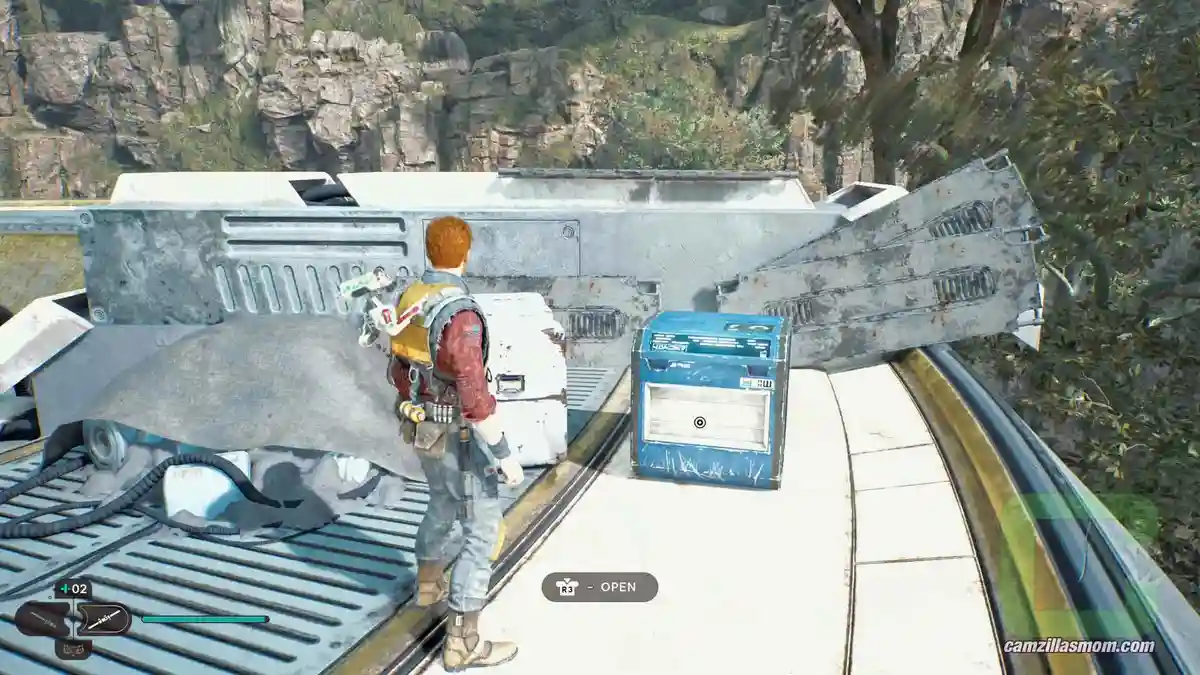
8 – Databank Entry #141
Title:
Orb Amplifier
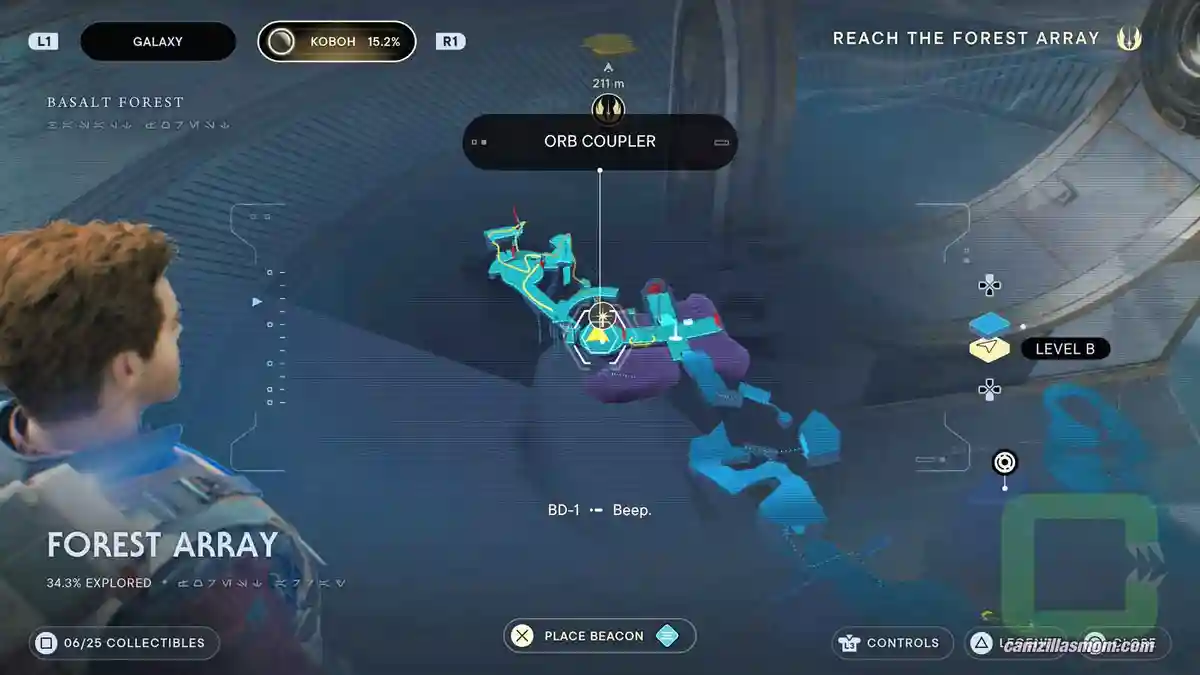
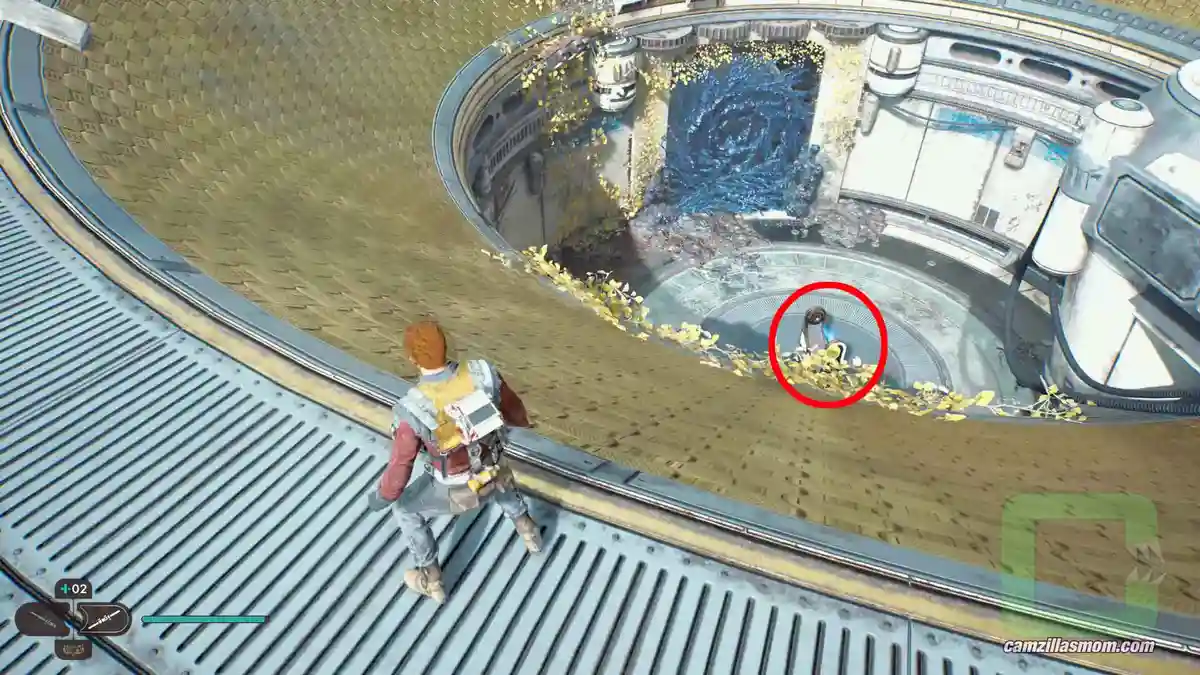
Slide down to the Orb Coupler to scan it, if you haven’t done so yet.
You’ve now reached the other side of the Koboh Barrier that Cal scanned at the start of this guide. In the story, you have to grab the Orb with the Force and place it into the Orb Coupler. This will burn away the Barriers on both buildings.
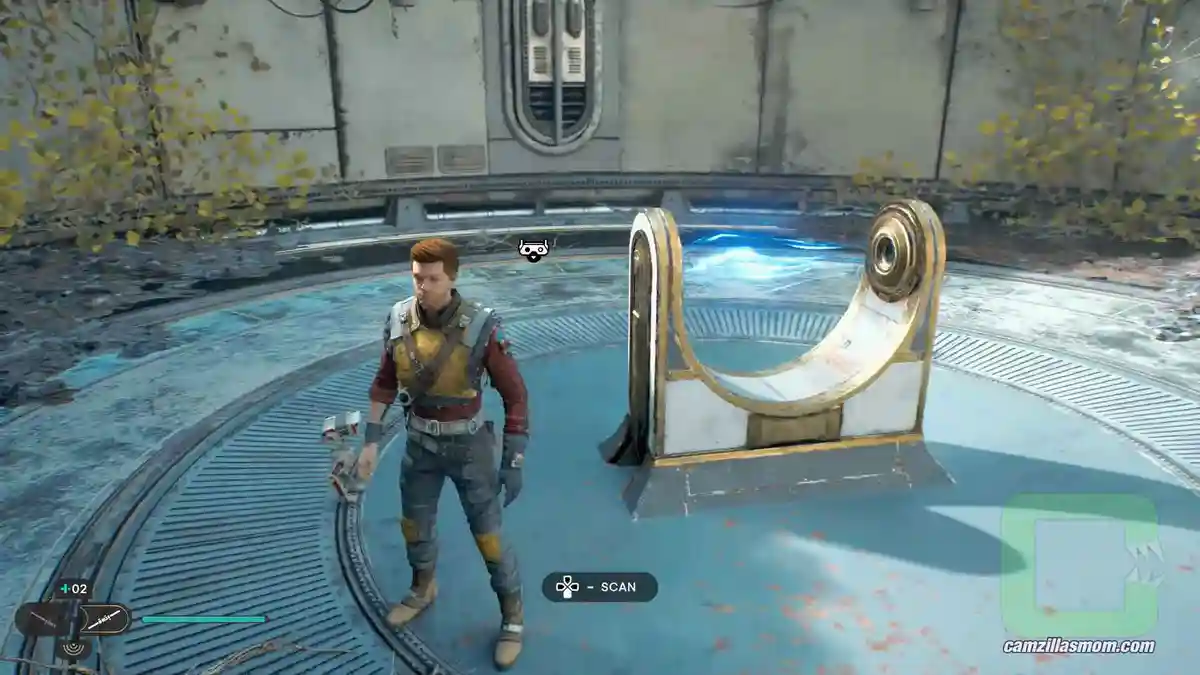
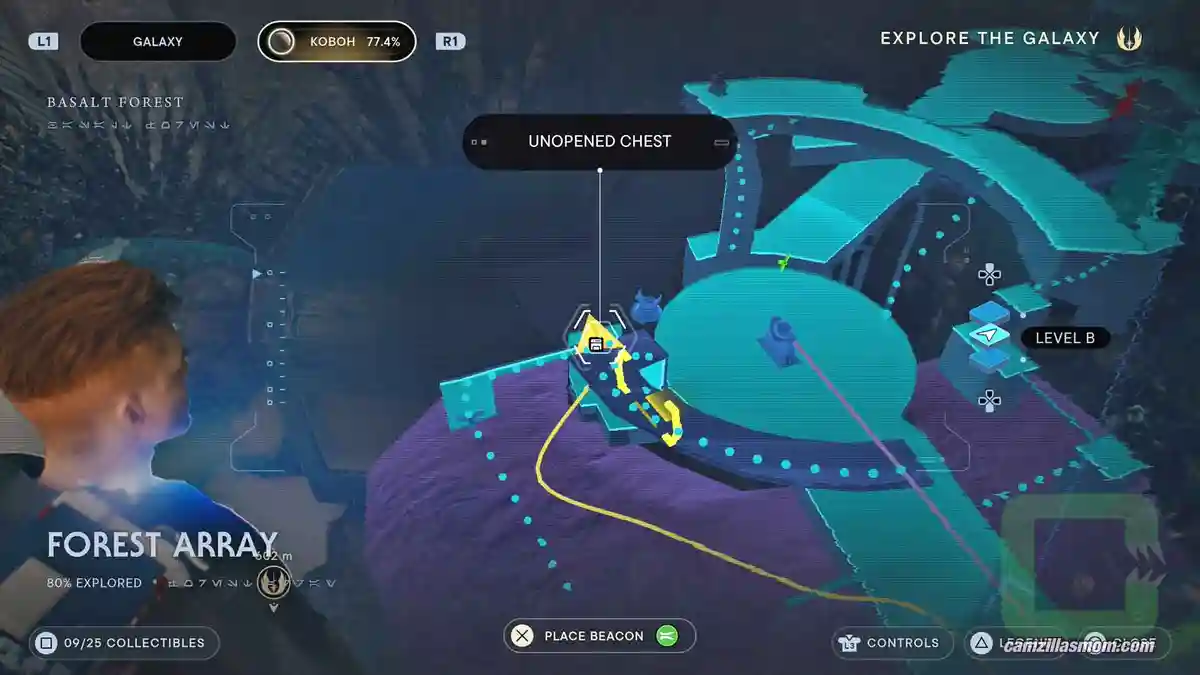
9 – Chest
Contains:
Material – Hunter
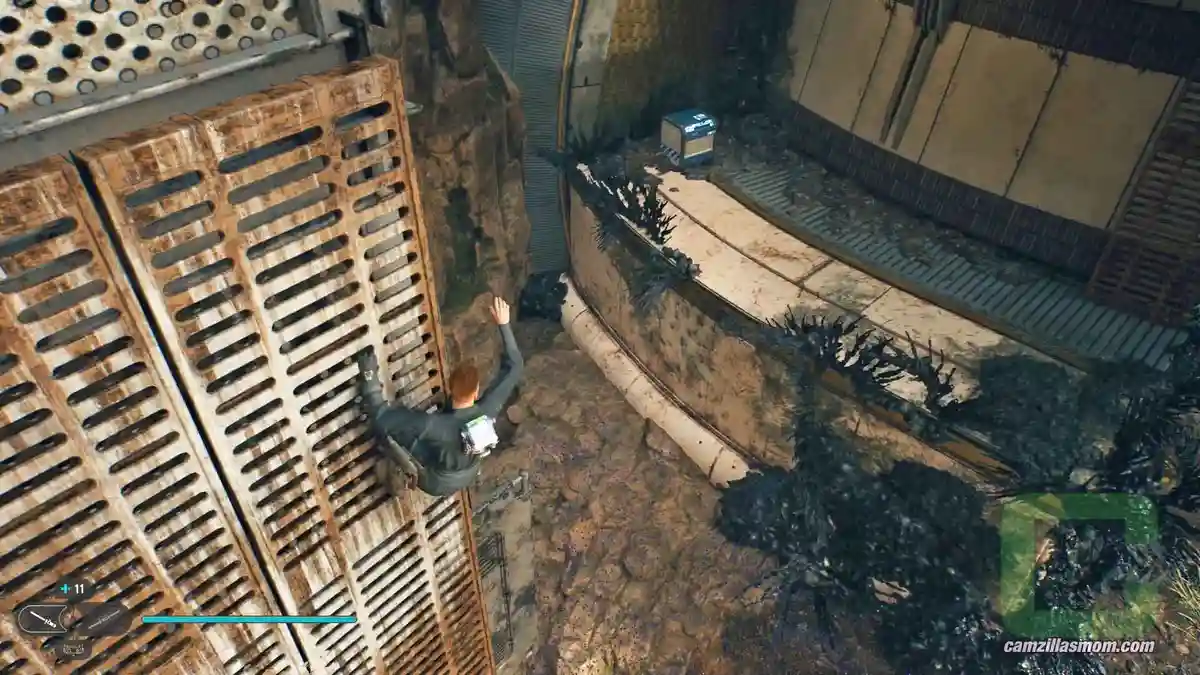
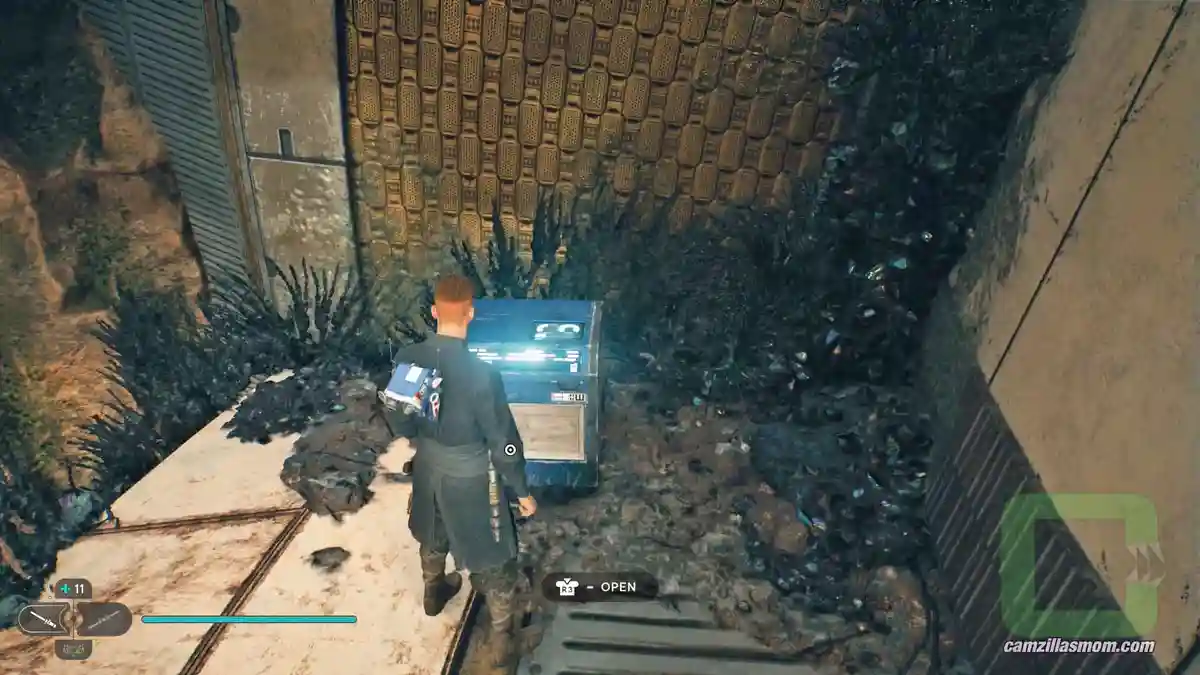
Now you can exit towards the Forest Array Meditation Point. Between the exit and the Meditation Point is a barrier you can use to grapple onto a metal wall.
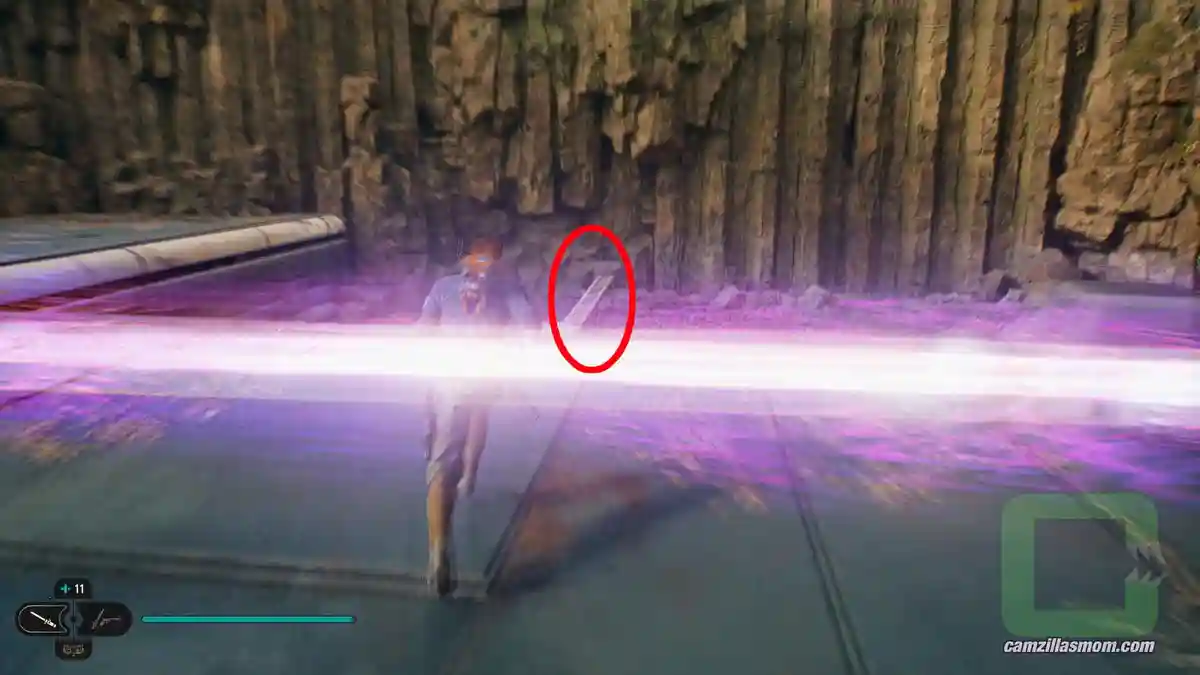
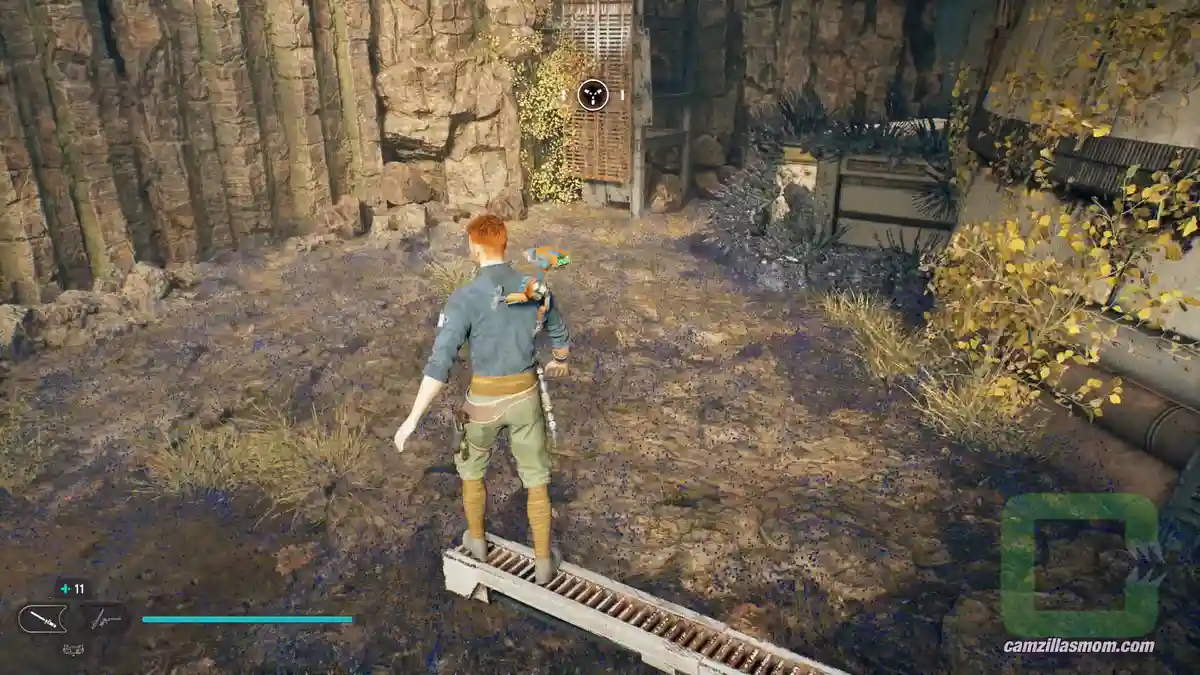
From there you can already see the chest. Jump over to open it.
10 – Treasure
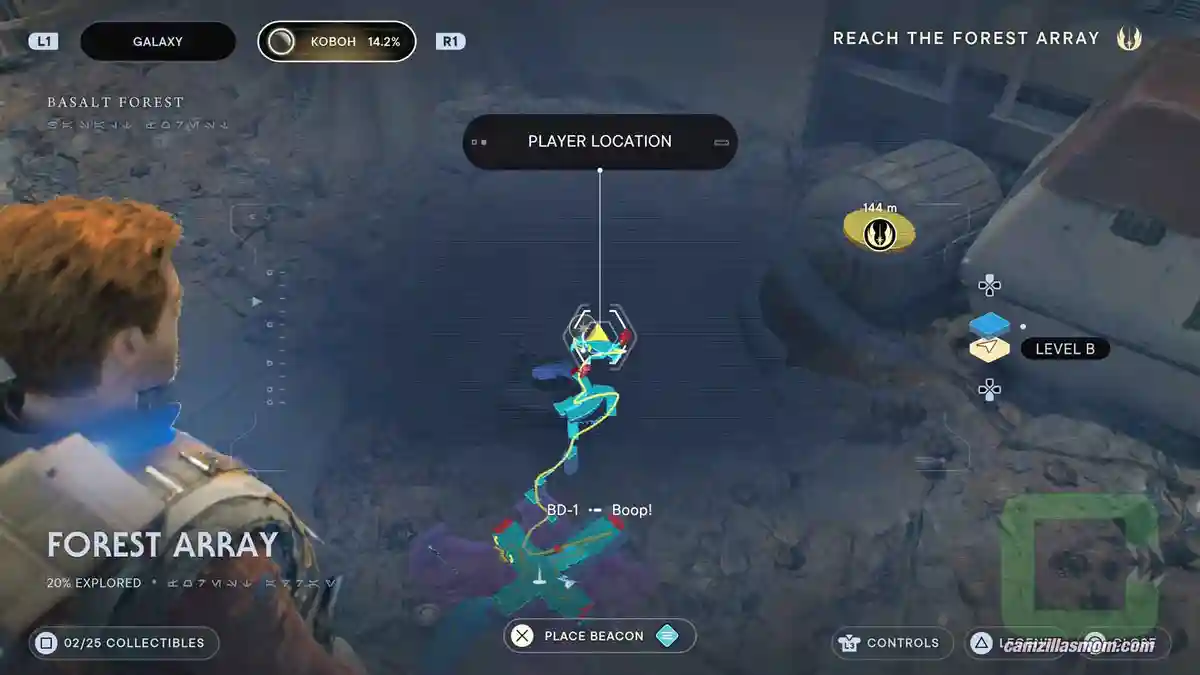
The beam goes from the Orb Coupler, across the Meditation Point to the room on the other side, where it ends up on the wall. Go back to the Meditation Point, and from there up the short path you entered Forest Array from BASALT RIFT.
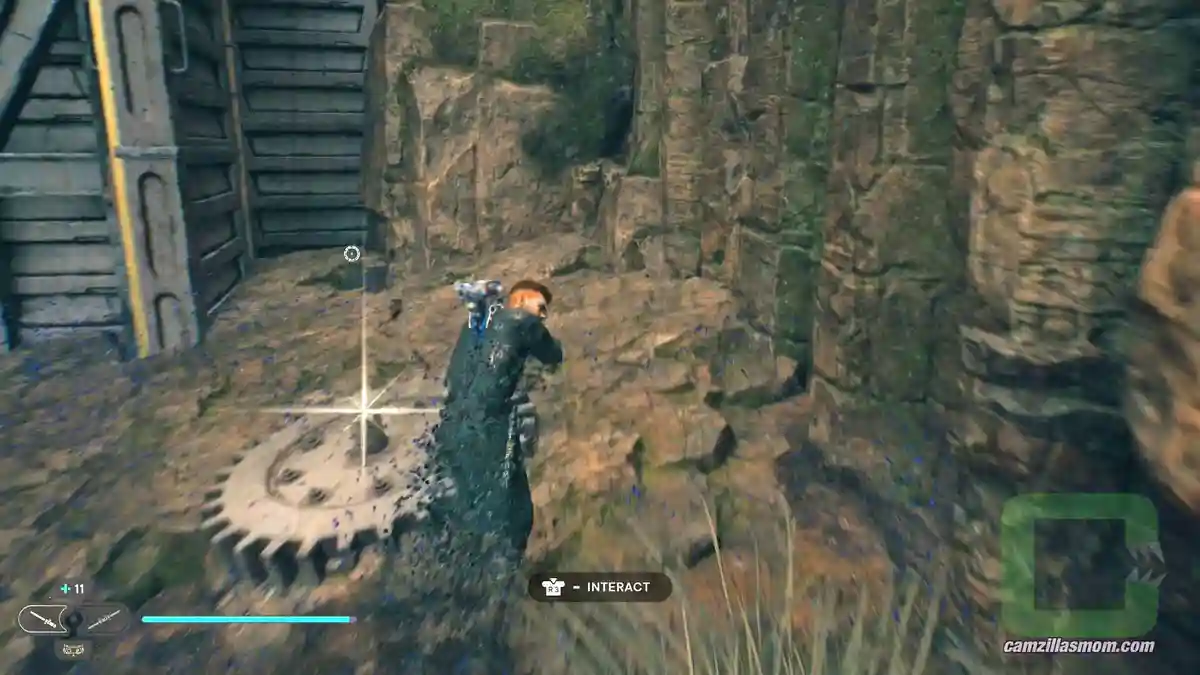
With the Meditation Point in your back, look to the left. There is a cog in the Koboh Dust and in the center is the Treasure. All you need to do is get there and pick it up before you die.
11 – Treasure
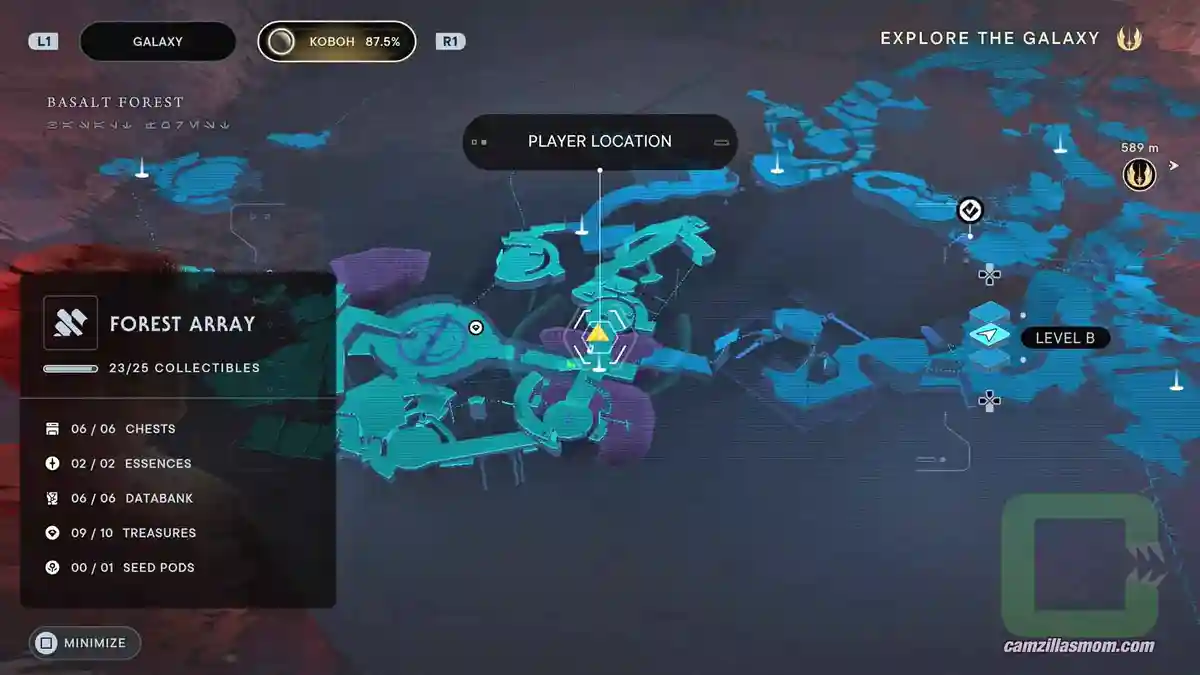
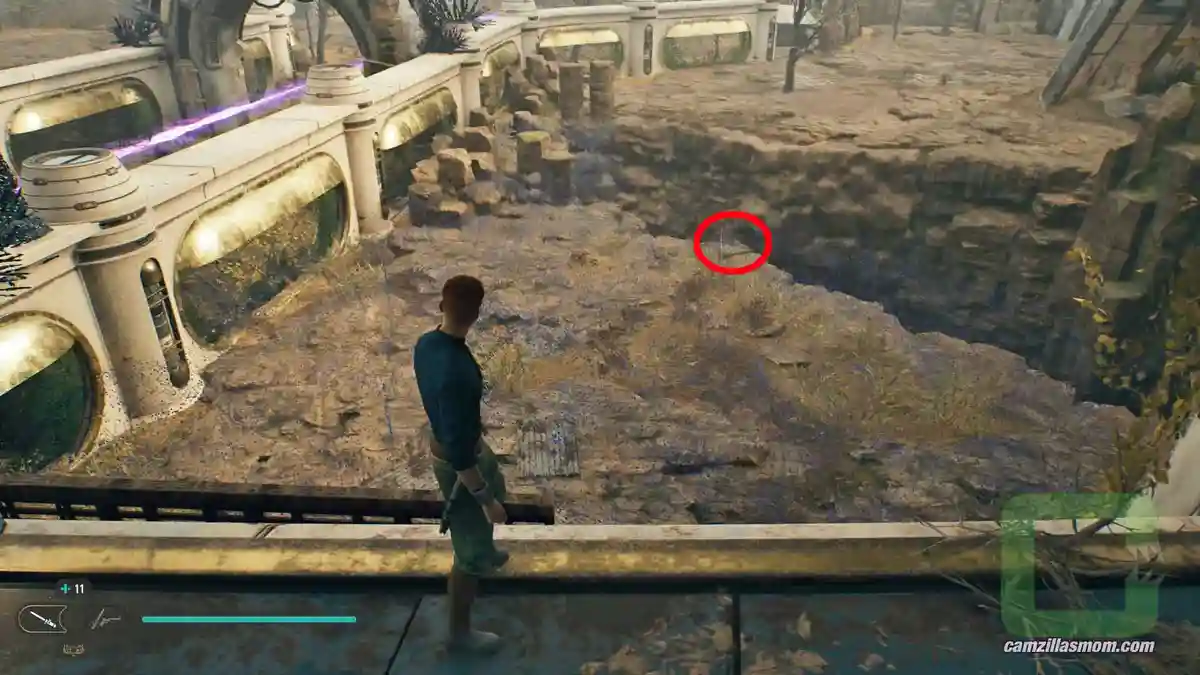
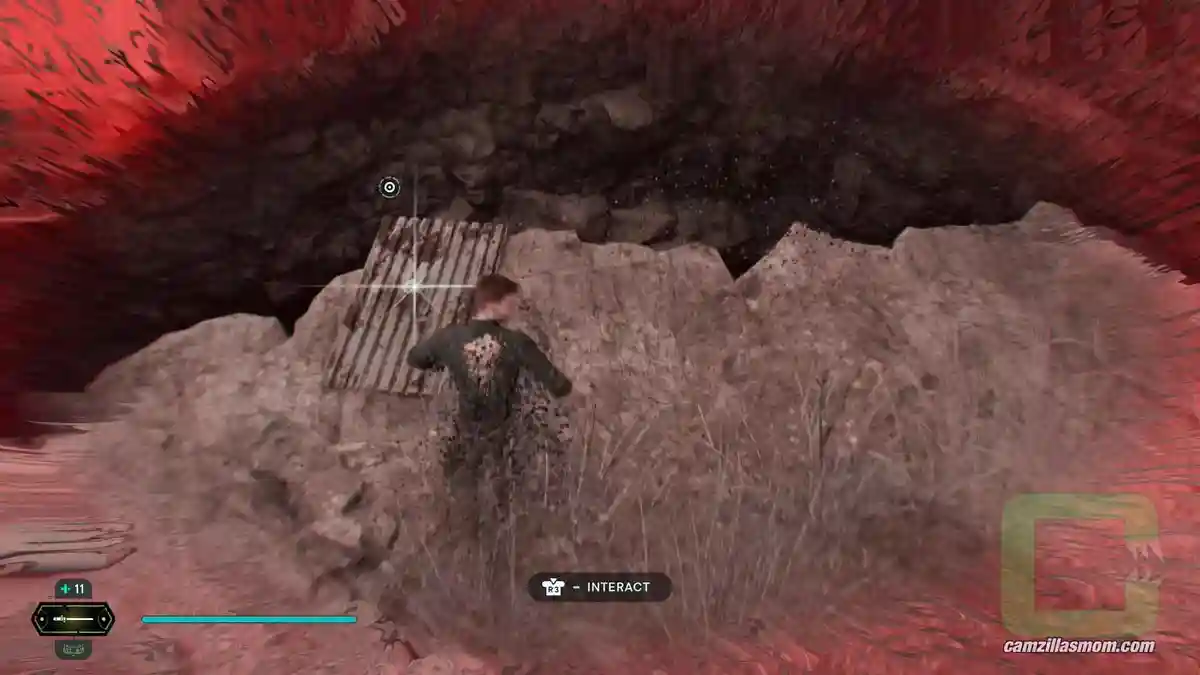
Back at the Meditation Point, look in the Koboh Dust area behind the workbench. Just at the far border of this Koboh Dust patch is a wooden platform – one that you normally see at a ledge where you could jump to the other side. Right on top of this wooden platform is the collectible.
I used the “Slow Time” ability for this one.
12 – Treasure
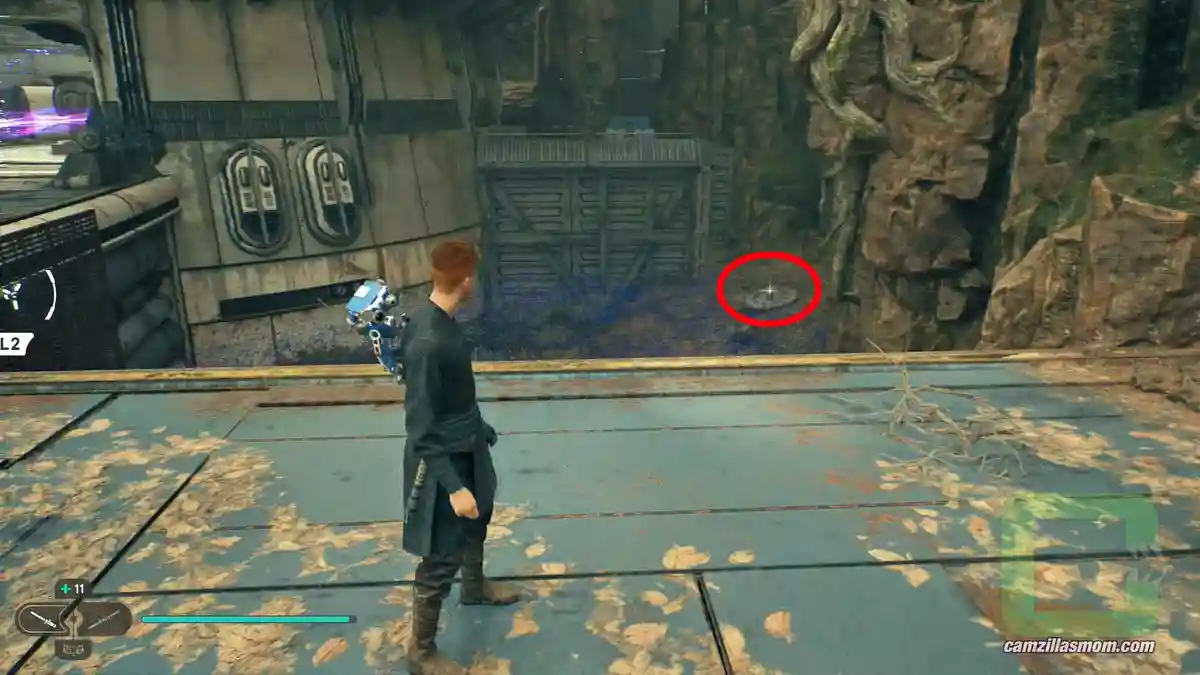
Again, back at the Meditation Point, you can now go to the other room, where the purple beam from the Orb ends up.
Climb up the block in the center. From there you can swing on a pole up to a platform and from there with a higher pole swing to the other side.
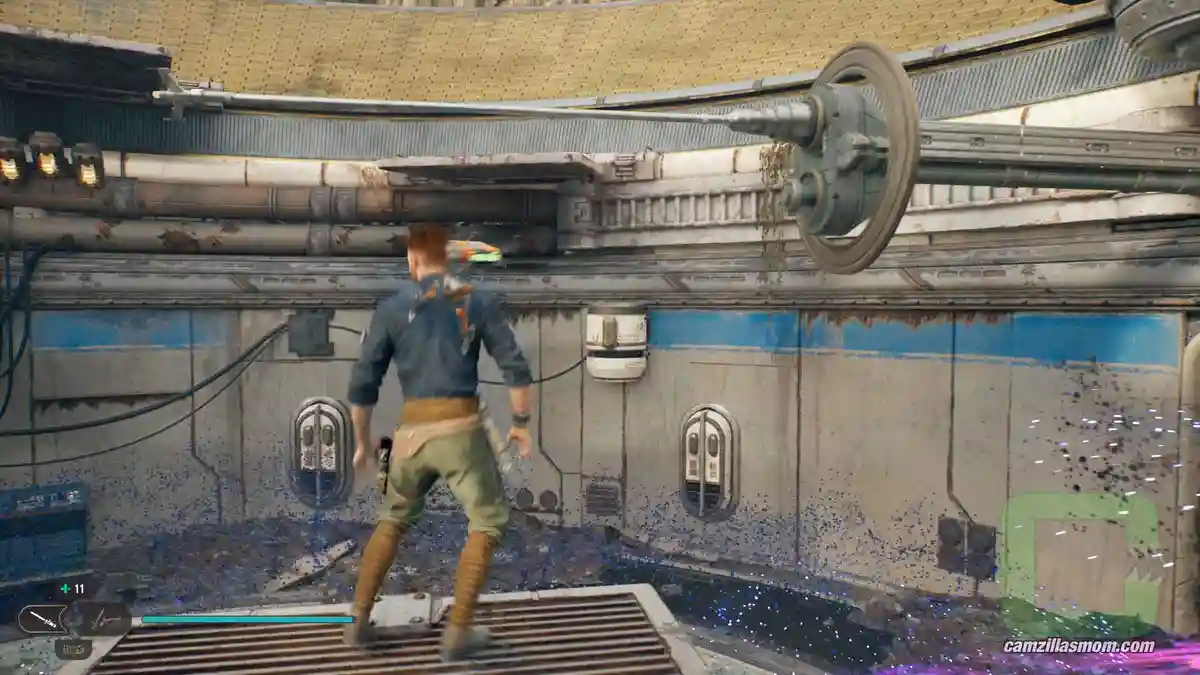
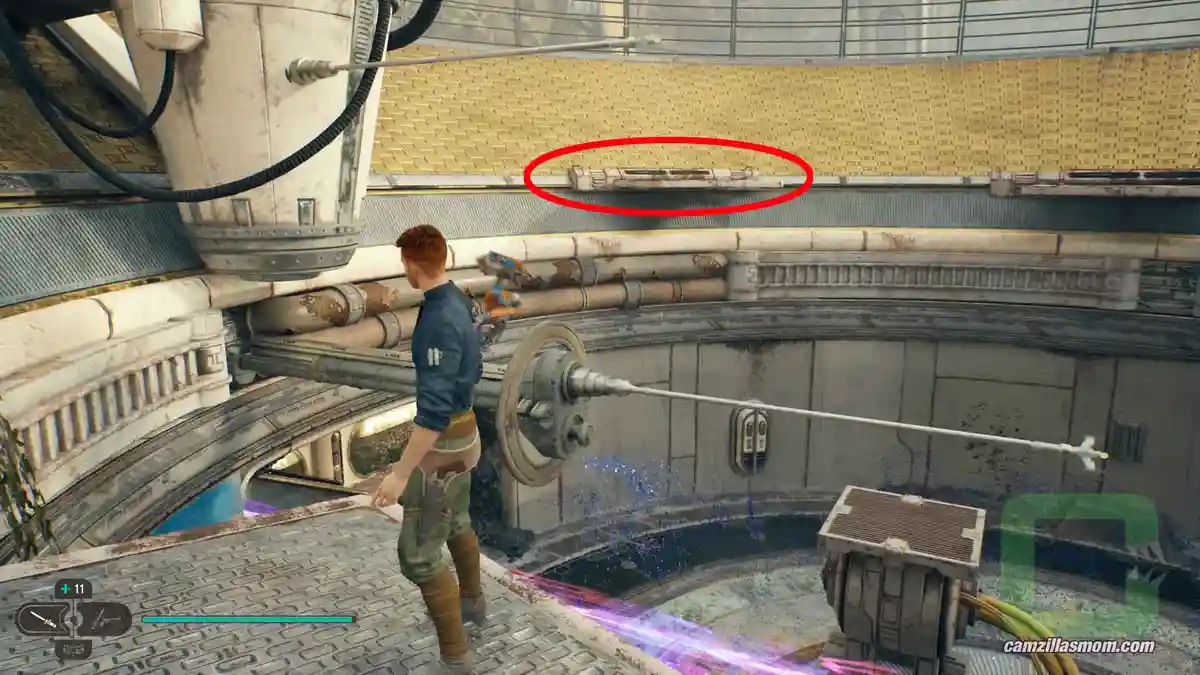
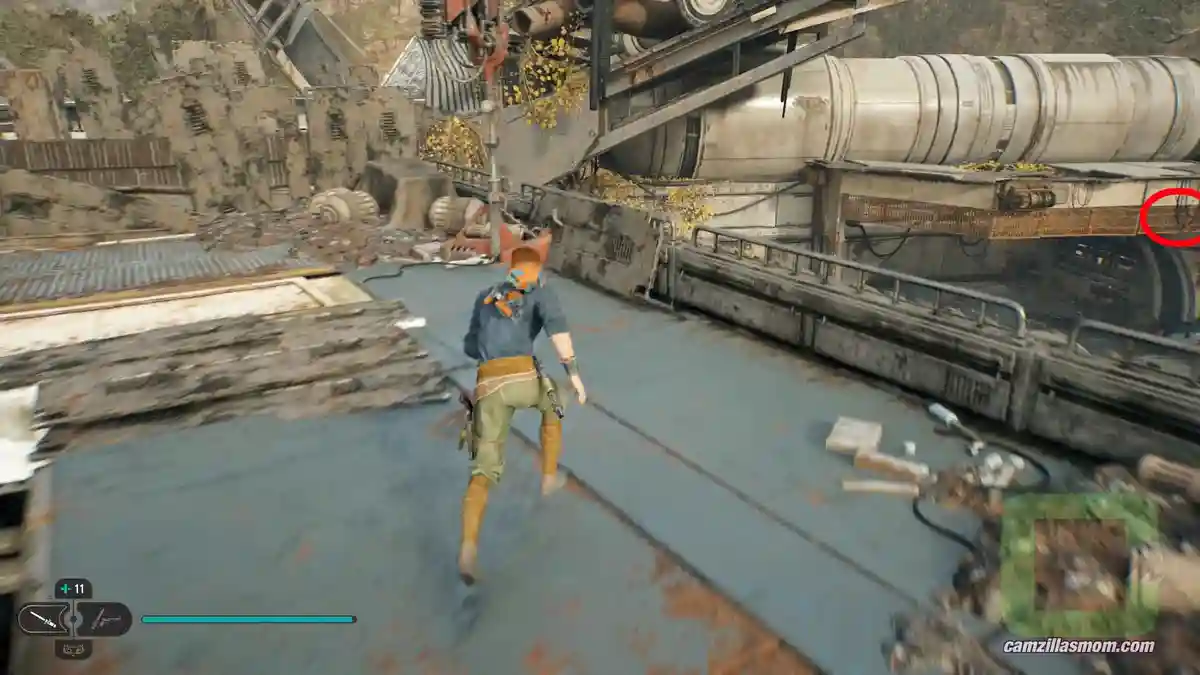
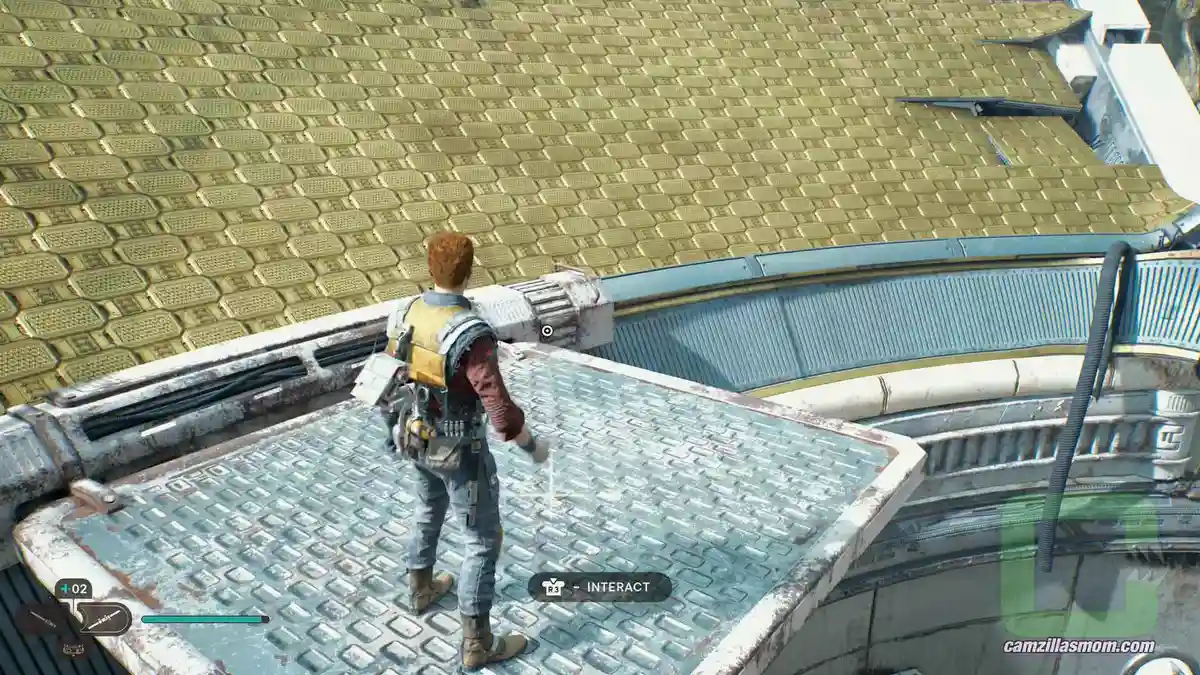
You’ve now reached the platform in the red circle of the above screenshot. Look over to the platform right next to you. The Treasure is lying there.
13 – Chest
Contains:
BD-1 Head – Swooper
From the high platforms, you can jump over to the top of the building, where the shortcut rope is. If you have the “dash” ability, you can do it from where you just picked up the Treasure above. If you can only jump, use the pole again to get to the other side. You can reach the shortcut rope just fine from there.
Drop down to the broken bridge and to the grass area.
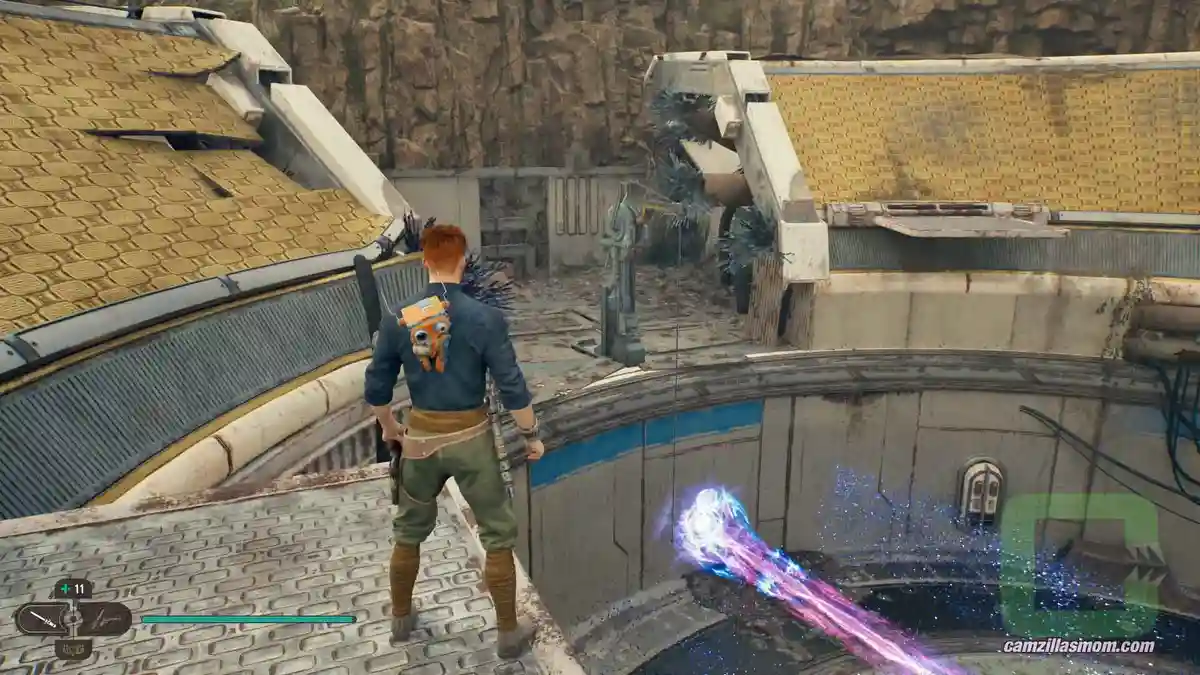
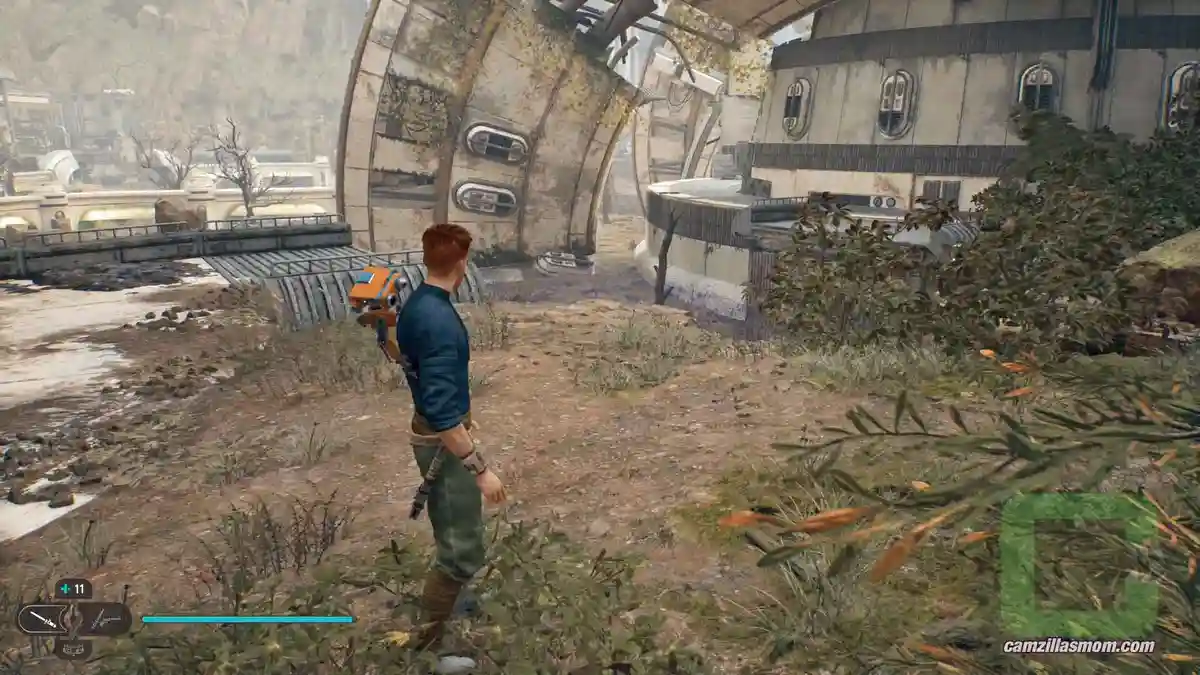
Don’t cross the broken bridge just yet. Instead, follow the grassy area up. Pay attention to the wall to the left of you while you go up. There is a gap you can squeeze through.
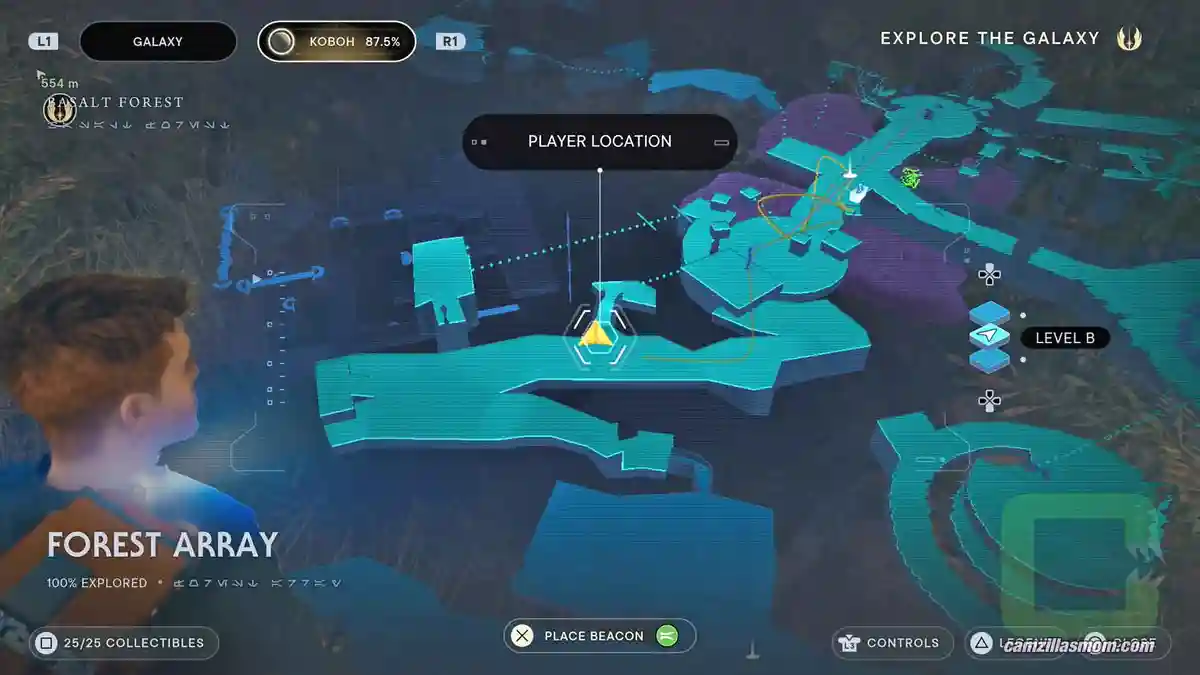
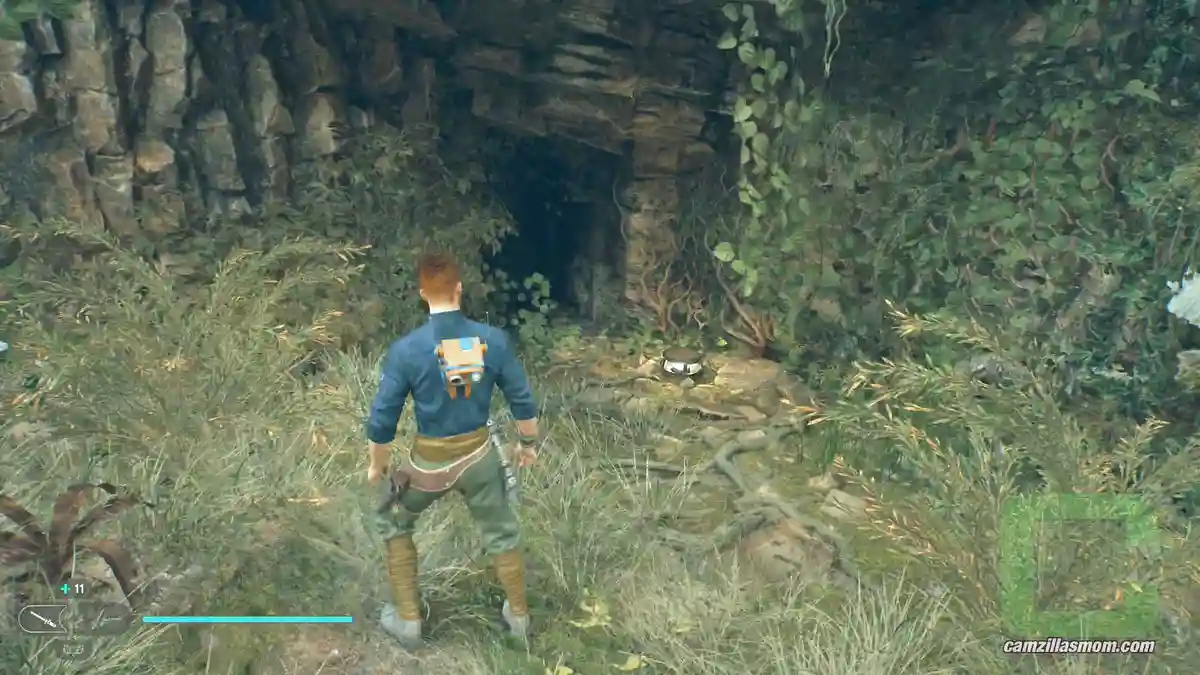
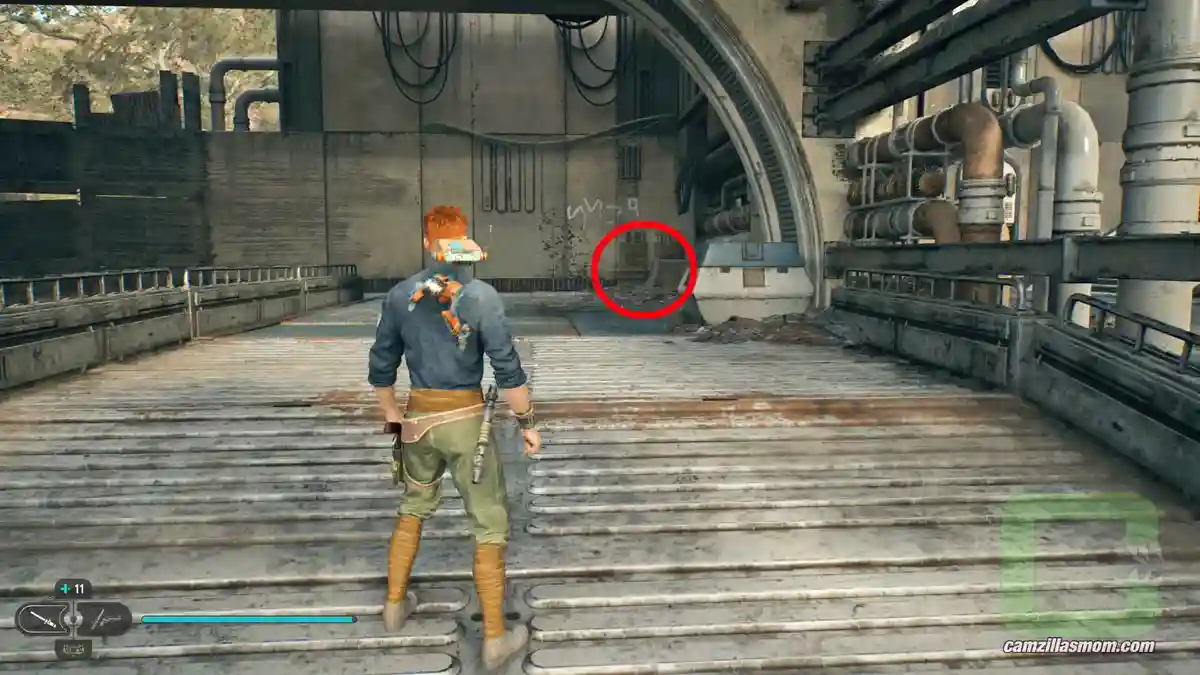
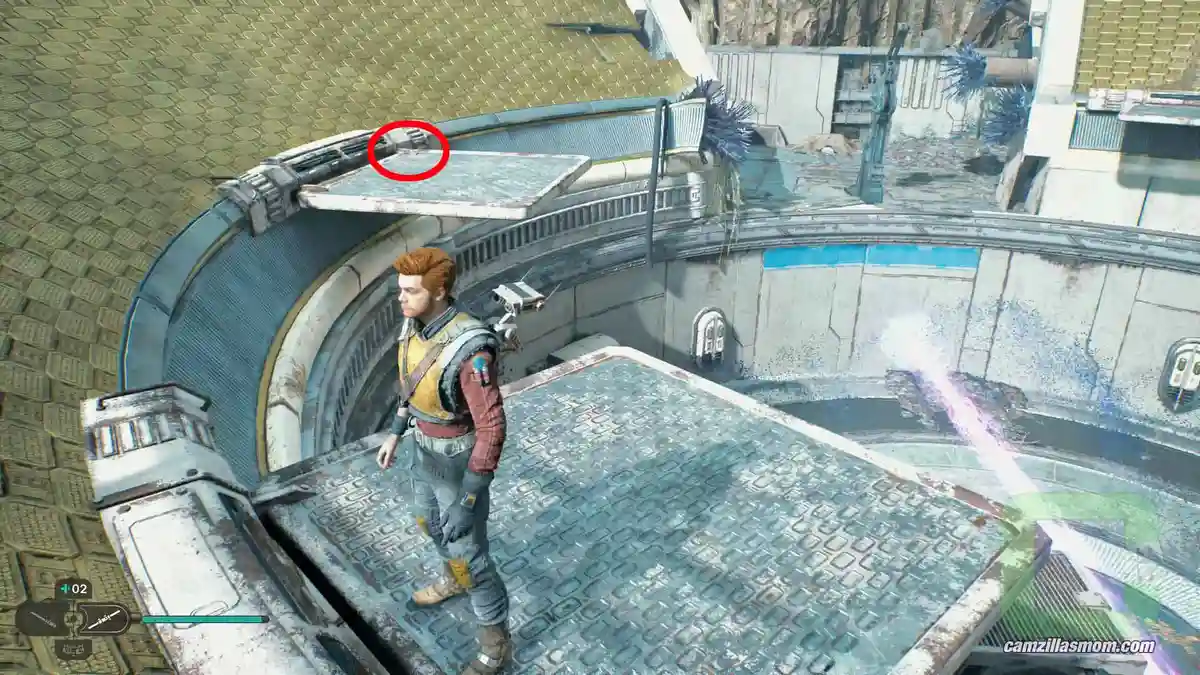
On the other side, you can bring a beam down with the Force, so you can cross on it. When you’re on the beam you can already see the chest to your right (red circle in the screenshot below).
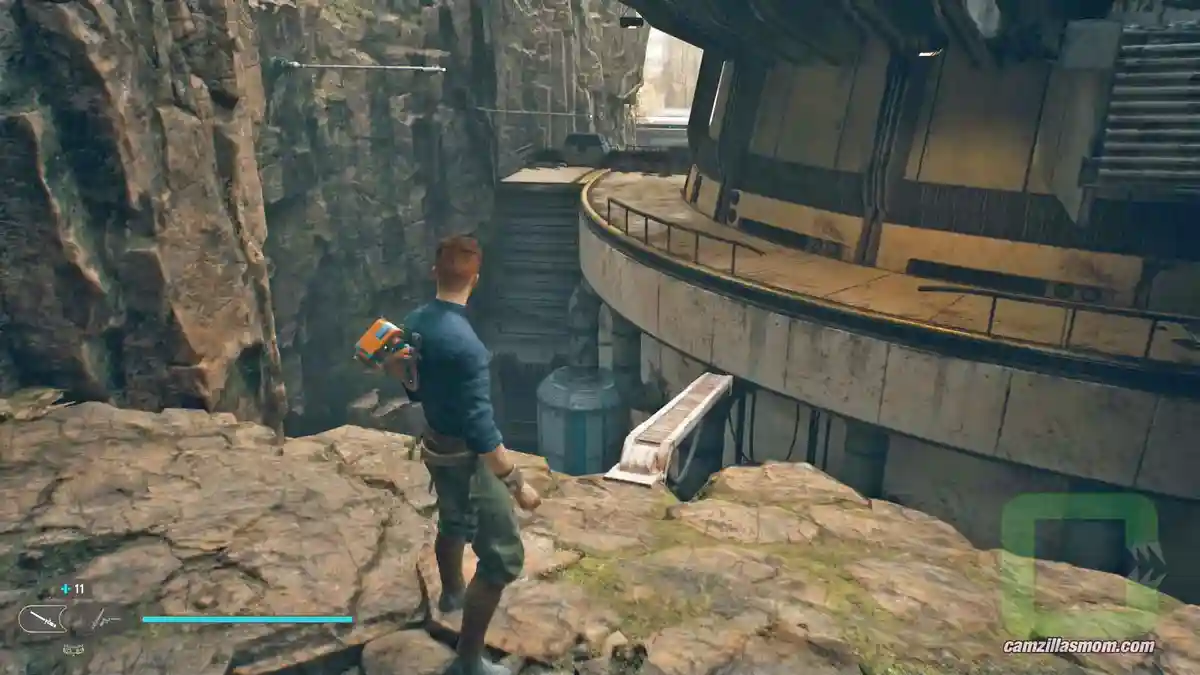
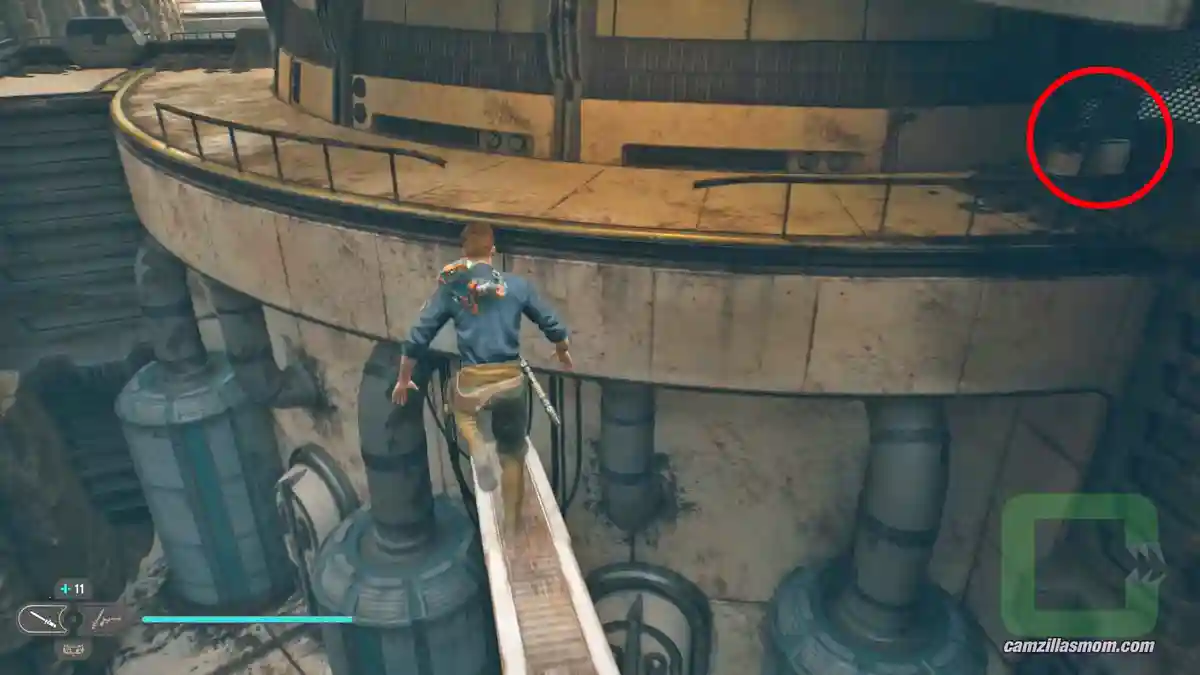
On the other side, you can bring a beam down with the Force, so you can cross on it. When you’re on the beam you can already see the chest to your right (red circle in the screenshot above).
14 – Essence
Contains:
Fortification Perk
From the previous chest collectible, look around to the other side. There are a couple of poles attached to the rock wall. Go to the far end path from the chest and swing on both poles to grab a rope at the other end.
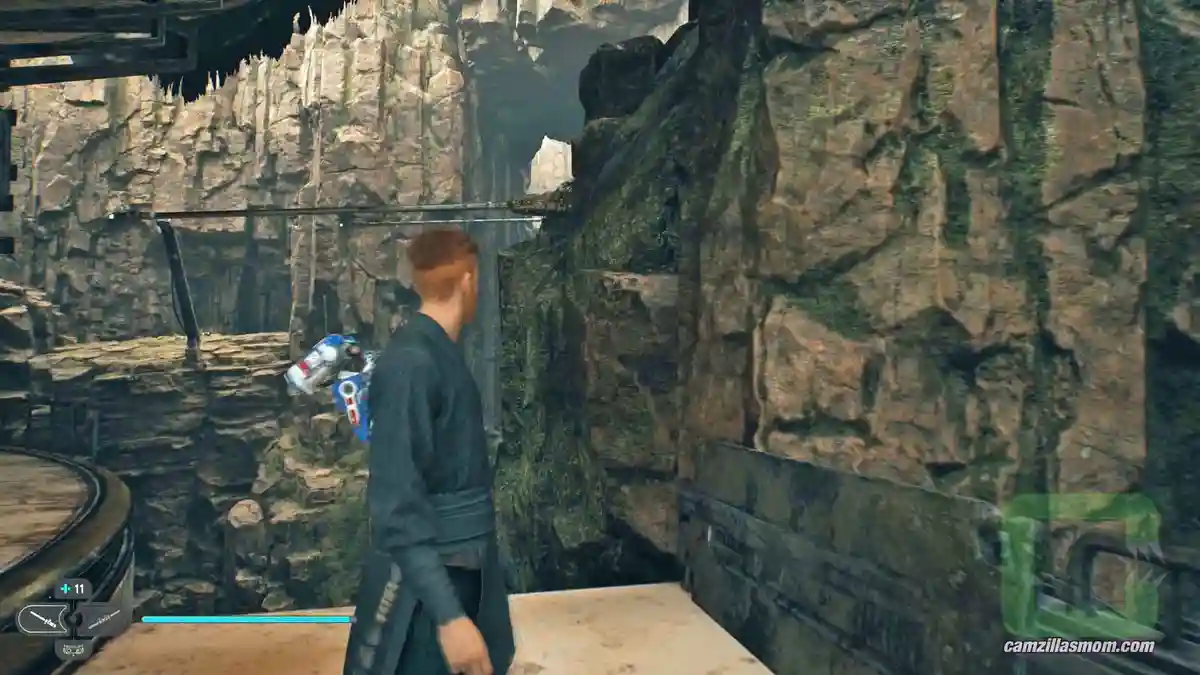
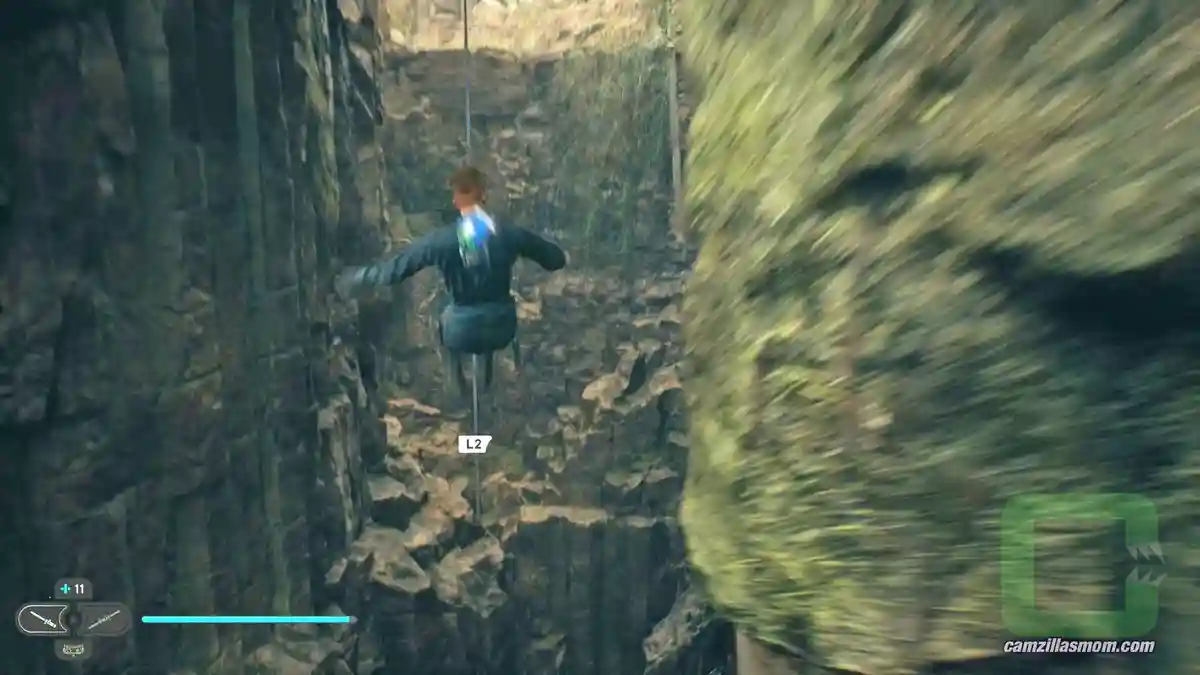
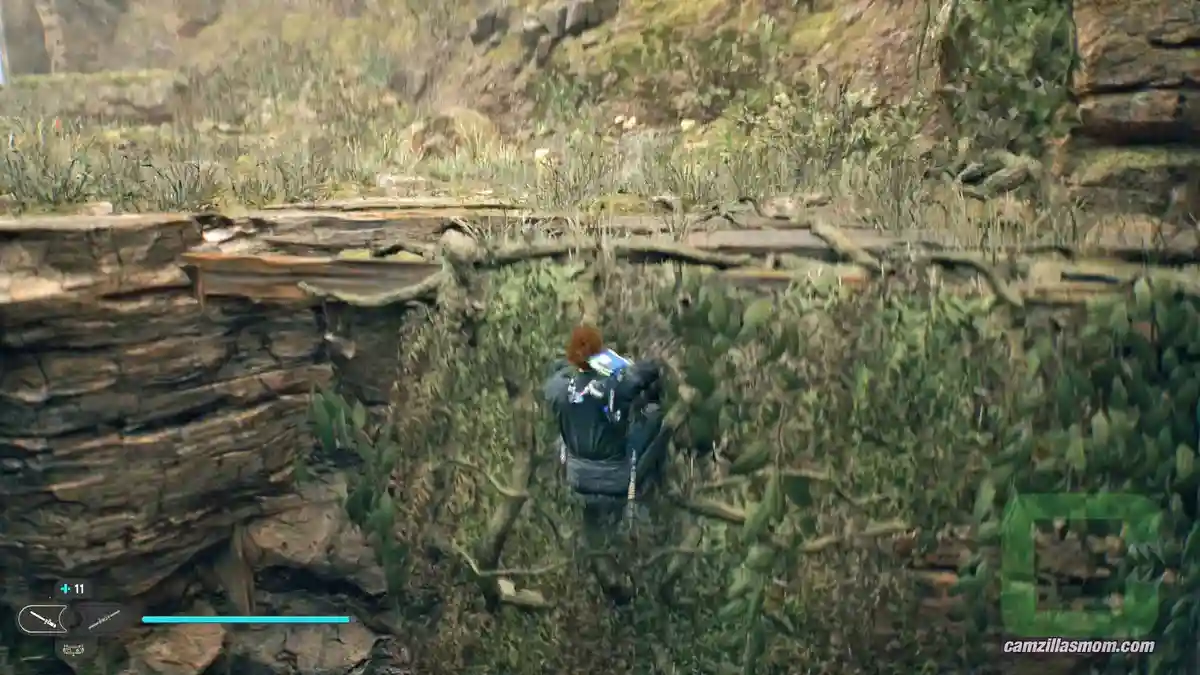
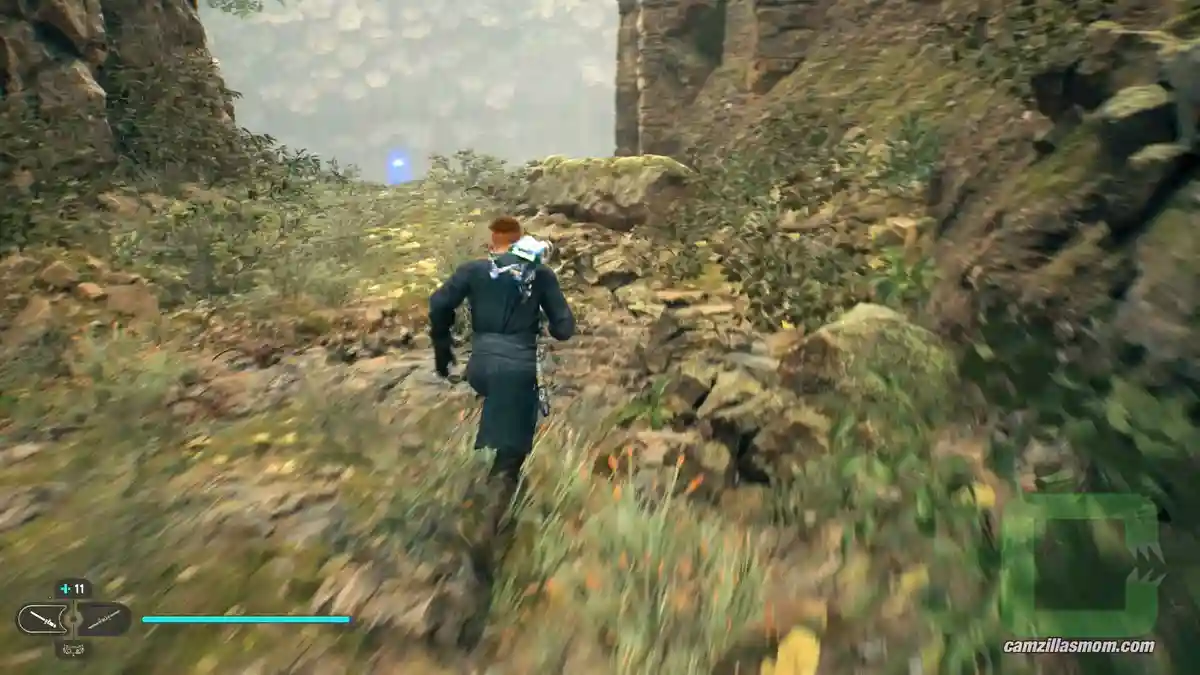
On the rope, swing to the other side. You can climb up some growth if you’re too low. At the top is the Essence.
15 – Seed Pods
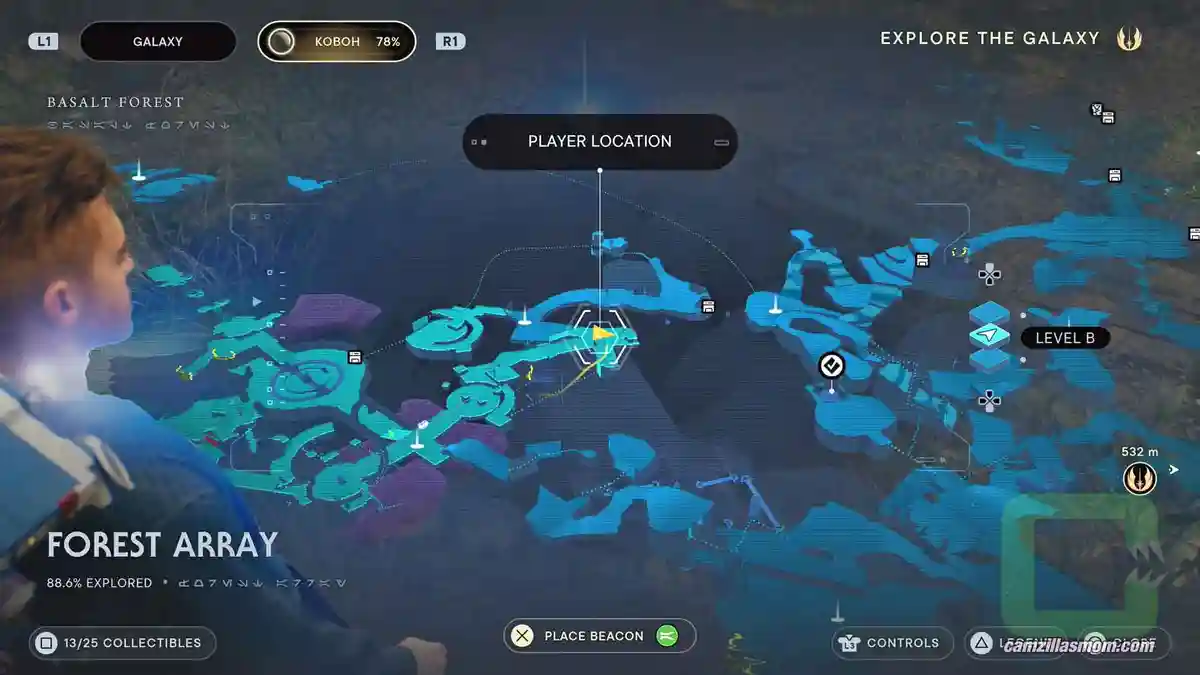
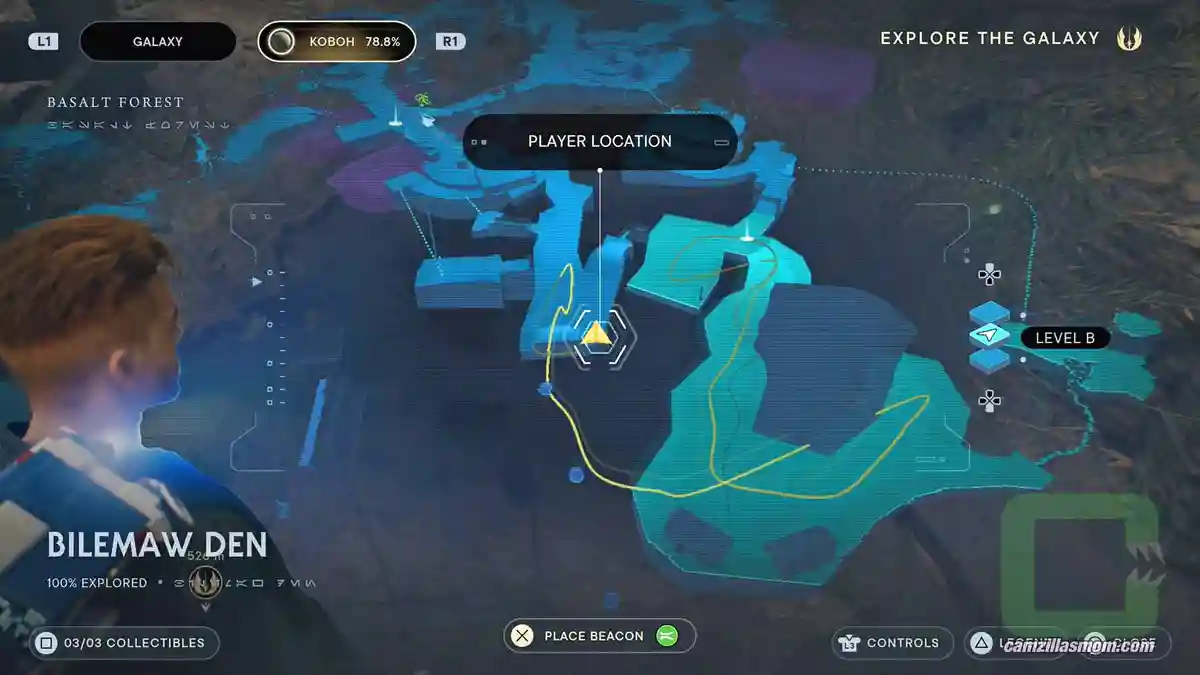
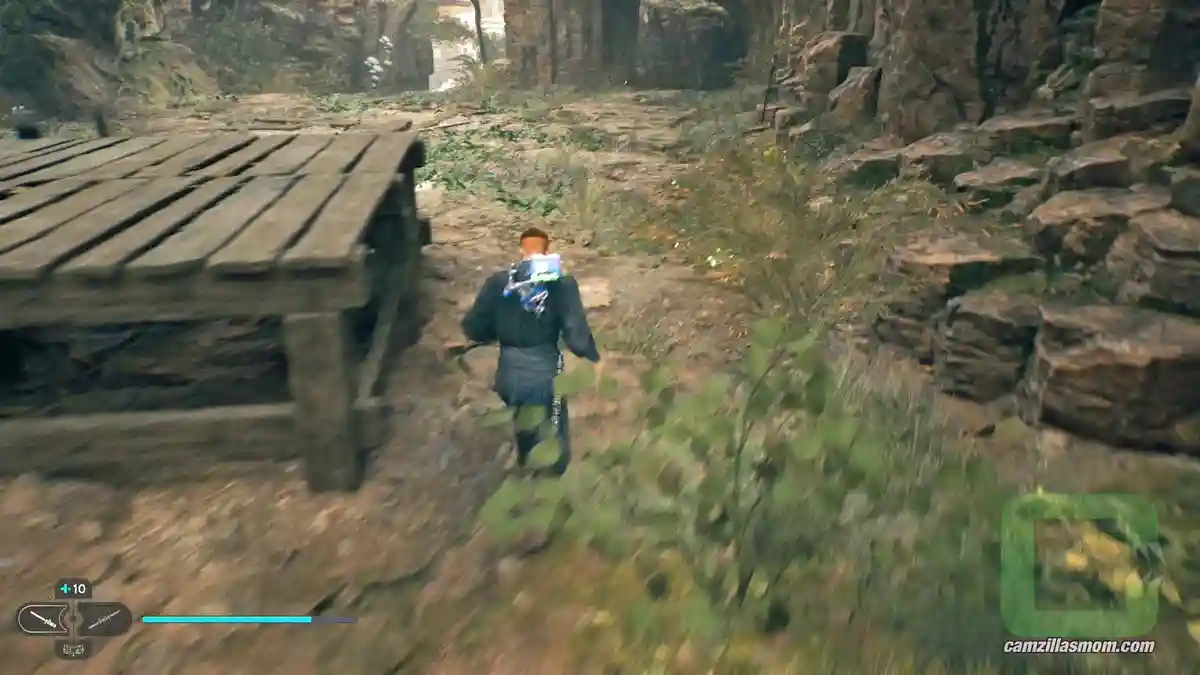
Drop down from the Essence location and go towards the wooden platform – which is the border to the BILEMAW DEN location. The green glowing plant is just next to the wooden platform. Cut it down to get the Seed Pod.
16 – Databank Entry #146
Title:
Indomitable
Now we’ve collected everything on this side. Next, we need to go to the other side of the broken bridge. If you have the “Dash” ability, you can double-jump and dash over from where you came down to the green area:
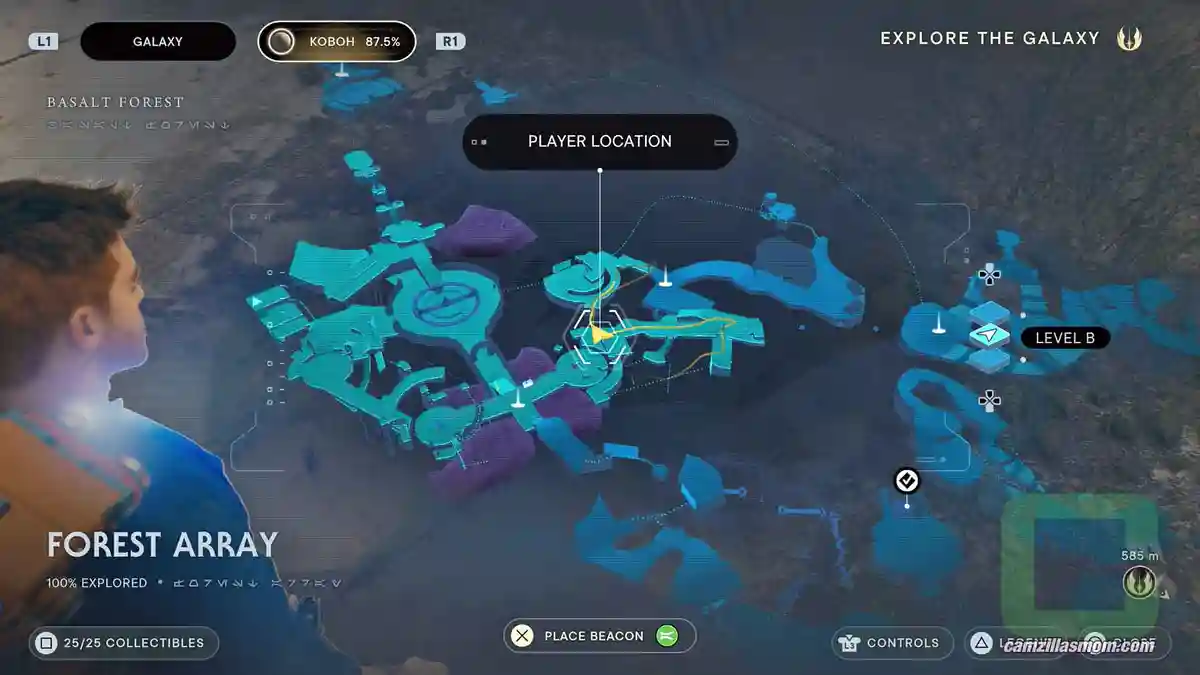
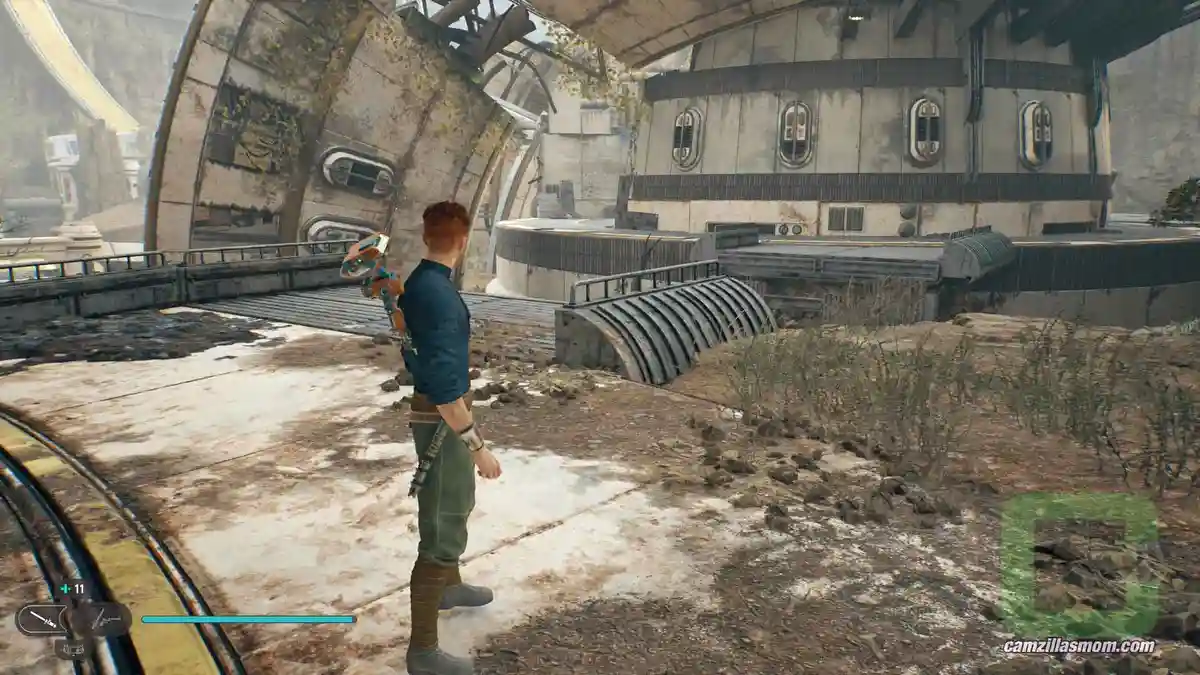
If you don’t have that ability, you can reach the next area by travelling to the BILEMAW DEN Meditation Point. From there you can go through a door that gets you there:
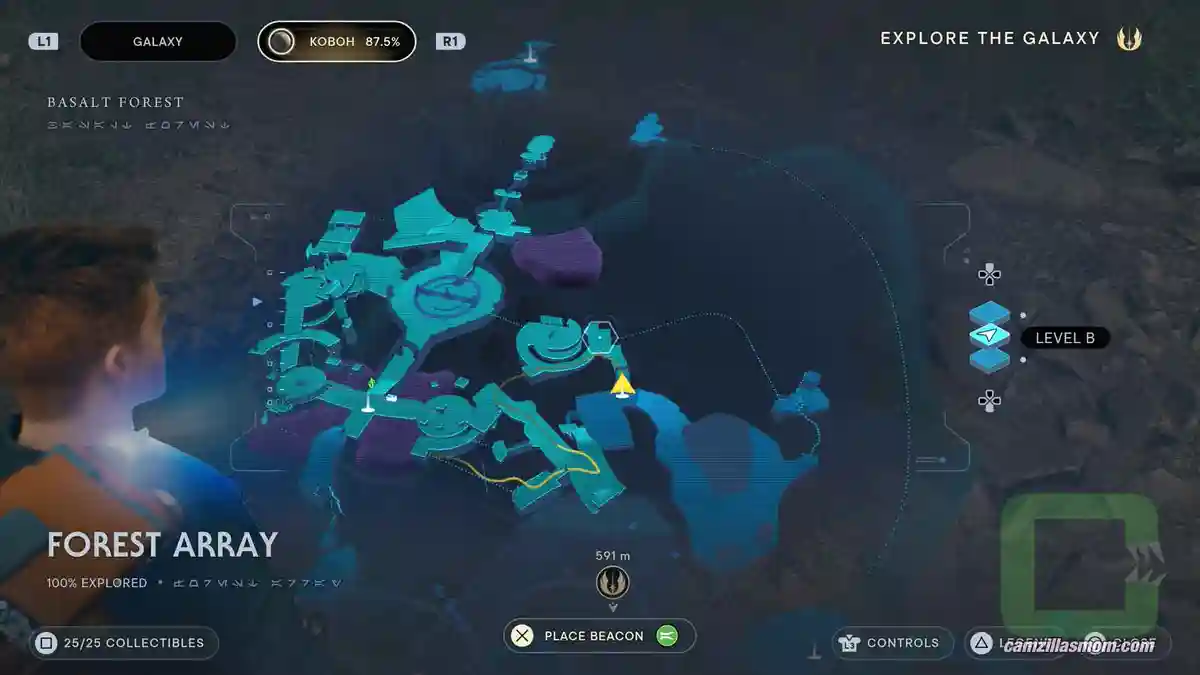
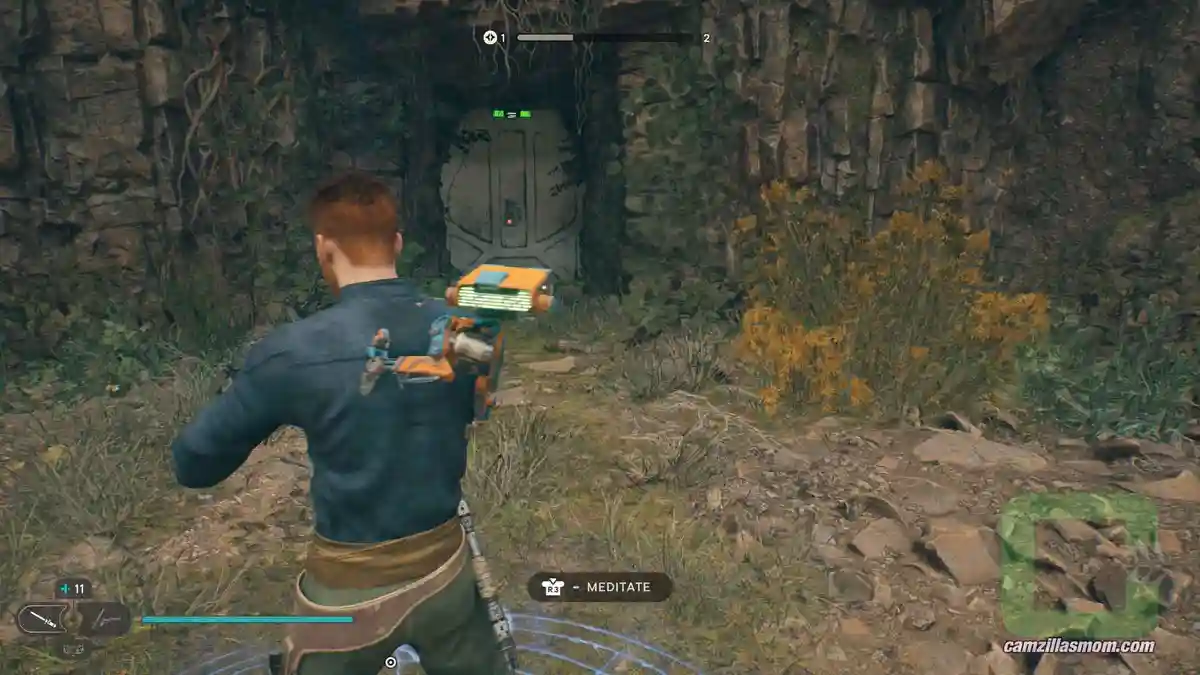
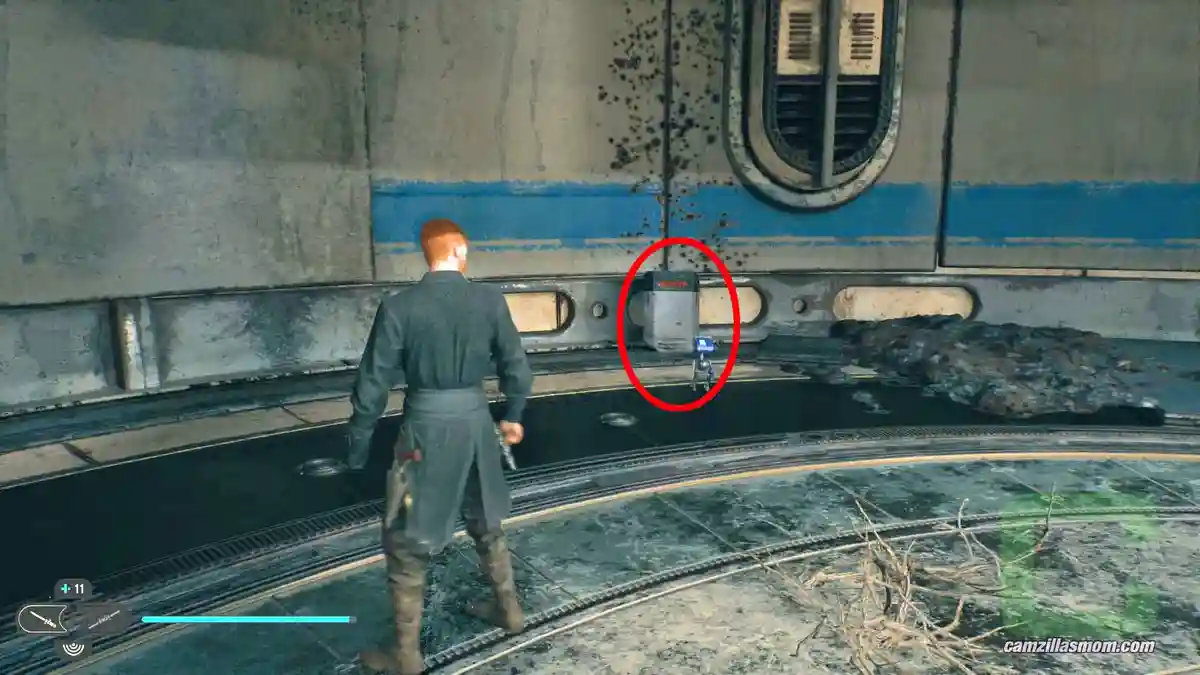
Enter the building and defeat the Stormtroopers. On ground floor, you can pick up the Databank collectible. Look for a lonely Stormtrooper Shield.
17 – Databank Entry #135
Title:
Central Rotational Apparatus
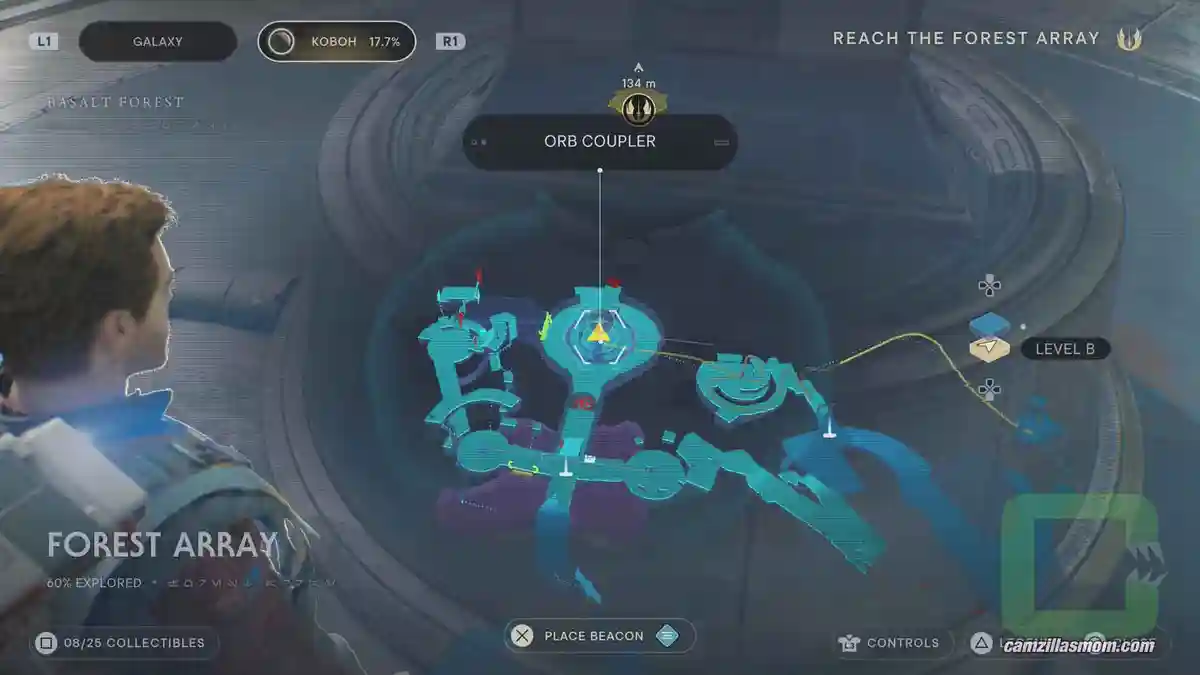
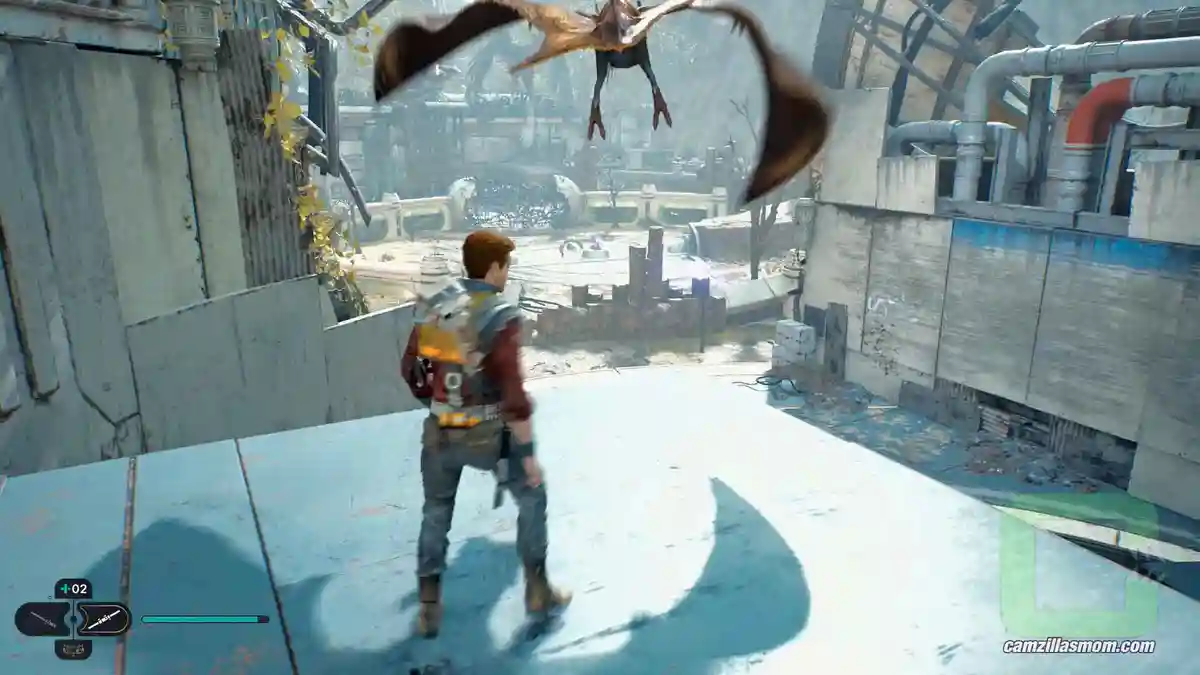
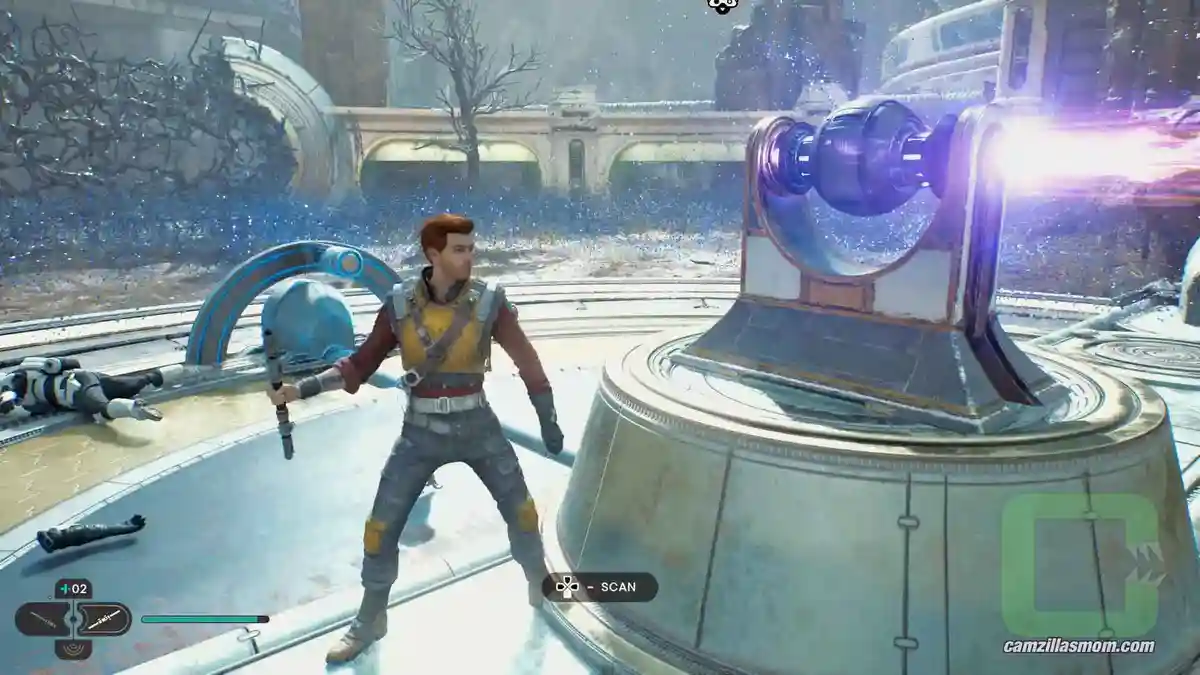
Do the wall-run from the last collectible to get to the top of the building where you can use the Relter to get to the center of Forest Array, the Central Rotational Apparatus. Scan it to get this Databank Collectible.
18 – Chest
Contains:
Grip – Diligence
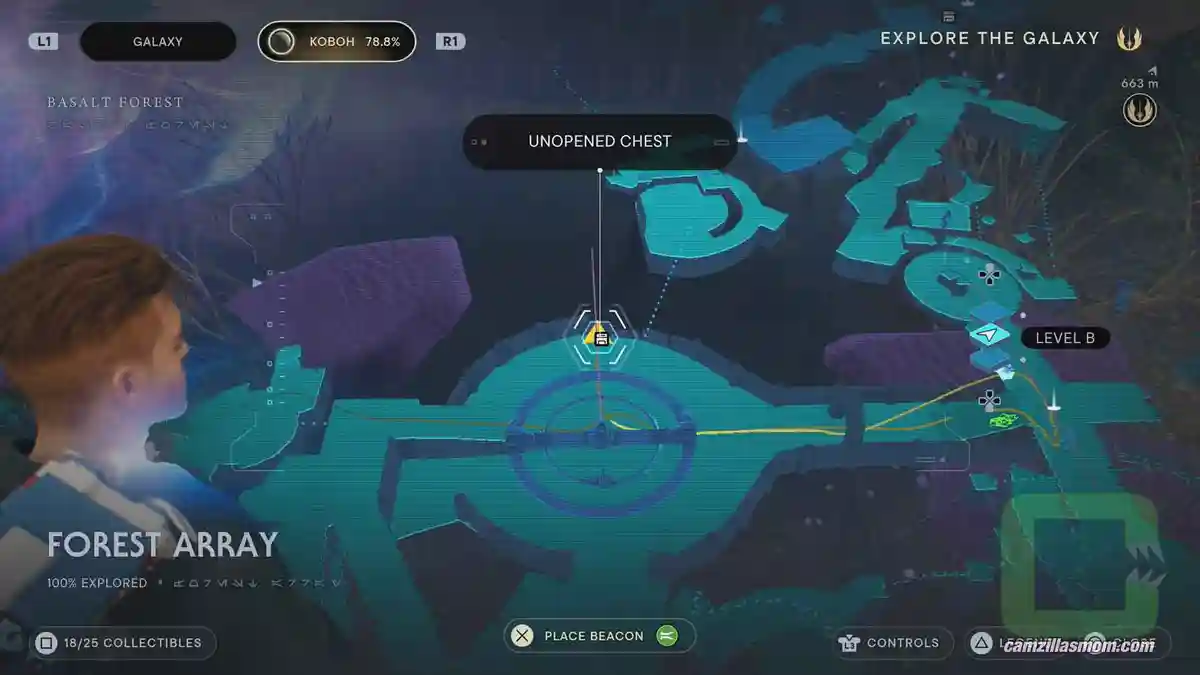
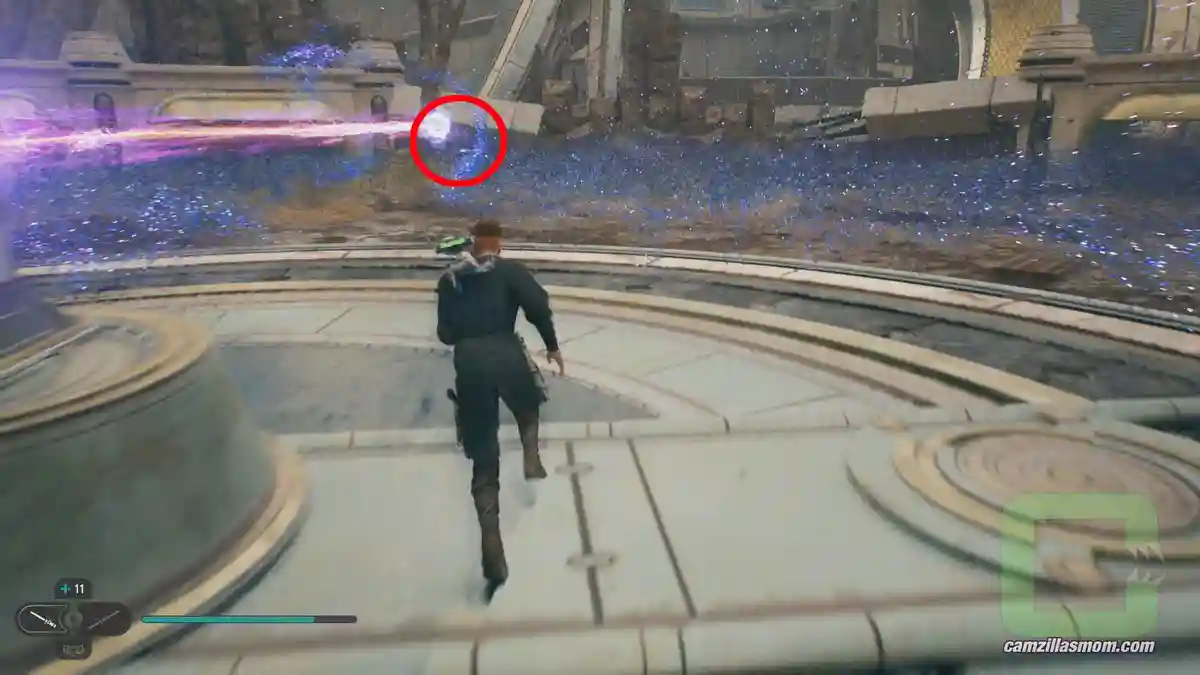
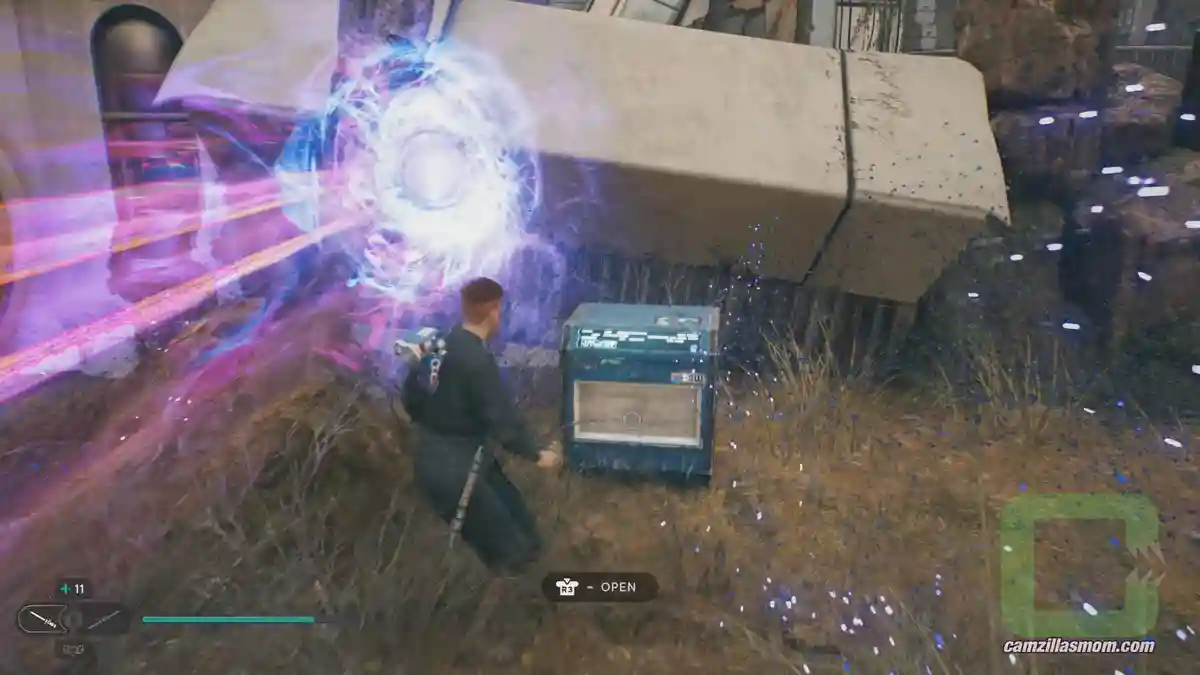
You can rotate the coupler with the Orb in it to burn all the Koboh Barriers away. Rotate it so it points to the direction of a chest. You can then go and open it.
19 – Treasure
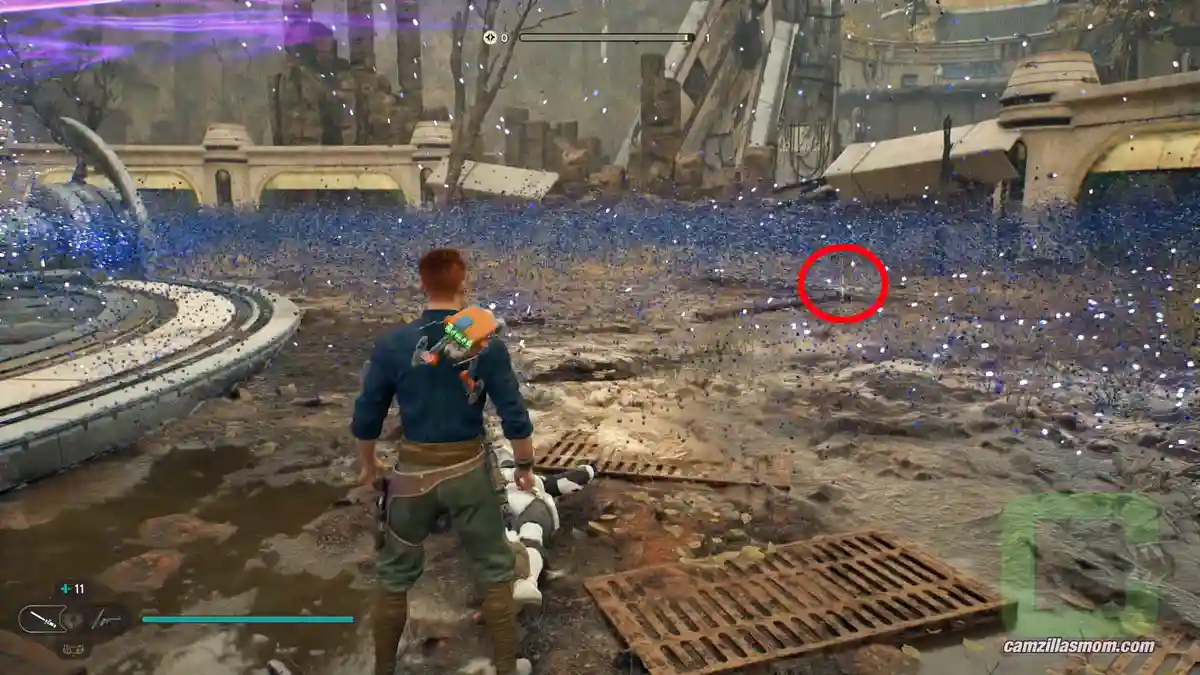
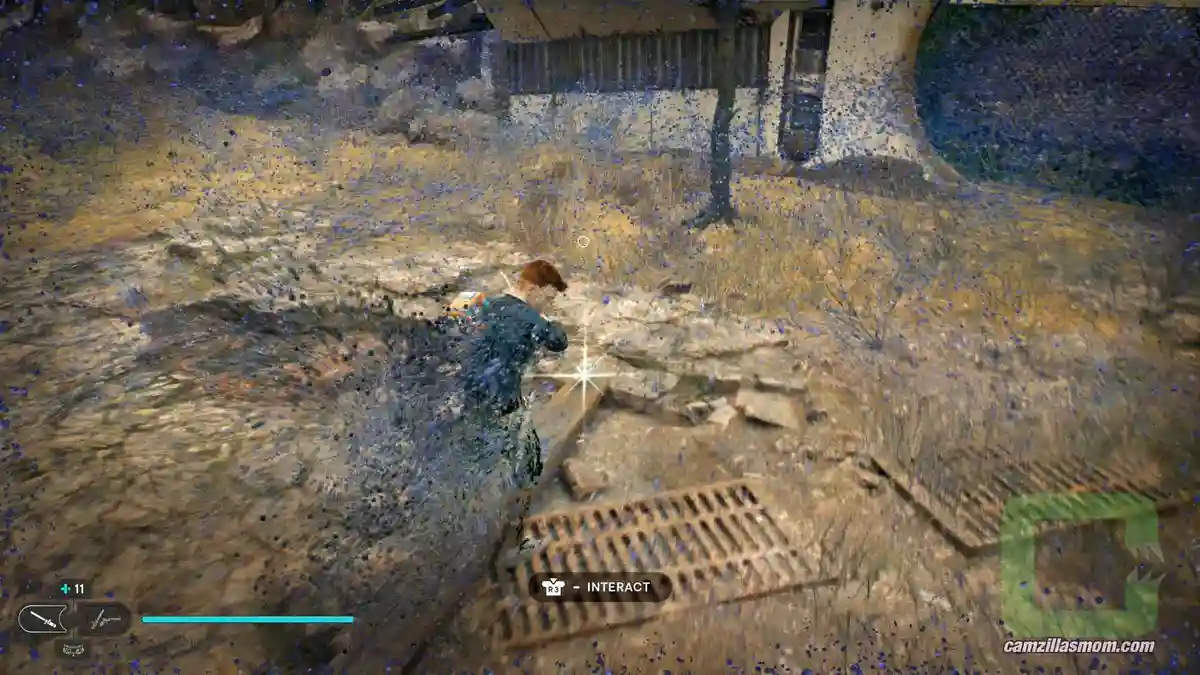
There is another Treasure piece not far from the Coupler in the Koboh Dust. Go back to the Coupler Rotator and point the beam to the Forest Array Meditation Point. Look for a wooden plank on the floor in the dust. The Treasure Collectible is at its end.
20 – Treasure
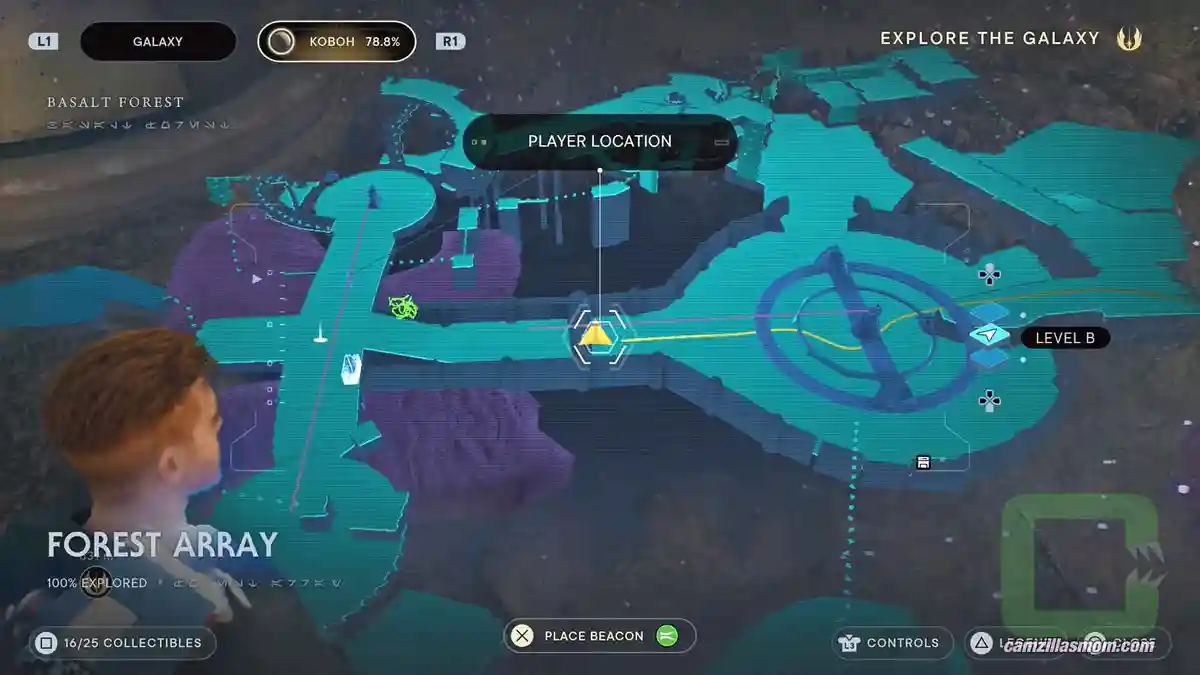
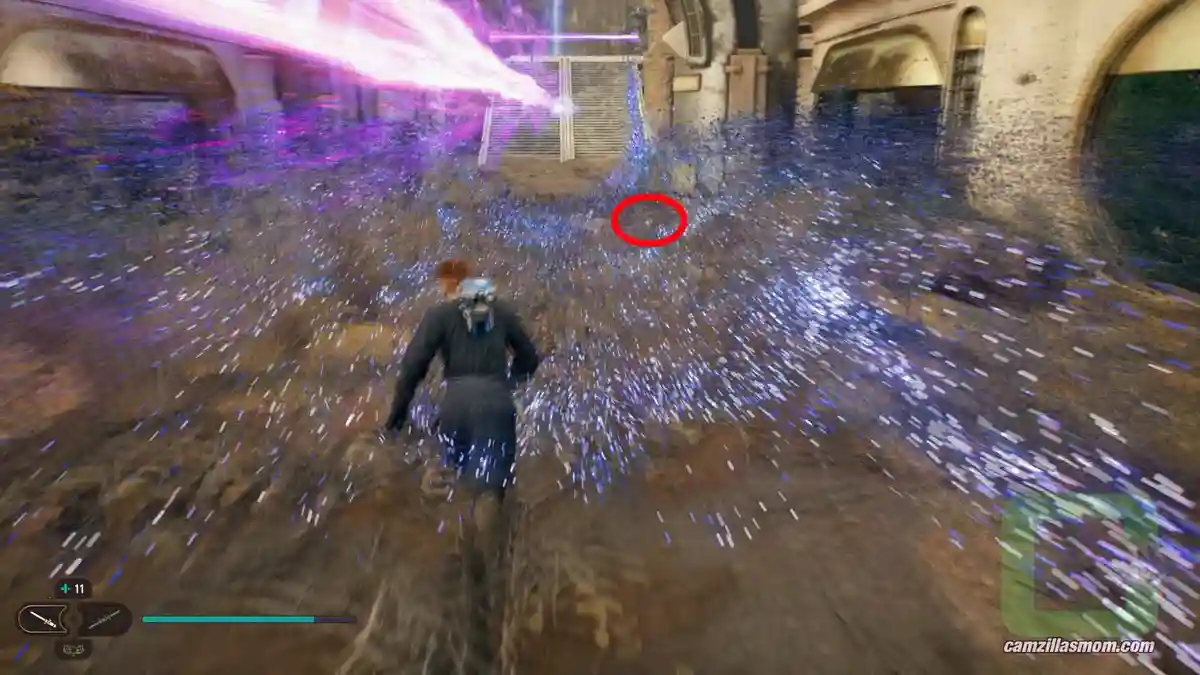
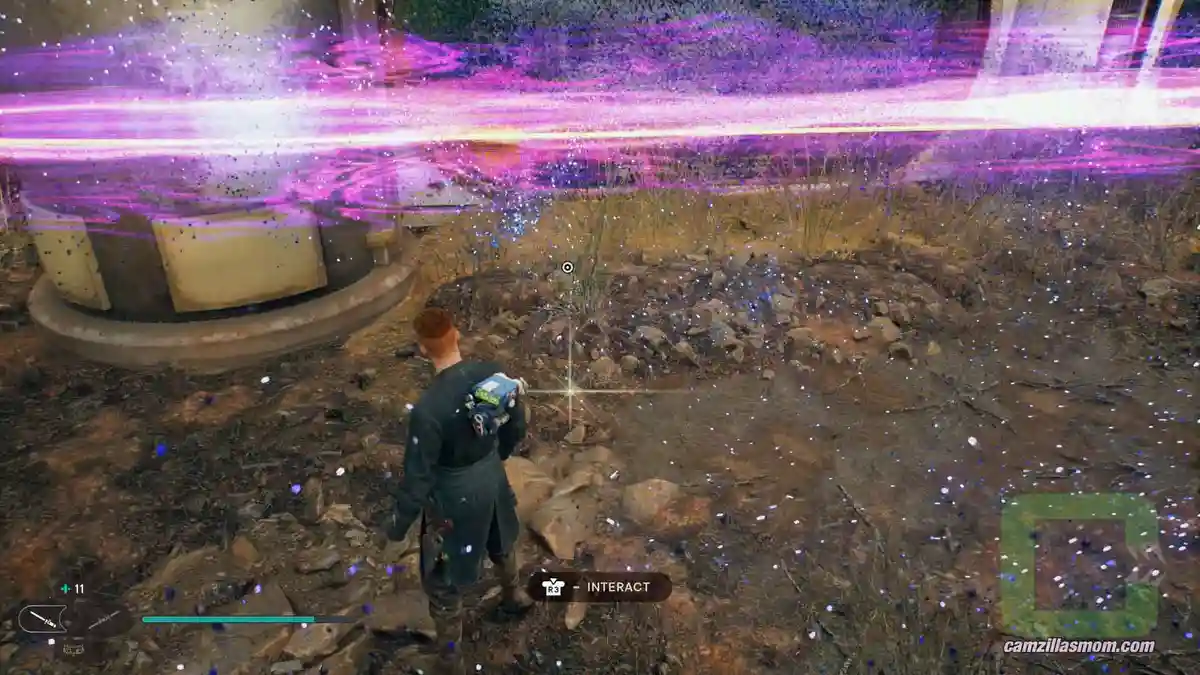
Follow the beam from the Coupler to the Meditation Point. In midway, you should see a glow on the floor. This is Treasure Collectible 7 of 10.
21 – Treasure
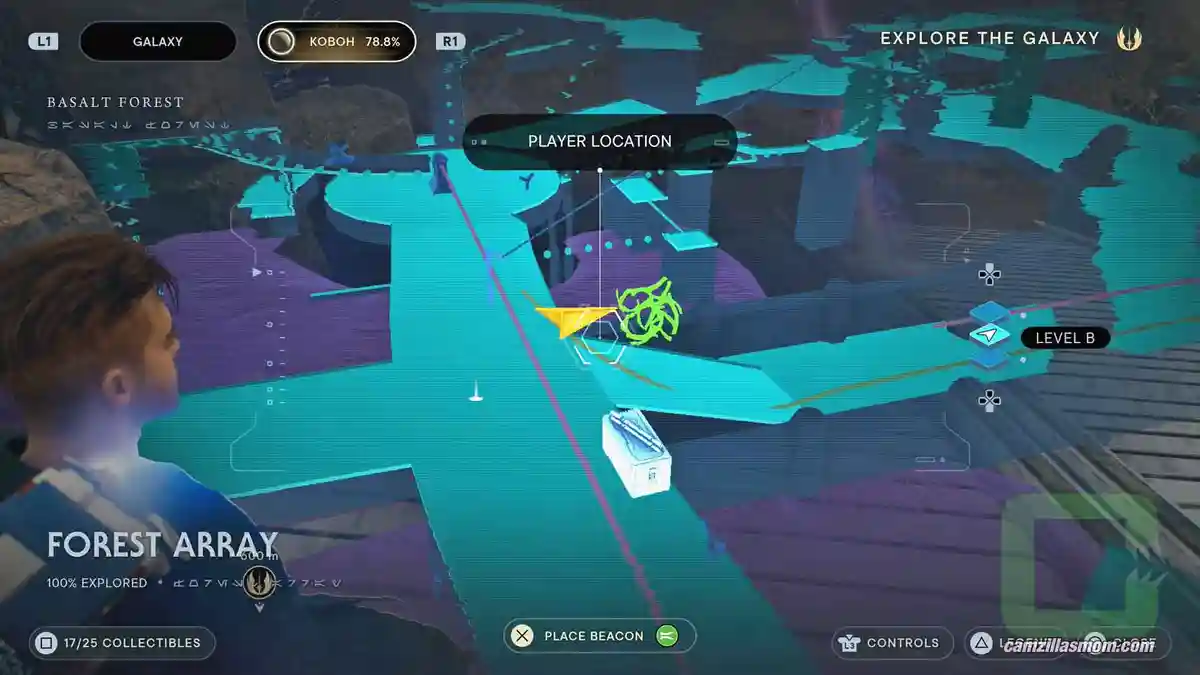
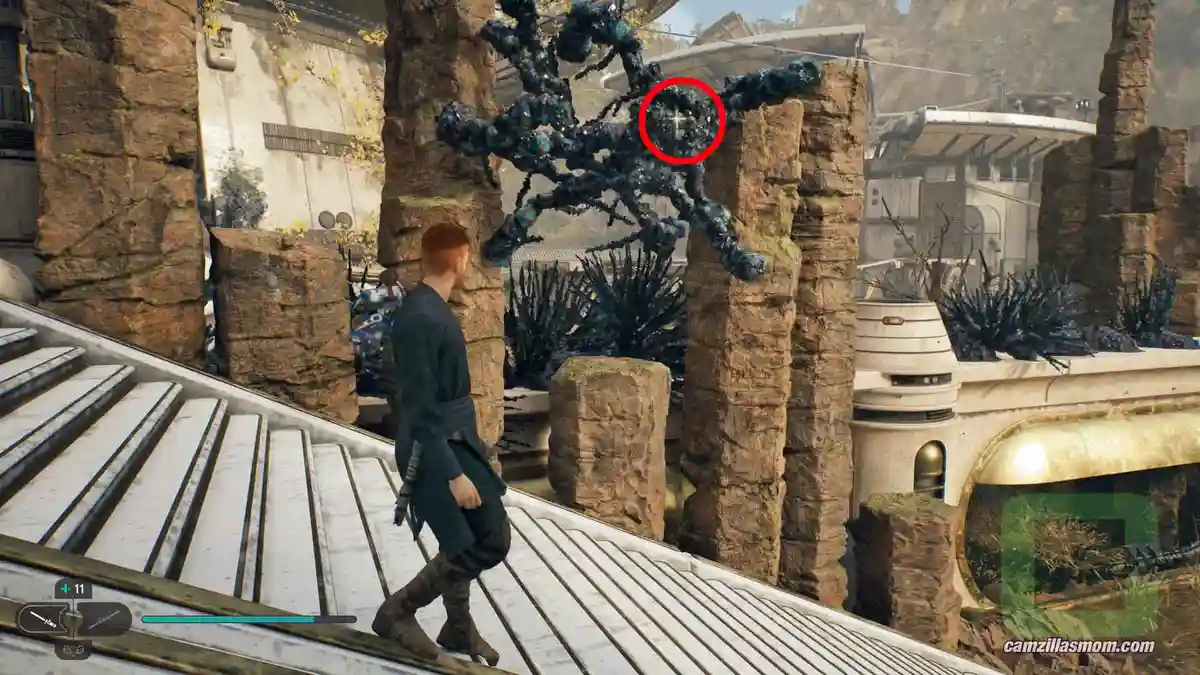
Keep going into the direction of the beam. Where it hits the stairs, look up to the right. There is a Koboh Barrier, where a Treasure Collectible is flickering. Pull up BD-1’s Koboh Grinder and paint a line from the beam’s impact point to the Koboh Barrier. The Treasure will fall on the floor at the bottom of the stairs.
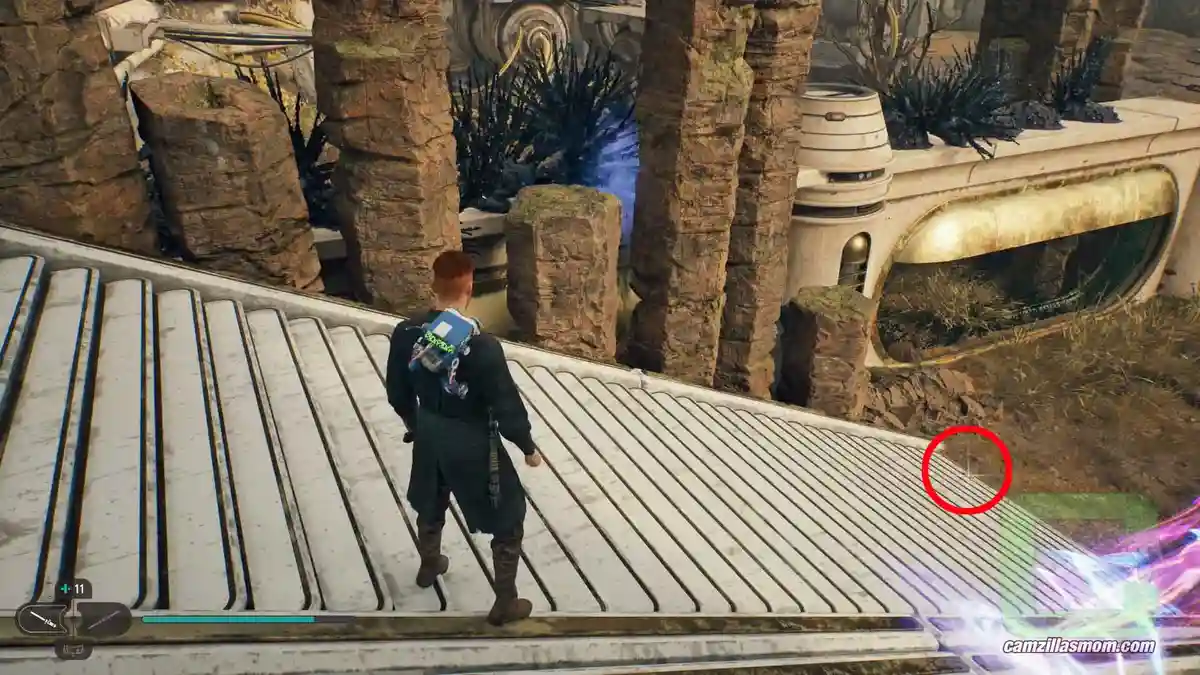
22 – Treasure
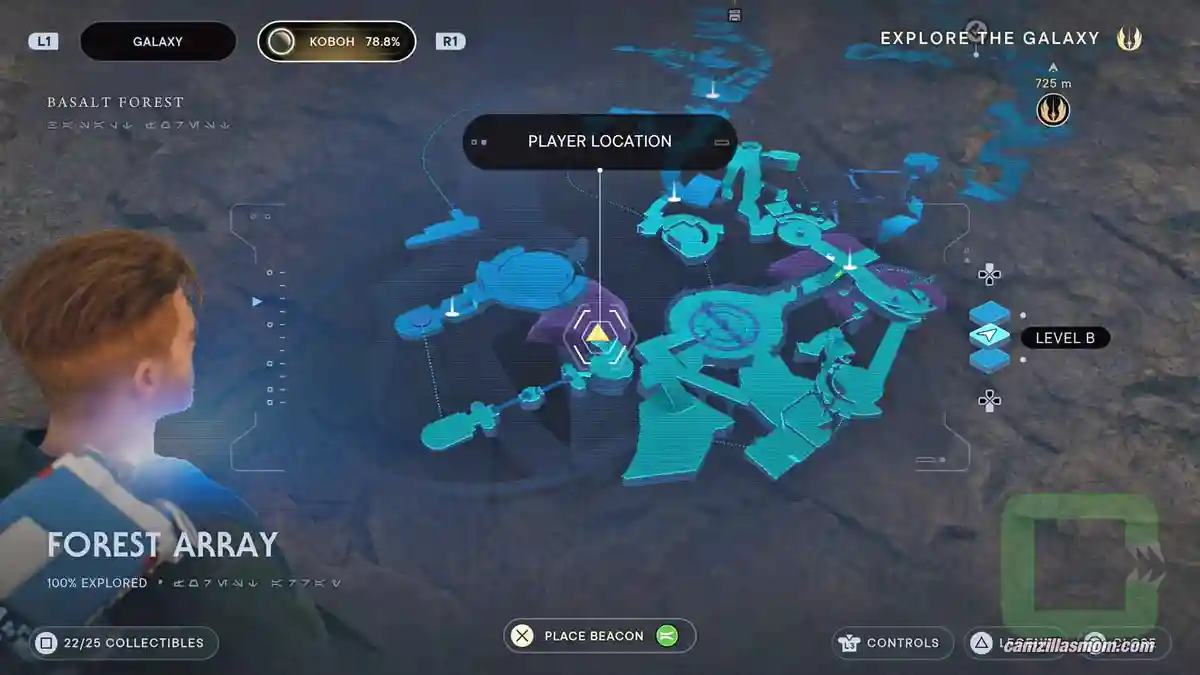
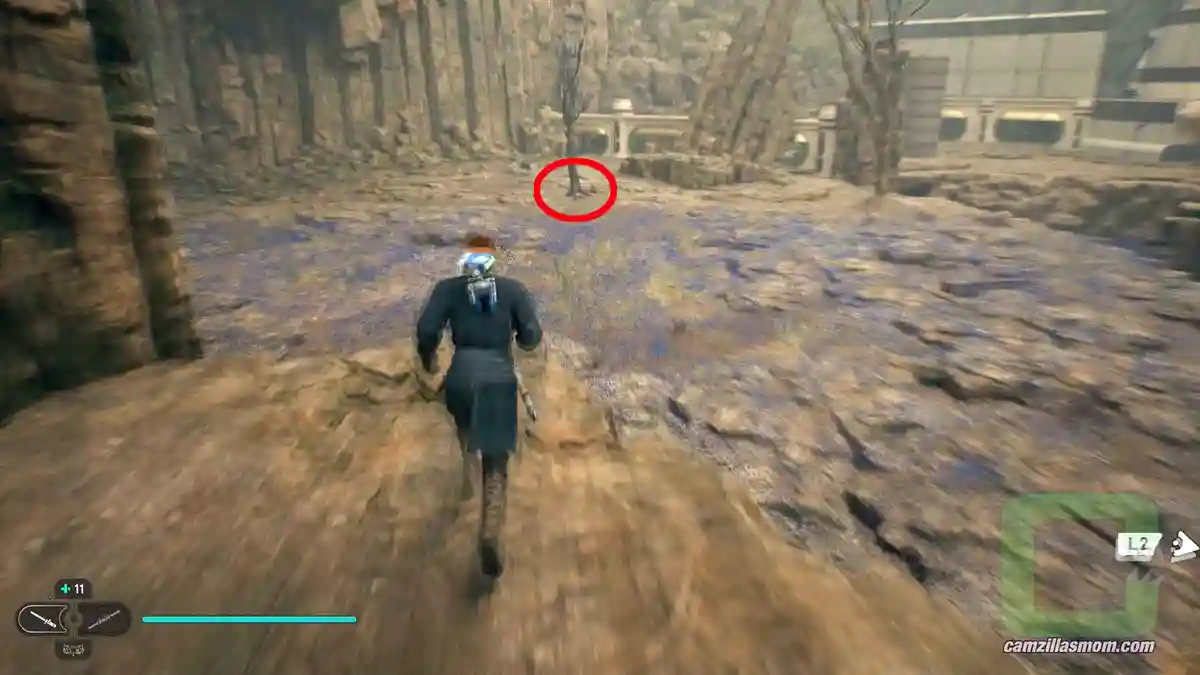
Go back to the Rotating Coupler and climb up in the direction of the Tower with its REHABILITATION WING. There are two Orb bridges in this area. You don’t have to cross them. Just clear the area from the Stormtroopers, then look into the vast area with Koboh Dust to the right from coming in.
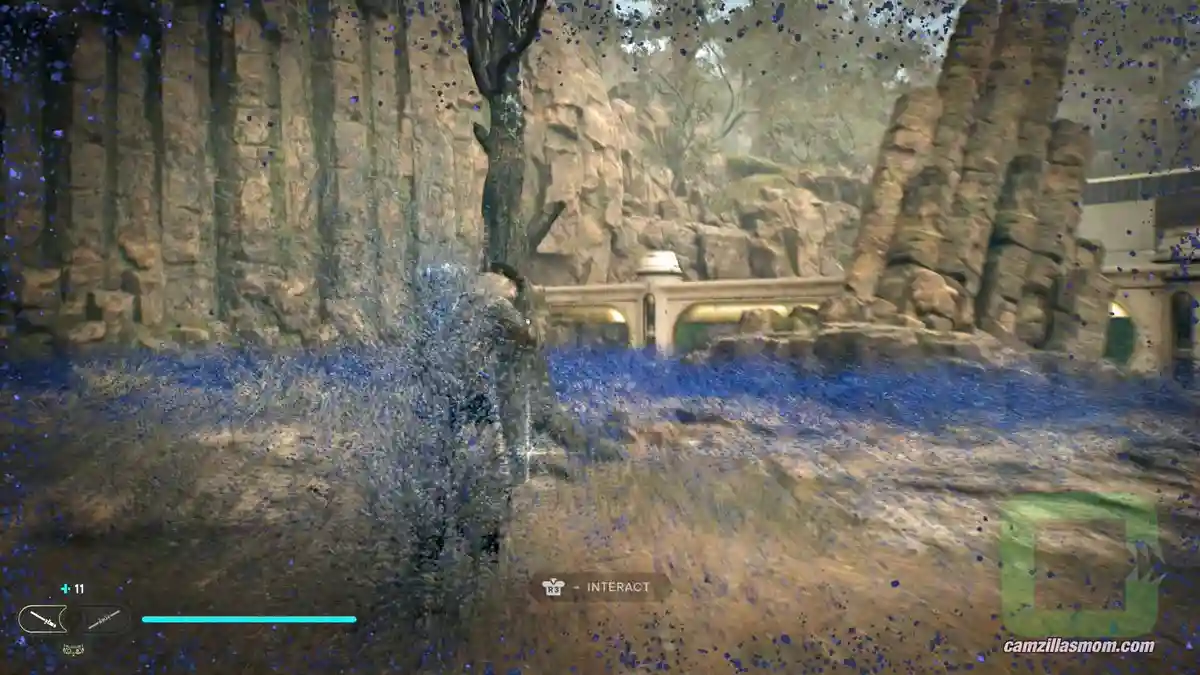
There is one tall, lonely tree. At its base is the Treasure. You can reach it, but you have to be fast with picking it up.
23 – Treasure
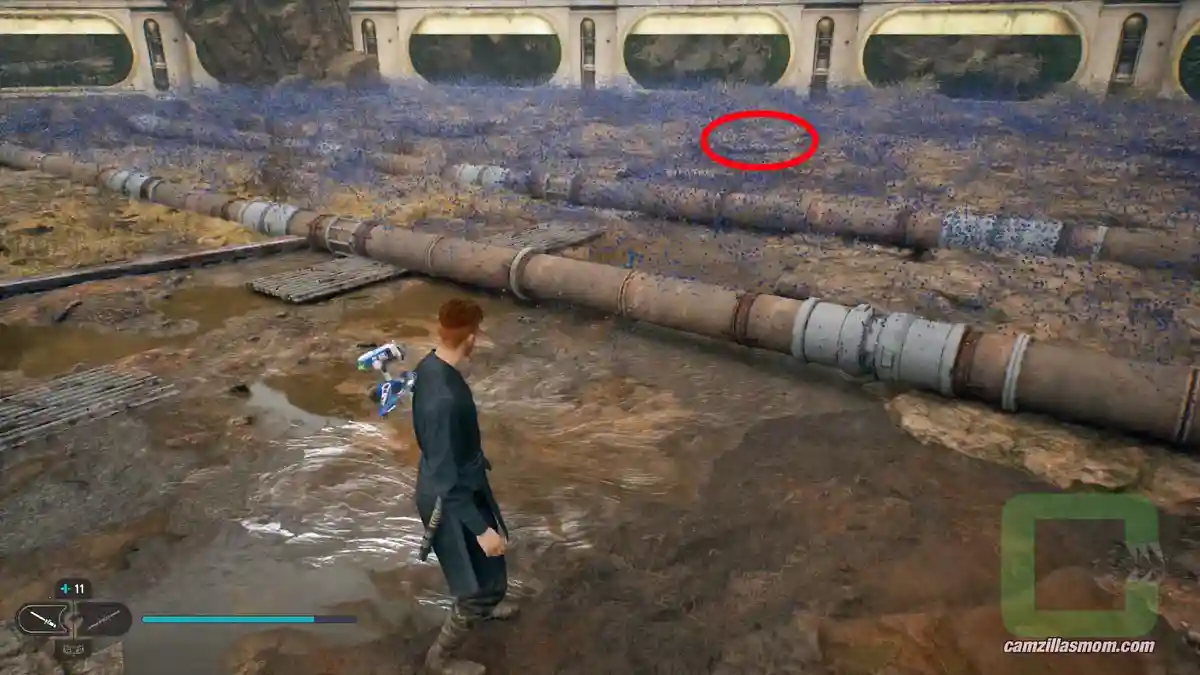
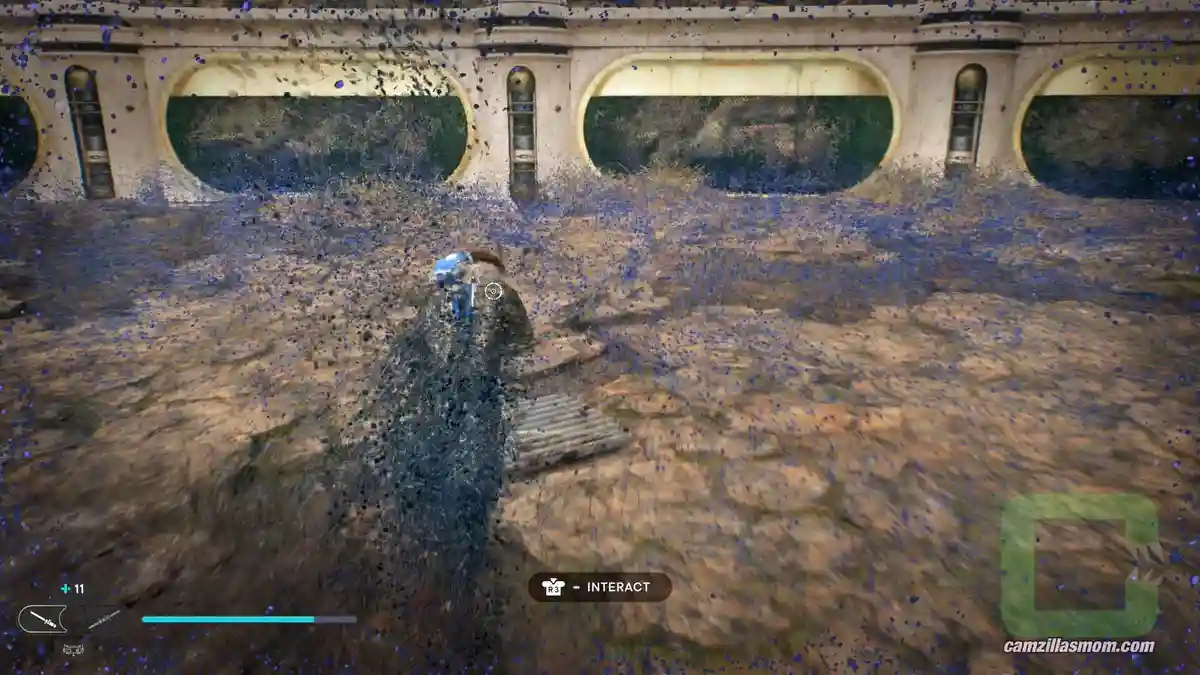
Now we’re going over to the other side, where the Bilemaw is. The pipes that run on the floor separates the Koboh Dust area from the Bilemaw area. Stand near the pipes and look out to the Koboh Dust. You should see a Treasure glow on top of a piece of wood. Get there as quickly as possible to pick the Treasure up!
24 – Treasure
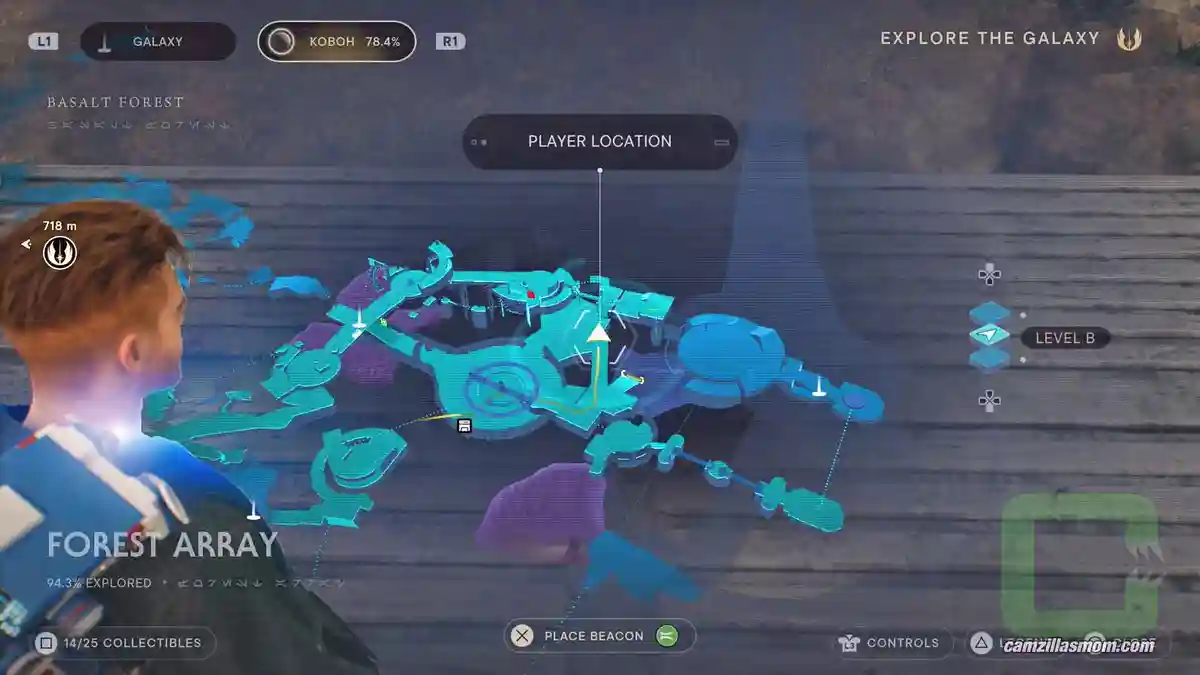
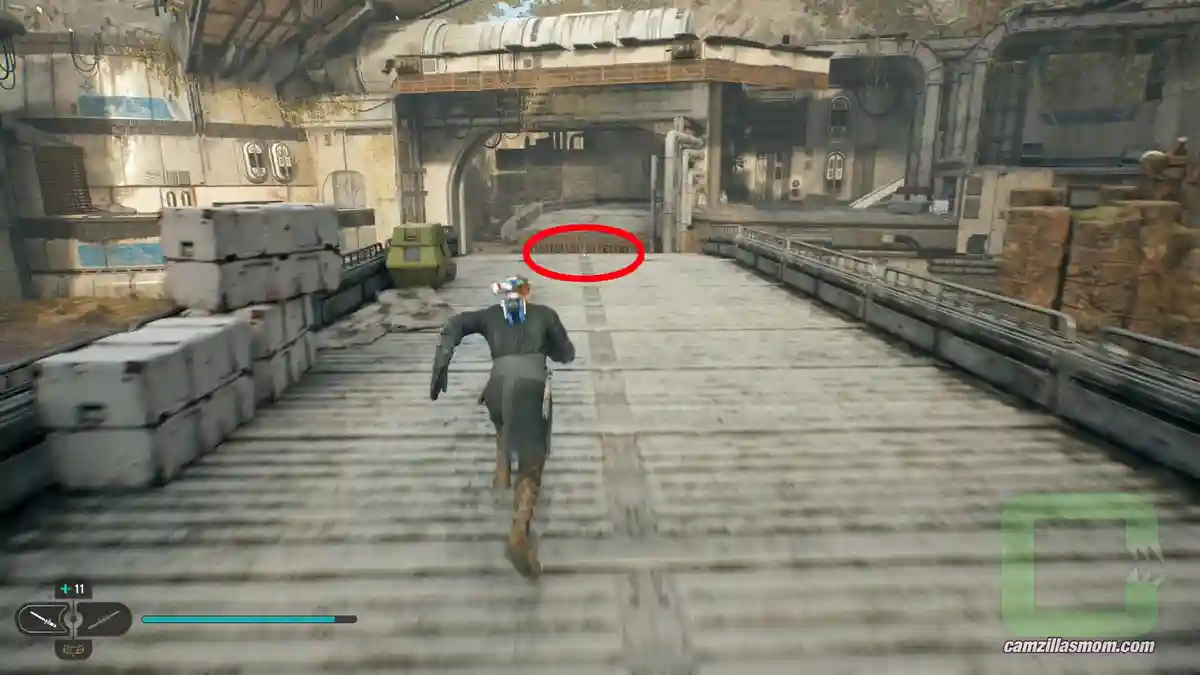
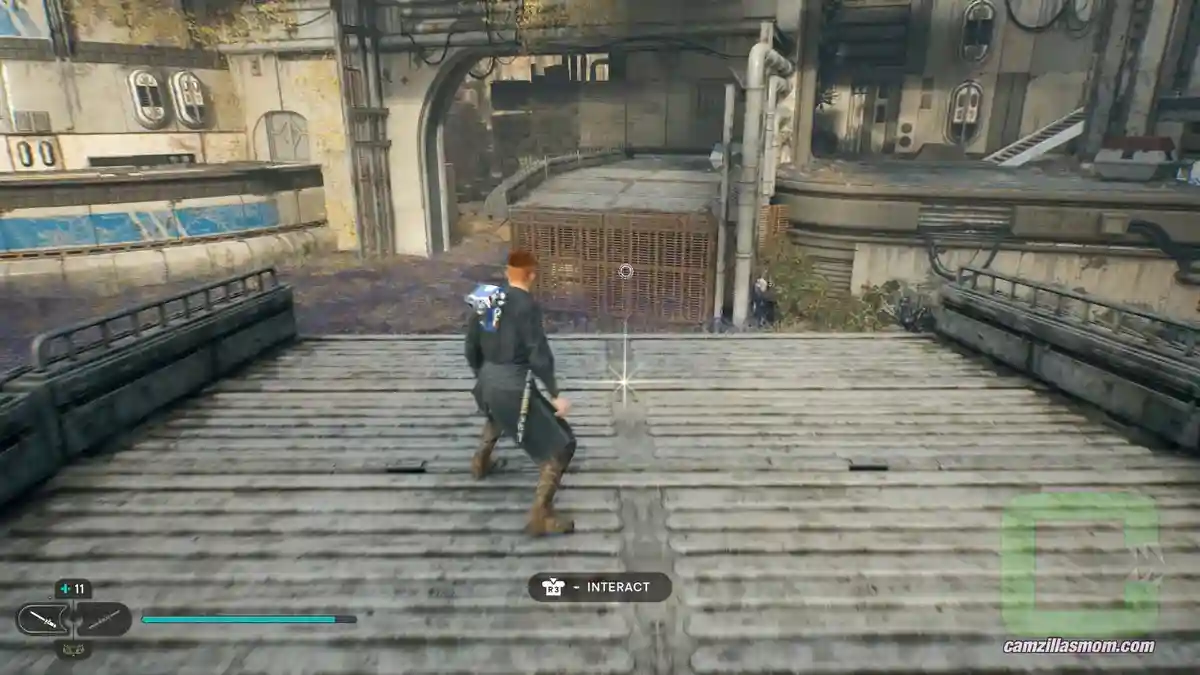
For the last Treasure at the Forest Array, go to the broken bridge on these Bilemaw Grounds. Go up the stairs to the broken bridge. At the end of this side is a shiny Treasure.
25 – Chest
Contains:
Material – Hunter
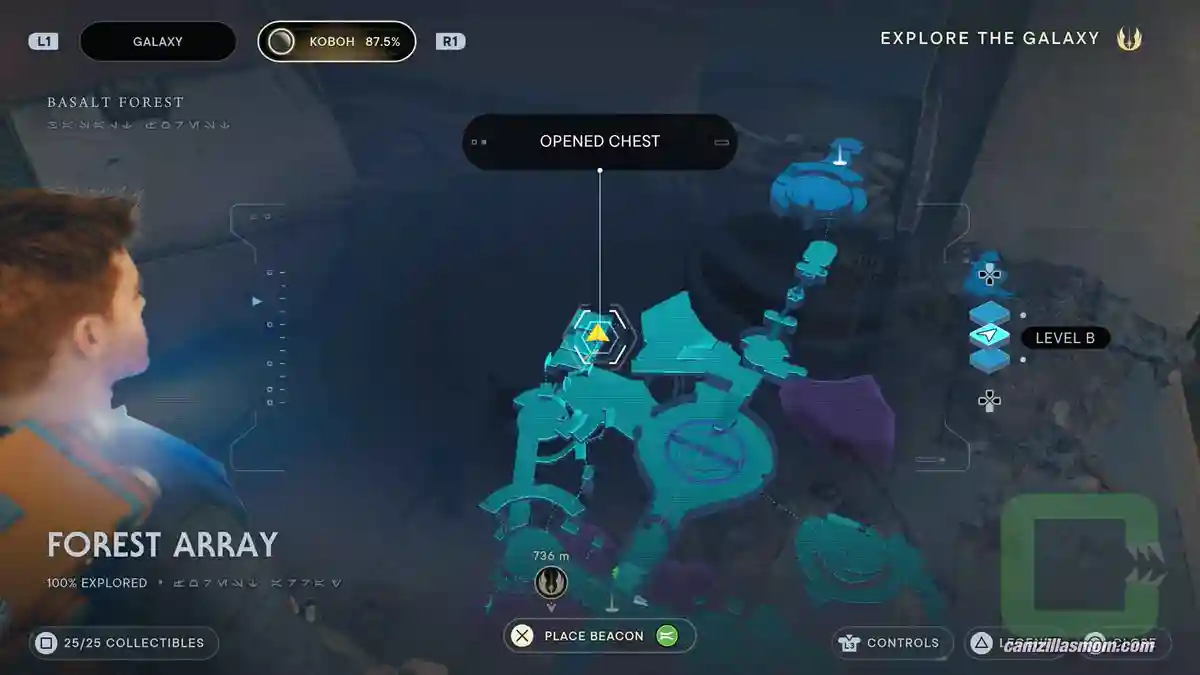
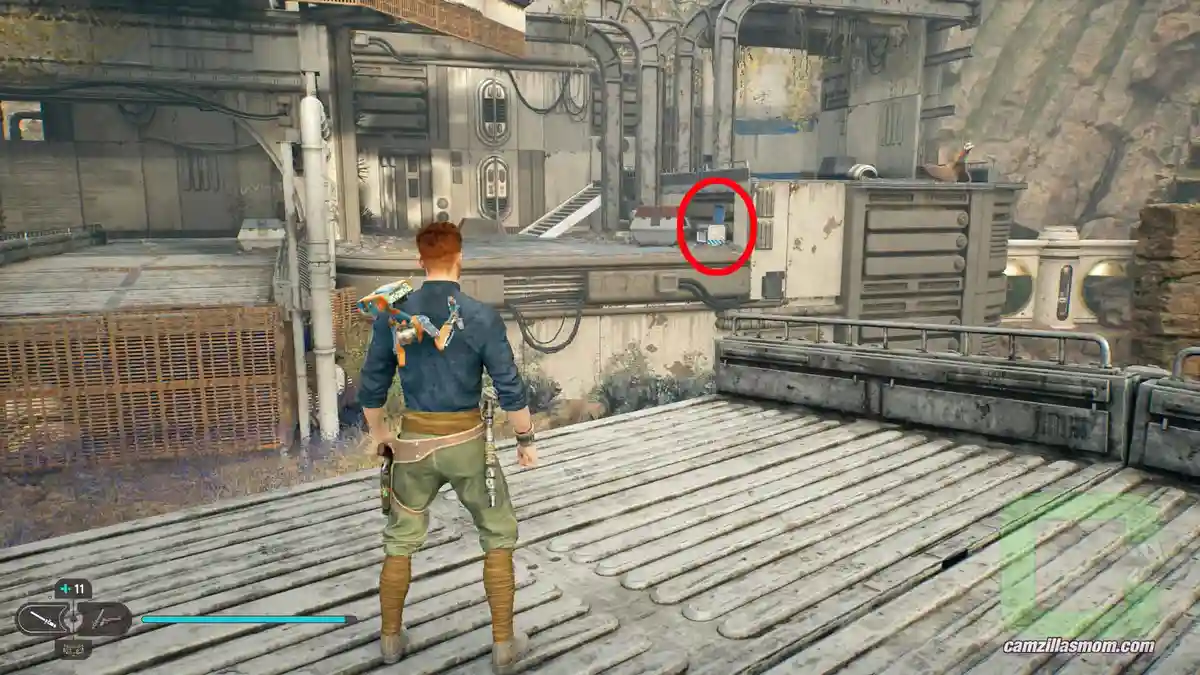
From the broken bridge, look over to where the Relter is. Below it, you can see the last chest. You can either take the “classic” way over the metal bar that you took in the story (where the big bird was), or you can be sneaky cross here with double-jump-dash from the end of the bridge.


About Star Wars: Jedi Survivor
Release: April 28th, 2023
Developer: Respawn Entertainment
Publisher: Electronic Arts
Official Website: https://www.ea.com/games/starwars/jedi/jedi-survivor